Steel Soul 100% Completion Guide
Author: Vivictor
This is a full, in-depth, step-by-step guide with a complete speedrun to help you achieve 100% completion in Steel Soul mode in Hollow Knight: Silksong. While I did it on Steel Soul, this guide works for any kind of 100% run.
Introduction
Section titled “Introduction”I created this guide using Steel Soul mode as a foundation, but it’s applicable to any 100% completion run. I highly recommend going into your first playthrough completely blind, but if you’re looking for a step-by-step guide to help you get everything needed for the 100% achievement, this guide has you covered.
The main goal of this guide is to offer fast routes that let you complete everything in a streamlined order, minimizing backtracking.
The first section of the guide focuses on a speedrun through the first act until we unlock the double jump. From there, we’ll start backtracking to collect everything in each area (100% sections).
It took me roughly 18 hours to do a full replaythrough of the game, and some of that time was spent just looking at the map and planning what to do next. So, your time could easily be shorter than mine. I’d also like to add that the guide includes suggested routes—some aren’t perfect, and there’s definitely room to tweak them. Feel free to try alternative paths or change the order to suit you!
How Progress Tracking Works
Section titled “How Progress Tracking Works”- At the top-right of each 100% Completion section, you’ll see a “Mark as Done” button.
- When you click it, the section will get a green border and show the text “Completed!”.
- Your progression is saved. Even if you close and reopen the page, your progress will still be there.
- You can click again anytime to unmark the section.
- This system only applies to the 100% completion sections, so you can track which areas you’ve already finished on your path to full completion.
Act 1 Speedrun
Section titled “Act 1 Speedrun”Part 1: Moss Grotto & Bone Bottom
Section titled “Part 1: Moss Grotto & Bone Bottom”You’ll mostly ignore everything here, except for the two mossberries you can collect before reaching the Moss Mother boss fight.
-
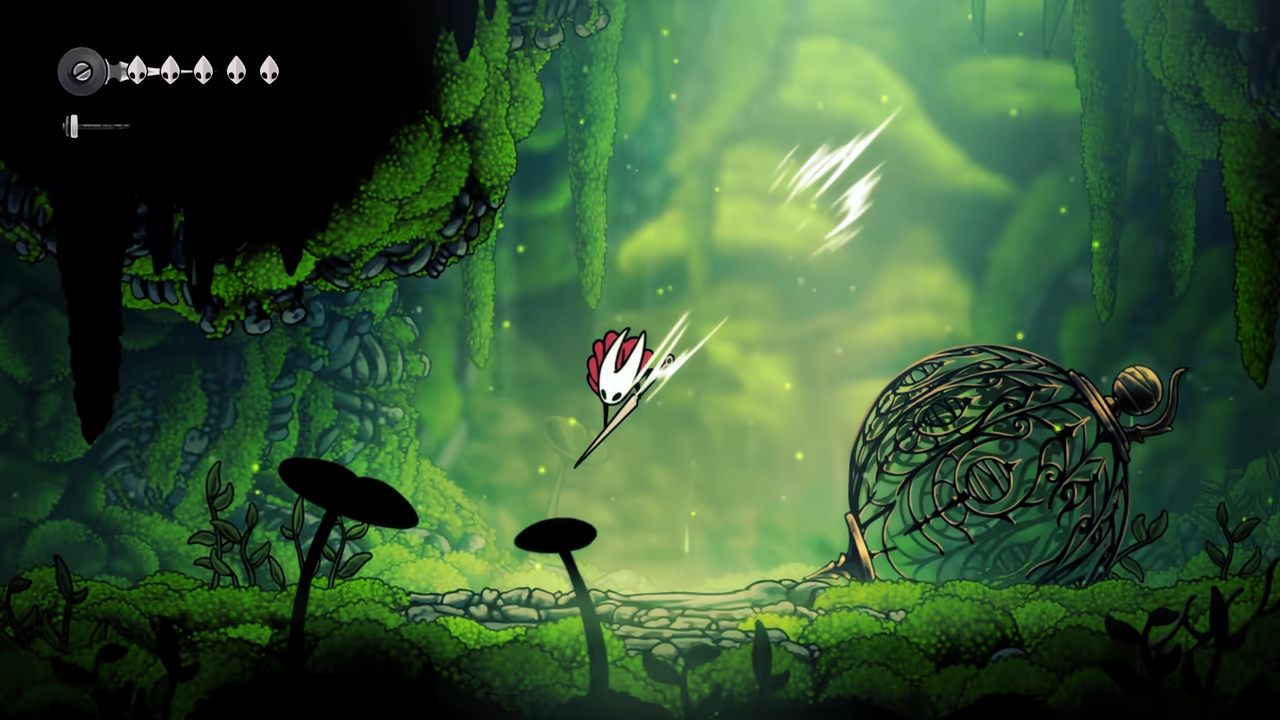
Find the First Mossberry
Section titled “Find the First Mossberry”The first mossberry is easy to spot, located above a cliff near the starting area.
-
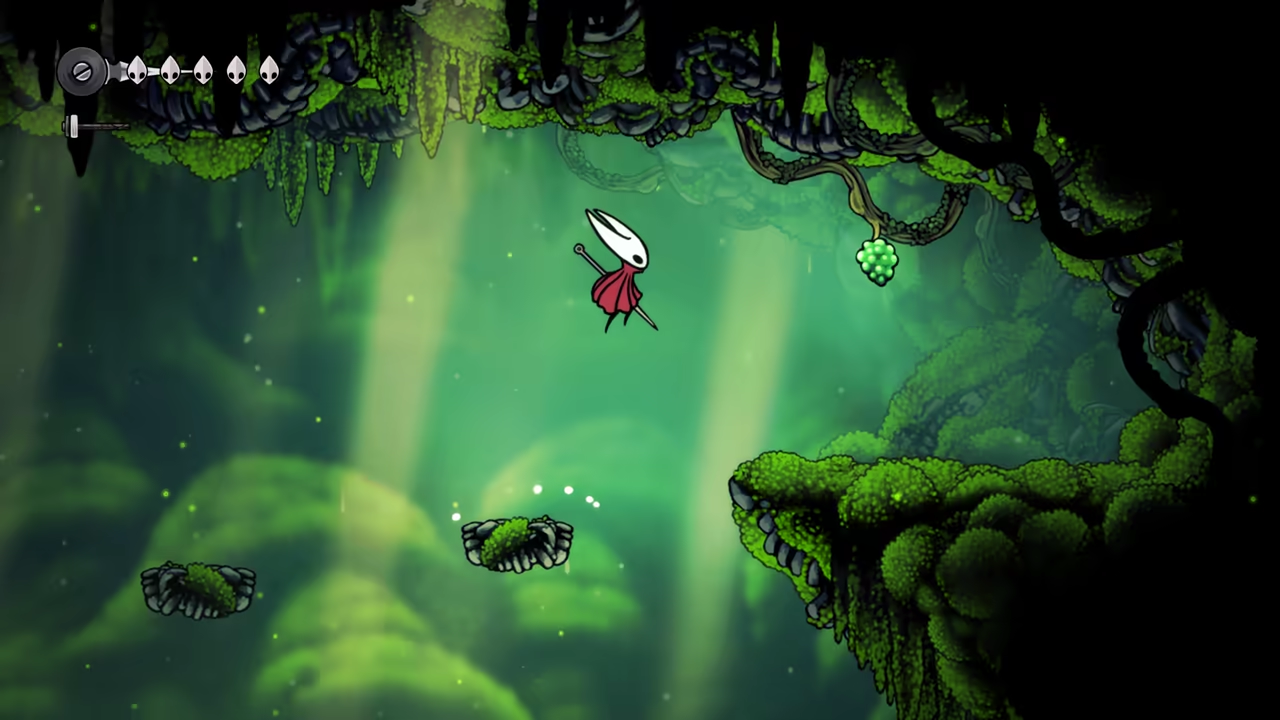
Collect the Second Mossberry
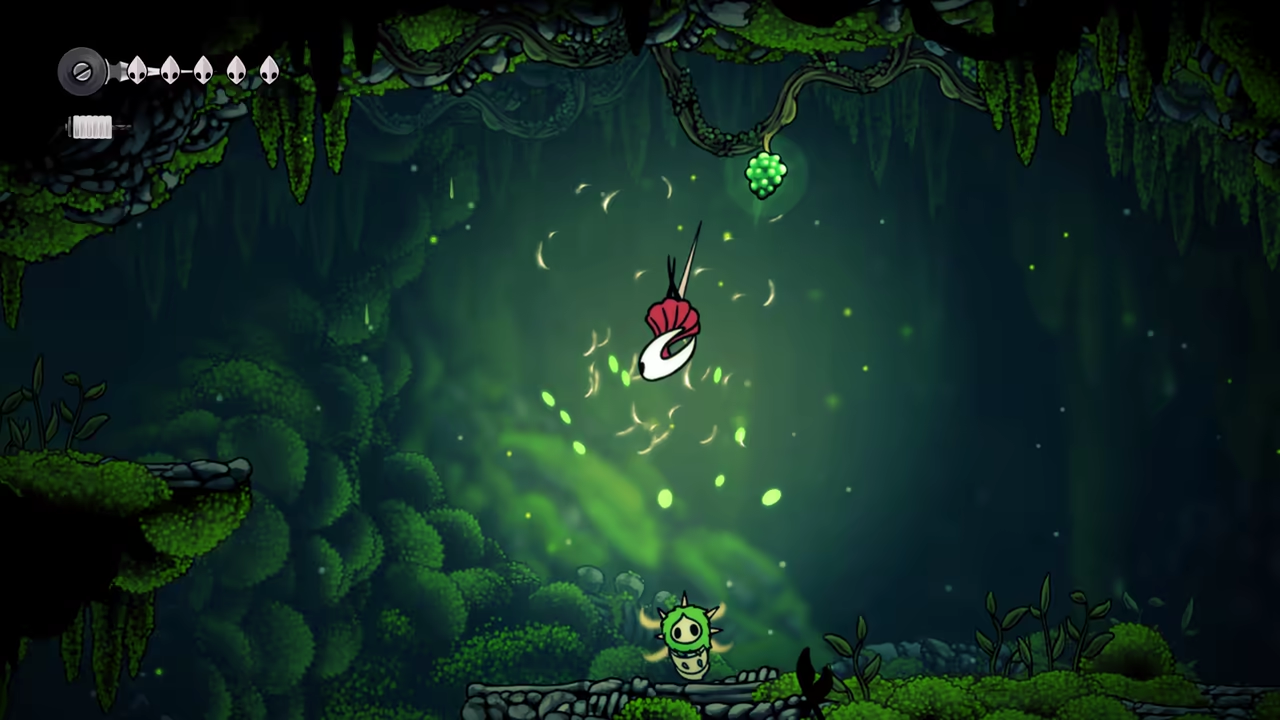
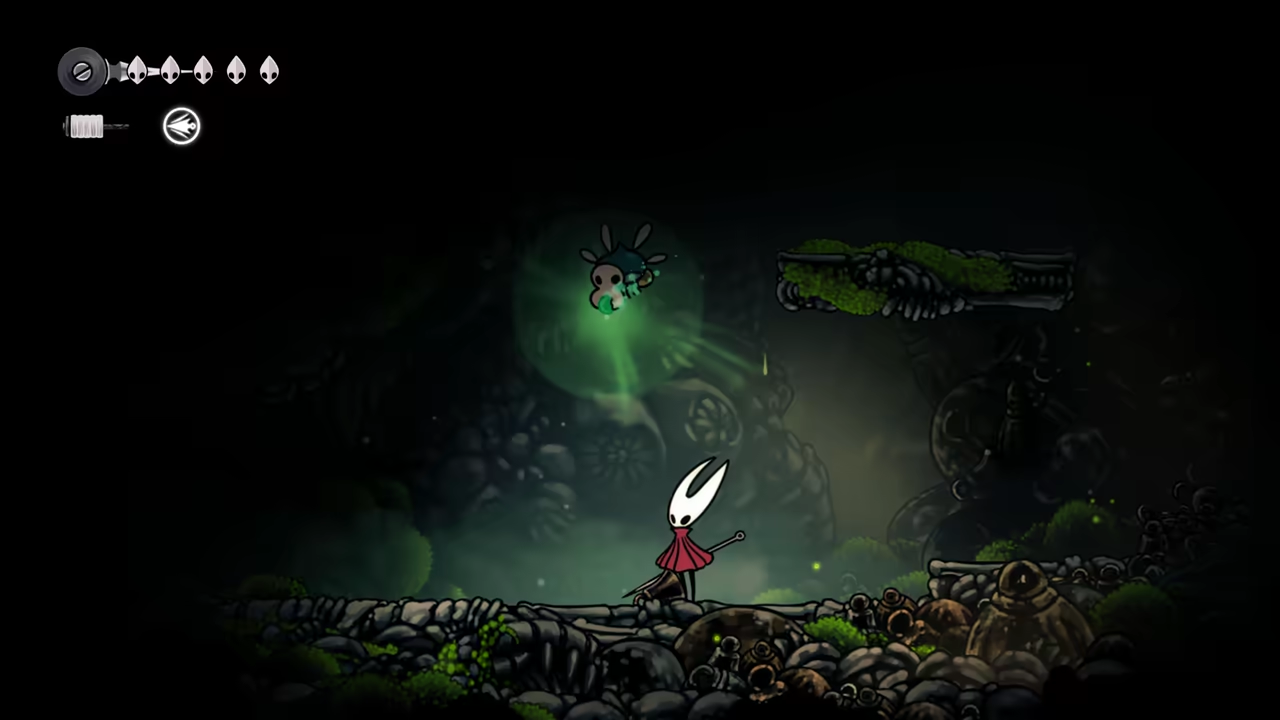
Section titled “Collect the Second Mossberry”The second requires you to pogo off an enemy to reach it.
-
Defeat the Moss Mother
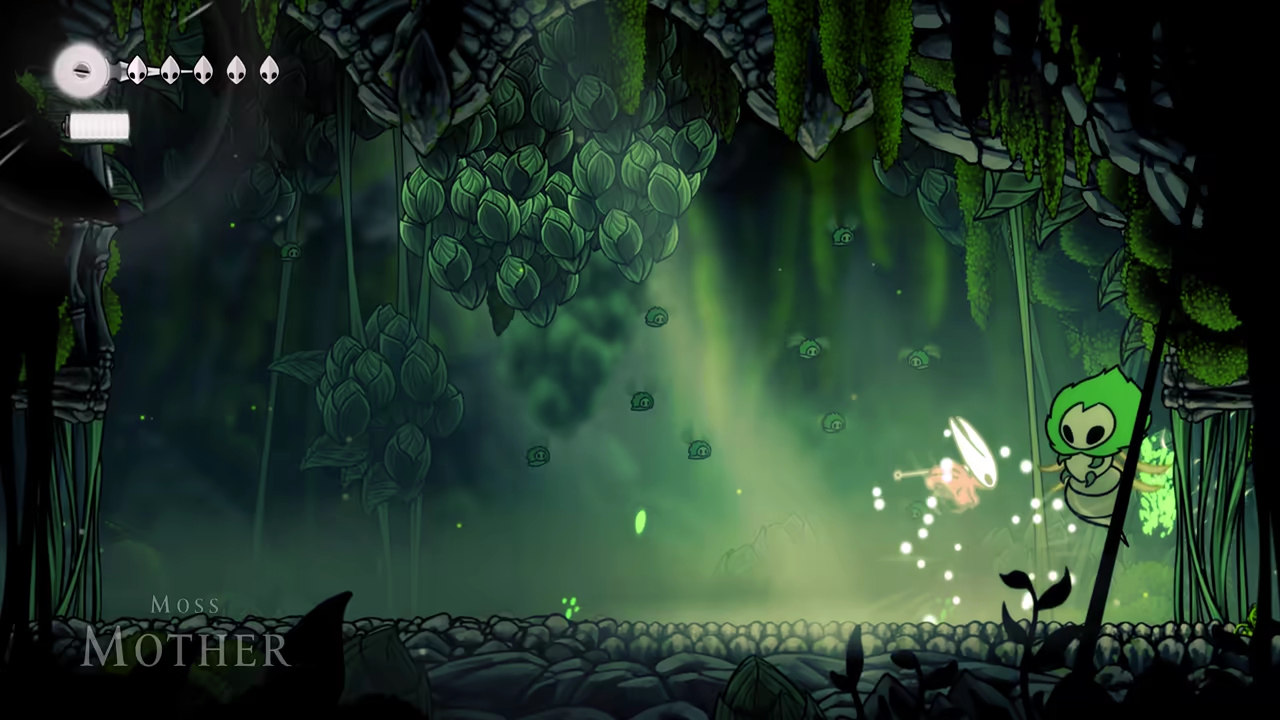
Section titled “Defeat the Moss Mother”The Moss Mother boss fight is very easy. The only tip I can offer is to stay on the right side of the arena, as it allows you to land more hits.
-
Proceed to the Next Area
Section titled “Proceed to the Next Area”Progress through Bone Bottom, ignoring all NPCs, and head straight to the next area.
Part 2: The Marrow Speedrun
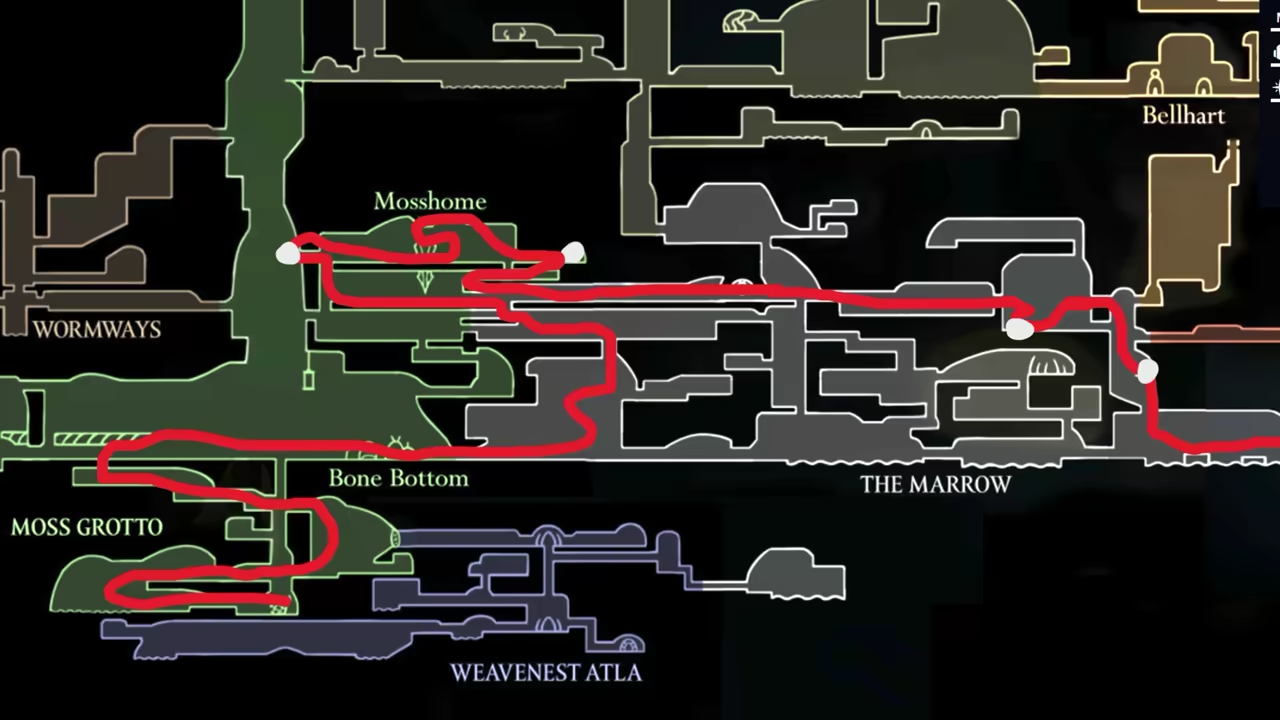
Section titled “Part 2: The Marrow Speedrun”Right at the beginning of The Marrow, you’re going to do your first skip. Bait the enemy onto this platform and pogo off its head to reach the upper area.
-
Entrance Skip (Pogo)
Section titled “Entrance Skip (Pogo)”Set up the enemy on the small platform and pogo to gain height, skipping the lower arena.
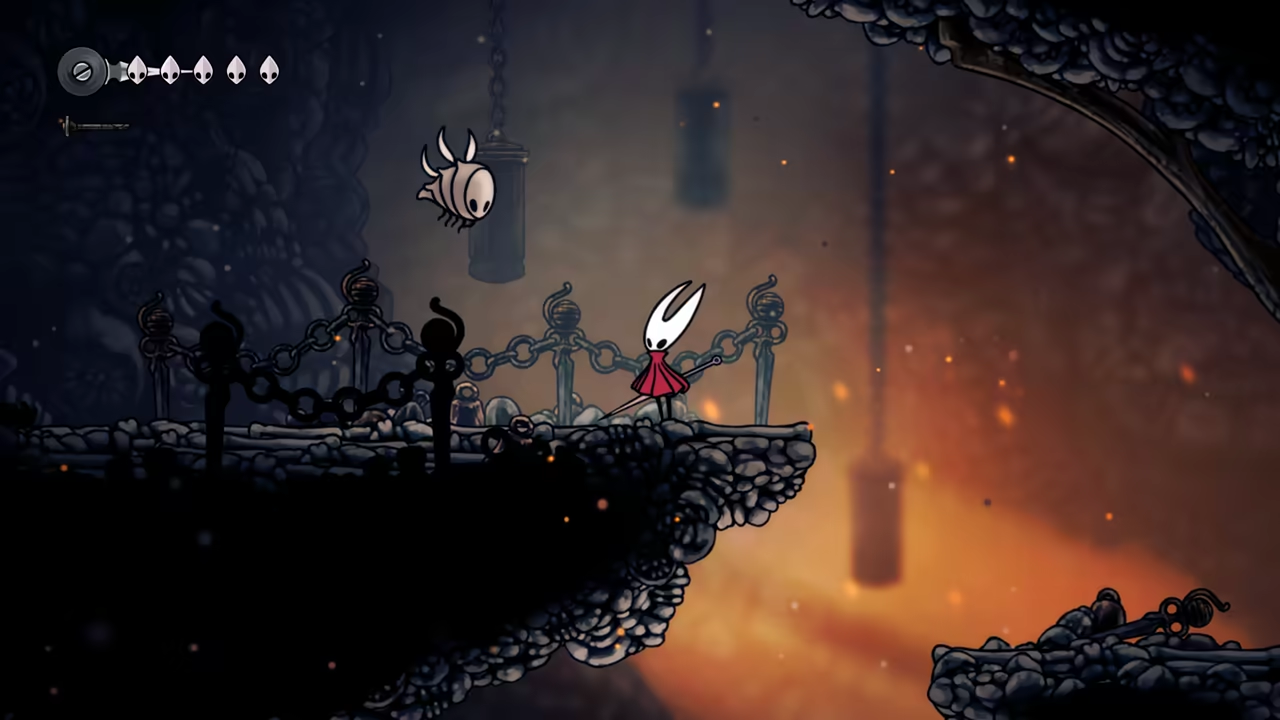
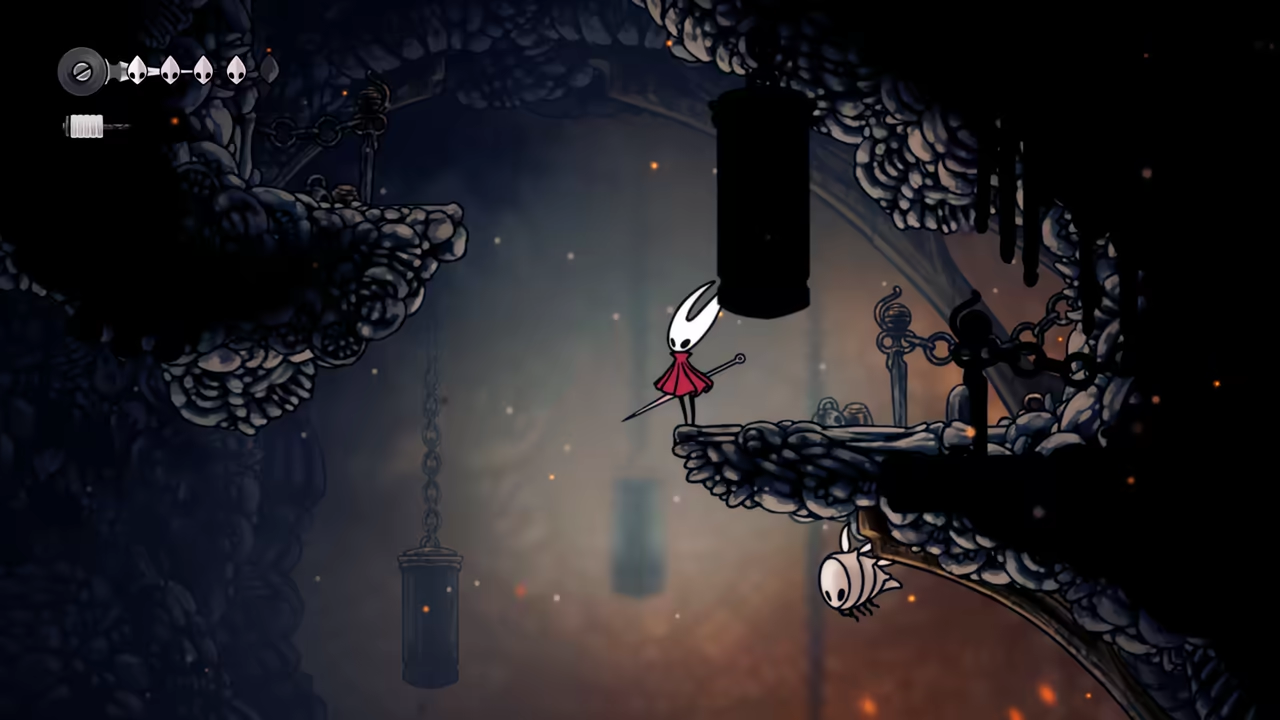
This can be tricky — if it’s inconsistent, take the normal route (clear the arena, open the gate for Sherma). The skip only saves time.
-
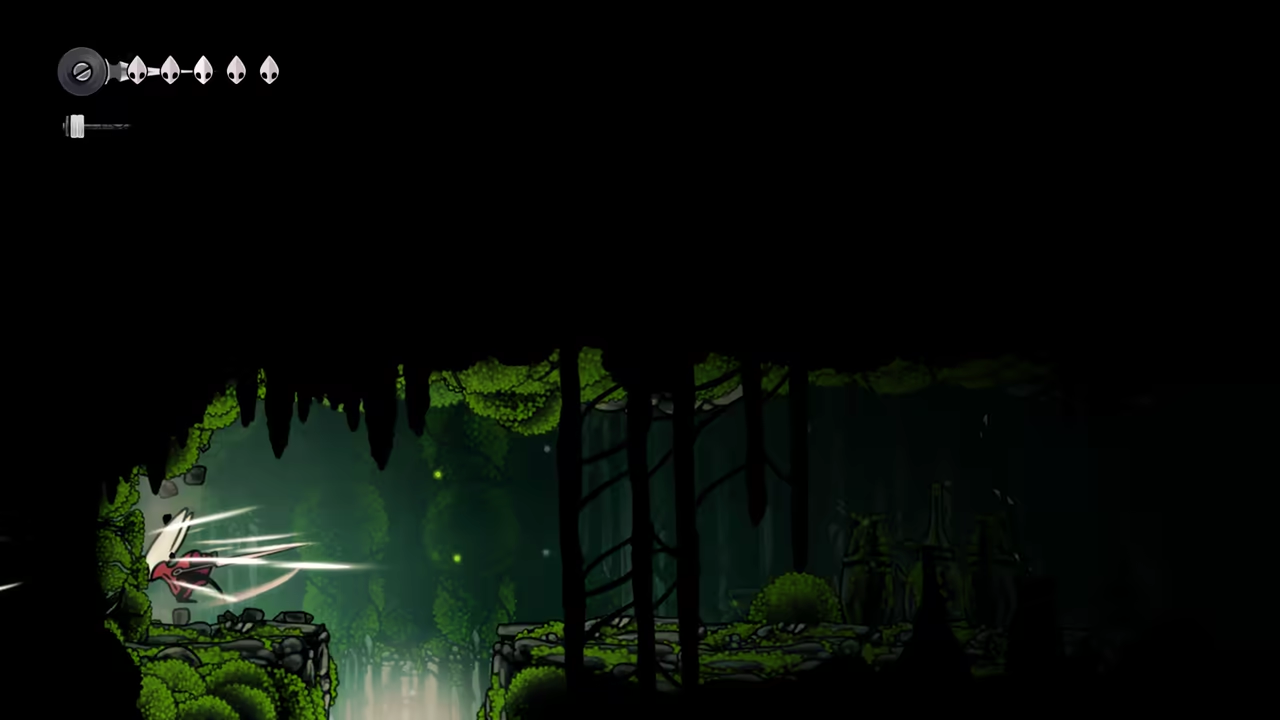
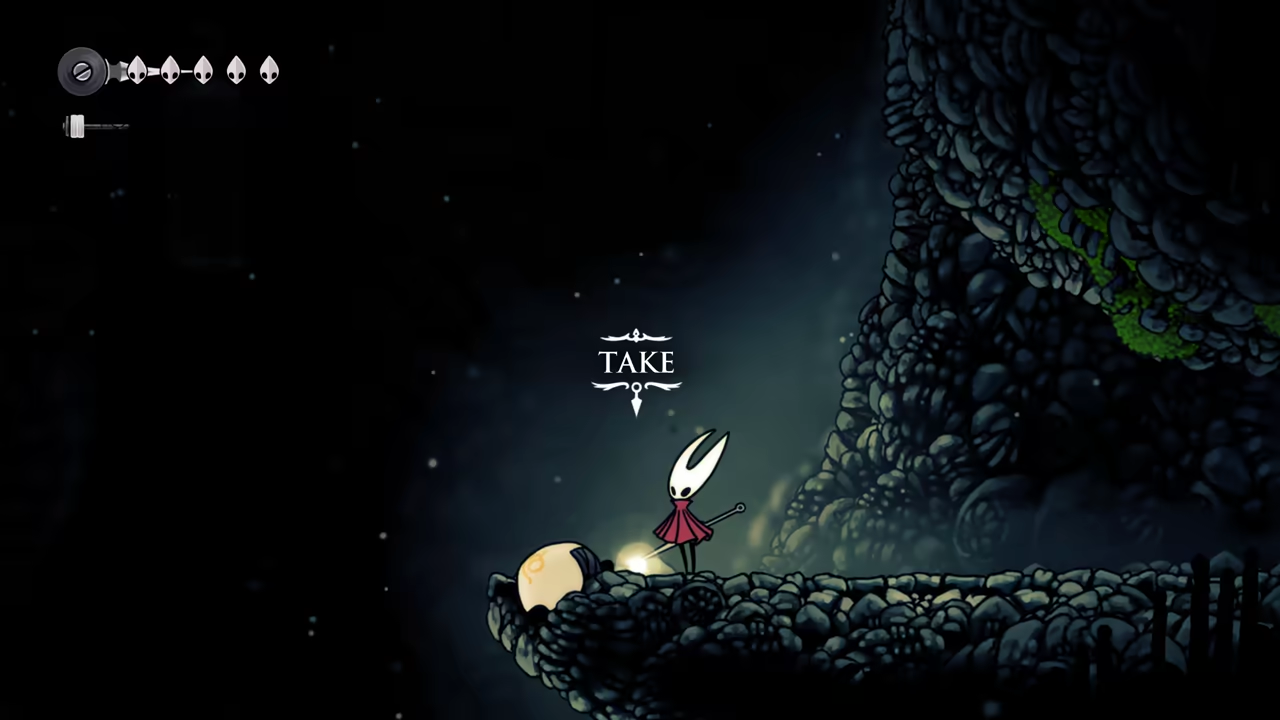
Left Path → Breakable Wall → Relic
Section titled “Left Path → Breakable Wall → Relic”You’ll meet Shakra here for the first time. Ignore map stuff and go left toward your first skill. Break the wall on the way and pick up a relic that helps with rosaries.
-
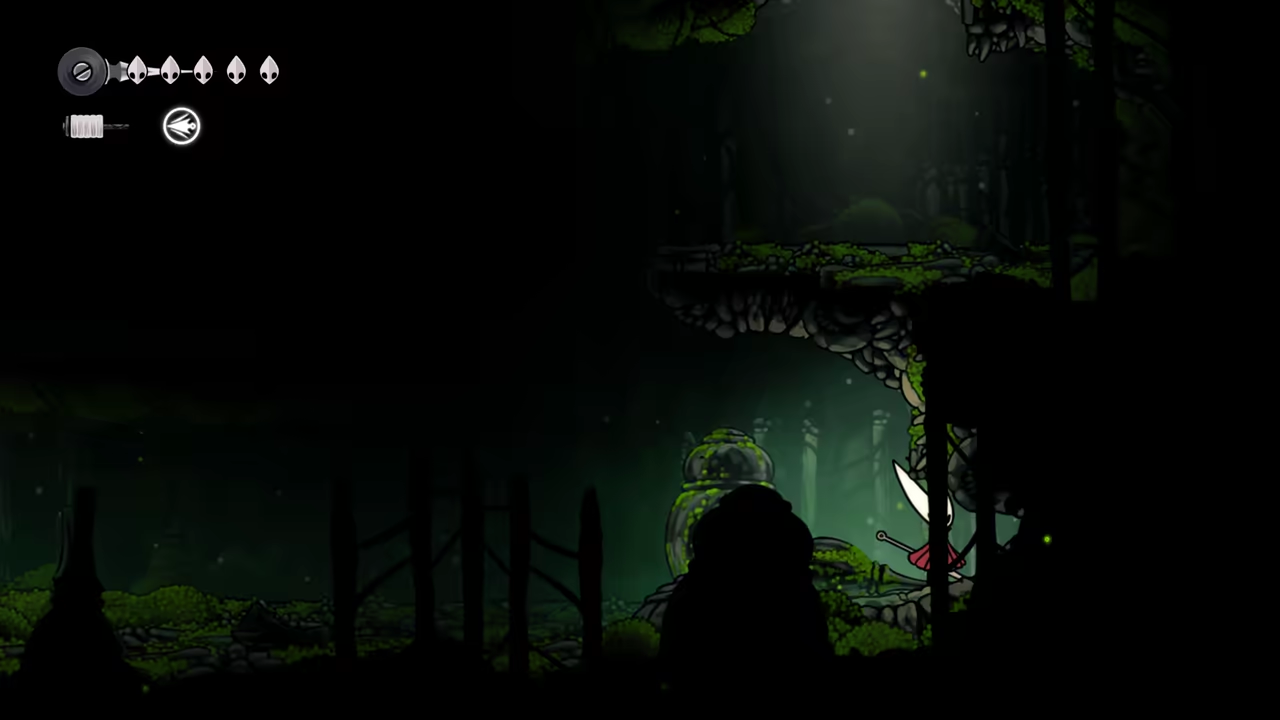
Moss Druid & Mossberry #3 → First Wish
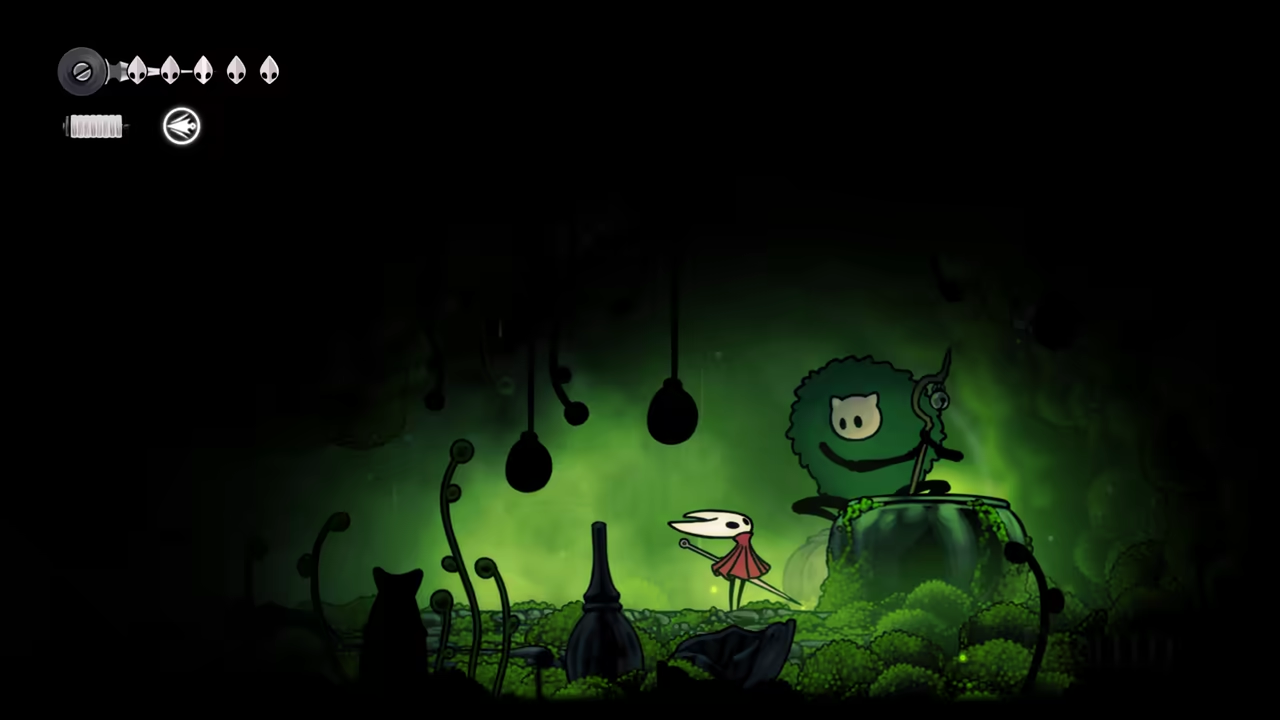
Section titled “Moss Druid & Mossberry #3 → First Wish”In the same area, find the Moss Druid. In the room below, collect Mossberry #3; return to complete your first wish and obtain your first equipment piece.
-
Silk Spear & Bell Beast
Section titled “Silk Spear & Bell Beast”Run straight to grab the Silk Spear and fight the Bell Beast. Play patiently; avoiding contact damage is the key.
After the fight, fast travel to Bone Bottom and accept all available quests.
-
Return to The Marrow → Right Path → Craftmetal & Prison
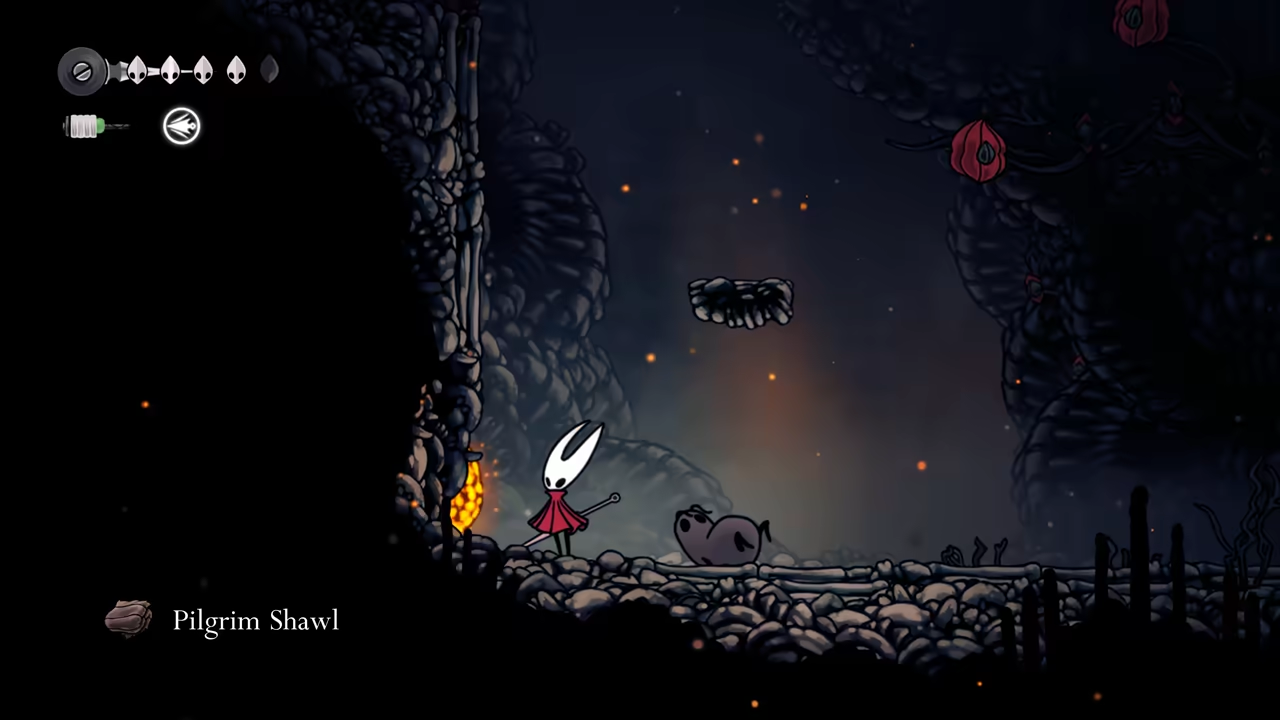
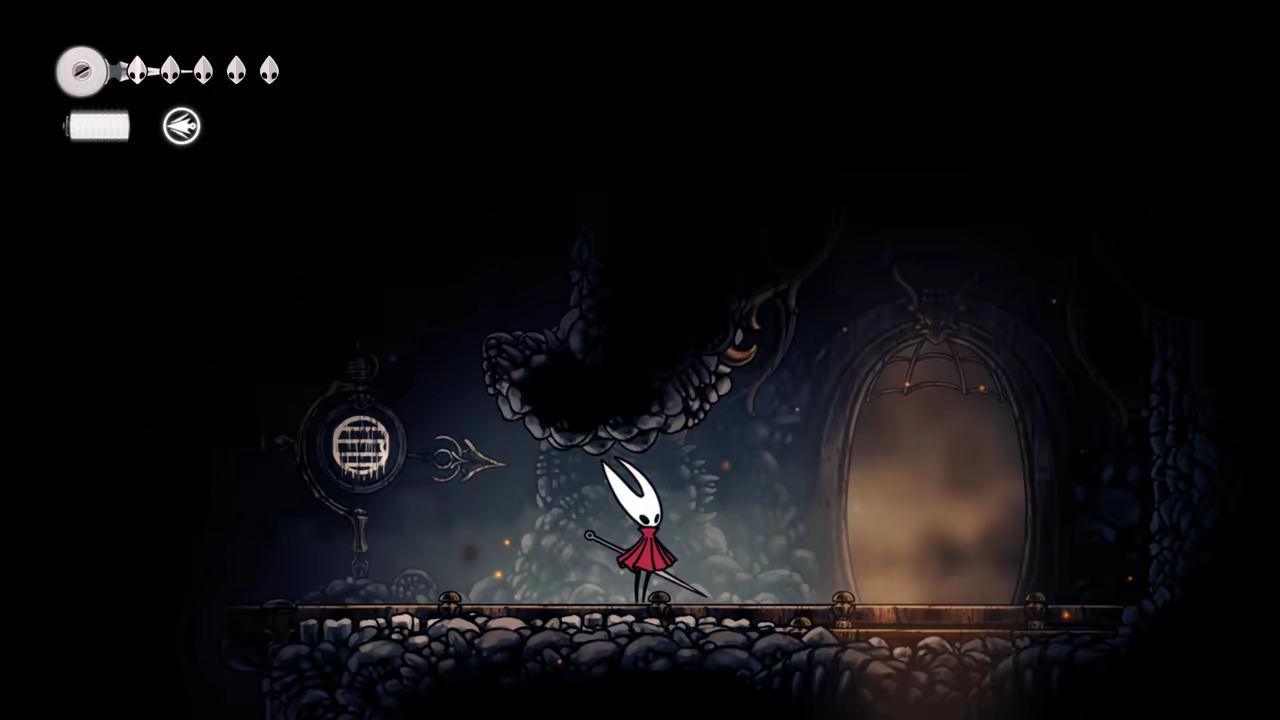
Section titled “Return to The Marrow → Right Path → Craftmetal & Prison”Fast travel back to The Marrow and head right toward the next skill. Defeat pilgrims to advance the Shawl quest. Break the marked wall to grab your first Craftmetal, then make a quick detour to the prison for your First Tool and extra rosaries.
-
Shortcuts & Next Area
Section titled “Shortcuts & Next Area”Keep advancing until you reach the next area and hear Shakra singing. Unlock easy shortcuts to make backtracking smoother later on.
Part 3: Deep Docks Speedrun
Section titled “Part 3: Deep Docks Speedrun”-
Acquire the Sprint Ability
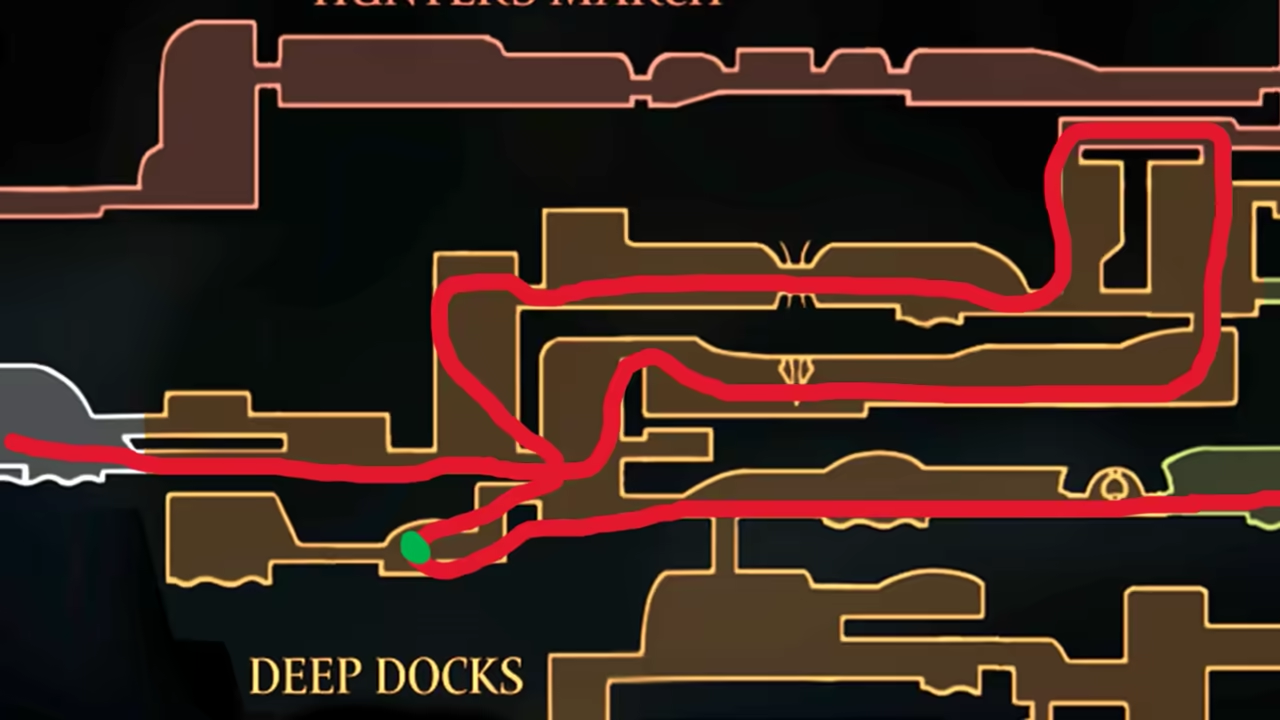
Section titled “Acquire the Sprint Ability”In the room where you hear Shakra singing, exit through the top-right to find your next skill—the sprint.
-
Unlock the Shortcut & Fast Travel
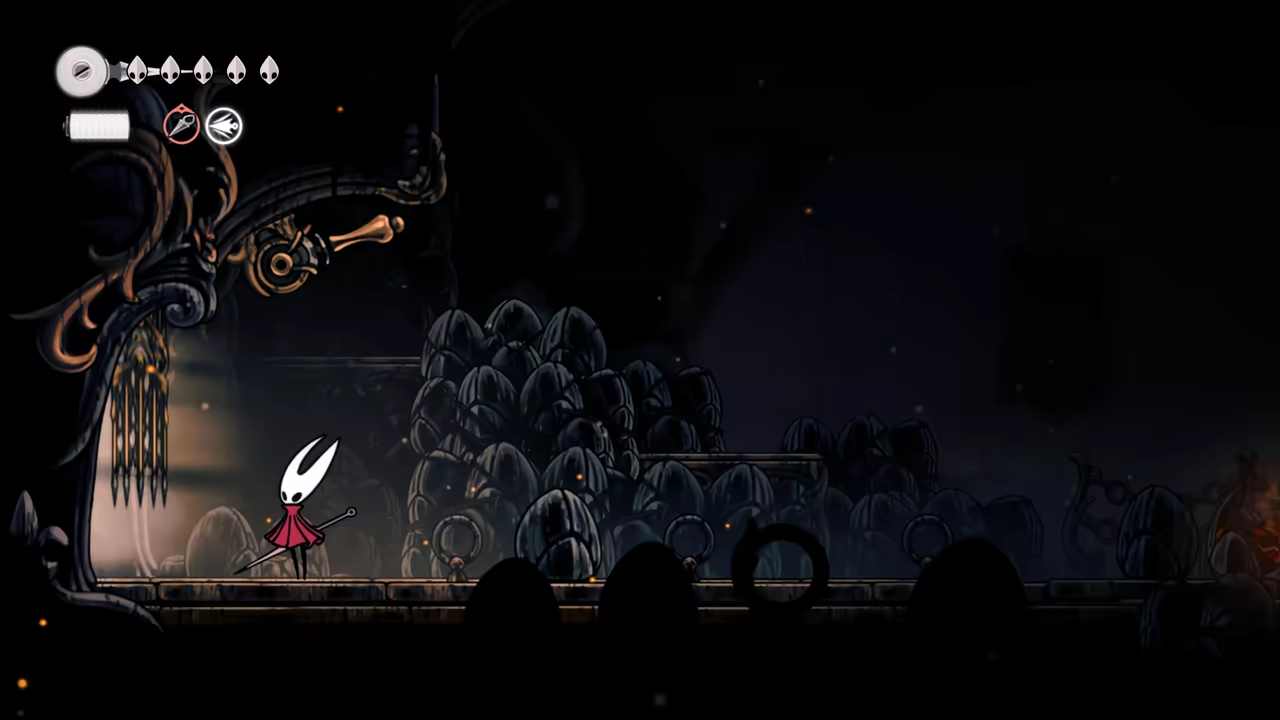
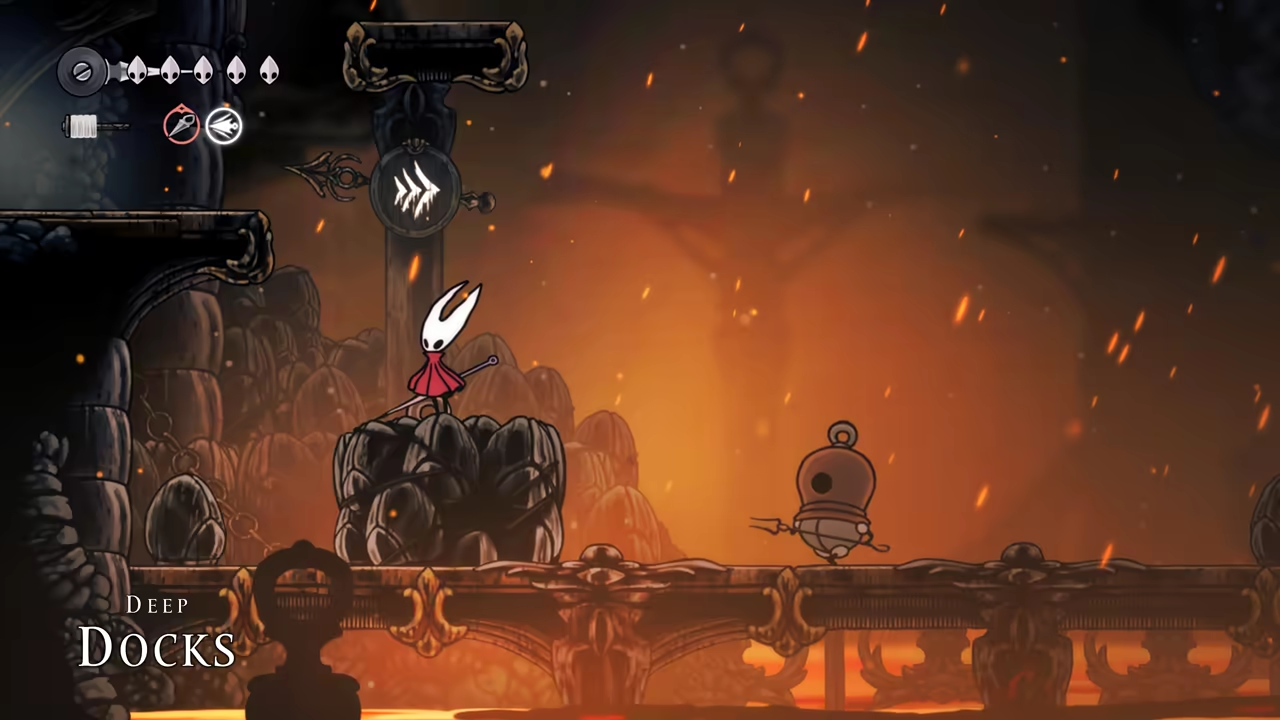
Section titled “Unlock the Shortcut & Fast Travel”After getting the sprint, go left to exit through the previously locked door. Loop back to the area where you first heard Shakra and unlock the fast travel point at the bottom-left.
-
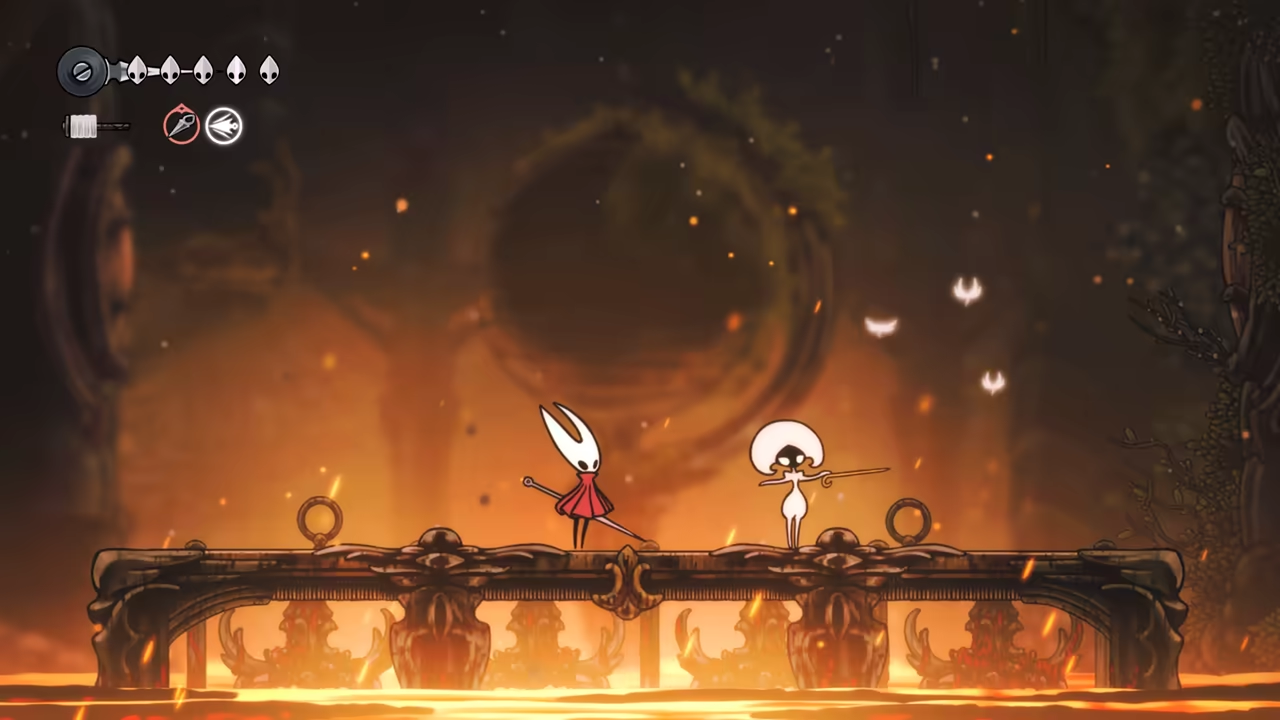
Defeat Lace
Section titled “Defeat Lace”Now go right and head straight into the Lace fight.
Part 4: Far Fields Speedrun
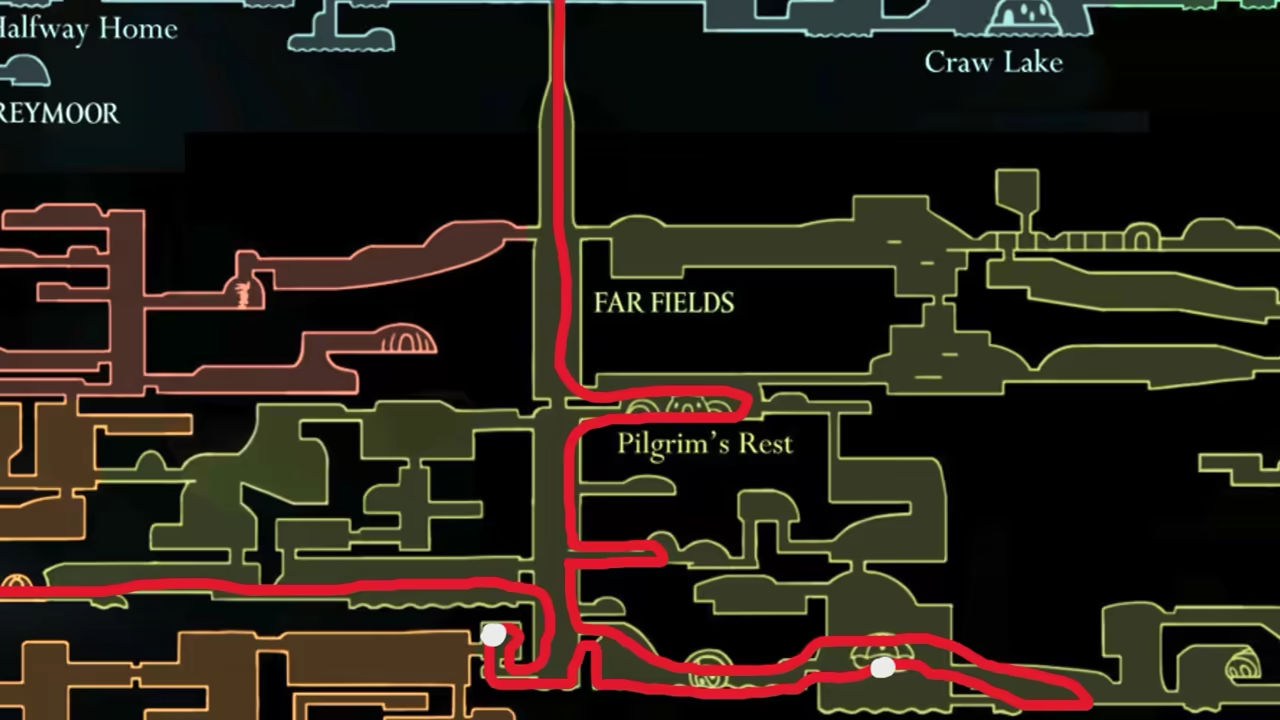
Section titled “Part 4: Far Fields Speedrun”This section is again focused on running toward the next upgrade.
-
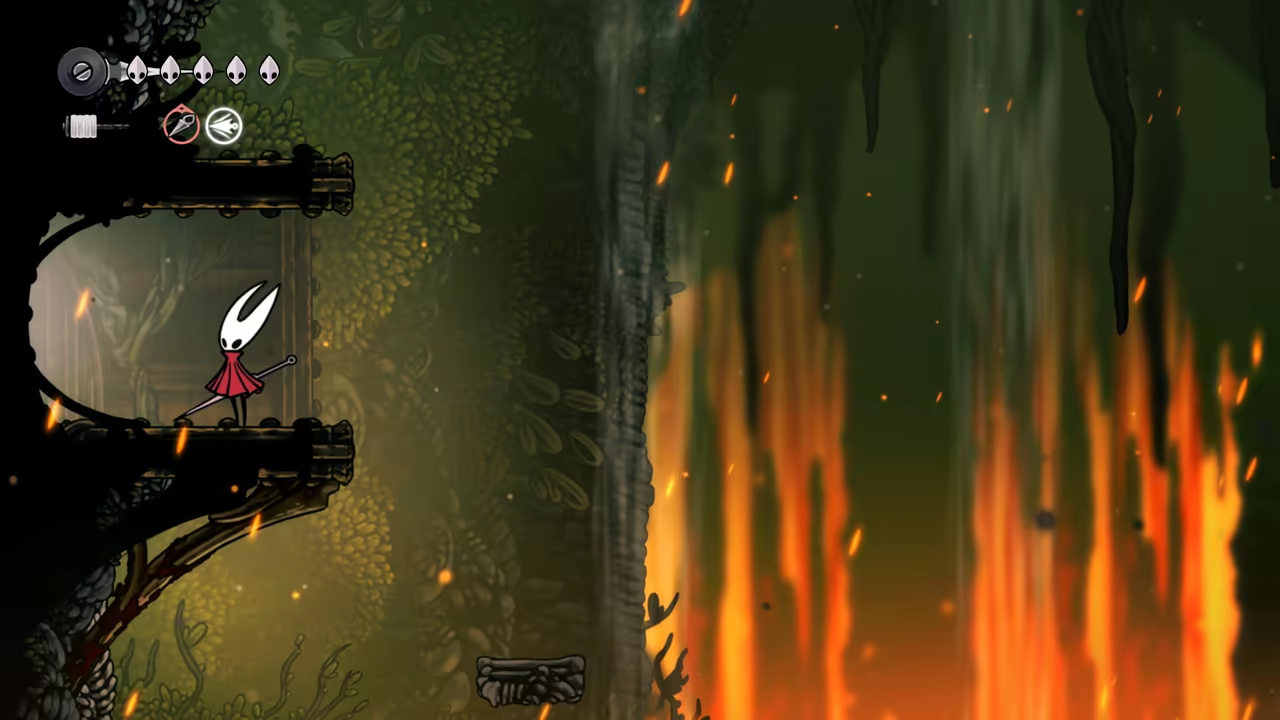
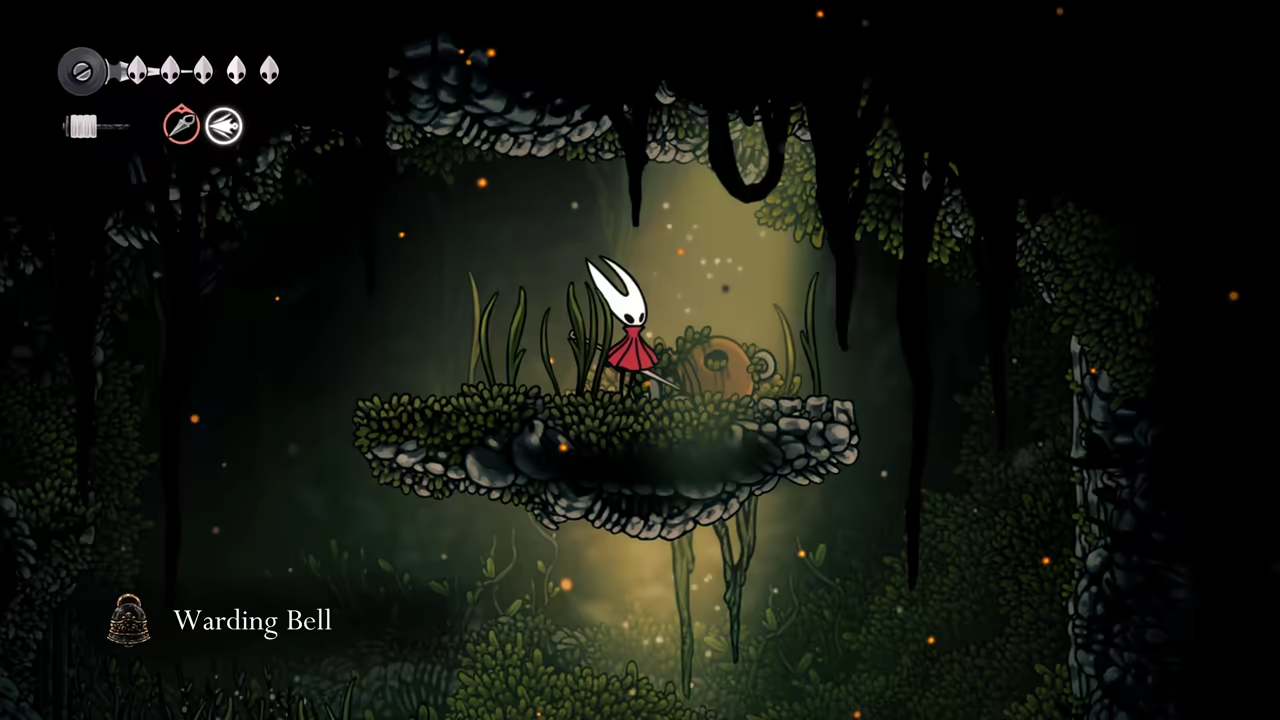
Farm Rosaries & Find the Warding Bell
Section titled “Farm Rosaries & Find the Warding Bell”As you progress, defeat the ants you encounter to farm a good amount of rosaries. After reaching the tall corridor, look for a pipe to the lower left that leads to the Warding Bell.
-
Start the Flexile Spines Quest
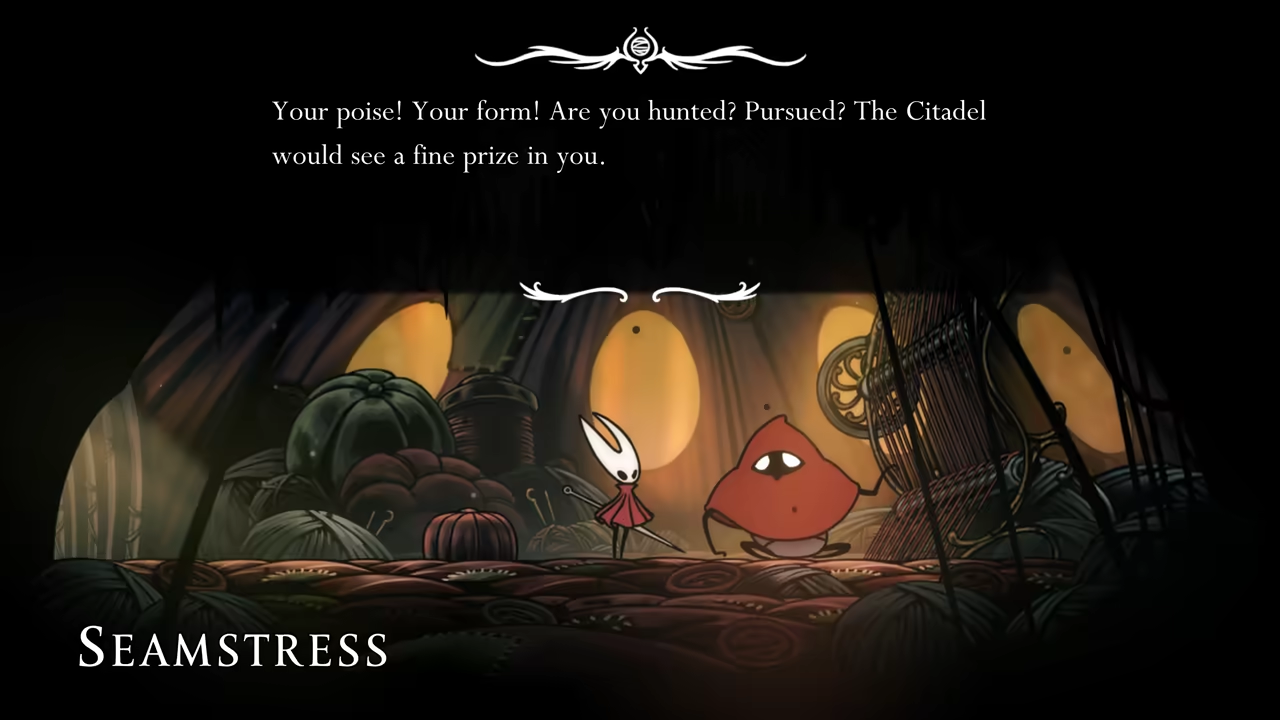
Section titled “Start the Flexile Spines Quest”After grabbing the bell, exit through the bottom right to reach the Seamstress area. Sit on the bench and accept her quest, Flexile Spines.
-
Farm Spine Cores
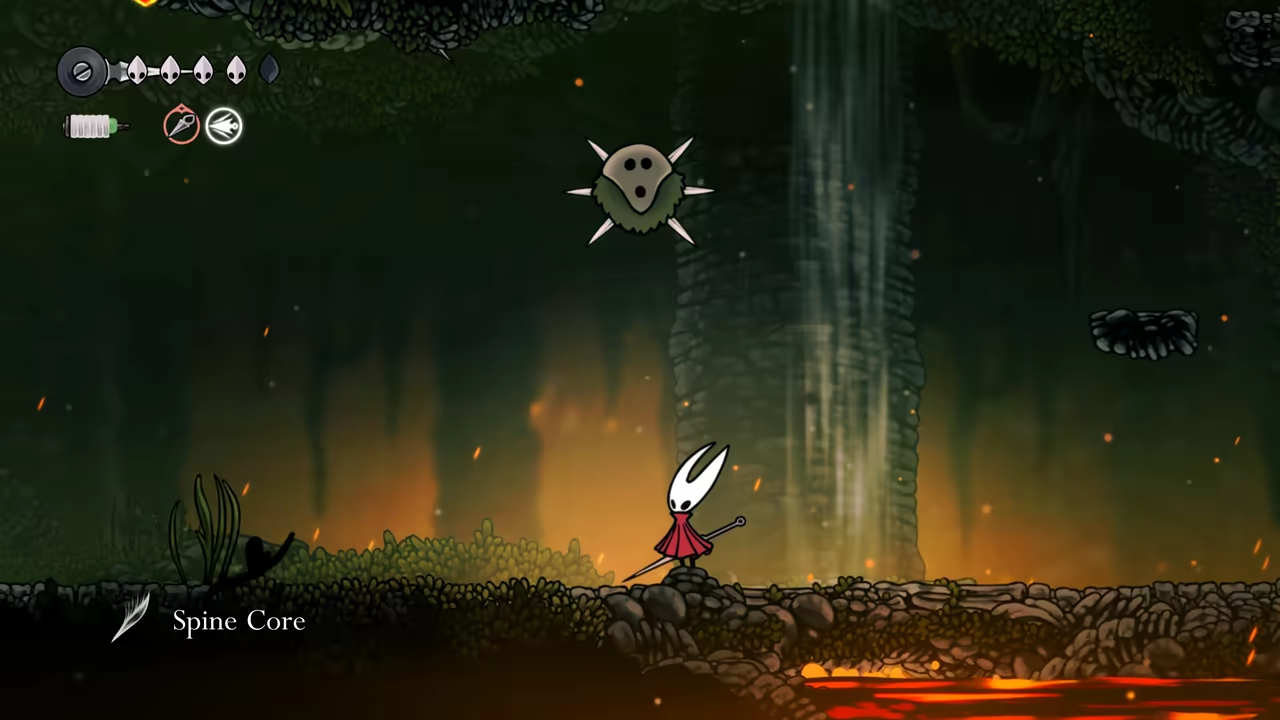
Section titled “Farm Spine Cores”Access the room on the right to farm Spine Cores. There’s an enemy that respawns every time you re-enter the room, so just keep farming it until you complete the quest.
-
Get the Upgrade
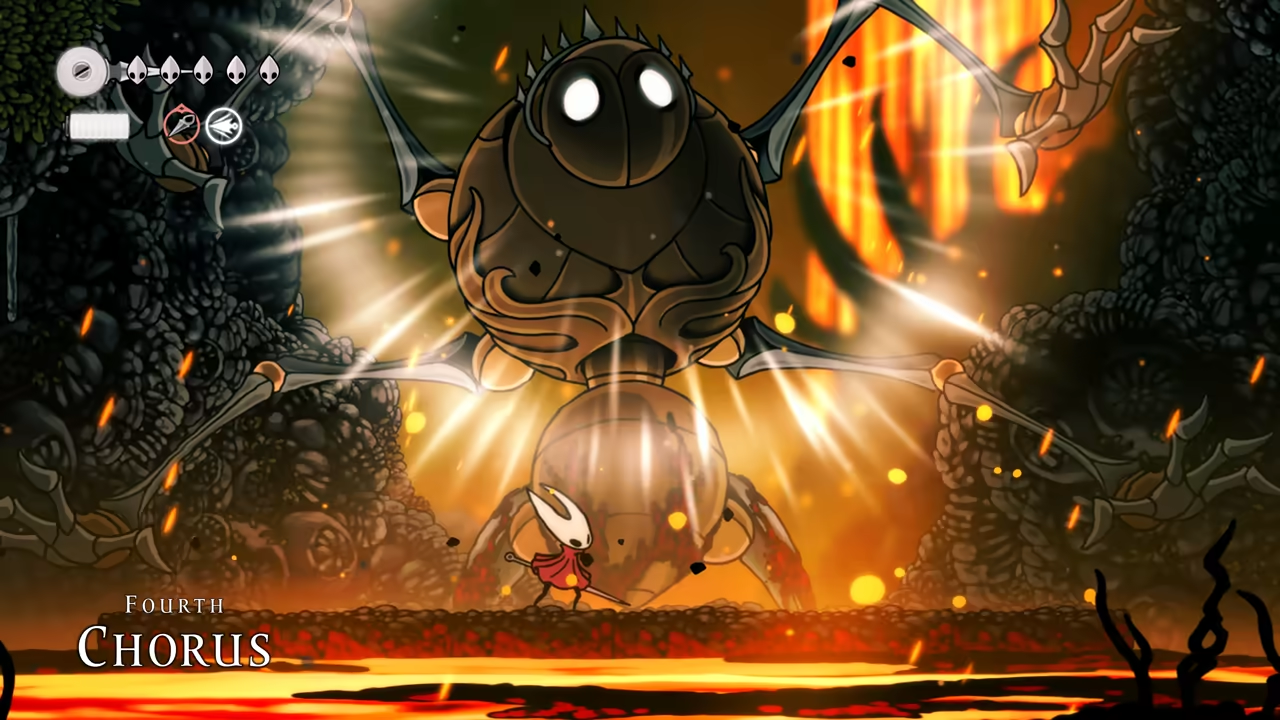
Section titled “Get the Upgrade”When you’re done farming, use the “quit to menu and reload” trick. You’ll respawn on the bench right next to the Seamstress. Talk to her to turn in the quest and unlock your next upgrade.
-
Skip or Defeat the Fourth Chorus
Section titled “Skip or Defeat the Fourth Chorus”Exit through the left to find the Fourth Chorus. You can skip this fight for now to save a few minutes.
-
Unlock the Next Shortcut
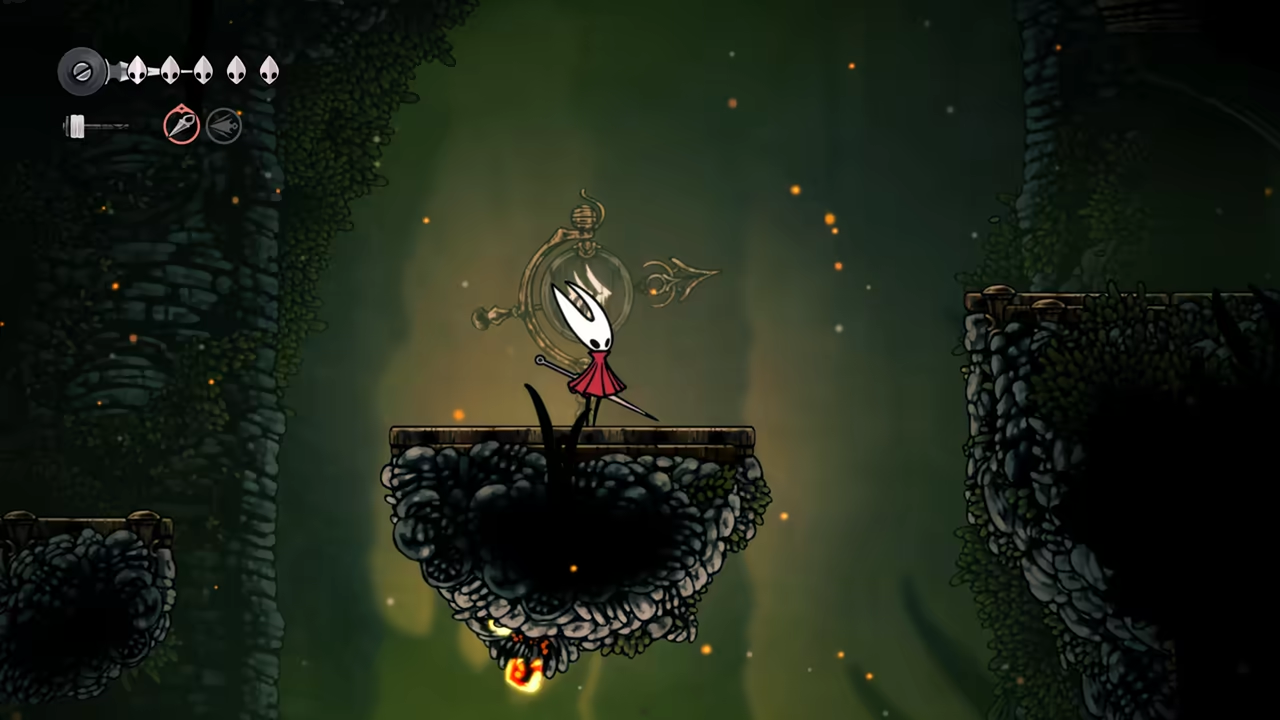
Section titled “Unlock the Next Shortcut”You’ll end up back at the tall corridor. Go to one of the top-right rooms to unlock the fast travel point. Then, continue through the top right, open the shortcut to the left, and keep floating until you reach the next area.
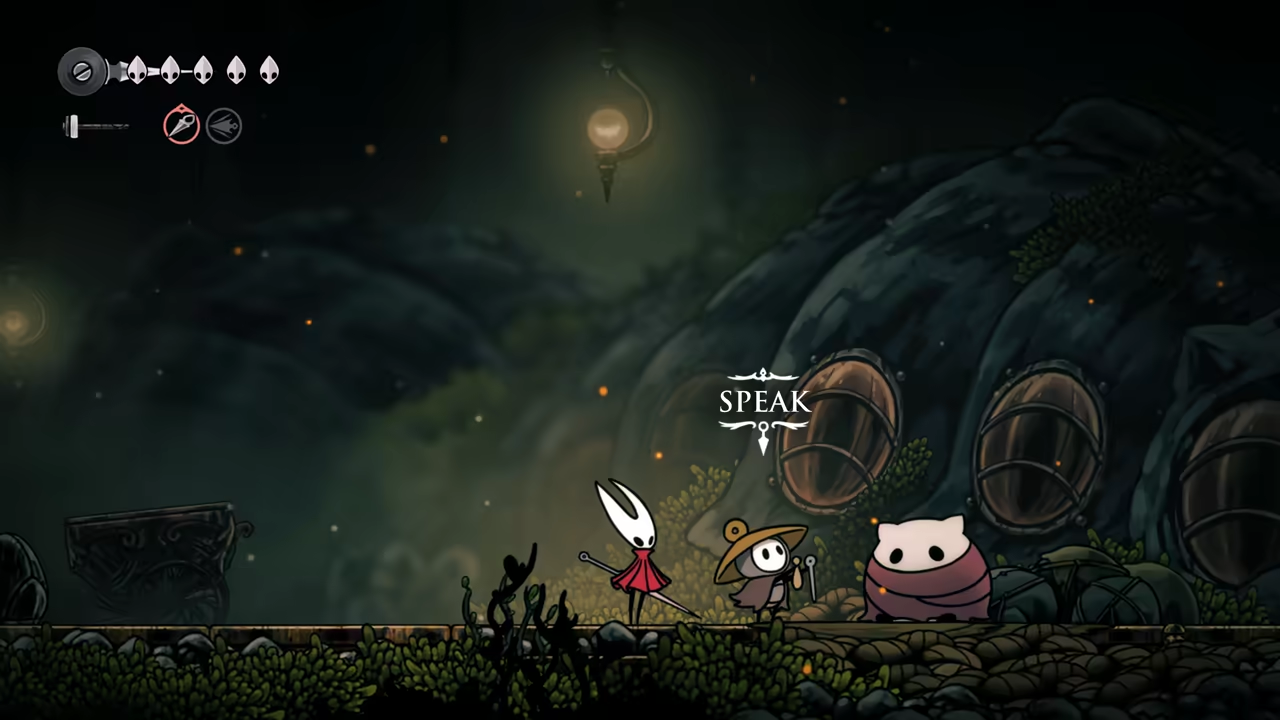
Part 5: Greymoor Speedrun
Section titled “Part 5: Greymoor Speedrun”-
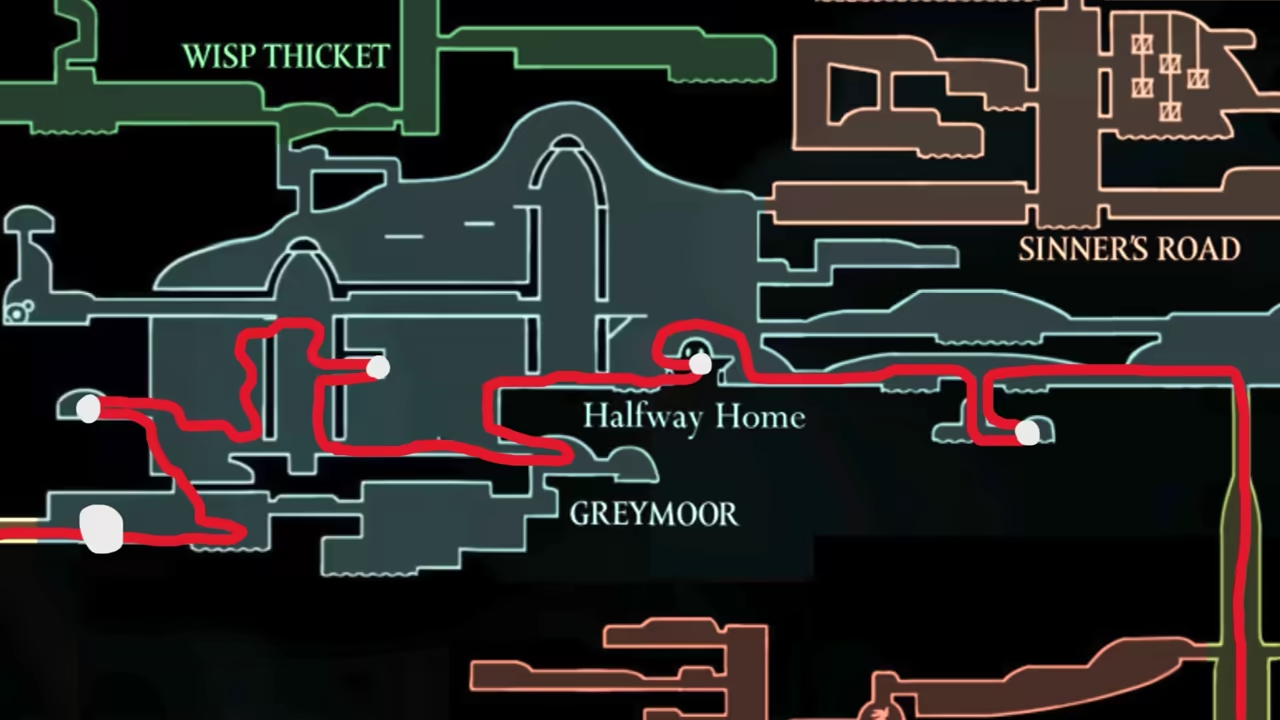
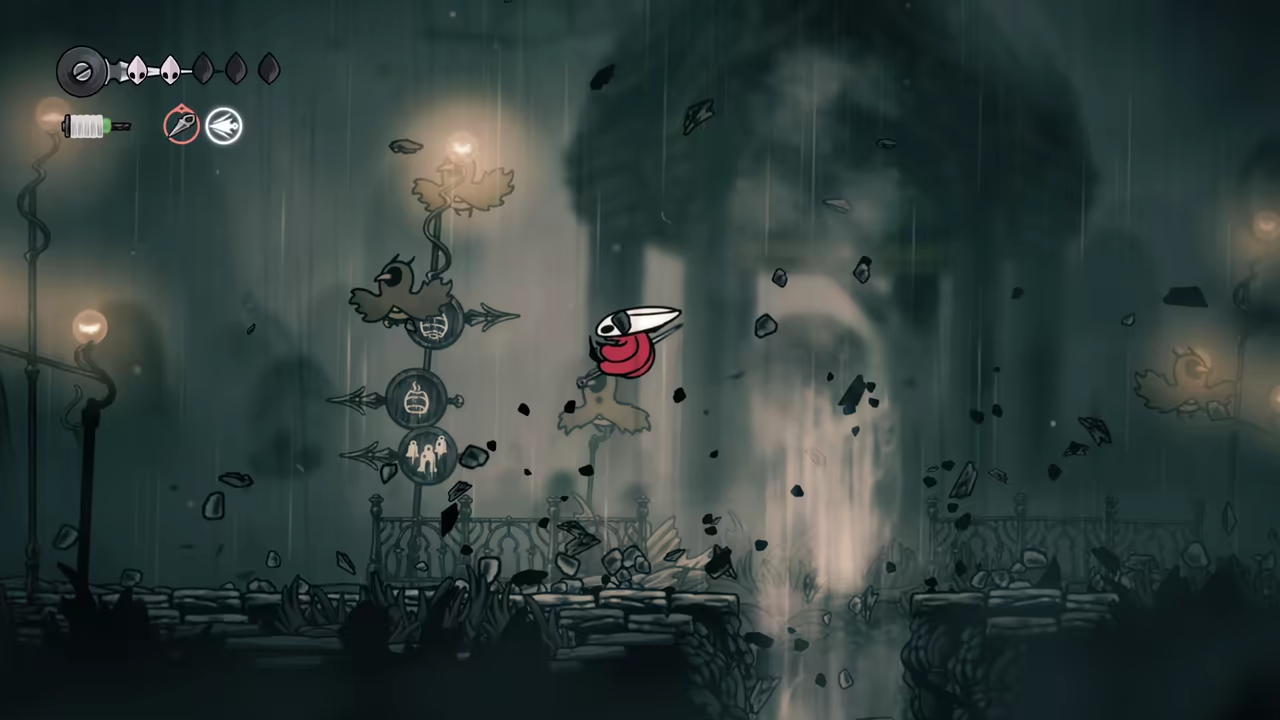
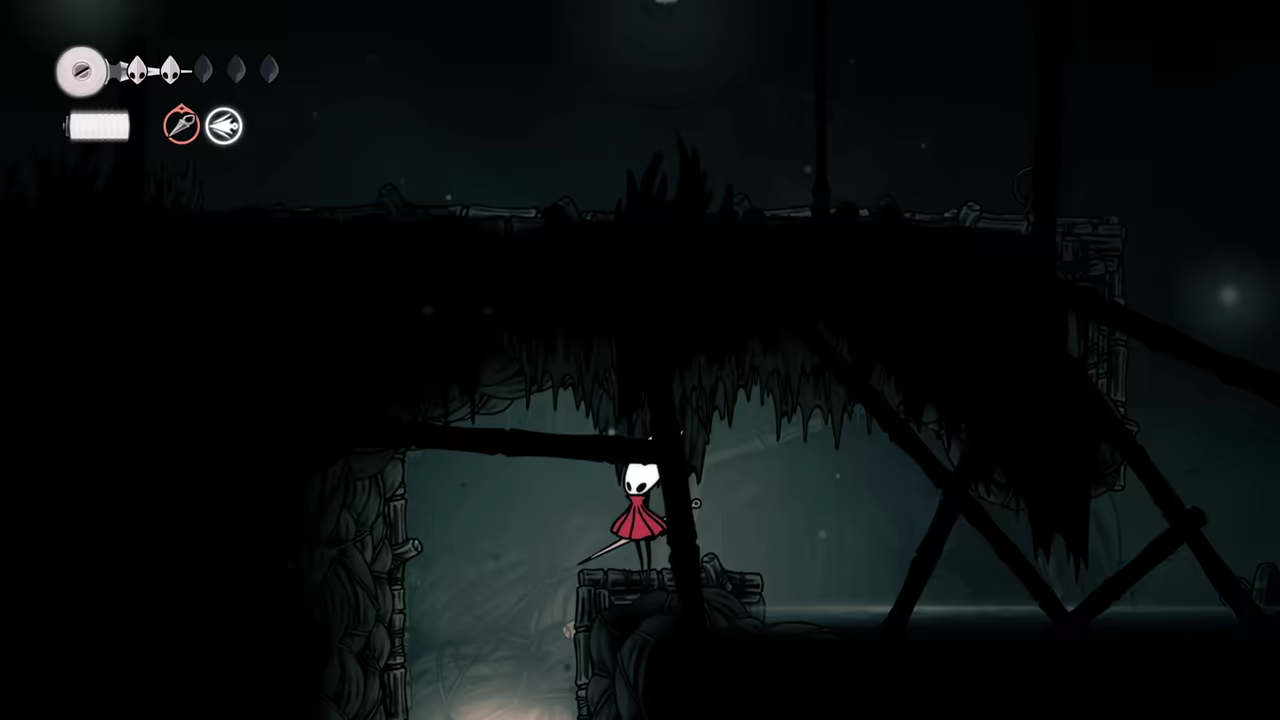
Find the Secret Relic
Section titled “Find the Secret Relic”After reaching Greymoor, keep running left until you find the area with water. Access the hidden spot shown to get another relic.
-
Meet Nuu
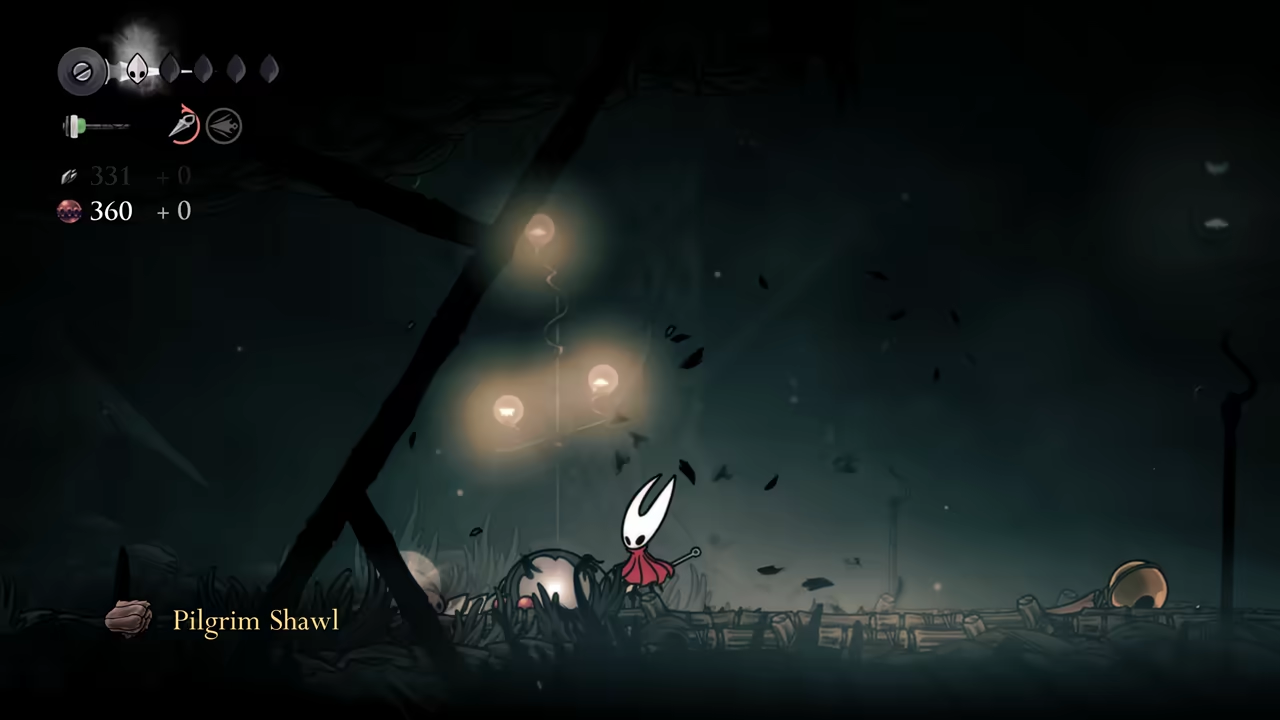
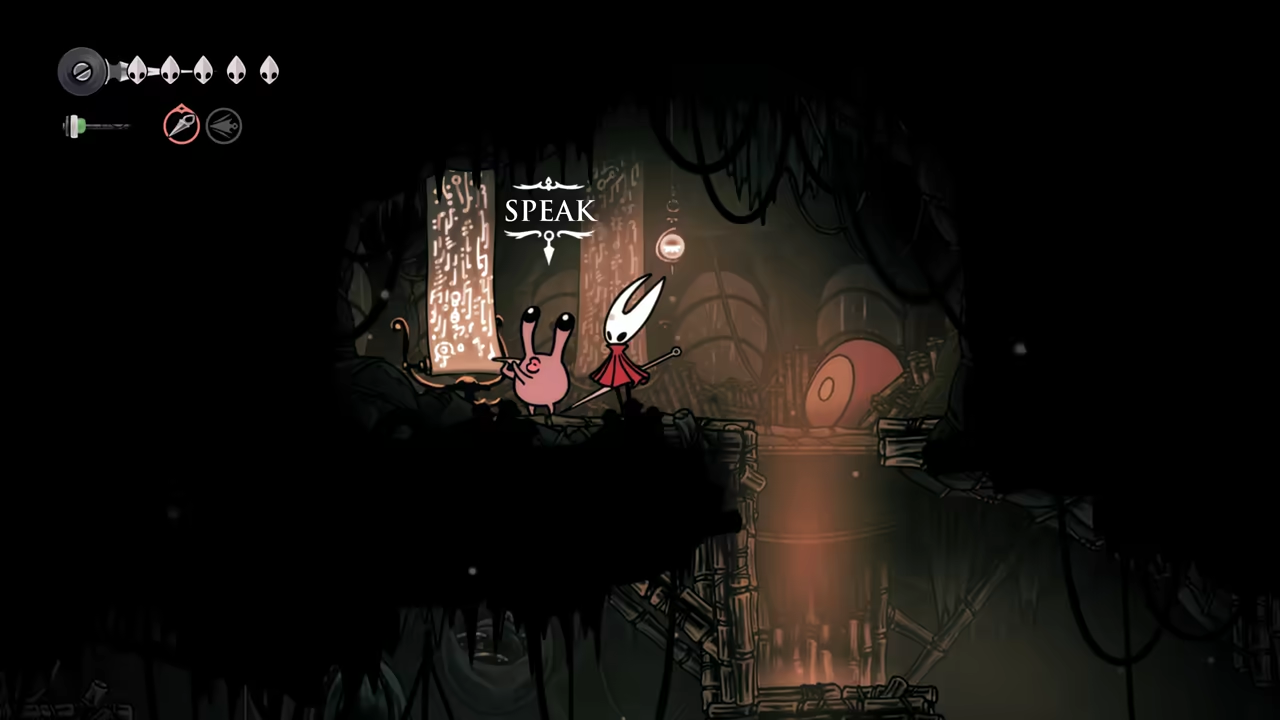
Section titled “Meet Nuu”At this point, you’ll likely complete the Garb of the Pilgrims quest. Continue left to meet Nuu and accept the Bugs of Pharloom quest (Hunter’s Journal).
-
Climb the Tower
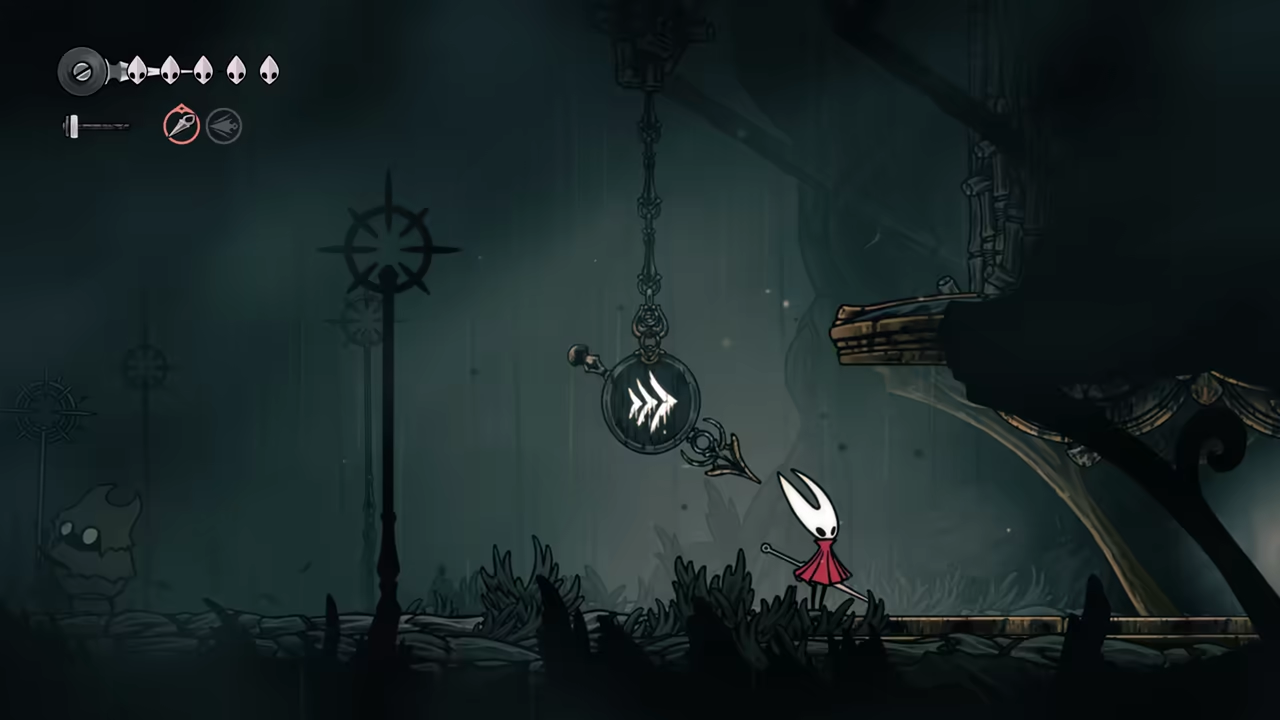
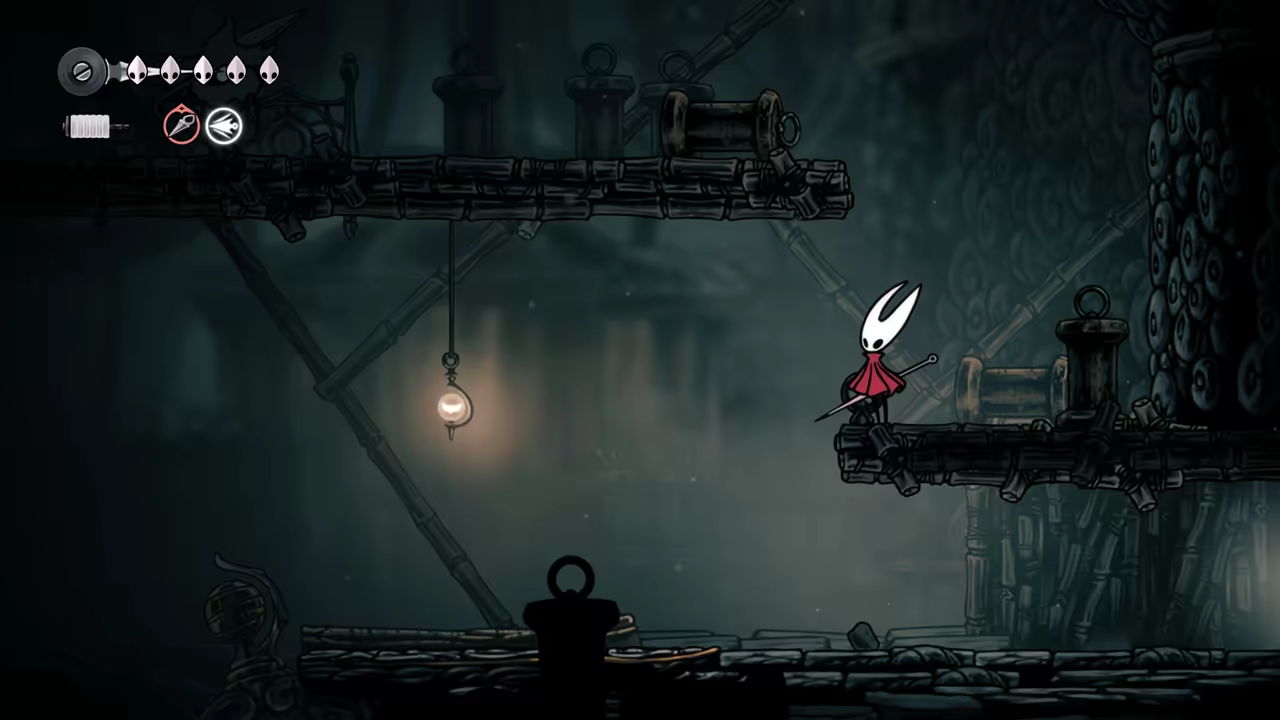
Section titled “Climb the Tower”Keep going left until you get to the fast travel point—unlock it for later. Then, proceed to the tower and climb it.
-
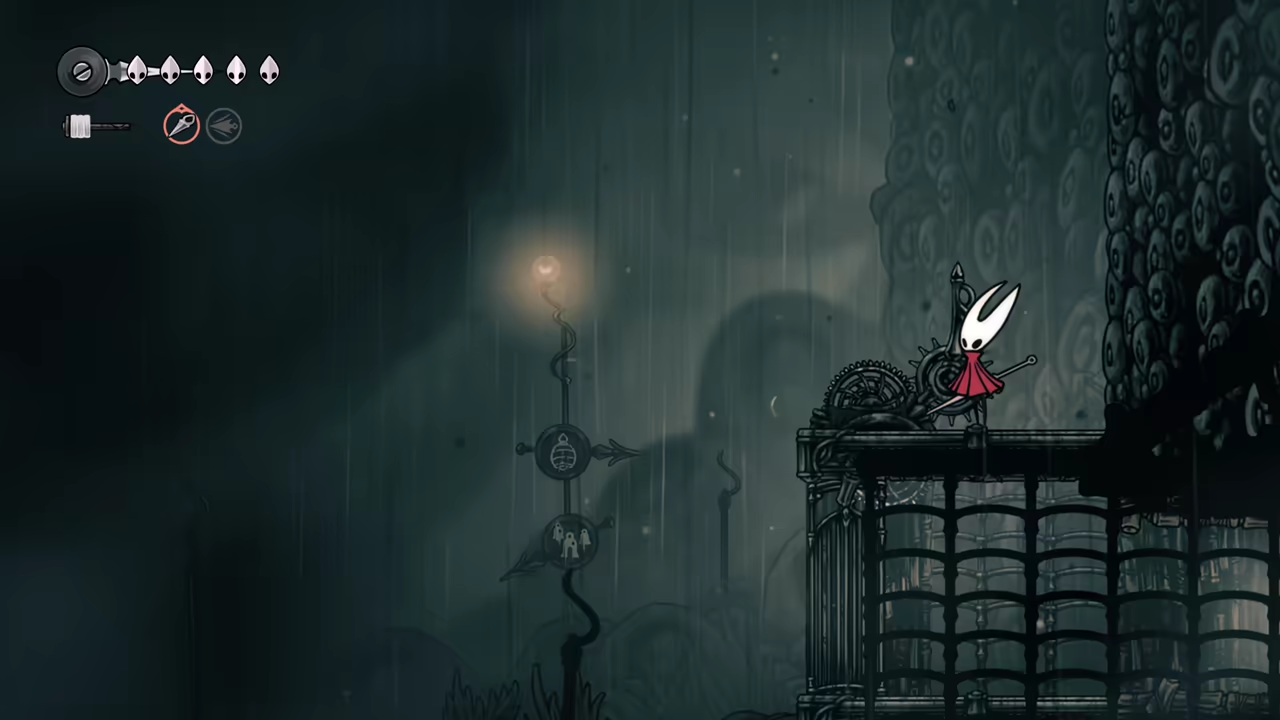
Meet Garmond & Zaza
Section titled “Meet Garmond & Zaza”Exiting through one of the right doors will lead you to Garmond and Zaza. Talk to them so they can appear later in the game. After exiting the tower from the left, make sure to unlock the shortcut for later.
-
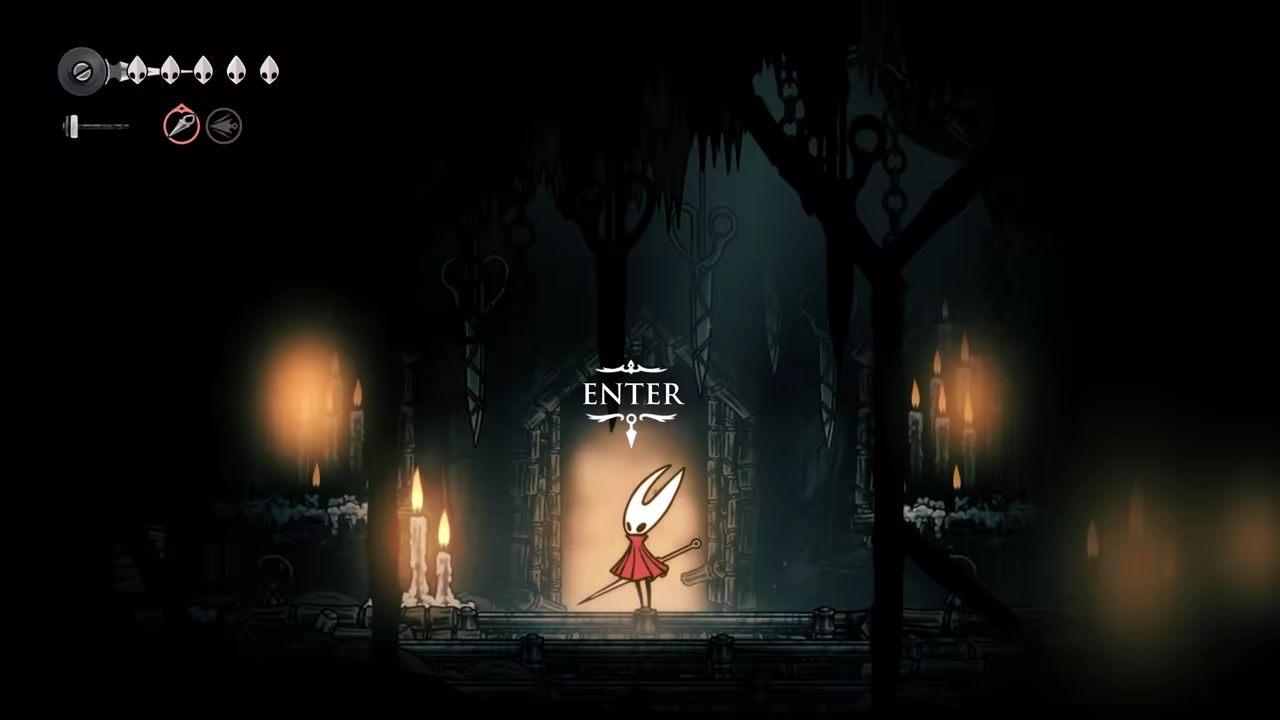
Get the Reaper Crest
Section titled “Get the Reaper Crest”Before entering the Moorwing area, enter the spot on the left to get the Reaper Crest.
-
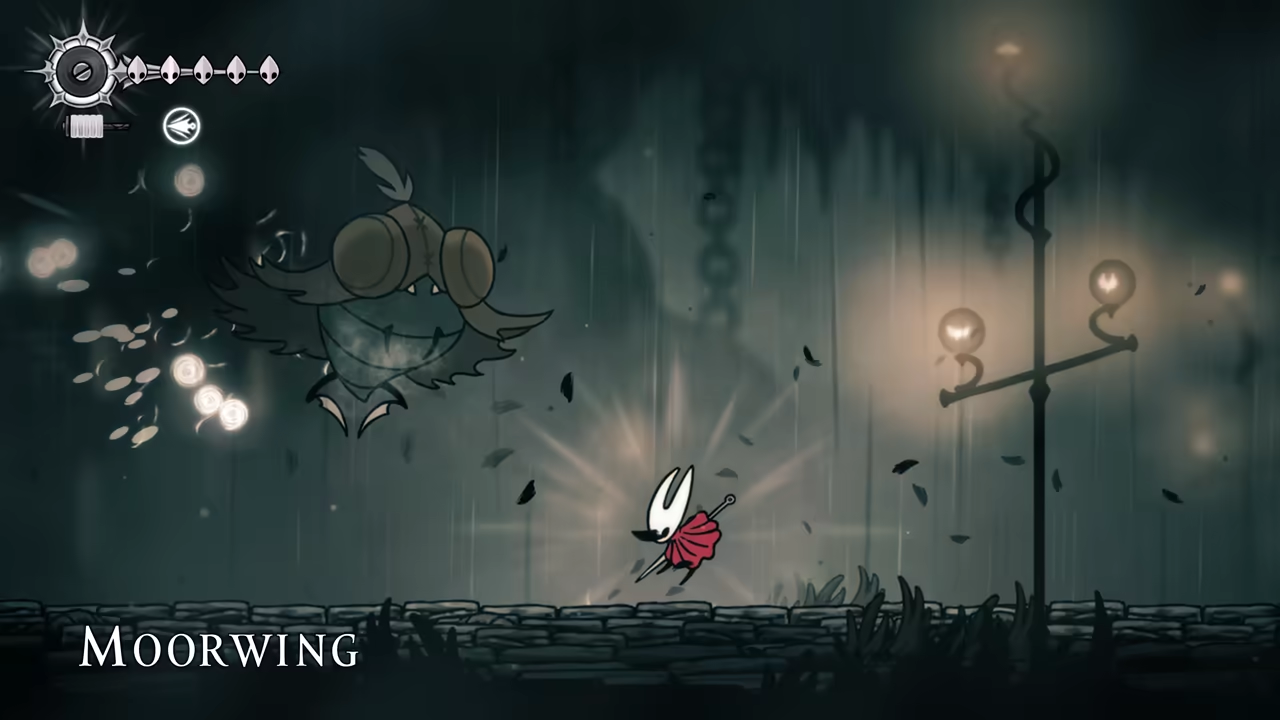
Defeat Moorwing
Section titled “Defeat Moorwing”Keep going left to encounter Moorwing.
-
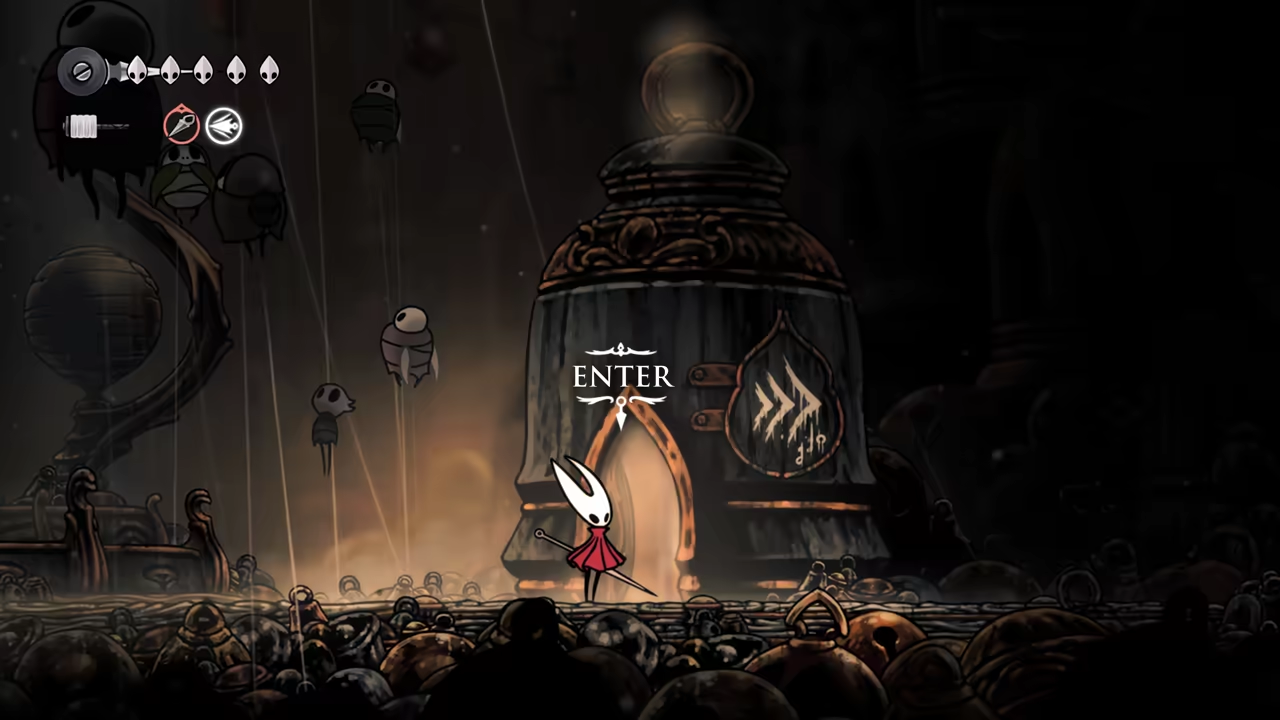
Reach Bellhart
Section titled “Reach Bellhart”After the fight, you can access Bellhart. Make sure to unlock the fast travel point here—it’s one of the most important ones in the game.
Part 6: Shellwood Speedrun
Section titled “Part 6: Shellwood Speedrun”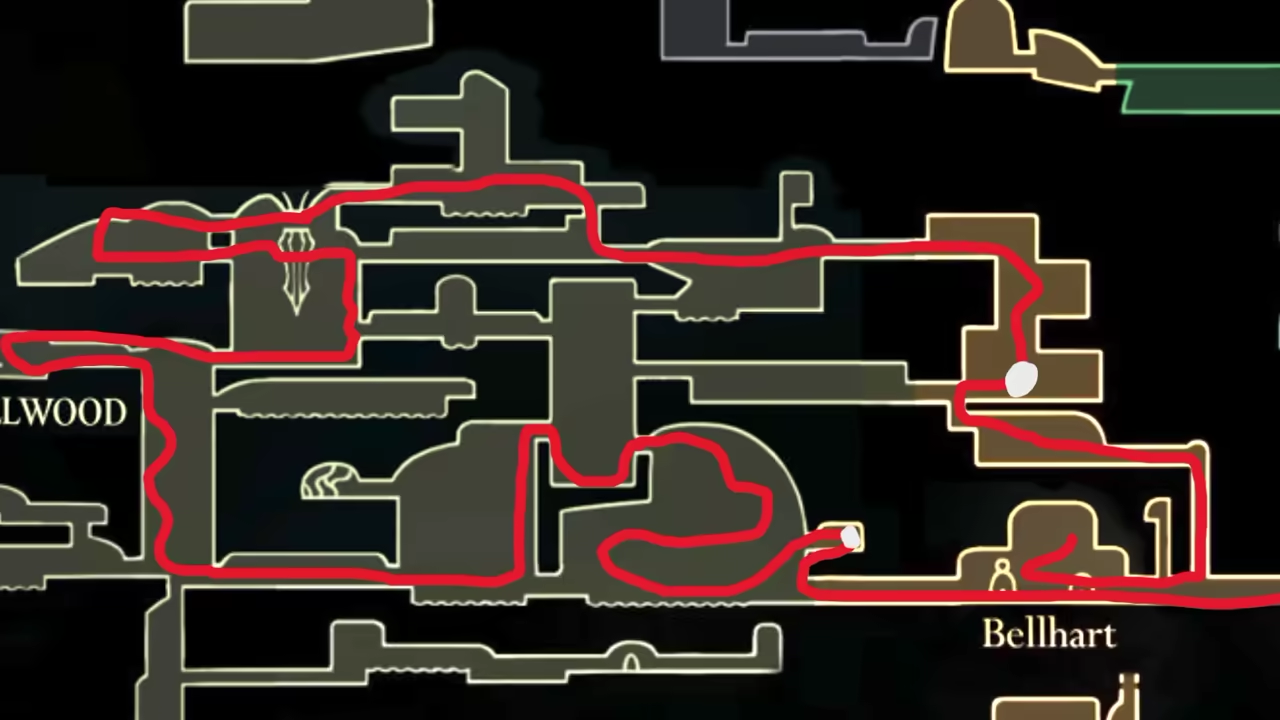
-
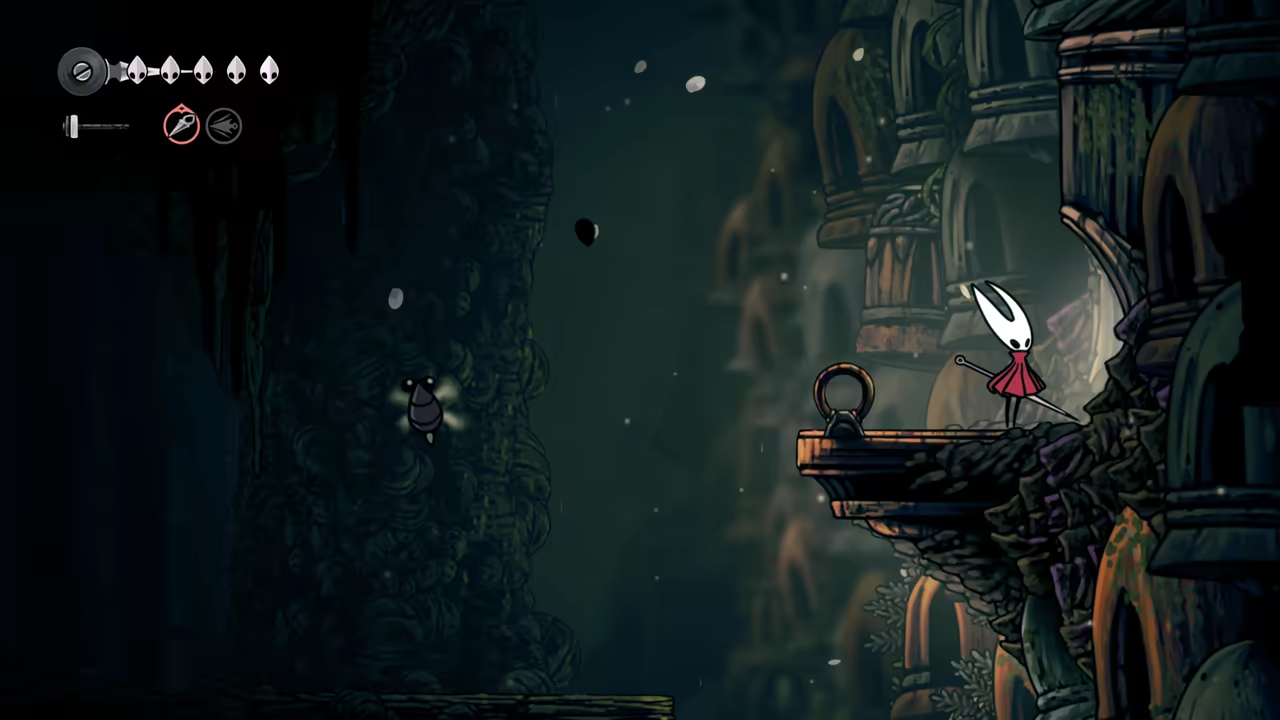
Find the Hidden Tool
Section titled “Find the Hidden Tool”This area will be really quick. One of the first rooms has a hidden tool behind a nest—get it, as it’ll be important for a later quest.
-
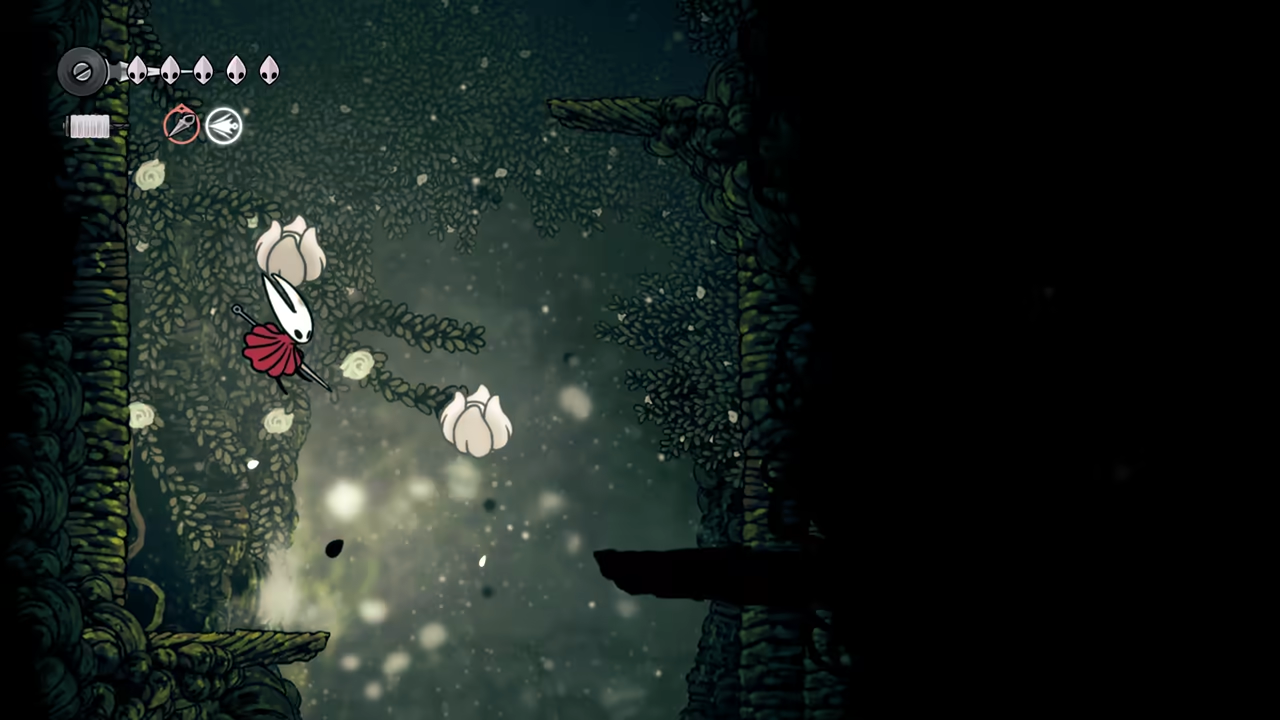
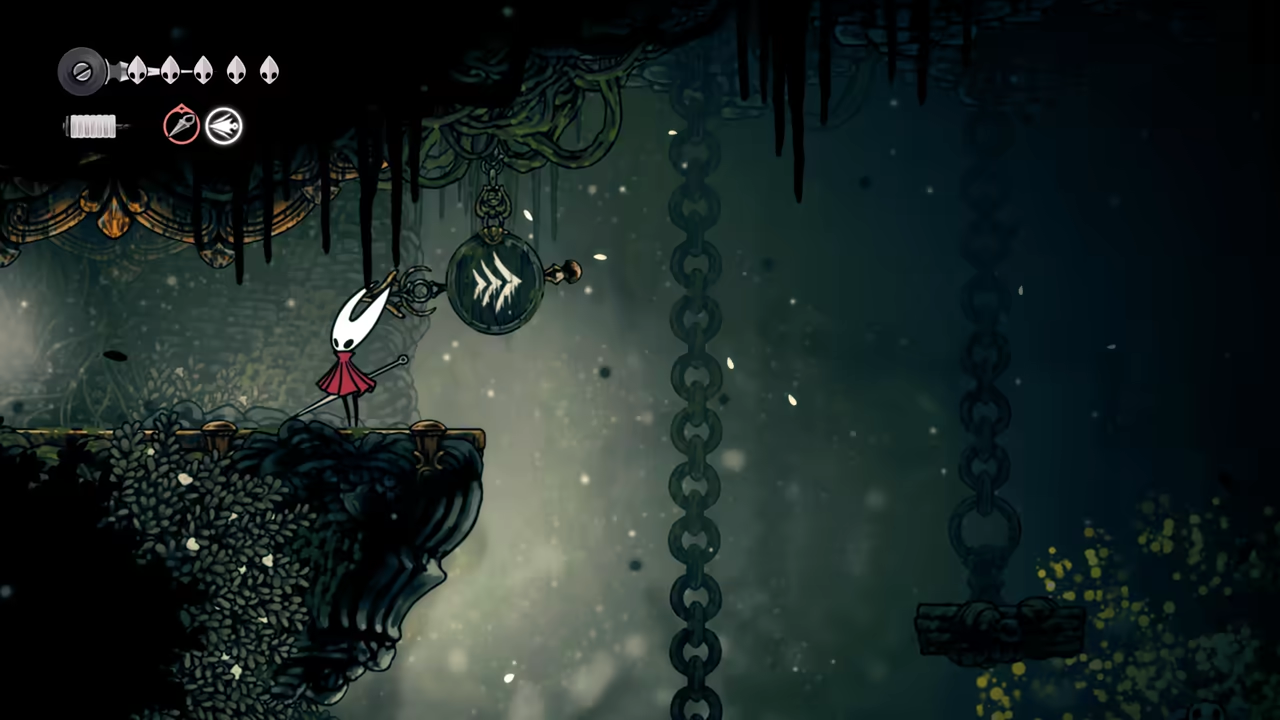
Parkour & Fast Travel
Section titled “Parkour & Fast Travel”Keep advancing to the left, take the elevator, and you’ll eventually find a spot with some parkour and a flower to pogo on. Climb it. To the left, there’s also another fast travel point you should grab.
-
Perform the “Taunt Skip”
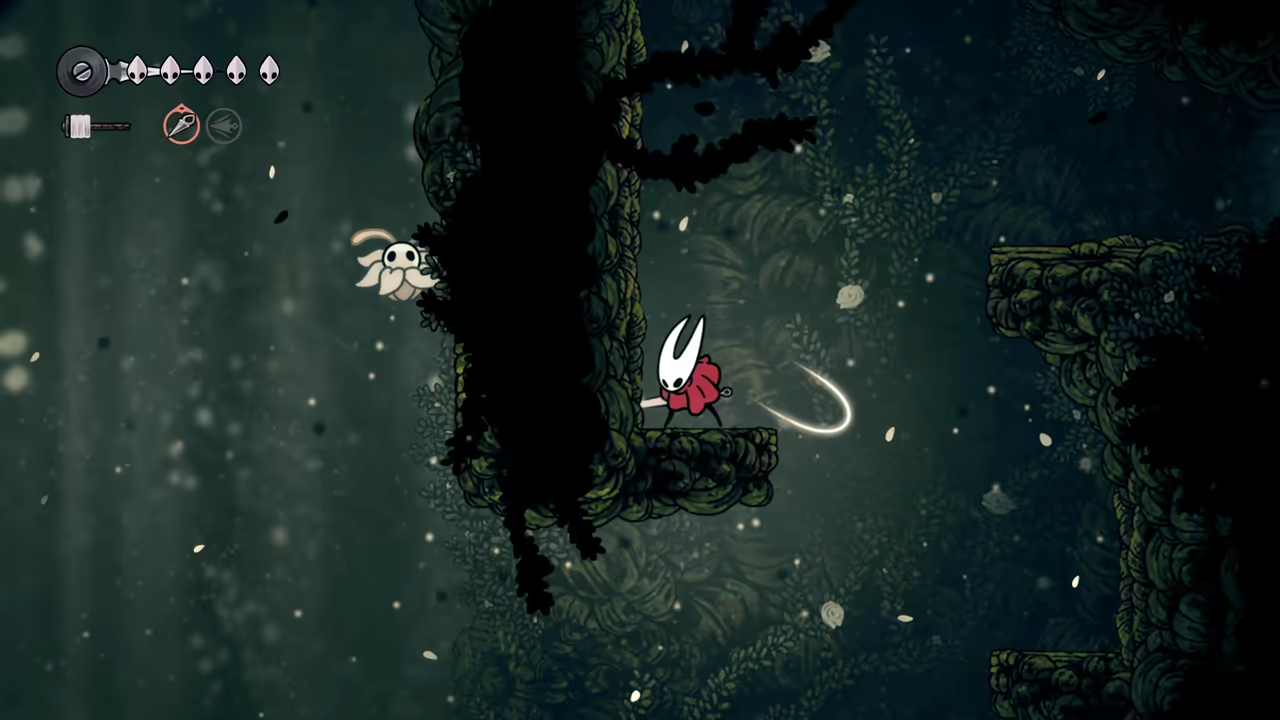
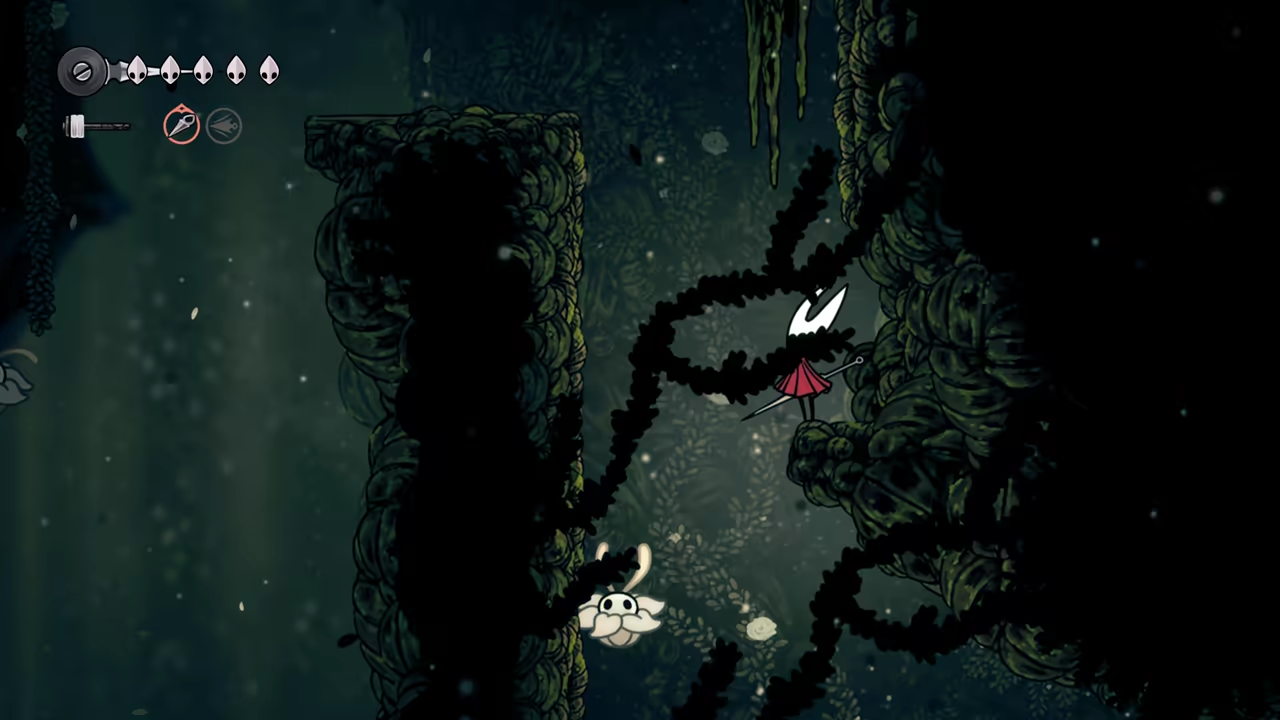
Section titled “Perform the “Taunt Skip””Going right, you can pull off one of the coolest skips in the game to avoid a boss fight. Keep taunting the enemy at the top right by spamming the taunt button (Garama). On controller, press the right stick (R3); on keyboard, it’s
V.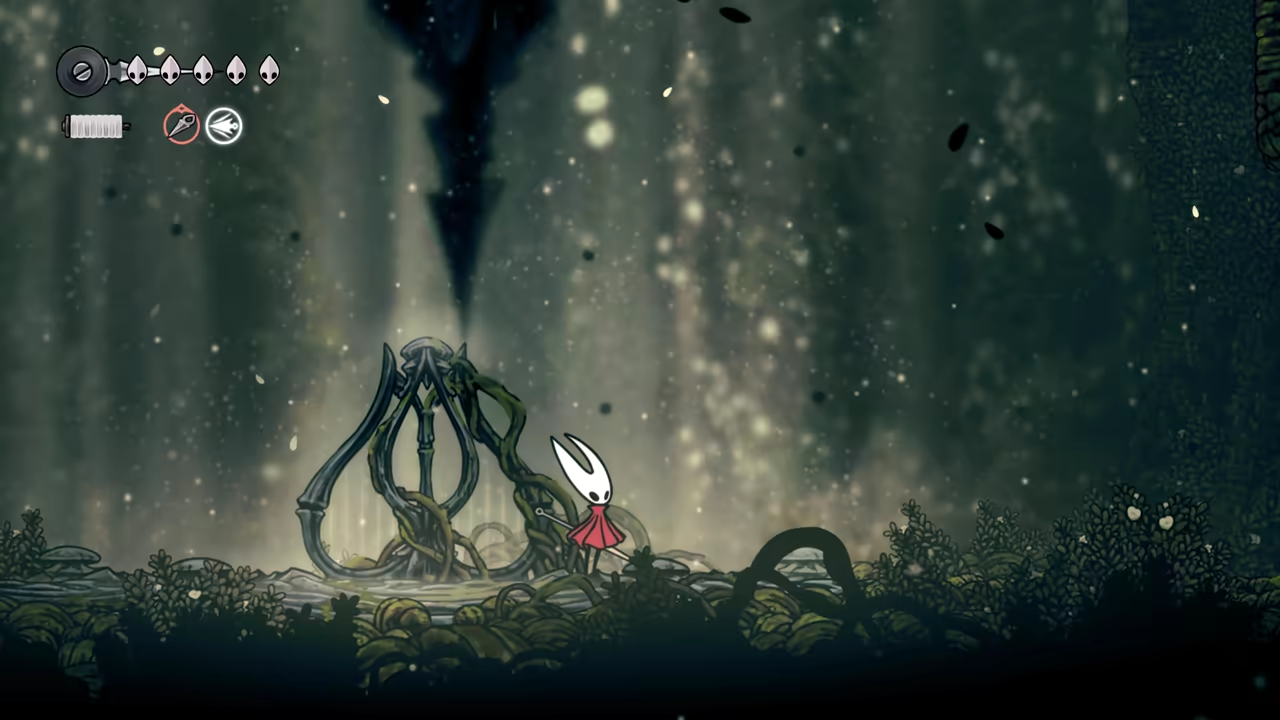
-
Acquire Wall Climb & Reach the Widow
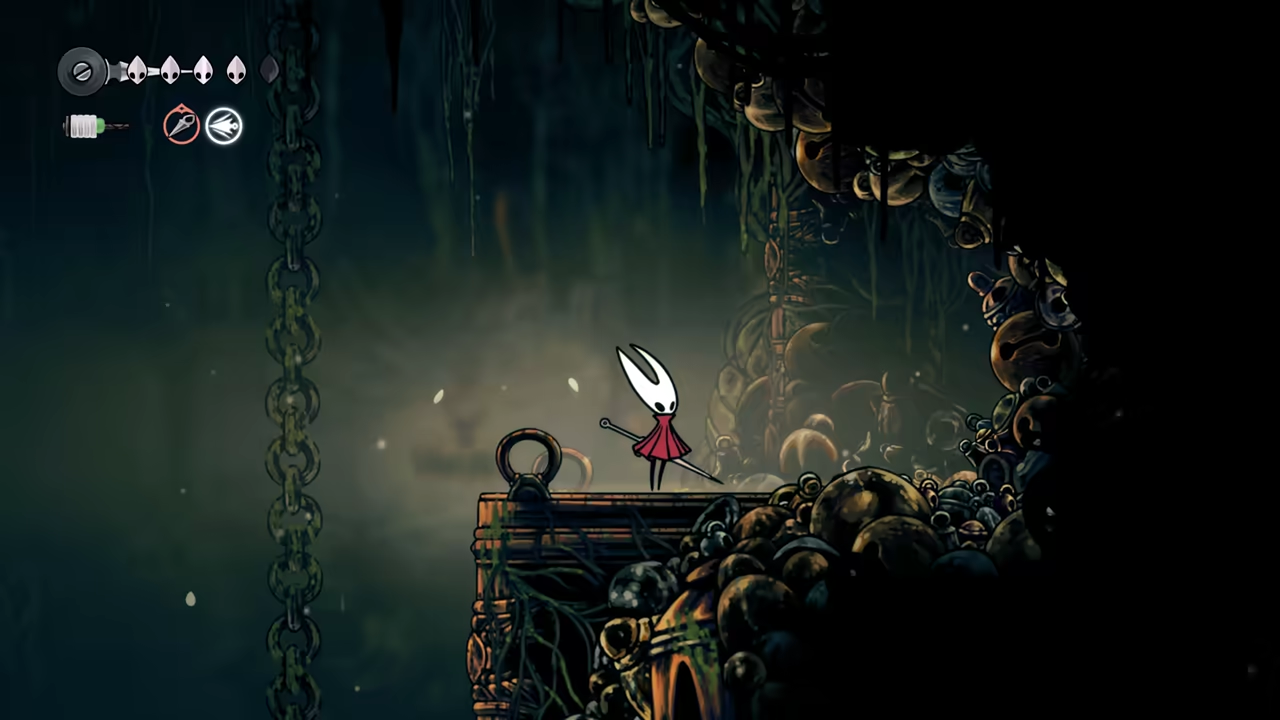
Section titled “Acquire Wall Climb & Reach the Widow”Go get the Cling Grip (Wall Jump) skill and start running to the top right of the area. You’ll find the bell place here—enter it and exit from the mid-bottom-left to reach the Widow.
-
Defeat the Widow & Reach Bellhart
Section titled “Defeat the Widow & Reach Bellhart”This boss fight isn’t hard if you avoid trying to hit her nonstop—be patient and wait for openings. After the fight, unlock the shortcut to the left and exit through the right to reach Bellhart.
-
Bellhart Upgrades
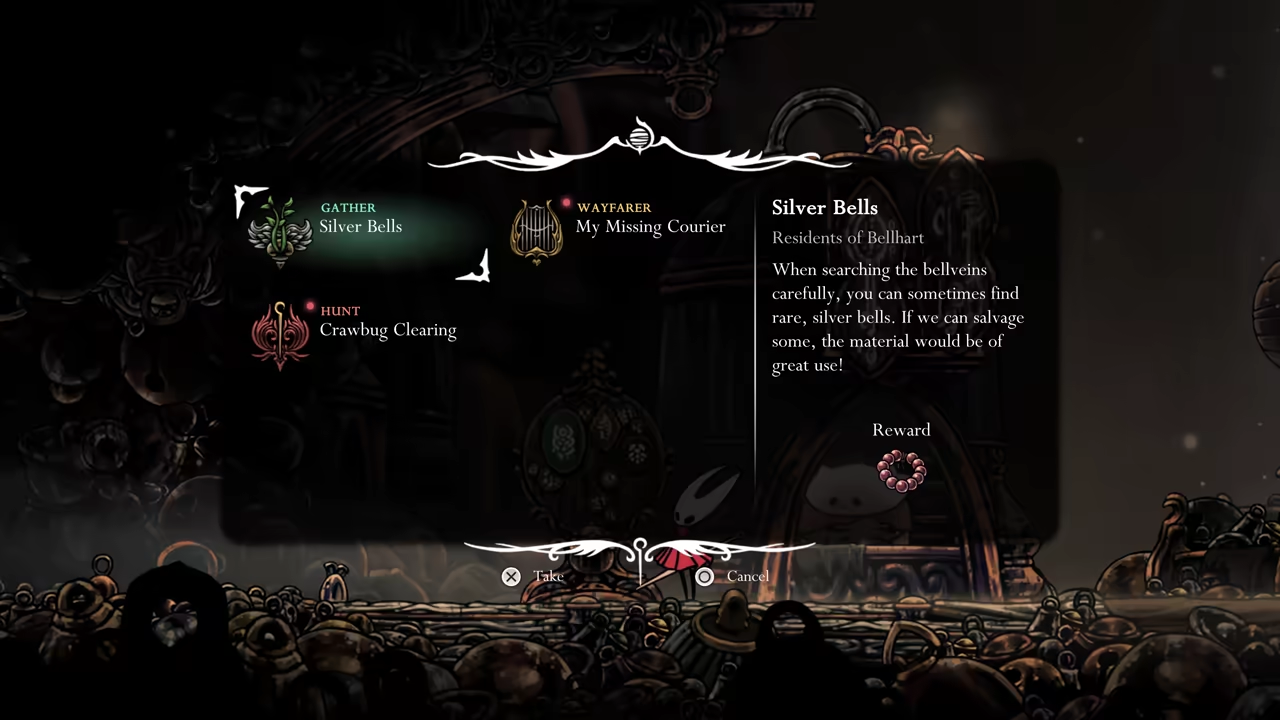
Section titled “Bellhart Upgrades”Once in Bellhart, accept all new quests, go to the relic bug to get some money, and get your first needle upgrade.
Part 7: Bone Bottom Fast Revisit
Section titled “Part 7: Bone Bottom Fast Revisit”This section involves a quick trip back to Bone Bottom to pick up some key items.
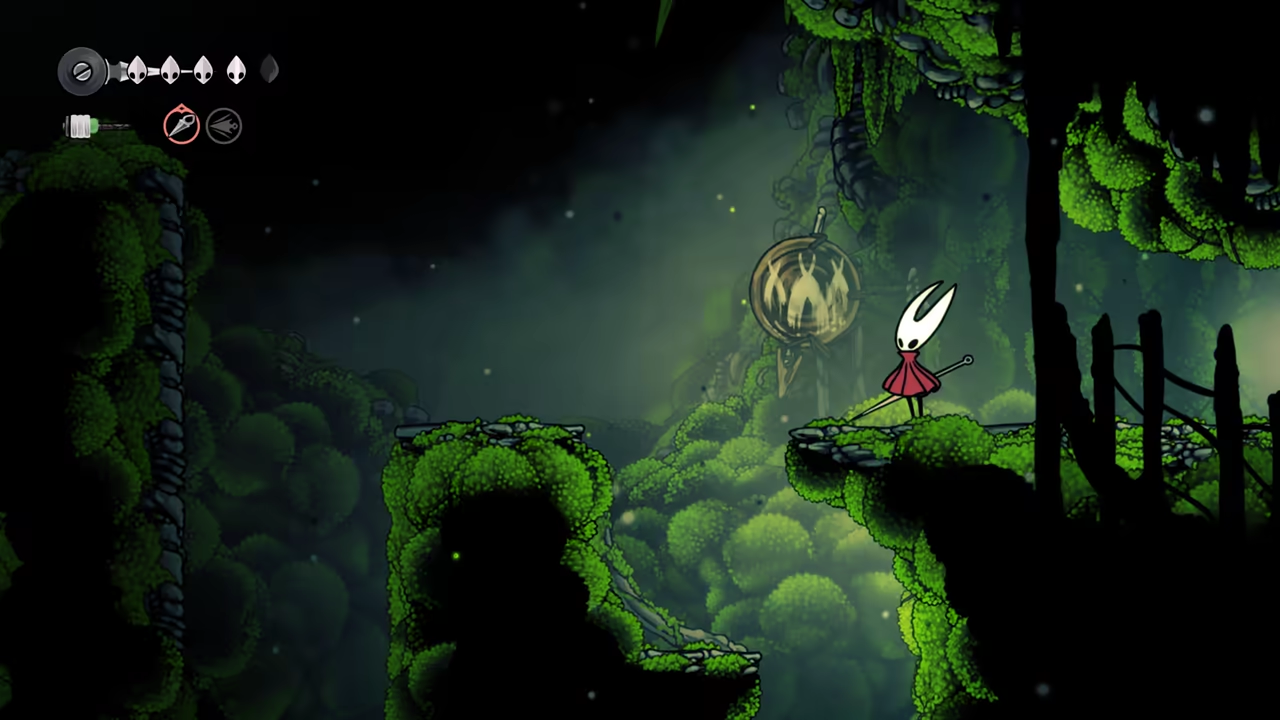
-
Buy Simple Key & Get First Collectibles
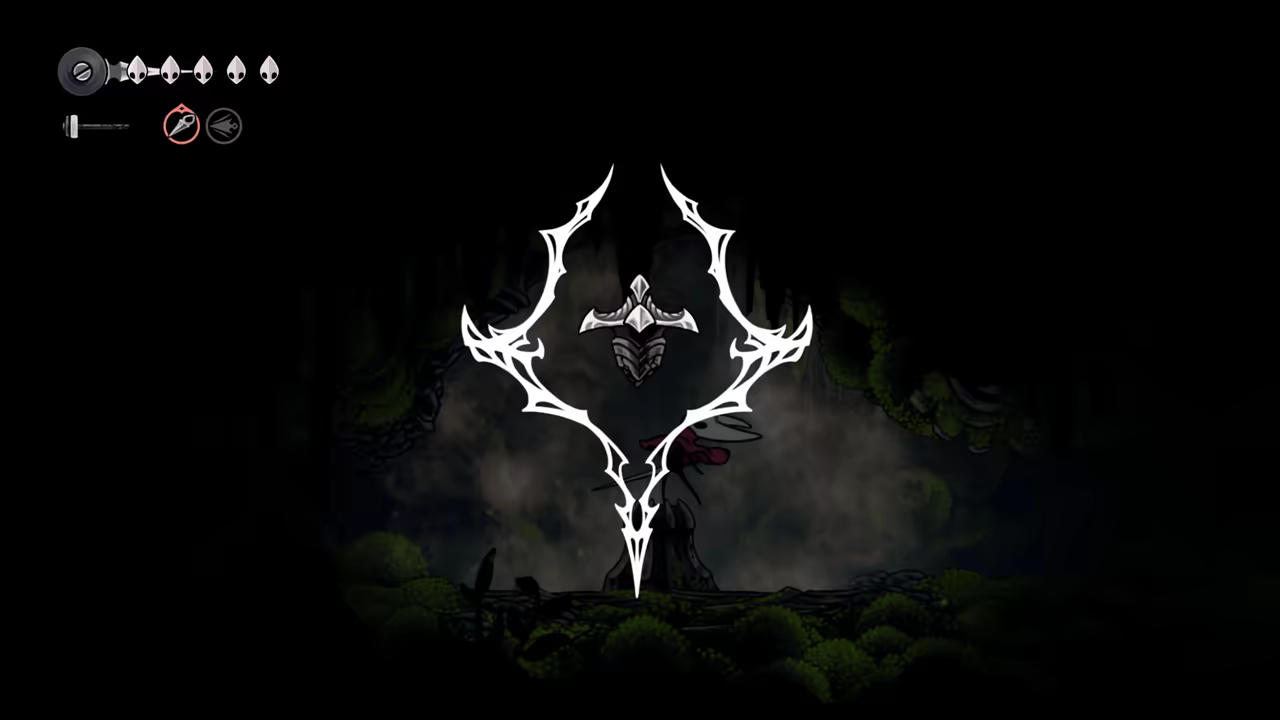
Section titled “Buy Simple Key & Get First Collectibles”Fast travel to Bone Bottom to buy the Simple Key. Then, fast travel to The Marrow and take a top-left exit to unlock the Bone Bottom elevator. Down this area, you can access one of the first Spool Fragments.
-
Unlock Simple Lock & Find Mask Shard
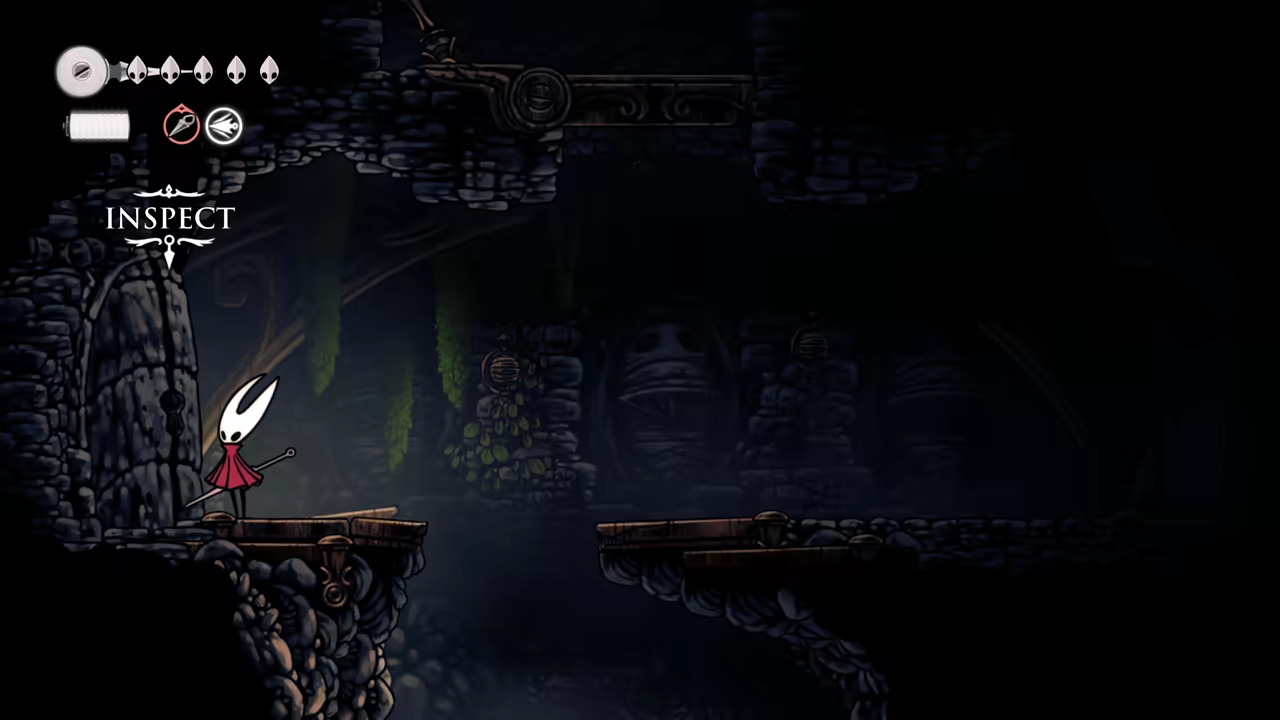
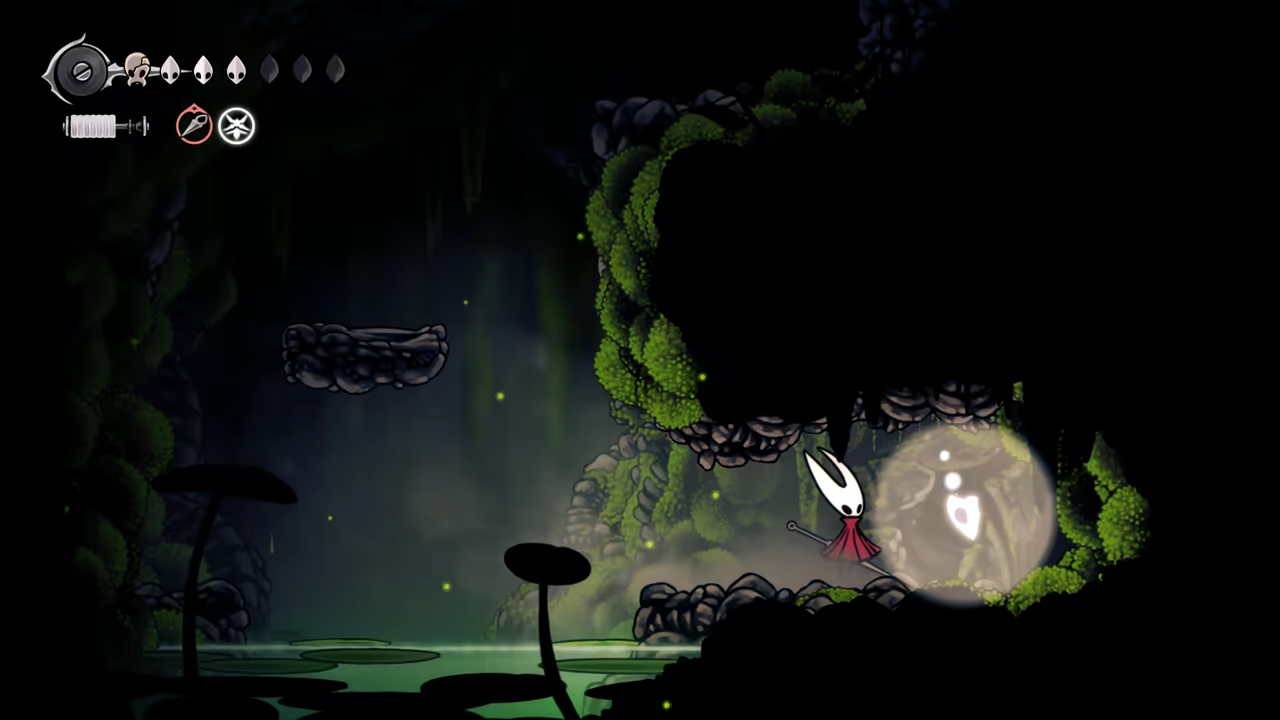
Section titled “Unlock Simple Lock & Find Mask Shard”In the elevator area, keep dashing left. Go past the large spitting ceiling enemy and use your Simple Key to open the locked door.
-
Acquire the Wanderer Crest
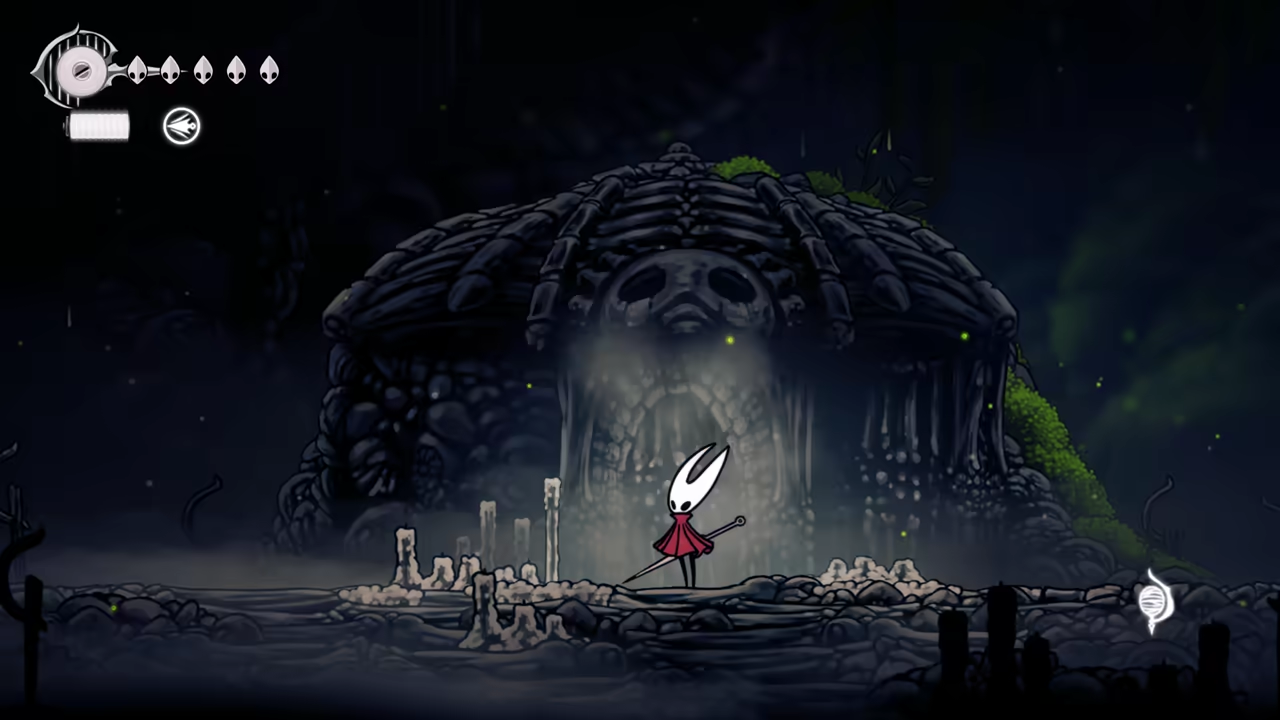
Section titled “Acquire the Wanderer Crest”You can now access Wormways, but ignore it for now. Take the first bottom exit to a mossy area and unlock the door on the bottom right. Heading left from here, you can find the Wanderer Crest.
-
Find Final Collectibles in the Weavenest
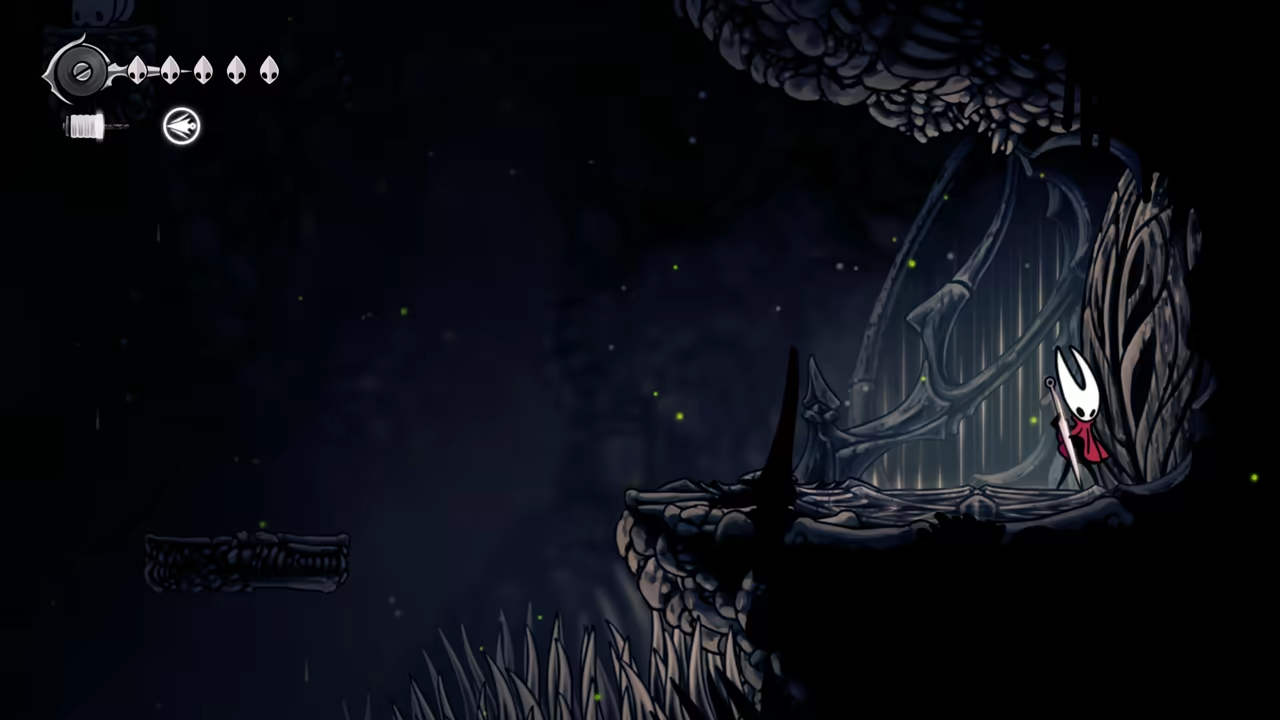
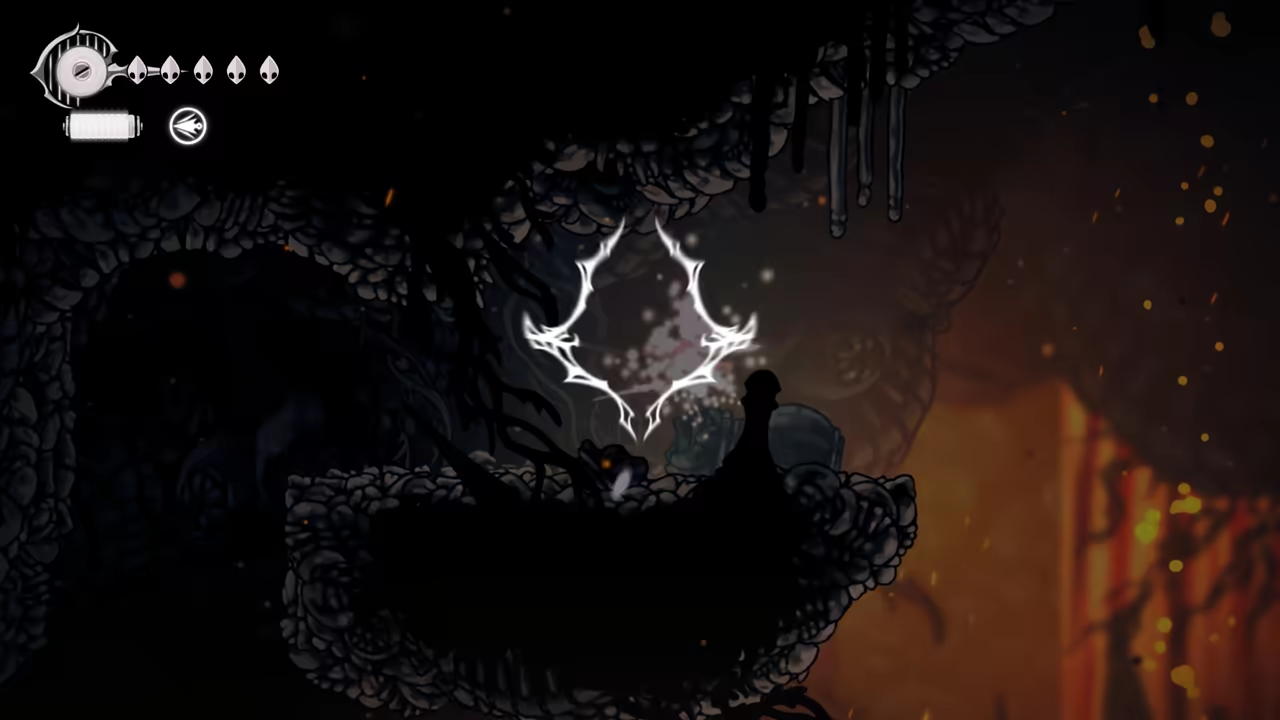
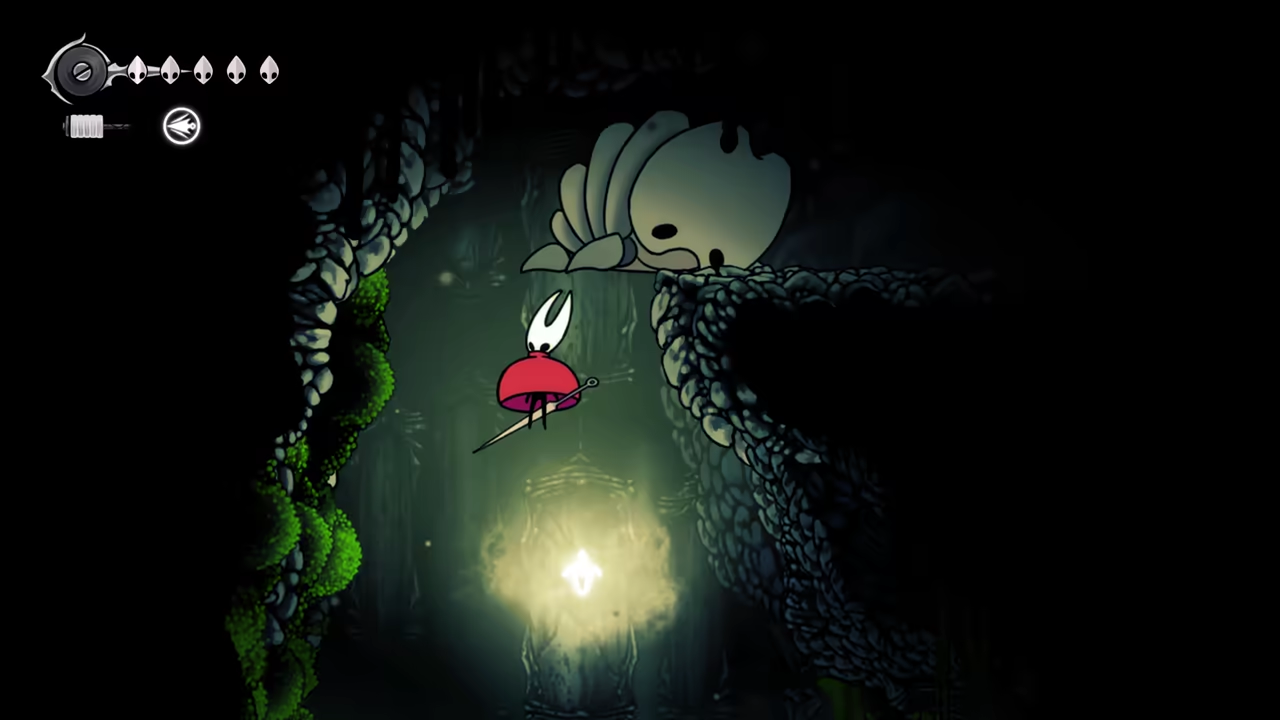
Section titled “Find Final Collectibles in the Weavenest”Go back to Bone Bottom and go down the moss hole near the town to access the first Weavenest. Explore to the right to find another Mask Shard and to the left for your second Spool Fragment.
Part 8: Sinner’s Road Speedrun
Section titled “Part 8: Sinner’s Road Speedrun”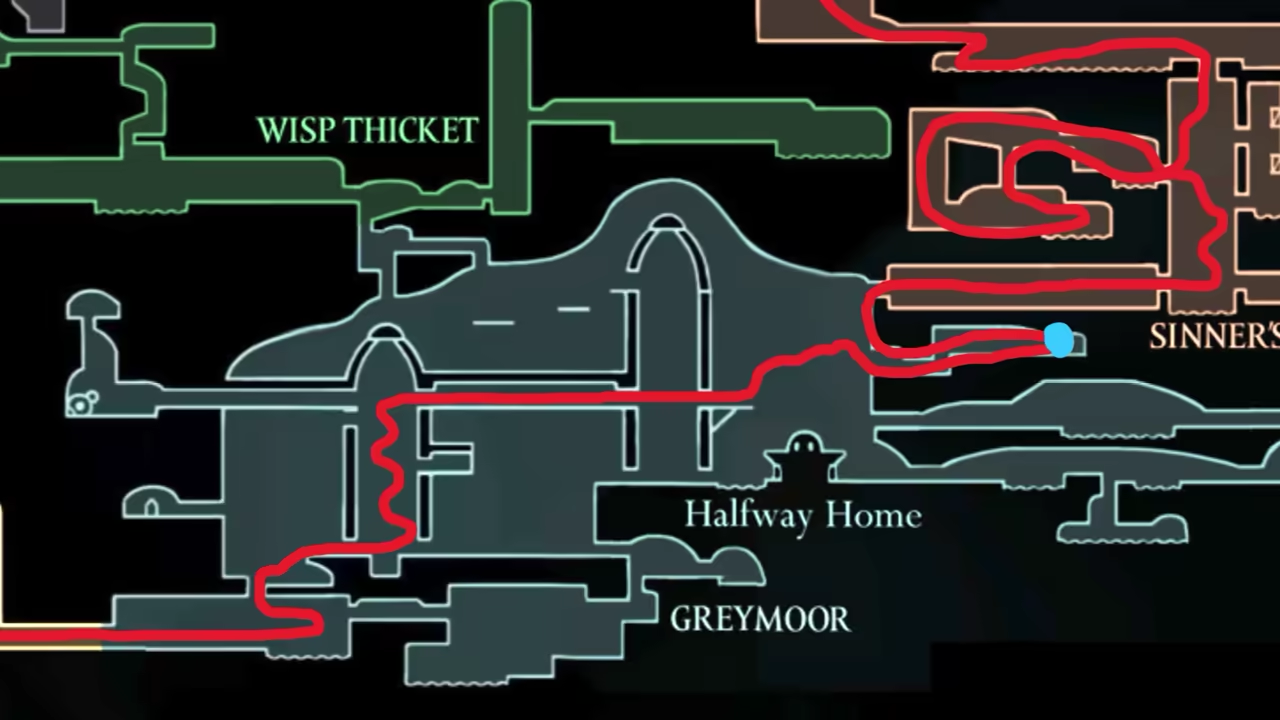
-
Return to Greymoor
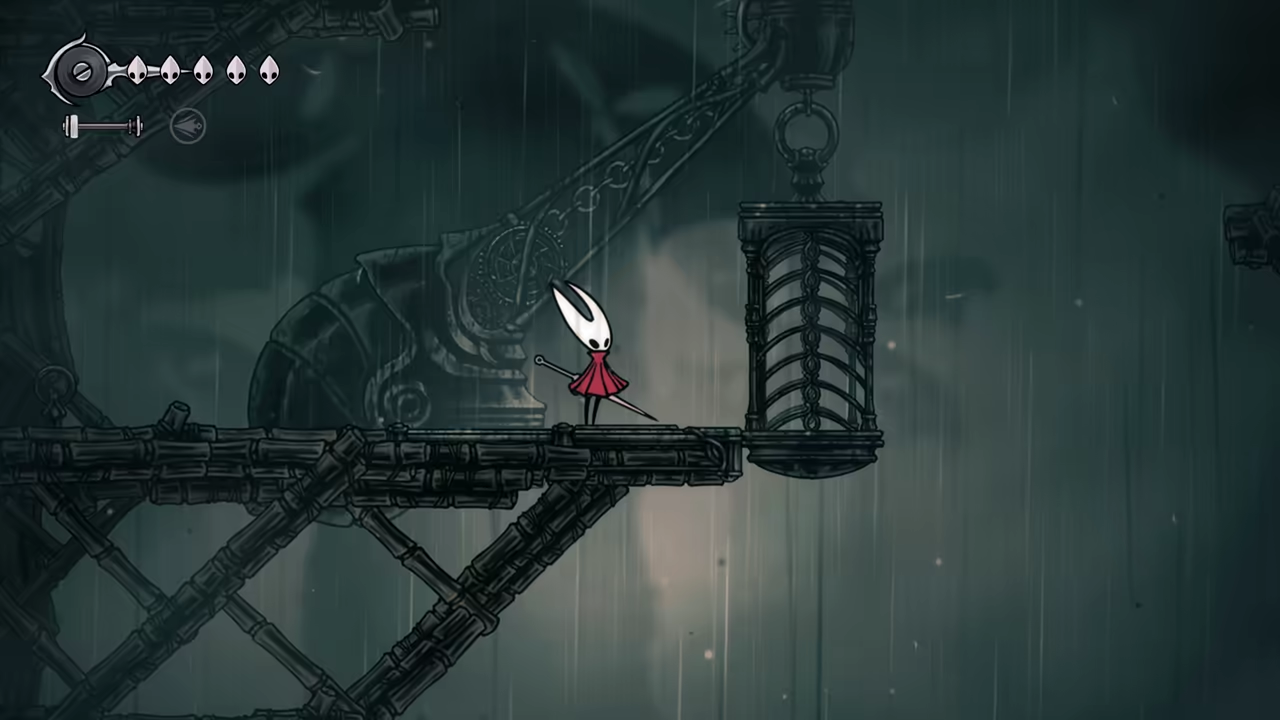
Section titled “Return to Greymoor”Fast travel back to Greymoor so you can climb the tower next to the inn and unlock the elevator.
-
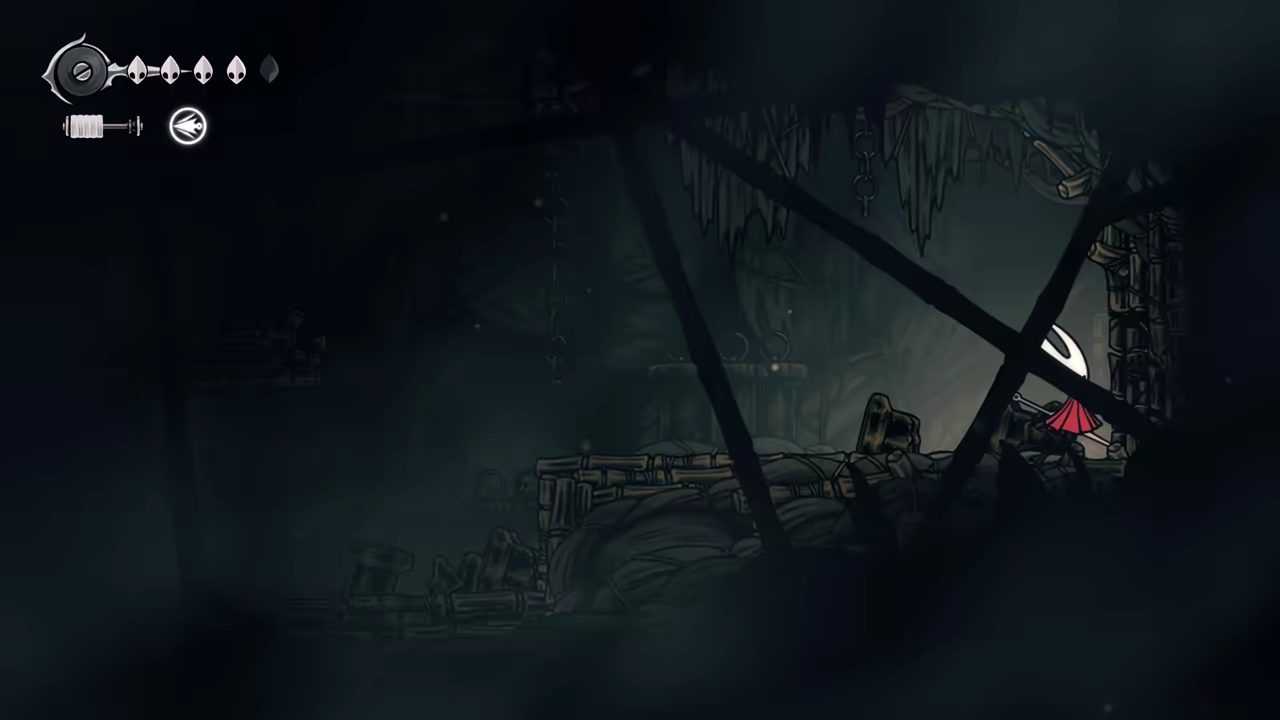
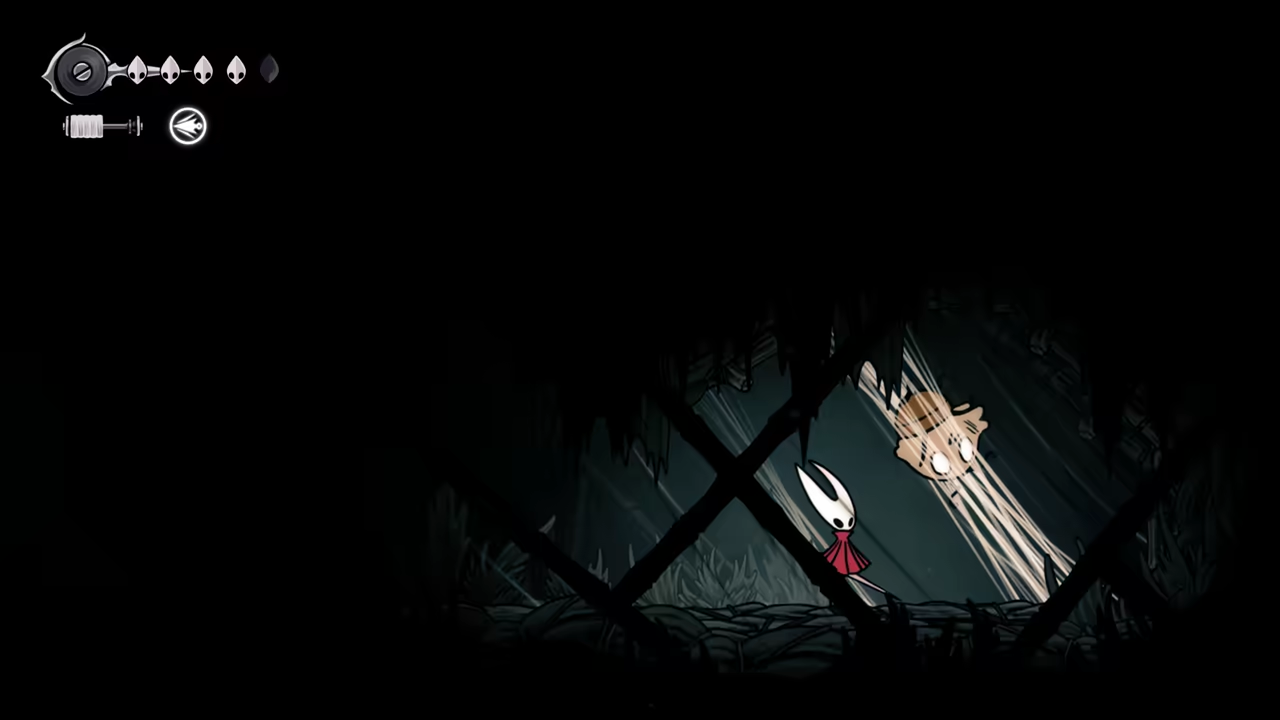
Find the Creep Flea
Section titled “Find the Creep Flea”Keep going right from there to access a hidden wall containing the Creep Flea. This will advance The Lost Fleas quest.
-
Enter Sinner’s Road (SR)
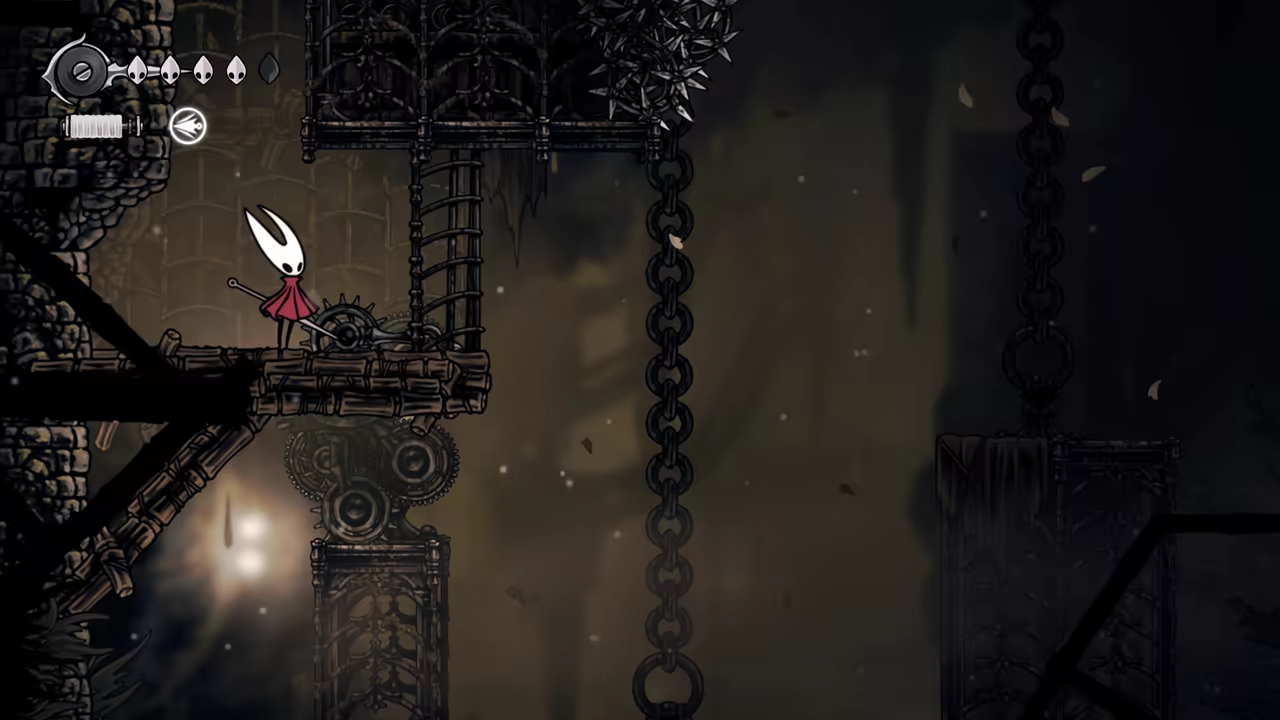
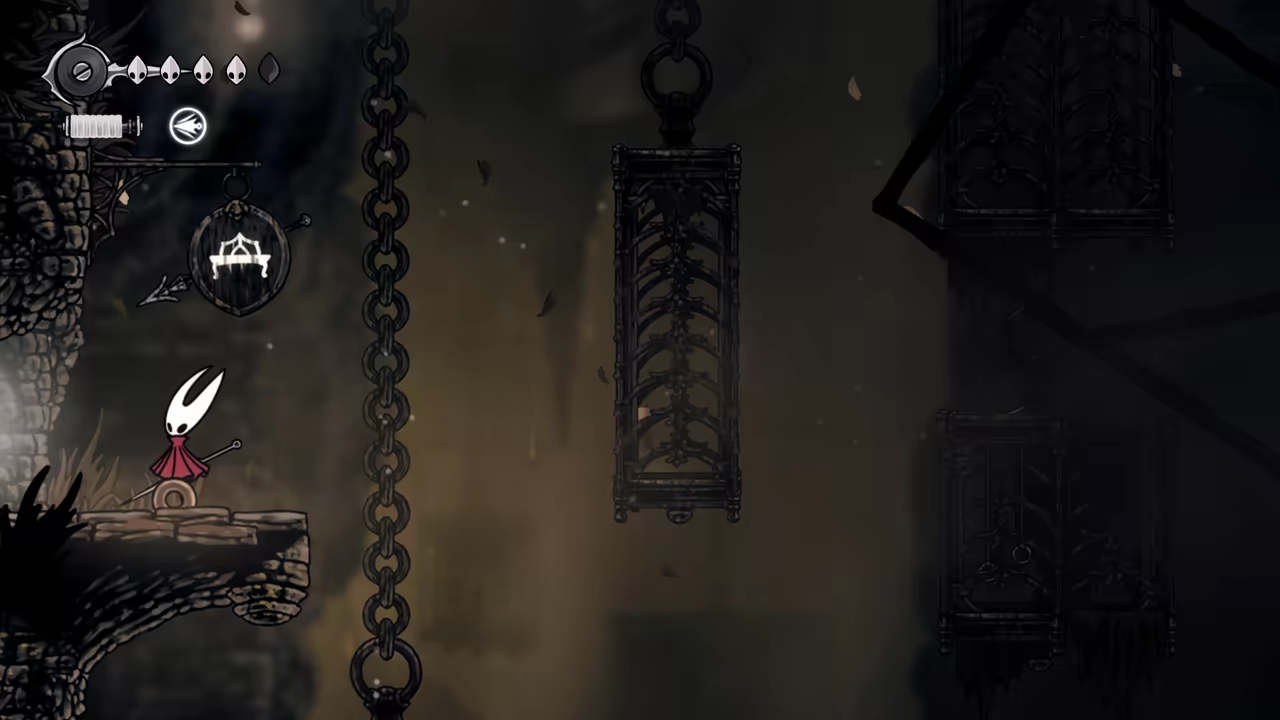
Section titled “Enter Sinner’s Road (SR)”Take the top-right exit to access Sinner’s Road (SR). In the second area, you can pogo off an enemy to access the upper area early. Unlock the shortcut and proceed to the area with a bench.
-
Solve the Broken Bench Puzzle
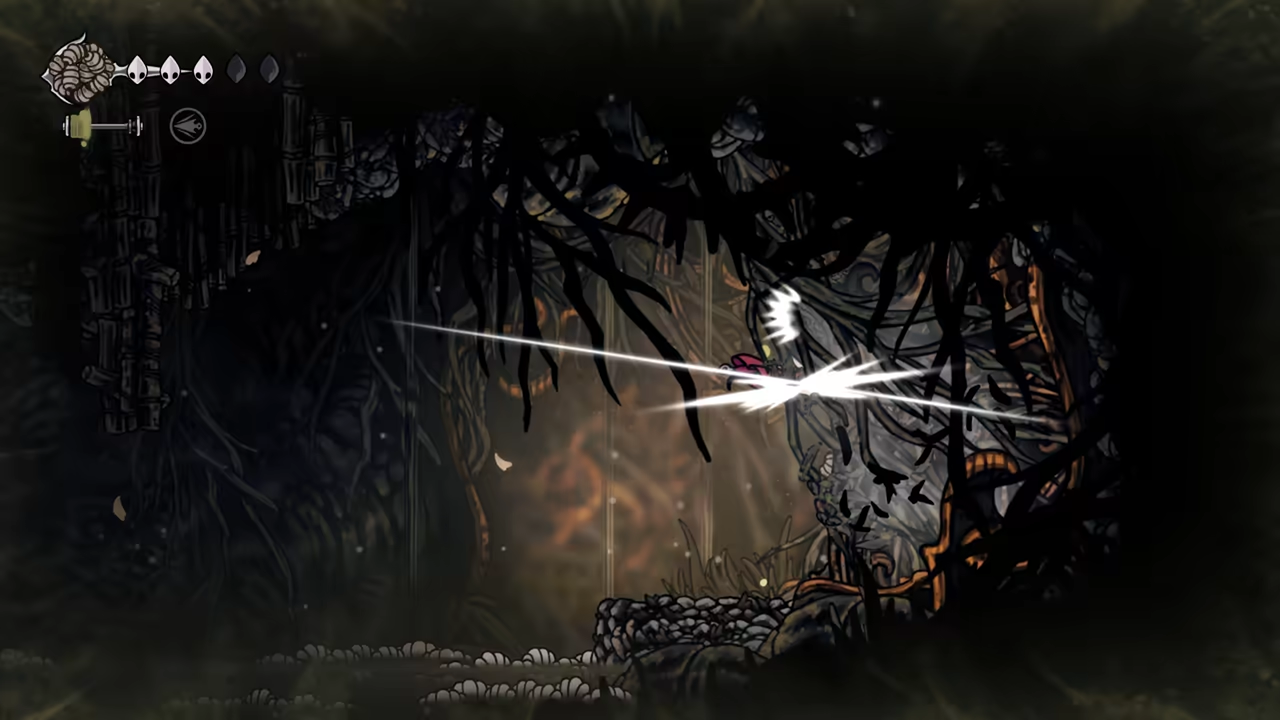
Section titled “Solve the Broken Bench Puzzle”Break the wall on the top left to solve the broken bench puzzle and activate the bench. This is a useful checkpoint before the next area.
-
Proceed to the Next Area
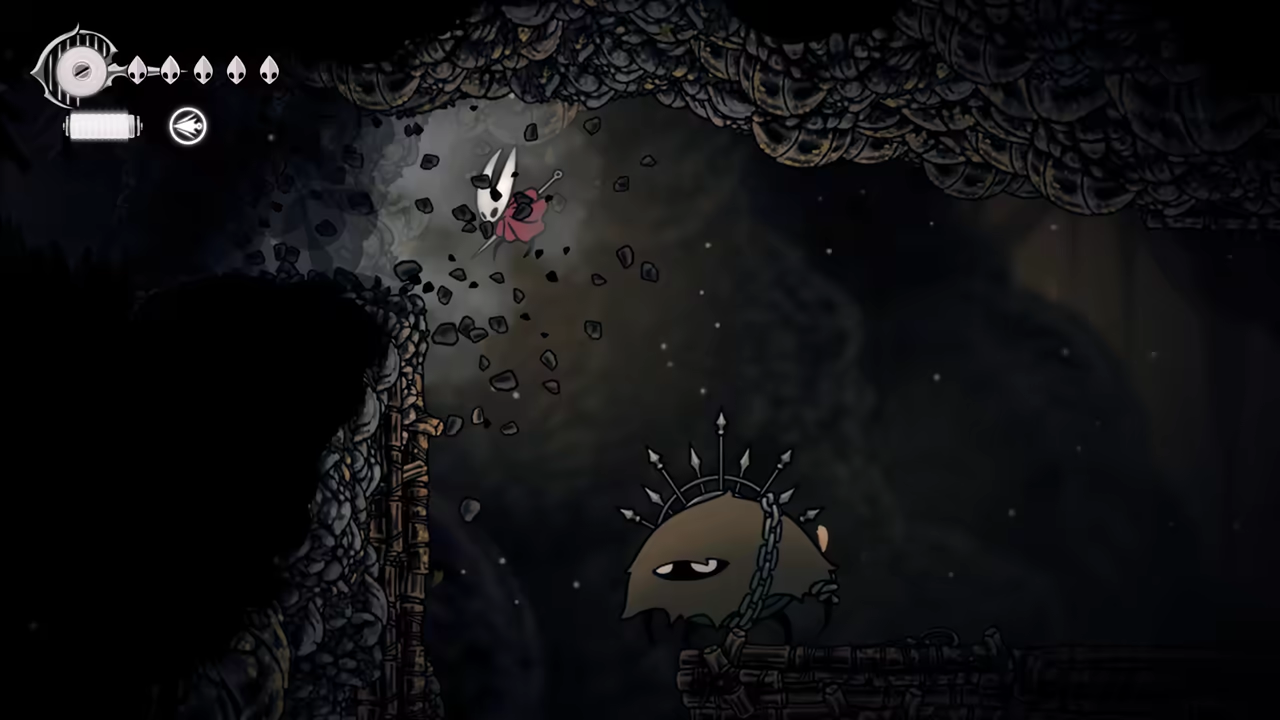
Section titled “Proceed to the Next Area”Keep going up towards the left side until you find a spot with another breakable wall. Break it and enter to access the next section of the game.
Part 9: The Mist
Section titled “Part 9: The Mist”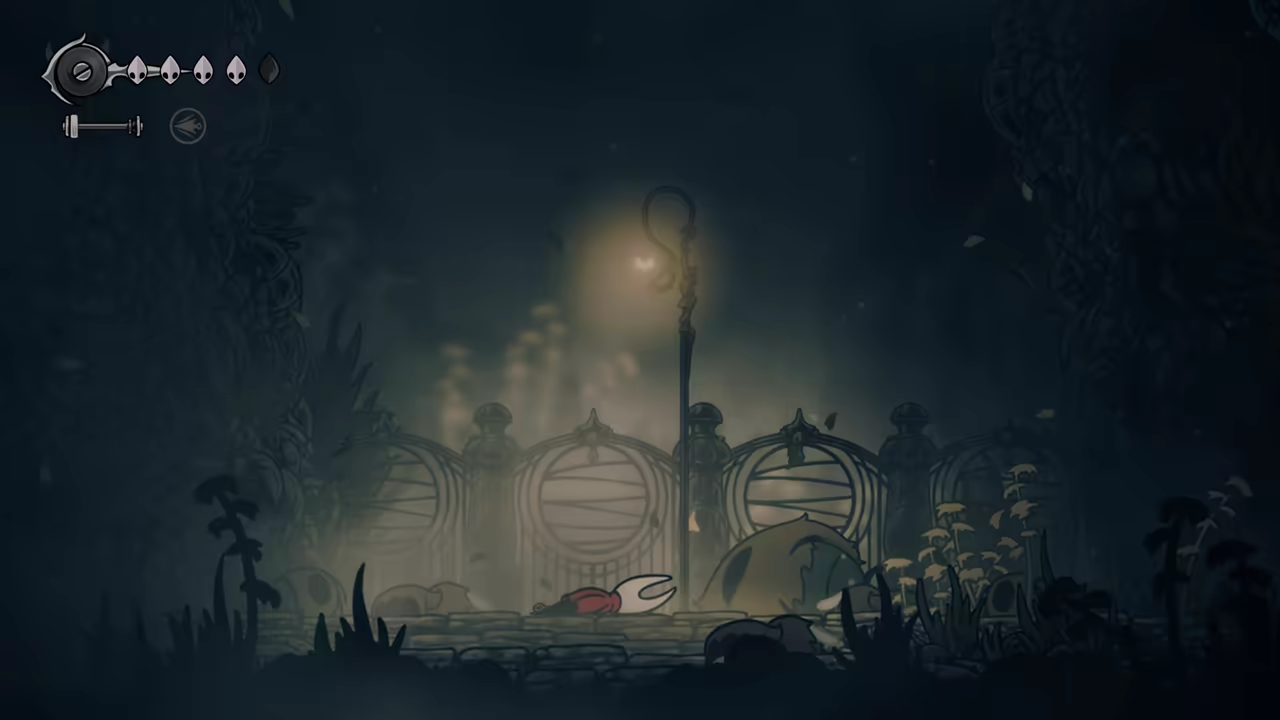
-
Navigate The Mist
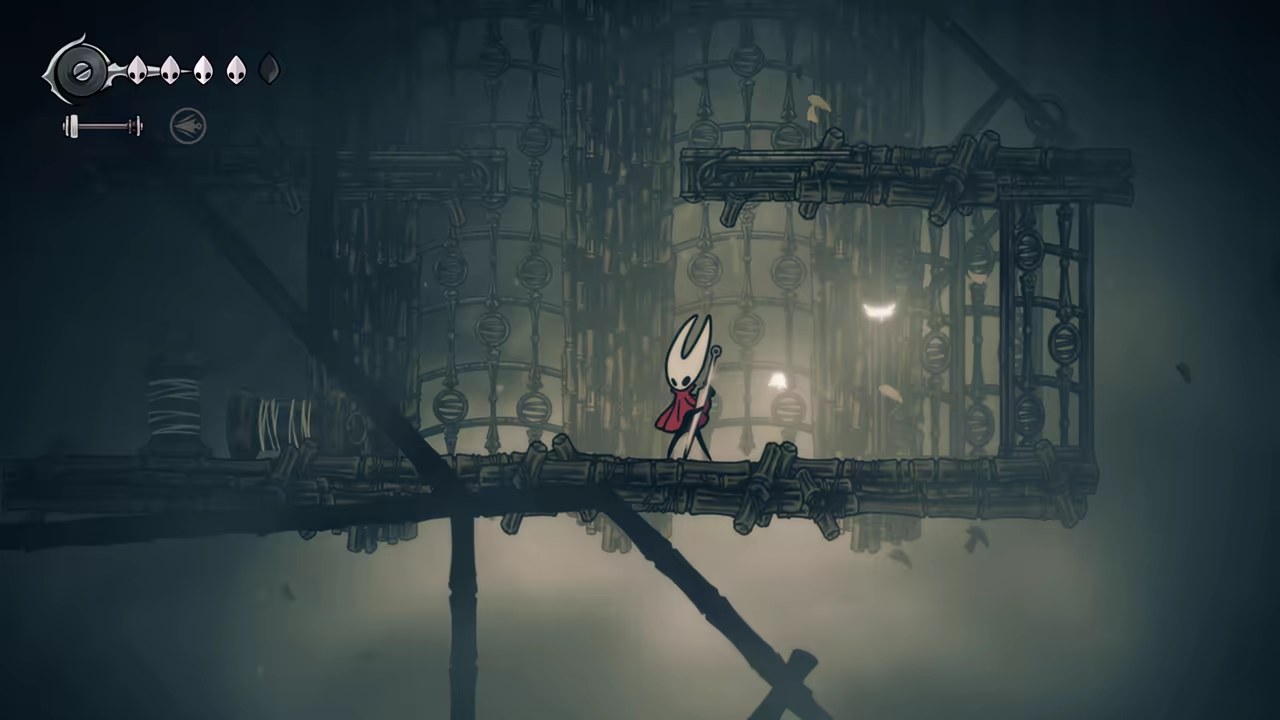
Section titled “Navigate The Mist”This place is annoying and random. Play it safe to protect your Steel Soul save. Play the Needolin to the butterflies, and they will show you the correct path. Avoid the ghosts and be careful with the numerous traps.
-
Reach Phantom’s Lair
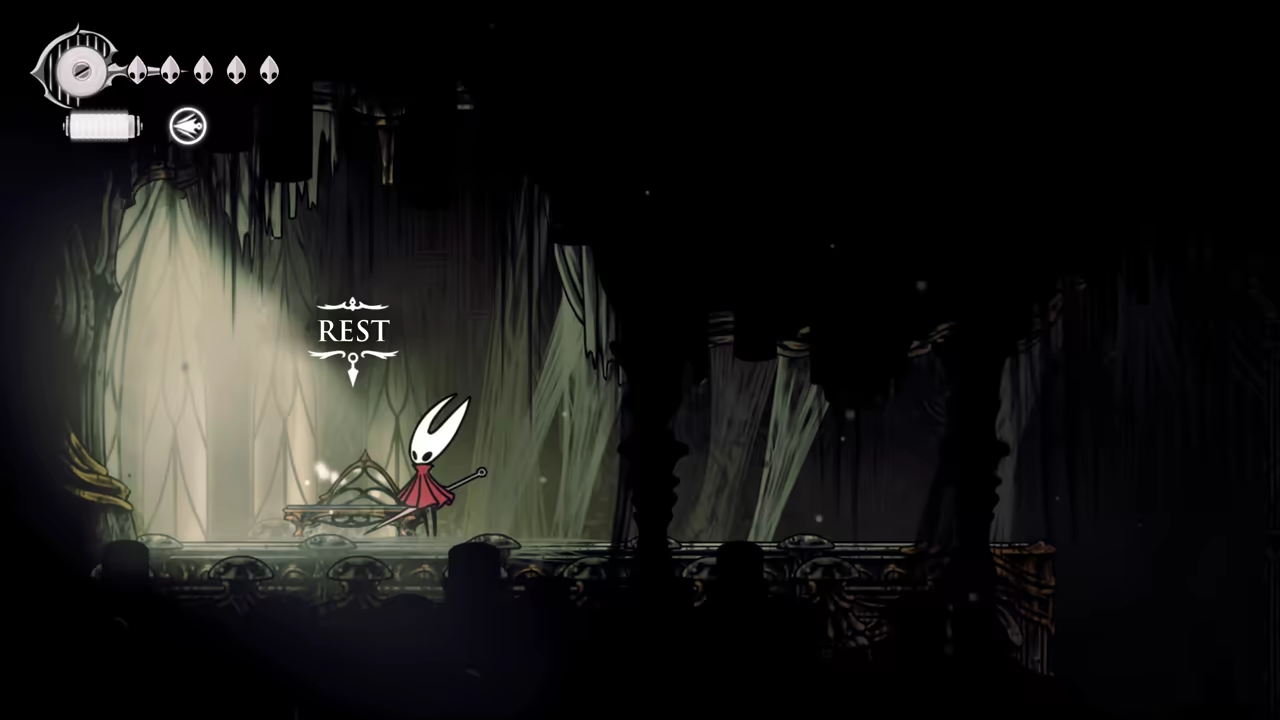
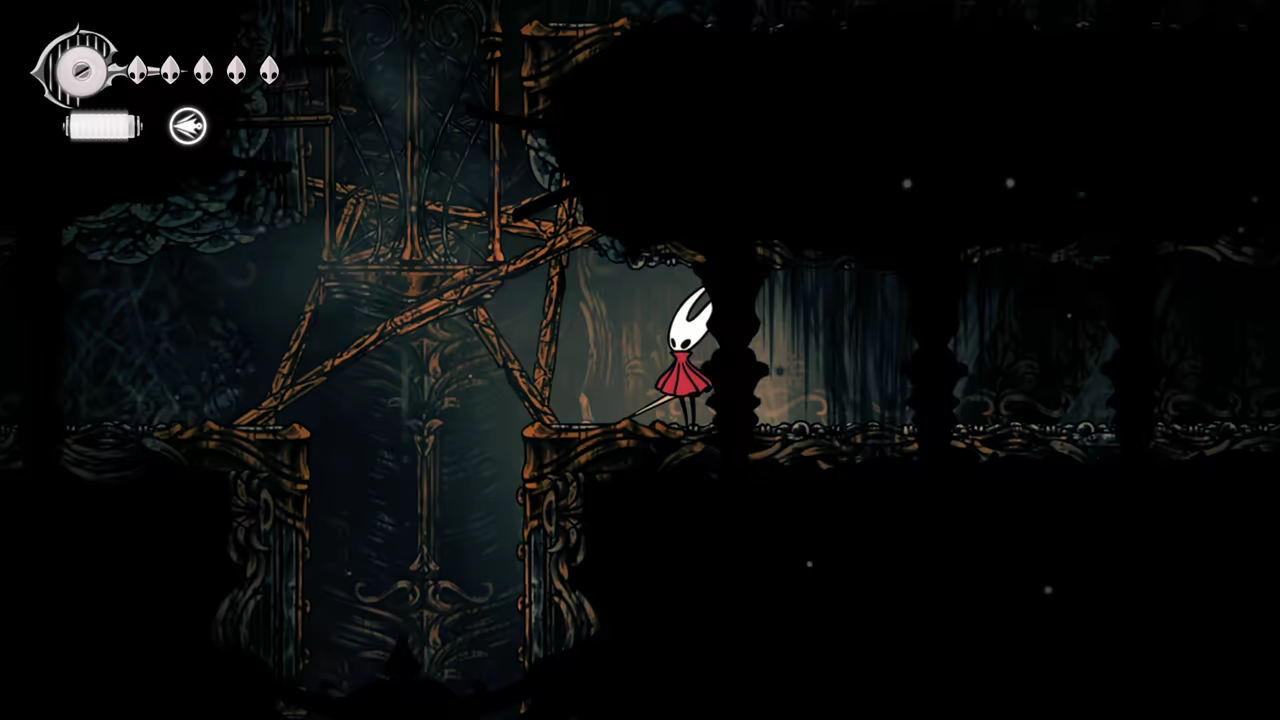
Section titled “Reach Phantom’s Lair”After exiting the mist, you’ll find the Phantom’s Lair. Make sure to activate the safety bench here so you can reload if needed. Also, unlock the nearby shortcut to make any potential runbacks to the boss faster.
-
Defeat the Phantom
Section titled “Defeat the Phantom”Now, go challenge the Phantom. This fight is relatively easy as the attacks are slow and simple to dodge.
-
Arrive at Citadel Station (End of Act 1)
Section titled “Arrive at Citadel Station (End of Act 1)”After the fight, leave the area through the new exit to reach the Citadel Station. Unlock the map and both fast travel points. This marks the beginning of Act 2.
Act 2 Speedrun
Section titled “Act 2 Speedrun”Part 1: Citadel Speedrun - Choral Chambers
Section titled “Part 1: Citadel Speedrun - Choral Chambers”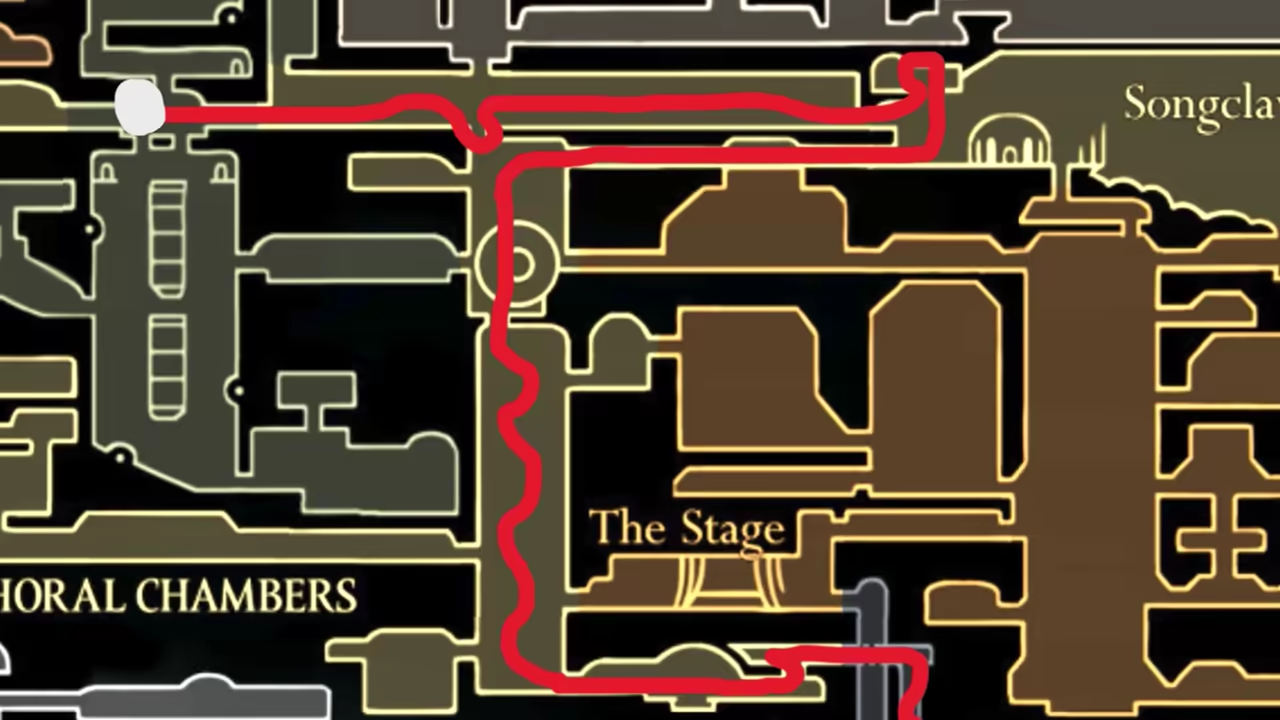
-
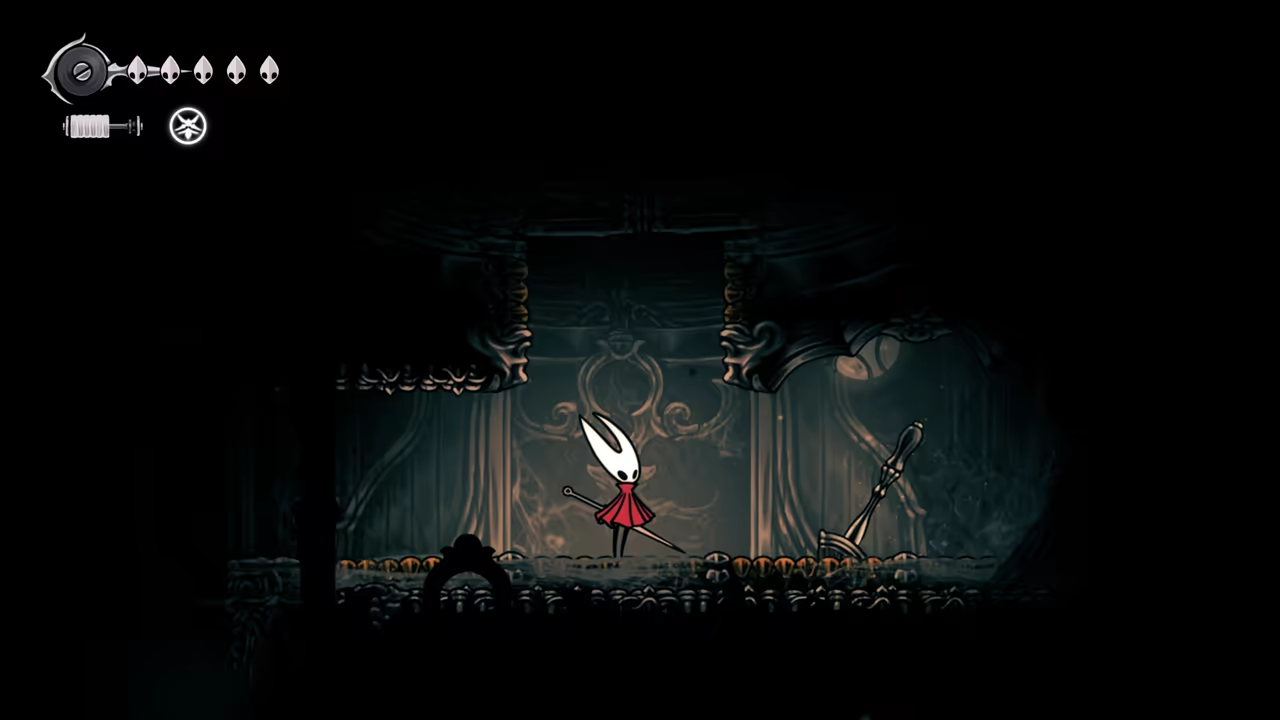
Climb to the Wheel
Section titled “Climb to the Wheel”After encountering Lace, you’ll start climbing the first area all the way to the top to reach the wheel.
-
Activate the Shrine & Get the White Key
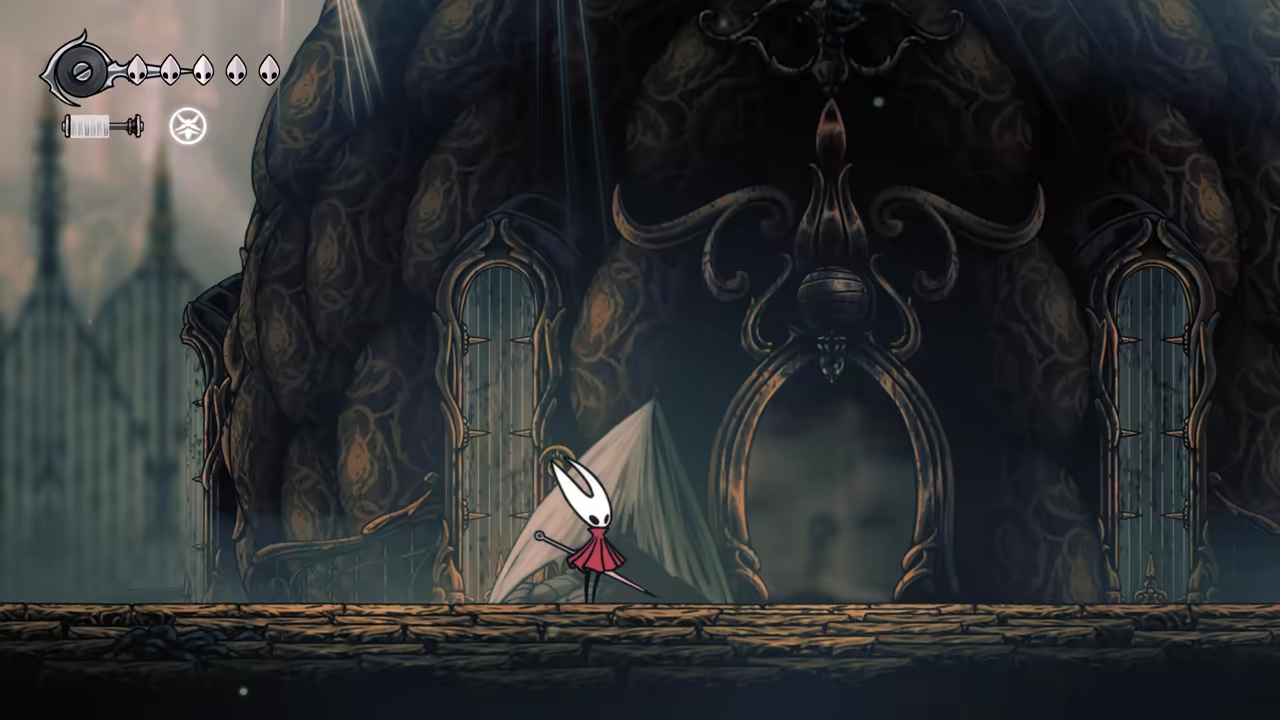
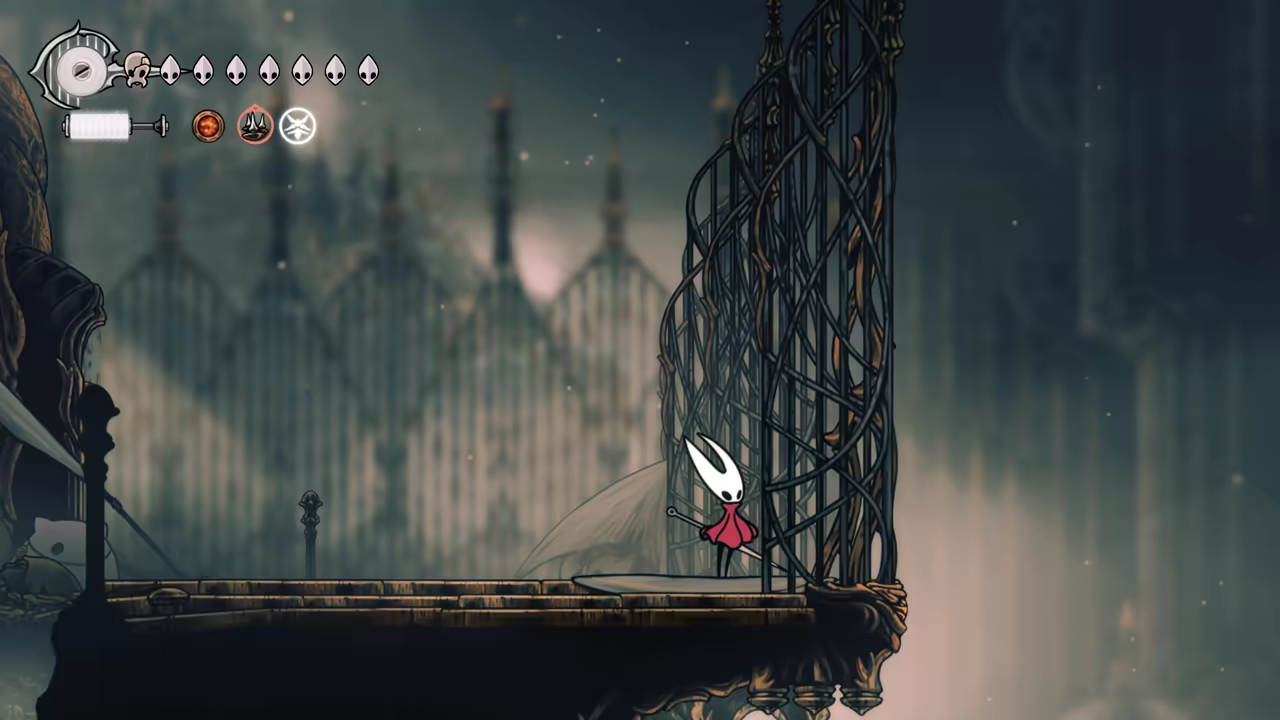
Section titled “Activate the Shrine & Get the White Key”Keep climbing until you reach the right exit, then run towards the first shrine. Enter, activate the bell, and unlock another safety bench. You should also get the White Key to the right of the area.
-
Unlock Fast Travel & Shortcuts
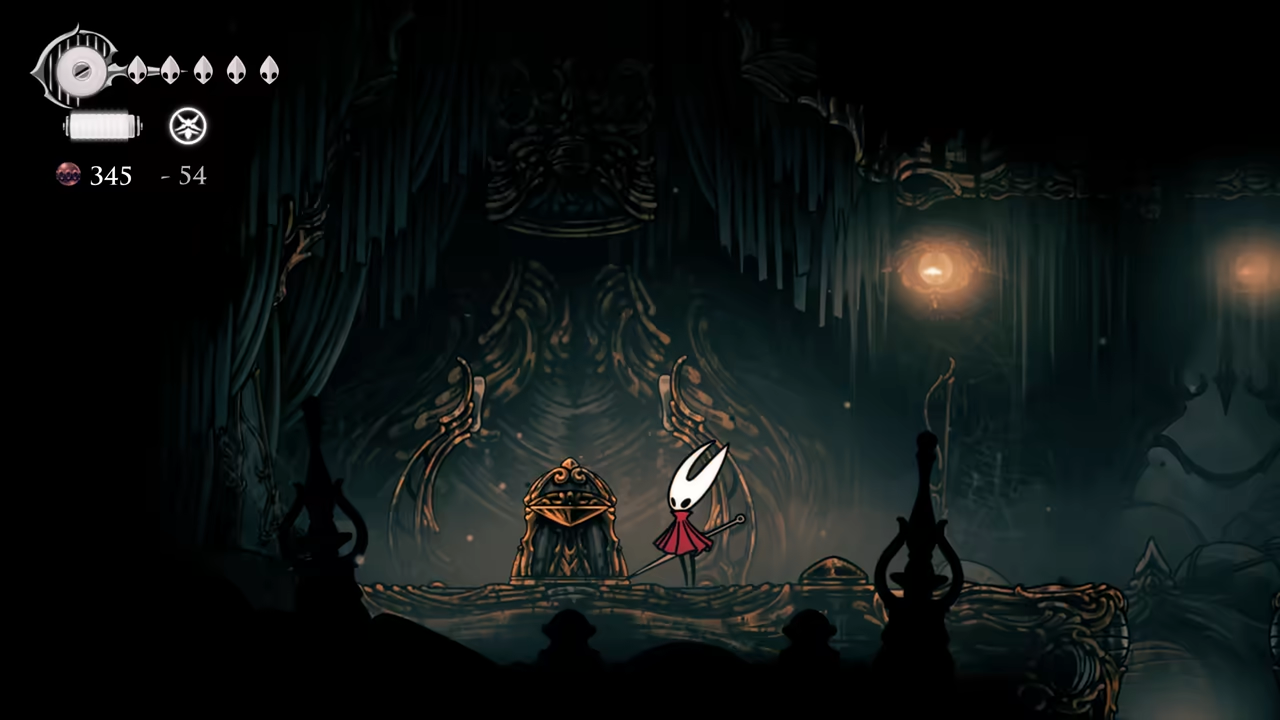
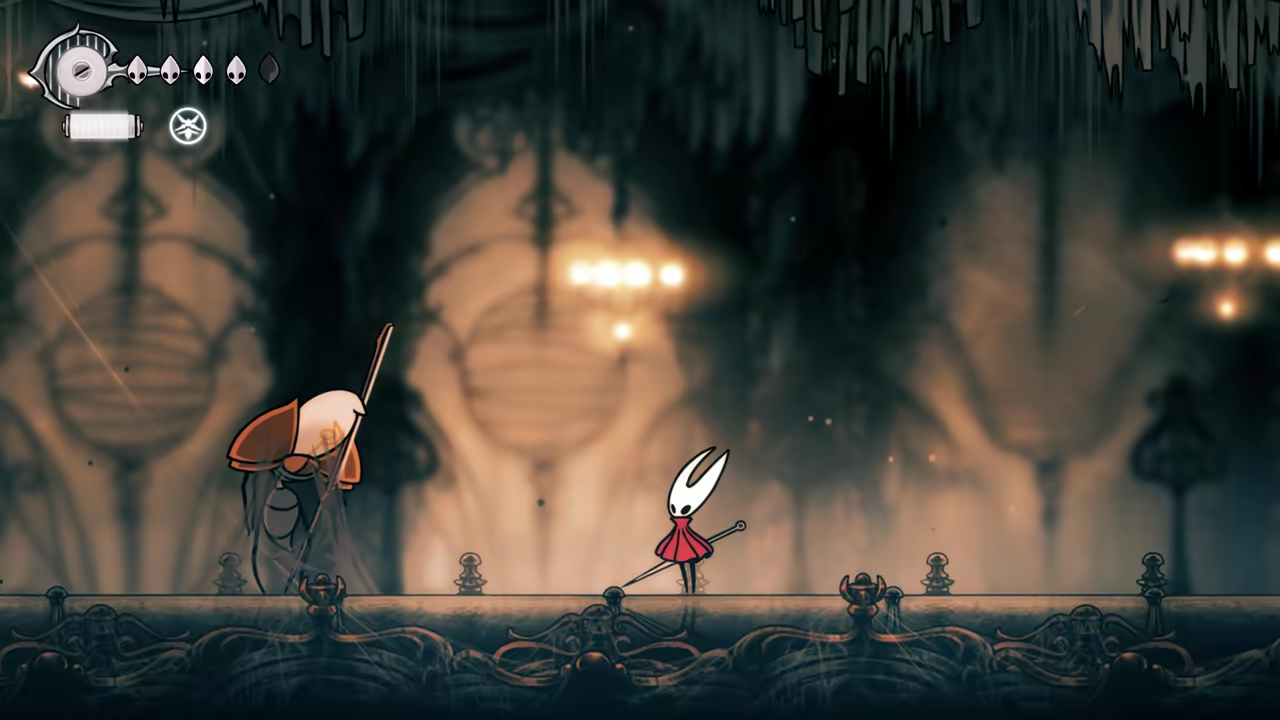
Section titled “Unlock Fast Travel & Shortcuts”To the left and upwards you can unlock the fast travel for the area. Keep going left from here—you’ll find guys that are a good source of rosaries to farm later. There’s also a hole here that leads to a shortcut. Make sure to unlock this one.
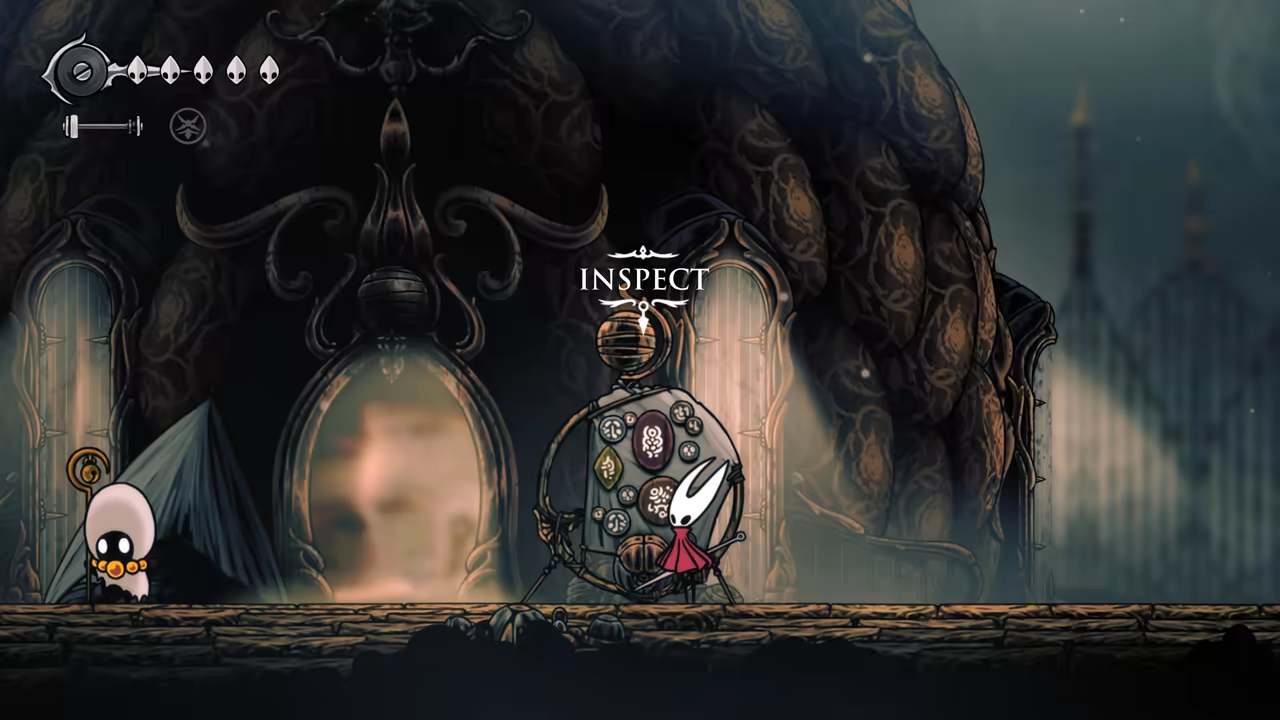
-
Unlock Songclave Quests
Section titled “Unlock Songclave Quests”After unlocking the shortcut, quit and reload your save to unlock the Songclave quests.
-
Defeat the Cogwork Dancers
Section titled “Defeat the Cogwork Dancers”Now keep going left to fight the Cogwork Dancers. This fight is pretty easy—the attacks are really simple to dodge. Keep attacking the same dancer; the fight will go a lot faster this way.
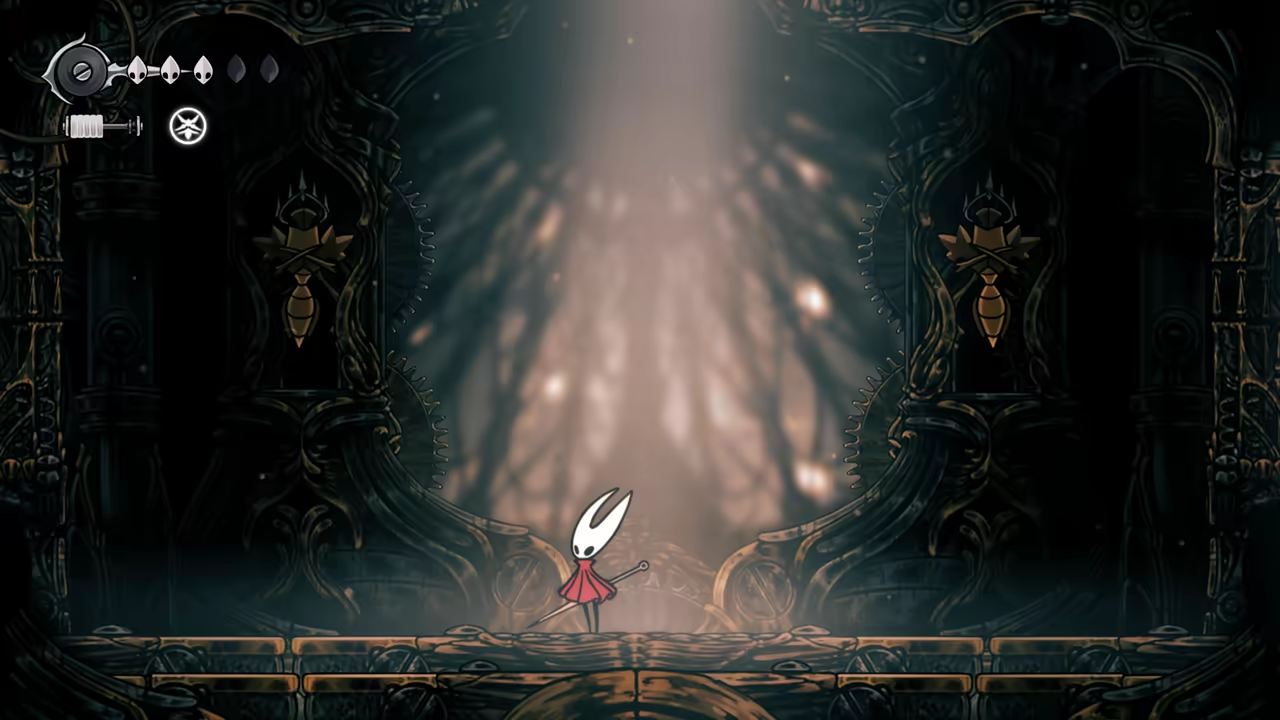
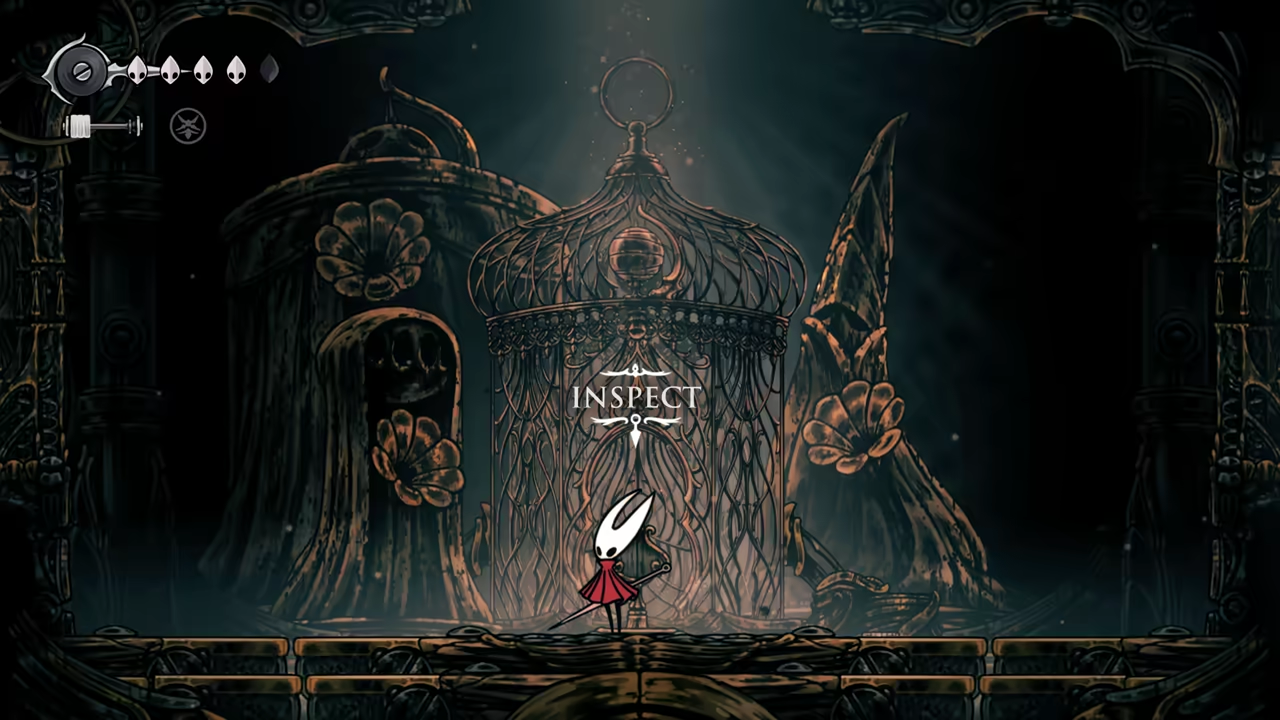
After the fight, accept the quest and access the Cogwork area.
Part 2: Citadel Speedrun - Cogwork Core
Section titled “Part 2: Citadel Speedrun - Cogwork Core”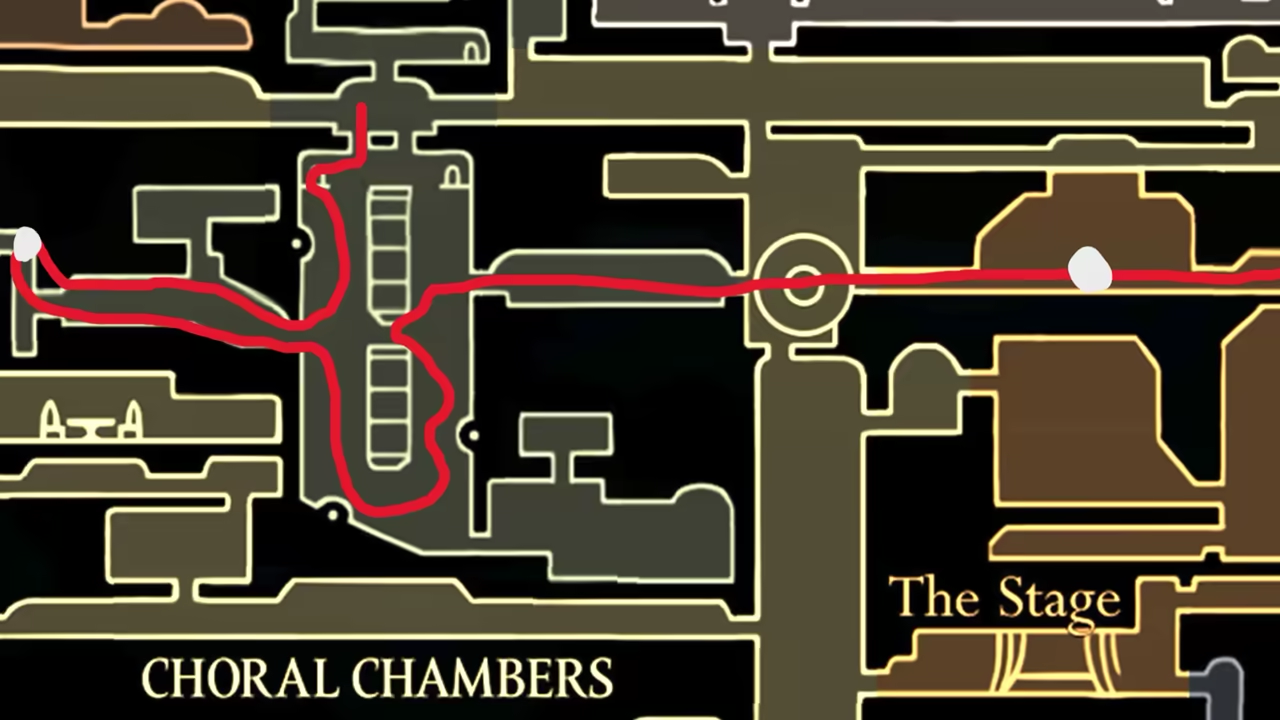
-
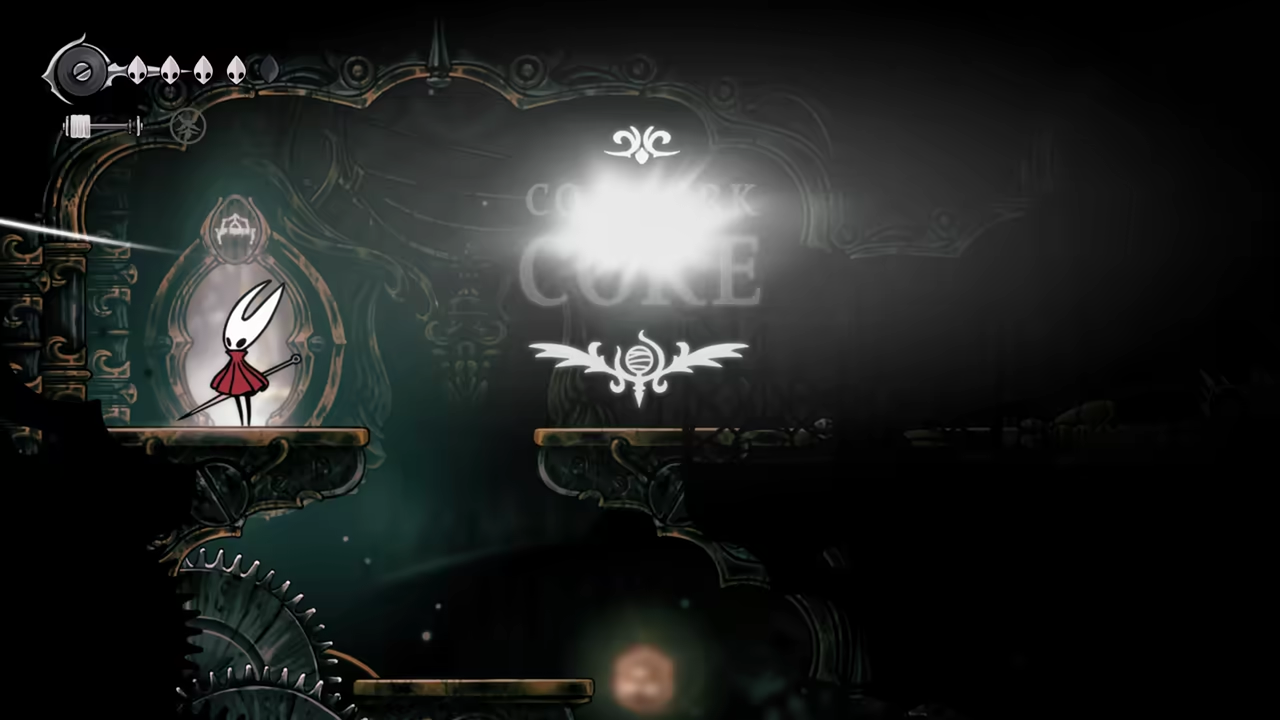
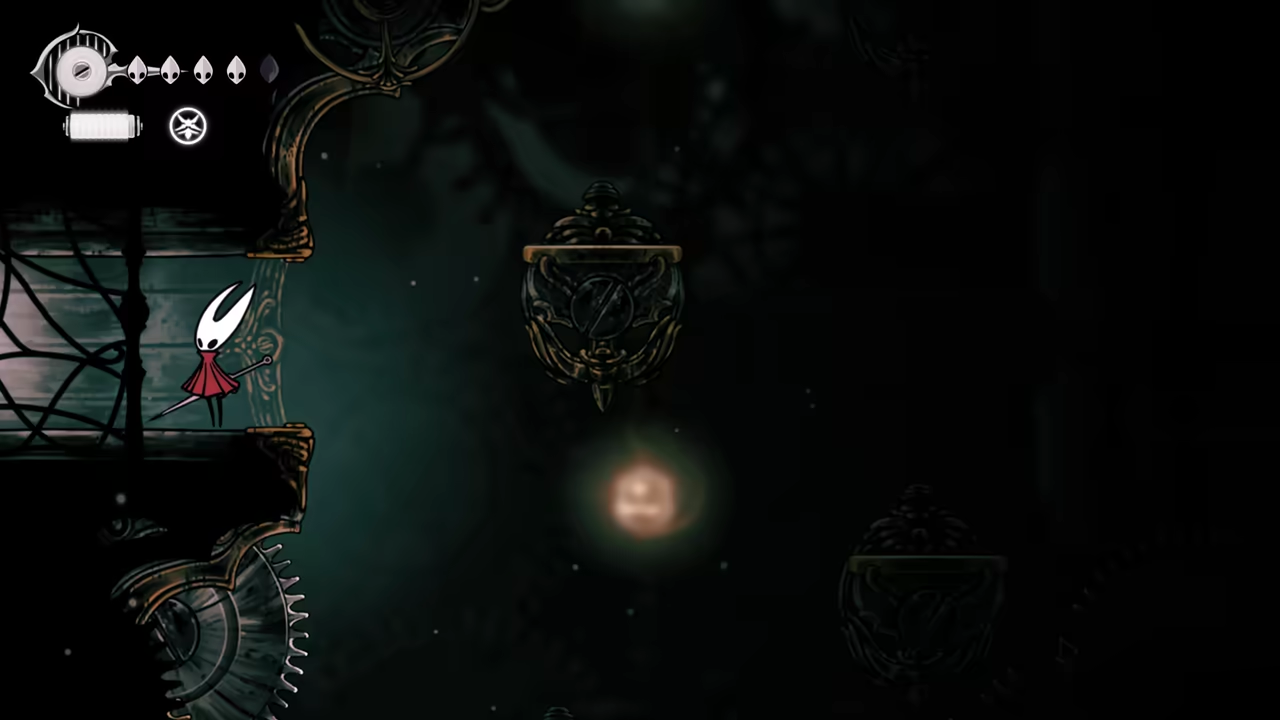
Get the Map
Section titled “Get the Map”Access the bench right at the beginning of the area, unlock the map, and enter the room below.
-
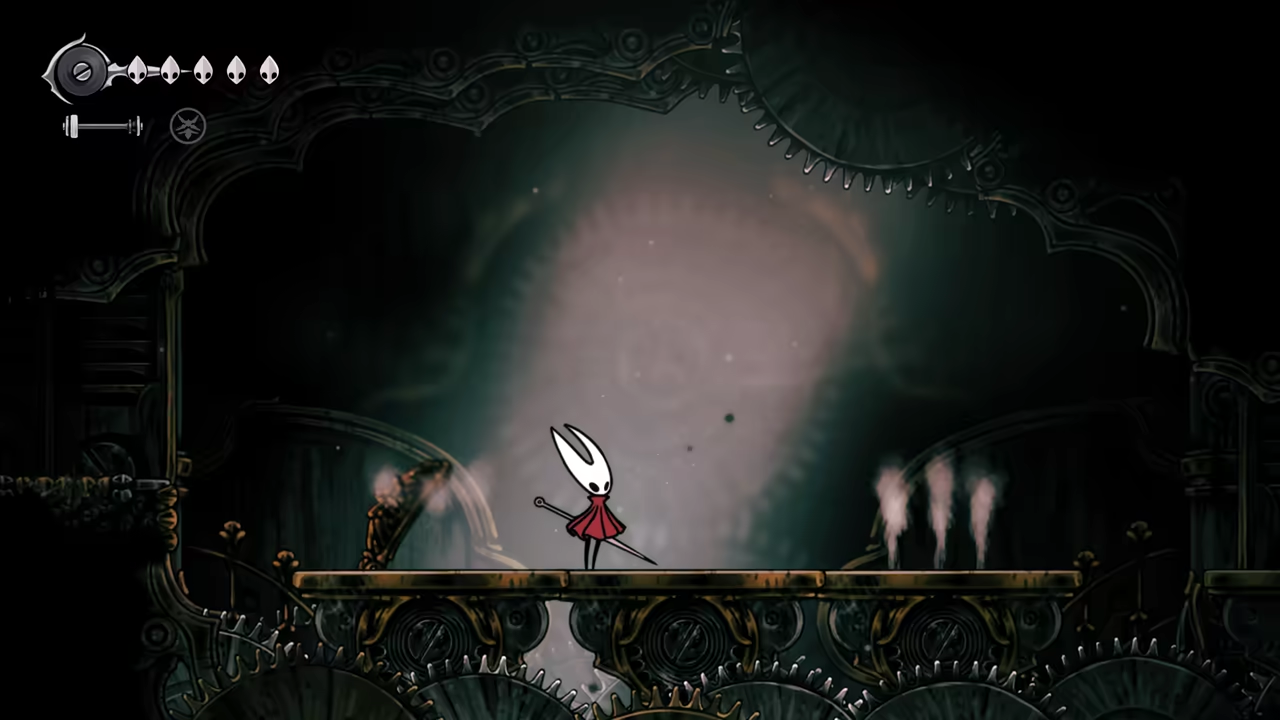
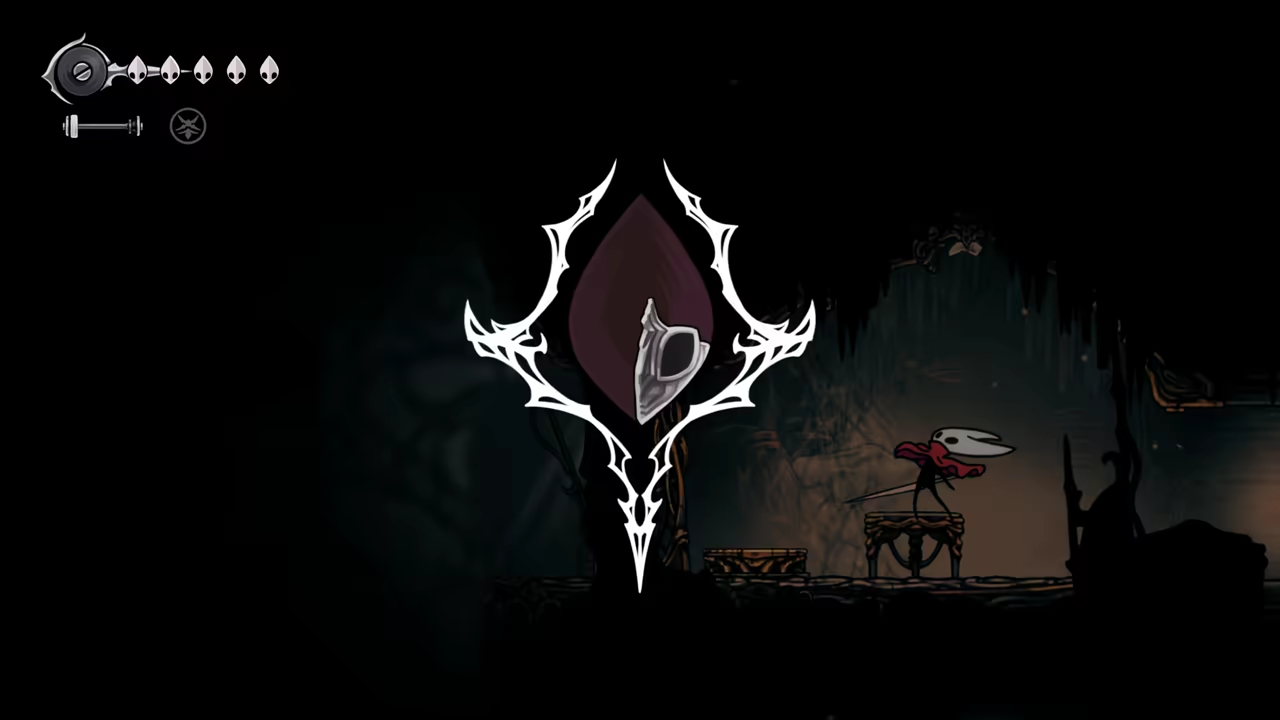
Get the Mask Shard
Section titled “Get the Mask Shard”Here you’ll fight a small arena and get your next Mask Shard as a reward.
-
Return to the Wheel Room
Section titled “Return to the Wheel Room”Keep climbing towards the right side, unlock a shortcut, and enter the next room. Keep going right—you’ll be back in the wheel room. Follow all the way to the right until you reach the Vaults arena.
Part 3: Citadel Speedrun - Whispering Vaults
Section titled “Part 3: Citadel Speedrun - Whispering Vaults”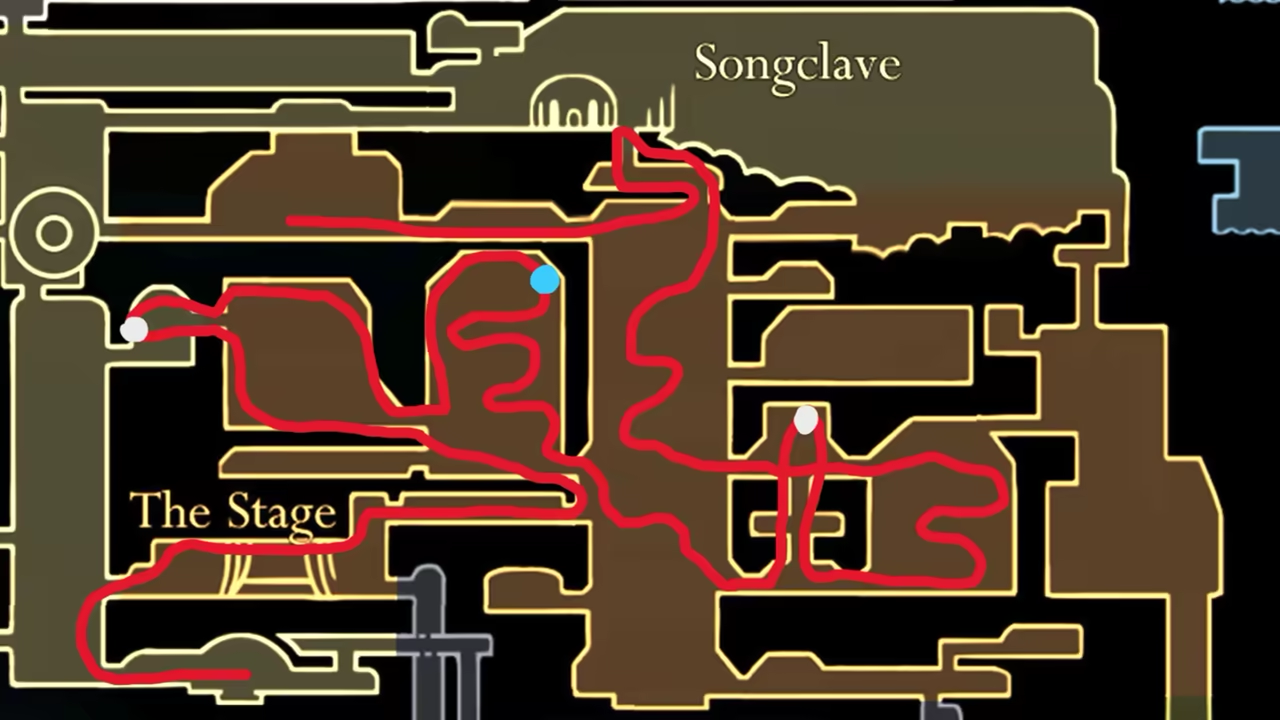
-
Unlock Songclave Shortcut
Section titled “Unlock Songclave Shortcut”After entering this place, go top right to unlock a shortcut to Songclave—this will be important later.
-
Find the Third Mask Shard
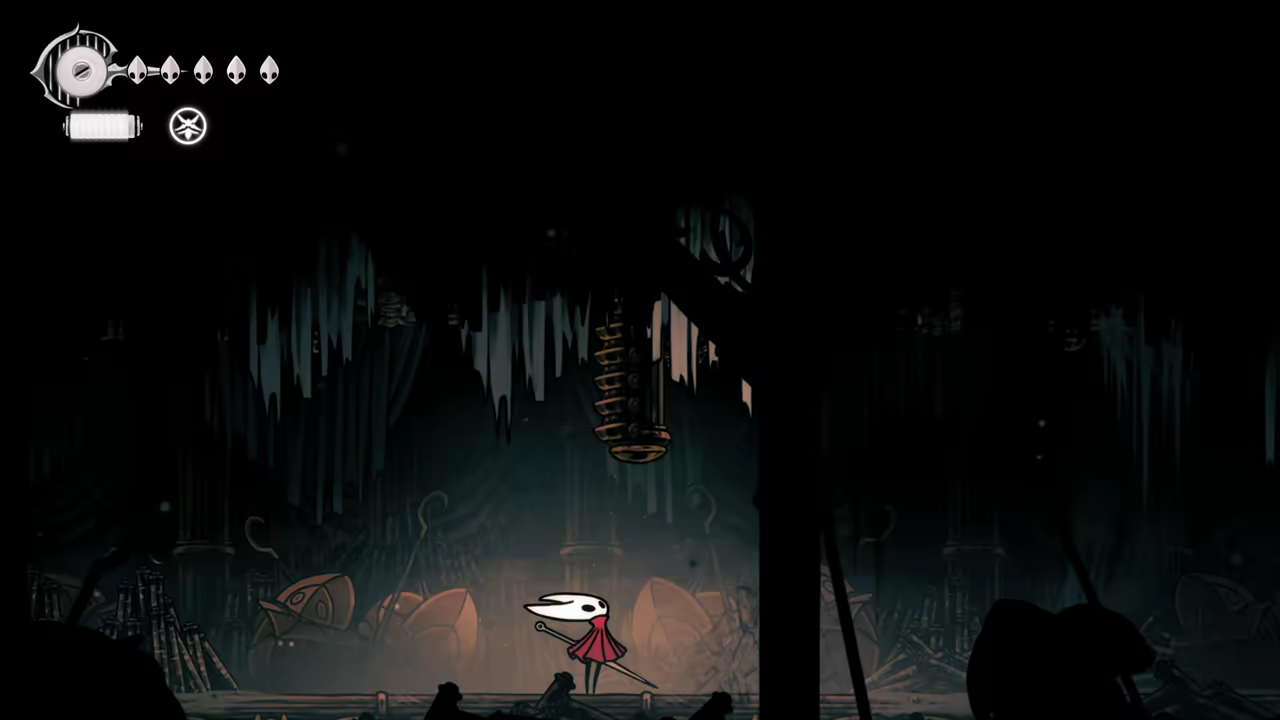
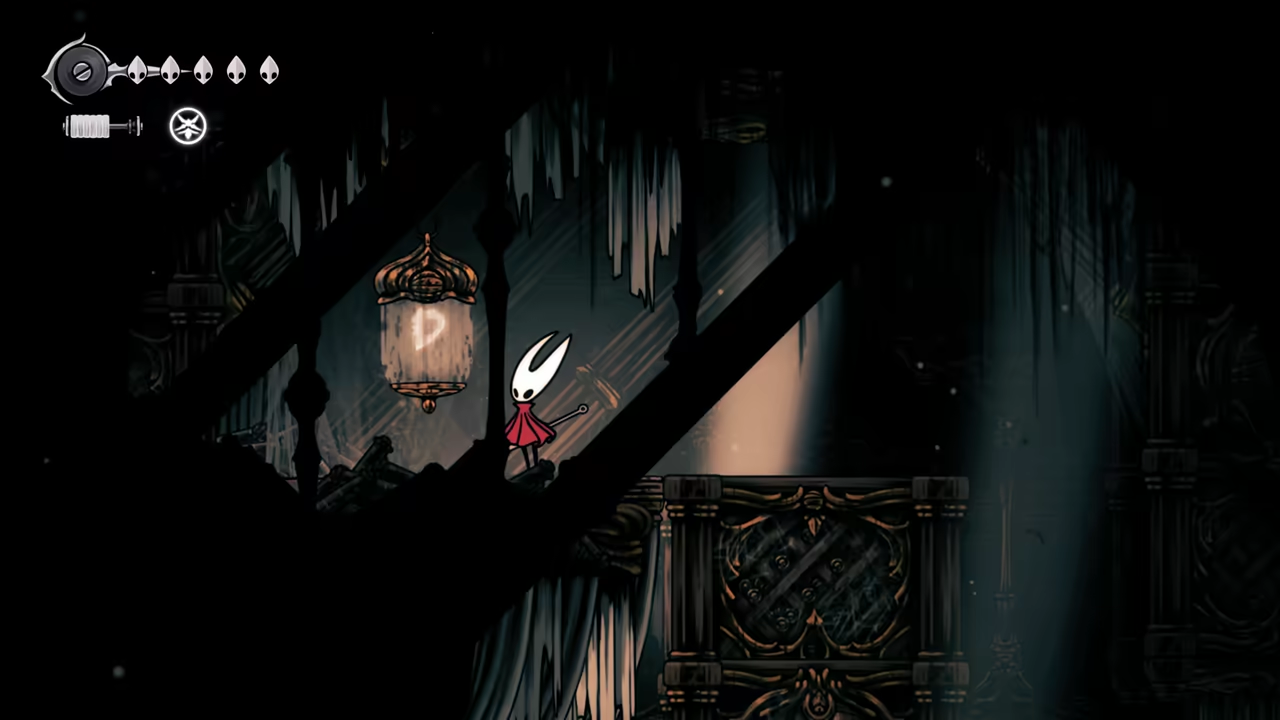
Section titled “Find the Third Mask Shard”Keep advancing and unlocking shortcuts. Once you reach the room with the mask sound effect, below it you’ll find a room with a hidden lever that unlocks a wall to climb. This will lead you to the third Mask Shard.
-
Find the Flea and Pale Oil
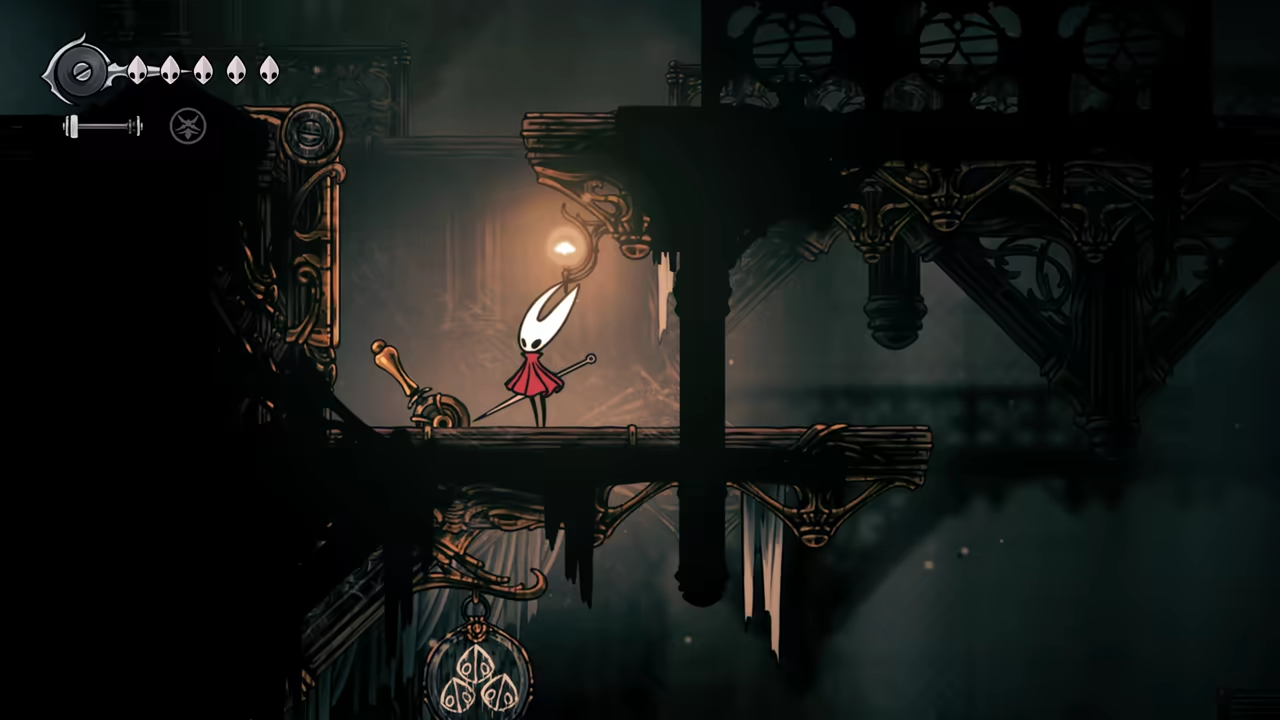
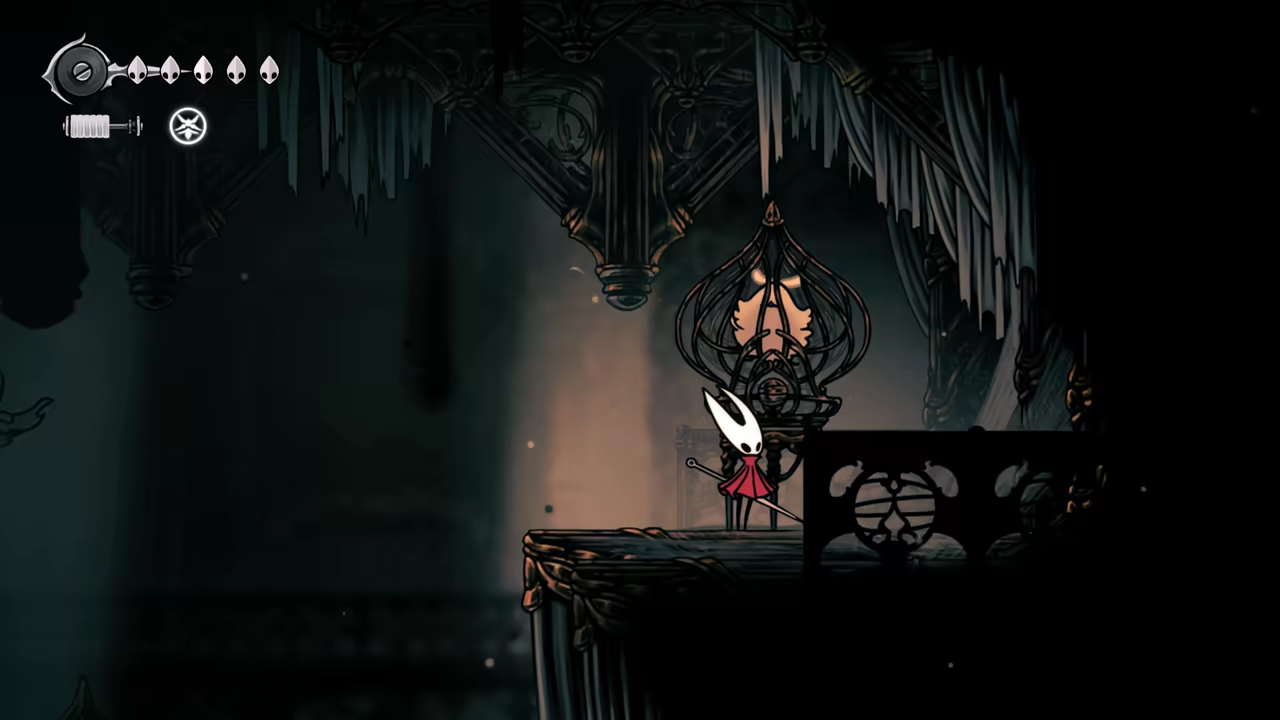
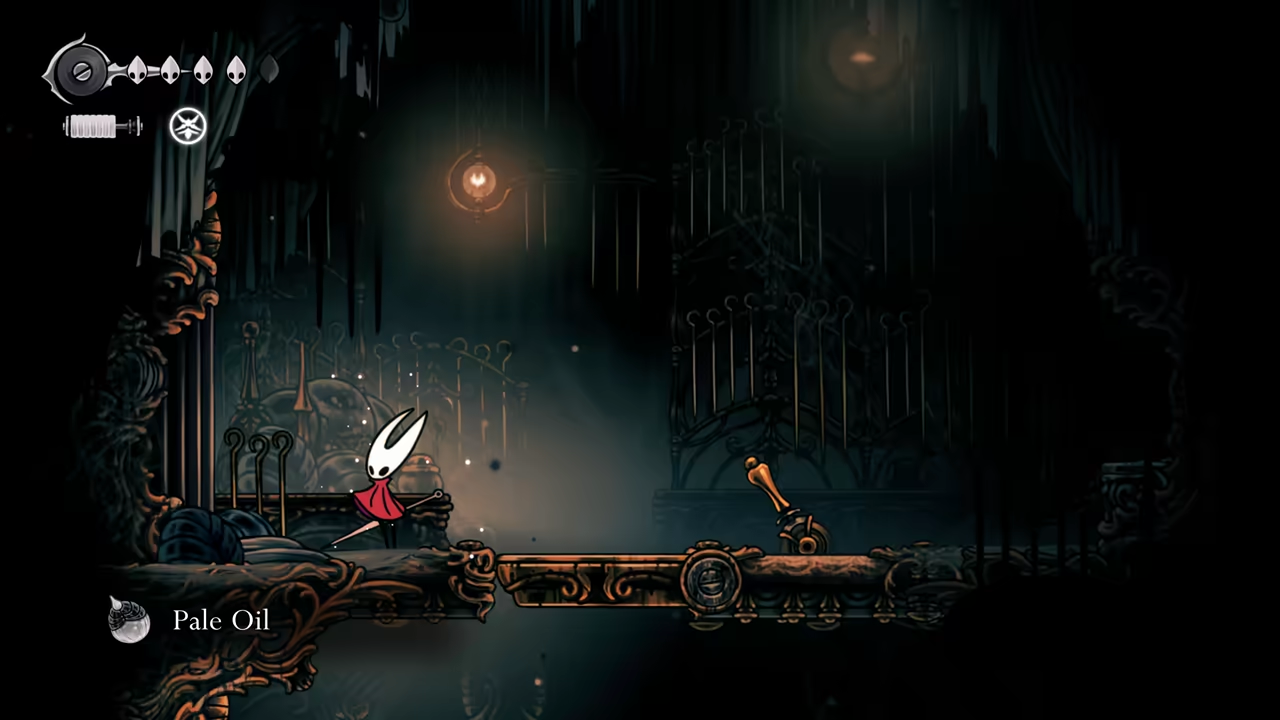
Section titled “Find the Flea and Pale Oil”You’ll soon find the area that leads you to Trobbio. Unlock the shortcut and enter the room at the top of it. On the top right of this room, you’ll find a flea. Save it now to advance The Lost Fleas quest. In the same room, enter the top left exit, solve the puzzle, and you’ll get your first pale oil.
-
Get the Quill and Defeat Trobbio
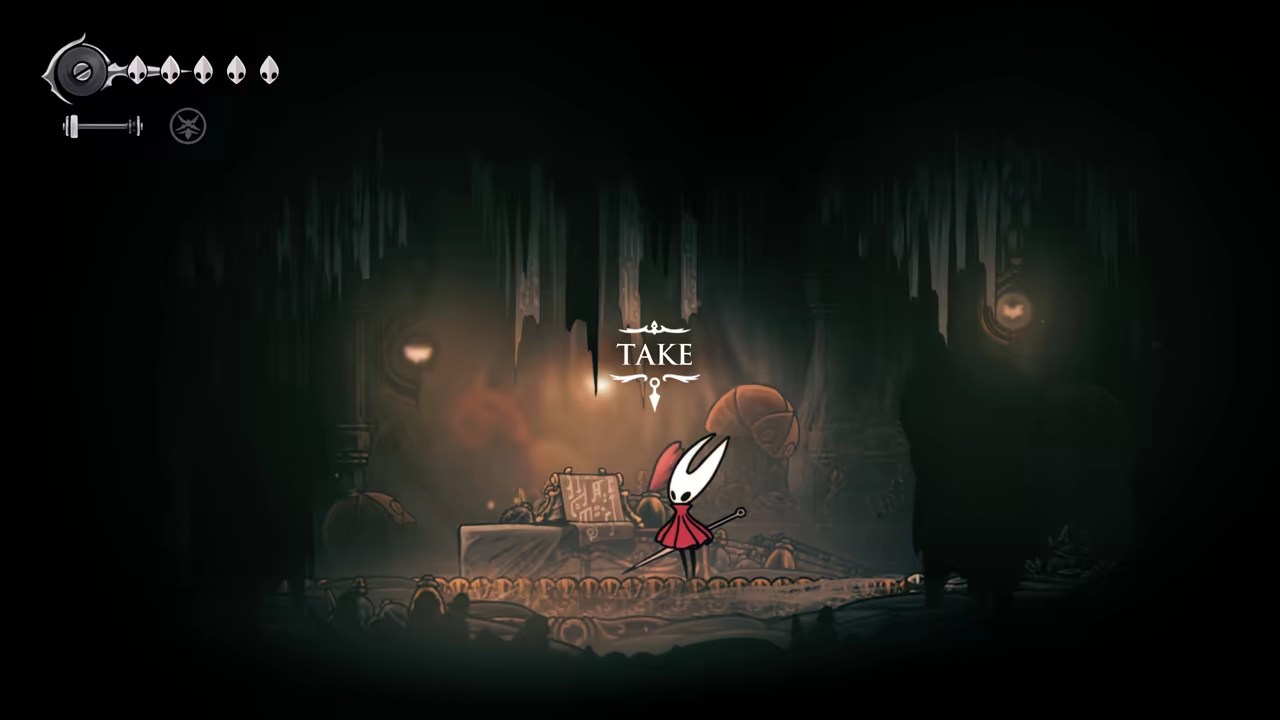
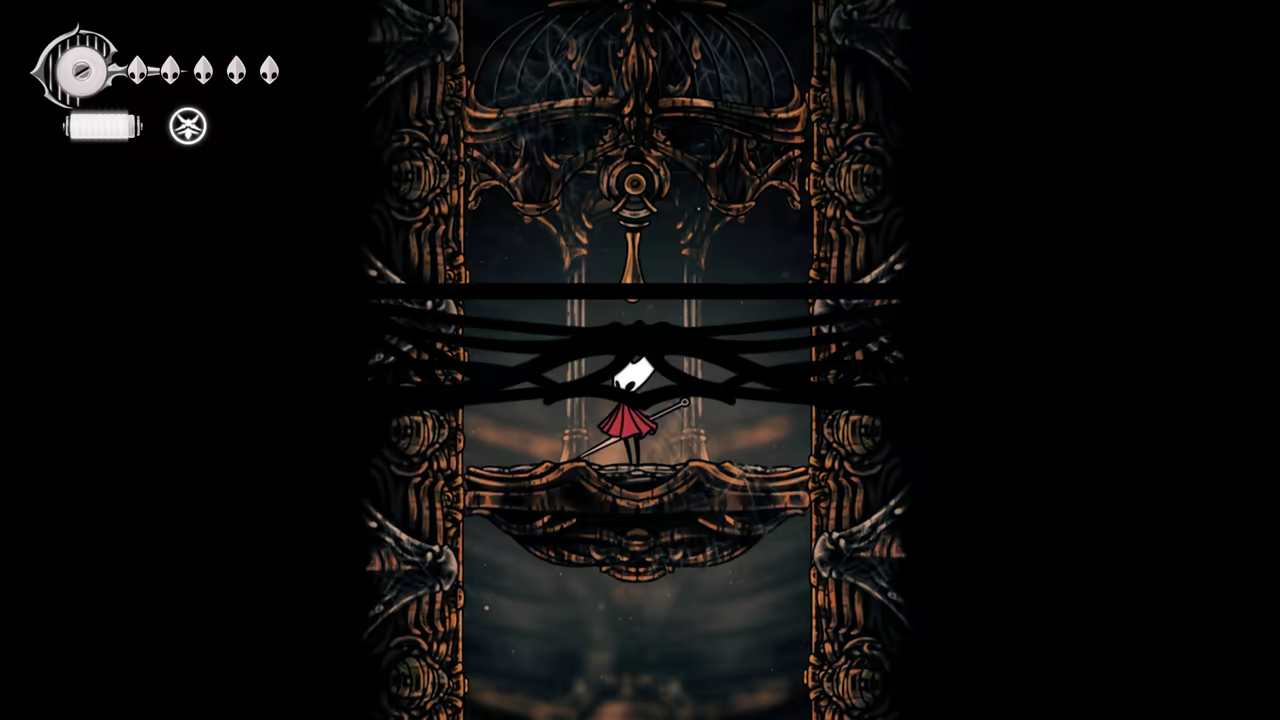
Section titled “Get the Quill and Defeat Trobbio”Go back to the Vaults and enter the Trobbio area to get your map quill. Then, fast travel to Bellhart to upgrade your nail again. Return and challenge Trobbio. If you’re using the Wanderer Crest, the tornado attack becomes a joke. You also have the parry skill from the phantom fight now. After winning, take the elevator and go left.
Part 4: Citadel Speedrun - Underworks
Section titled “Part 4: Citadel Speedrun - Underworks”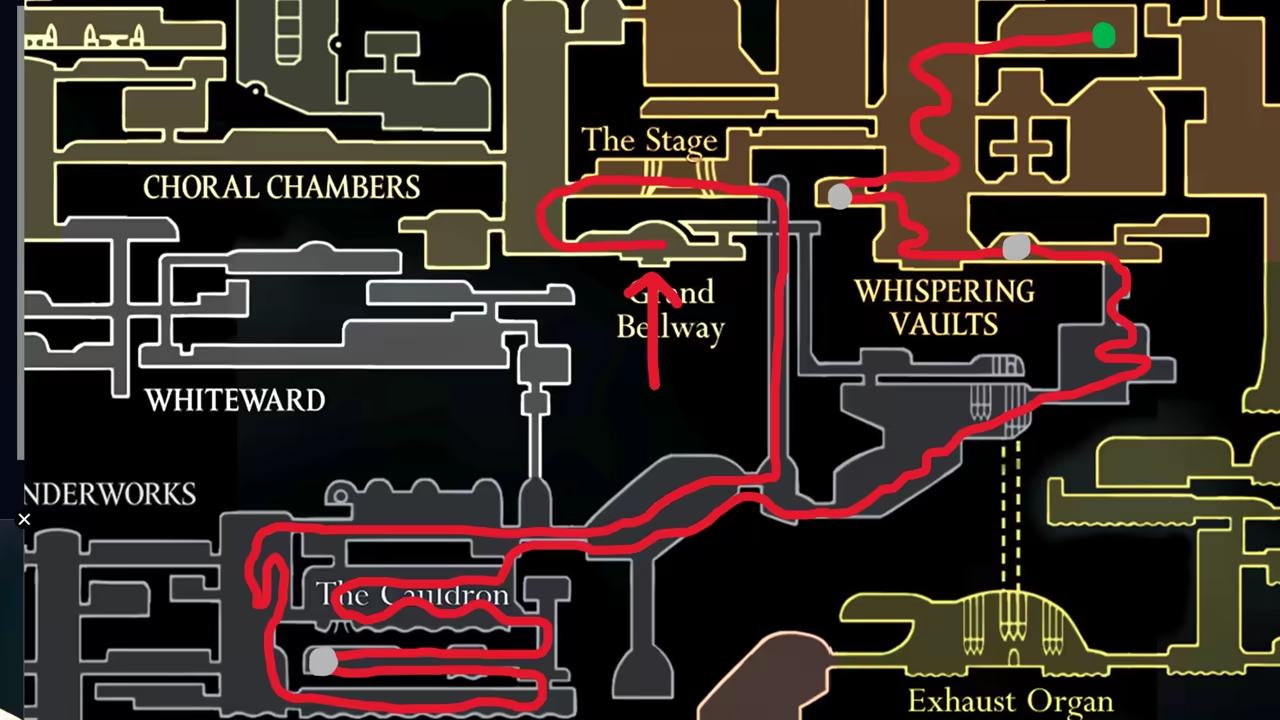
-
Navigate the Lava Corridor
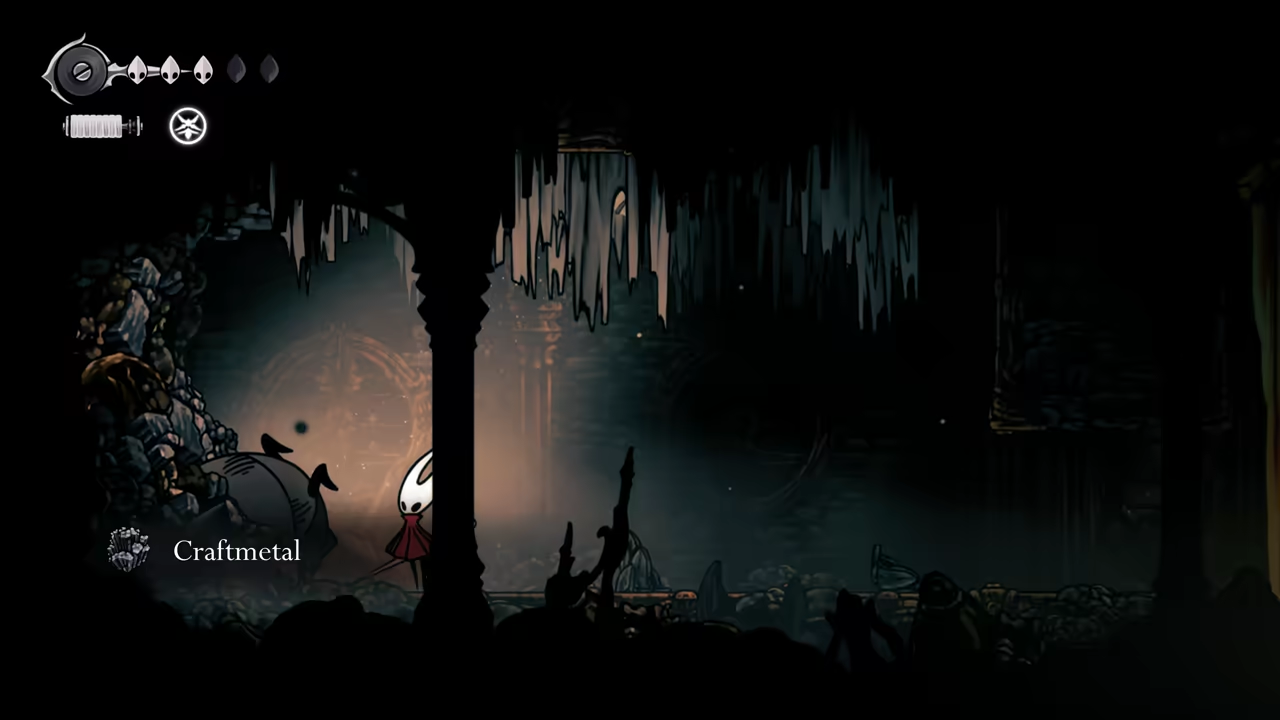
Section titled “Navigate the Lava Corridor”Won’t do much here for now. Just keep going left until you reach the tall lava corridor. Take it slow to avoid losing HP. On the upper area, take the left-down entrance to find one more craftmetal.
-
Get the Harpoon Ability
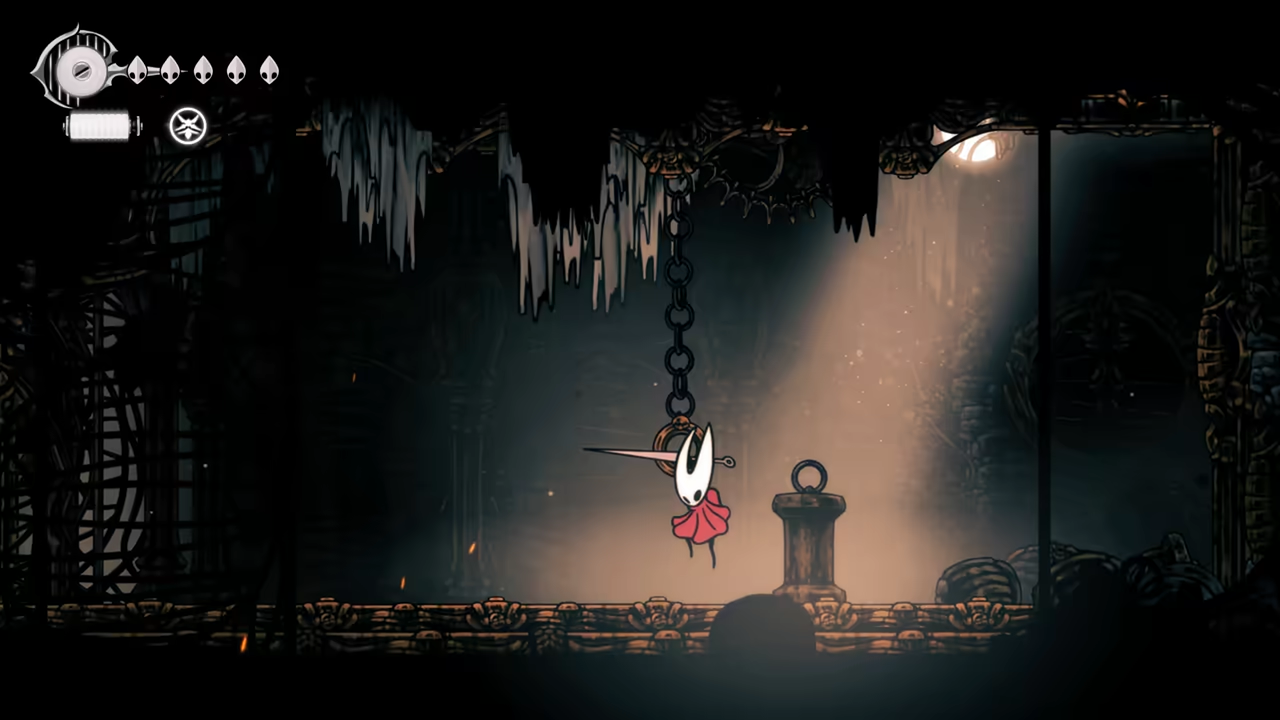
Section titled “Get the Harpoon Ability”Back on track, you’ll find the harpoon ability. After picking it up, climb towards the right side of the room and clear the small arena.
-
Get the Vault Keeper Melody
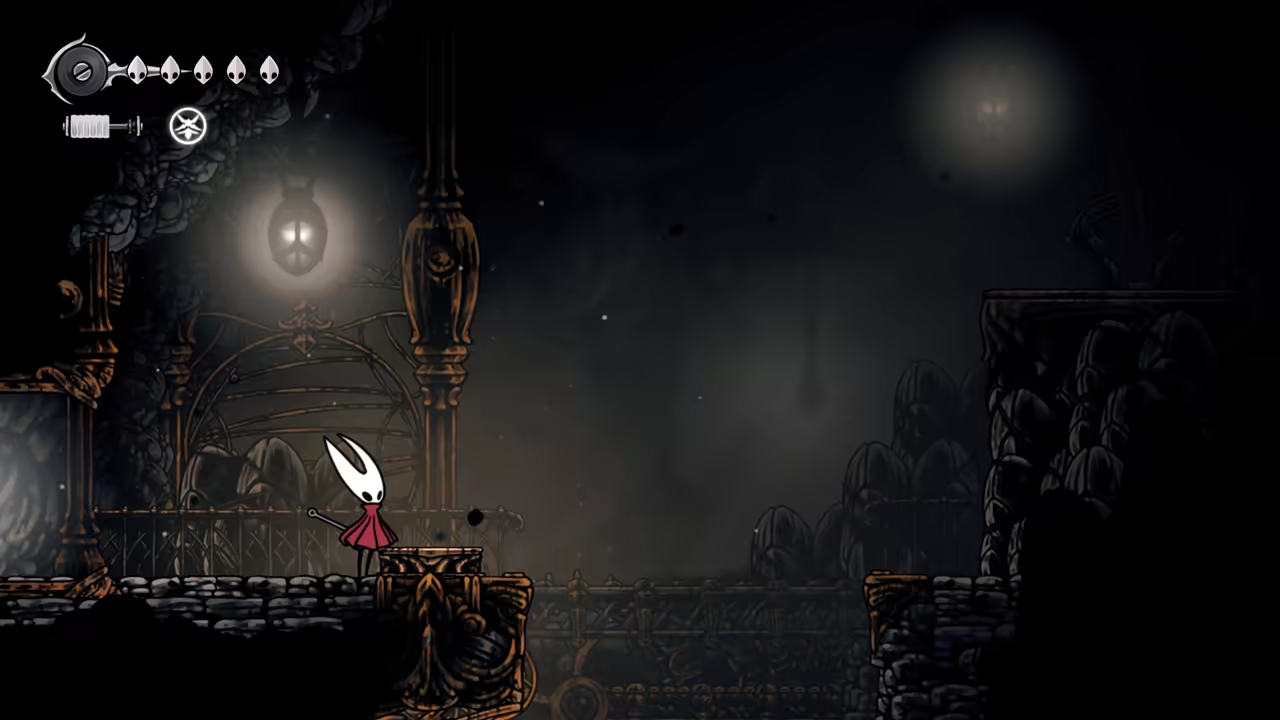
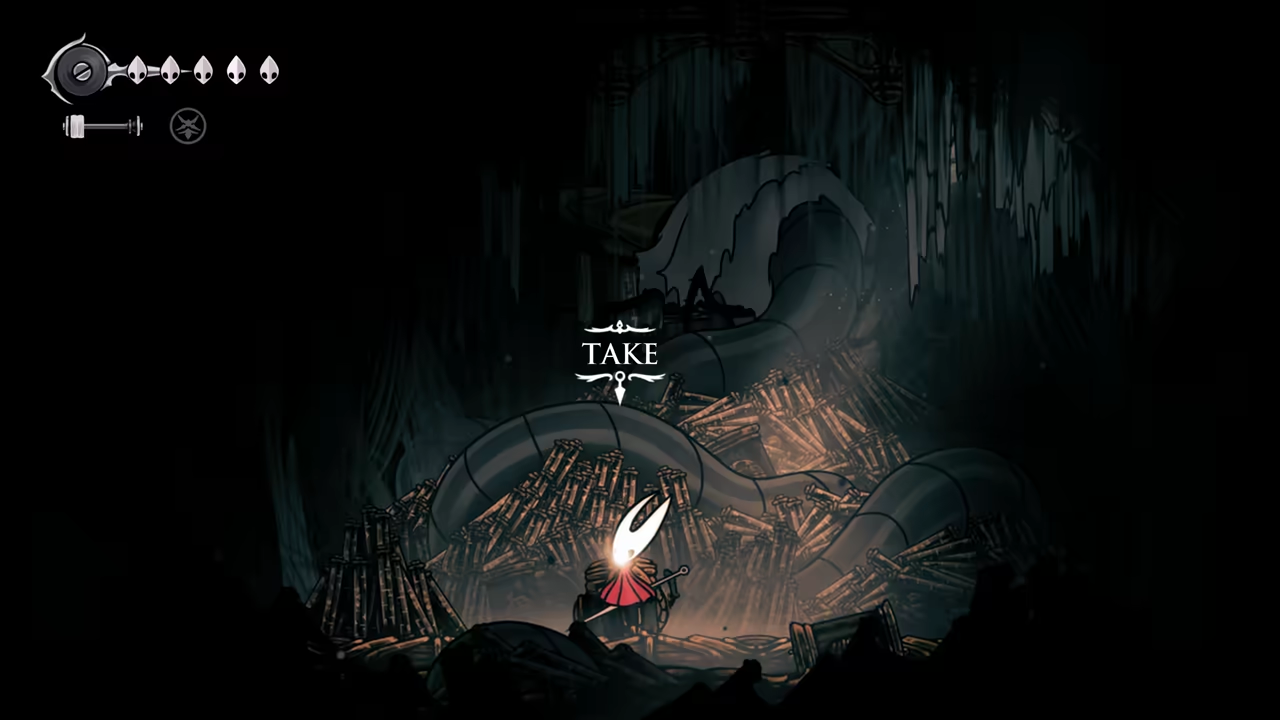
Section titled “Get the Vault Keeper Melody”Go right and down the hole below the elevator. Climb right to find a breakable wall. Climb the vault pipe to find the dead Vault Keeper and get the first melody for the Vaultkeeper’s Melody quest.
-
Get the Cogwork Heart Piece
Section titled “Get the Cogwork Heart Piece”To the left of this area, there’s a Cogwork heart piece you should get. Give this to the vault NPC in the Trobbio room ASAP.
Part 5: Citadel Speedrun - Exiting Citadel
Section titled “Part 5: Citadel Speedrun - Exiting Citadel”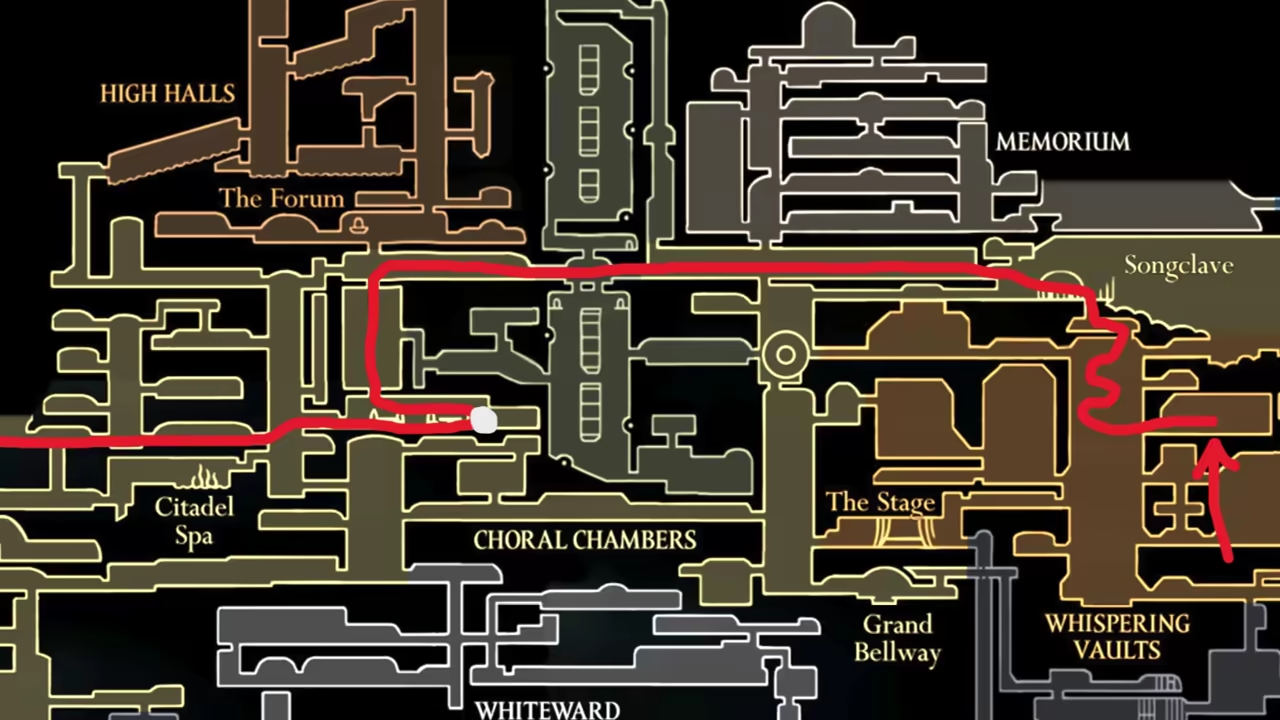
-
Fast Travel and Prepare to Leave
Section titled “Fast Travel and Prepare to Leave”Now we want to leave the place to get the next upgrade. Exit the Vaults through the stage, then fast travel to Songclave.
-
Get the Taste of Pharloom Wish
Section titled “Get the Taste of Pharloom Wish”Make a quick stop to get the Great Taste of Pharloom wish—this will be useful for later.
-
Exit to the Next Area
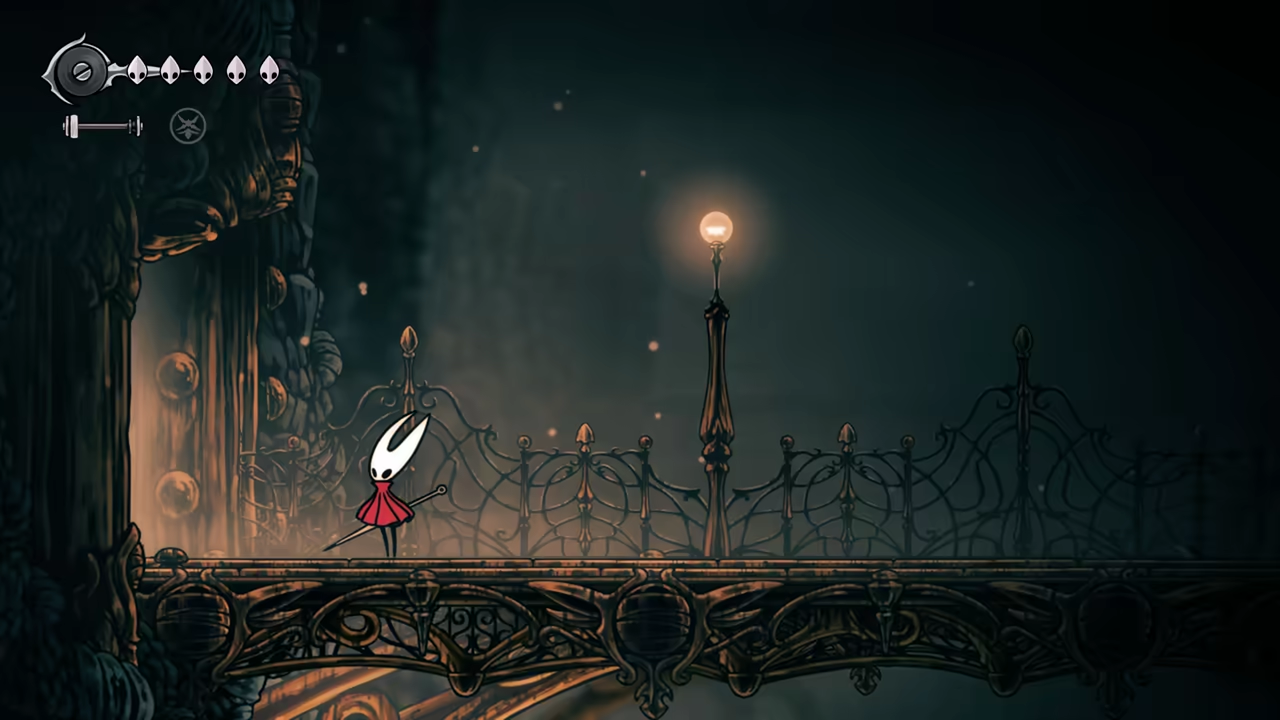
Section titled “Exit to the Next Area”After reaching the bridge, you can exit from the left and get to the next area.
Part 6: Mount Fay Speedrun
Section titled “Part 6: Mount Fay Speedrun”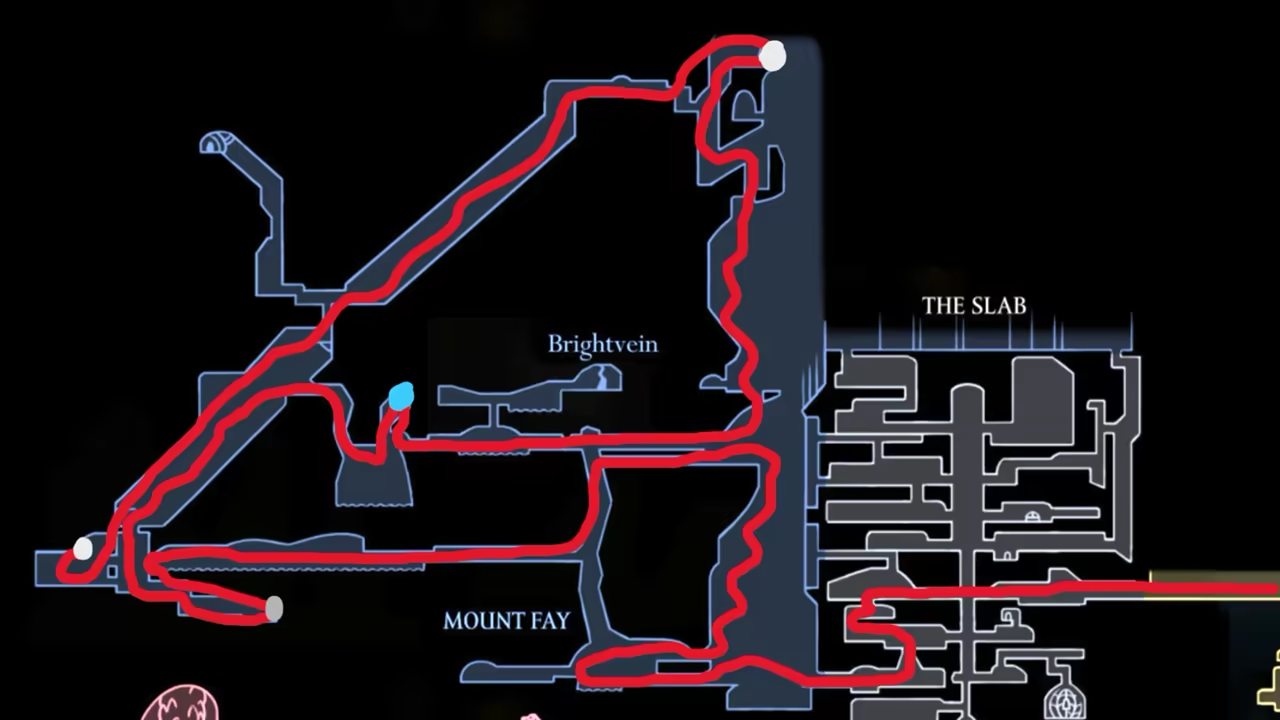
-
Travel to Mount Fay
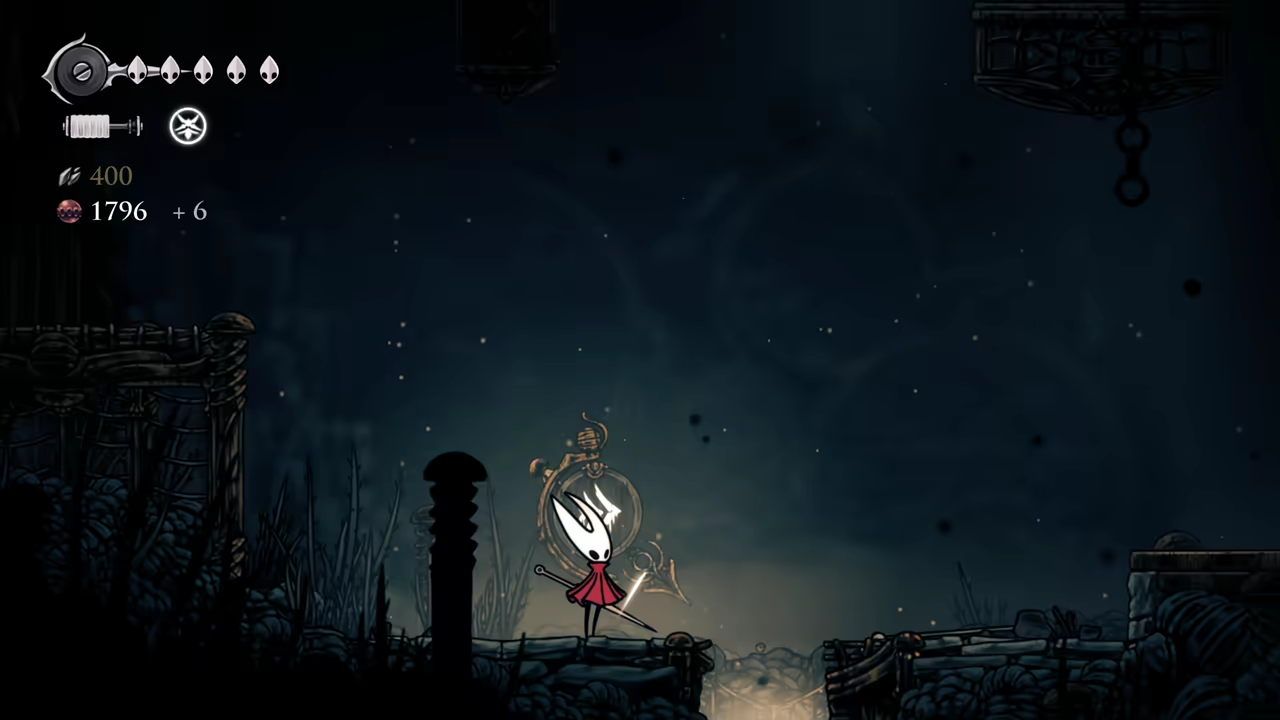
Section titled “Travel to Mount Fay”After leaving the Citadel, we’ll enter the Slab—but we won’t be here for long. Just keep going down and left until you find the fast travel sign. Follow it, unlock it, and we can skip directly to Mount Fay.
-
Climb the Mountain & Buy Maps
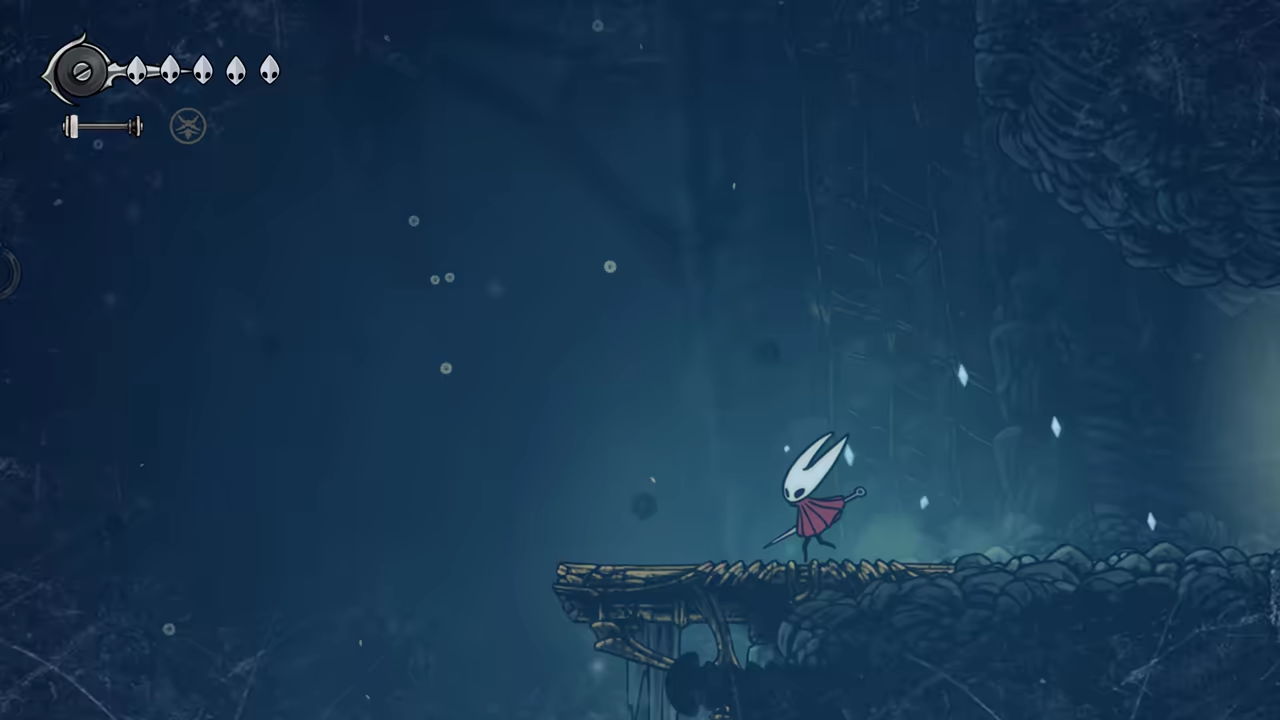
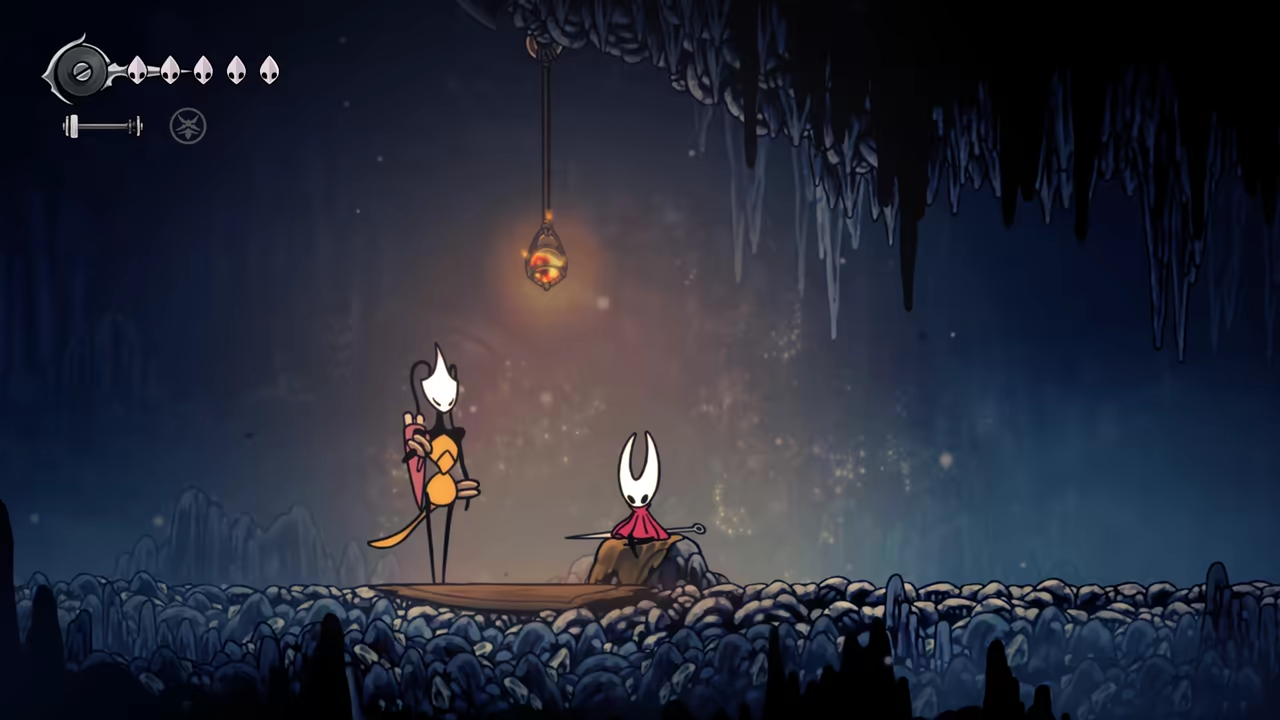
Section titled “Climb the Mountain & Buy Maps”Speeding through this area is pretty simple. Since we have all the required skills, we can hook our way up the mountain. After getting a quill from Trobbio, it’s time to get maps. If you haven’t yet, buy all the maps available from Shakra—and of course, the compass.
-
Find Hidden Bench, Tool, and Flea
Section titled “Find Hidden Bench, Tool, and Flea”When you reach the far left, you’ll find a bench locked below a trapdoor. Go outside using the left exit, then get down and break a wall to access the bench. To the right of the bench, you can also find the Memory Crystal tool. From here, climb up to the next cave area. Inside, a crystal wall towards the top left hides a flea for The Lost Fleas quest.
-
Acquire Double Jump
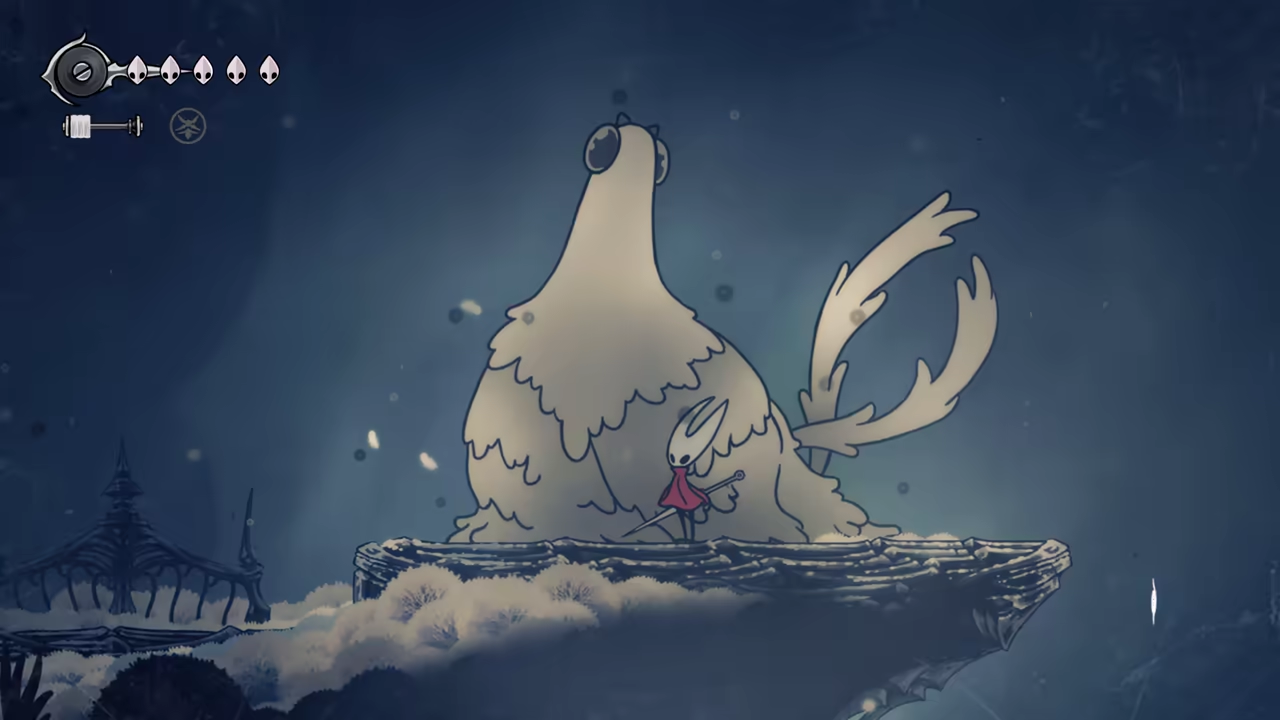
Section titled “Acquire Double Jump”Mount Fay is basically a platforming challenge. Just climb and grab the safety bench on the way. If you screw up really bad, save and reload; don’t waste your Steel Soul save. After climbing all the way to the top, you can finally unlock Faydown Cloak (double jump), and now you can pretty much clear 90% of the map pretty fast.
-
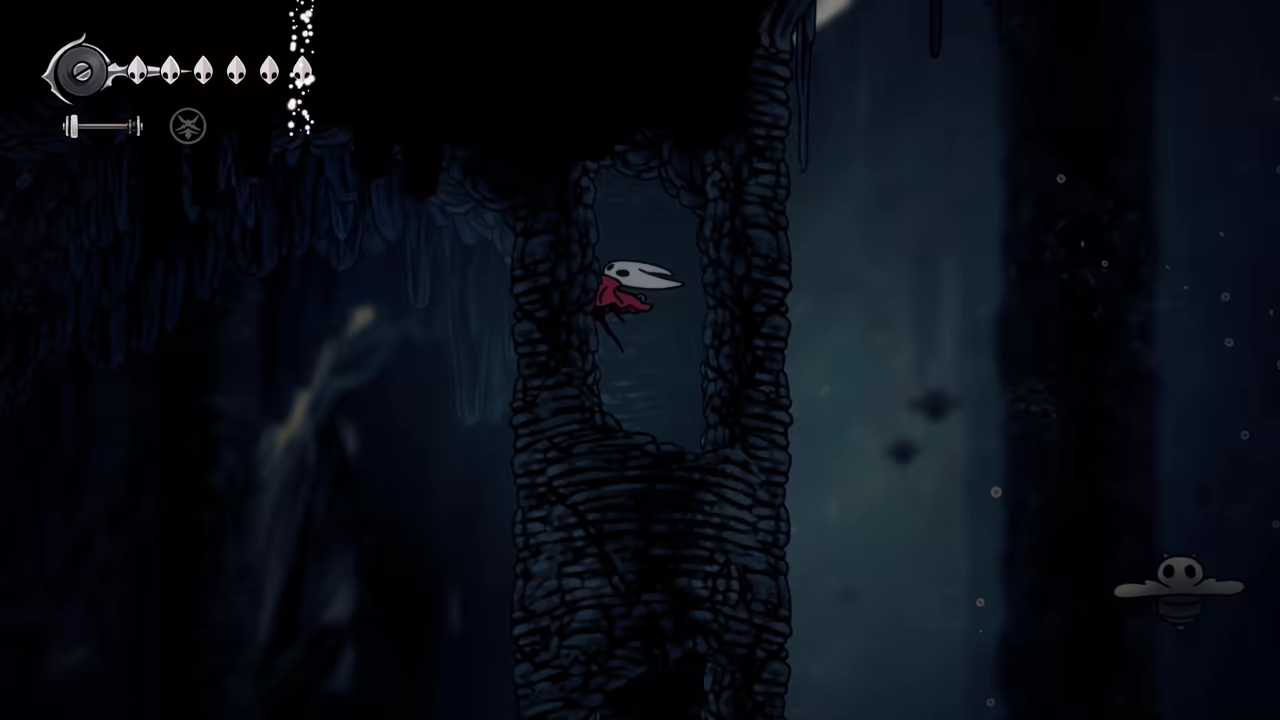
Collect Final Mask Shard
Section titled “Collect Final Mask Shard”After getting the upgrade, you can slide down the mountain to the left. Close to the bench on the far left of the map, you can get one more mask shard.
-
Begin Backtracking
Section titled “Begin Backtracking”Now you can go full right until you reach the fast travel—and the backtracking commences…
100% Completion Backtracking
Section titled “100% Completion Backtracking”100% Wormways
Section titled “100% Wormways”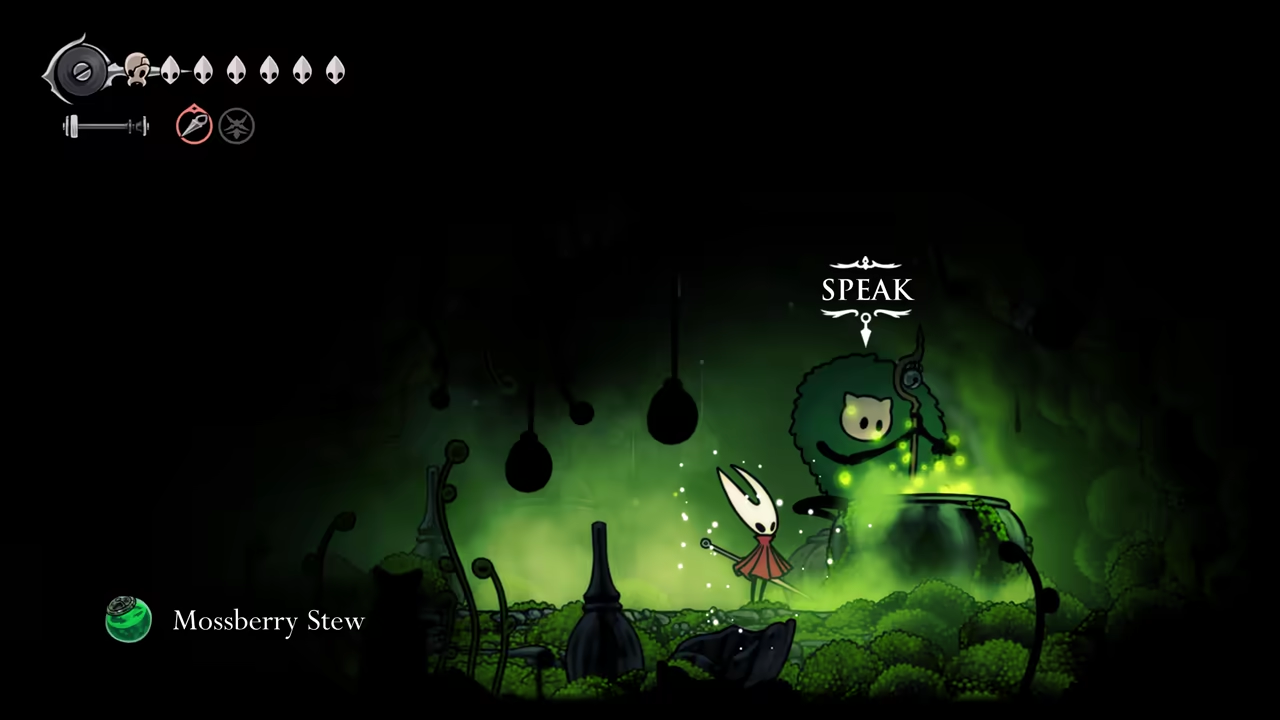
Key Items
- Mask Shard
- Memory Locket
- Plasmium
- Shell Satchel
Quests
- Great Taste of Pharloom
- Plasmium Quest
- My Missing Courier
NPCs
- Moss Druid
- Zango
Connects To
- Bone Bottom
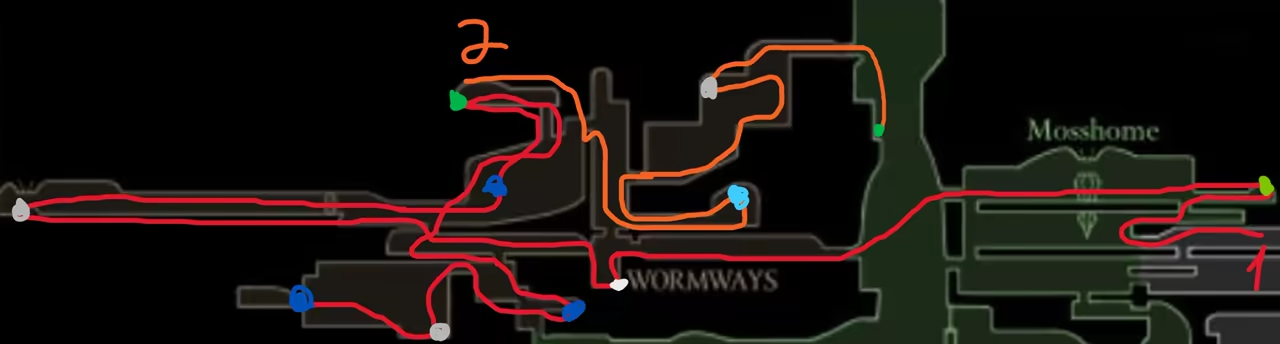
This is the first route we’ll be following:
-
Start in The Marrow
Section titled “Start in The Marrow”We’ll start by fast traveling back to The Marrow to meet the moss druid again. This will give us one of the items for the Great Taste of Pharloom wish.
-
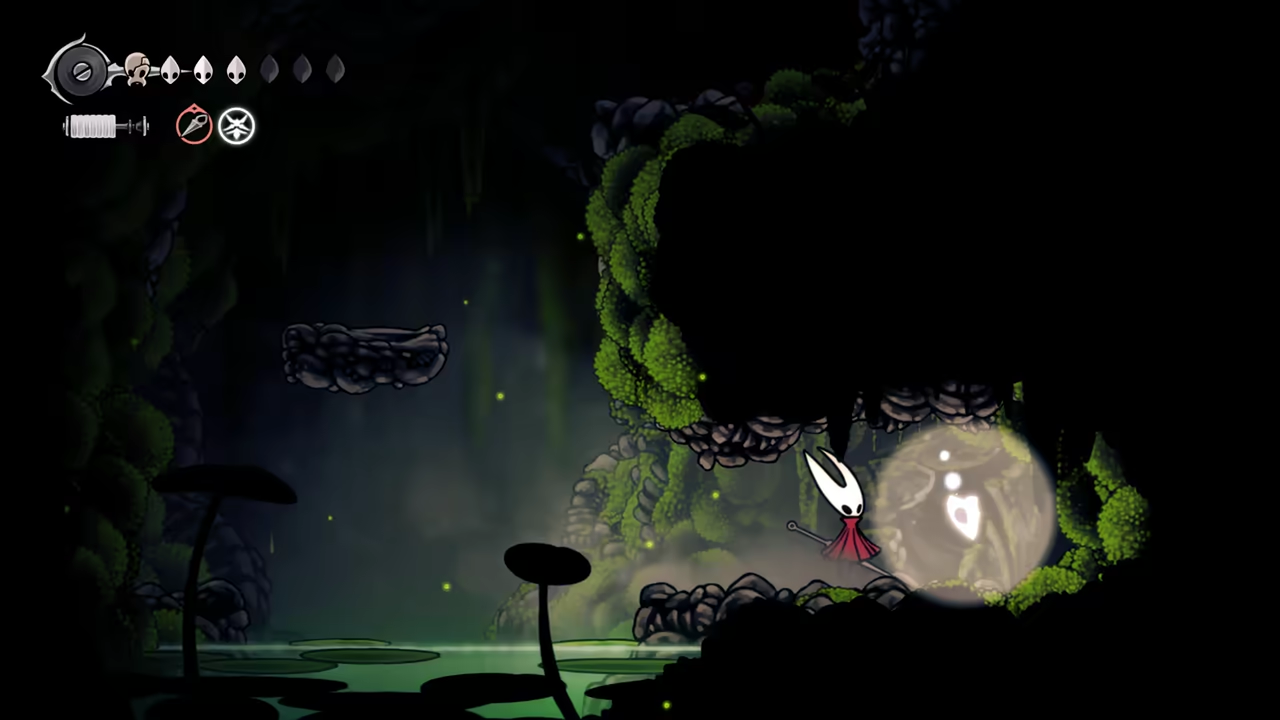
Enter Wormways & Get Mask Shard
Section titled “Enter Wormways & Get Mask Shard”Now, head left to access Wormways, right next to where we unlocked the Simple Key door. Here, we can get another Mask Shard (unless you already picked it during the Bone Bottom Fast Revisit).
-
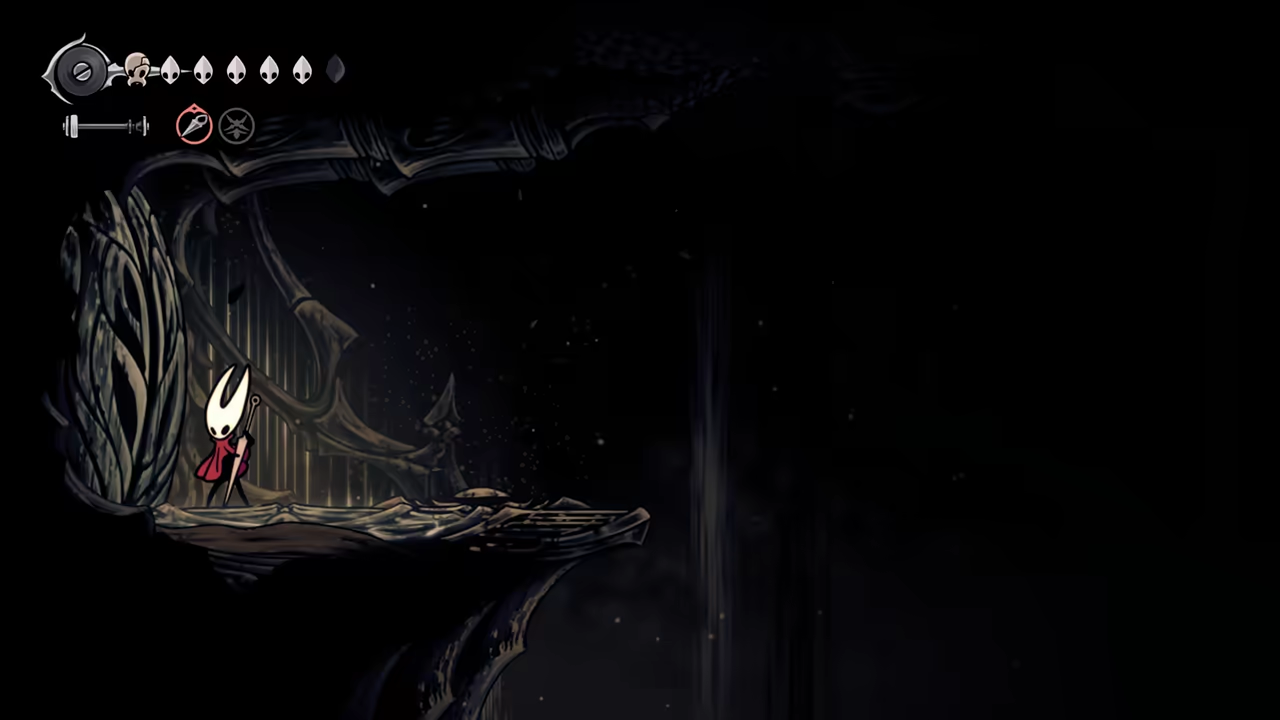
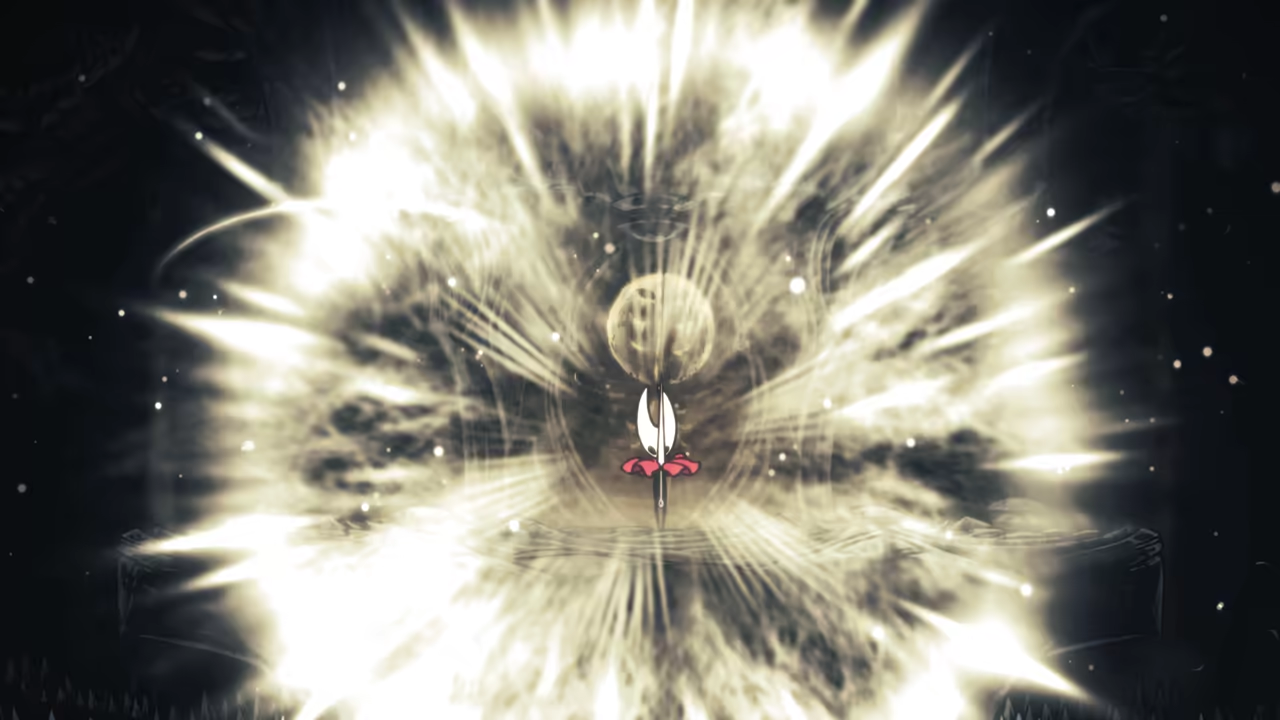
Acquire the Sharp Dart Skill
Section titled “Acquire the Sharp Dart Skill”Next, go all the way left to find a Weavenest. Play the Needolin and enter it. Inside, we’ll unlock the Sharpdart skill.
-
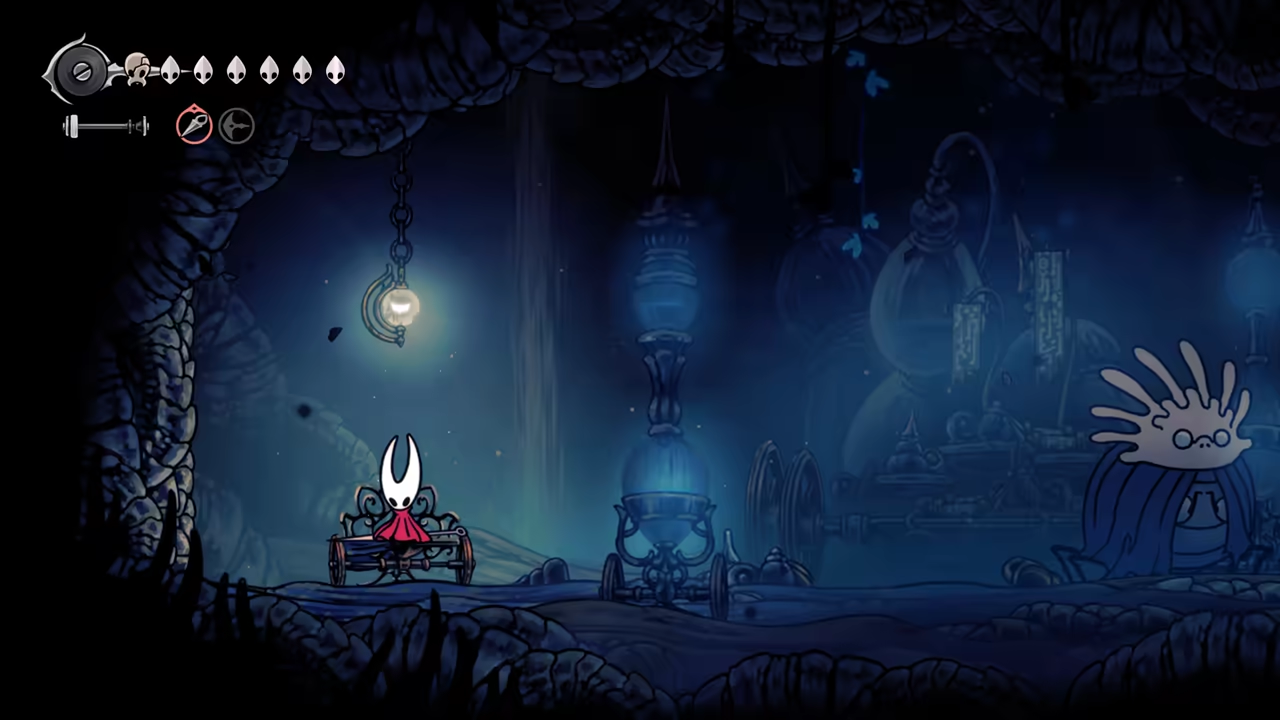
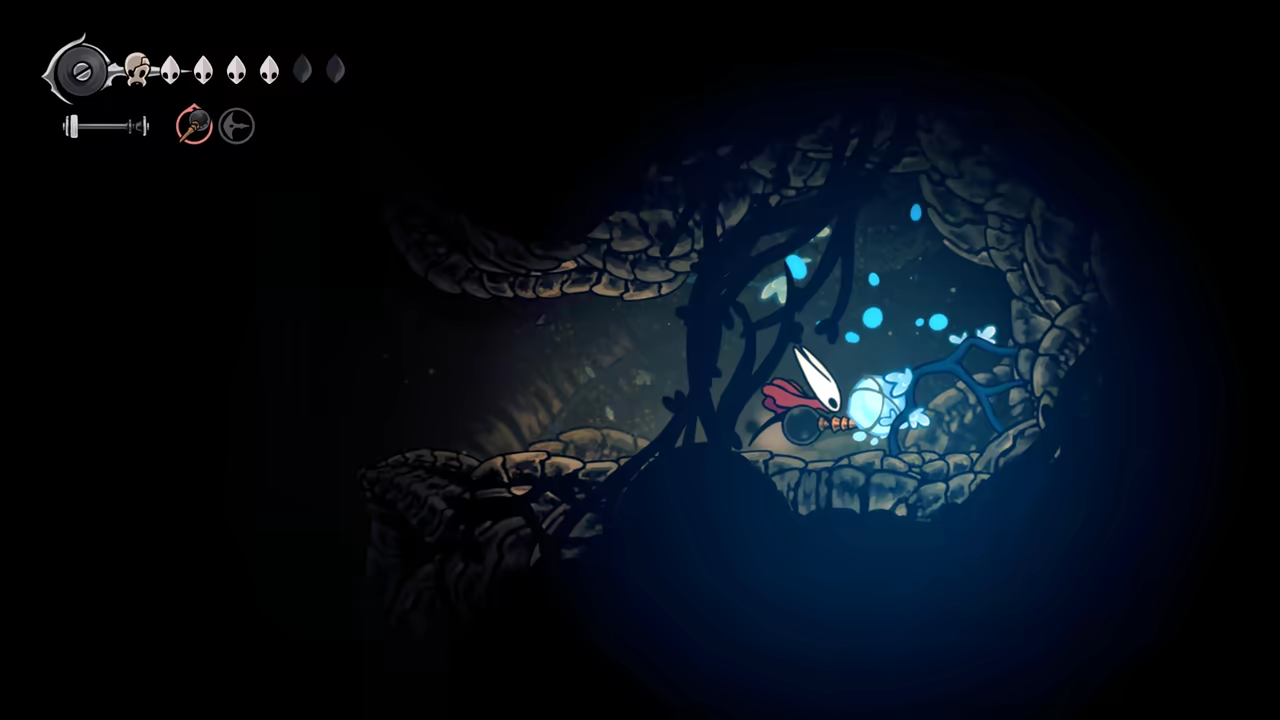
Collect Plasmium & Memory Locket
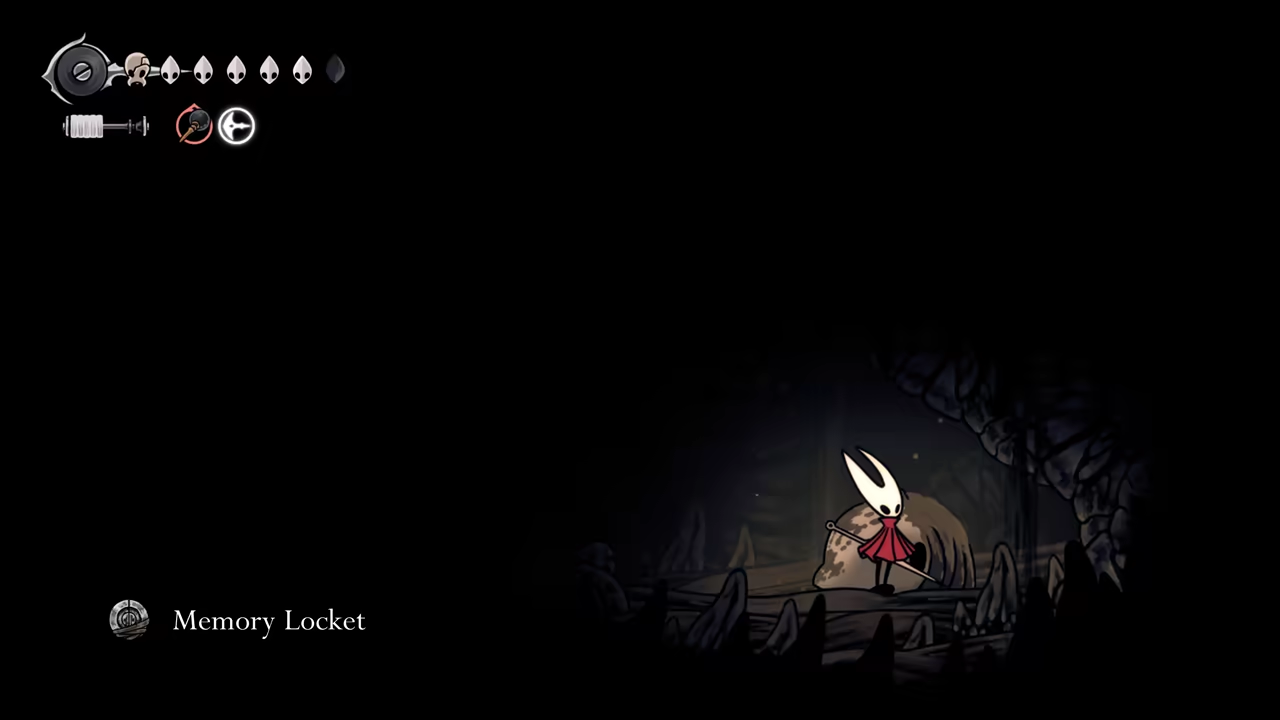
Section titled “Collect Plasmium & Memory Locket”Head right and up to get the Plasmium quest from Zango. Sit on the bench for a hard save point. Leave the room and follow the route towards the blue markers to gather all the Plasmium you need. In the last area, you can also find a Memory Locket.
-
Complete Zango’s Quest
Section titled “Complete Zango’s Quest”After getting the final Plasmium, quit and reload to instantly return to the bench and complete Zango’s quest.
-
Second Route: Flea & Shell Satchel
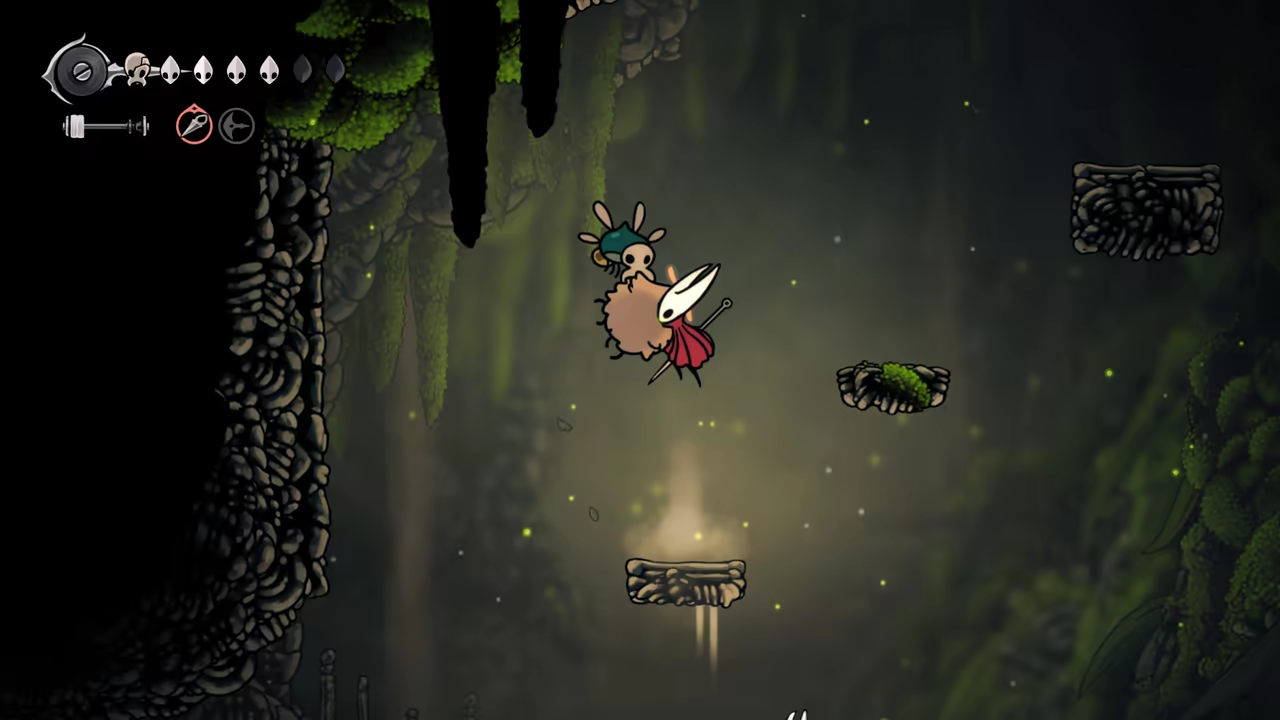
Section titled “Second Route: Flea & Shell Satchel”Now, for the second route (orange). Go right to unlock the shortcut. Right next to it is a breakable wall with a flea inside for The Lost Fleas quest.
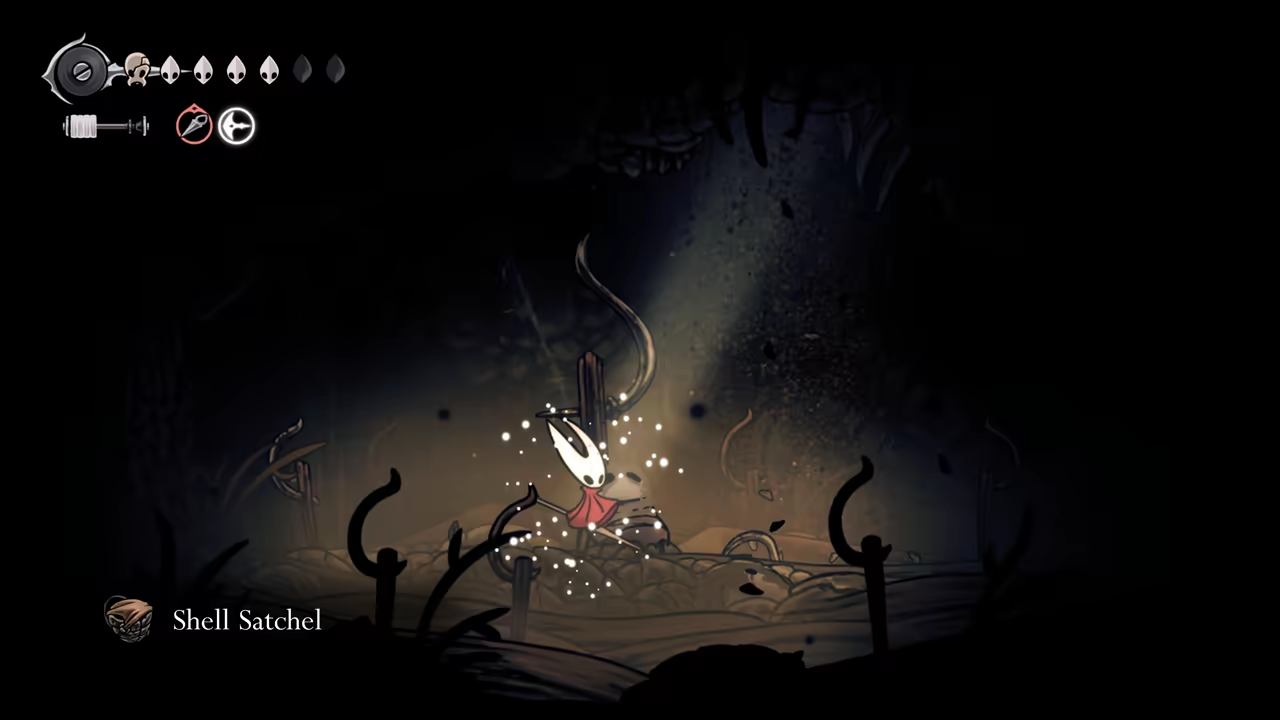
Climbing up, you’ll find the last important item in the area—a Shell Satchel.
-
Find the Missing Courier
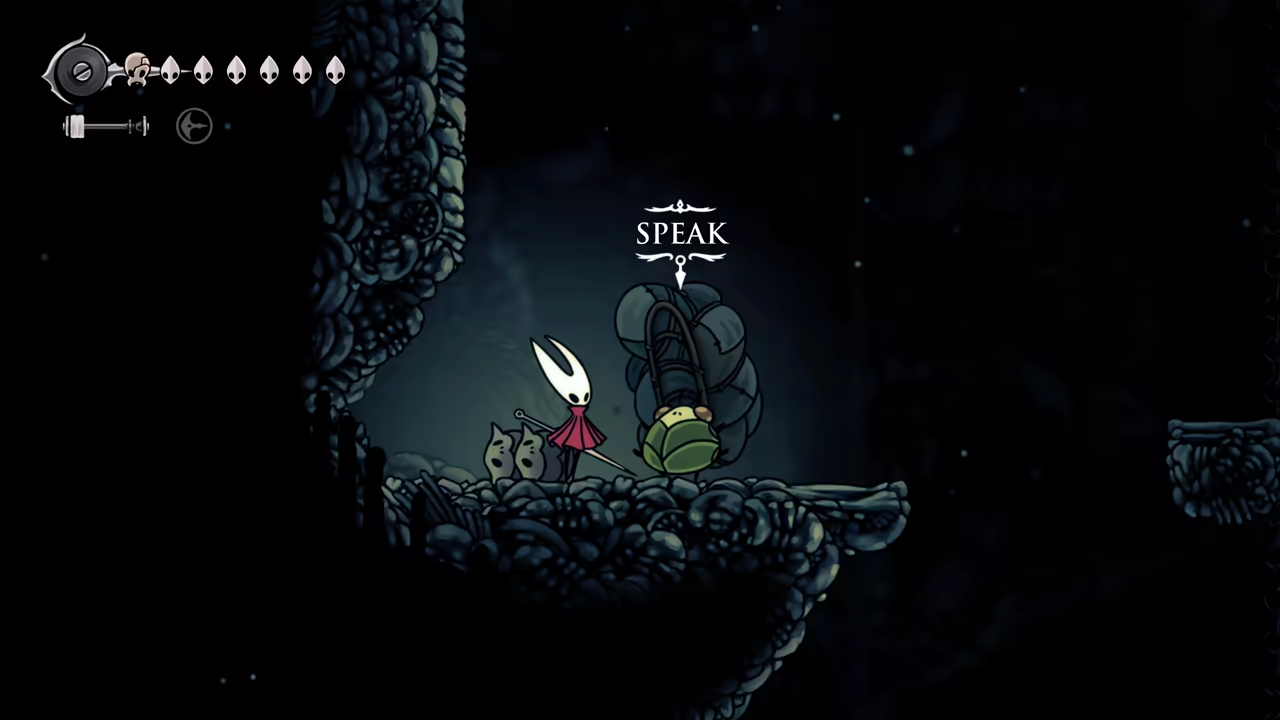
Section titled “Find the Missing Courier”Leave the area towards Bone Bottom, but before jumping all the way down, climb down the left side to find the courier for the My Missing Courier quest. Now you can jump down to Bone Bottom.
100% Bone Bottom + The Marrow
Section titled “100% Bone Bottom + The Marrow”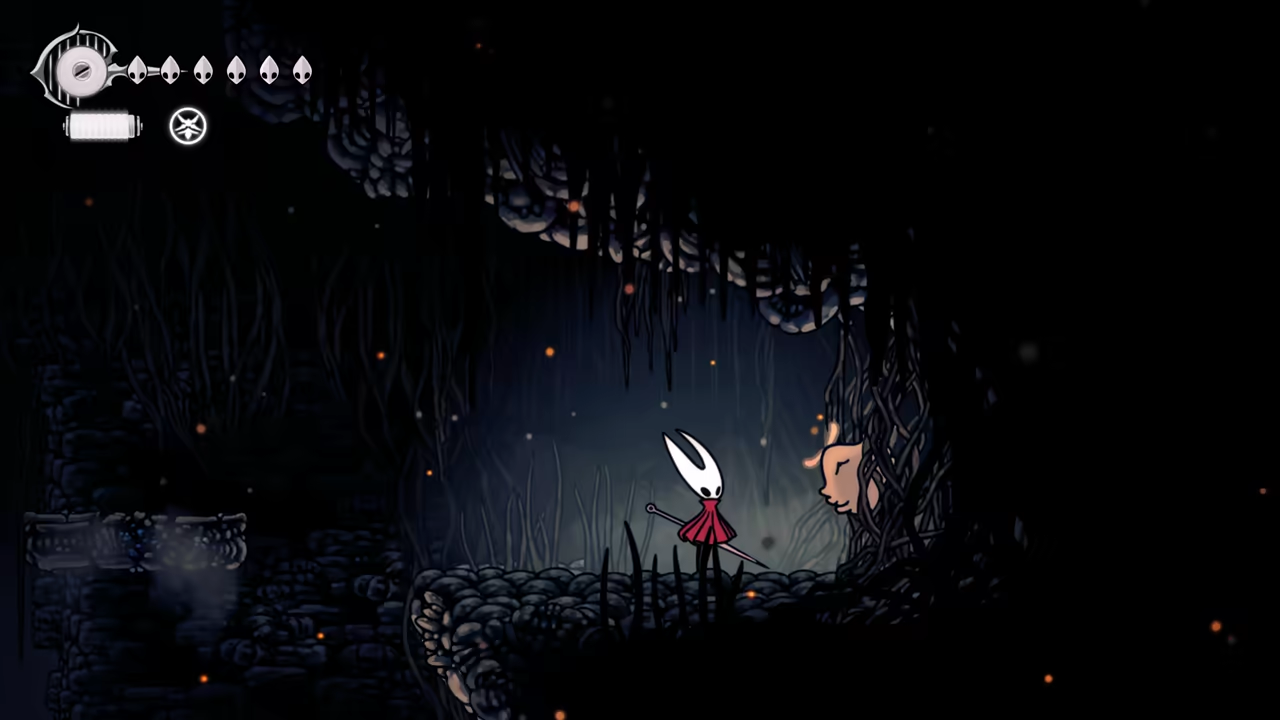
Key Items
- Mask Shard
- Craftmetal
- Simple Key
- Magnetite Brooch
- Shard Pendant
- Memory Locket
- Tool Pouch upgrade
Bosses
Quests
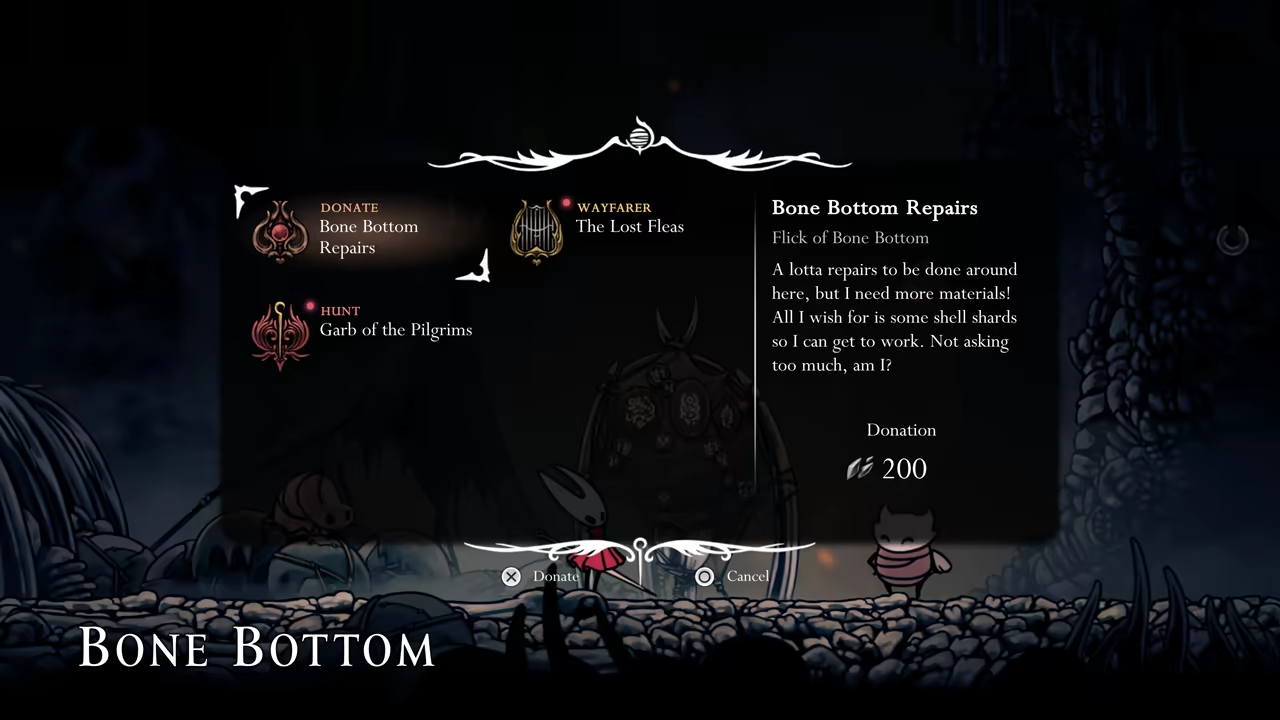
- Bone Bottom Repairs
- A Lifesaving Bridge
- An Icon of Hope
- Garb of the Pilgrims
- The Terrible Tyrant
- Volatile Flintbeetles
- The Lost Fleas
NPCs
- Flea Master
Here is the route to follow starting from Bone Bottom:
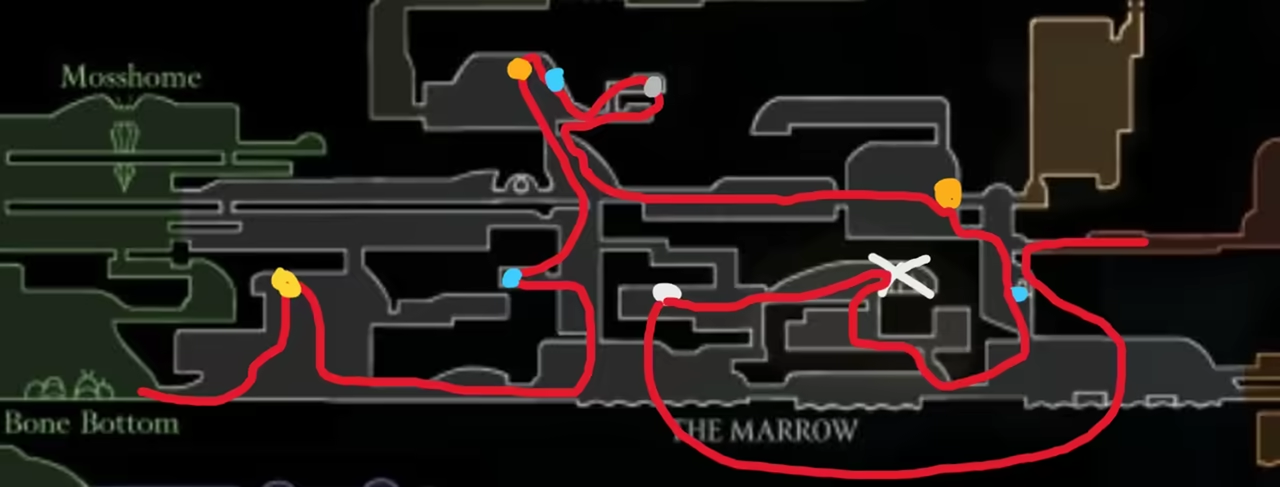
-
Find First Collectibles
Section titled “Find First Collectibles”We’ll encounter our first Flint Beetle, then get the Shard Pendant.
-
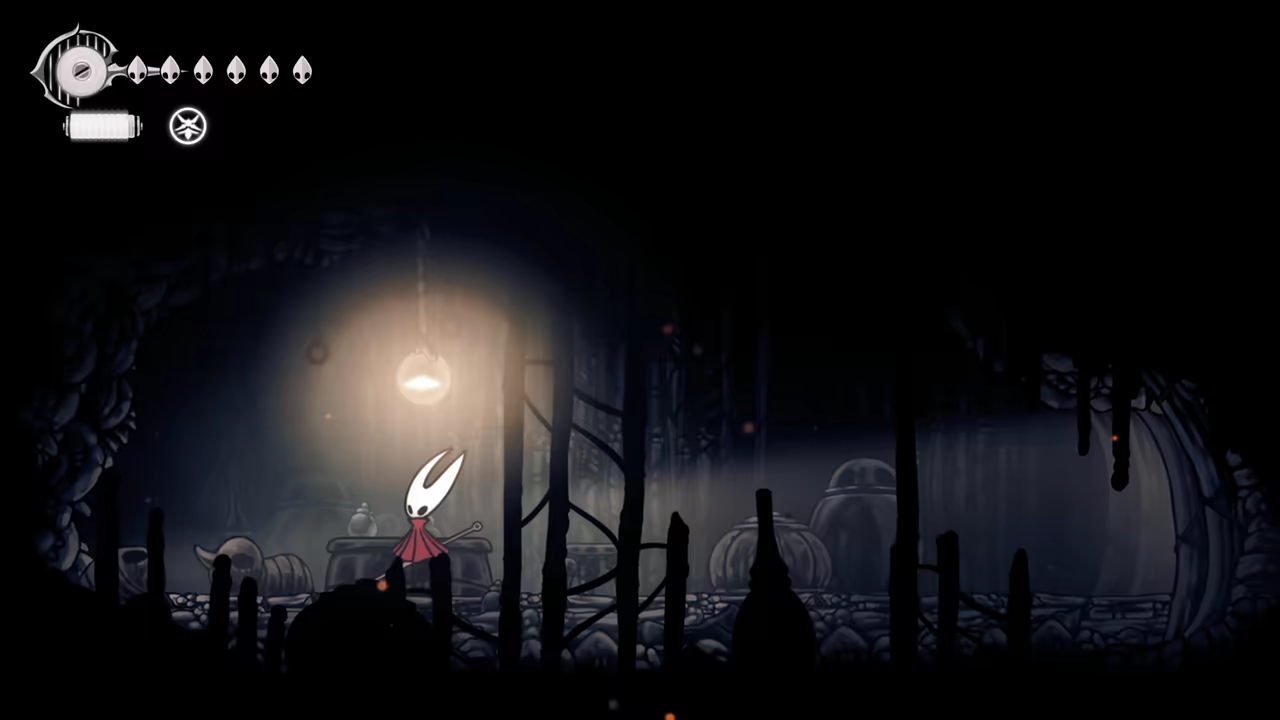
Find Flea & Second Flint Beetle
Section titled “Find Flea & Second Flint Beetle”Go up to find the next Flint Beetle and a lost flea.
-
Grab the Memory Locket
Section titled “Grab the Memory Locket”Enter the cave on the right in the same room to grab a Memory Locket.
-
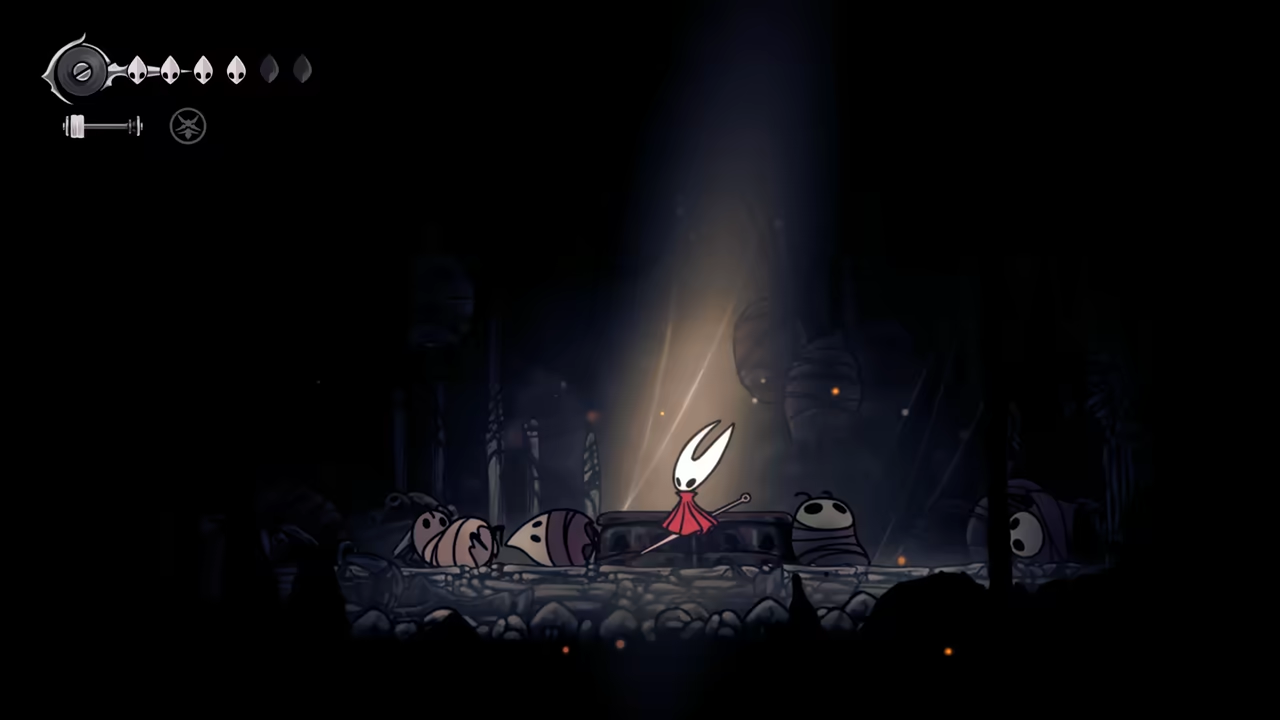
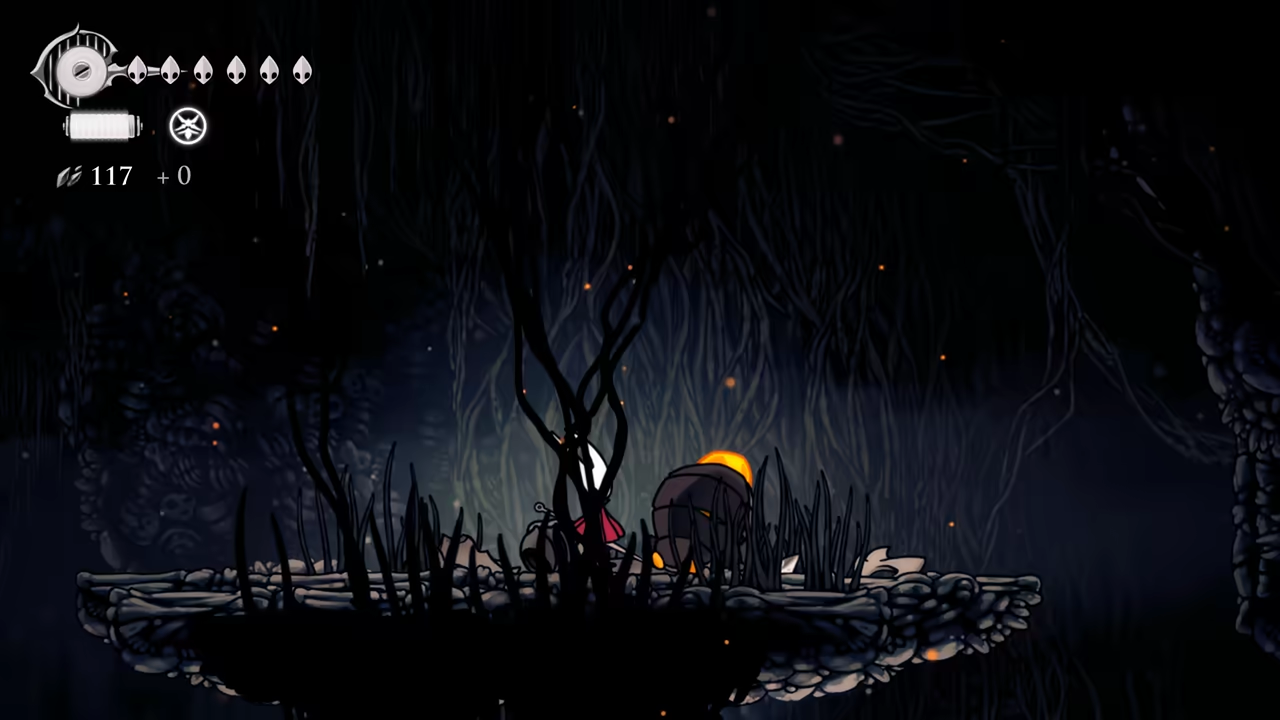
Find the Last Flint Beetle
Section titled “Find the Last Flint Beetle”Next stop: fight the last Flint Beetle to update the Volatile Flintbeetles quest.
-
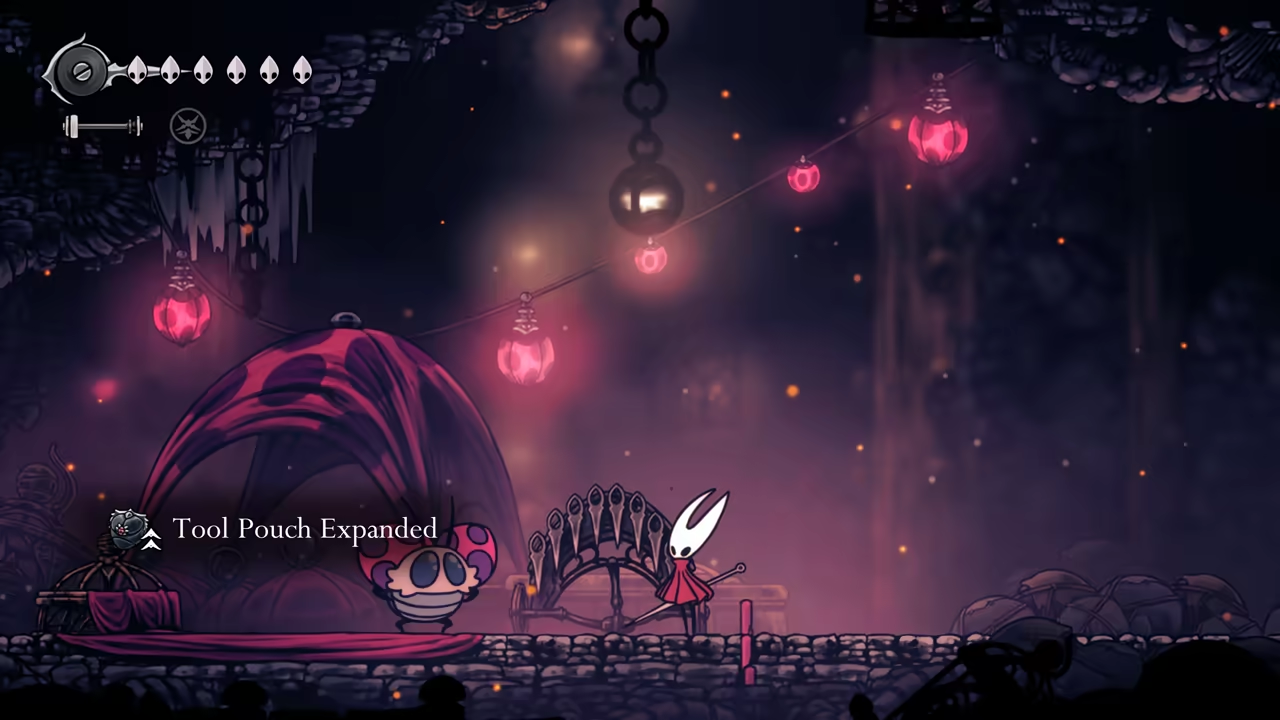
Target Minigame & Tool Pouch
Section titled “Target Minigame & Tool Pouch”Going down, we’ll find the Target Minigame. Sit on the bench and win the game to get a Tool Pouch upgrade.
-
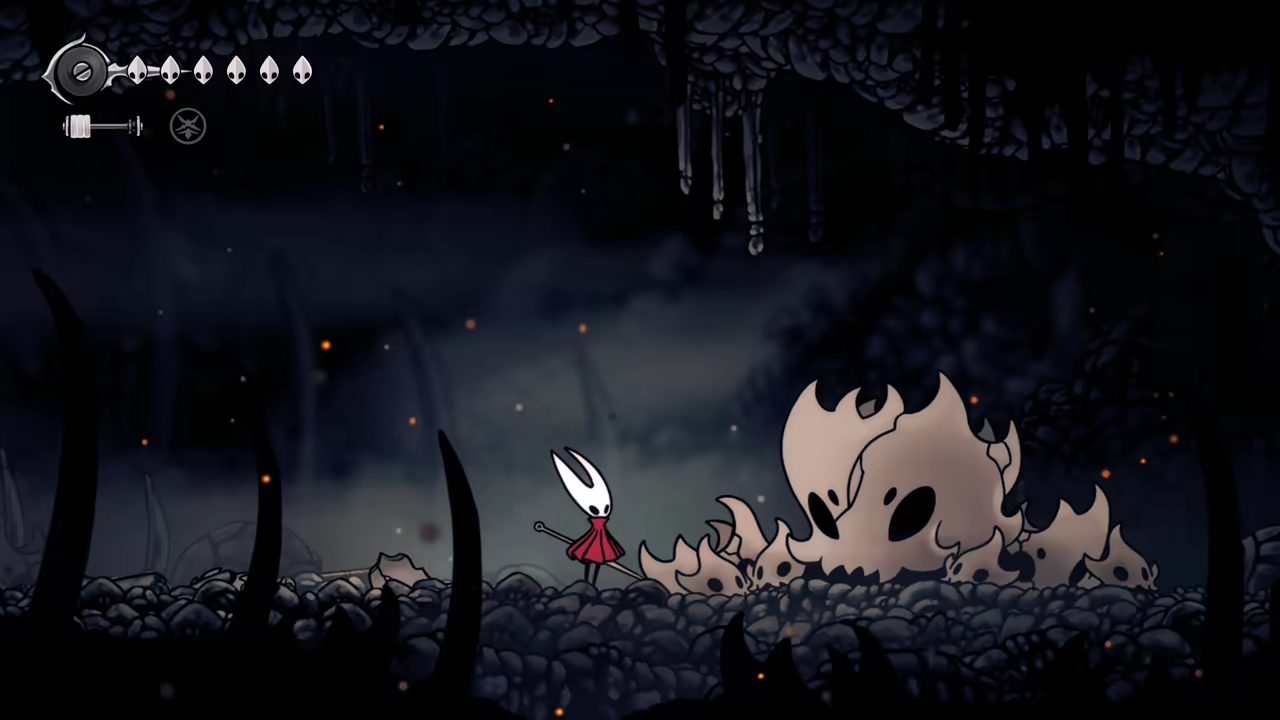
Defeat the Skull Tyrant
Section titled “Defeat the Skull Tyrant”Now go fight the Skull Tyrant on the way to the Flea Master to progress The Terrible Tyrant quest. The fight is pretty basic—just jump to dodge and attack when you get the chance.
-
Talk to the Flea Master
Section titled “Talk to the Flea Master”To finish the route, we’ll talk to the Flea Master and complete the wish for saving 5 fleas. He’ll then move on to the next location (don’t accept going with him).
100% Hunters March
Section titled “100% Hunters March”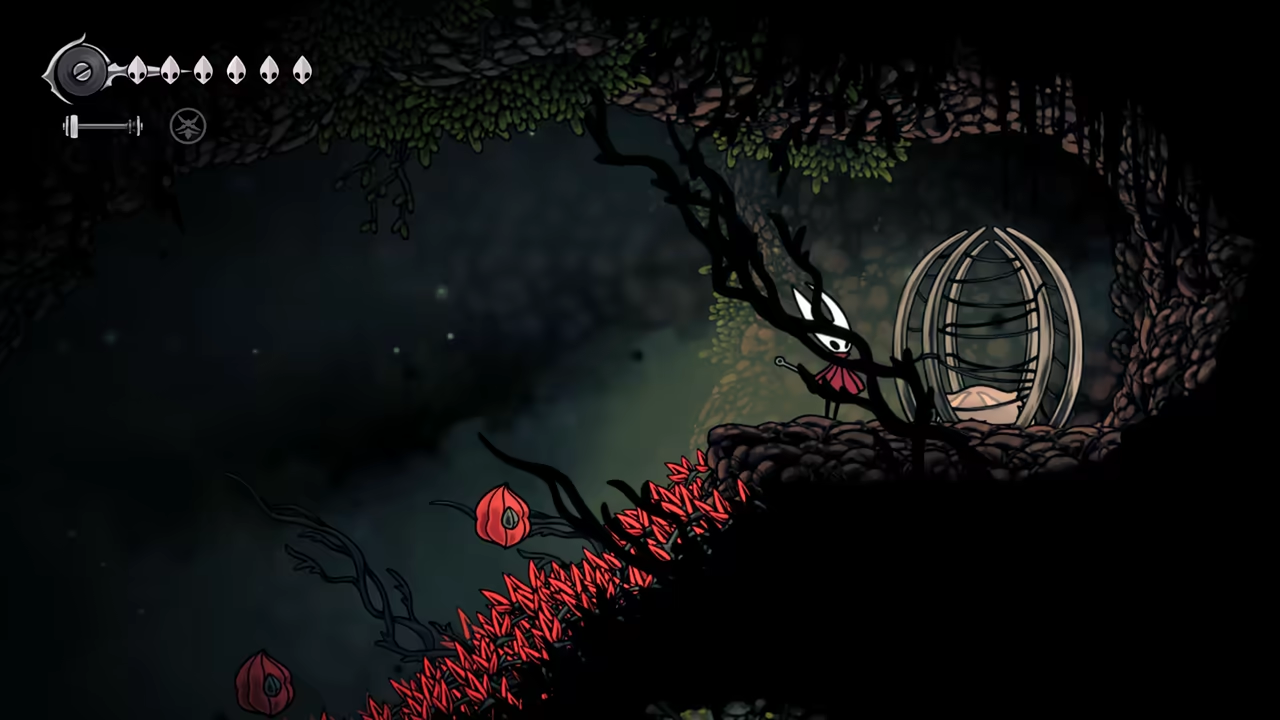
Key Items
- Flea
- Fractured Mask
- Curveclaw
- Memory Locket
- Beast Crest
Bosses
Quests
- The Lost Fleas
Connects To
- The Docks
This area will be incredibly fast to clear with all the movement upgrades. Here’s the route you will follow:
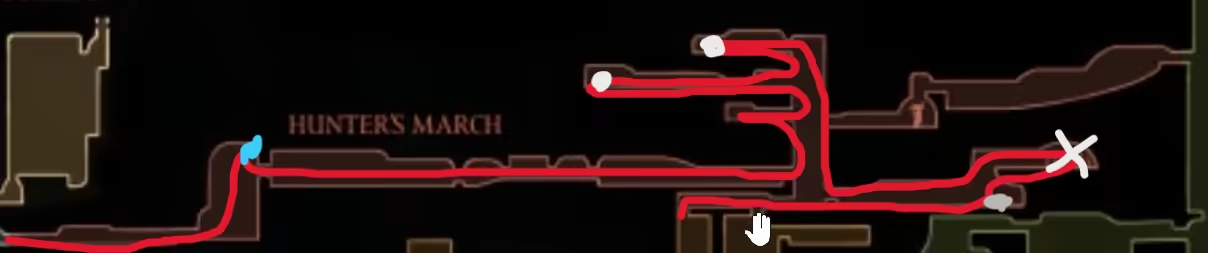
-
Find the Lost Flea
Section titled “Find the Lost Flea”In one of the first sections, we’ll find 1 lost flea for The Lost Fleas quest.
-
Get the Fractured Mask
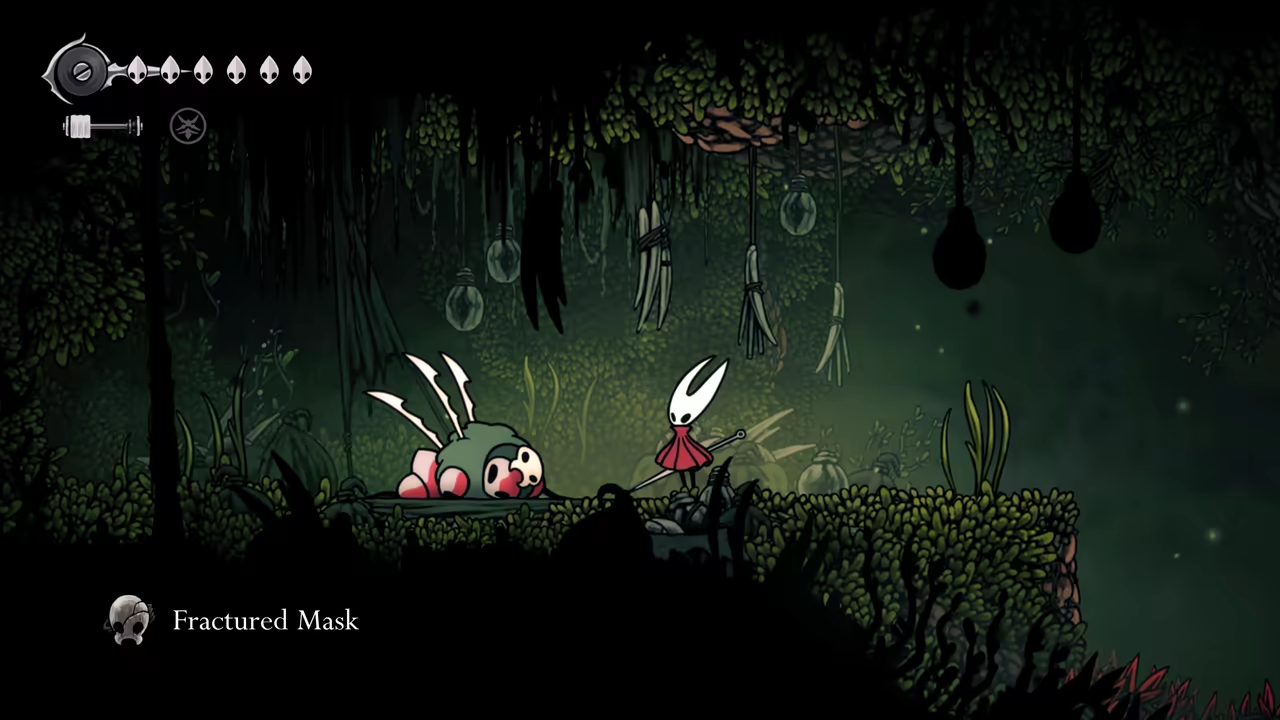
Section titled “Get the Fractured Mask”Next, head up to the left to find the trap bench. Be sure to disable the trap before sitting on it. After that, we’ll go get the Fractured Mask (the NPC will be dead, so you can grab it for free).
-
Get the Curveclaw
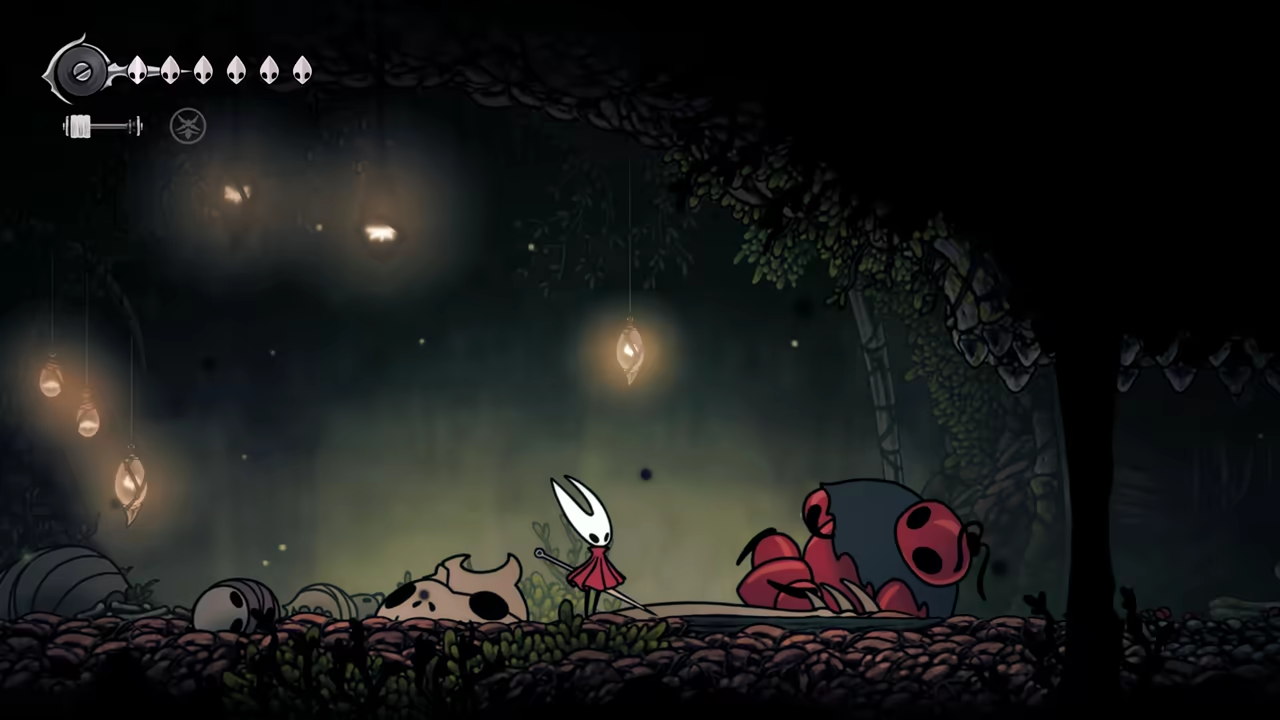
Section titled “Get the Curveclaw”At the top left of the area, we’ll have a fun fight with the big guy. It should be a piece of cake with all the upgrades we have now. This will reward you with the Curveclaw.
-
Find the Memory Locket
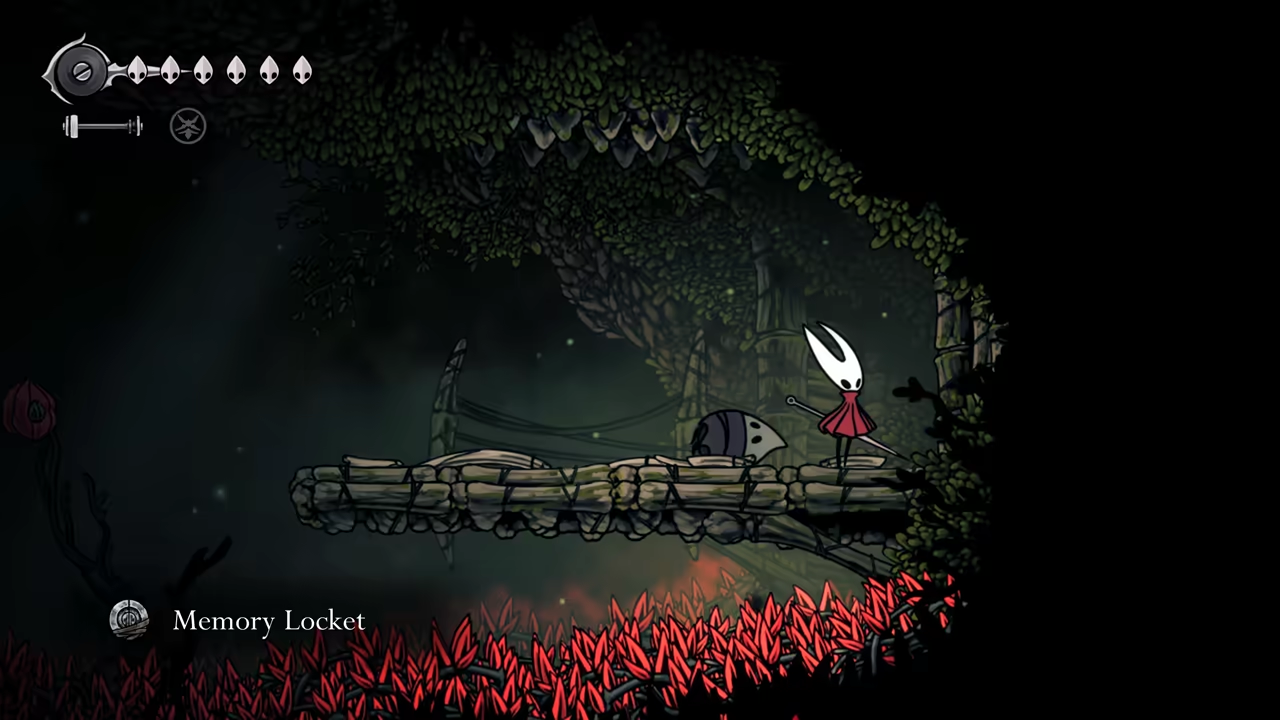
Section titled “Find the Memory Locket”Next, visit the bottom-right area to find one more Memory Locket.
-
Unlock the Beast Crest
Section titled “Unlock the Beast Crest”Now, we can enter the Beast Crest area to unlock our next Crest. You’ll have a little boss fight here, but once again, it should be a breeze with all the upgrades you have. Afterward, we can leave the area and head towards the Docks.
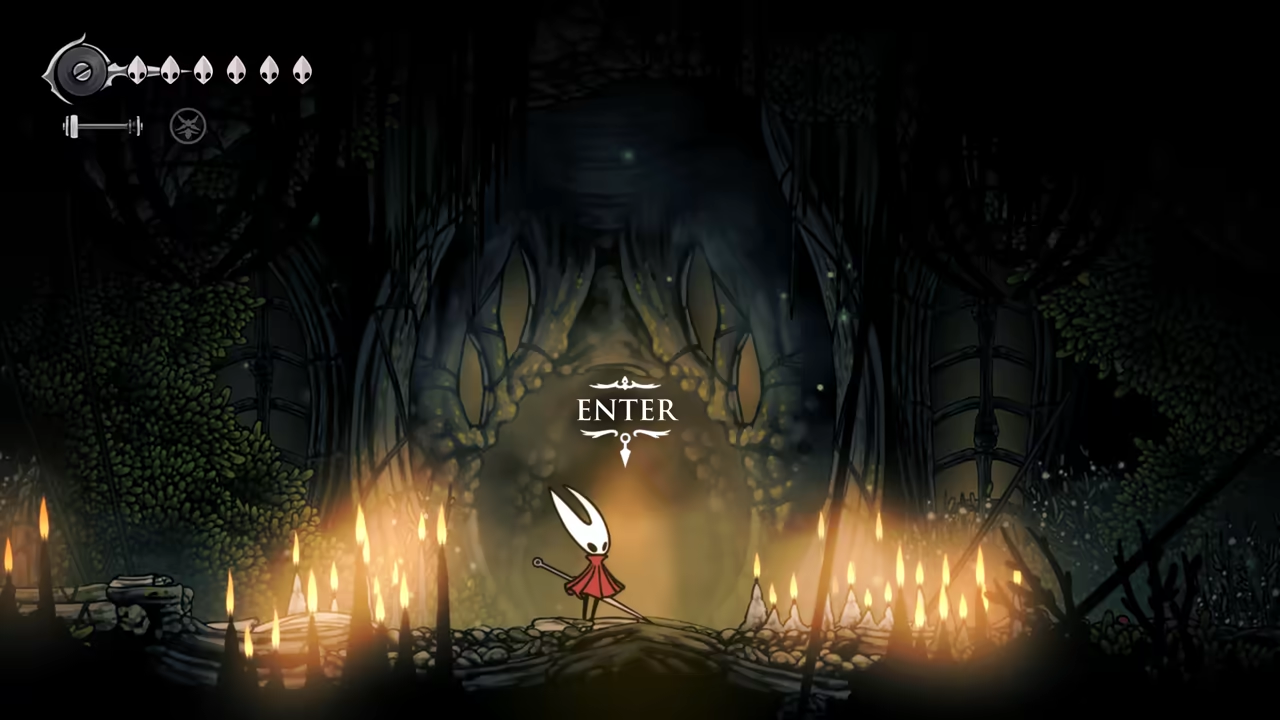
100% Deep Docks
Section titled “100% Deep Docks”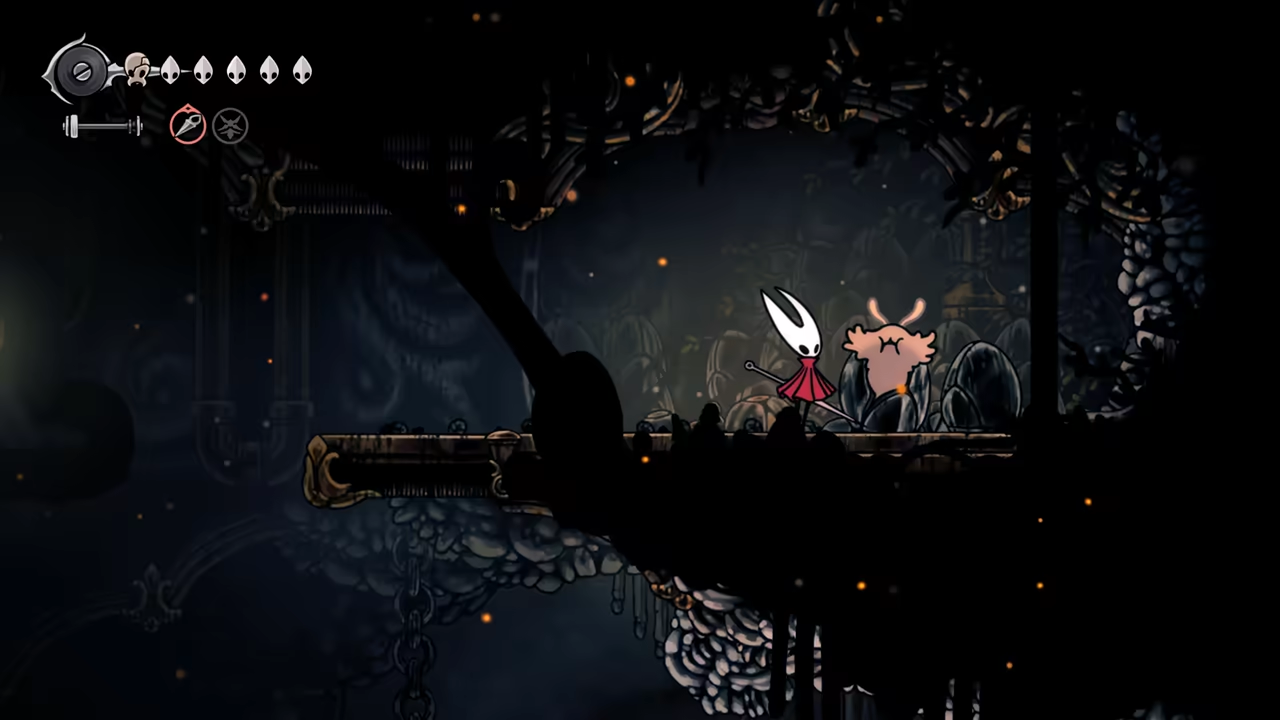
Key Items
- Flea (x3)
- Mask Shard
- Craftmetal
- Spool Fragment (x2)
- Flintslate
- Memory Locket
- Sting Shard
- Magma Bell
- Crafting Kit Upgrade
- Warding Bell
Bosses
Quests
- The Lost Fleas
NPCs
- Forge Daughter
- Eva
This area is a bit more complex, but we can clear it easily without needing to use a simple key. Here’s the route:
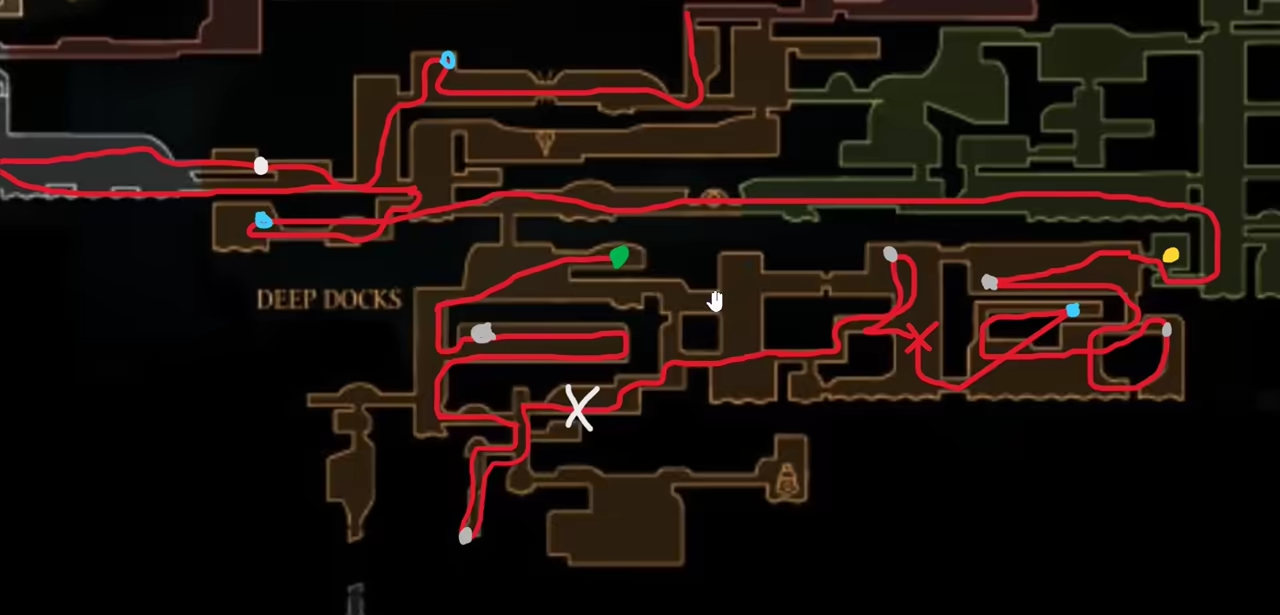
-
Find the First Flea
Section titled “Find the First Flea”First, we’ll find one lost flea near a bench.
-
Get the Mask Shard
Section titled “Get the Mask Shard”Next, head left toward The Marrow. We can make a zigzag climb to reach a mask shard (you could also try pogoing an enemy right at the start of the path to save time).
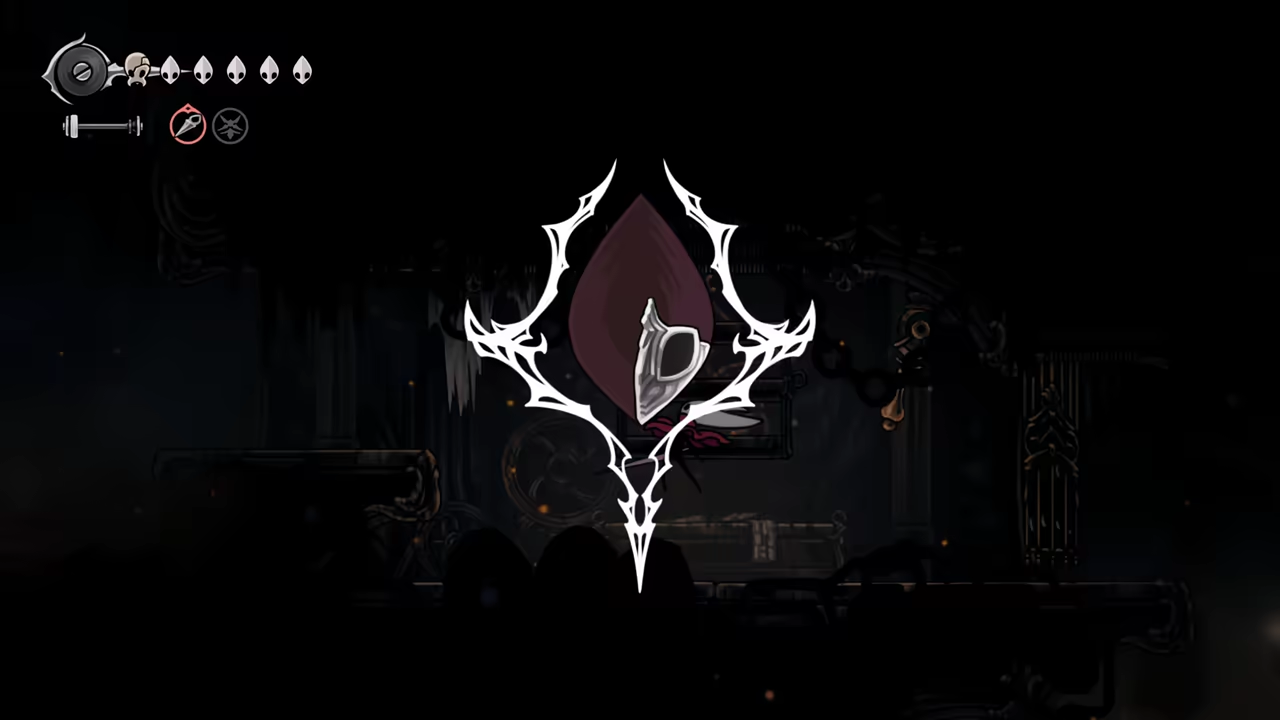
-
Find the Second Flea
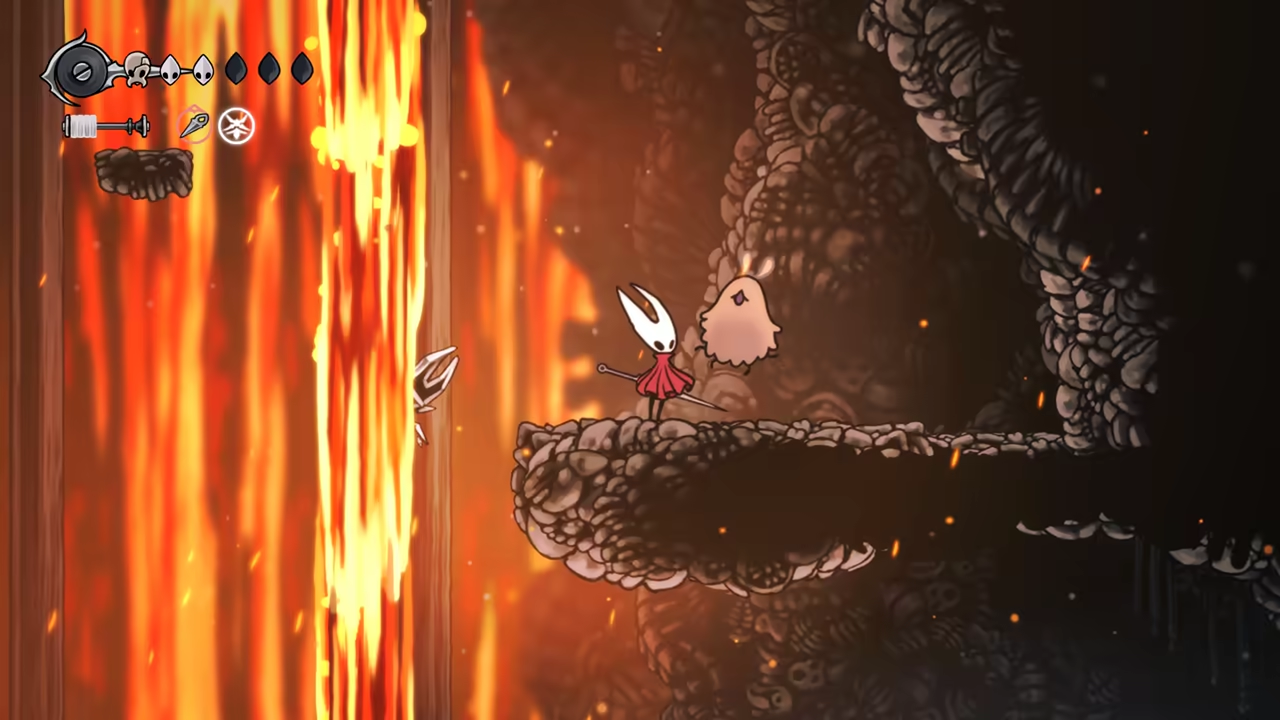
Section titled “Find the Second Flea”Returning to the bench area, we can head down and left to find another lost flea. You can just use Faydown Cloak (double jump) to reach it, without needing to go through the lava platforming.
-
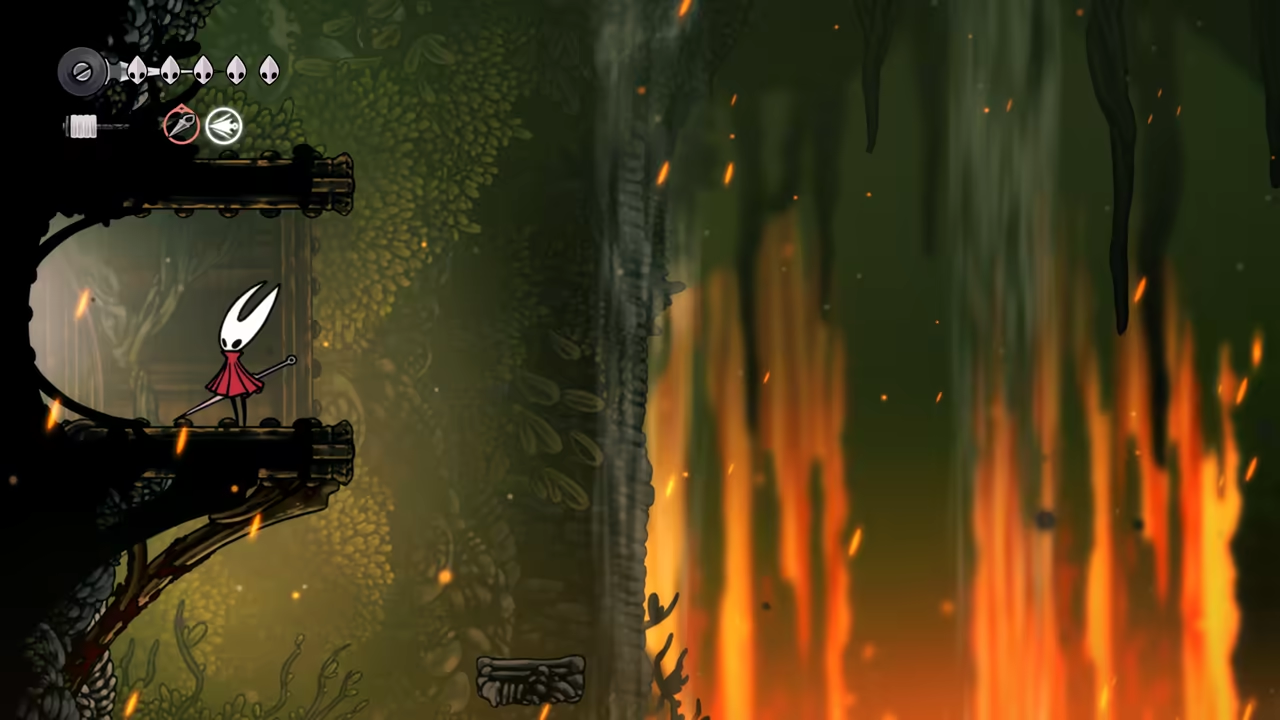
Enter From Far Fields
Section titled “Enter From Far Fields”Now, we can Fast Travel back to Far Fields, and from there, we’ll be able to access the rest of the Deep Docks area. Enter the pipe where we found the Warding Bell earlier.
-
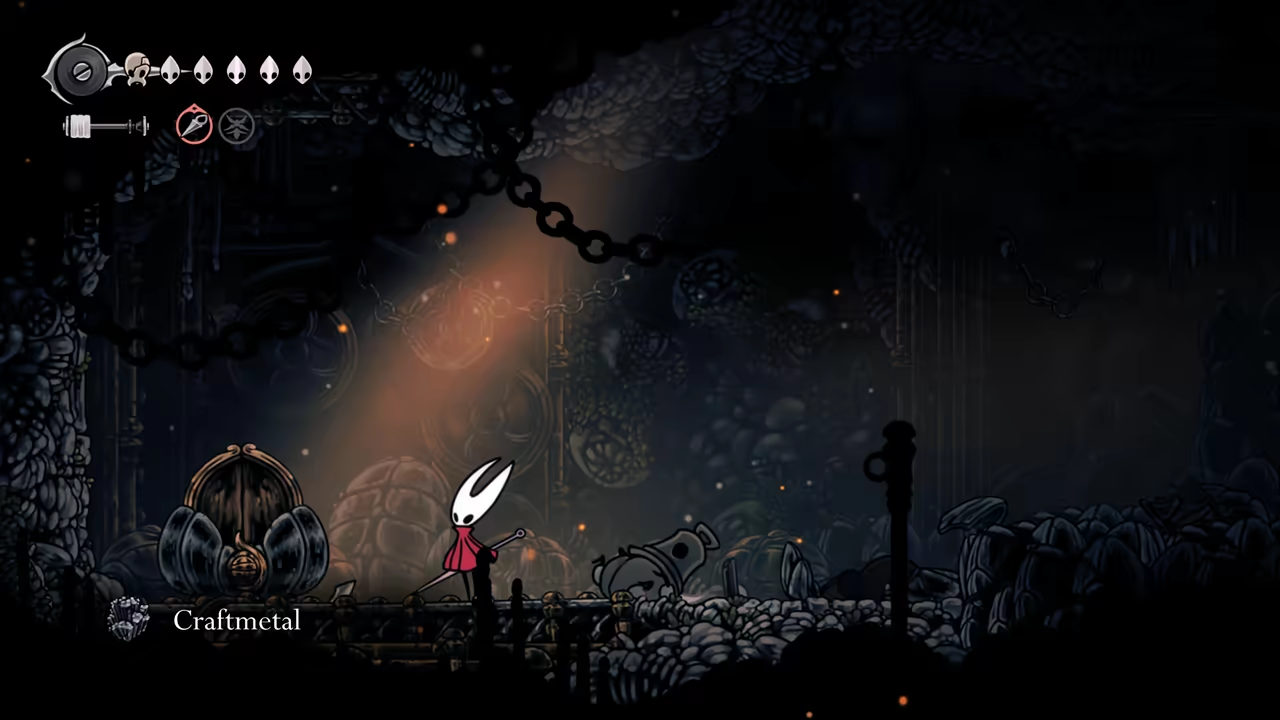
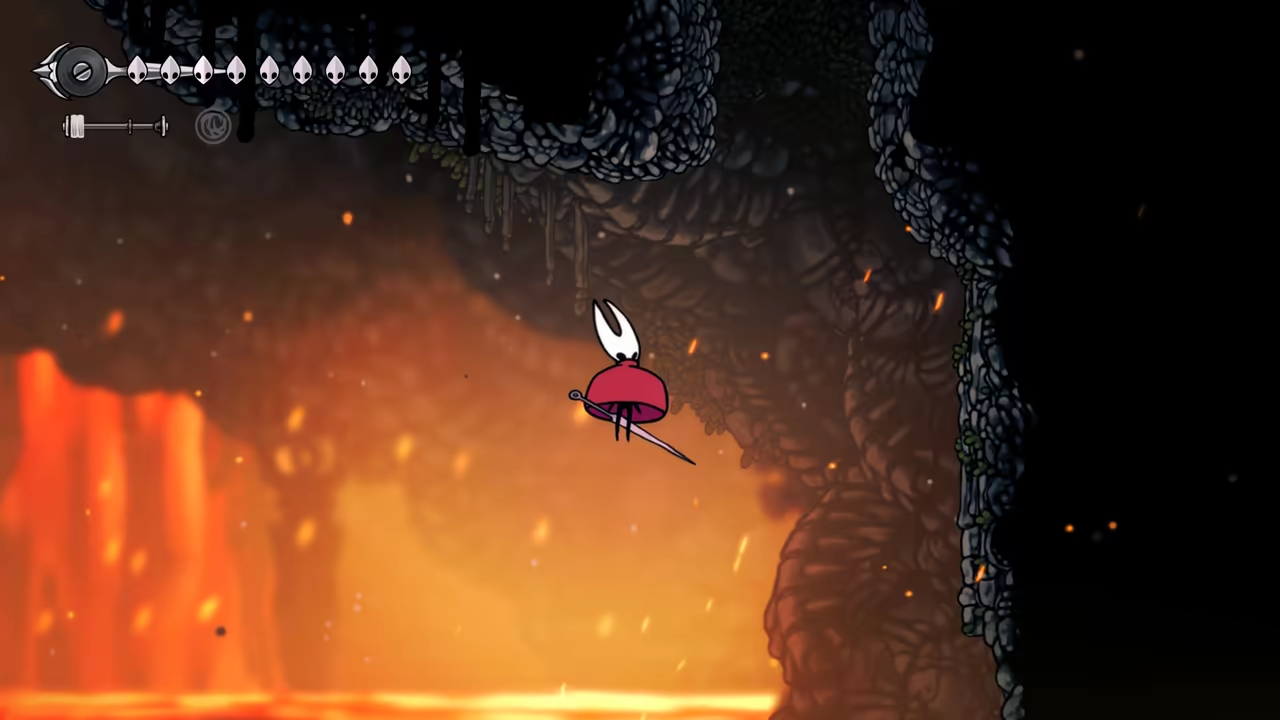
Find Craftmetal and a Spool Fragment
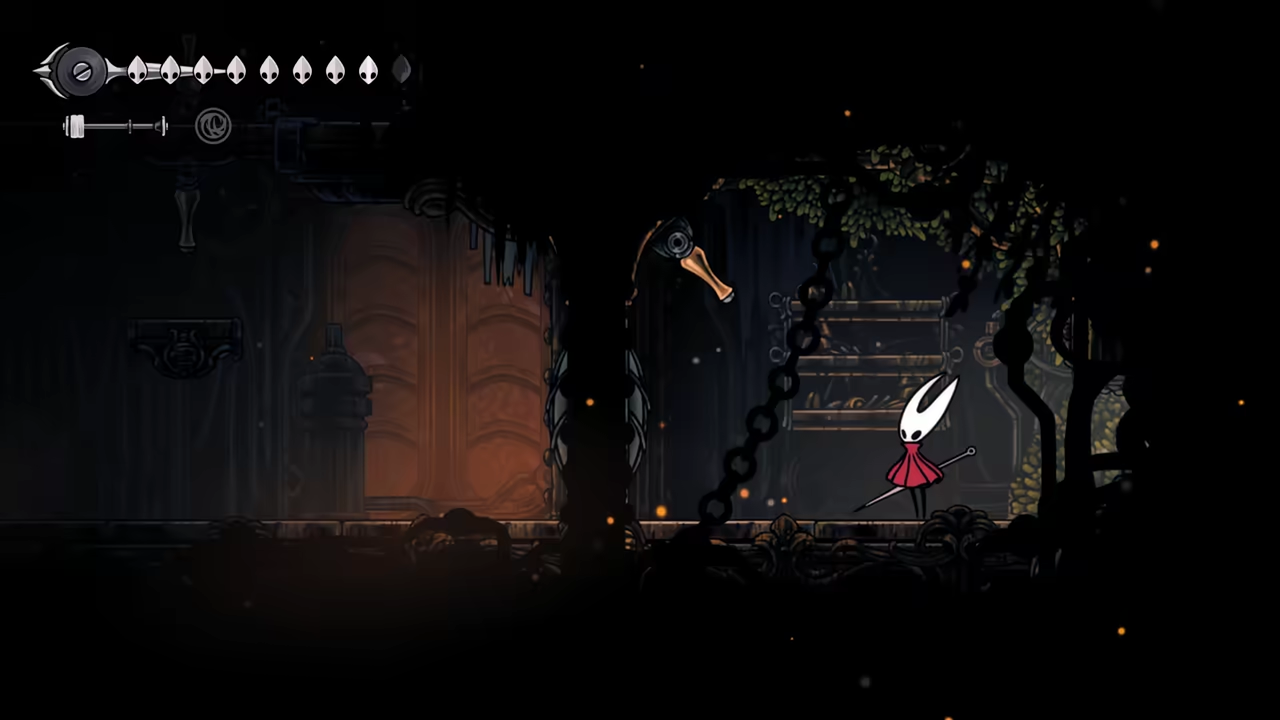
Section titled “Find Craftmetal and a Spool Fragment”Breaking through a wall here gives us access to the next part of Deep Docks. In this area, you’ll find your next Craftmetal inside a chest behind a cobblestone wall. In the room below you can find a hidden passage leading to a Spool Fragment.
-
Find the Third Flea
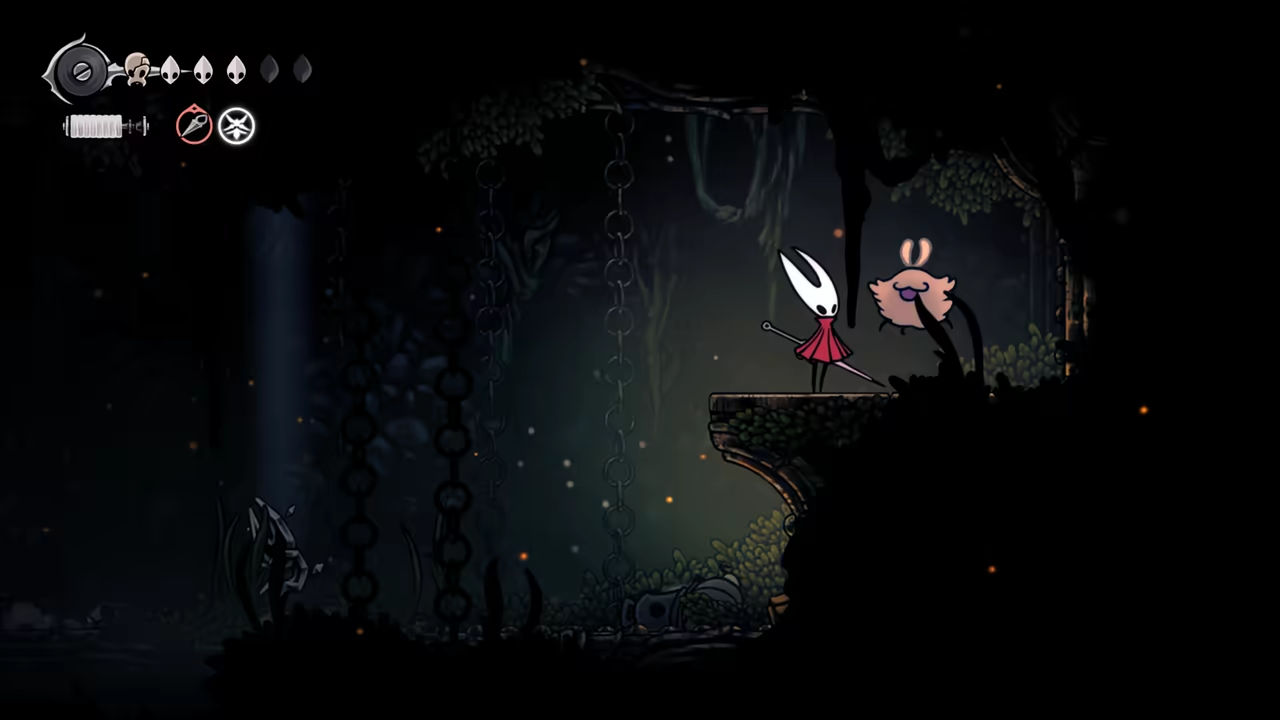
Section titled “Find the Third Flea”As you progress, you’ll find another lost flea in a mossy pipe area for The Lost Fleas quest.
-
Get the Flintslate
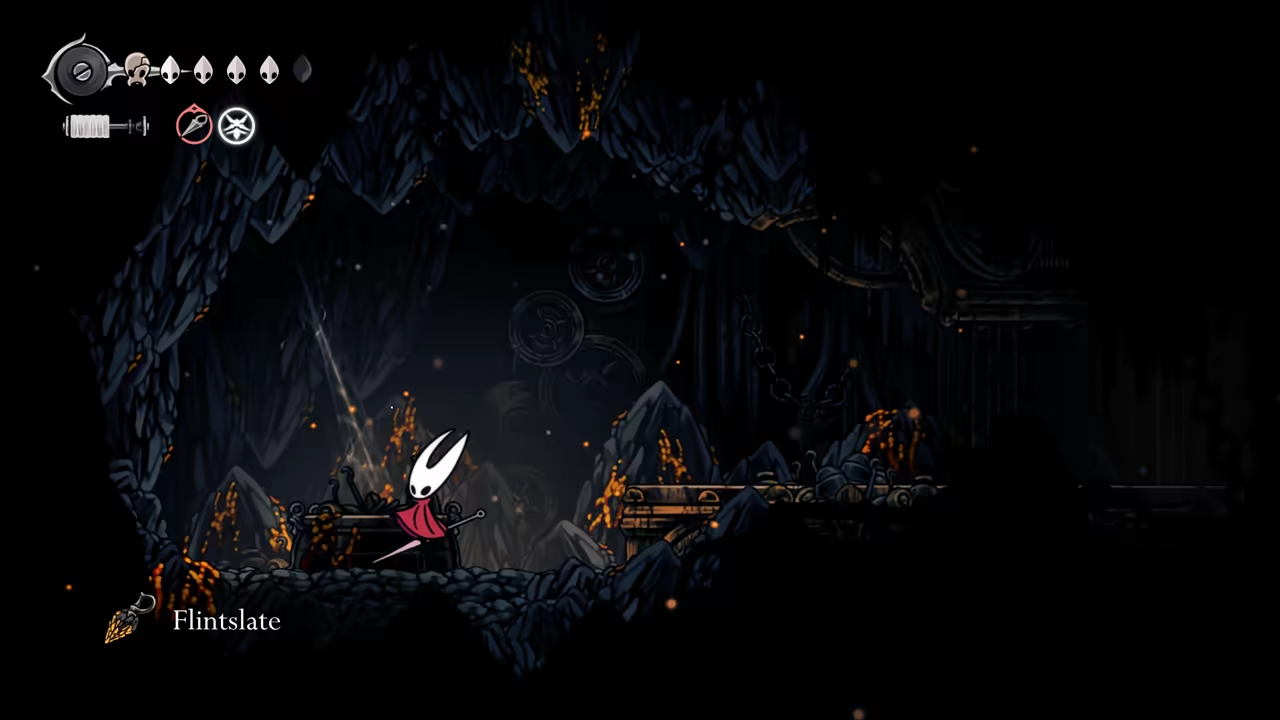
Section titled “Get the Flintslate”In the next area, just pogo the bell guy marked with a red X to reach the lever faster. This will allow you to access the Flintslate above the newly opened platform.
-
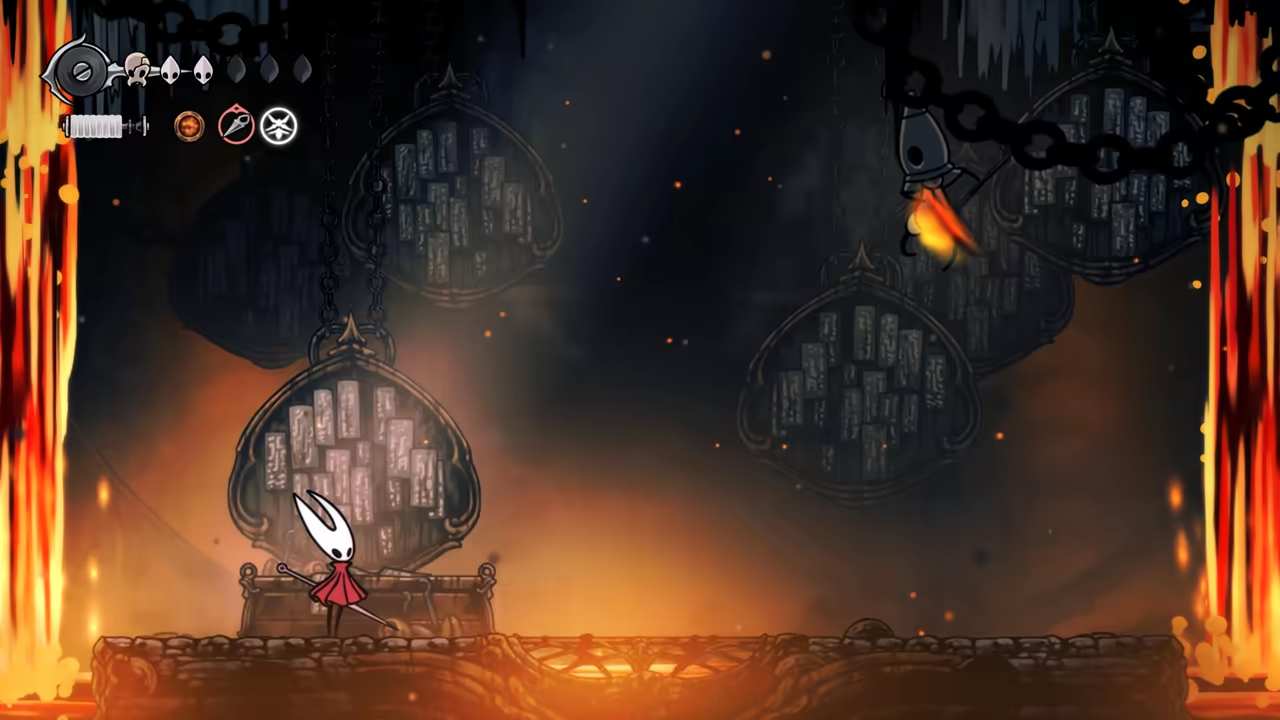
Continue along the route until you reach the boss arena marked with a white X.
-
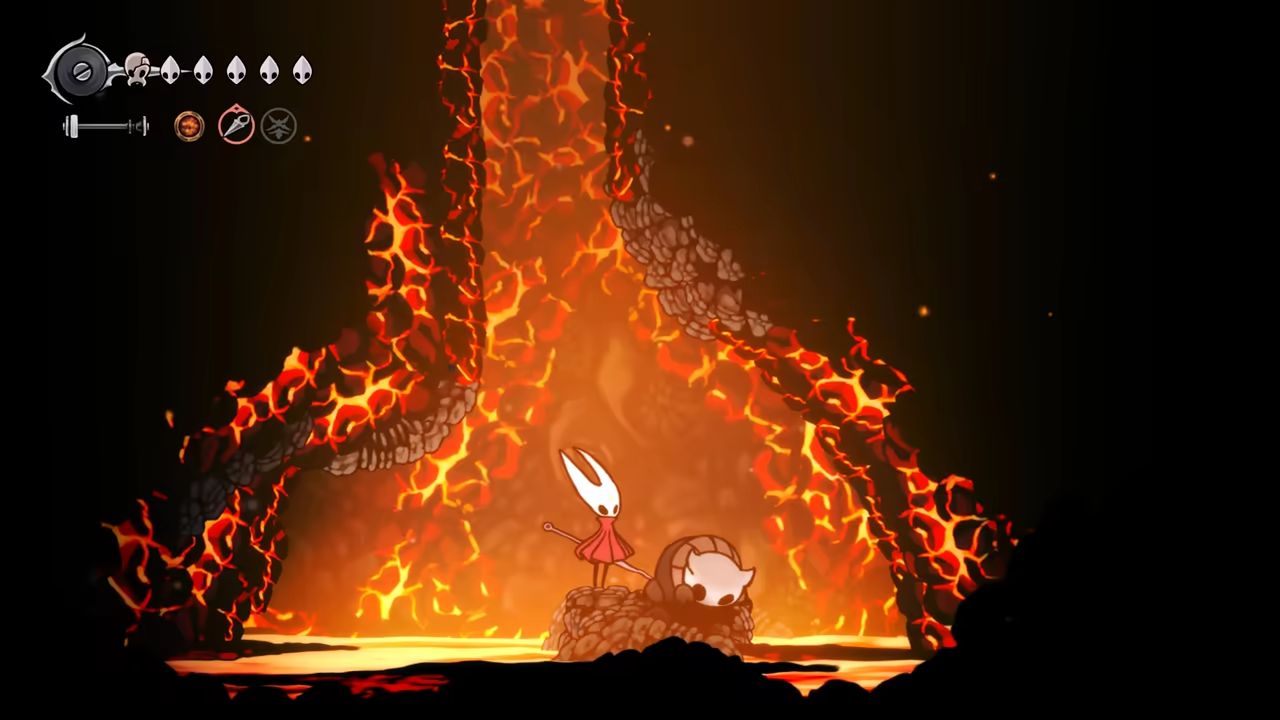
Collect the Memory Locket
Section titled “Collect the Memory Locket”You don’t need all 20 Memory Lockets for 100%, but you do need 18 to bind Eva during Act 2, so make sure to collect all available lockets, including this one.
-
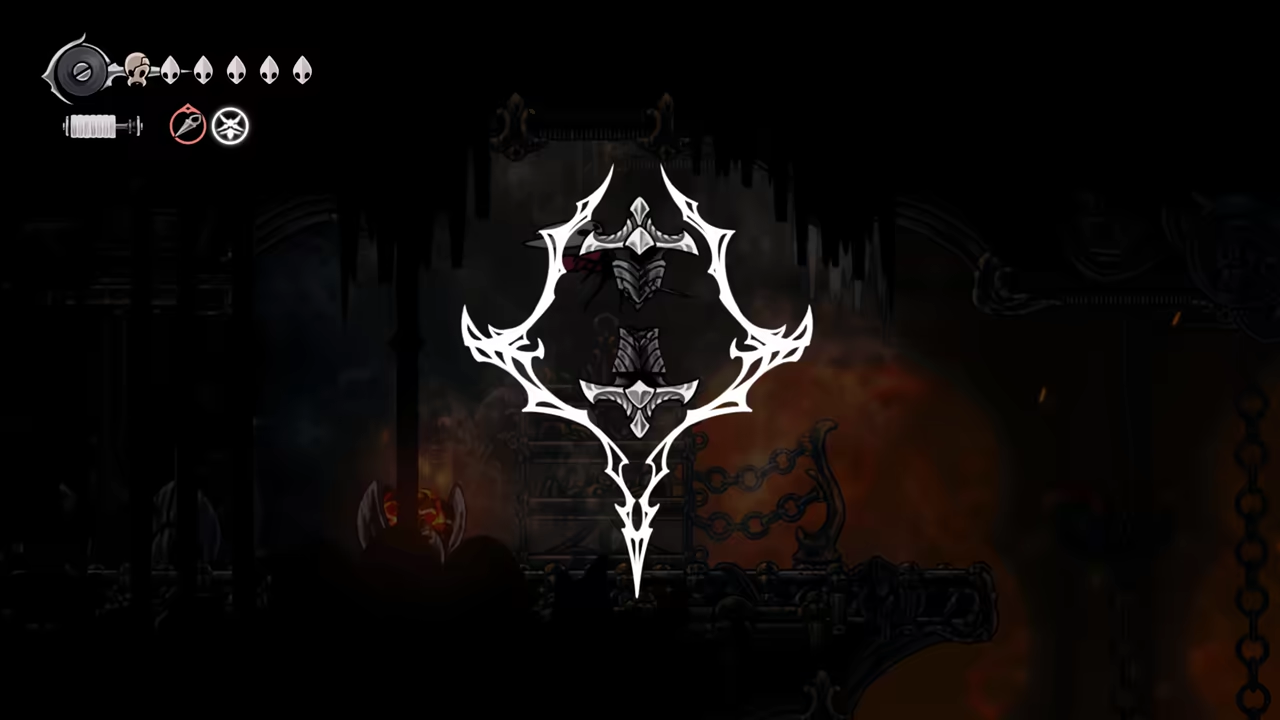
Find the Final Spool Fragment
Section titled “Find the Final Spool Fragment”After unlocking the shortcut door, head up to find a room with a Spool Fragment.
-
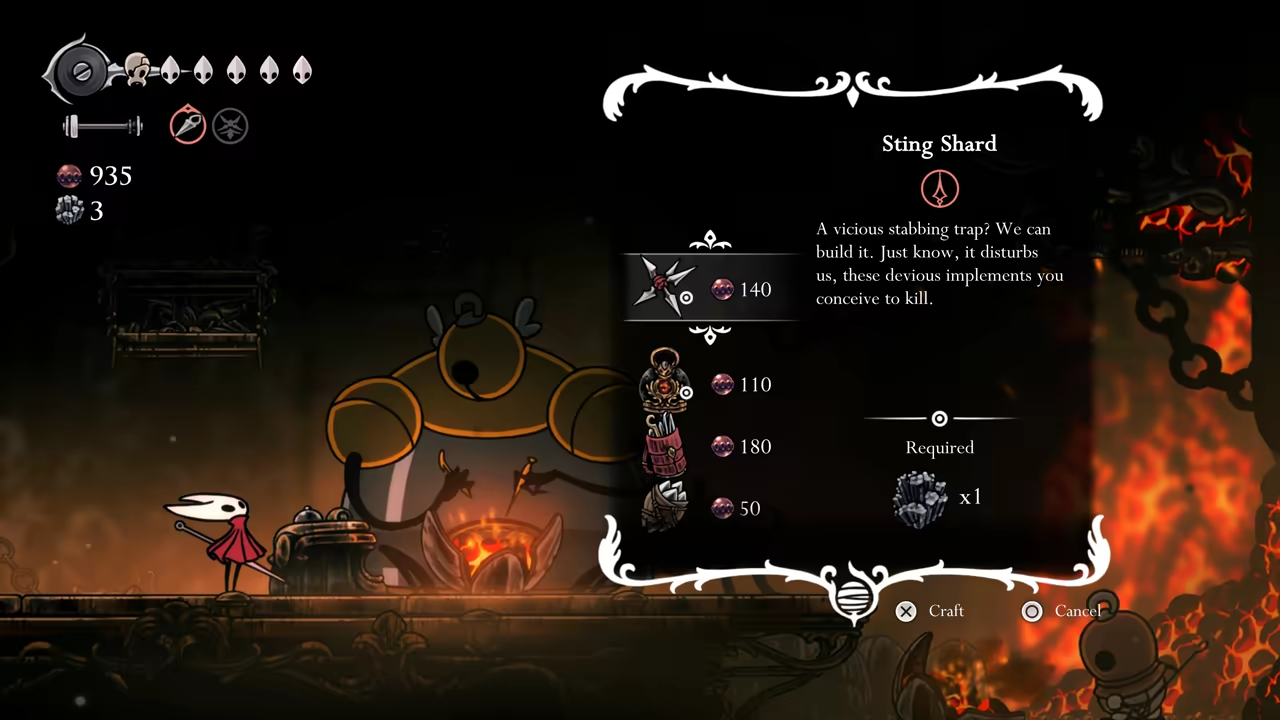
Visit the Forge Daughter
Section titled “Visit the Forge Daughter”Finally, you’ll meet the Forge Daughter and can buy the following:
- Sting Shard
- Magma Bell
- Crafting Kit Upgrade
100% Far Fields (Act 2)
Section titled “100% Far Fields (Act 2)”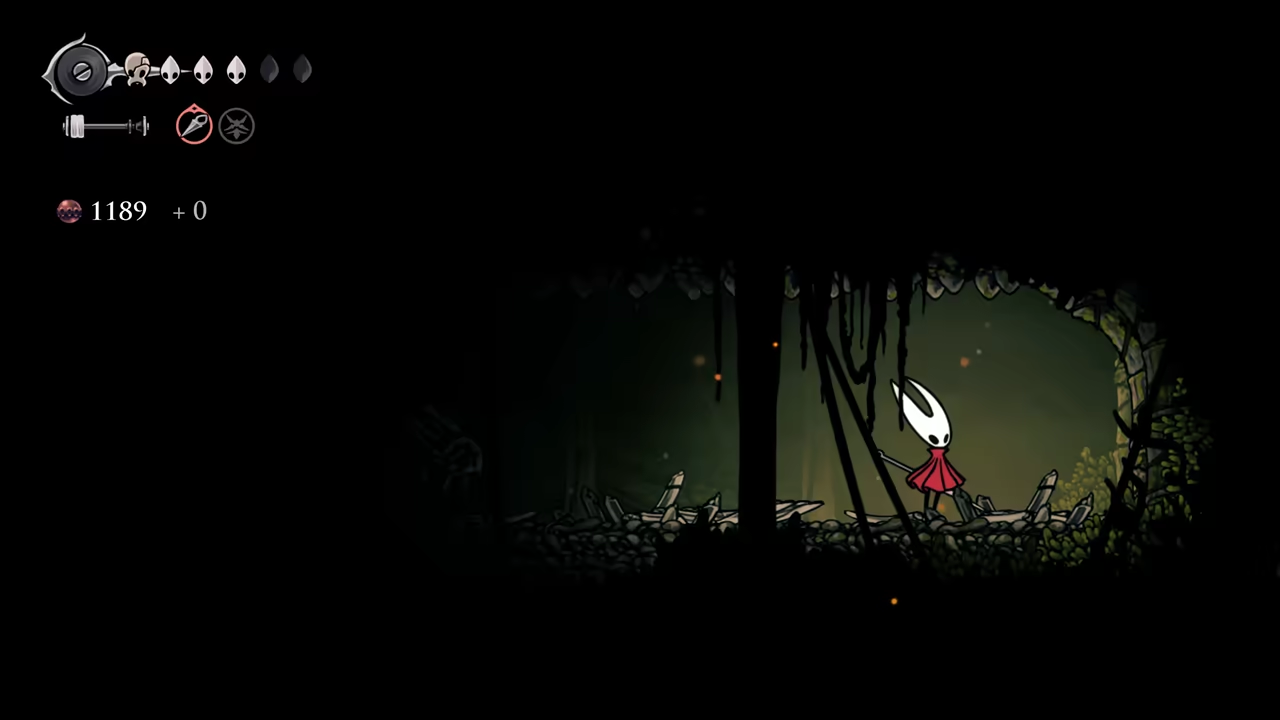
Key Items
- Flea (x2)
- Mask Shard (x2)
- Memory Locket
- Weighted Bell
- Tool Pouch Upgrade
- Magma Bell
Bosses
Quests
- The Lost Fleas
NPCs
- Seamstress
Connects To
- Greymoor
We can’t access the whole Far Fields before Act 3, but exploring now will help speed up the cleanup later. Here’s the route for this region, starting from the bell bench located at Deep Docks:
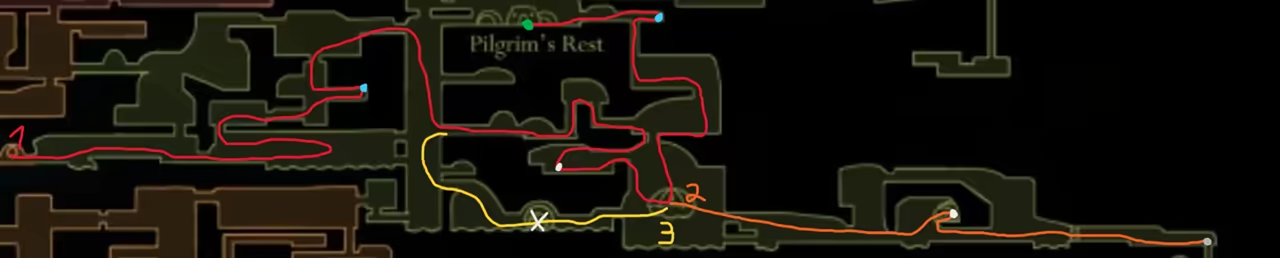
-
Find the First Flea
Section titled “Find the First Flea”First, we’ll find a lost flea in a cage.
-
Get the First Mask Shard
Section titled “Get the First Mask Shard”Next, head towards the Fast Travel to access a hidden area. Going left, we can unlock a shortcut to the Seamstress. Make sure to bench here for later. To the left of her, you’ll find a room with another mask shard.
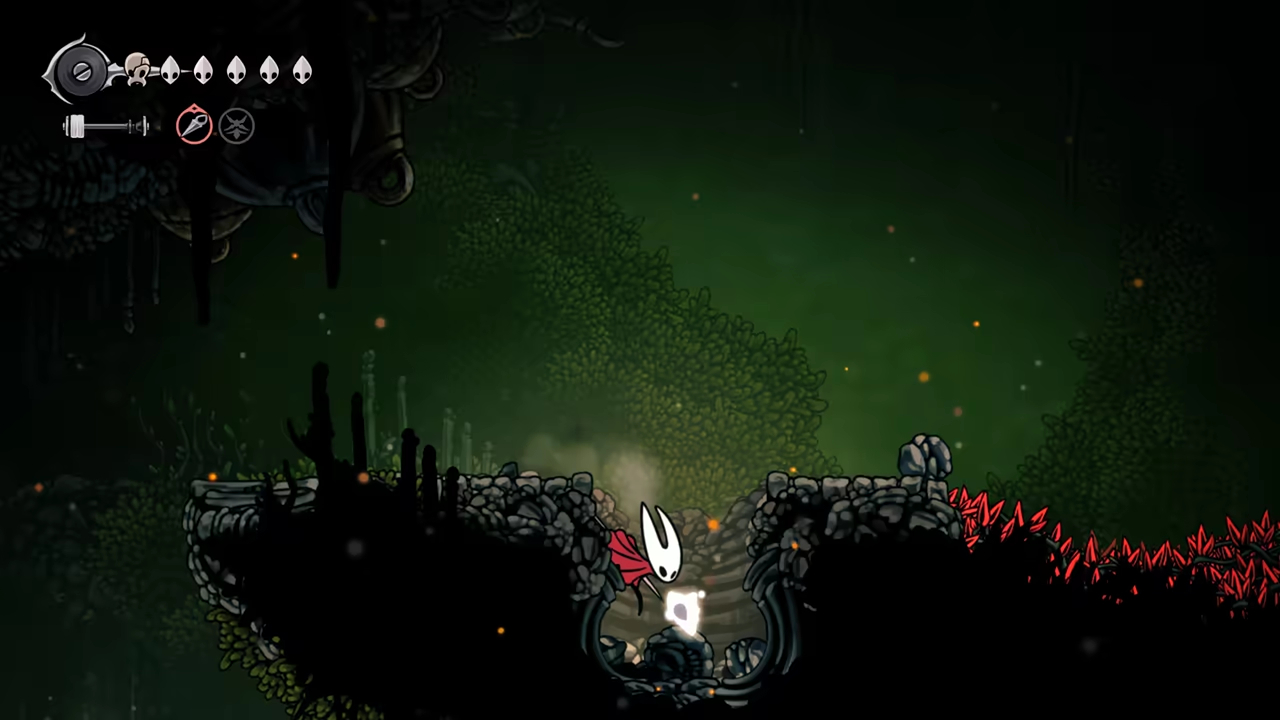
-
Find the Second Flea
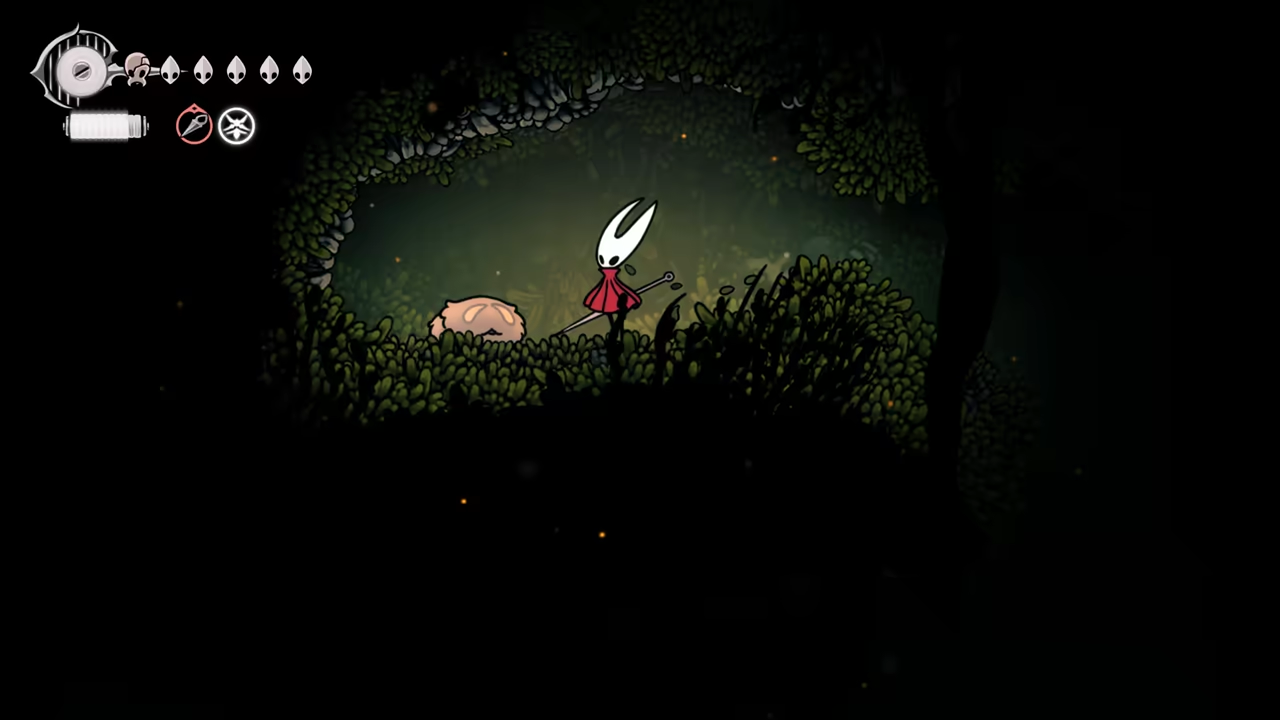
Section titled “Find the Second Flea”Then, head back to the top area and keep advancing until you reach another lost flea at the top right for The Lost Fleas quest.
-
Visit Pilgrim’s Rest
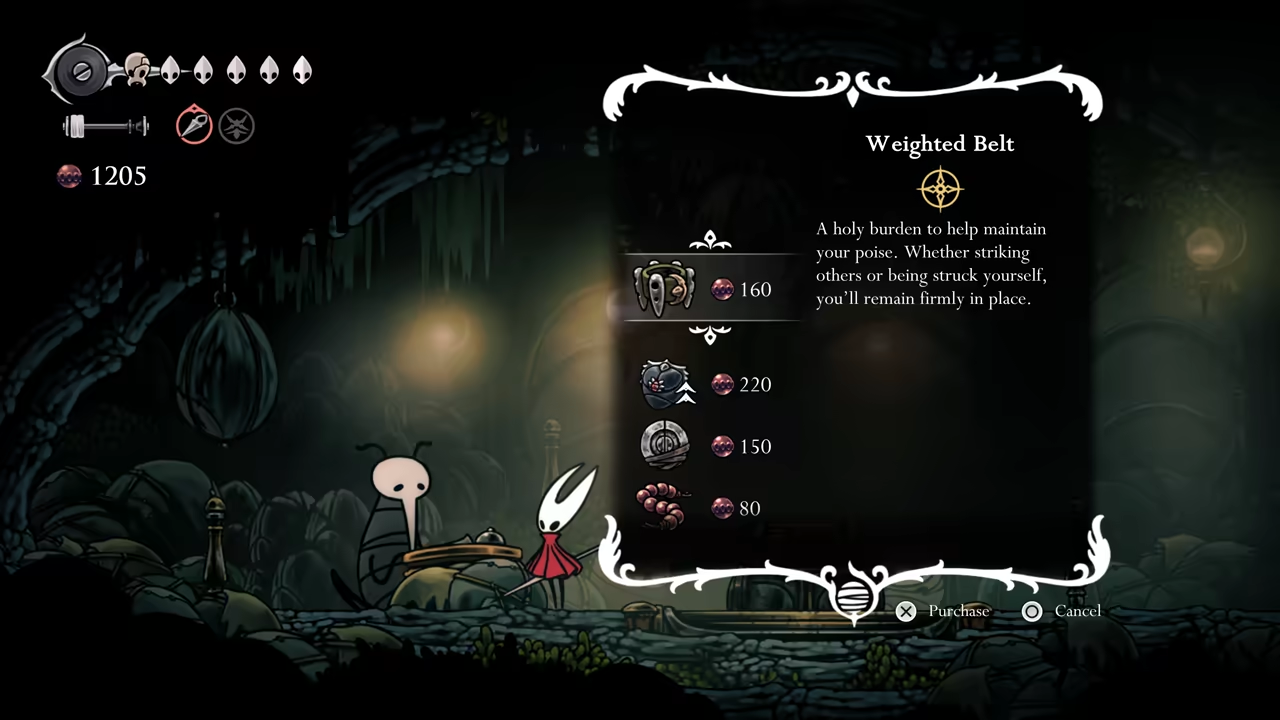
Section titled “Visit Pilgrim’s Rest”Unlock the door and visit the Pilgrim’s Rest. Here, you’ll be able to buy the following:
- 1 Memory Locket
- Weighted Bell
- Tool Pouch Upgrade
-
“Indiana Jones” Section & Second Mask Shard
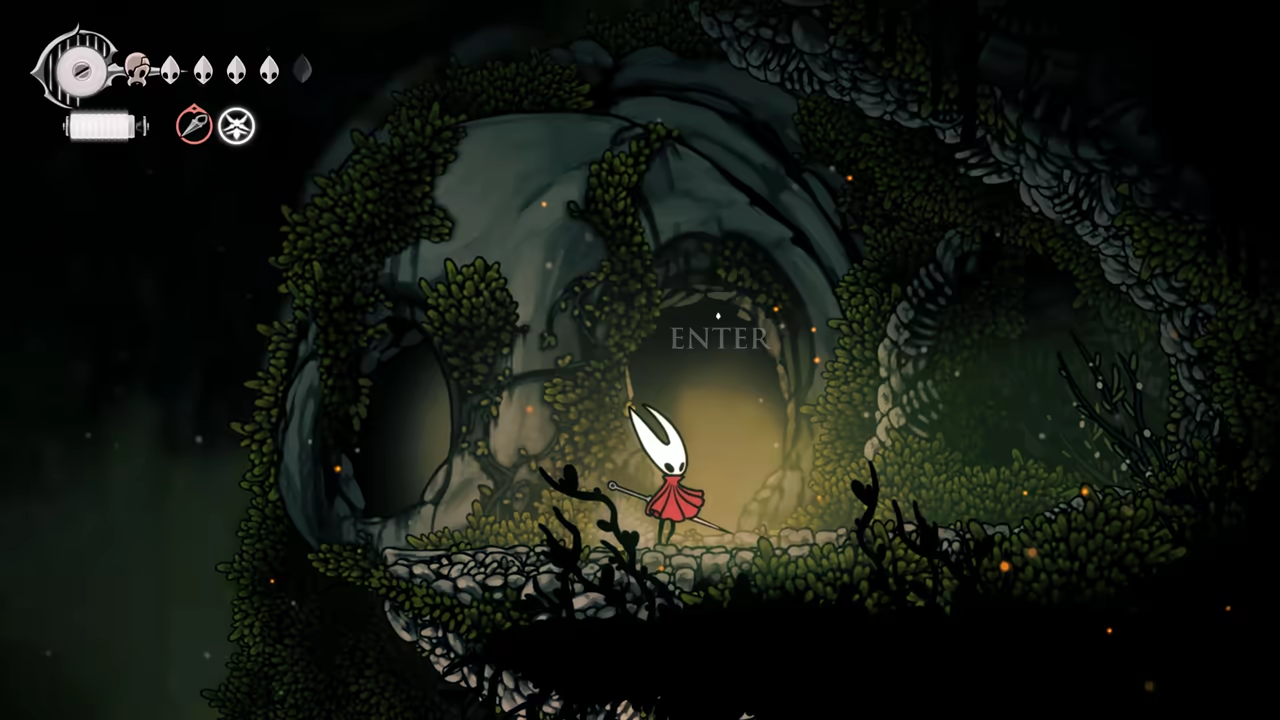
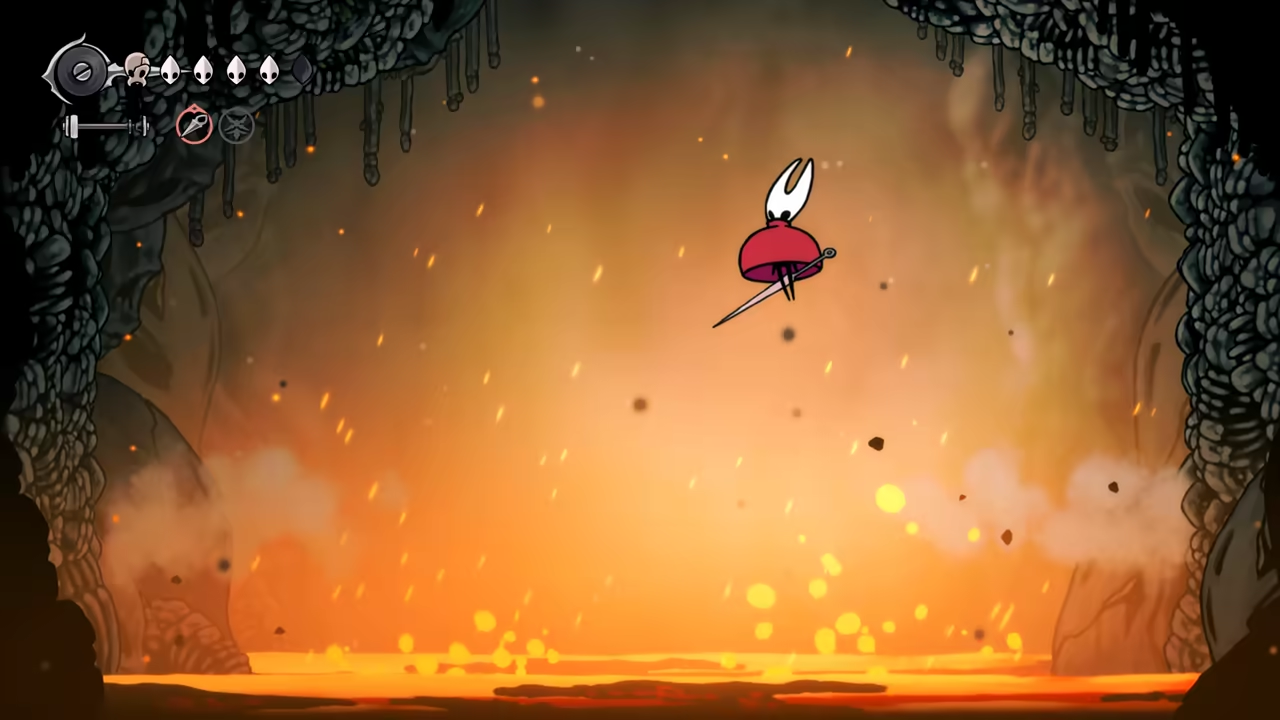
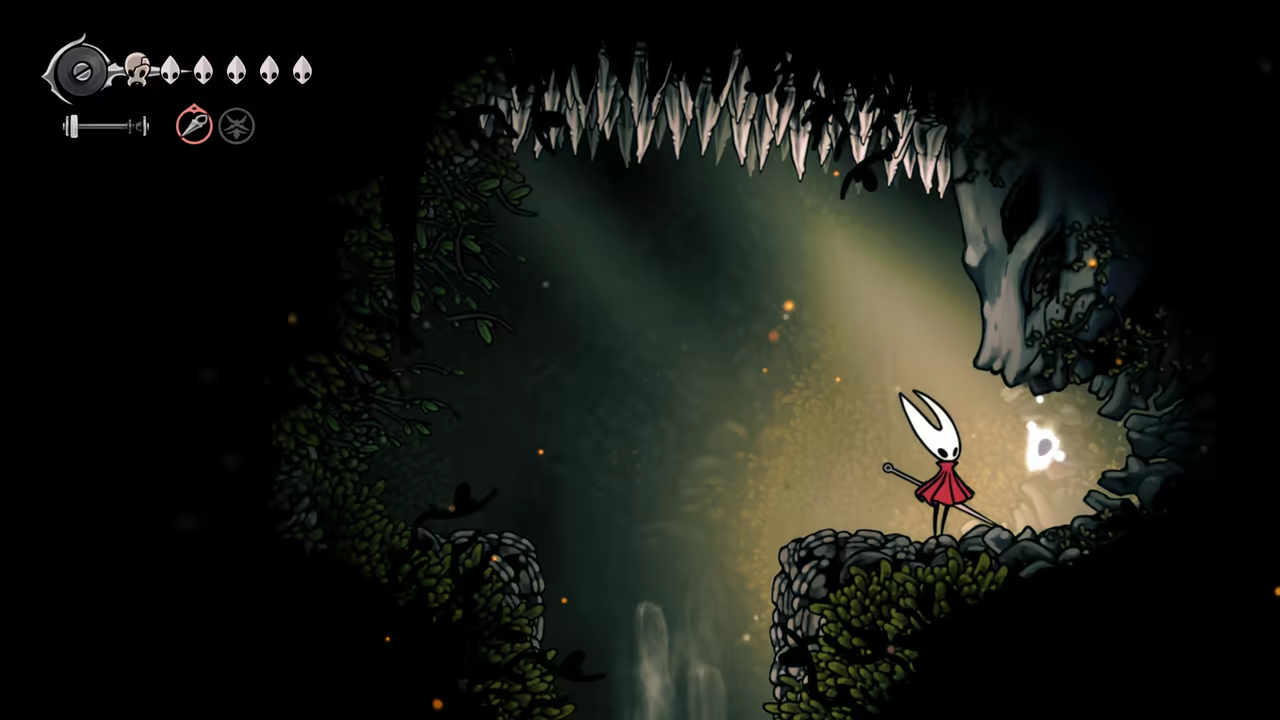
Section titled ““Indiana Jones” Section & Second Mask Shard”Now, save and quit to reload close to the Seamstress, and follow the second route (orange). This will lead you into the “Indiana Jones” section—make sure to bring a Magma Bell if you want to play it safe. After surviving the rising lava, you’ll get another mask shard.
-
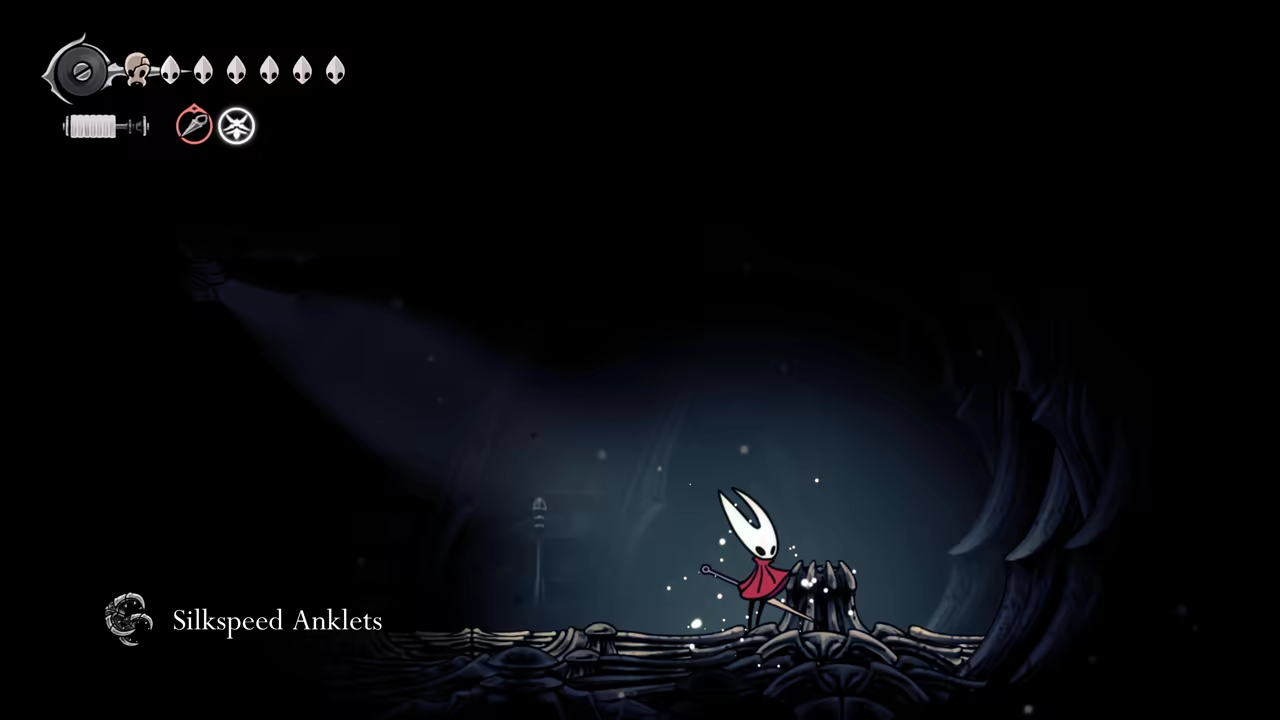
Visit the Weavenest
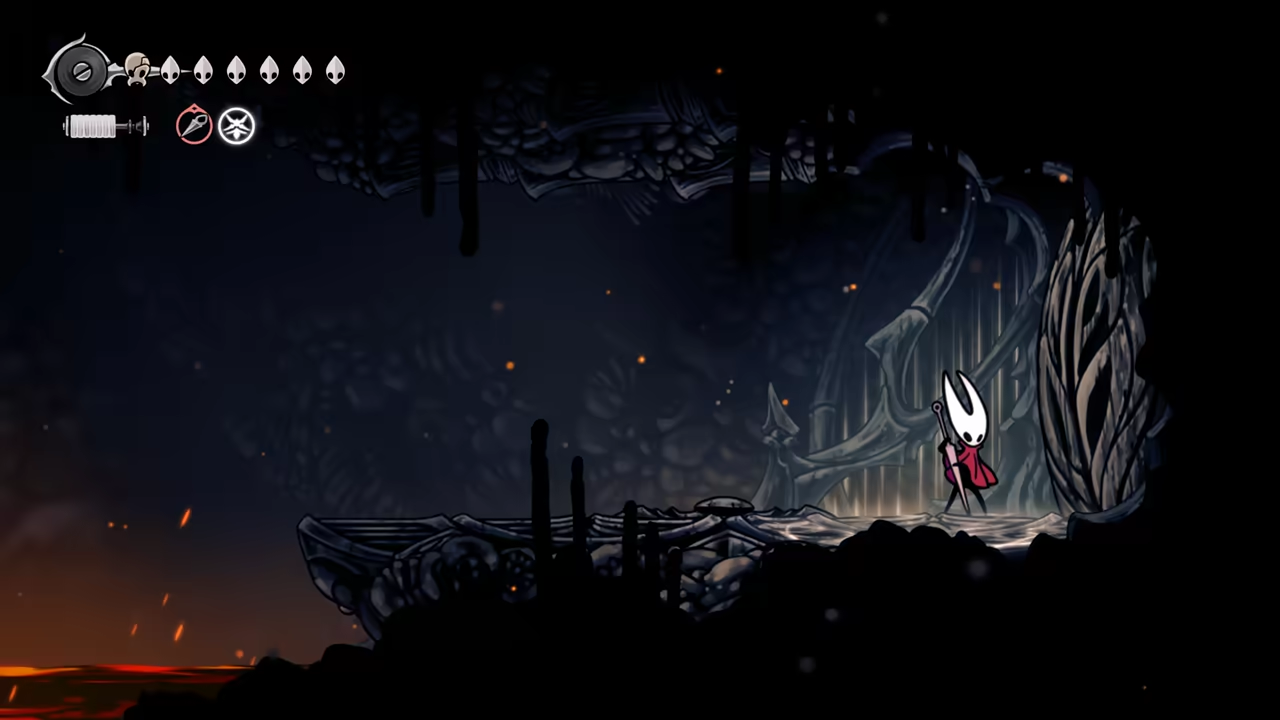
Section titled “Visit the Weavenest”Leave the area and go right to enter the Weavenest. Here, you’ll find something to make exploration faster. Whether you use it or not is totally up to you.
-
Defeat the Fourth Chorus
Section titled “Defeat the Fourth Chorus”Save and quit again, close to the Seamstress, and now head back towards the Fourth Chorus Way. If you, like me, skipped the fight with the Heal Stall trick, now’s your chance to destroy it (you’ll need to do this to unlock a quest later).
-
Proceed to Greymoor
Section titled “Proceed to Greymoor”Now, get the Fast Travel and head to Greymoor.
100% Greymoor
Section titled “100% Greymoor”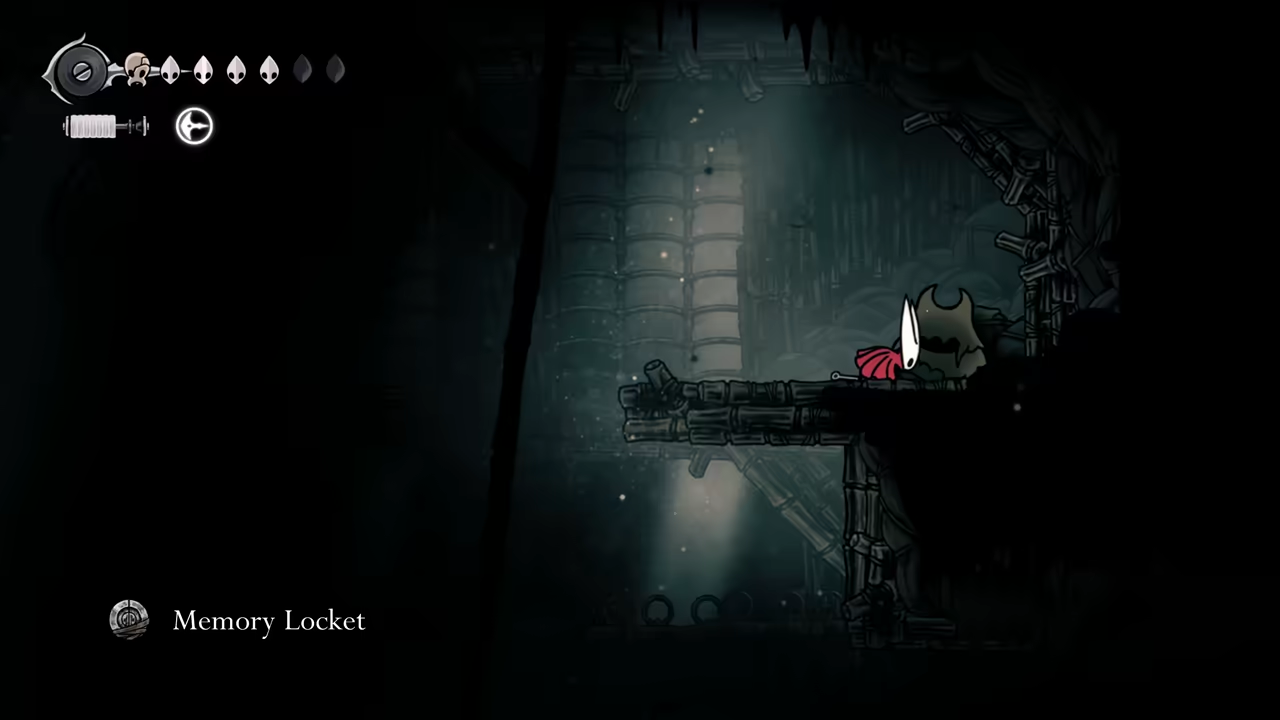
Key Items
- Flea Brew
- Memory Locket (x2)
- Mask Shard
- Craftmetal
- Ragpelts
- Flea (x3)
- Threefold Pin
- Spool Fragment
- Crafting Kit upgrade
Bosses
Quests
- Bugs of Pharloom
- The Lost Fleas
- Vintage Nectar Quest
- Scarecrow Quest
NPCs
- Nuu
Connects To
- Sinner's Road
Here’s the route for Greymoor. It’s a bit convoluted, but I’ll try to explain it as clearly as I can. The first route is the red one, starting from Bellhart. The second route (orange) covers the right side of the map.
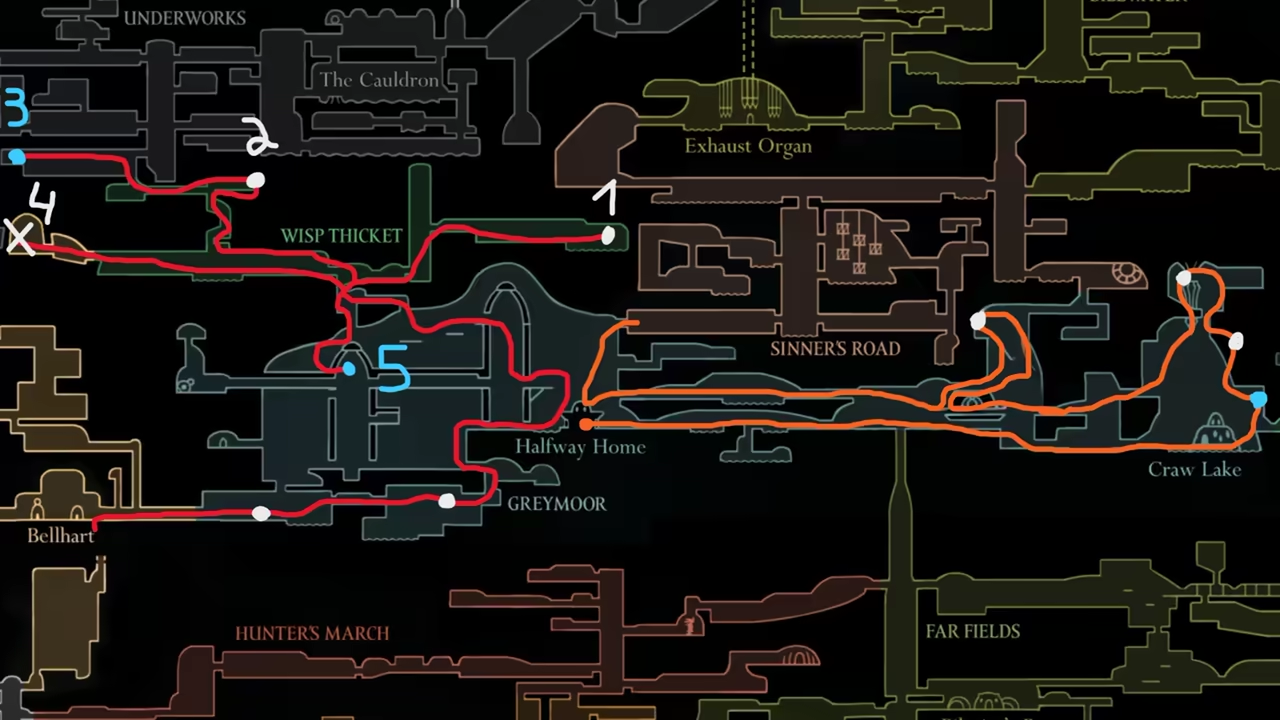
Left Side Route
Section titled “Left Side Route”-
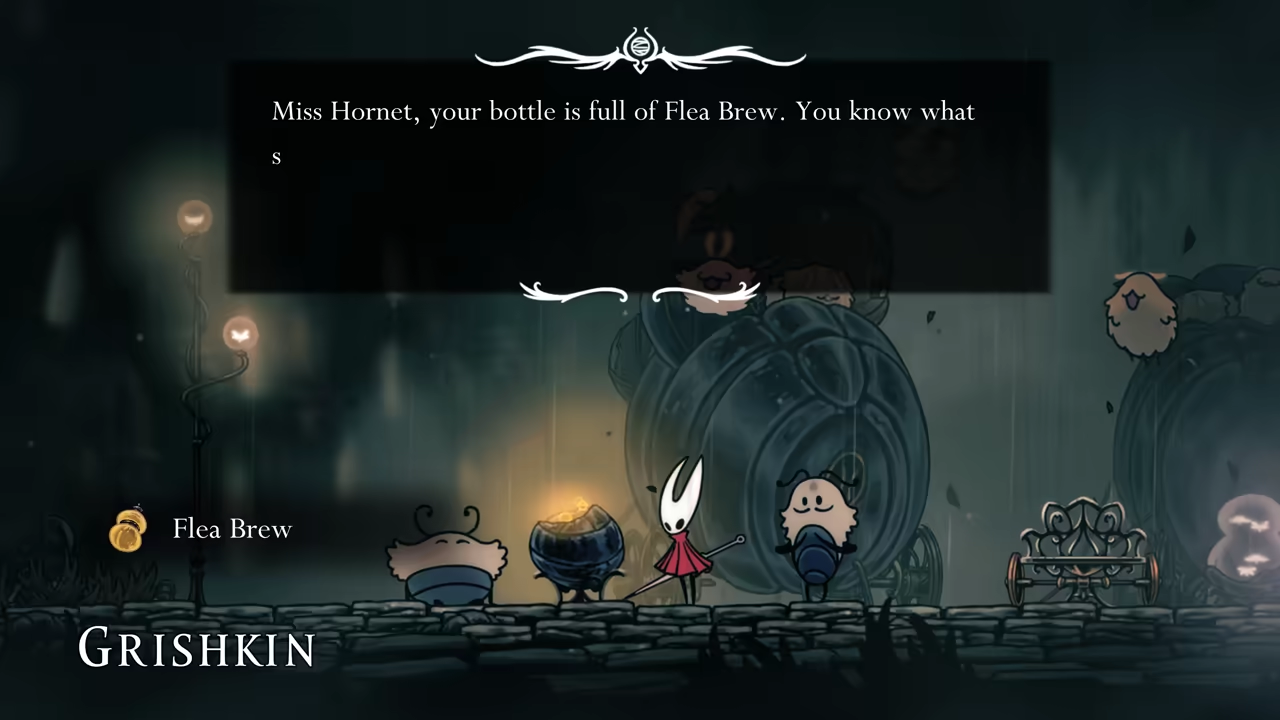
Get the Flea Brew
Section titled “Get the Flea Brew”After entering Greymoor from Bellhart, you’ll meet the fleas and get the Flea Brew.
-
Find a Memory Locket
Section titled “Find a Memory Locket”Next, explore the area toward the Bellway Station. You’ll find a Memory Locket along the way (it’s easy to reach with a Faydown Cloak (double jump)).
-
Visit the Halfway Home Inn
Section titled “Visit the Halfway Home Inn”Head toward the inn (Halfway Home) to finish Bugs of Pharloom (Nuu’s Wish), get another hidden Memory Locket, and start the Vintage Nectar section by defeating all the ants.
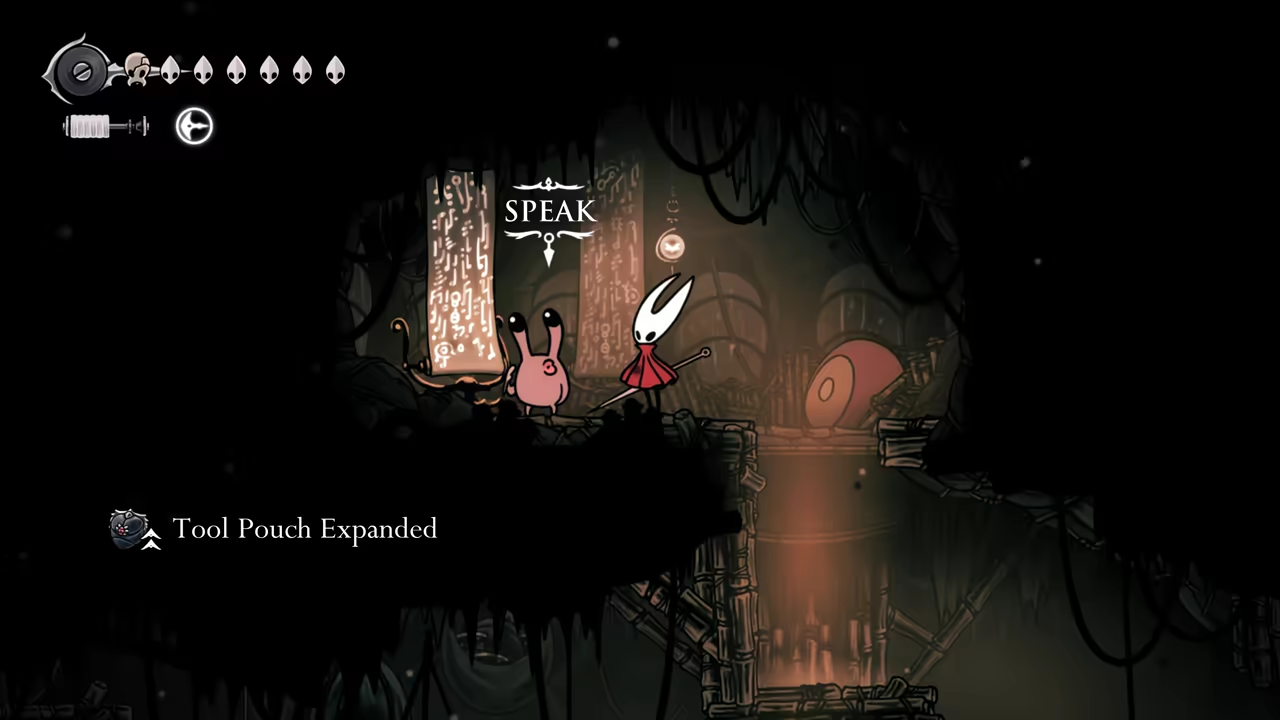
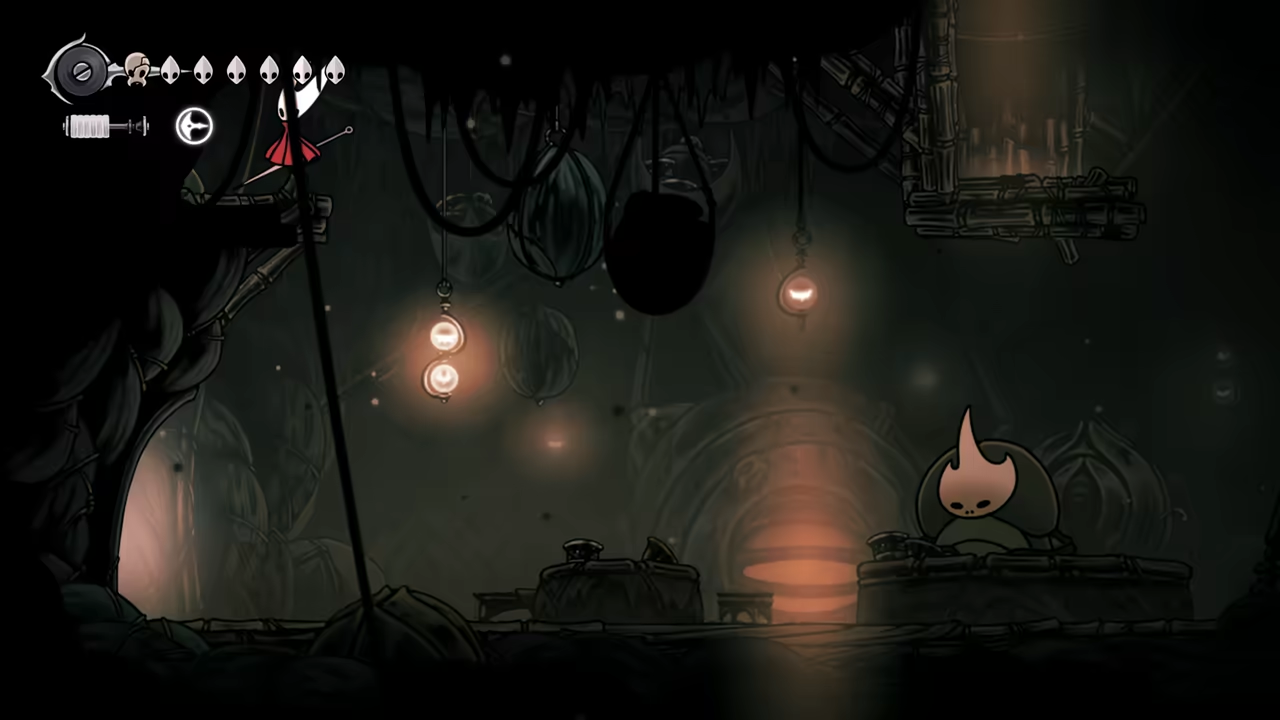
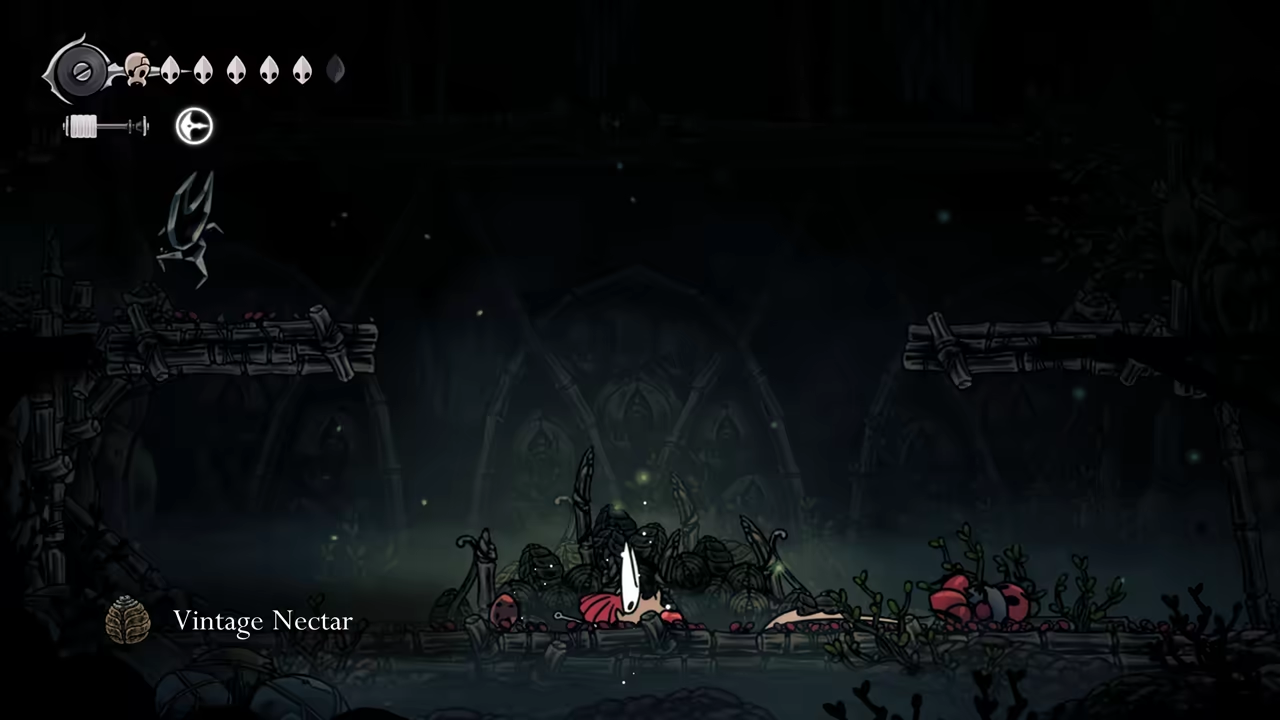
-
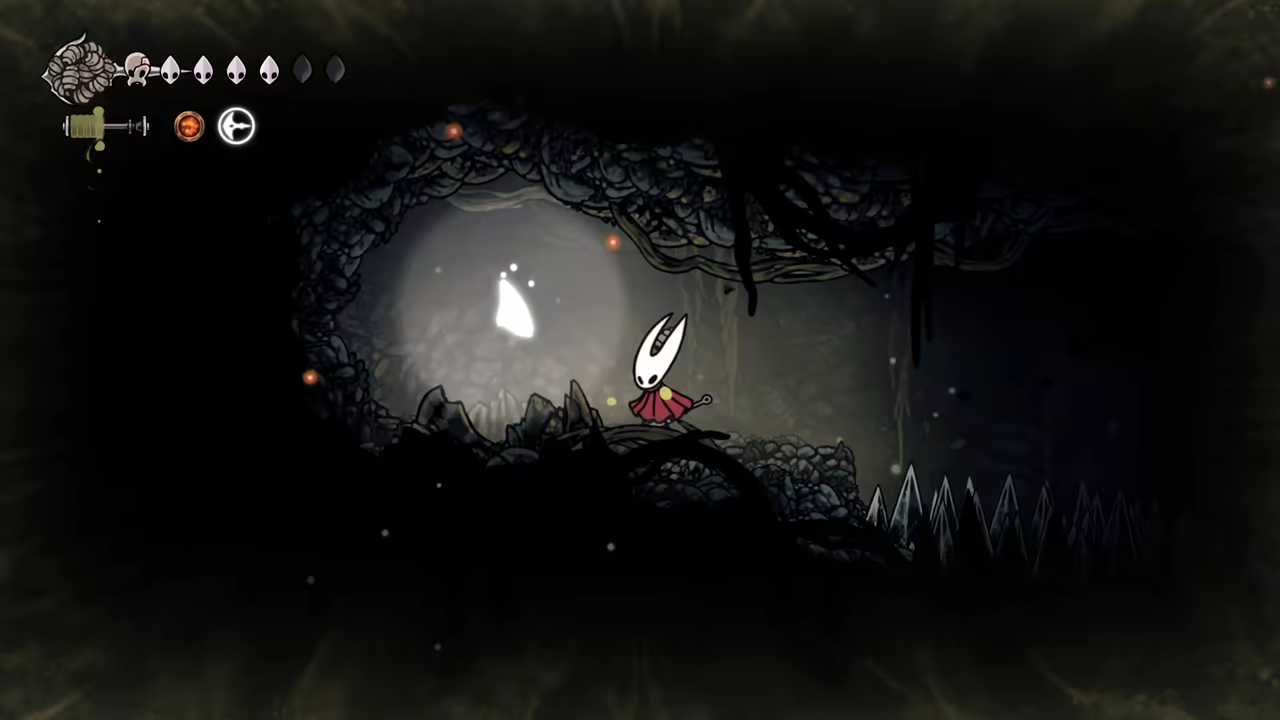
Explore Whisp Thicket
Section titled “Explore Whisp Thicket”Climb the tower and head toward the Whisp Thicket (remember to equip the Magma Bell). This is where the route splits. To the right, you’ll find a mask shard. To the left and up, you’ll reach an area with Craftmetal.
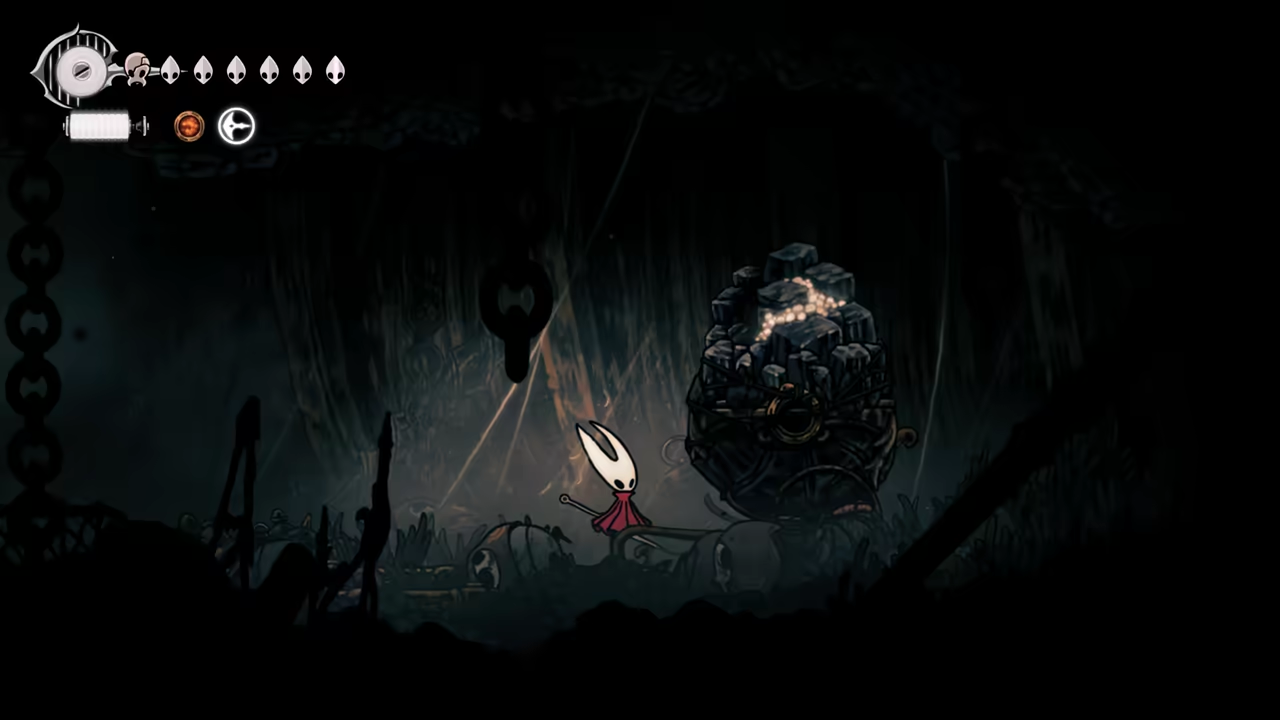
-
Rescue a Flea & Defeat the Boss
Section titled “Rescue a Flea & Defeat the Boss”Keep climbing until you reach the Underworks area, where you’ll rescue a flea. Next, head toward the “Boss.” Keep your distance and attack in short bursts to win.
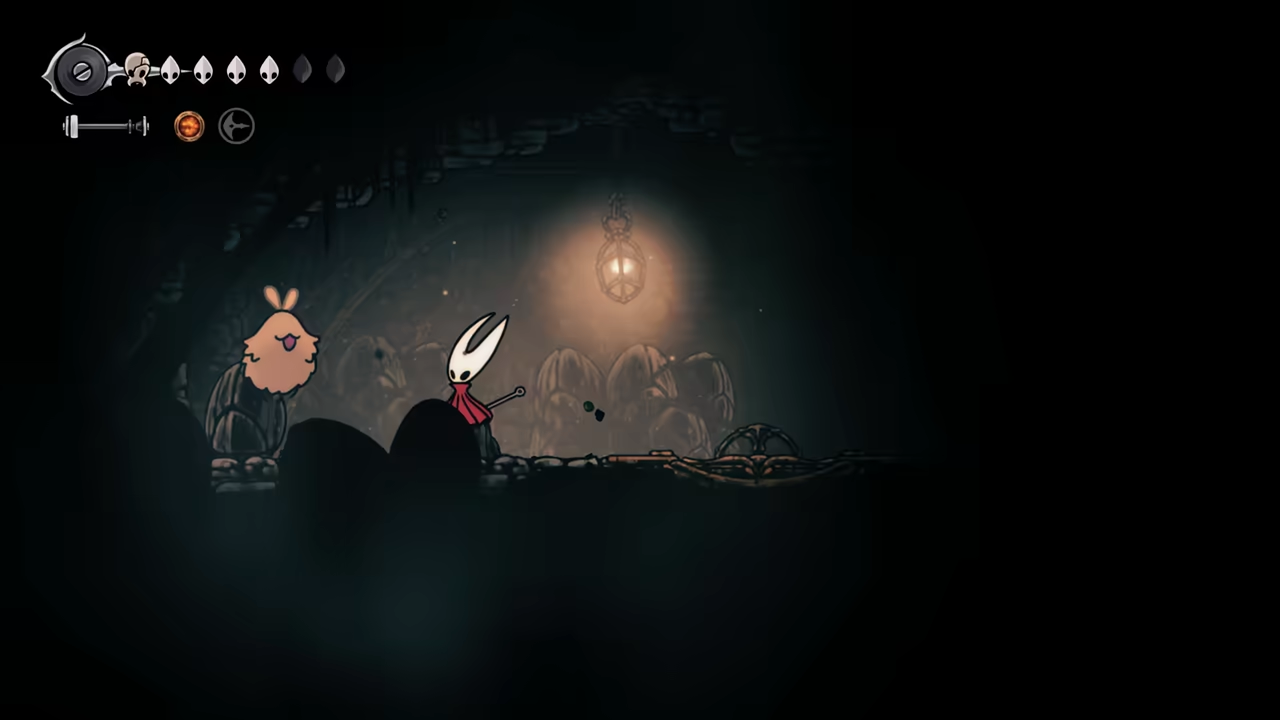
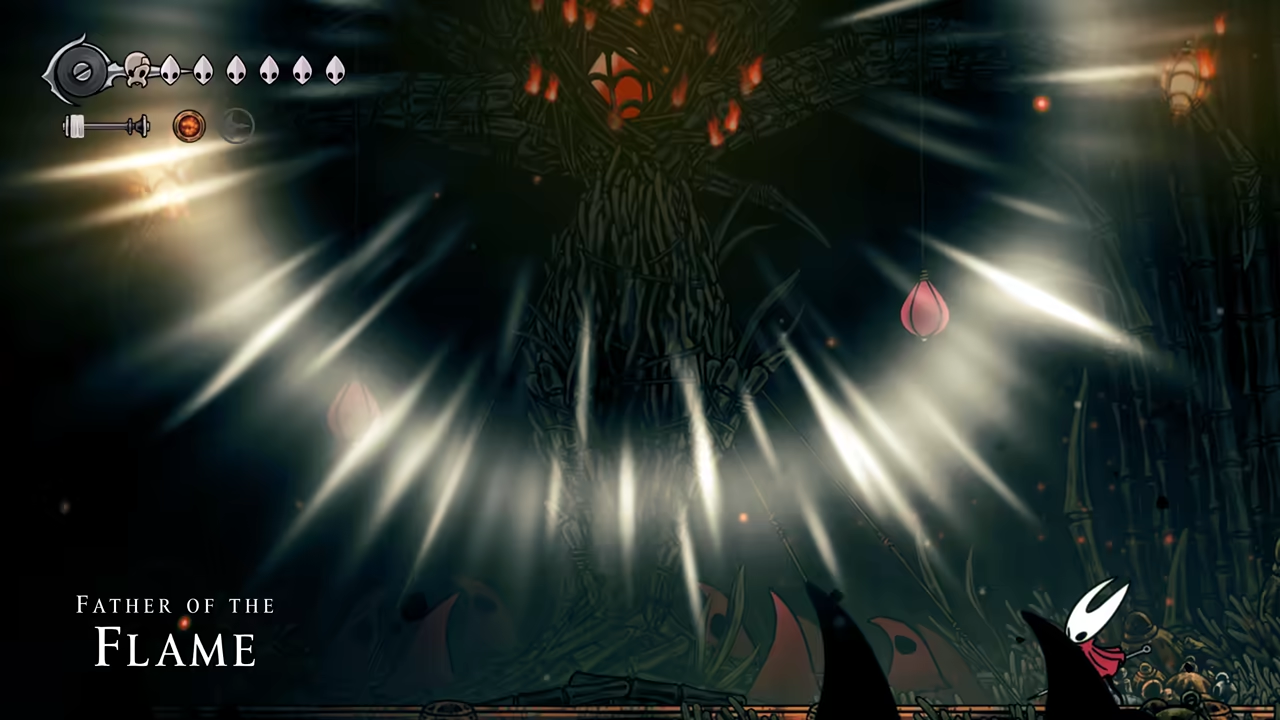
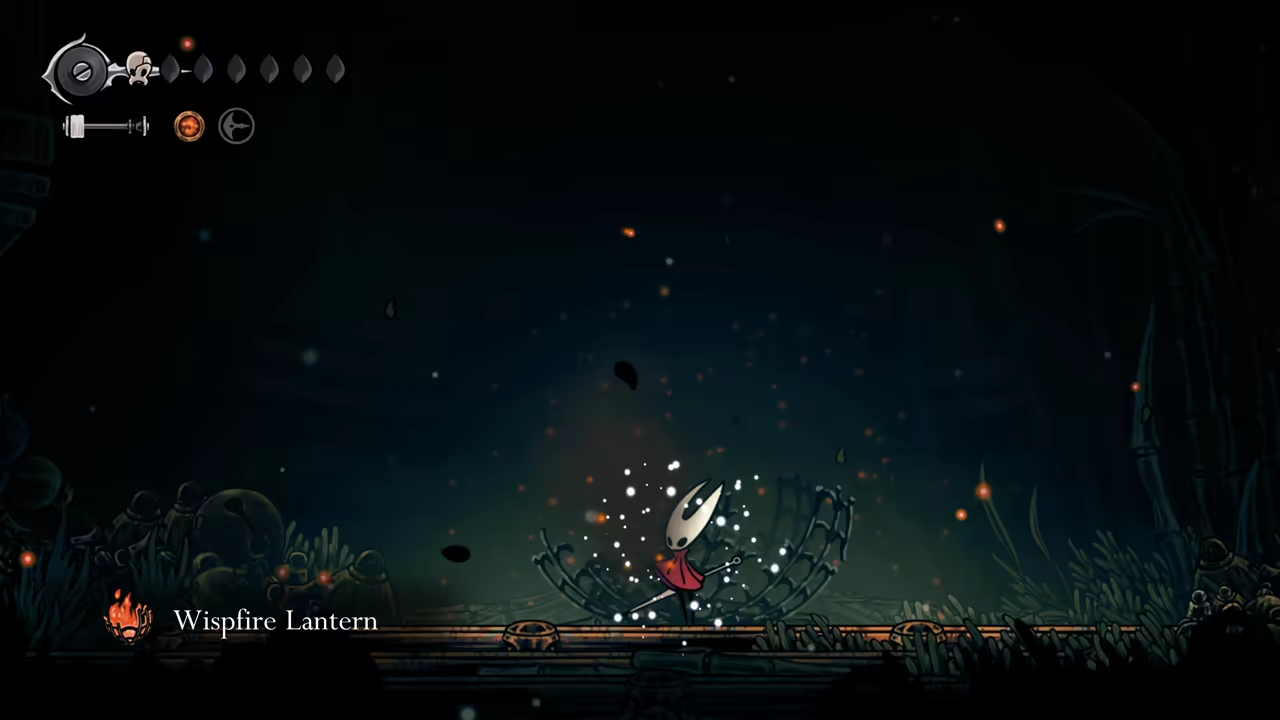
-
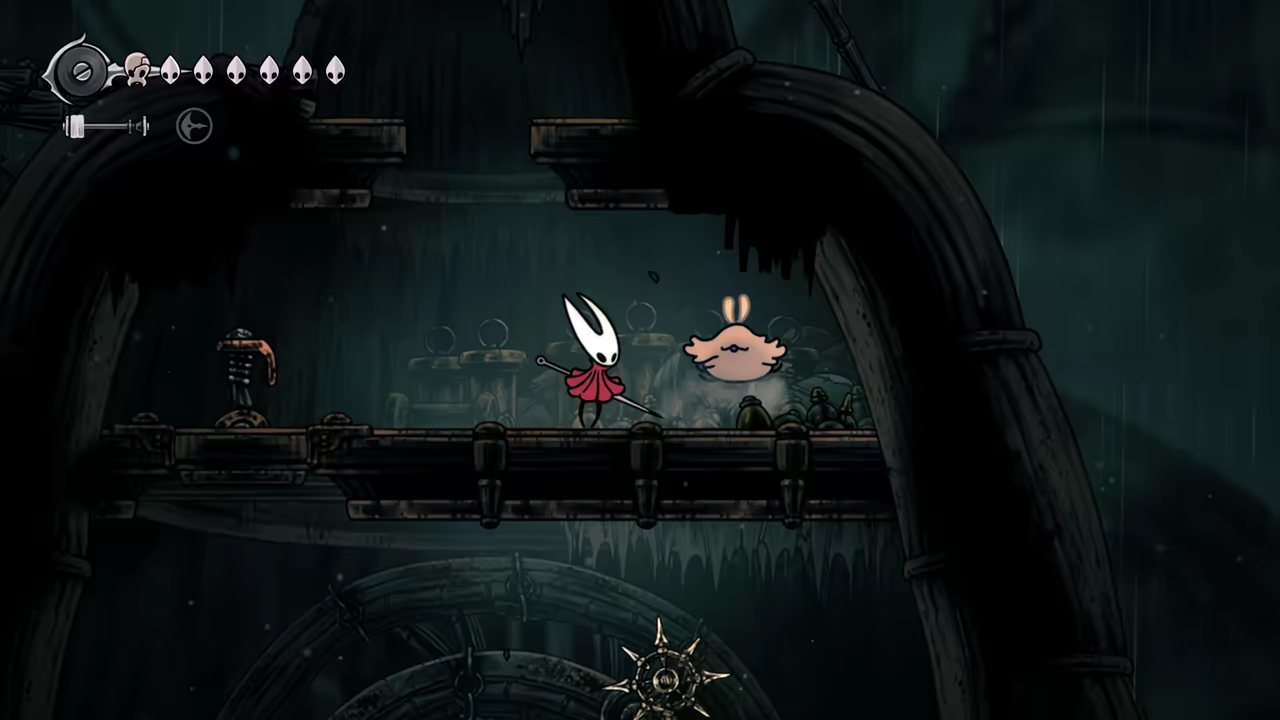
Final Flea and Return
Section titled “Final Flea and Return”Afterward, leave the area to rescue a flea below and head back to the inn.
Right Side Route
Section titled “Right Side Route”-
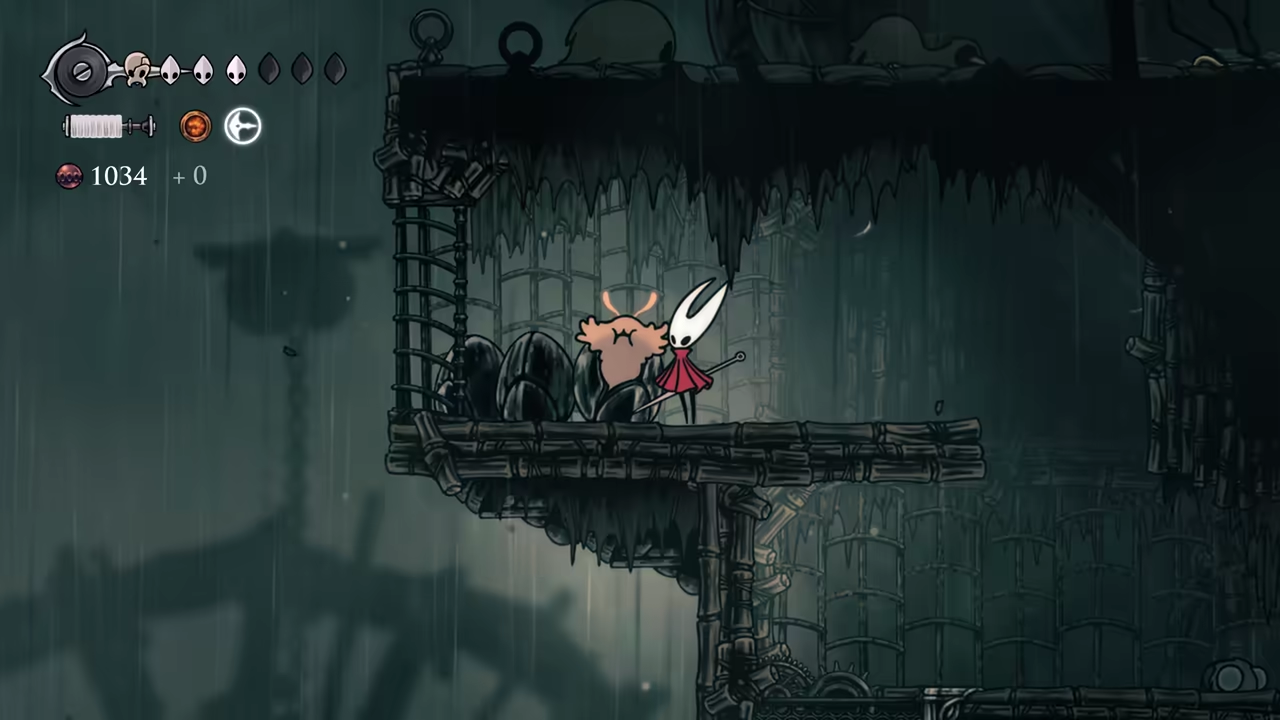
Farm Ragpelts in Craw Lake
Section titled “Farm Ragpelts in Craw Lake”Follow the second route (orange). You’ll want to visit Craw Lake to get all 25 Ragpelts needed to build the Scarecrow for the Scarecrow quest. To the right, you’ll find another lost flea.
-
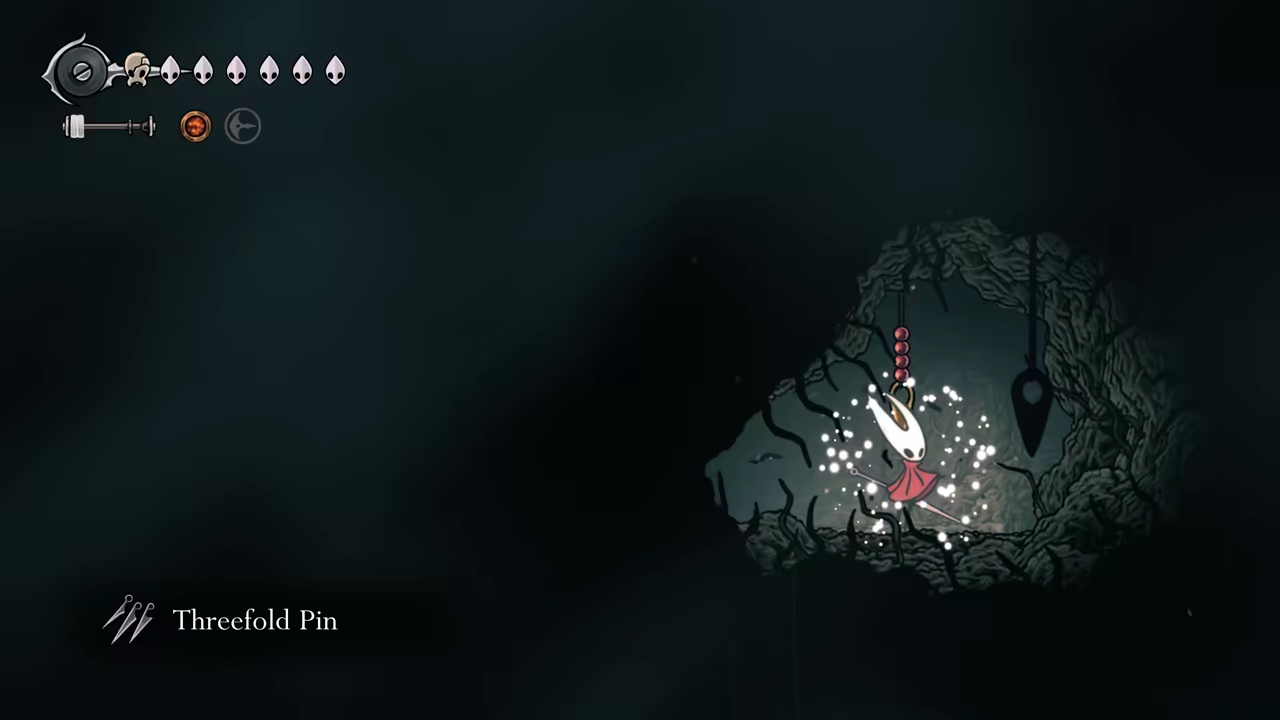
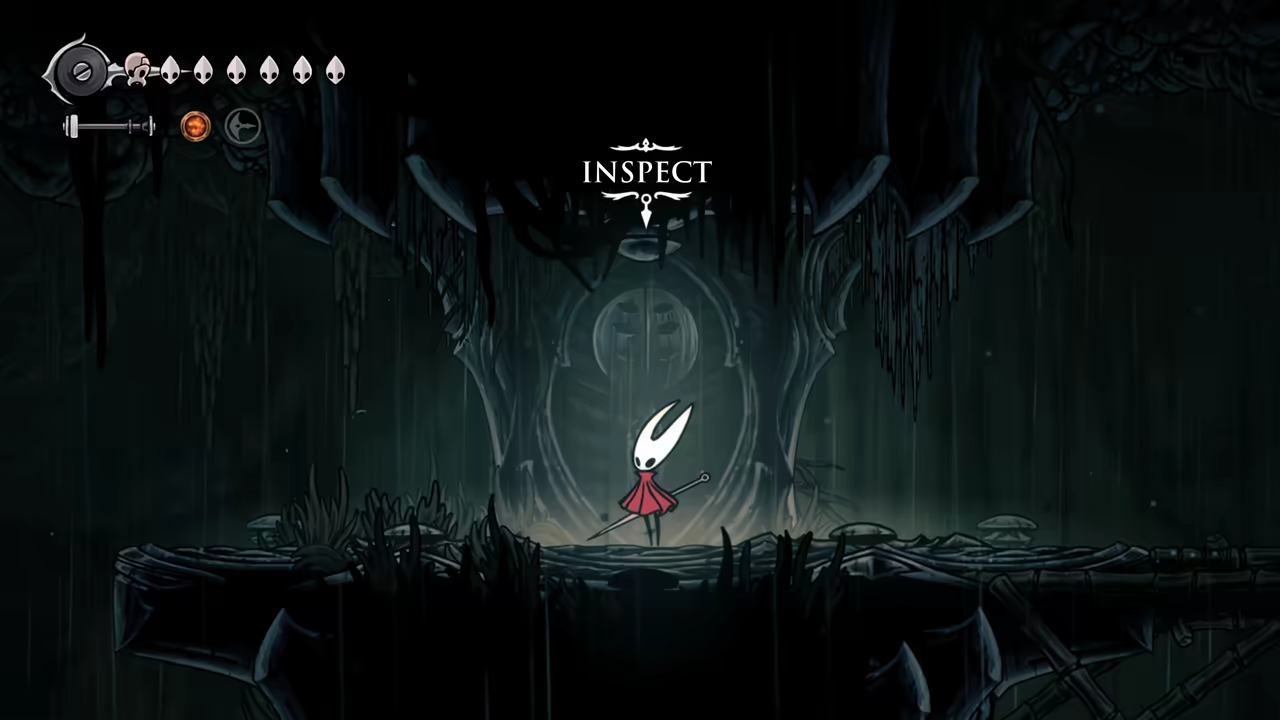
Find Threefold Pin & Learn Thread Storm
Section titled “Find Threefold Pin & Learn Thread Storm”Next to the flea, on the upper area, you’ll find the Threefold Pin behind a hidden wall. Keep climbing all the way up to learn Thread Storm.
-
Find the Spool Fragment
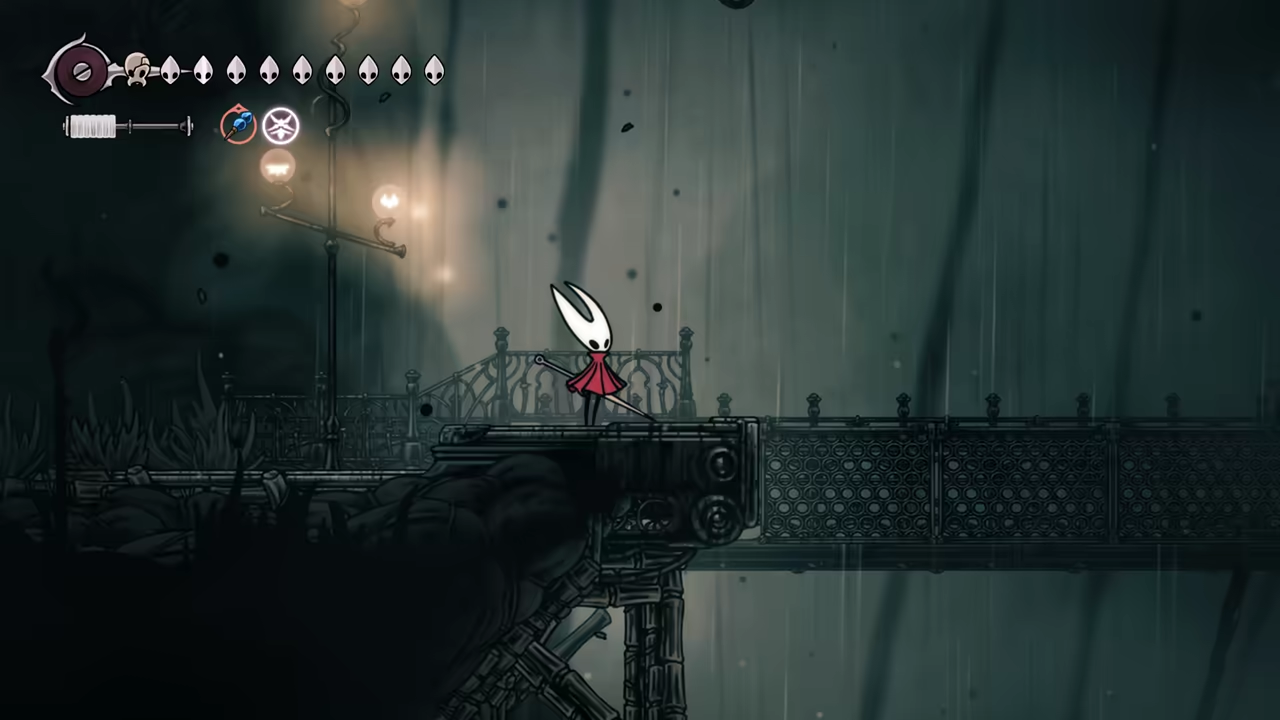
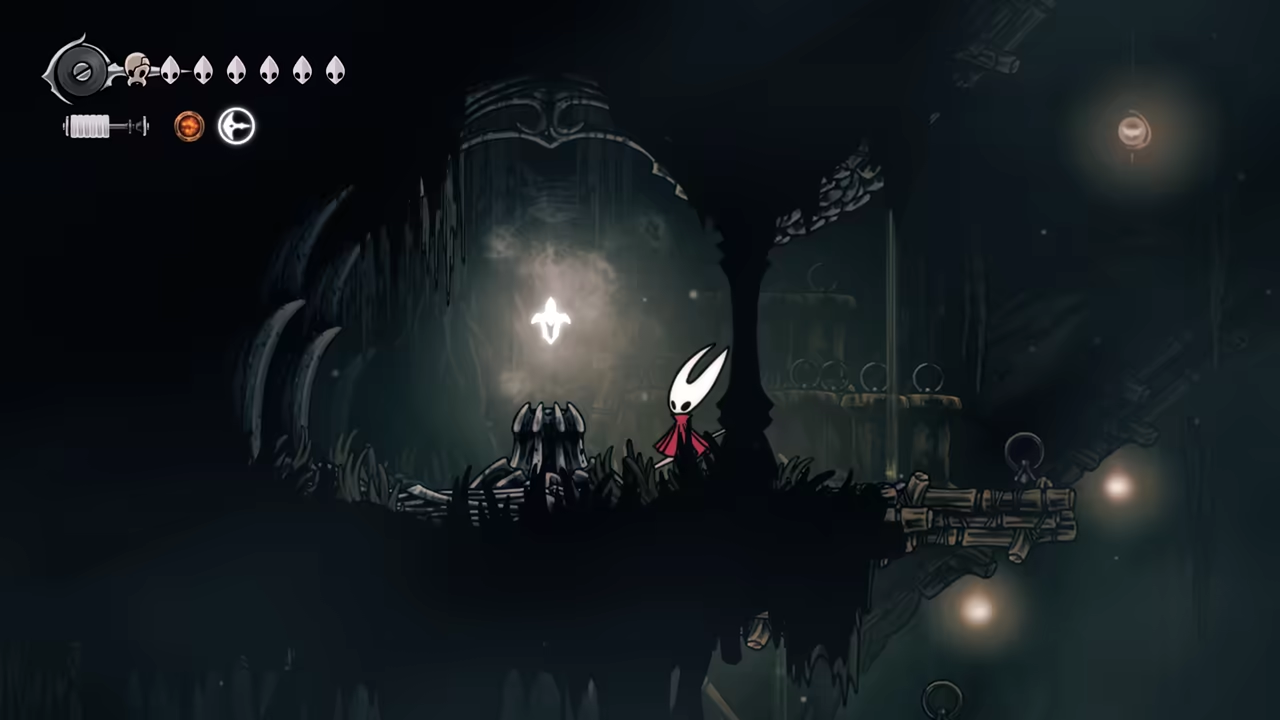
Section titled “Find the Spool Fragment”Head to the top left, pass by the Bell Shrine, unlock the door, and return to the Halfway Home. From there, take the upper path back to the top of the Bell Shrine. Activate levers and shortcuts, and then climb up to find a Spool Fragment.
-
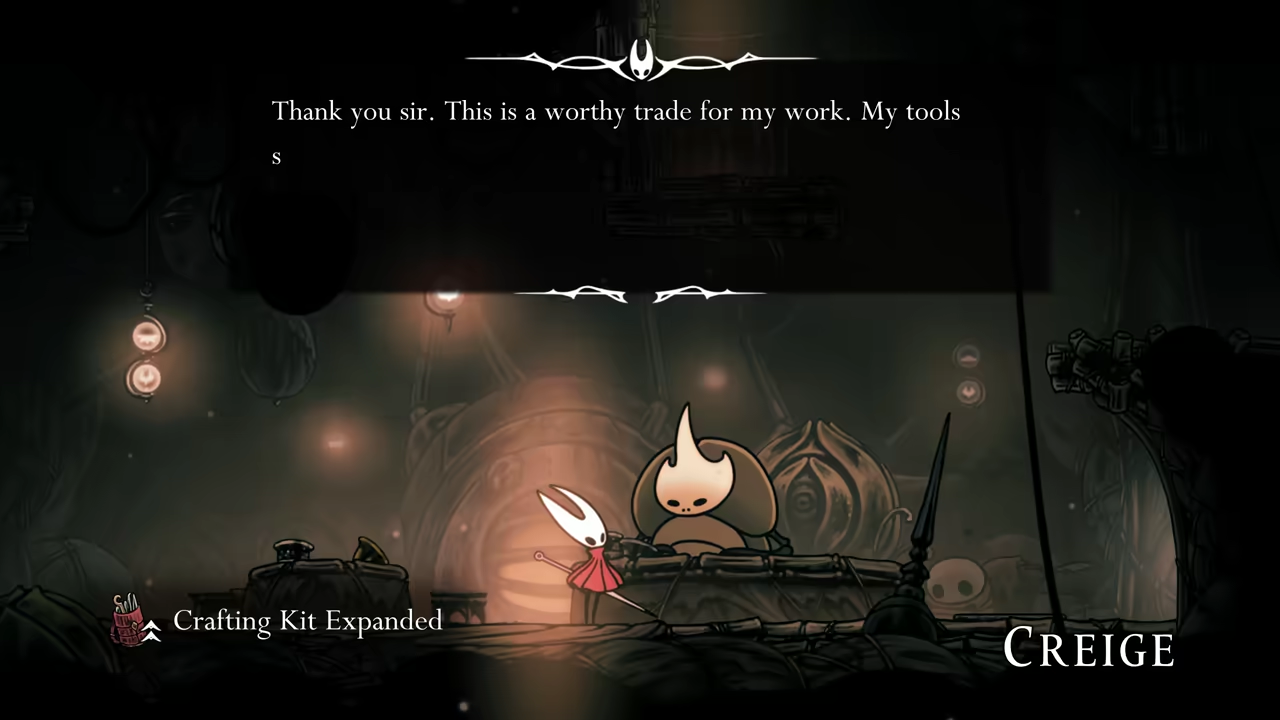
Complete the Scarecrow Wish
Section titled “Complete the Scarecrow Wish”Travel all the way back to Halfway Home to finish the Scarecrow Wish, which will reward you with a Crafting Kit upgrade.
-
Proceed to Sinner’s Road
Section titled “Proceed to Sinner’s Road”Finally, use the elevator and climb toward Sinner’s Road.
100% Sinner’s Road
Section titled “100% Sinner’s Road”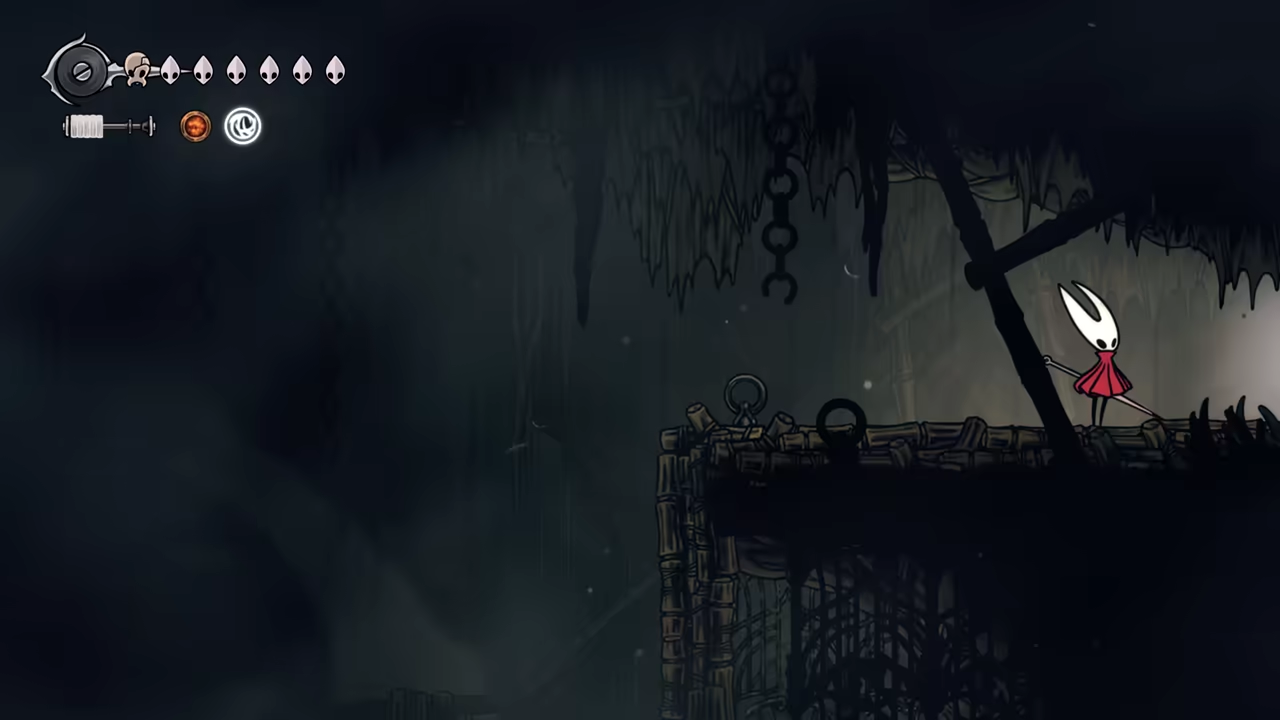
Key Items
- Barbed Bracelet
- Pickled Muckmaggot
- Simple Key
- Flea (x4)
- Roach Guts
- Tacks (Tool)
- Memory Locket (x3)
- Twisted Bud
- Mask Shard
- Ruined Tool
- Spool
Bosses
Quests
- Great Taste of Pharloom
- Roach Guts
- The Lost Fleas
NPCs
- Crull and Benjin
- Shakra
This will be one of the more complex routes since we’ll be making a number of area swaps, but this will help save time. I’ll be splitting this guide into two parts to keep it clean and easier to follow.
Part 1
Section titled “Part 1”We’ll start with this route:
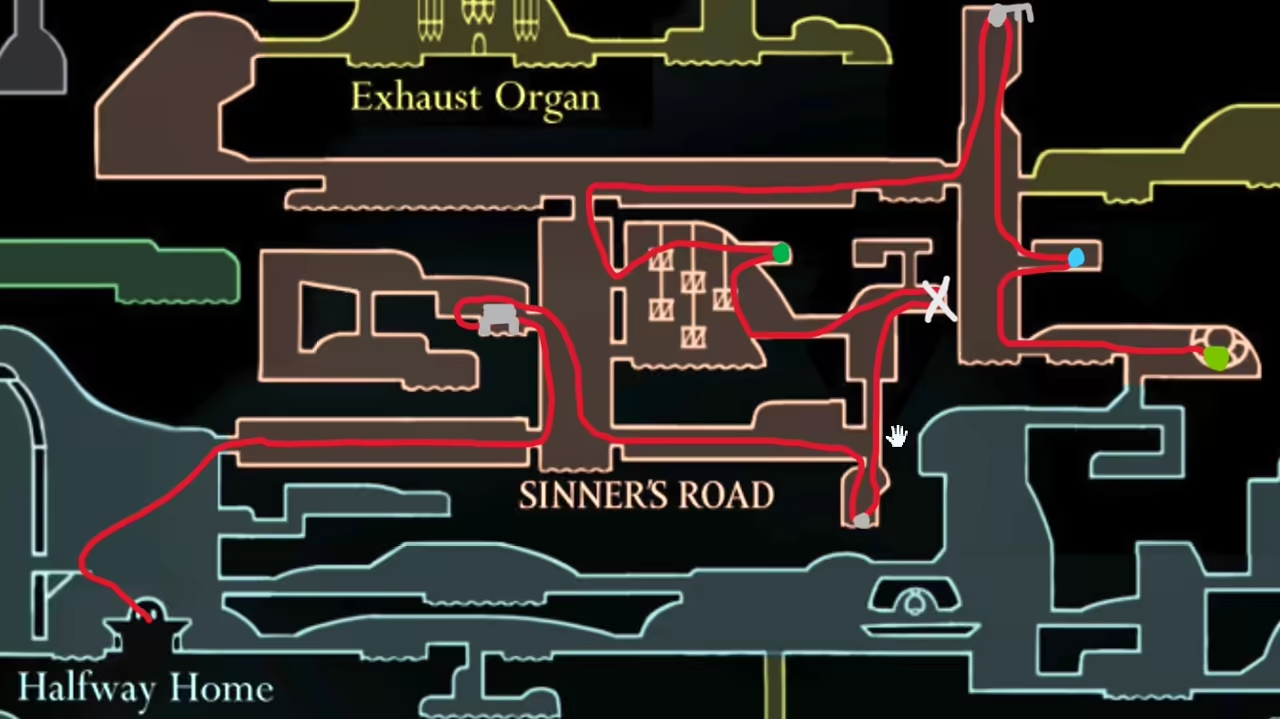
-
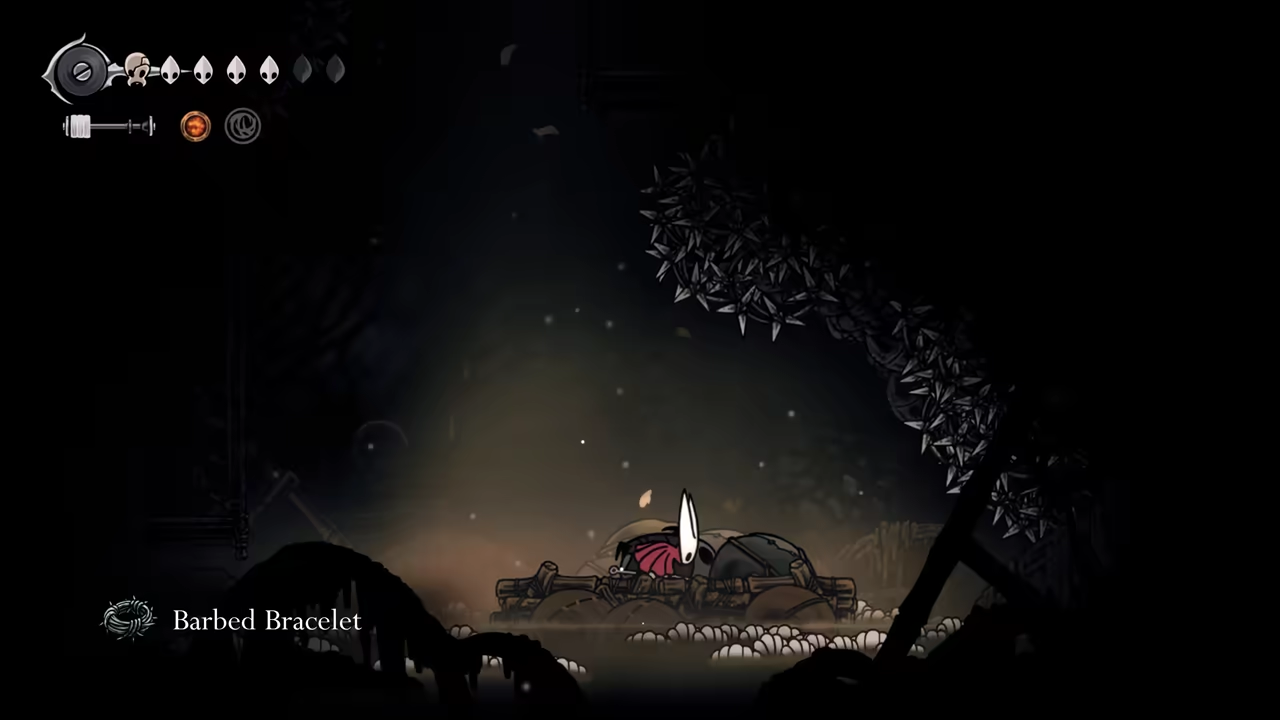
Find the Barbed Bracelet
Section titled “Find the Barbed Bracelet”Starting from the Inn, take the elevator and head towards Sinner’s Road. Make a quick bench visit to create a save spot. Progressing to the right, you’ll find the Barbed Bracelet inside a hole.
-
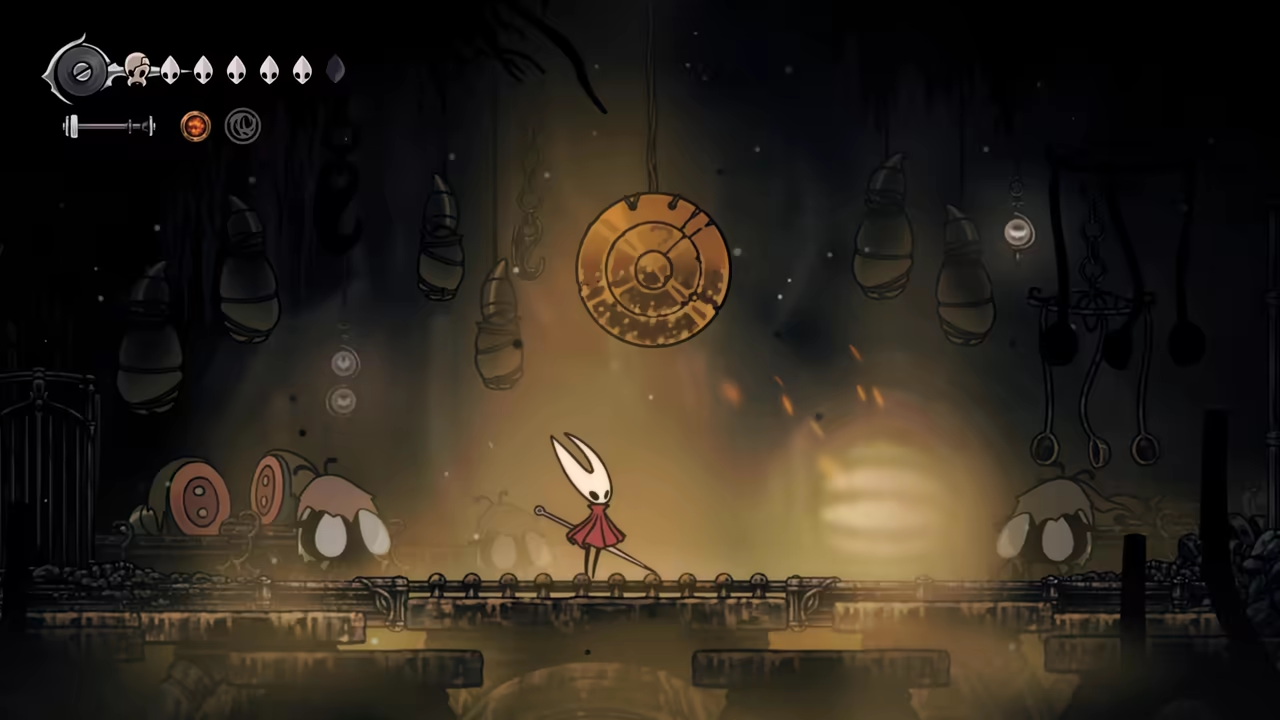
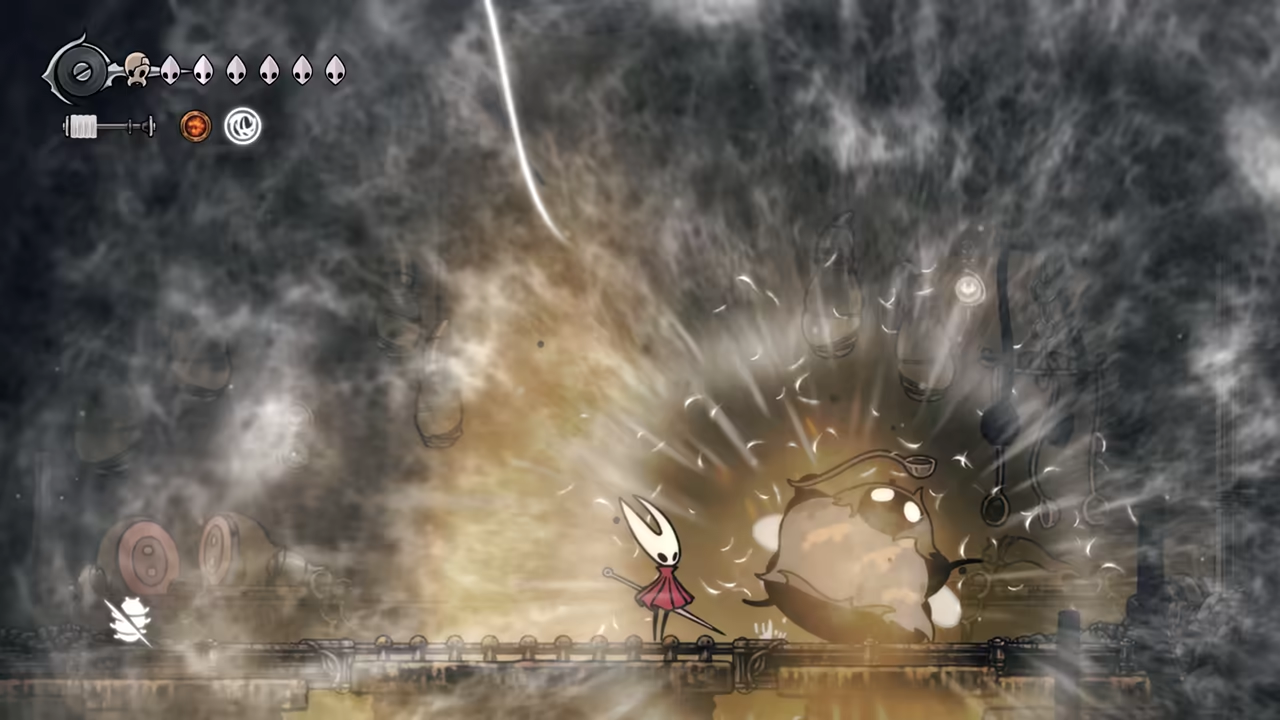
Defeat the Muckmaggot Guardian
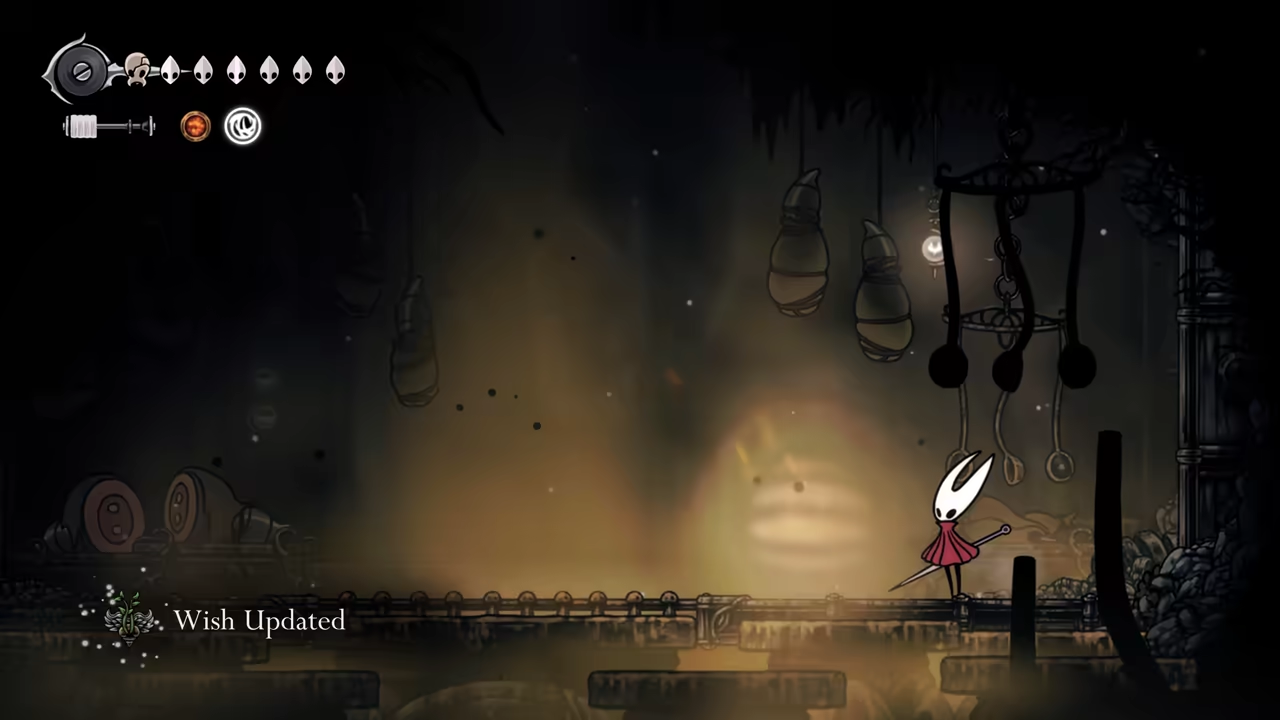
Section titled “Defeat the Muckmaggot Guardian”From here, head straight to the boss fight located at the top-right of this area (marked with an X).
-
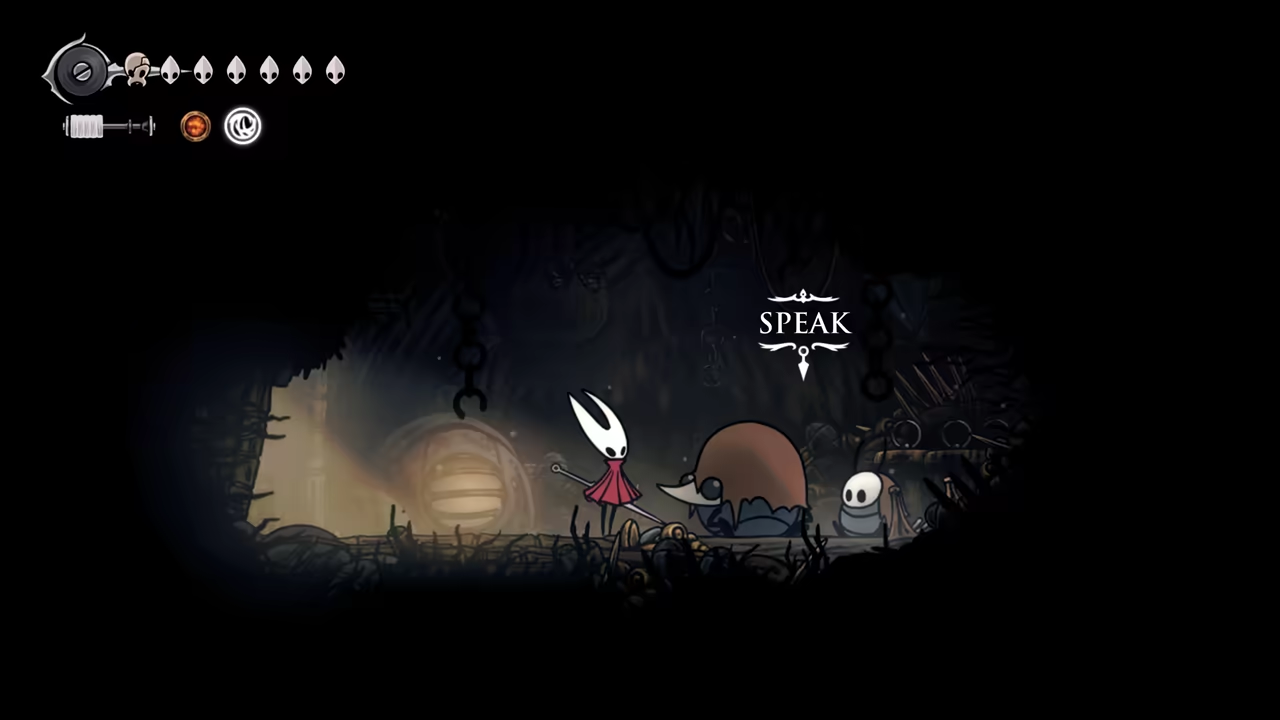
Start the Roach Guts Quest
Section titled “Start the Roach Guts Quest”Next, we’ll meet Crull and Benjin to start the Roach Guts quest.
-
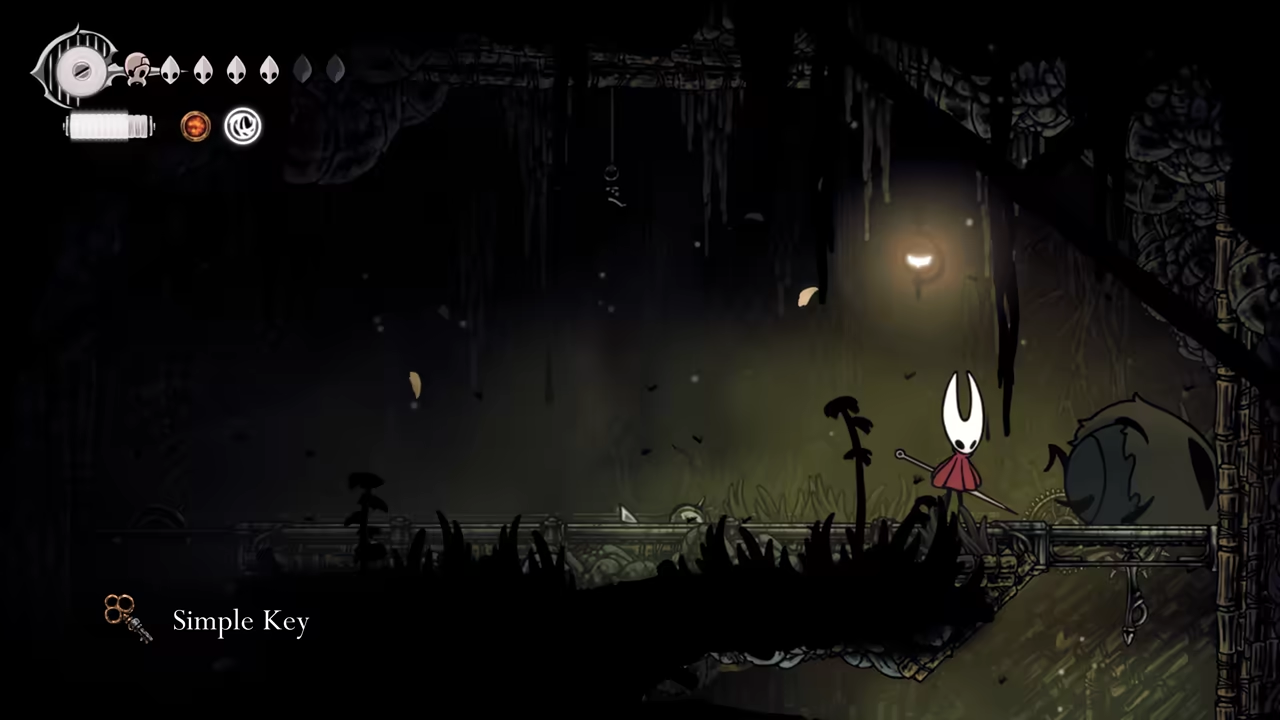
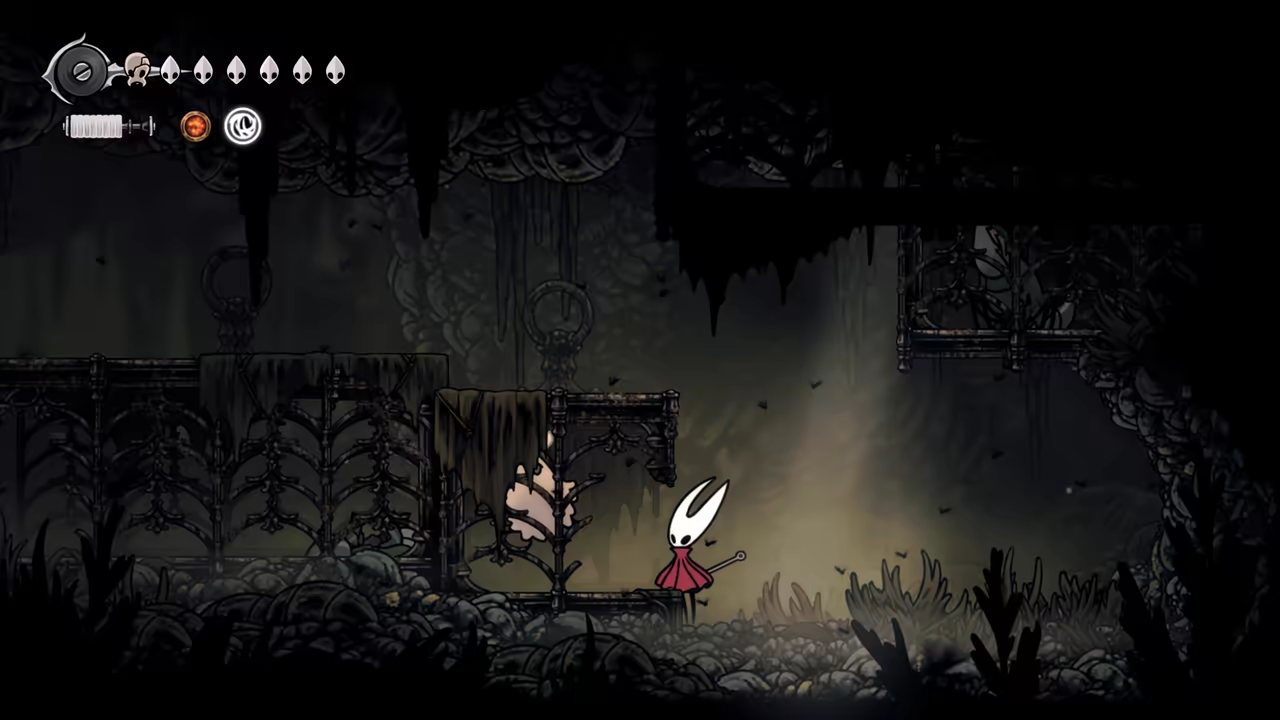
Collect a Simple Key and a Flea
Section titled “Collect a Simple Key and a Flea”Continuing along the route, we’ll fight for a Simple Key at the top of this area. From here, head down and enter a room on the right to find a Flea.
-
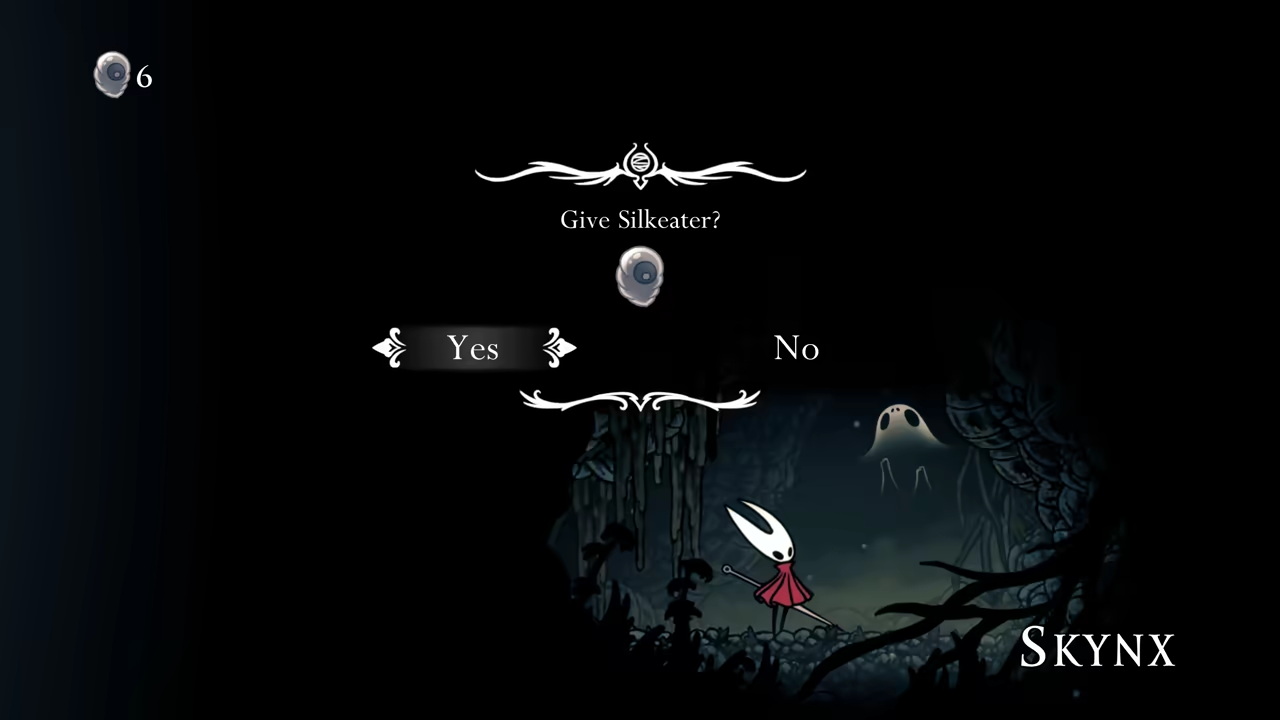
(Optional) Sell Silk Grubs
Section titled “(Optional) Sell Silk Grubs”The next area is completely optional on Steel Soul. Here, you’ll meet an exclusive character who buys Silk Grubs in exchange for rosaries.
-
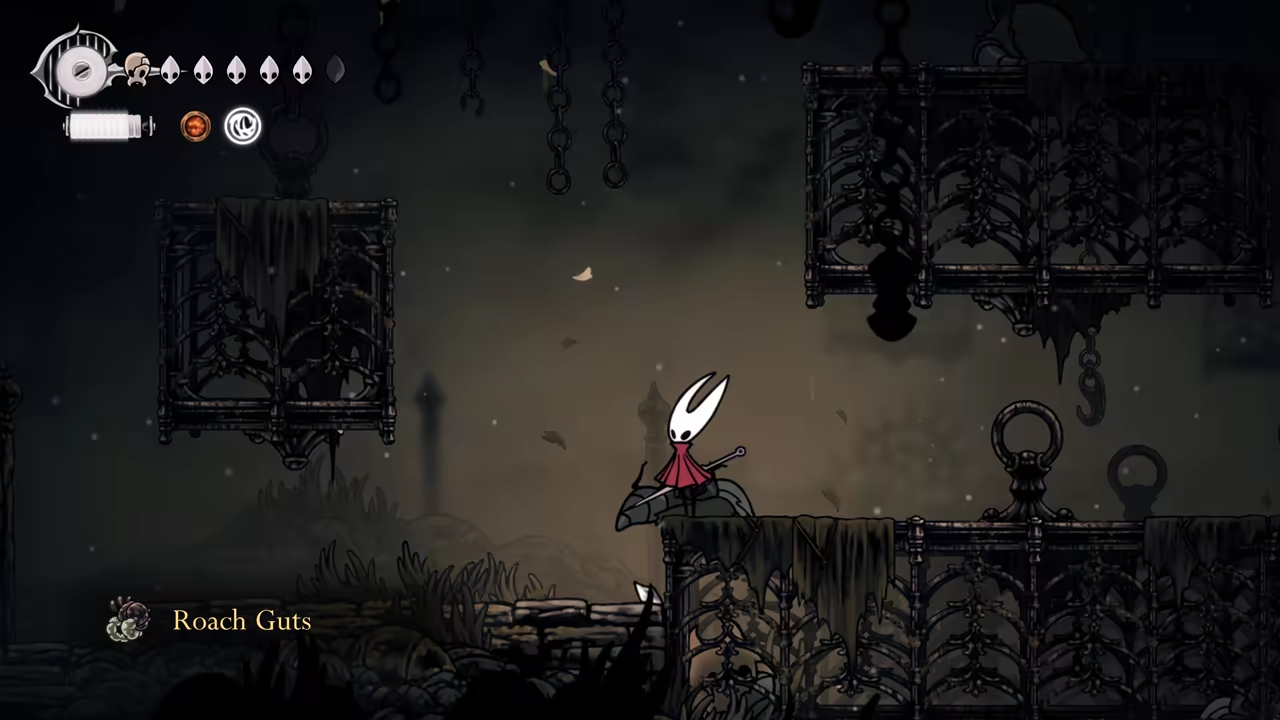
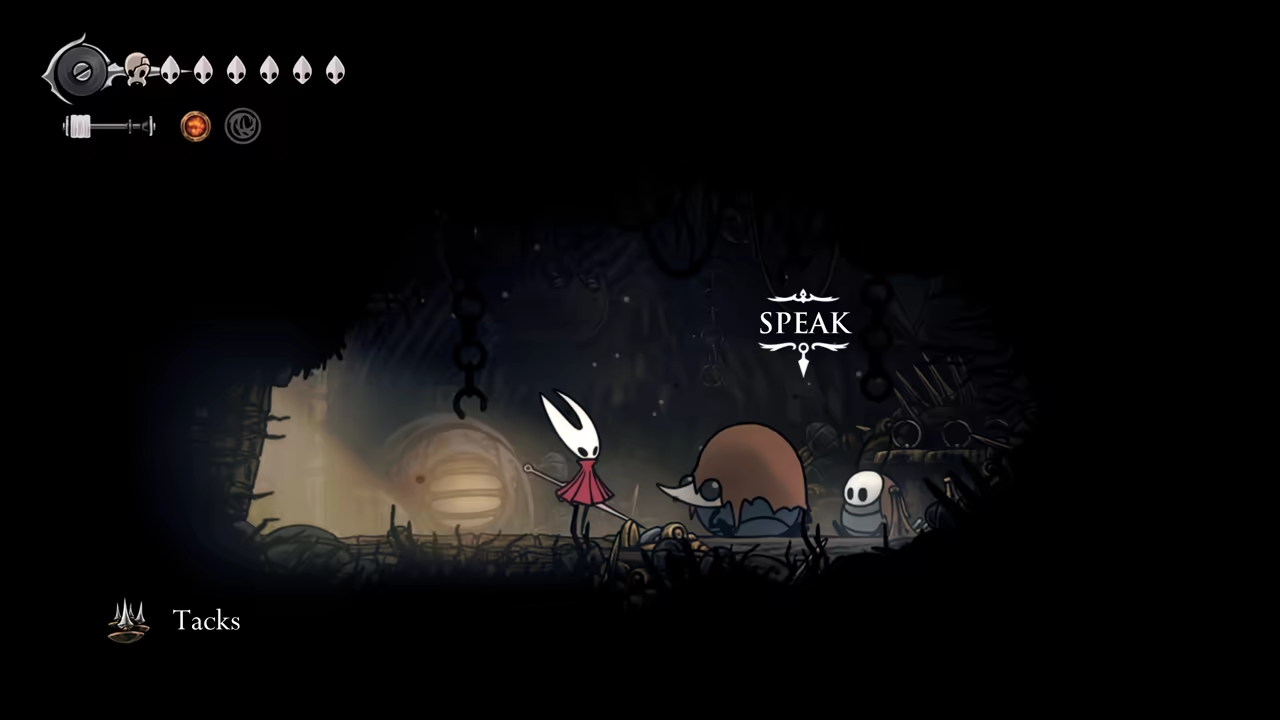
Farm Roach Guts & Get Tacks
Section titled “Farm Roach Guts & Get Tacks”Save and quit to reload close to the Sinner’s Road entrance. We’ll farm Roach Guts here. Collect 3 in the first area, then quit and reload. Repeat until you have all the Guts. Afterward, return to Crull and Benjin to complete the wish and receive the Tacks tool.
Part 2
Section titled “Part 2”Now we’re leaving Sinner’s Road behind for a big detour to save time later.
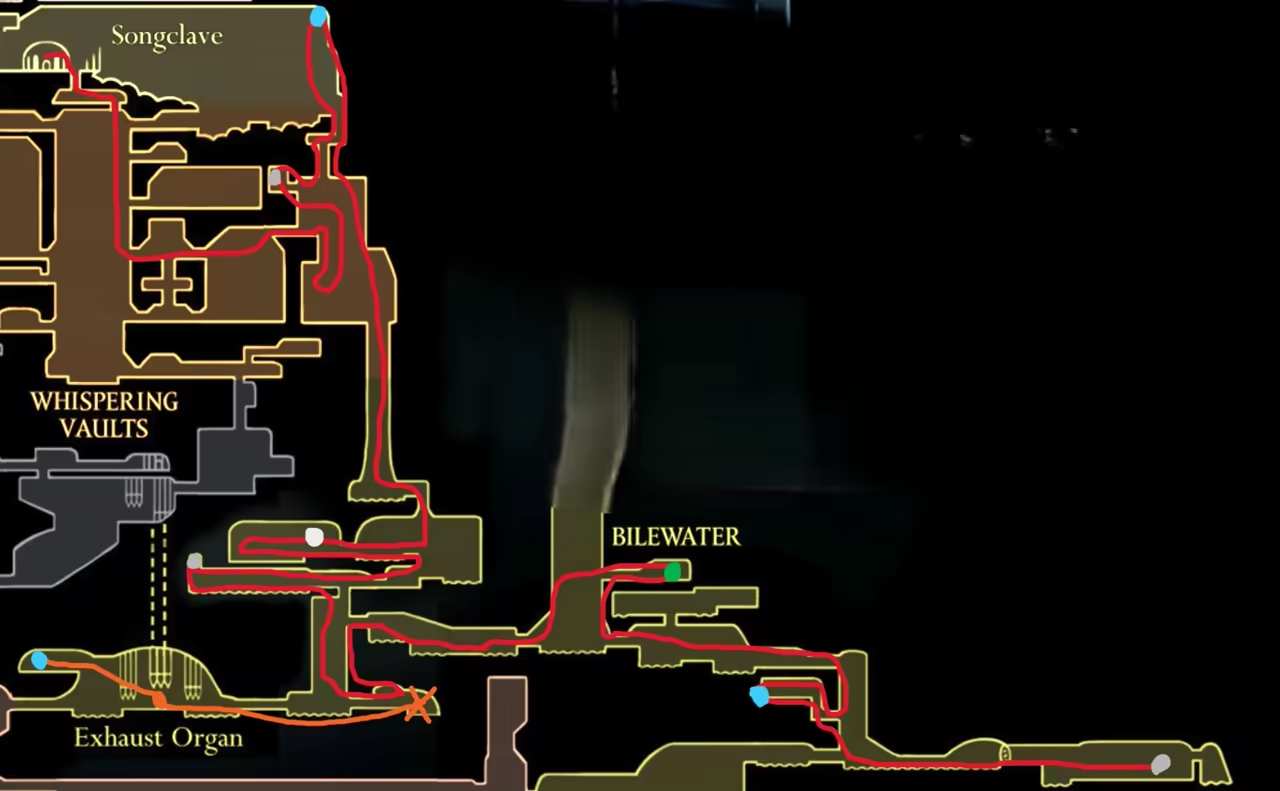
Here’s the route for the detour:
-
Get First Memory Locket
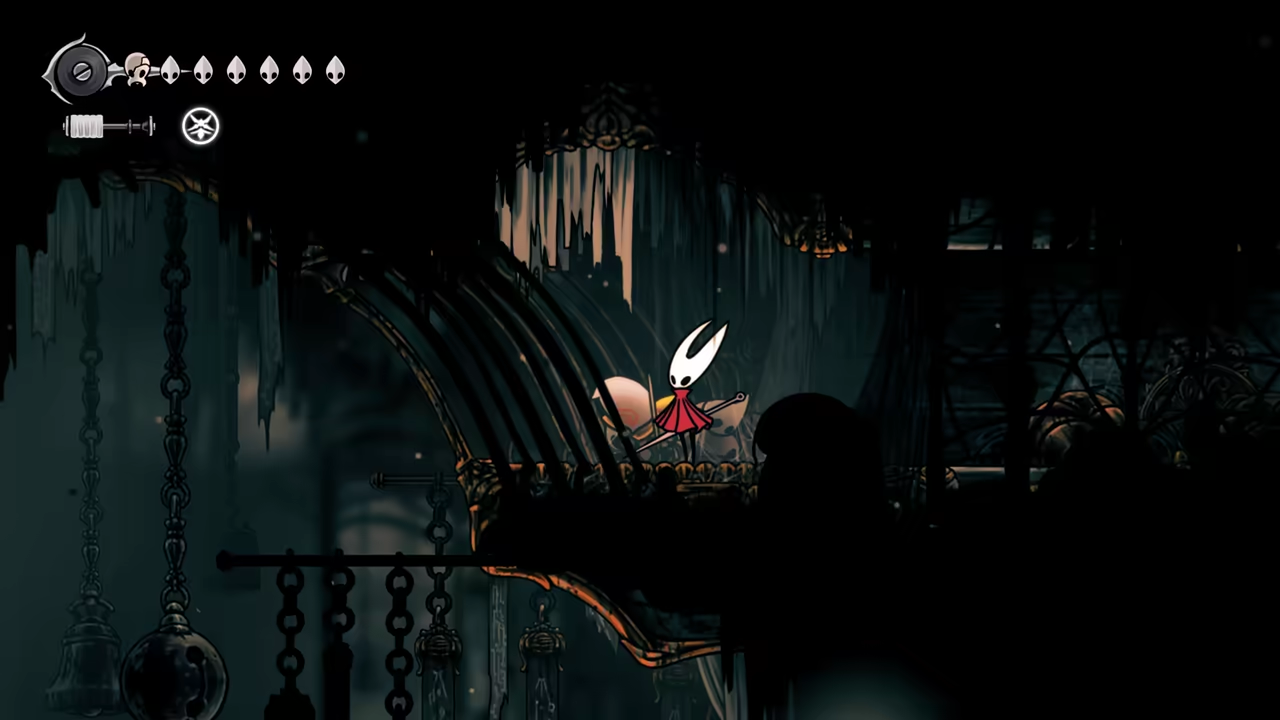
Section titled “Get First Memory Locket”Save and quit, leave Sinner’s Road entirely, and head back to the Greymoor Bell station. Fast travel to Grand Bellway. At the top-right, climb the wall, and going left will lead you to a Memory Locket.
-
Descend the Vaults
Section titled “Descend the Vaults”Fast travel to Songclave. Use the shortcut we unlocked for the Vaults earlier. Our objective is the Twisted Bud. As you descend, follow the path to the right where we previously found a Mask Shard. In the next room, you’ll find a hidden passage at the top.
-
Get Second Memory Locket & Platforming
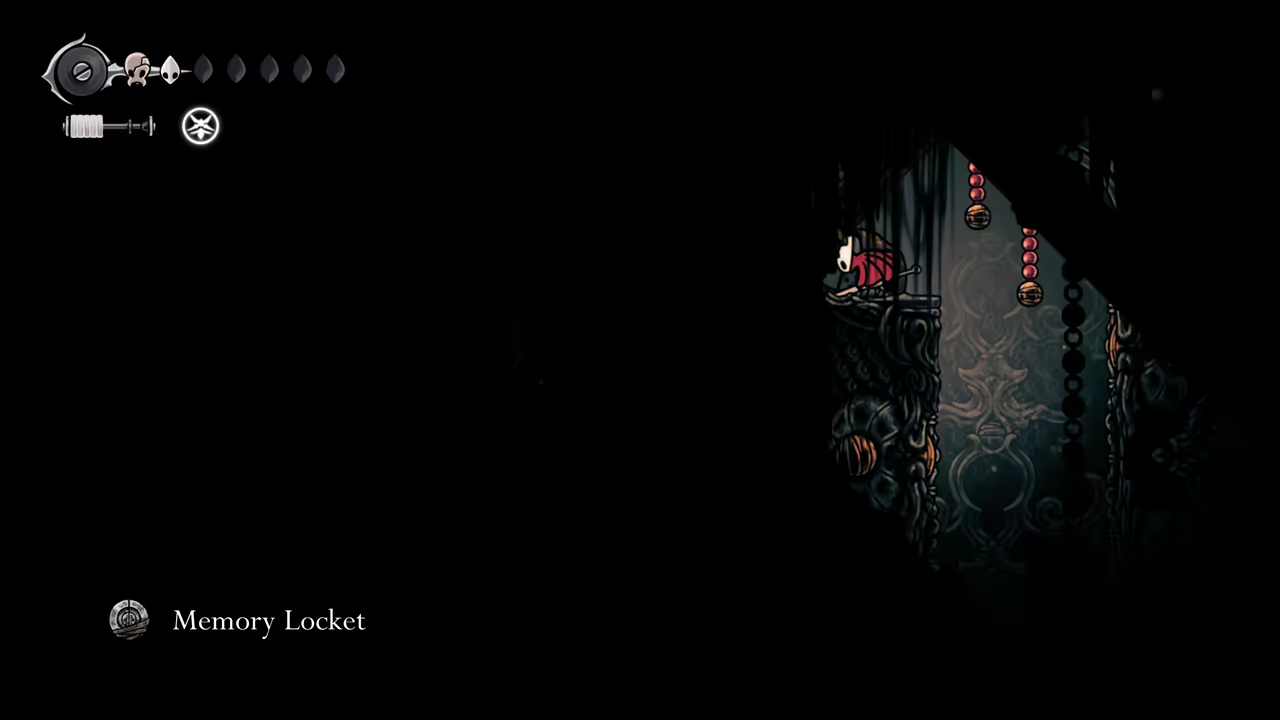
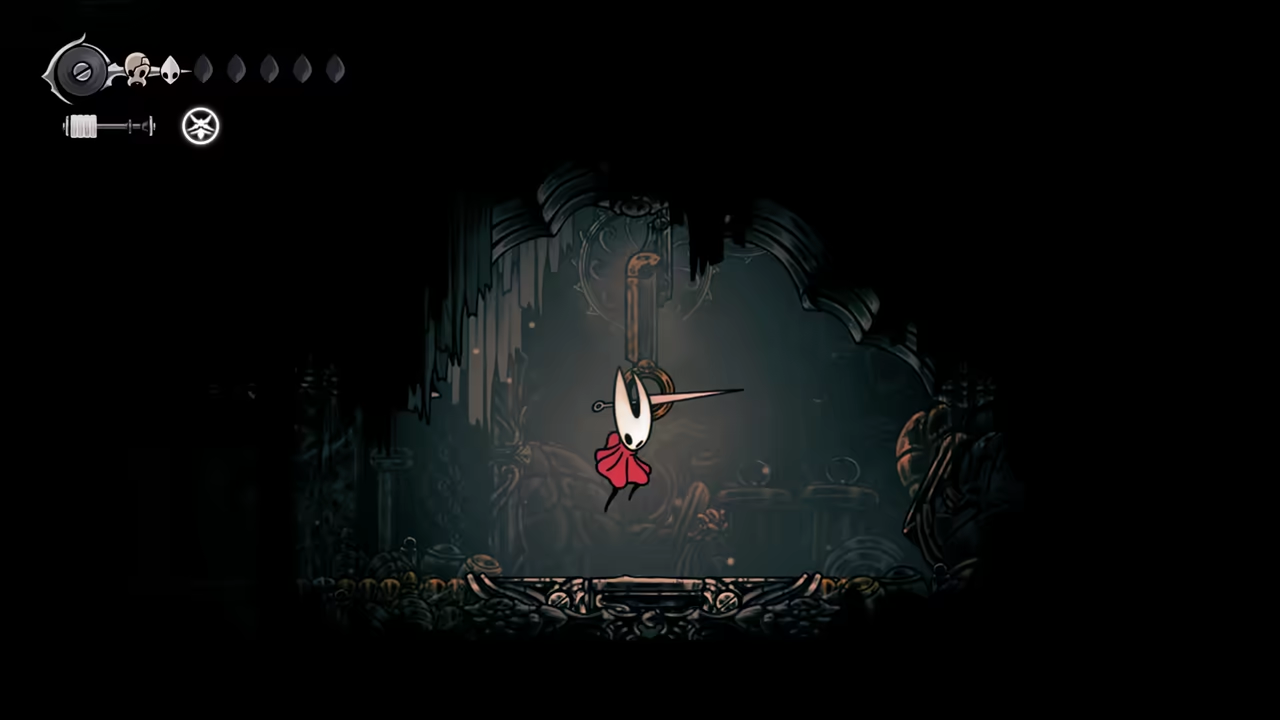
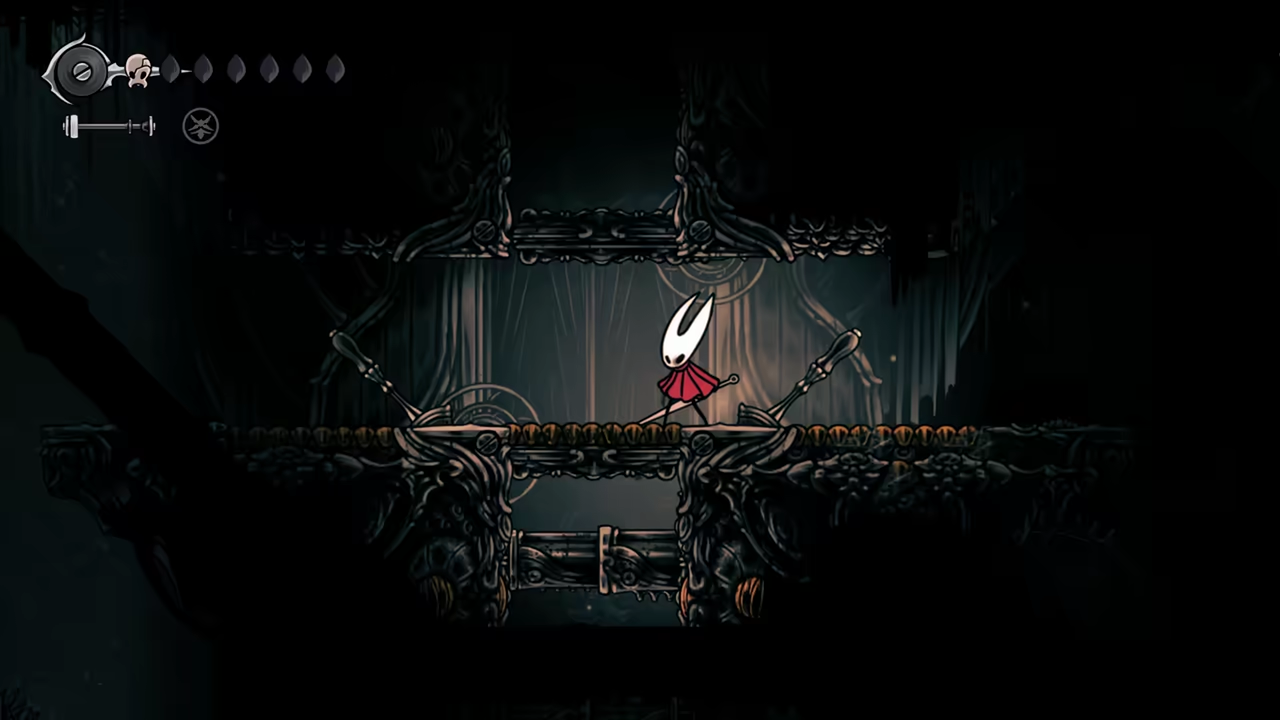
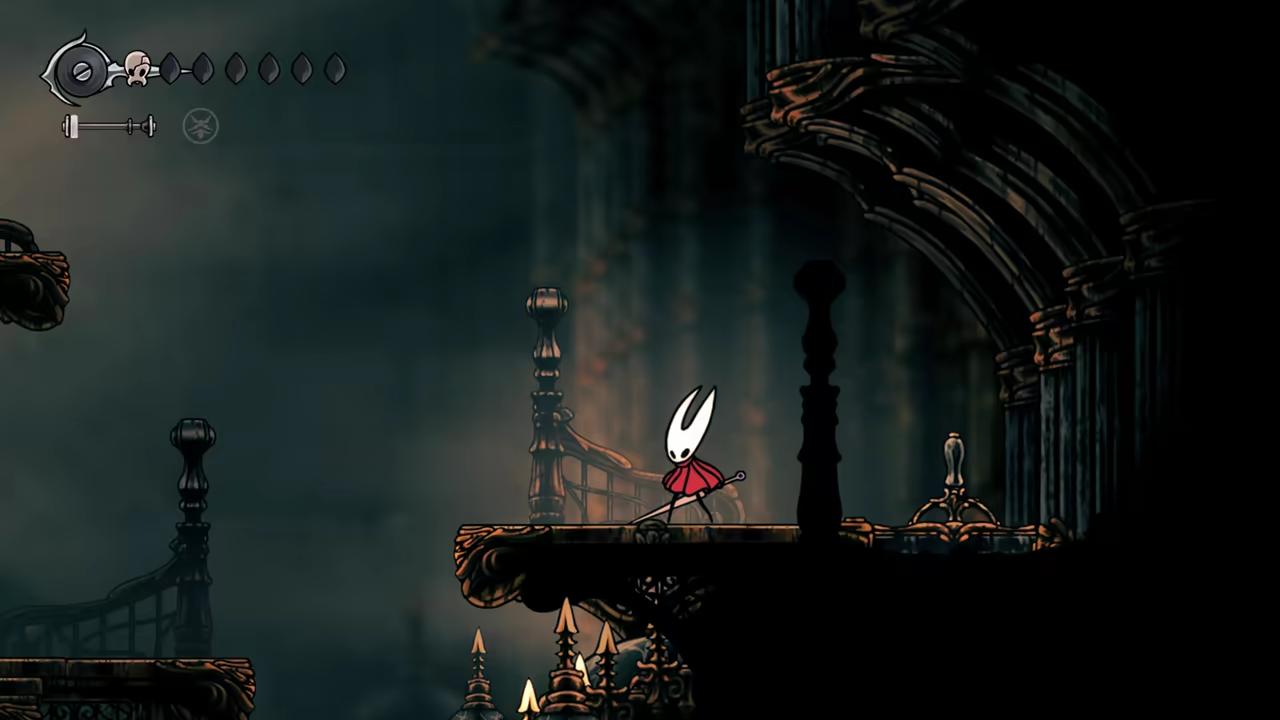
Section titled “Get Second Memory Locket & Platforming”After entering the next room, climb up to the left to find another Memory Locket. Next, tackle a platforming puzzle. Use the hook to activate a lever, continue until you reach the bottom, and go left to the lever bridge area where you can unlock an airflow.
-
Rescue a Flea & Visit Bilewater
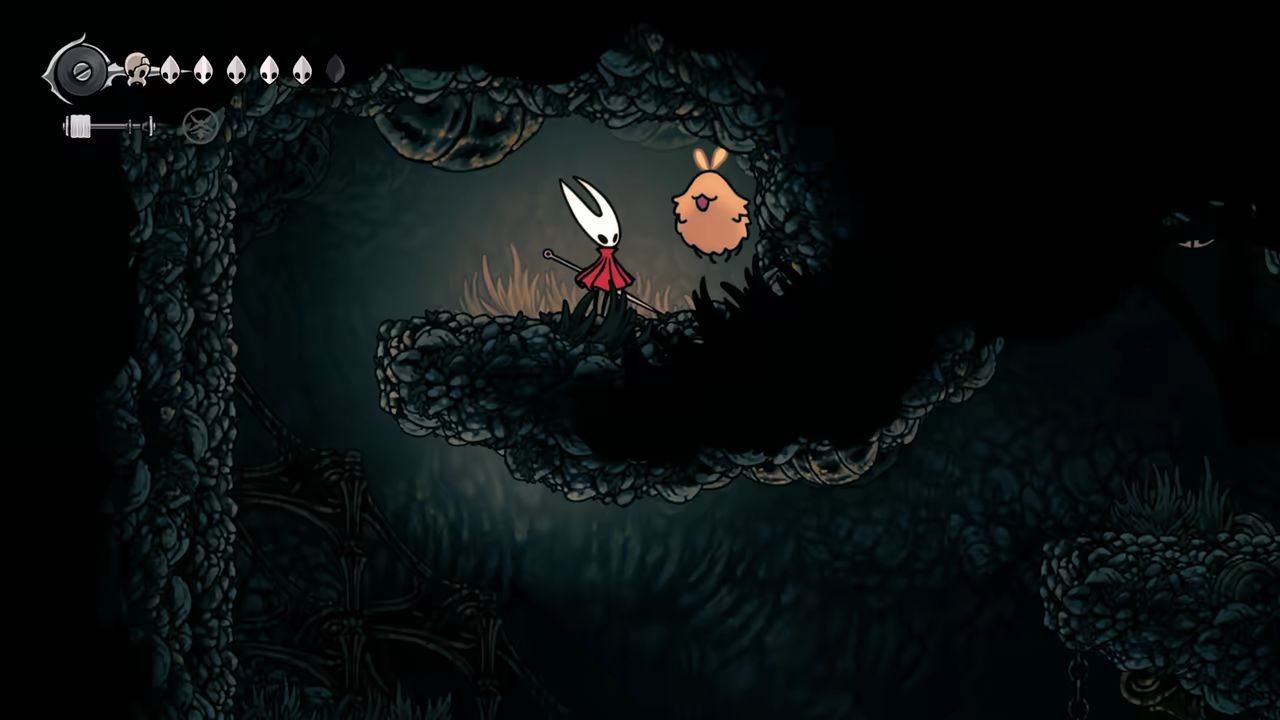
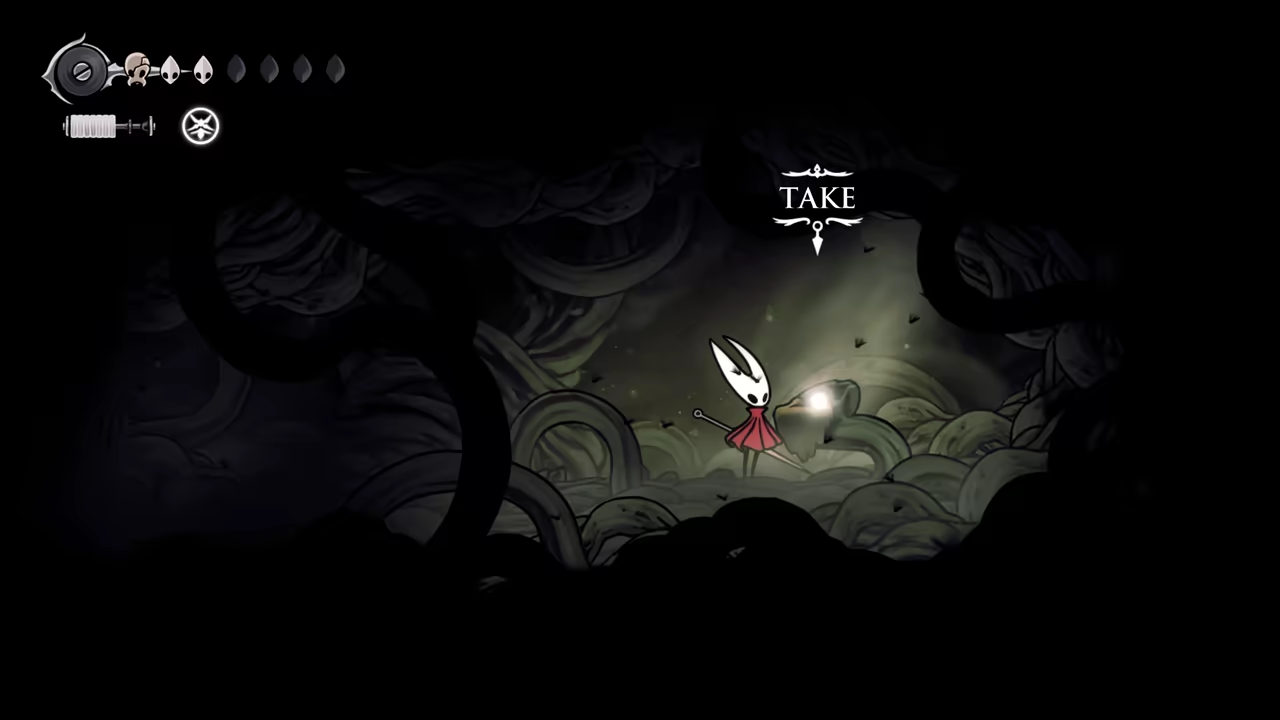
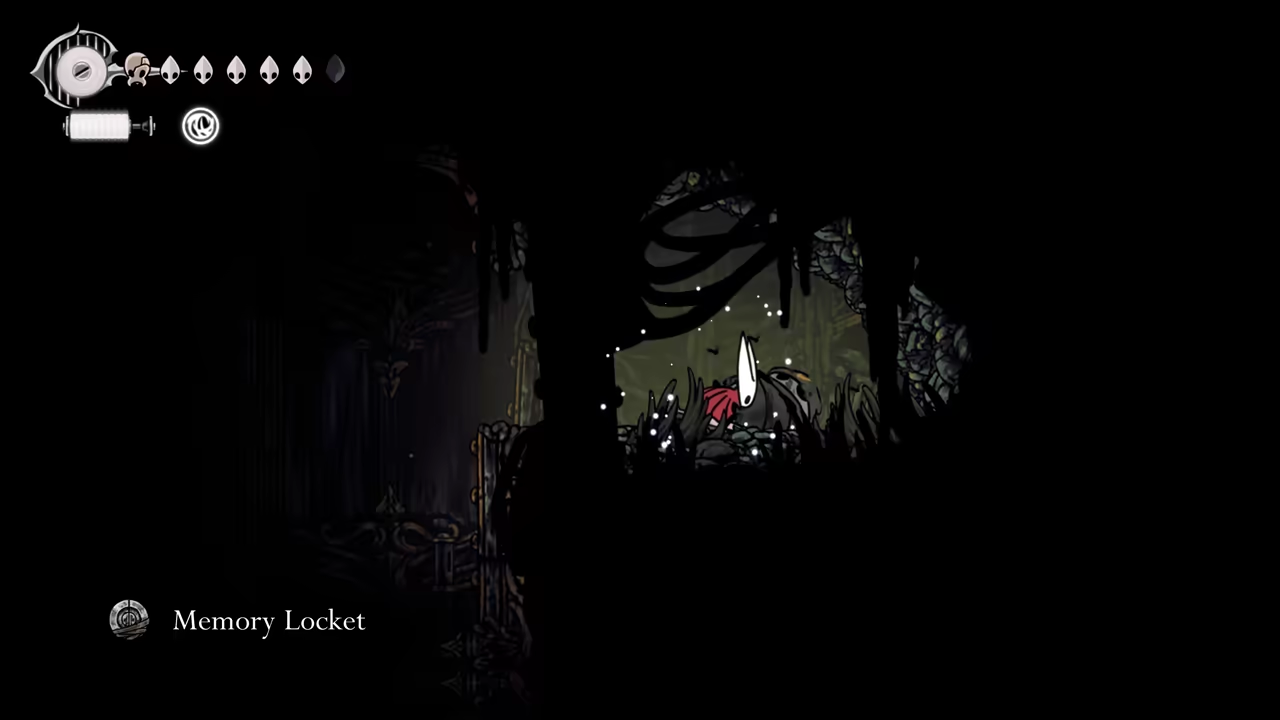
Section titled “Rescue a Flea & Visit Bilewater”Climb the wall on the right to rescue a Flea. Next, drop down to the bottom into Bilewater. First, grab the Twisted Bud behind the vines. Continue down and head to the far left to find another Memory Locket.
-
Navigate to the Weavenest
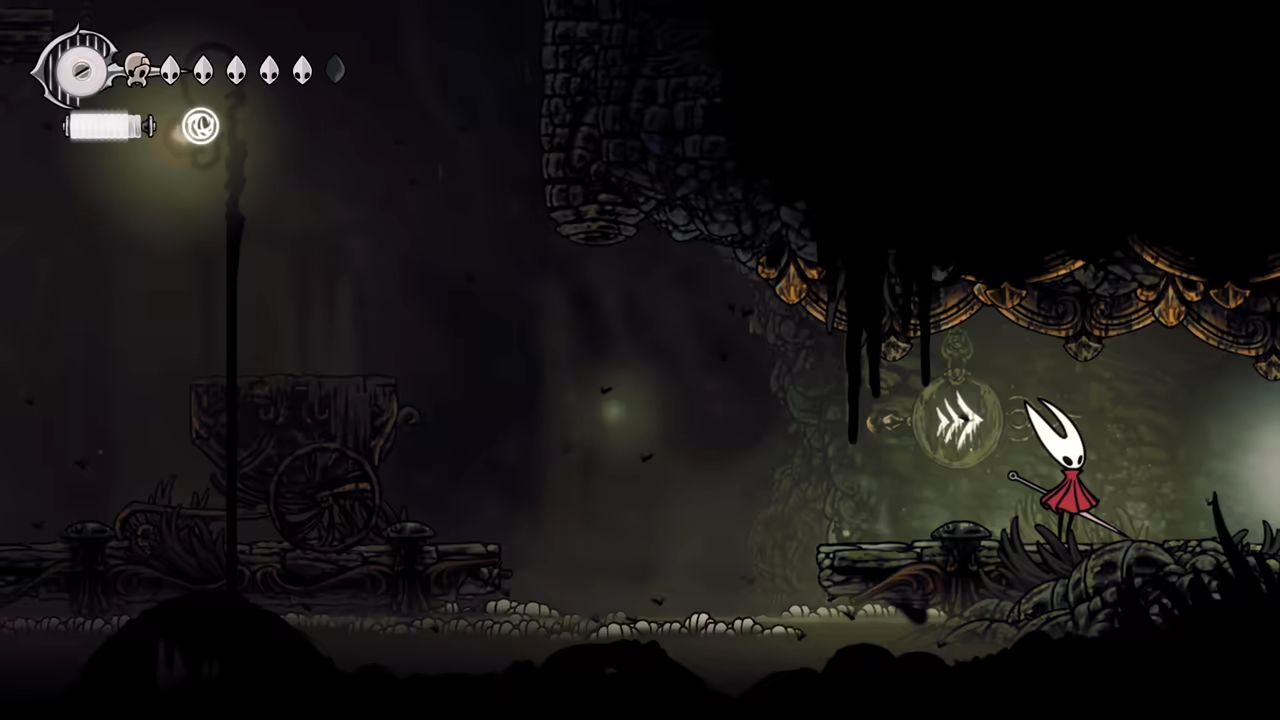
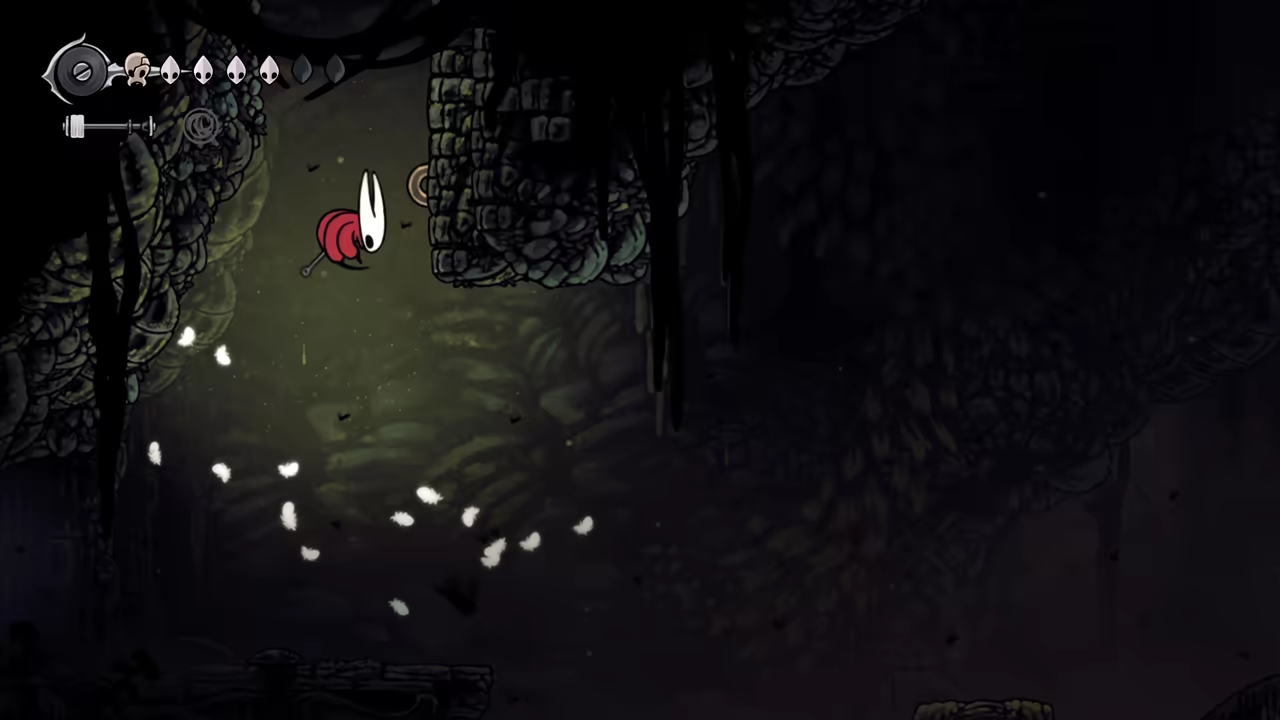
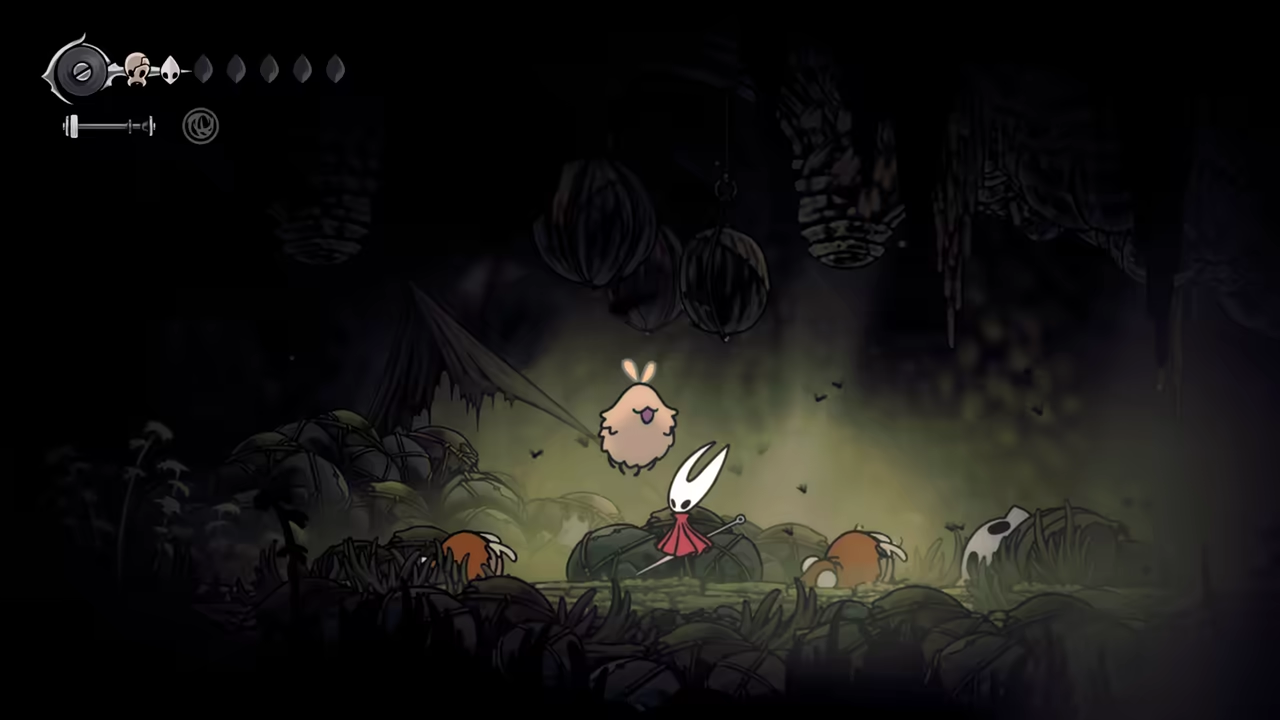
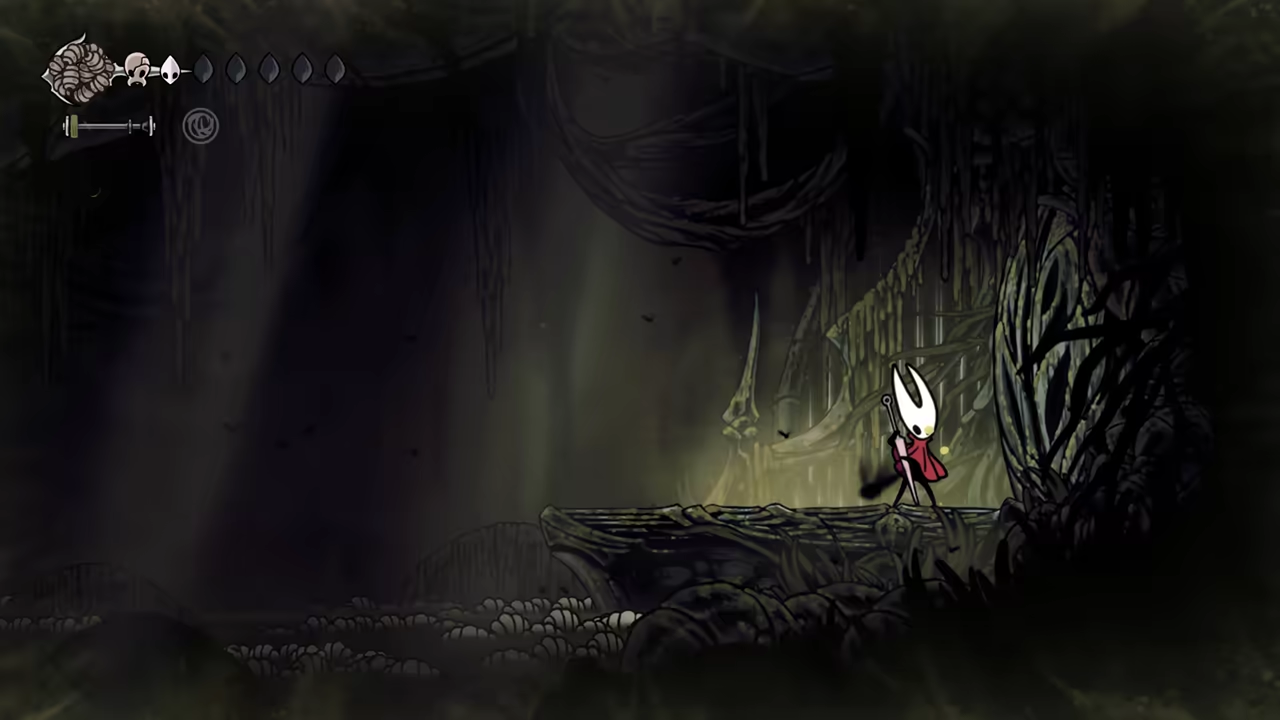
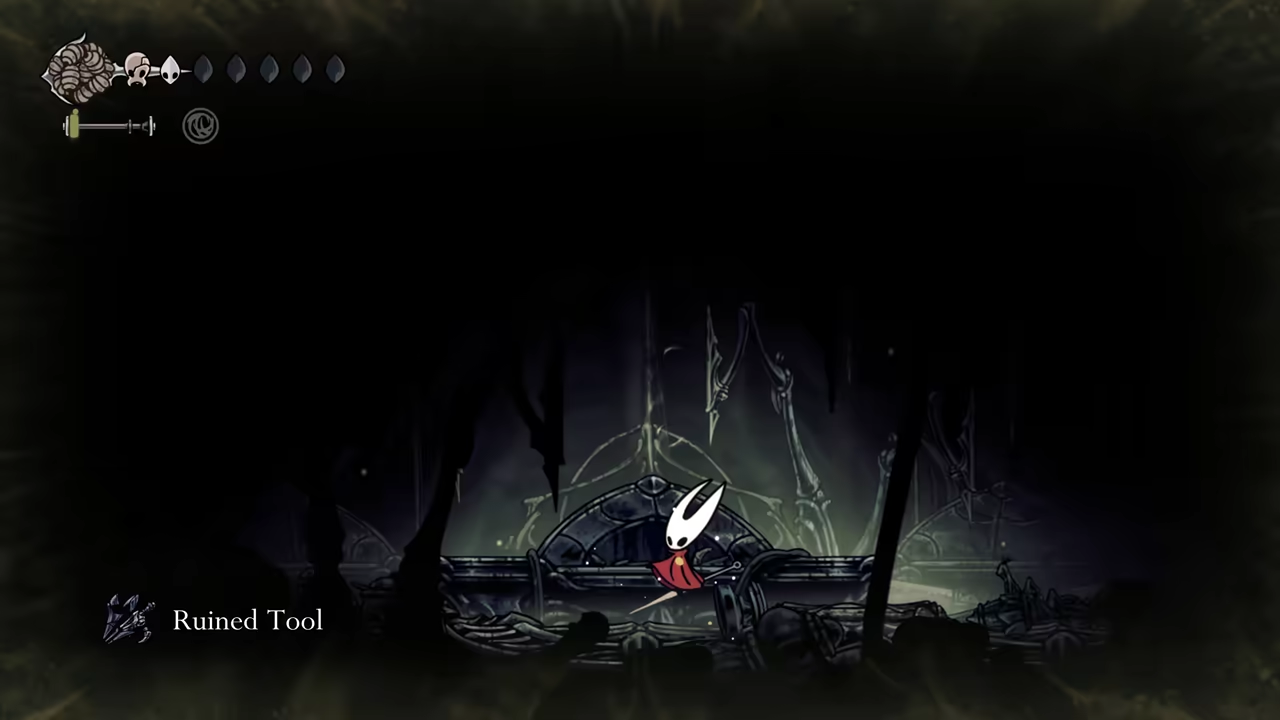
Section titled “Navigate to the Weavenest”Keep going down until you reach the fast travel point; activate it for later. Head up and right, following the signs to find Shakra and get her map. Take the lower-right path into a tall corridor. A breakable wall on the left has a Flea inside. Head all the way down to the right to access the Weavenest where you’ll find the Ruined Tool.
-
Final Flea in Phantom’s Lair
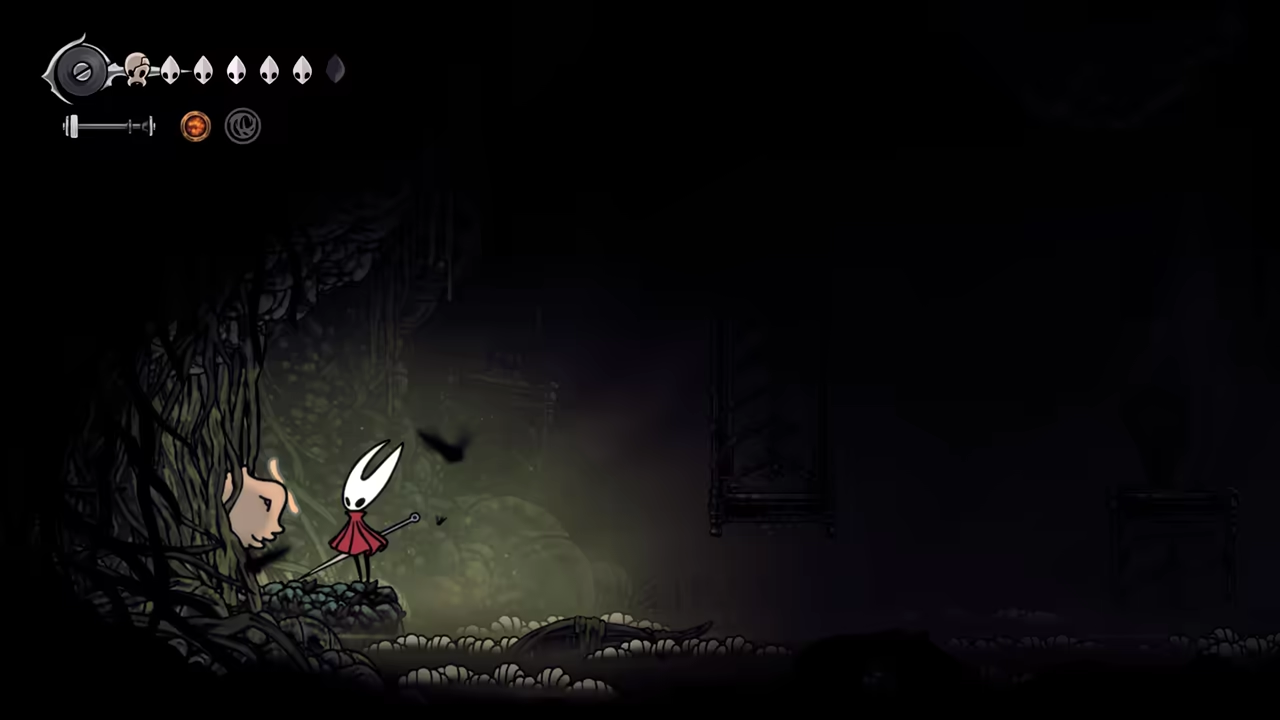
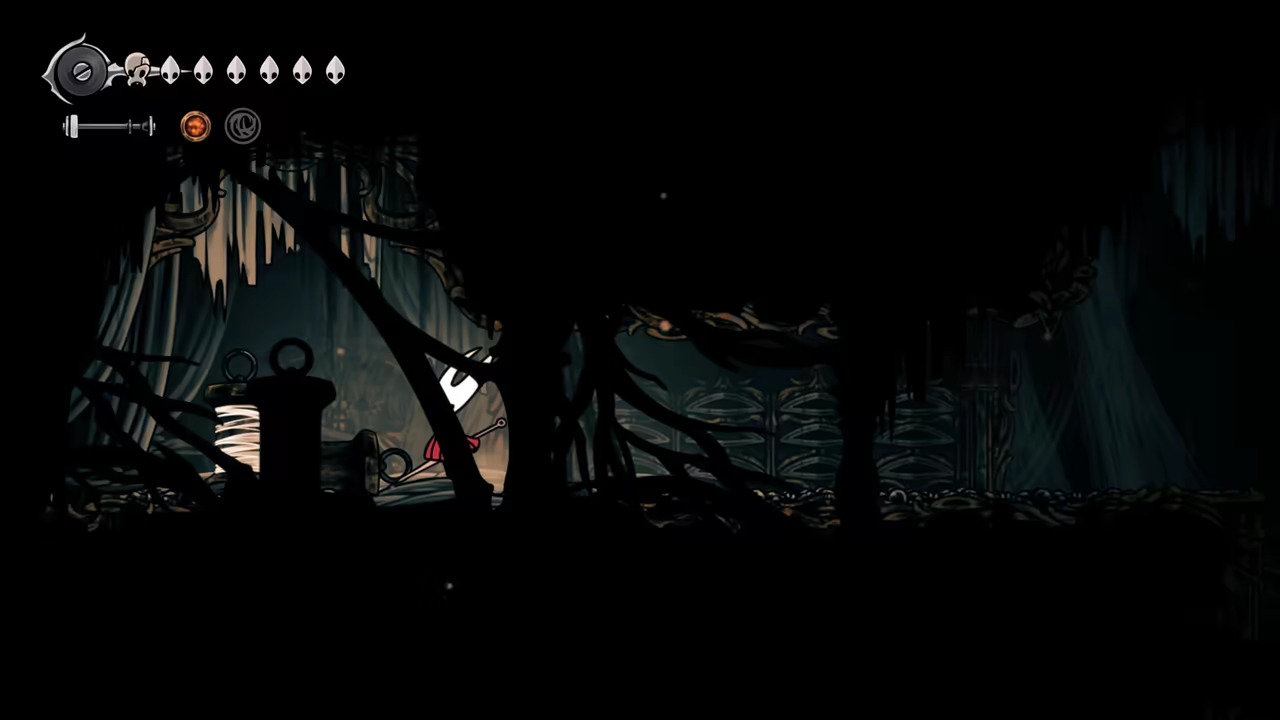
Section titled “Final Flea in Phantom’s Lair”Save and quit, then reload at the fast travel point. Head left, break a wall, and enter the Exhaust Organ (old Mist). Re-enter the Phantom’s Lair, but this time, exit through the middle-left. In the room with a spool, go left to find a secret exit and rescue another Flea for The Lost Fleas quest.
100% Shellwood
Section titled “100% Shellwood”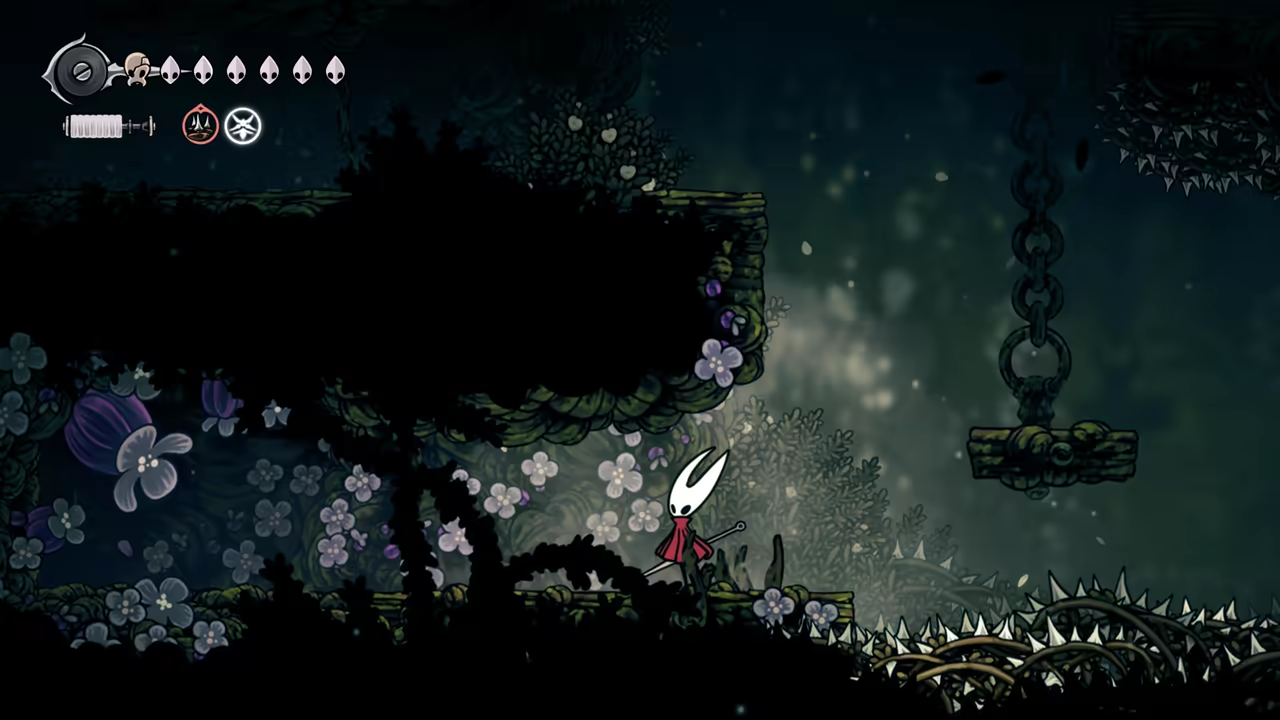
Key Items
- Memory Locket (x2)
- Silver Bells (x8)
- Pollip Heart (x5)
- Flea (x2)
- Mask Shard
- Twisted Bud
- Pimpillo Bomb
- Witch Crest
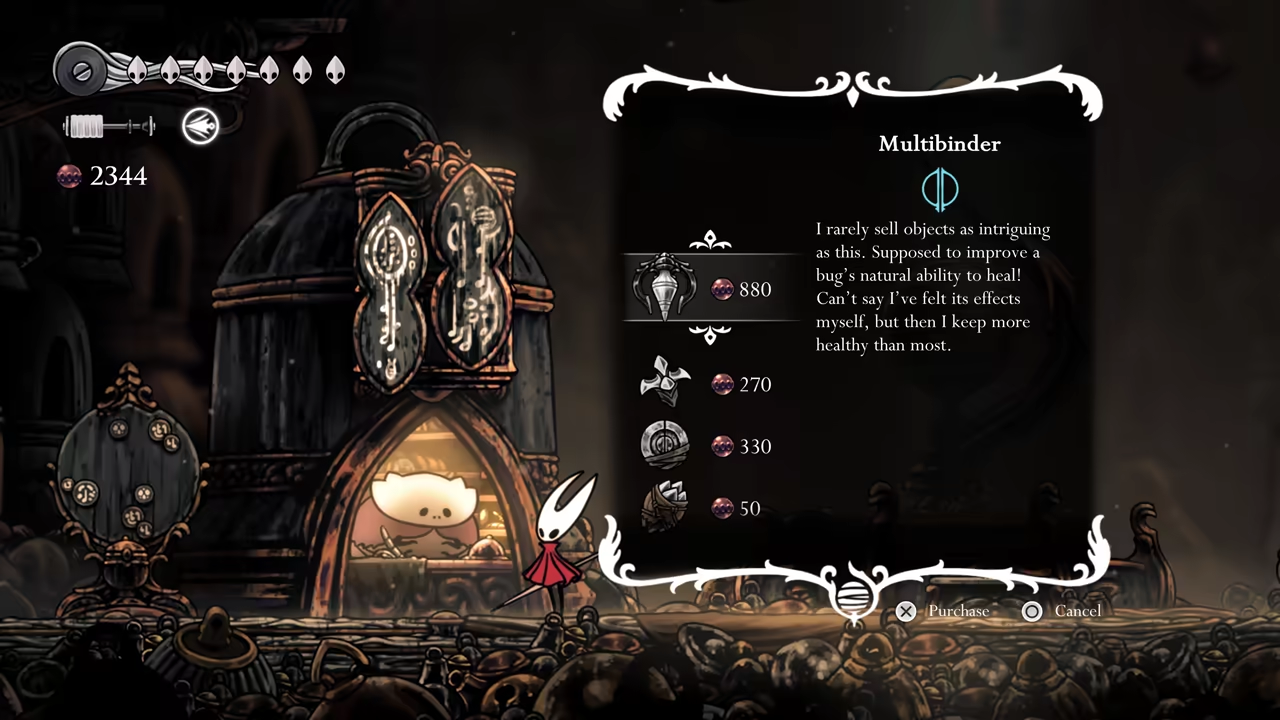
- Multibinder
- Spool Fragment
Quests
- The Lost Fleas
- Rite of the Pollip
- Silver Bells
- Witch Crest Quest
- My Missing Courier
NPCs
- Greyroot
- Yarnaby
- Crull and Benjin
Initial Quest Cleanup
Section titled “Initial Quest Cleanup”First, let’s go back to Bone Bottom to deliver all the items we’ve collected (Crown Fragment, Flintbeetles, and Shard Donations). This will grant us some money and a Memory Locket. From here, we will go to Bellhart and start any new quests available.
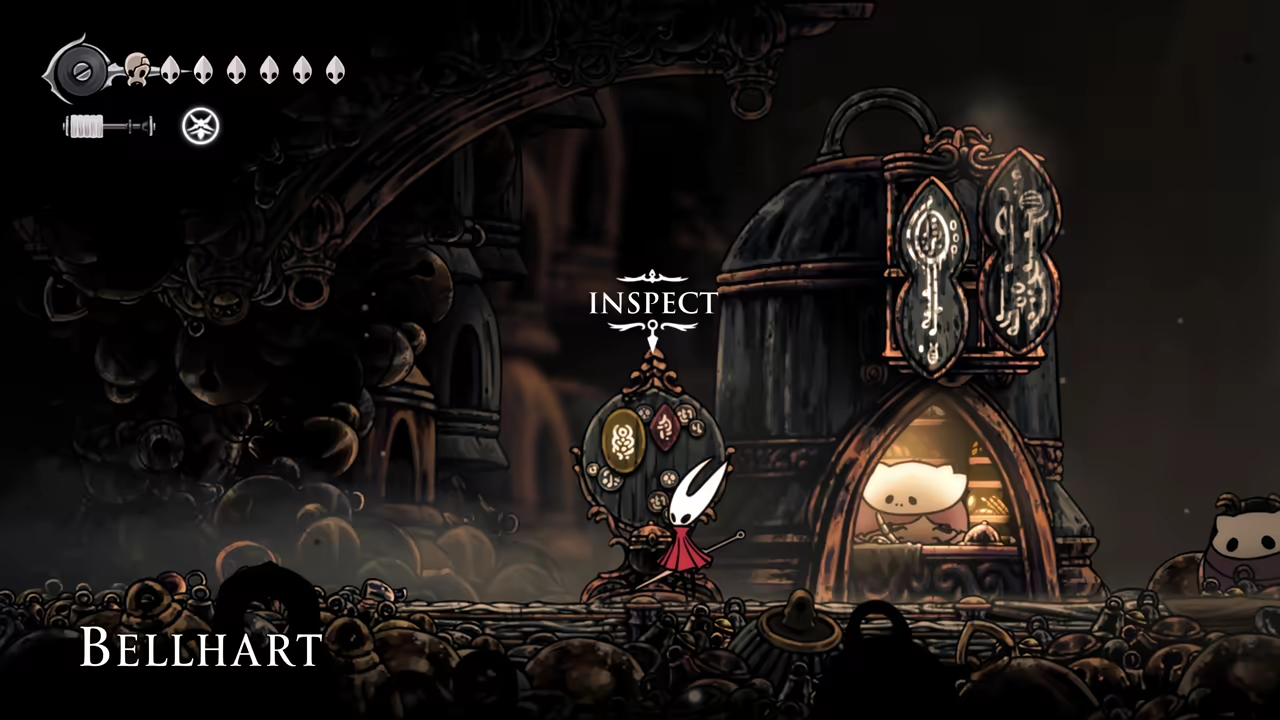
Shellwood Main Route
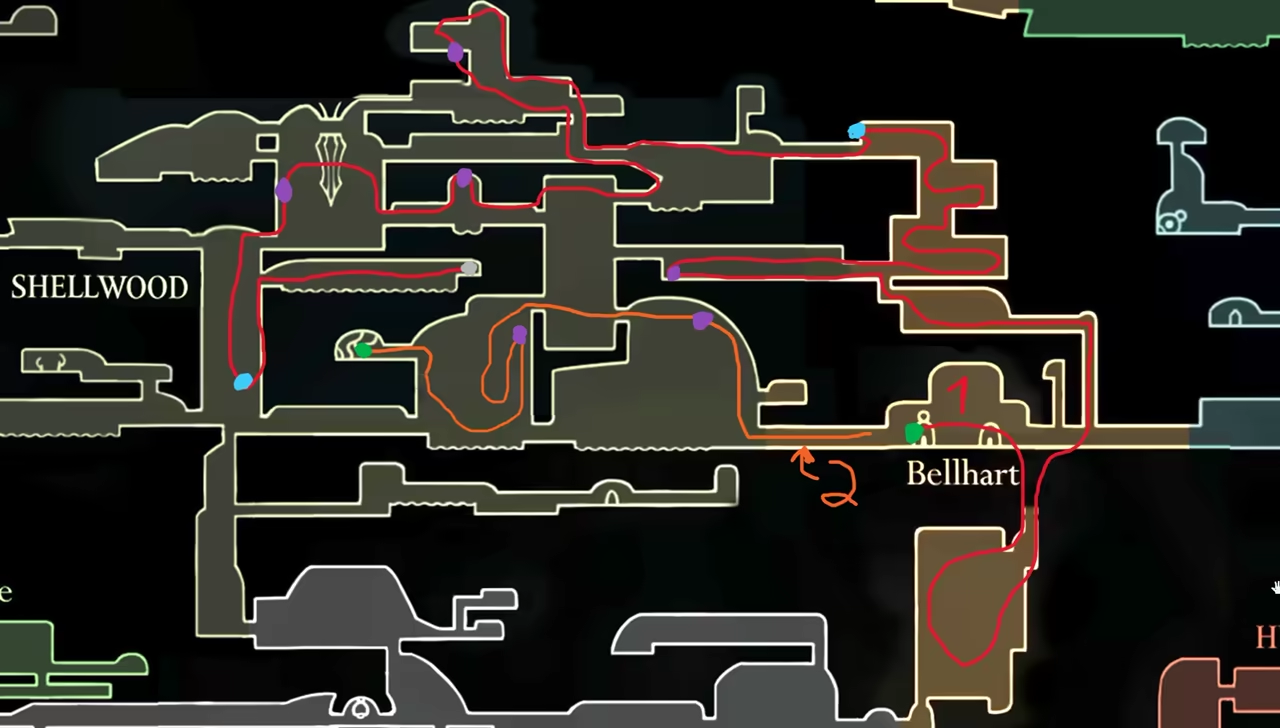
Section titled “Shellwood Main Route”This is the route we will follow for the main Shellwood cleanup:
-
Farm Silver Bells
Section titled “Farm Silver Bells”The first thing we need to do is farm Silver Bells for the Silver Bells quest. Go down to the Bell Station and explore to find 4 Bells (random spawn). Then, head to the Bell area at the top to find the other 4. If you can’t find them all, reload at a bench to reset their spawns.
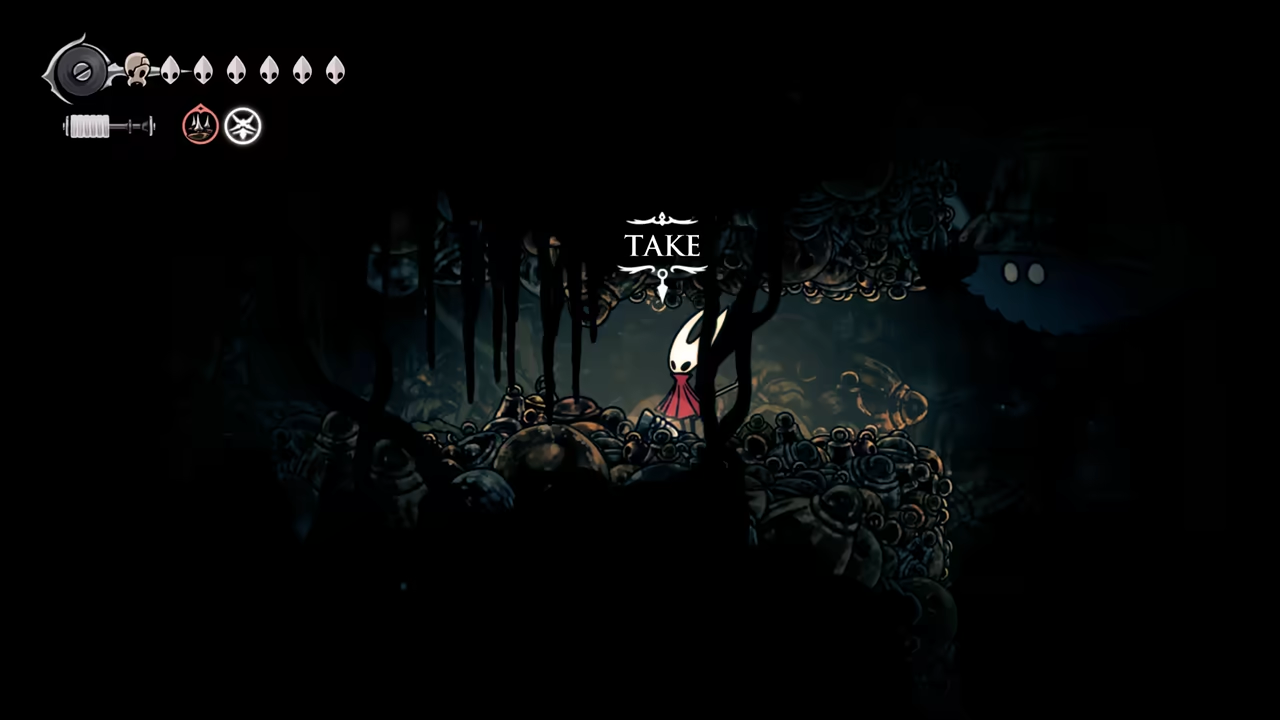
-
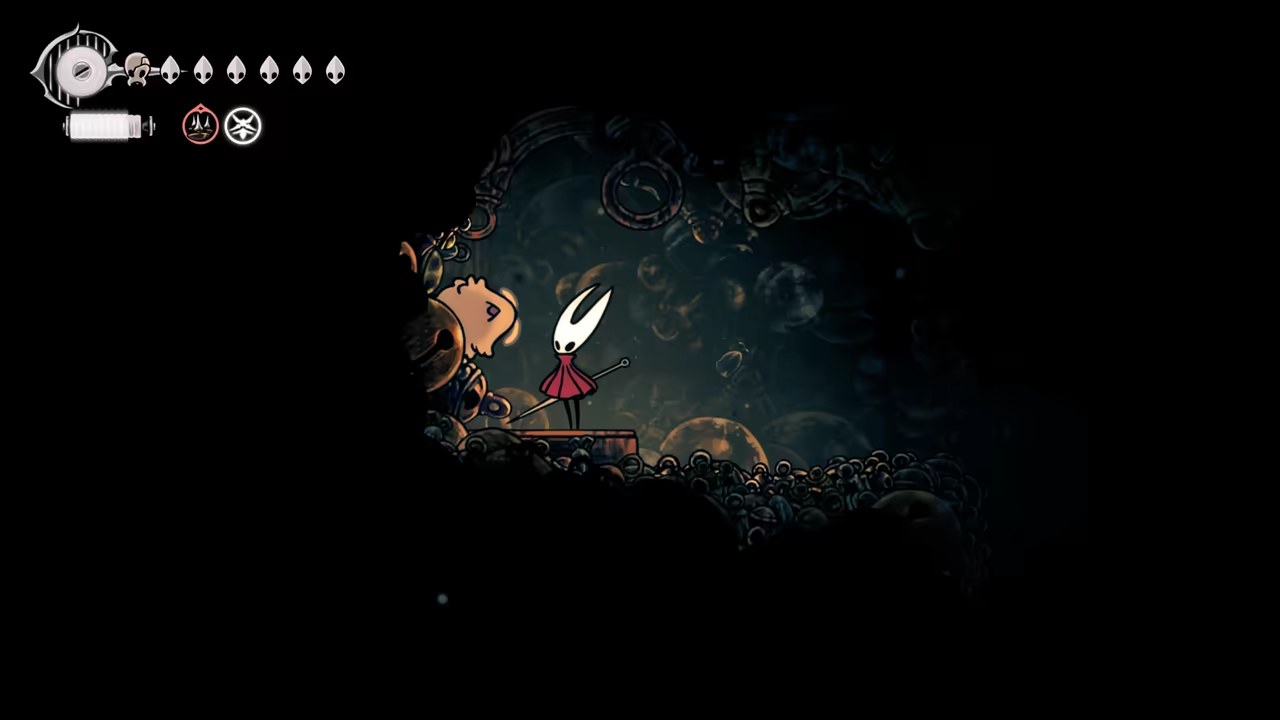
Collect First Pollip Heart & Flea
Section titled “Collect First Pollip Heart & Flea”From the Bell area, head towards Shellwood to get our first Pollip Heart. Go back inside the Bells Cave and look for the lost Flea located at the top left.
-
Hunt More Pollip Hearts & Find Second Flea
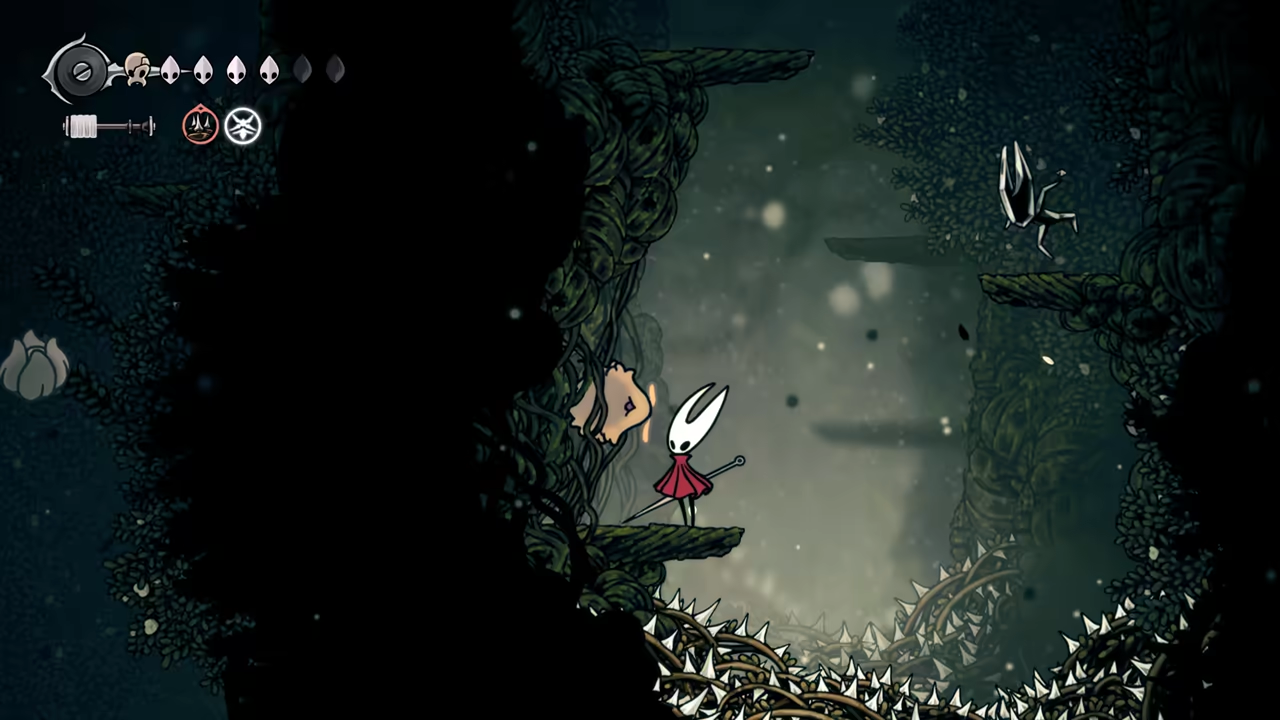
Section titled “Hunt More Pollip Hearts & Find Second Flea”Exit through the top-left towards Shellwood to hunt more Pollip Hearts. You’ll find one at the top, one in the center, and one near where we learned Cling Grip (Wall Jump). Then, exit through the top-left and go down to find another lost Flea.
-
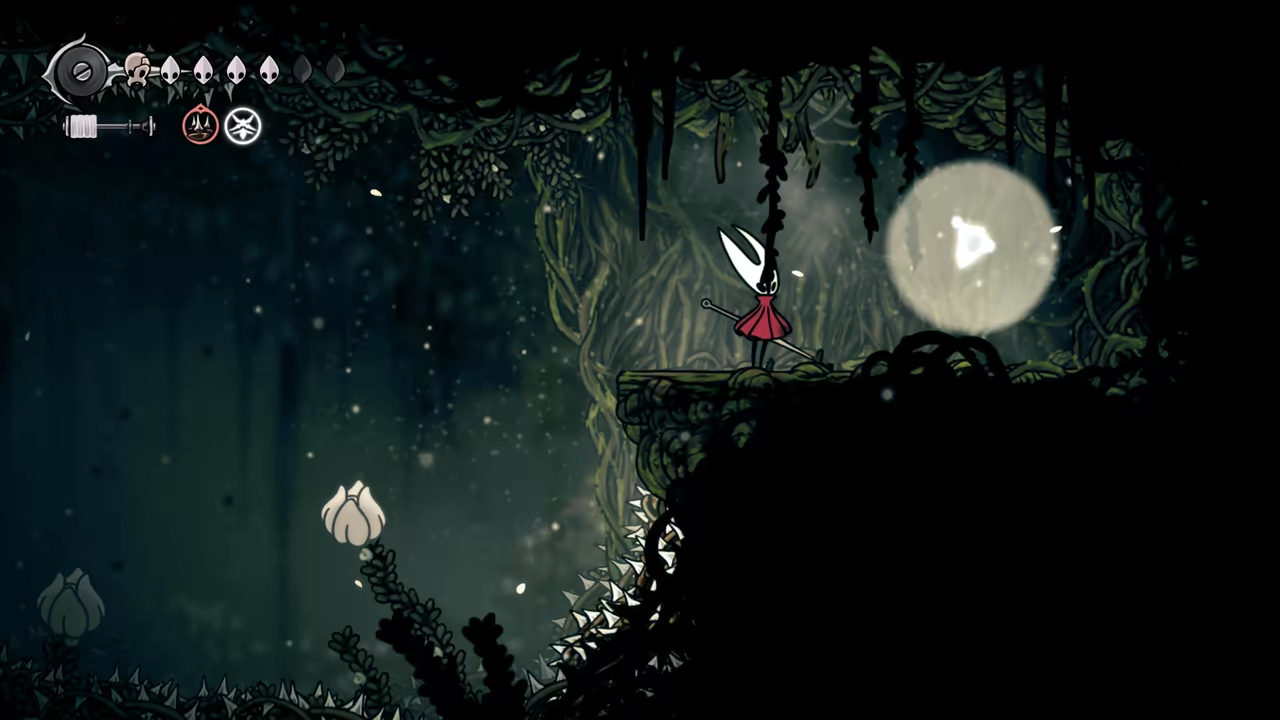
Find the Mask Shard
Section titled “Find the Mask Shard”Climb up and enter the first room to the right to find the next Mask Shard.
-
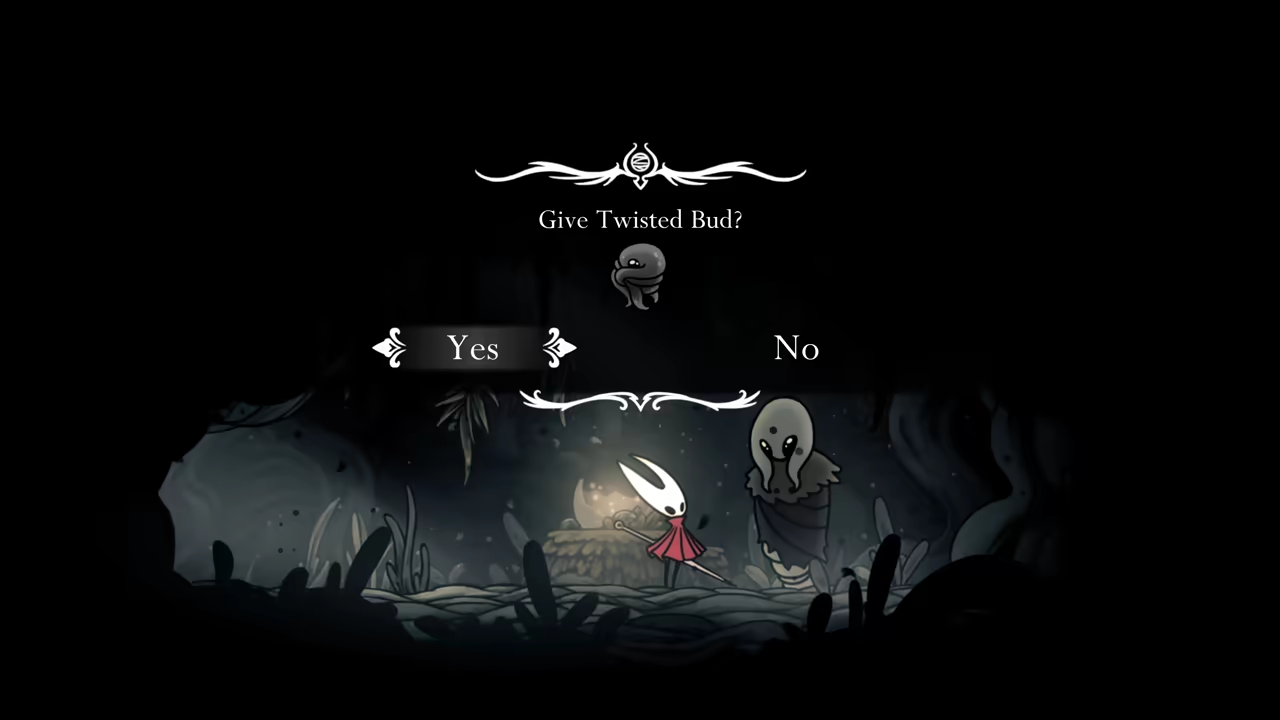
Complete Pollip Heart Quest & Start Witch Crest Quest
Section titled “Complete Pollip Heart Quest & Start Witch Crest Quest”Quit to the menu and reload at the Bellhart bench. Now, follow the second route (marked in orange) and head left from Bellhart to get the next 2 Pollip Hearts. Meet Greyroot to complete the Rite of the Pollip quest and deliver the Twisted Bud to start the Witch Crest quest.
Witch Crest Questline
Section titled “Witch Crest Questline”Here’s the route to follow for the Witch Crest quest:
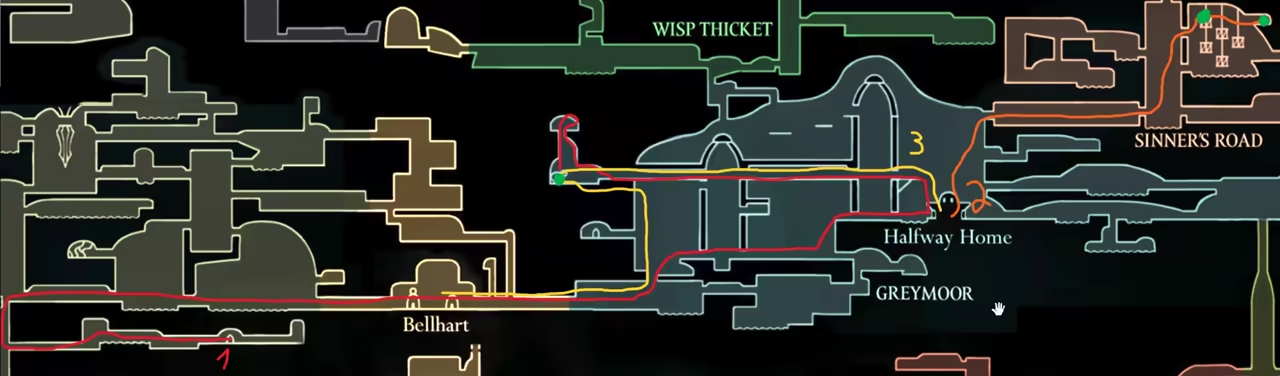
-
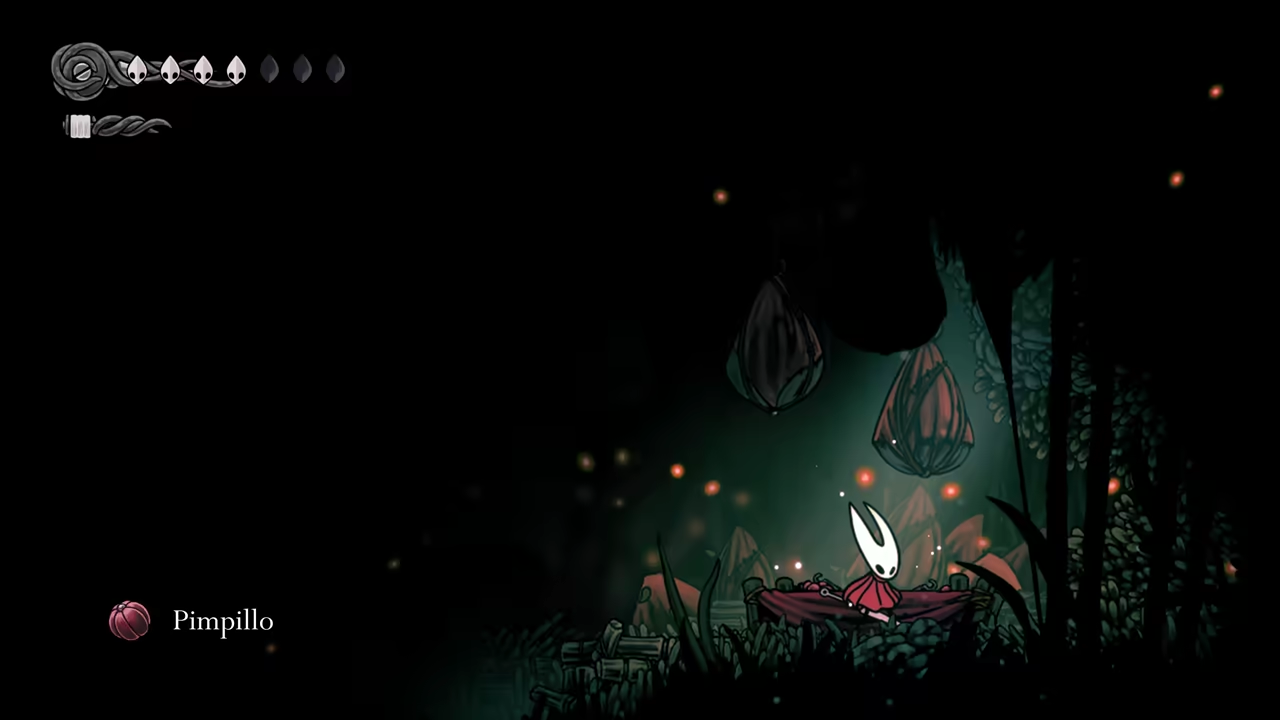
Find Yarnaby & the Pimpillo Bomb
Section titled “Find Yarnaby & the Pimpillo Bomb”We will be sent to the bottom of Shellwood. Climb to the top and head right until you reach Bellhart again. Go back to Greymoor and get the bench at the Halfway Home Inn. From here, use the elevator and go all the way left to find Yarnaby. At the top of this area, you can find the Pimpillo Bomb.
-
Gather Spines for Surgery
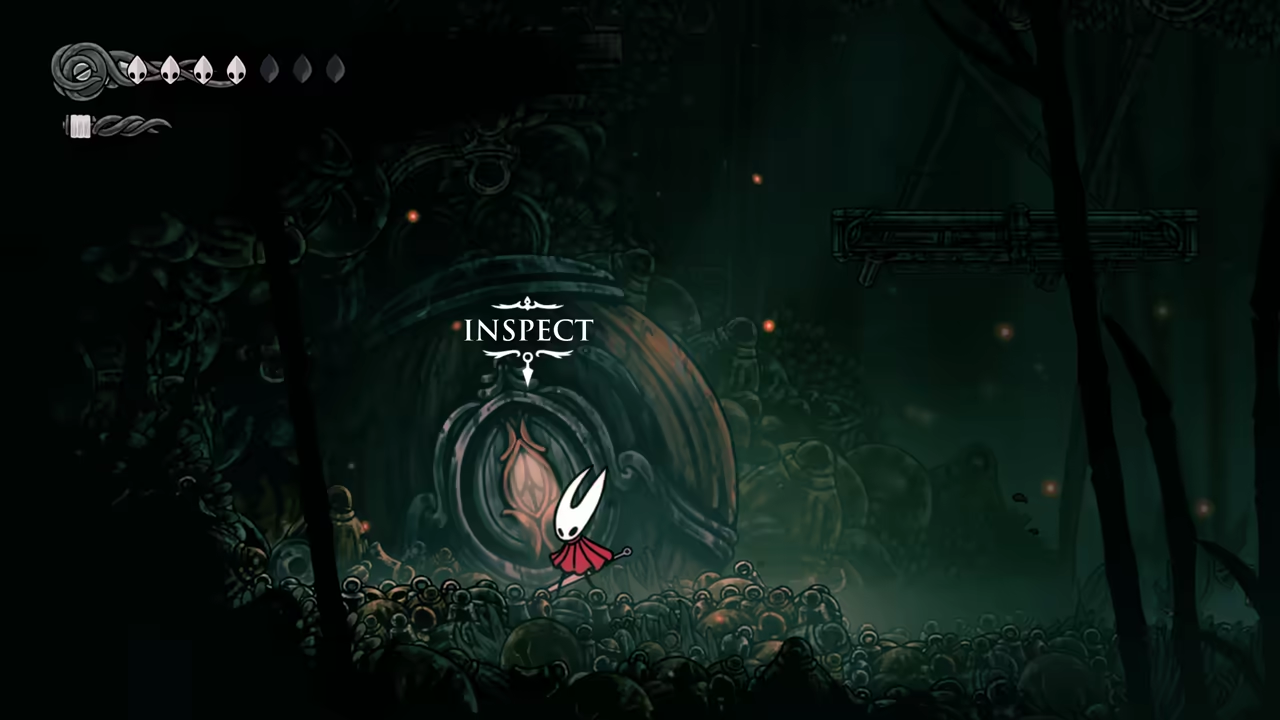
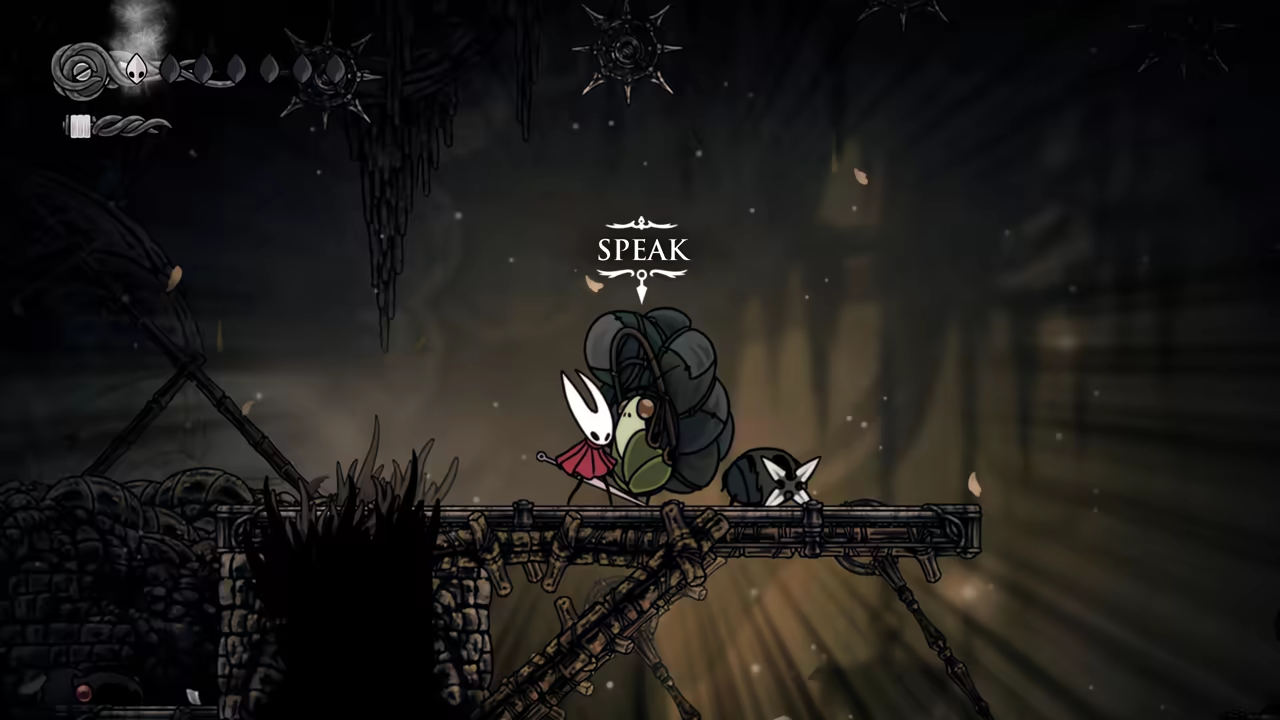
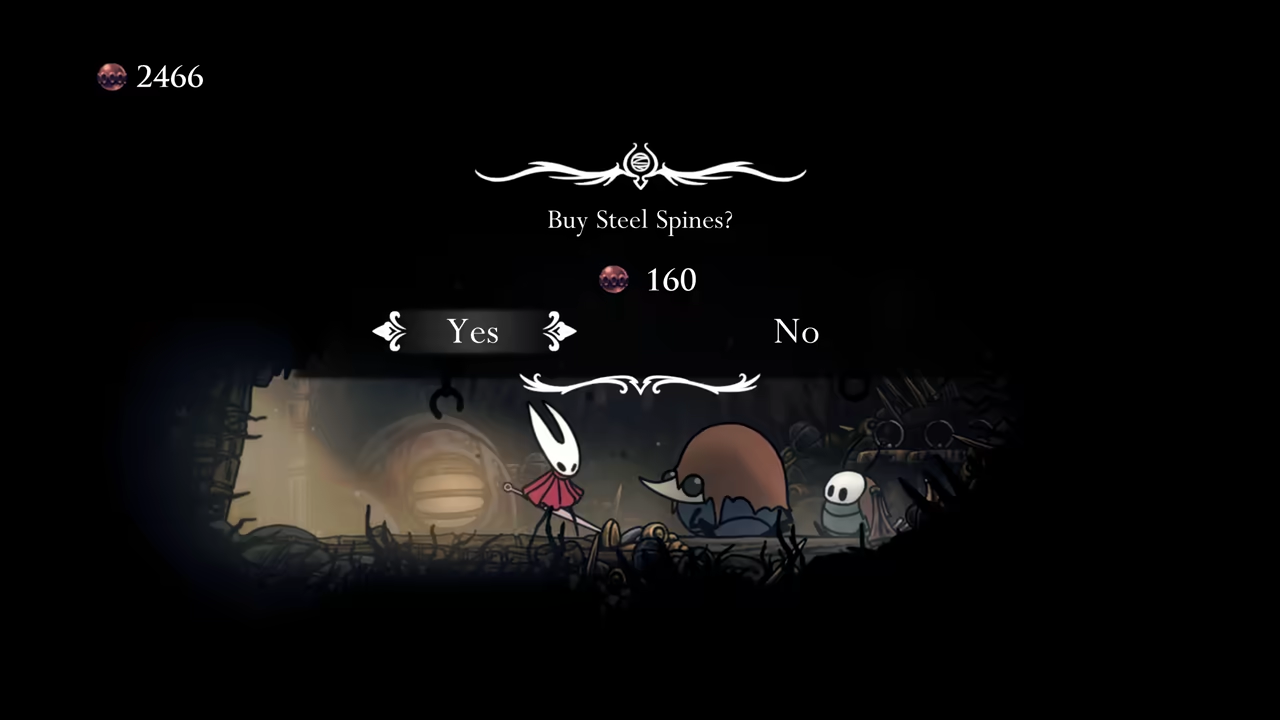
Section titled “Gather Spines for Surgery”Ask Yarnaby to remove the virus. Now we need to gather the spines for the surgery. Quit and reload at the Halfway Home bench. Visit Sinner’s Road again (you won’t be able to heal). On the way, save the courier to finish the My Missing Courier quest. Then, meet Crull and Benjin to buy the spines.
-
Get the Witch Crest
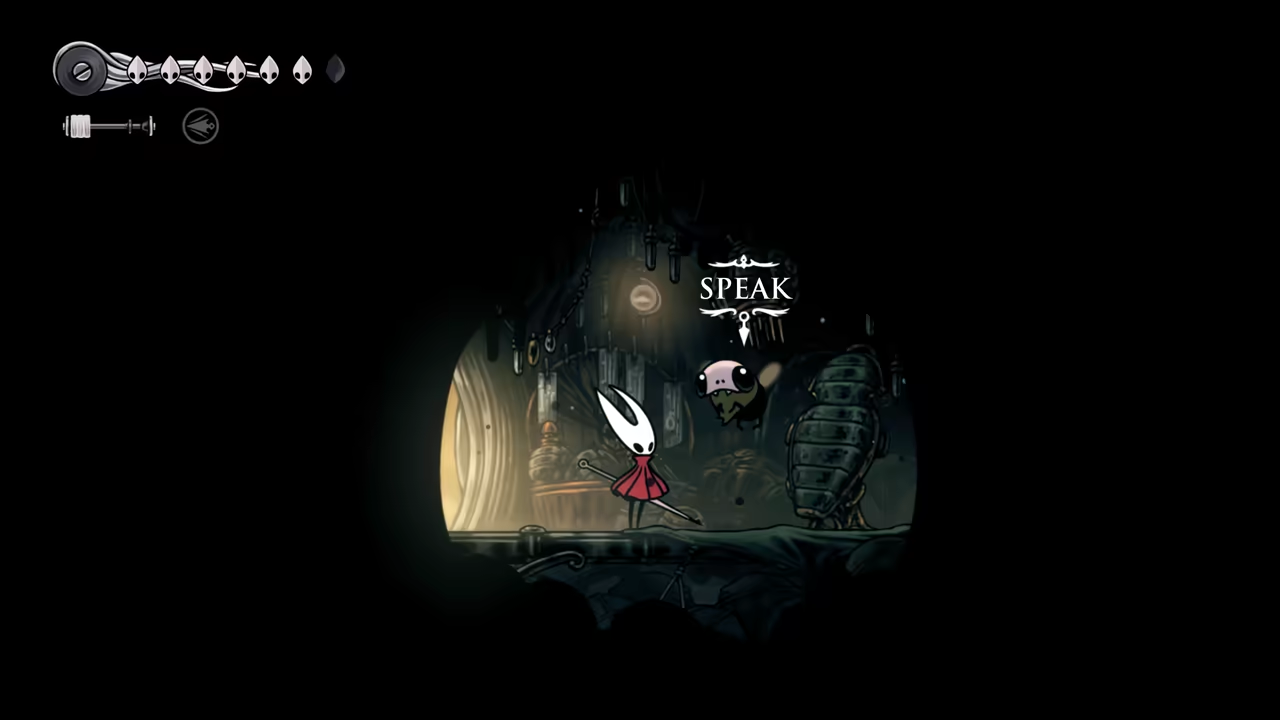
Section titled “Get the Witch Crest”Again, quit and reload at the Halfway Home bench, then go visit Yarnaby again. This will complete the quest and grant you the Witch Crest.
-
Final Cleanup
Section titled “Final Cleanup”Now, we have a hard save. Go back to Bellhart (“Bellhome”). Deliver the Silver Bells to finish the quest and buy all the items from the shop. You will end up with:
- Multibinder
- Spool Fragment
- Memory Locket
100% Blasted Steps
Section titled “100% Blasted Steps”
Key Items
- Mask Shard
- Memory Locket (x2)
- Crustnut
- Flea
- Thief's Mark
- Clutch Dice
- Craftmetal
- Spool Fragment
Bosses
Quests
- Great Taste of Pharloom
- A Vassal Lost
NPCs
- Shakra
- Zi
- Pinstress
Connects To
- Citadel
We are going to start by fast traveling to Shellwood. From there, we will climb down and go around to open the Bell Gate. This will also lead us to the Blasted Steps area. Here is the route:
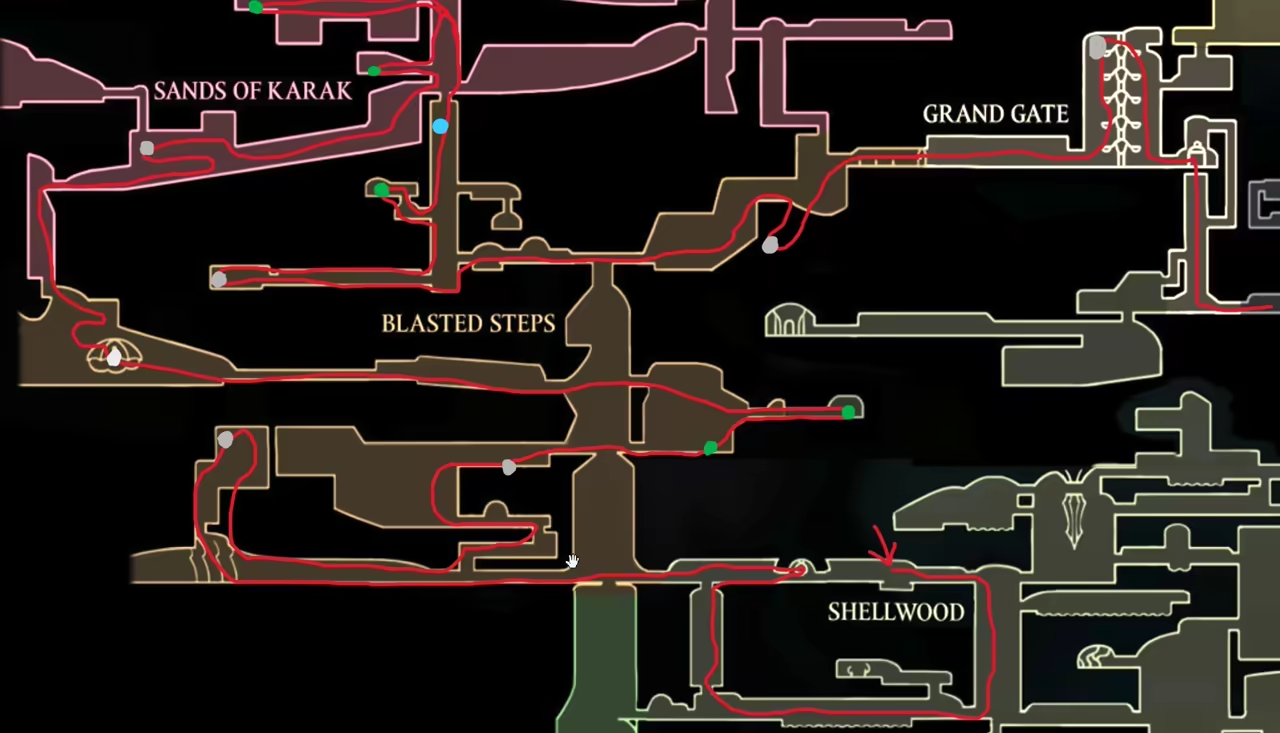
-
Platforming to the Mask Shard
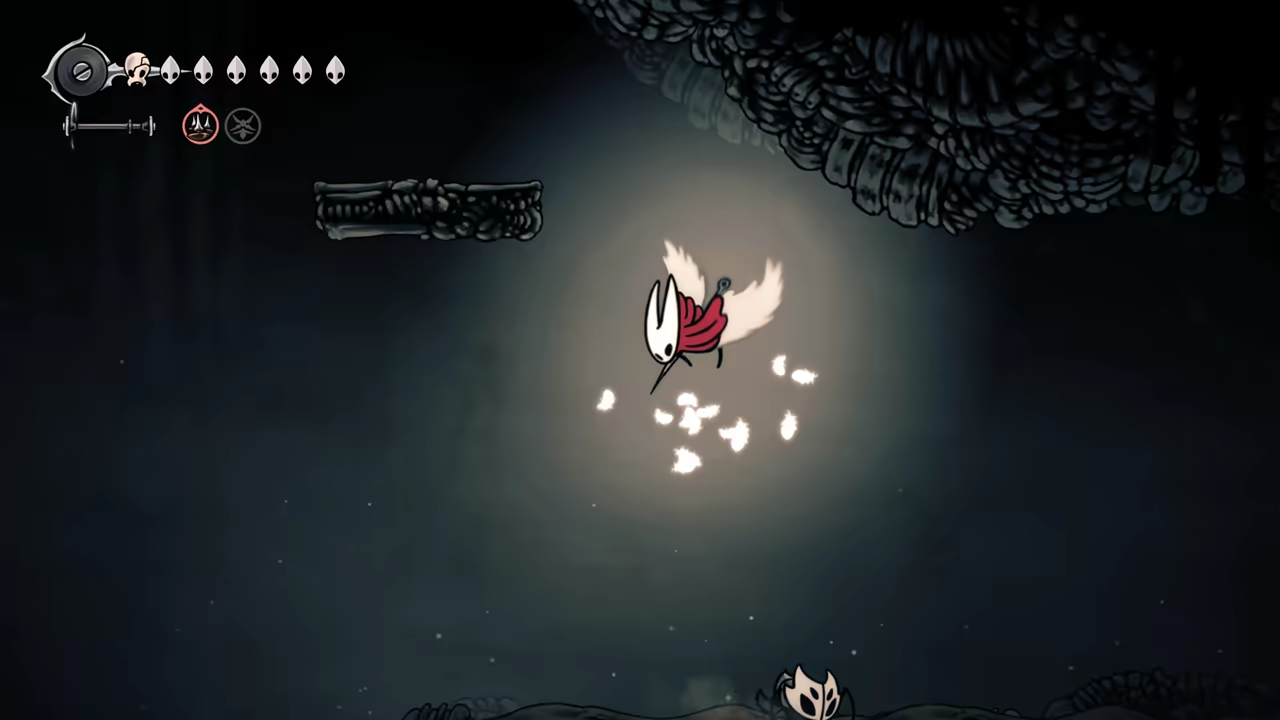
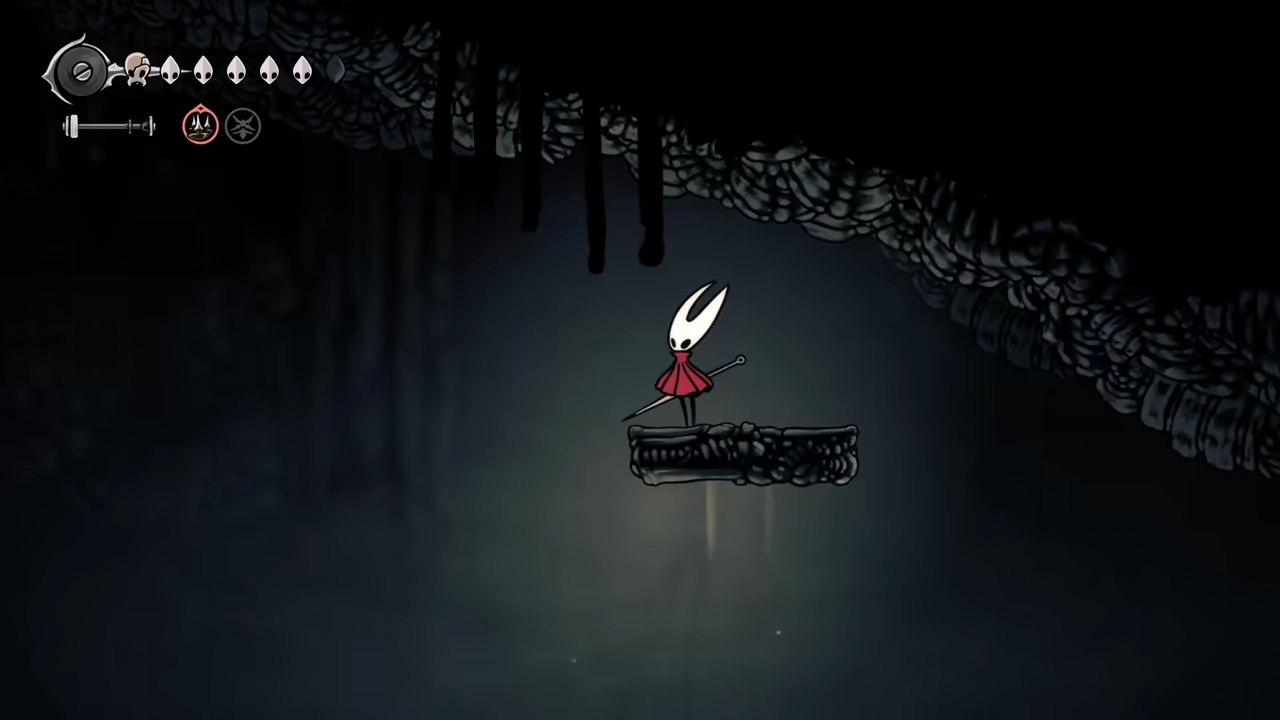
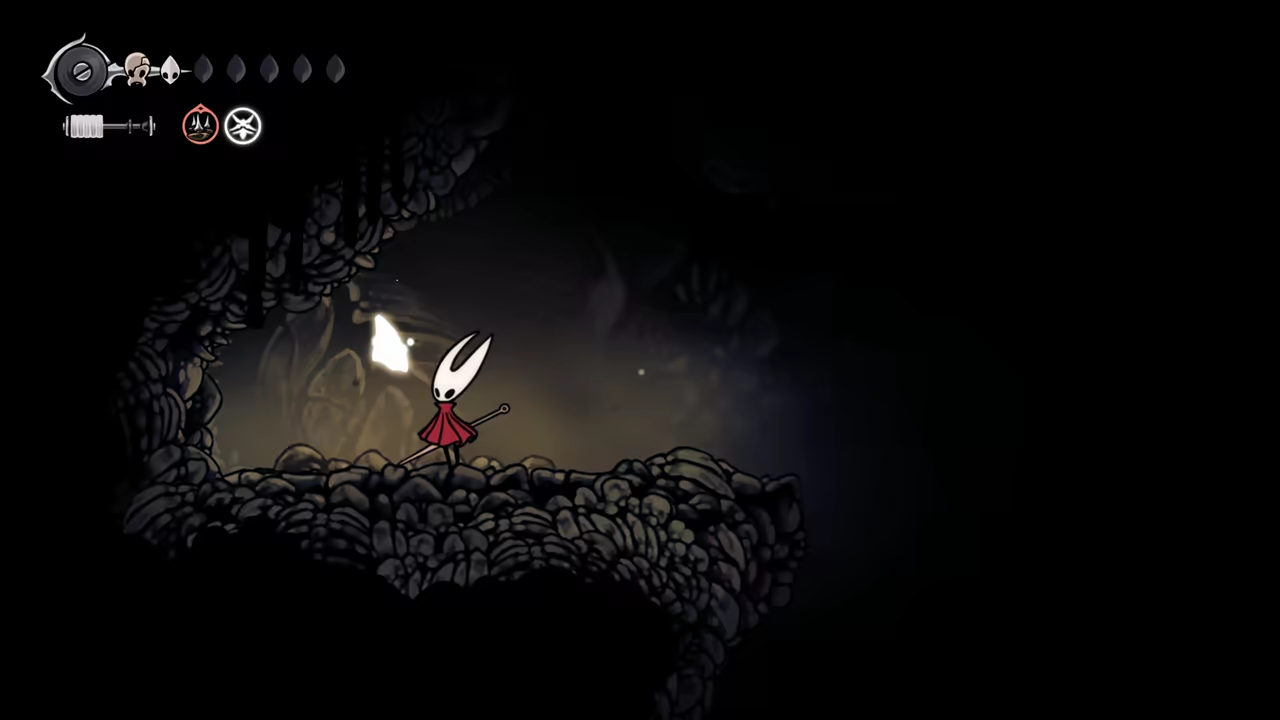
Section titled “Platforming to the Mask Shard”The first stop will be at the very edge of the map. Perform a trick to reach the platform: do a Swift Step (sprint) jump, then a Clawline (hook), and finish with the Faydown Cloak (double jump). Now we can climb this area all the way to the top to get another Mask Shard.
-
Memory Locket & Zi’s Quest
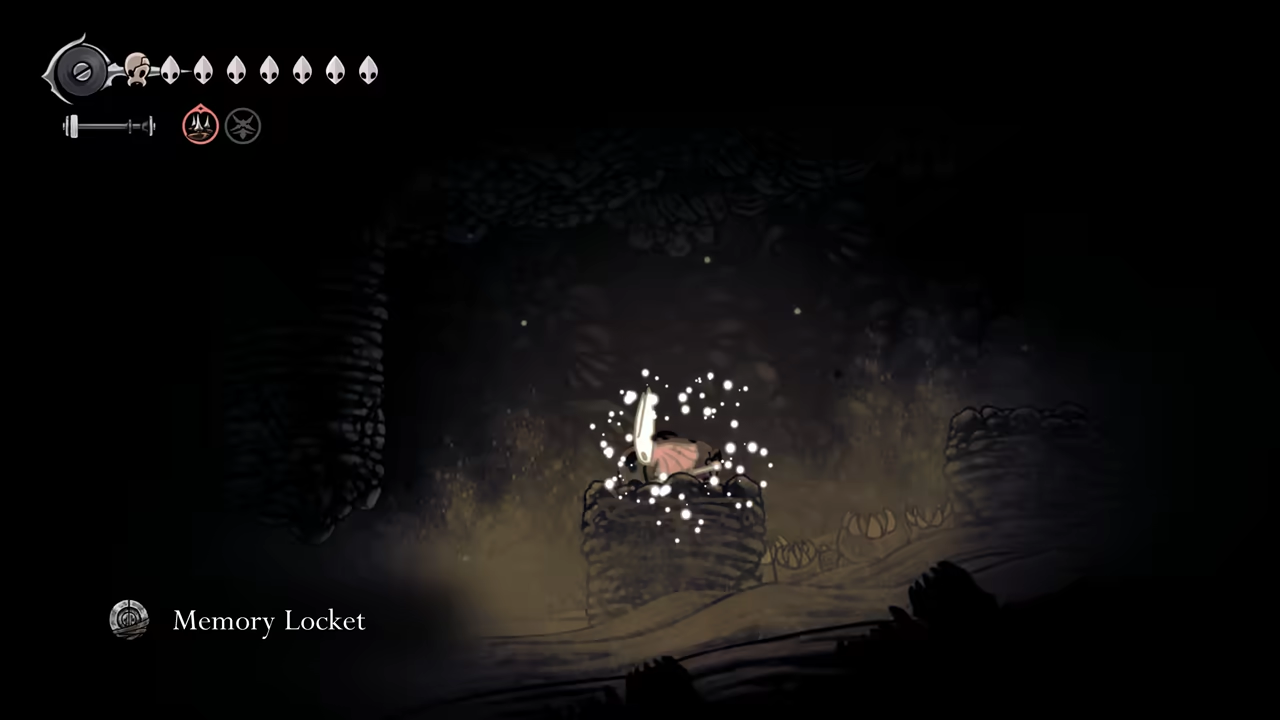
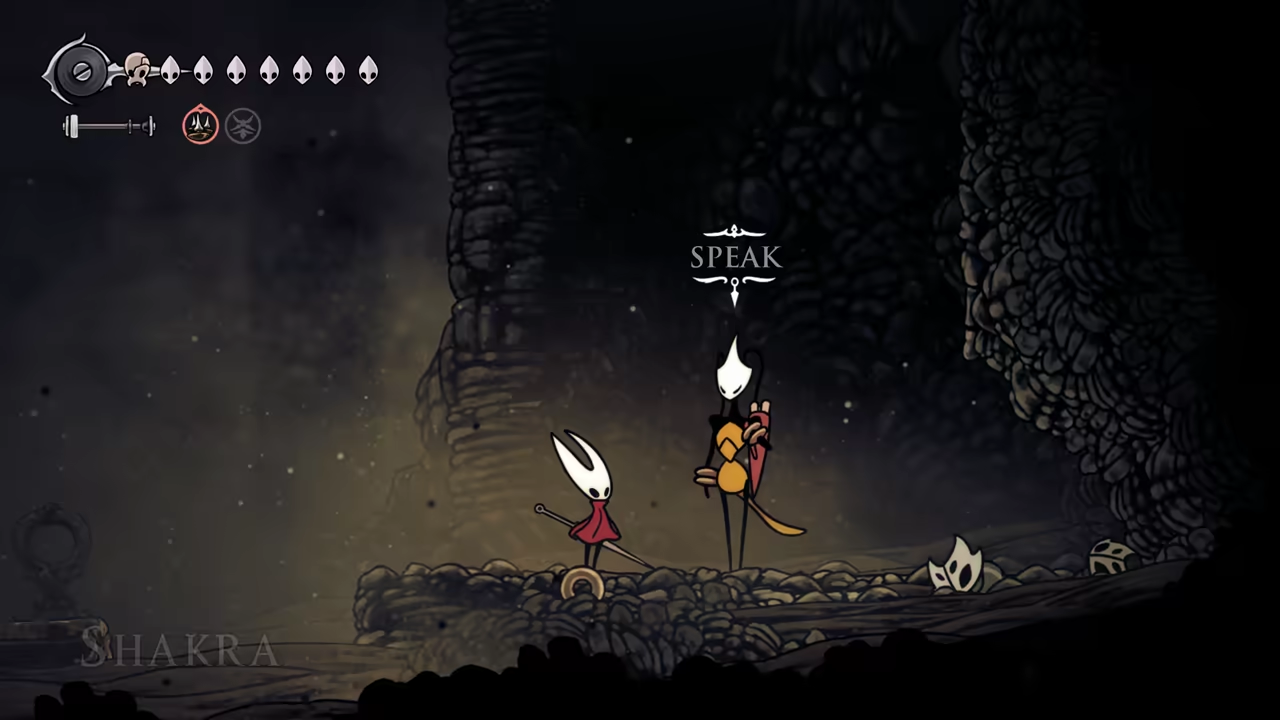
Section titled “Memory Locket & Zi’s Quest”Go down and move towards the Blasted Steps. Right after the bench, pick up the Memory Locket. Proceed to find Shakra and buy her map. Climb the right side to find a breakable wall, and inside, find Zi to start the exclusive Steel Soul quest, A Vassal Lost.
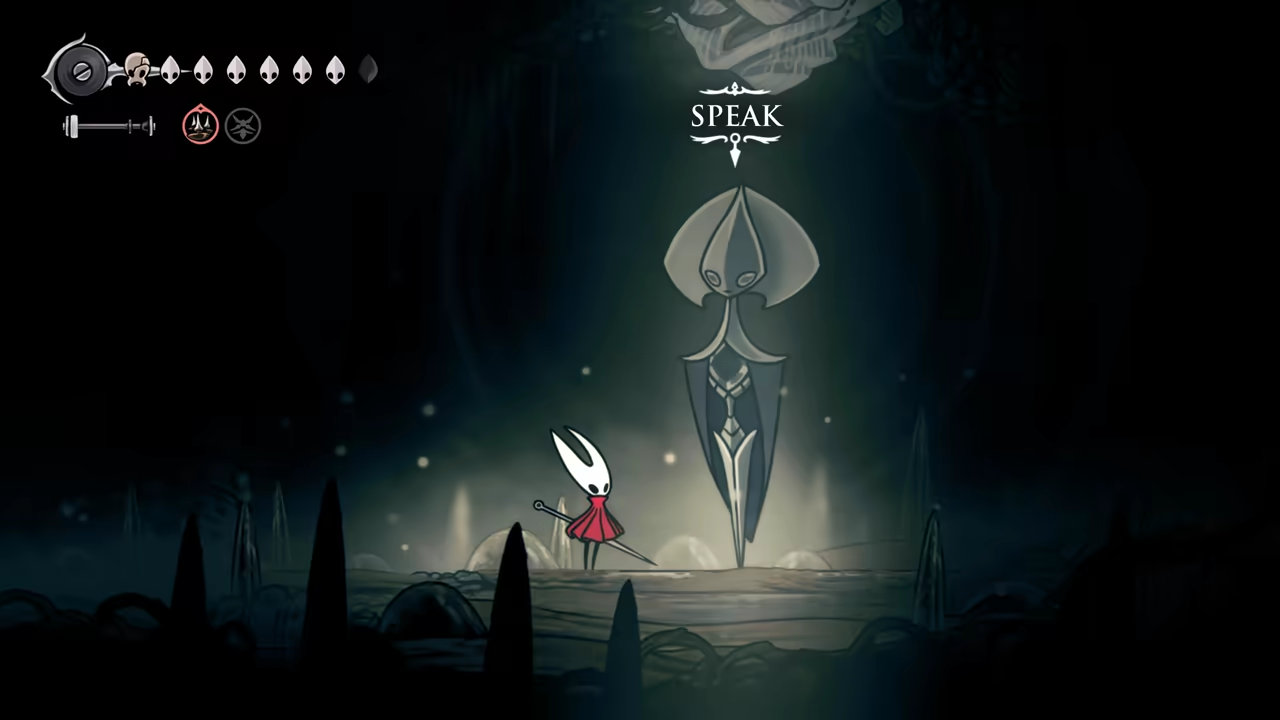
-
Learn Needle Strike
Section titled “Learn Needle Strike”Keep going left and unlock the shortcut. Continue towards the Pinstress. You will have an encounter with some Conchflies. After the fight, meet the Pinstress and learn the Needle Strike skill.
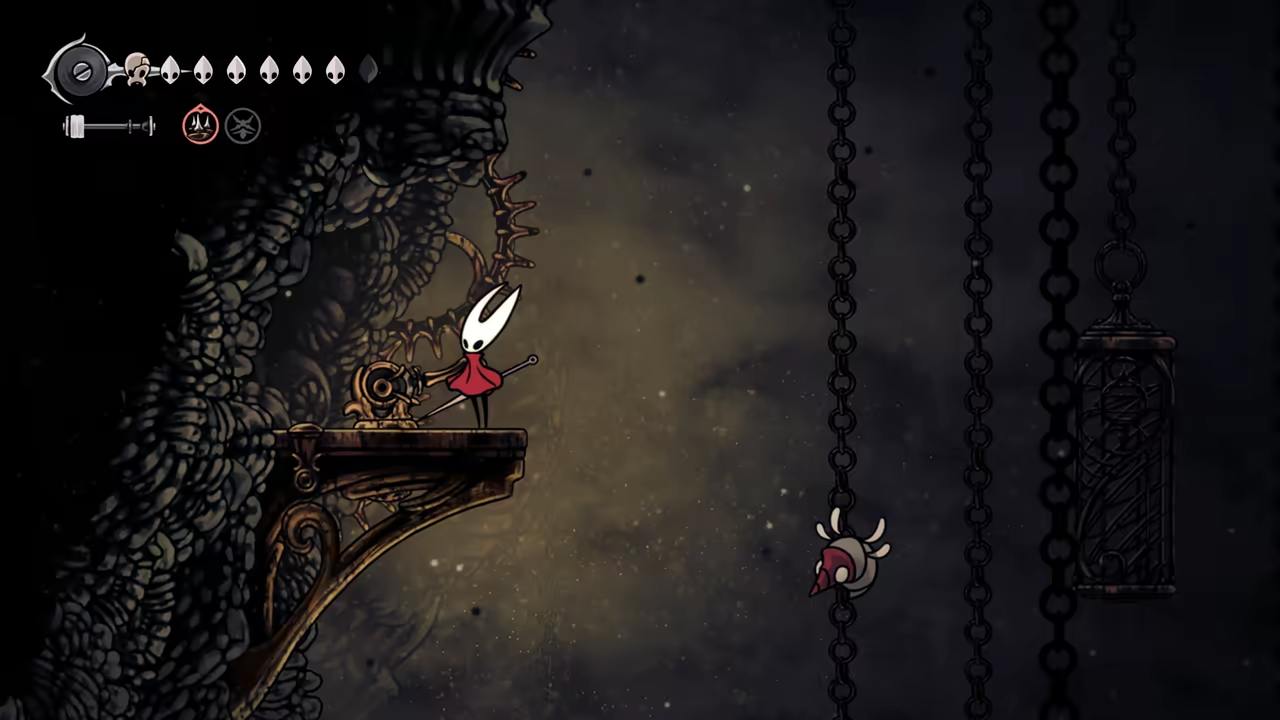
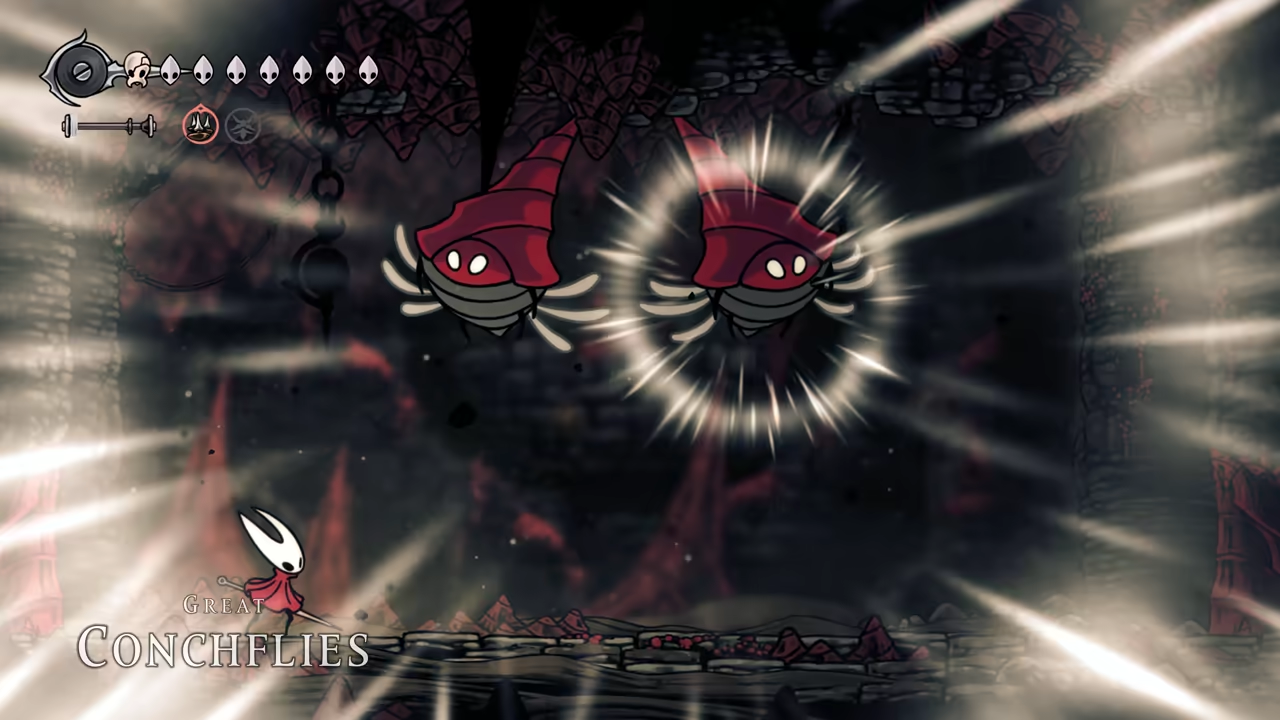
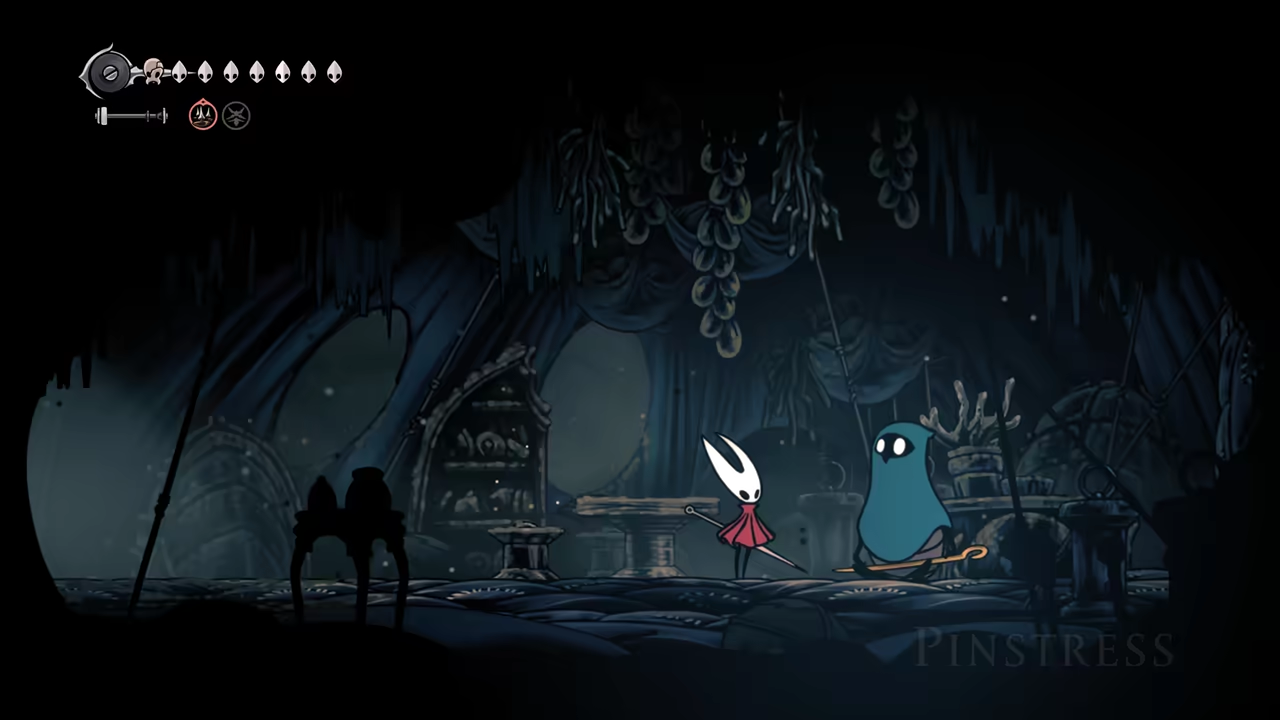
-
Sands of Karak Detour
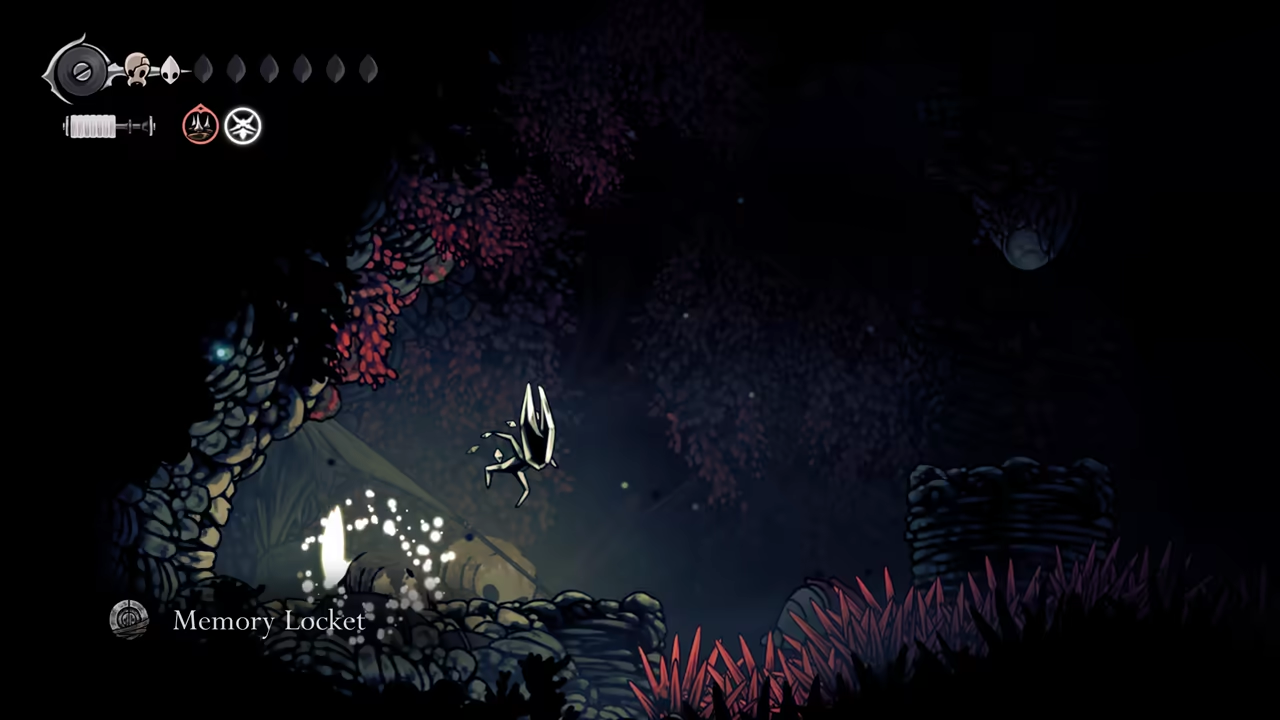
Section titled “Sands of Karak Detour”Climb the area with the hook and enter the Sands of Karak region. After a short platforming section, find another Memory Locket. Proceed all the way to the right to reach the next area with a tall corridor.
-
Collect Crustnut and a Flea
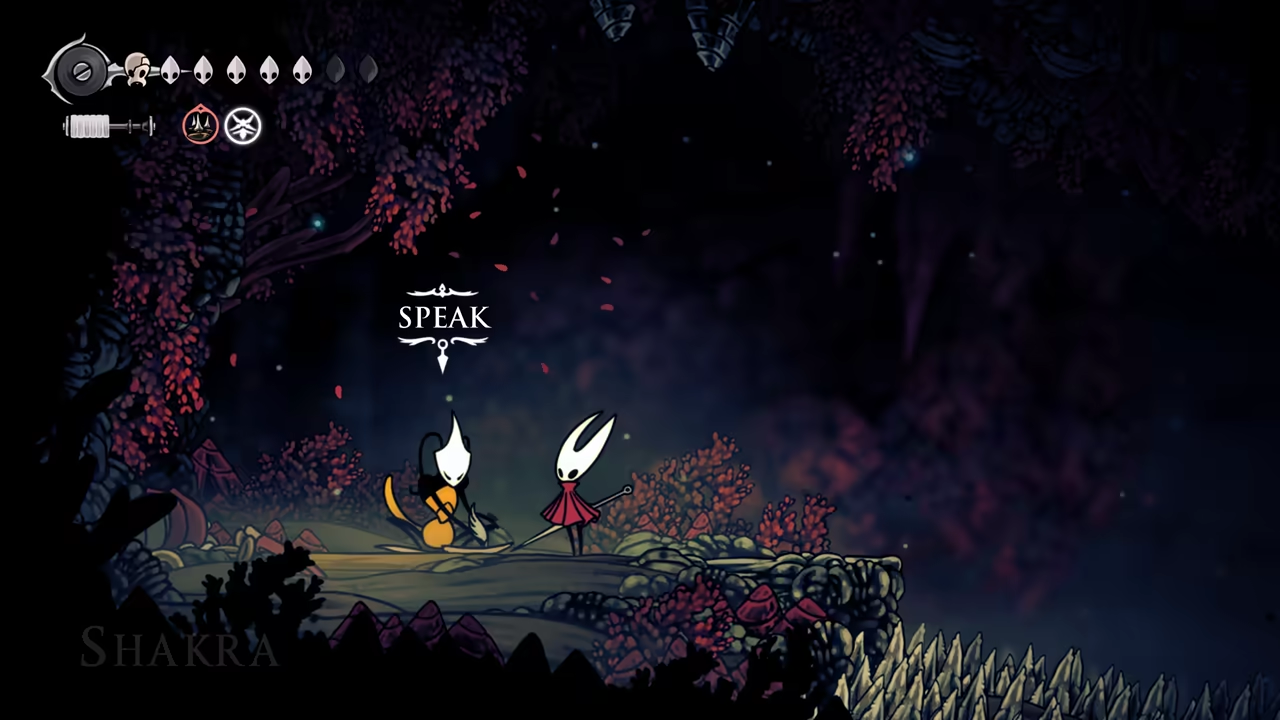
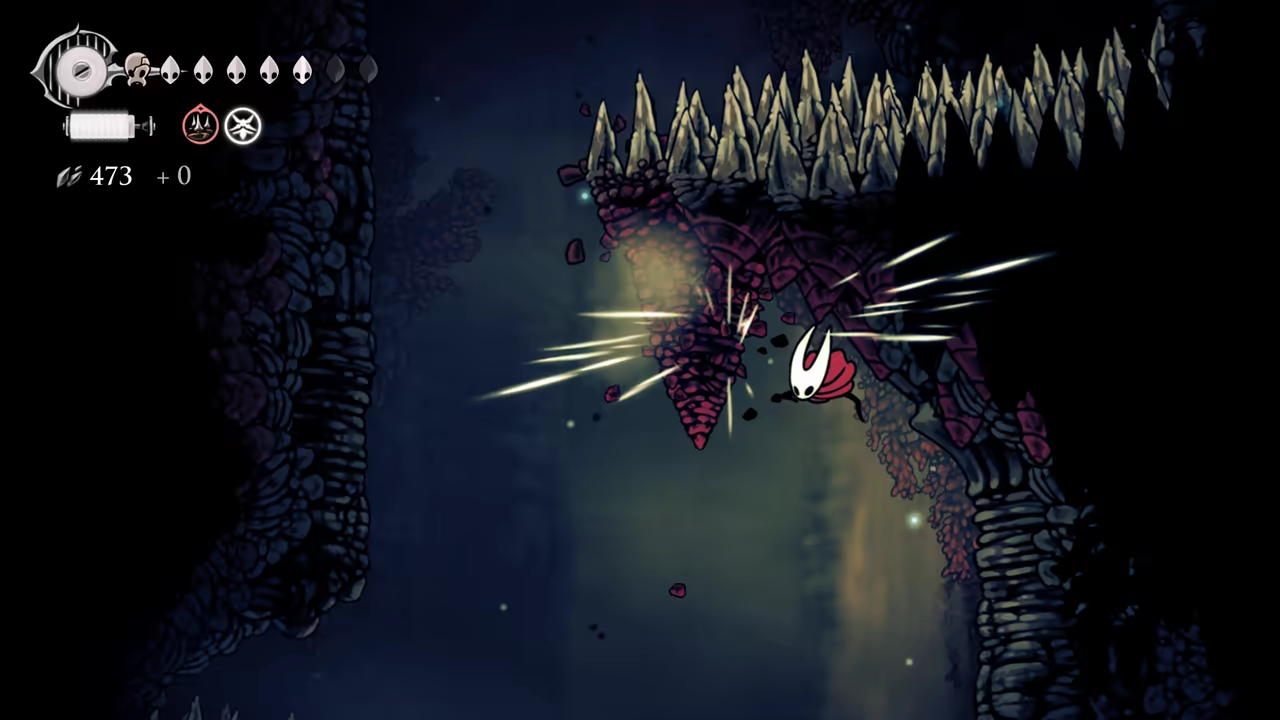
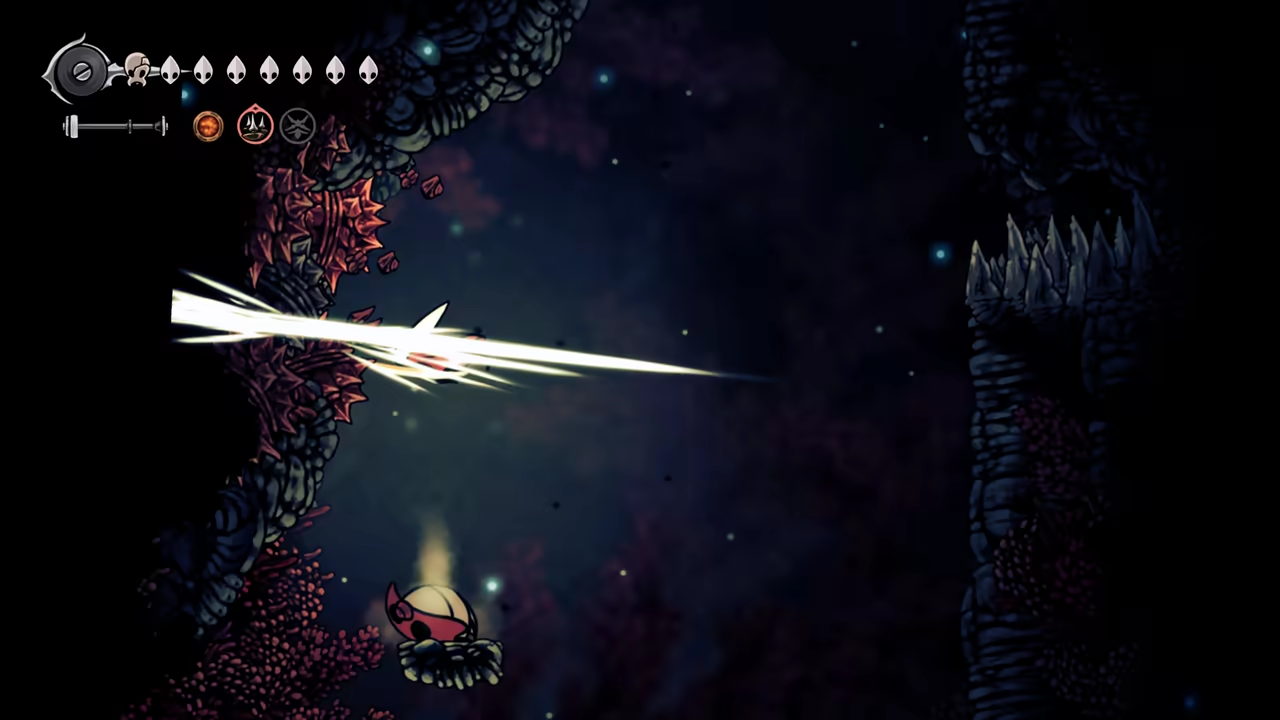
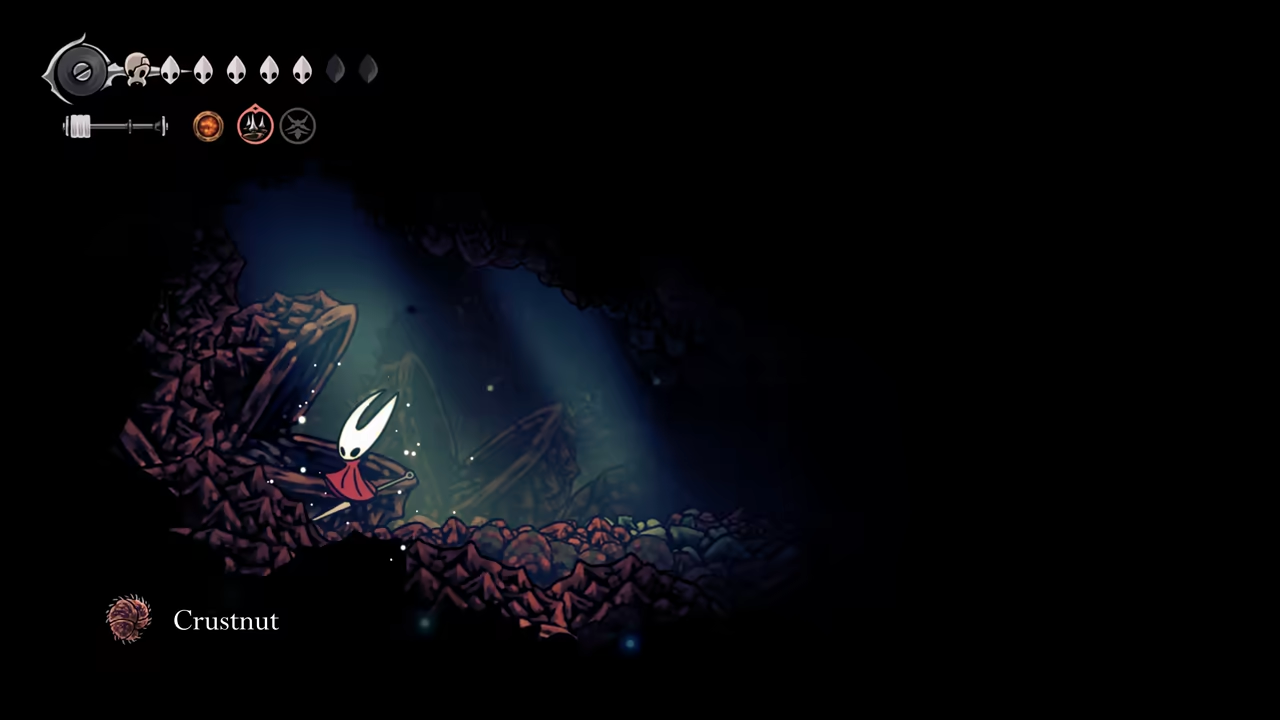
Section titled “Collect Crustnut and a Flea”Meet Shakra and buy her map, then go back and break the huge cone to unlock the area below. Before going down, enter the hidden area on the left to get the Crustnut for the Great Taste of Pharloom quest. Now head down to find a lost flea.
-
Merchants & Collectibles
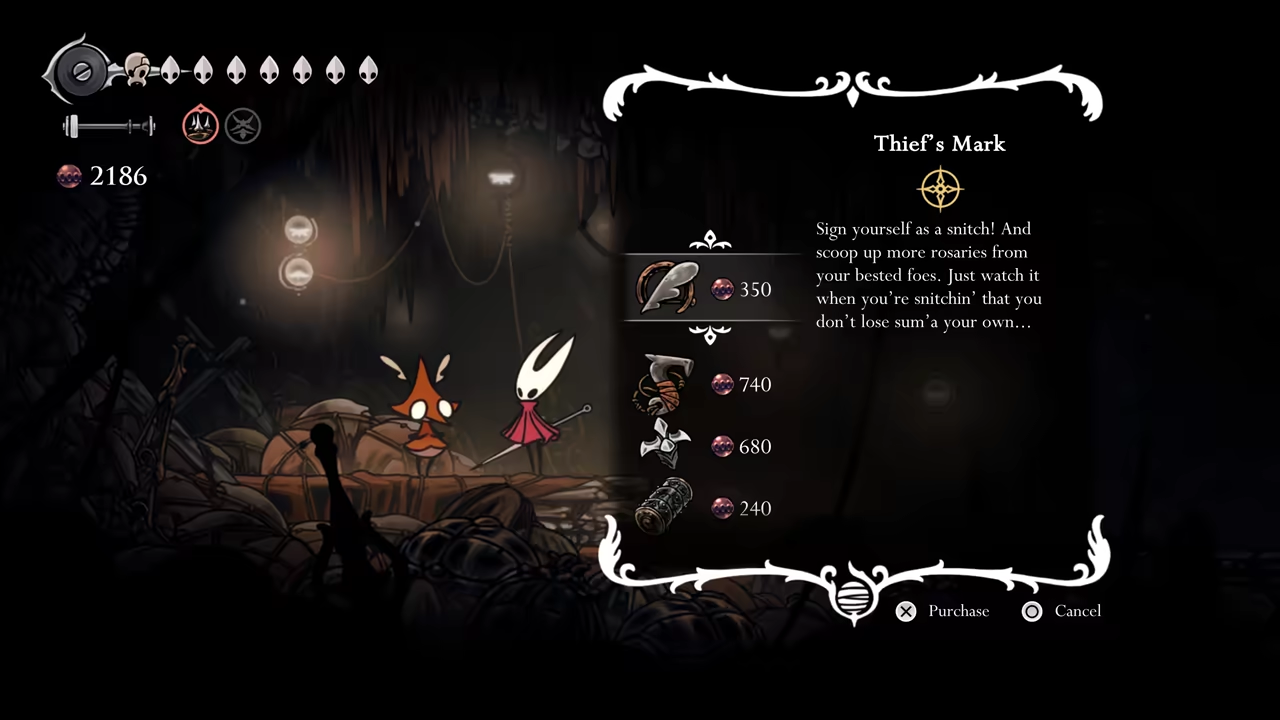
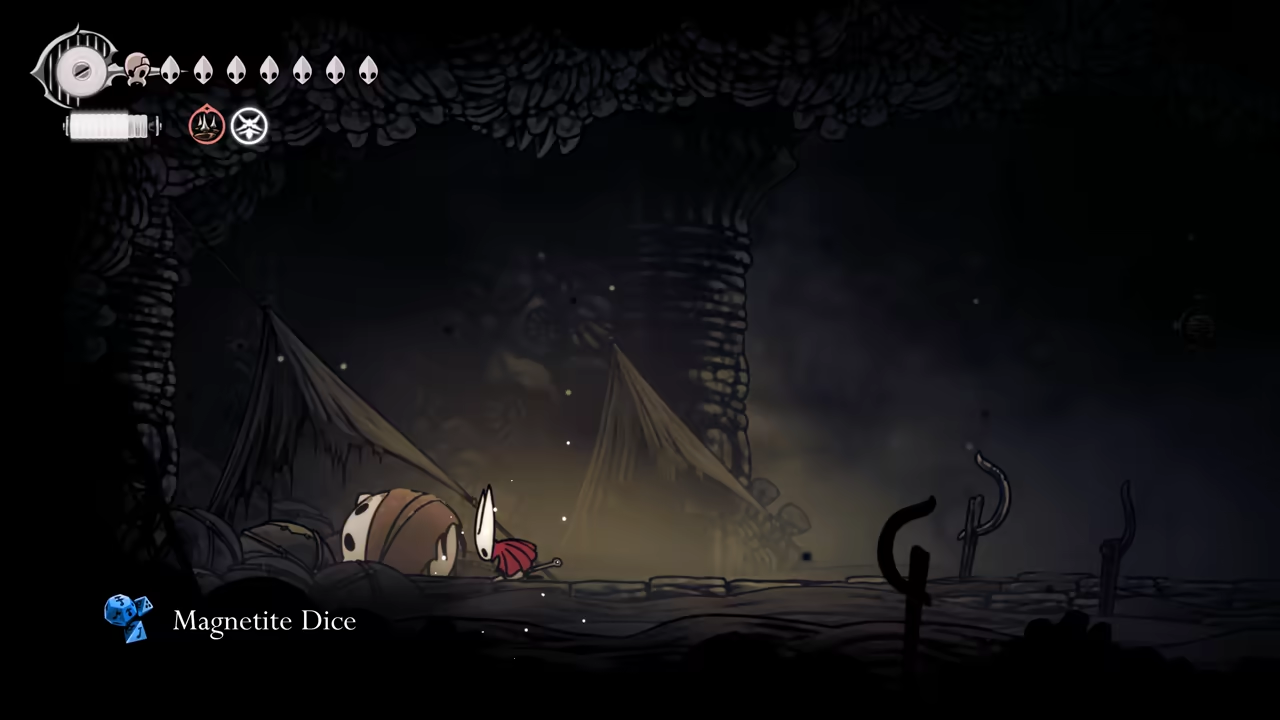
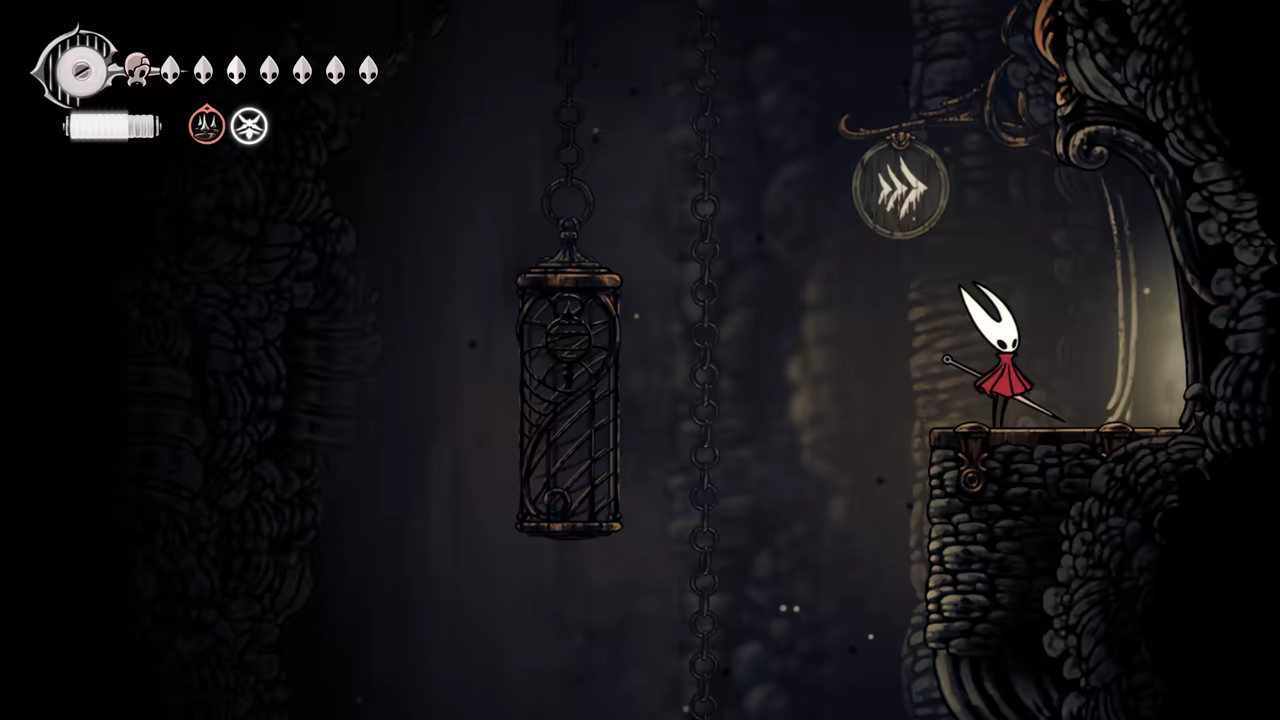
Section titled “Merchants & Collectibles”Just below the flea, you’ll meet the thief friend. Get the Thief’s Mark if you can afford it. Going all the way down and left, enter the area where the gambling friend is dead to get a free Clutch Dice. Go right to unlock the Bell Station.
-
Open the Bell Gate
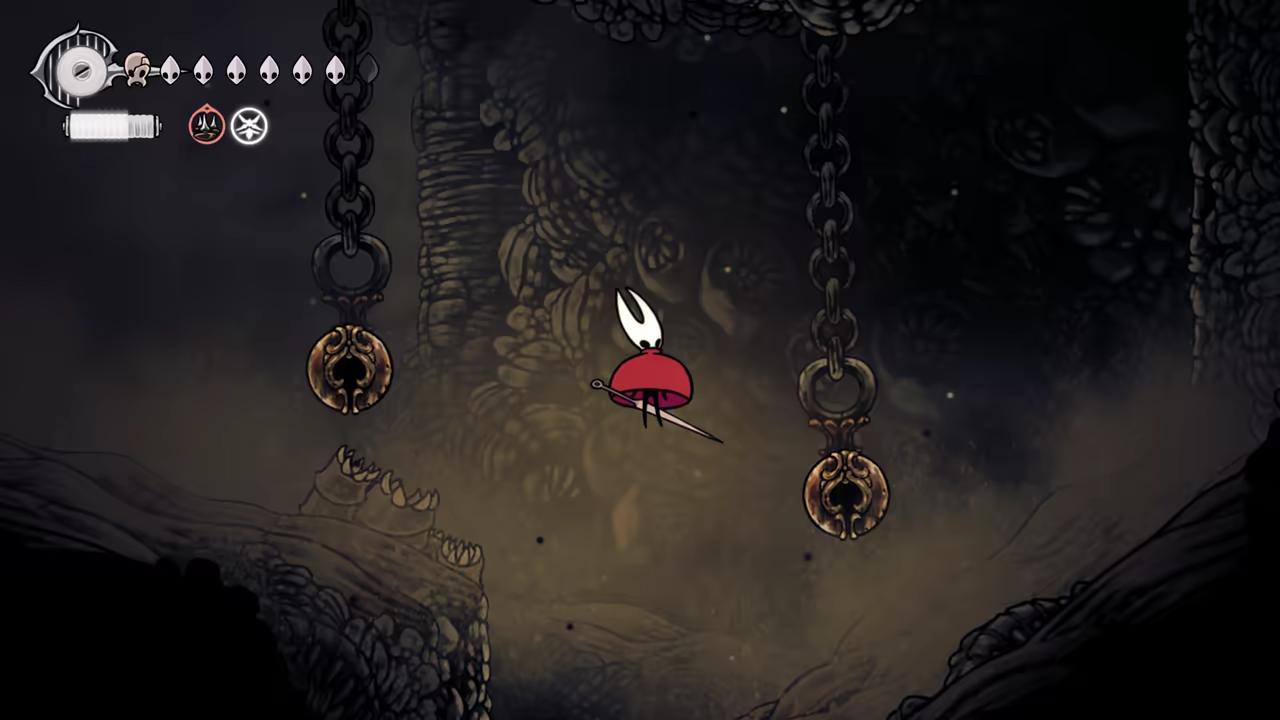
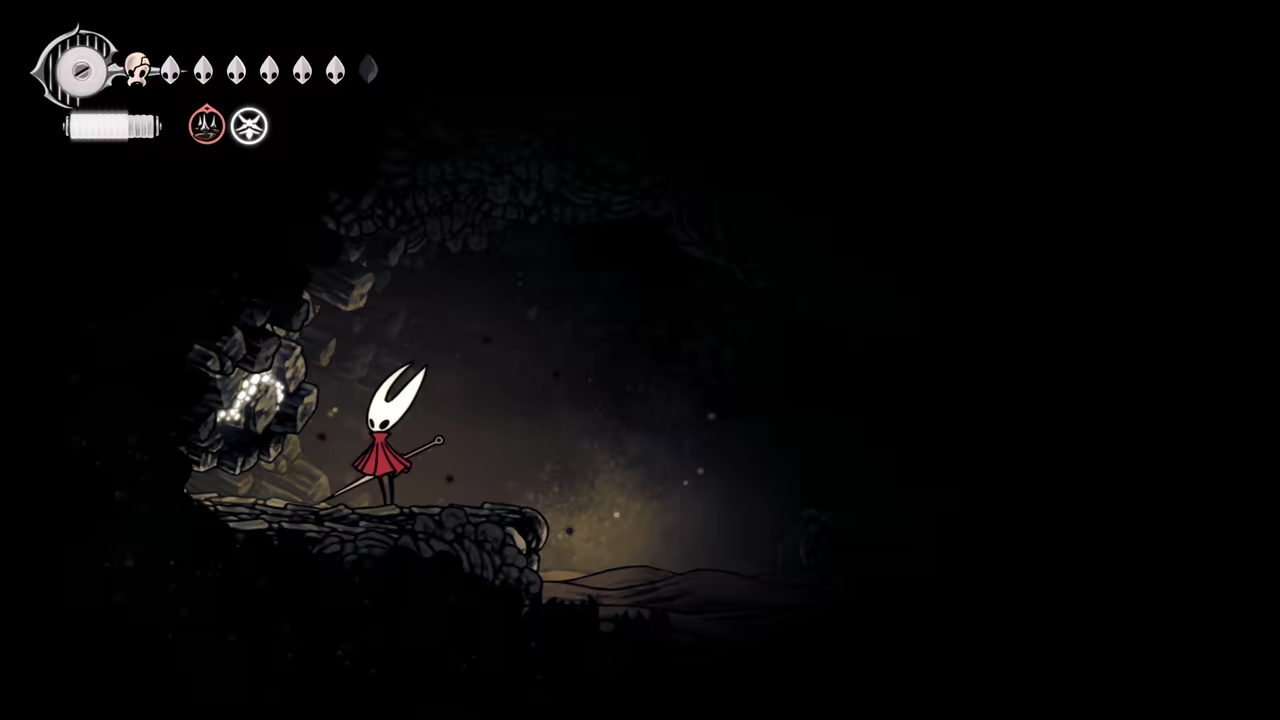
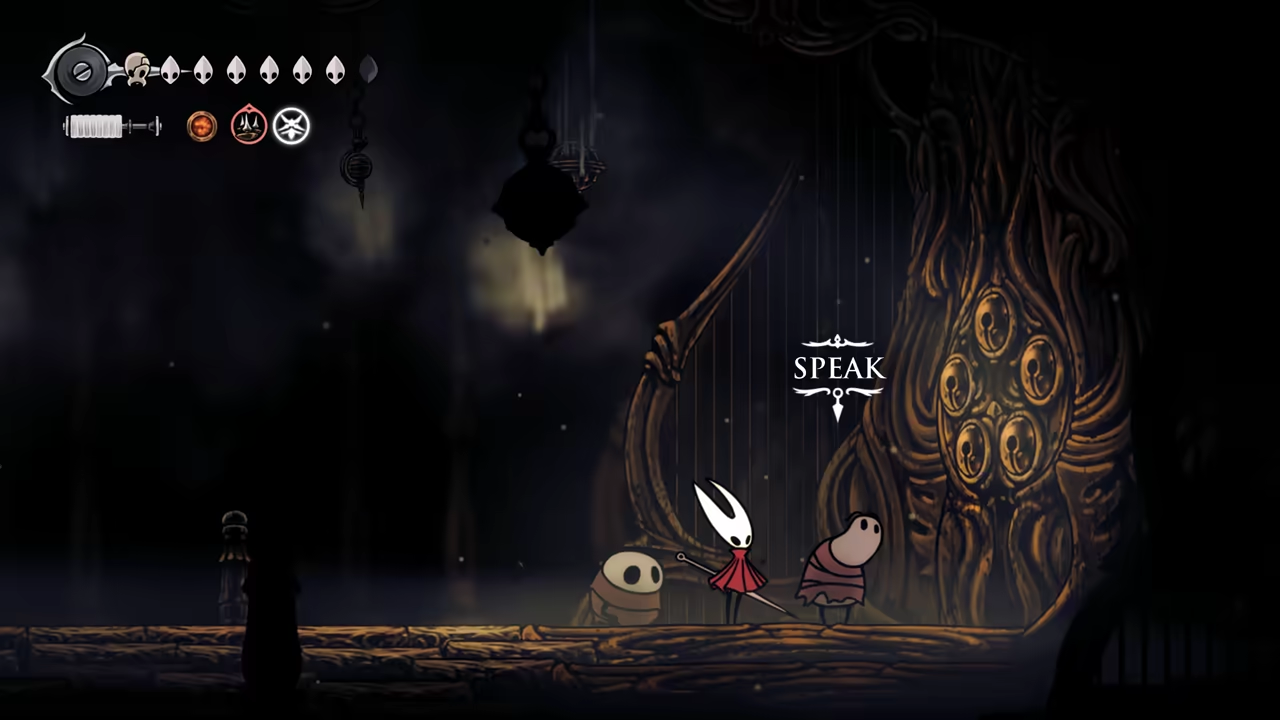
Section titled “Open the Bell Gate”Going all the way to the right, float down in a small area filled with worms to find a hidden Craftmetal. Reach the Bell Gate and help the pilgrims with a song to open the citadel door.
-
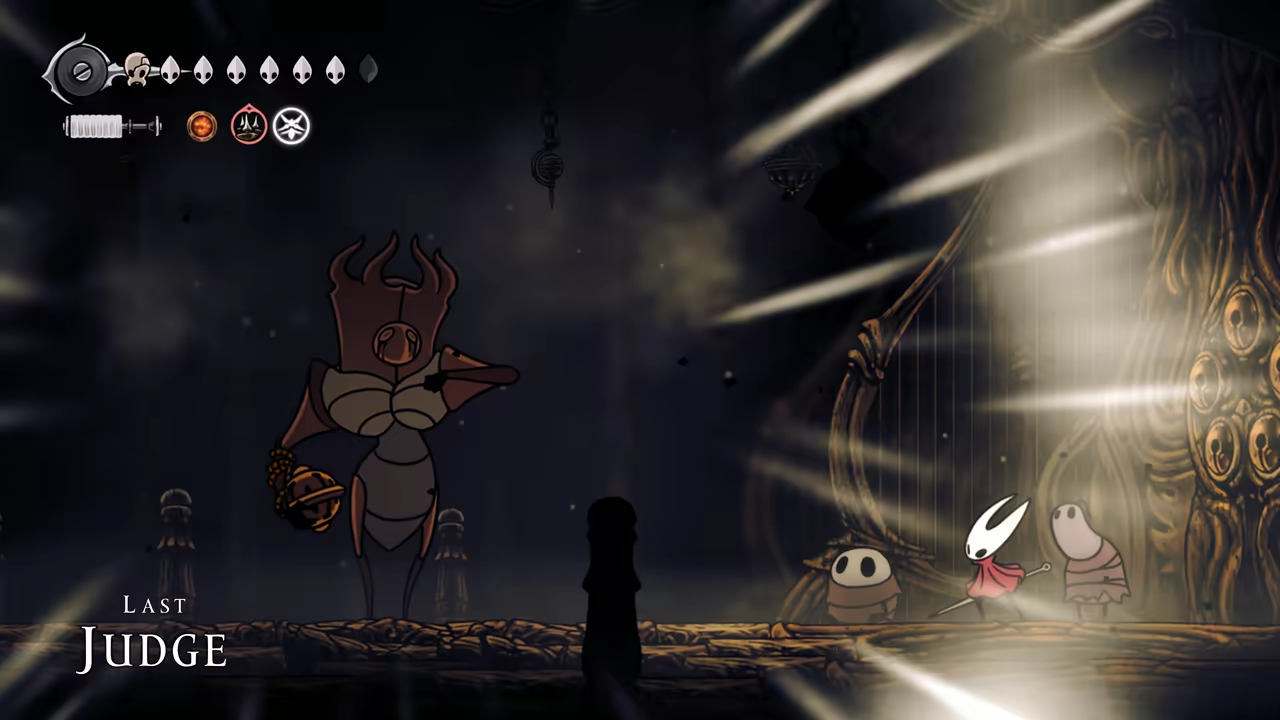
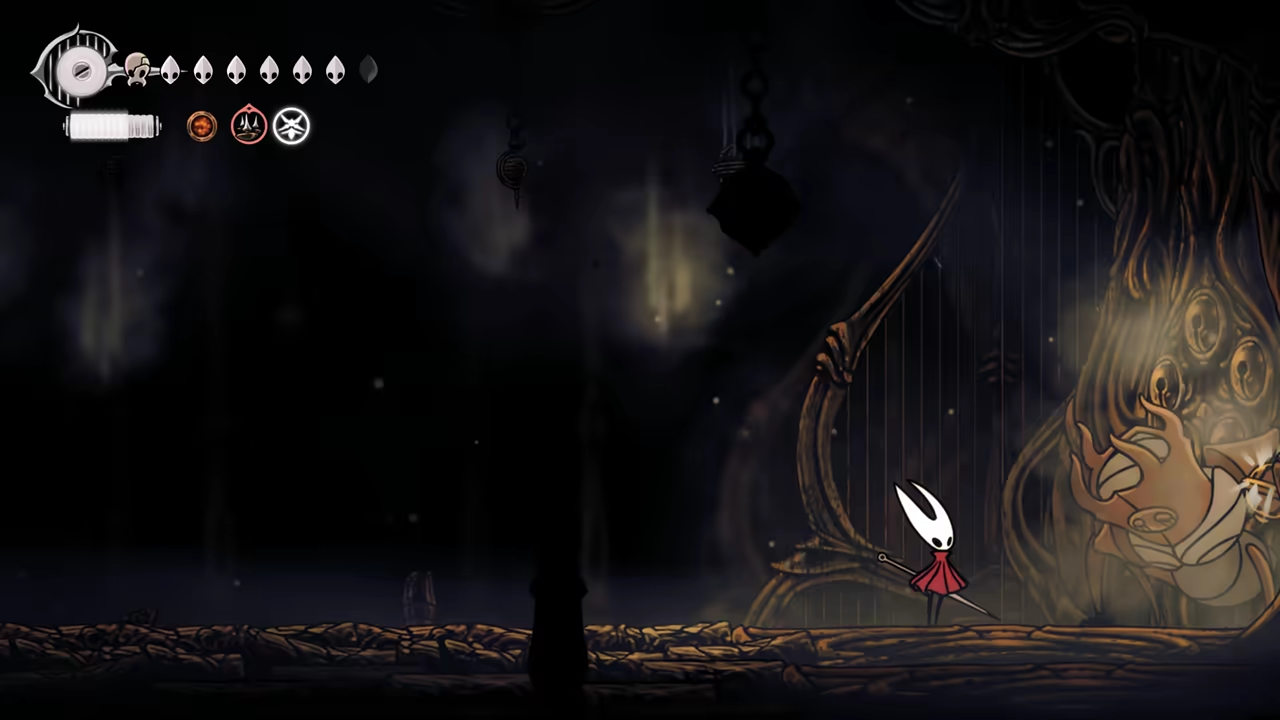
Defeat the Last Judge
Section titled “Defeat the Last Judge”Now we can proceed to obliterate the Last Judge. The fight is chill with all the extra health and the Magma Bell. Spam attacks and watch out for the fire phase. Don’t forget that it explodes at the end of the fight!
-
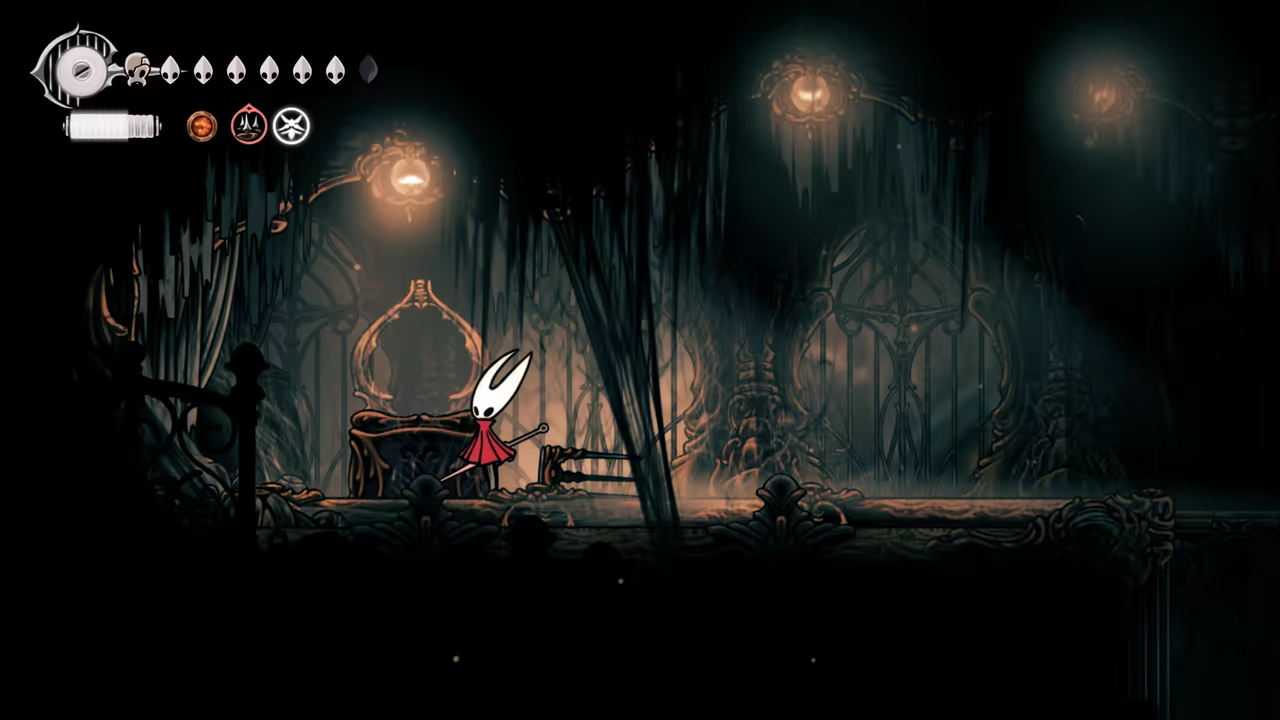
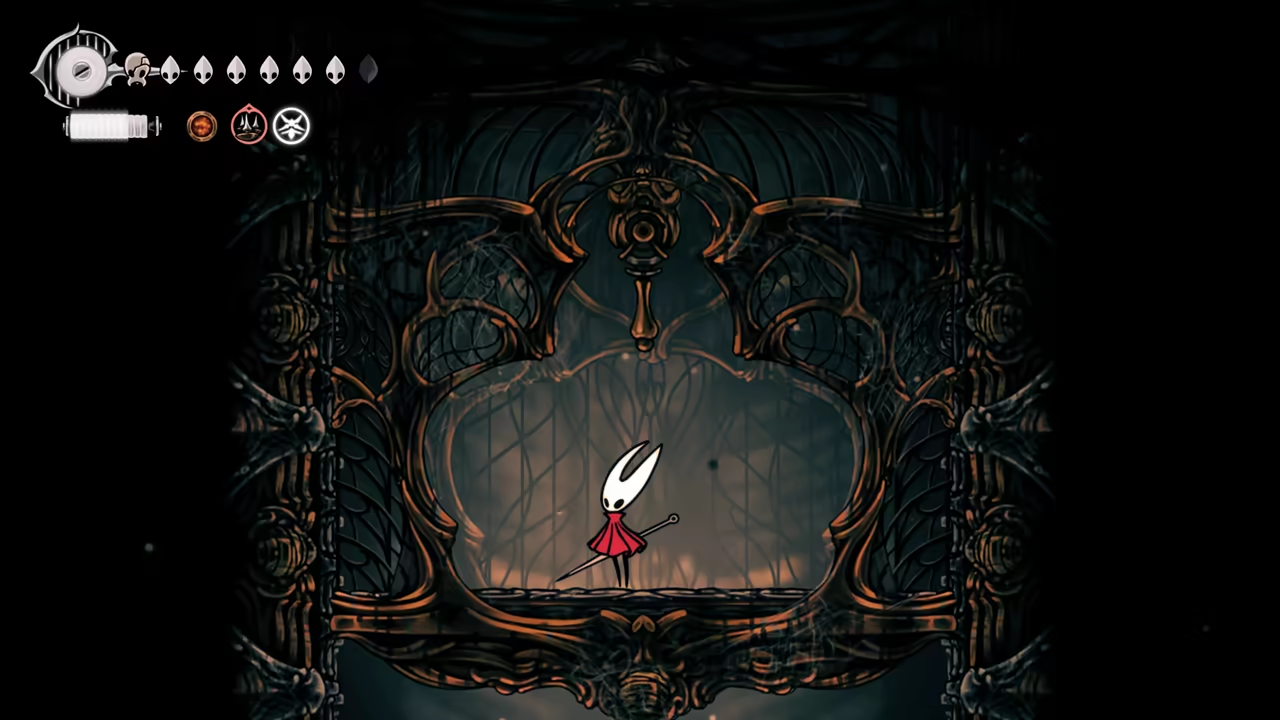
Final Spool Fragment
Section titled “Final Spool Fragment”Access the Citadel area (grab the map) and climb all the way to the top left to find one more Spool Fragment. Go down and access the elevator to proceed to the next area.
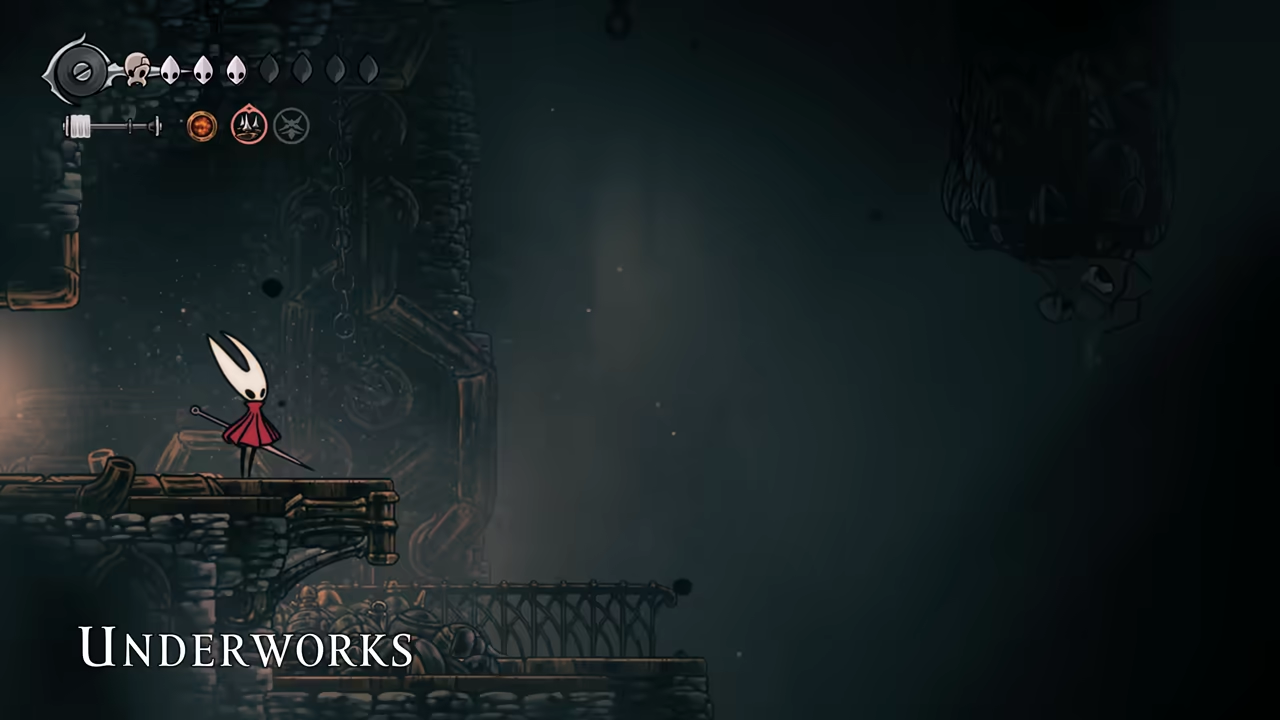
100% Underworks
Section titled “100% Underworks”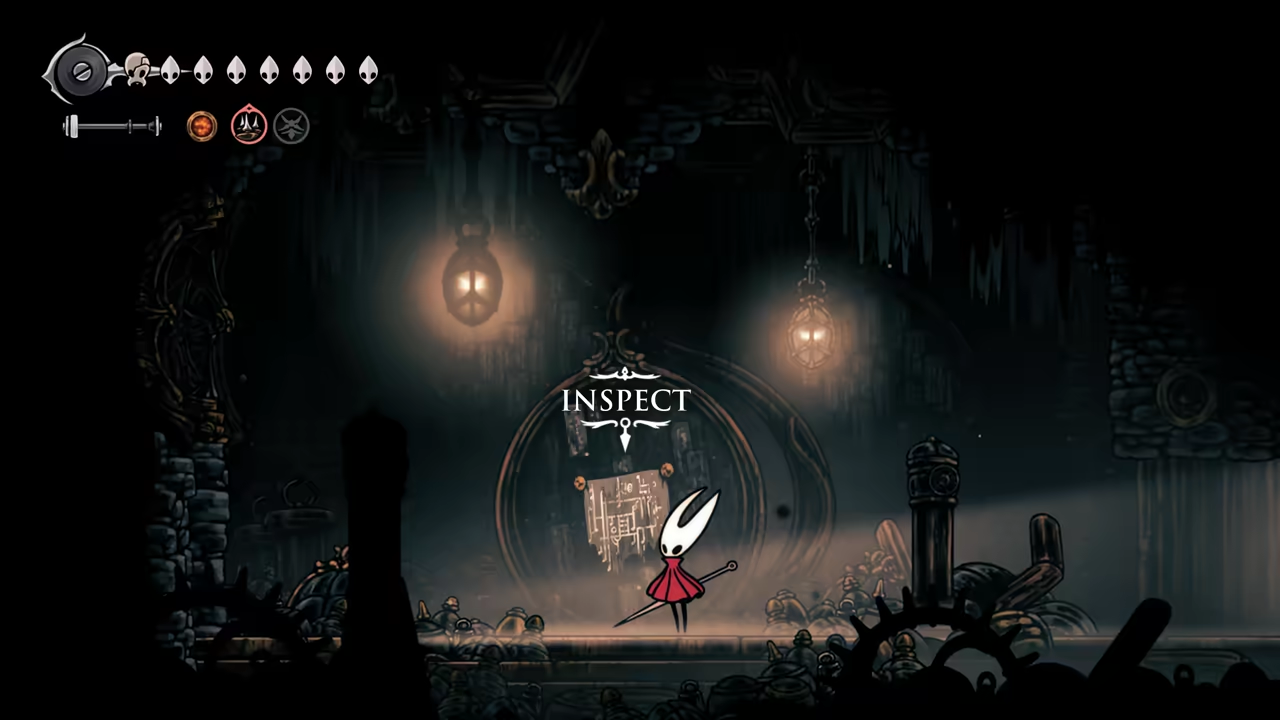
Key Items
- Map
- Memory Locket
- Delver's Drill
- Spool Fragment (x2)
- Flea
Quests
- The Lost Fleas
NPCs
- Architect
Connects To
- Citadel
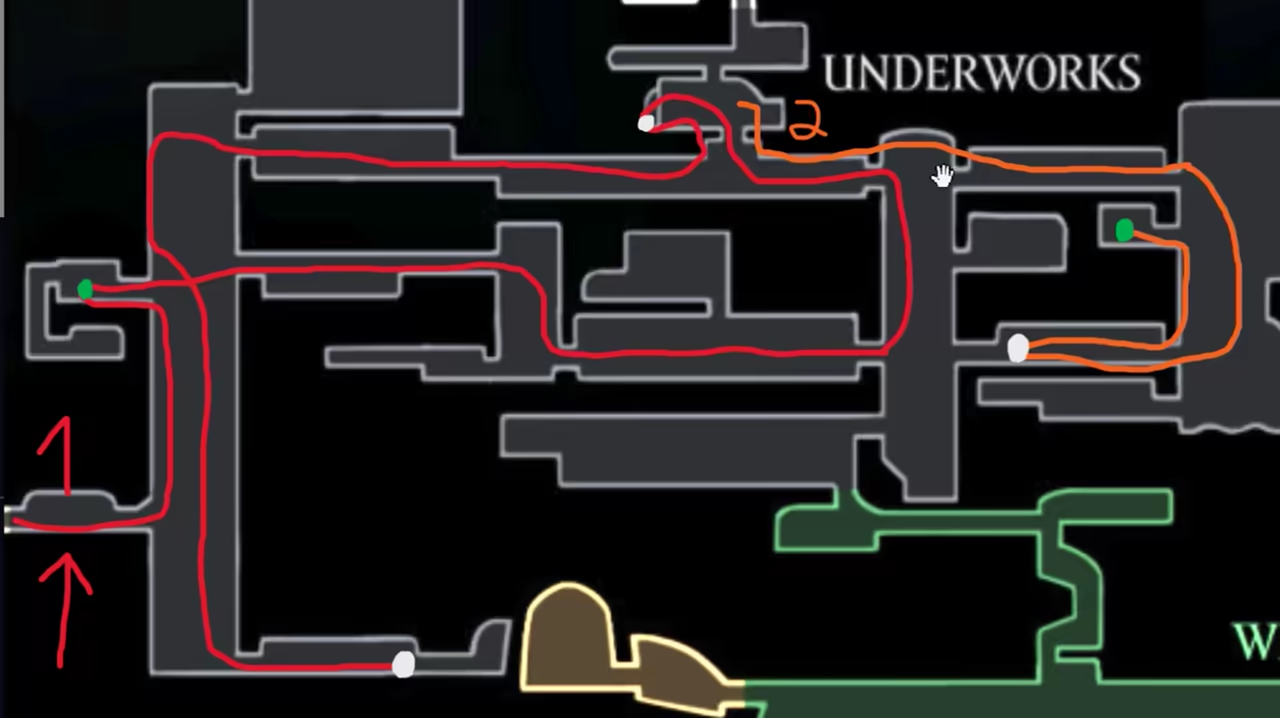
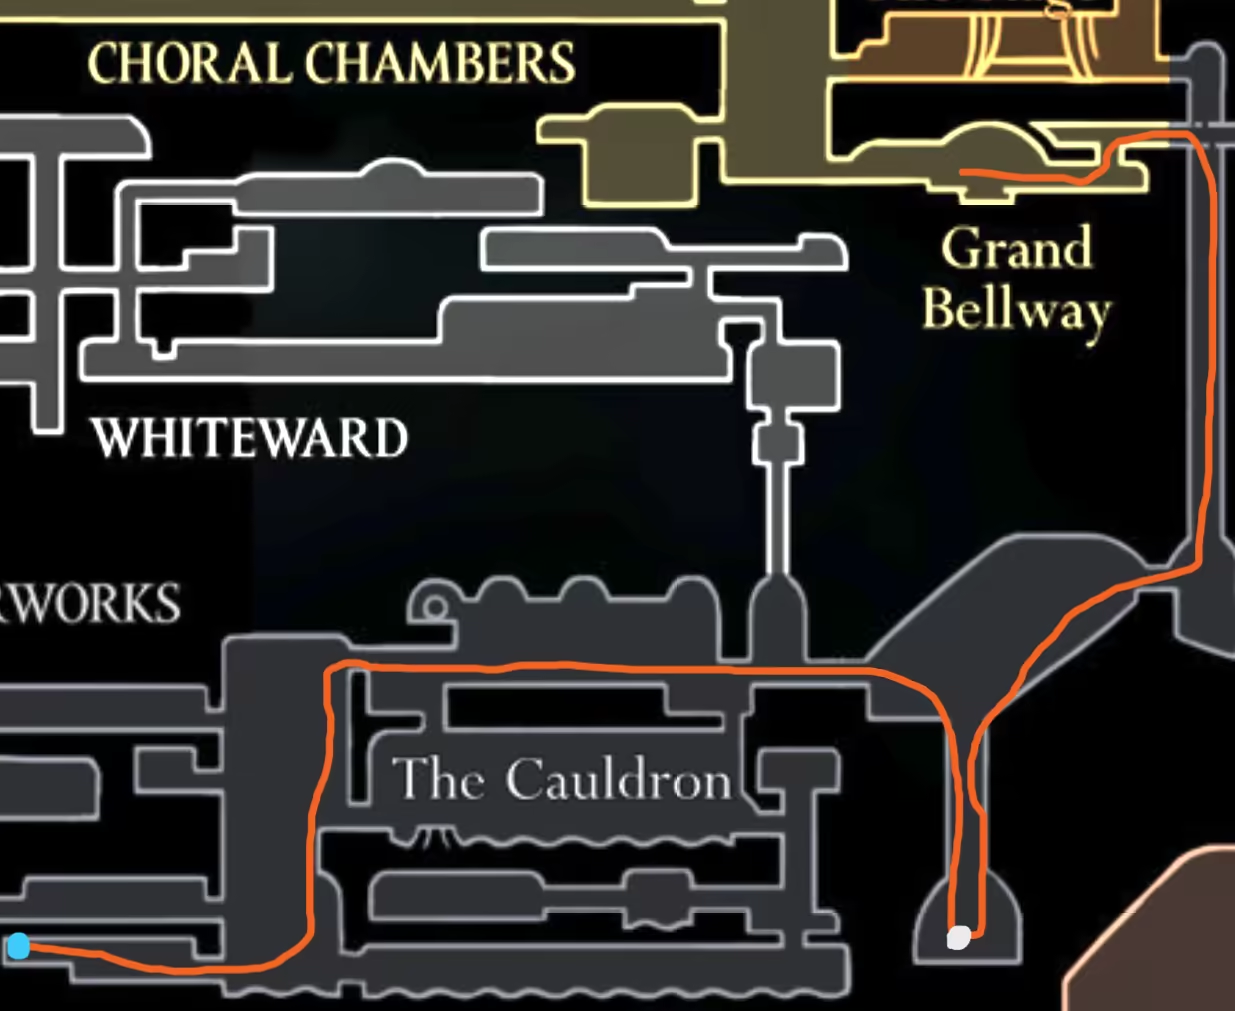
This is the route we will be following (starting from the bottom left with the number 1):
-
Get the Map
Section titled “Get the Map”After entering Underworks, the first thing we want to do is get the map located in the top-left room.
-
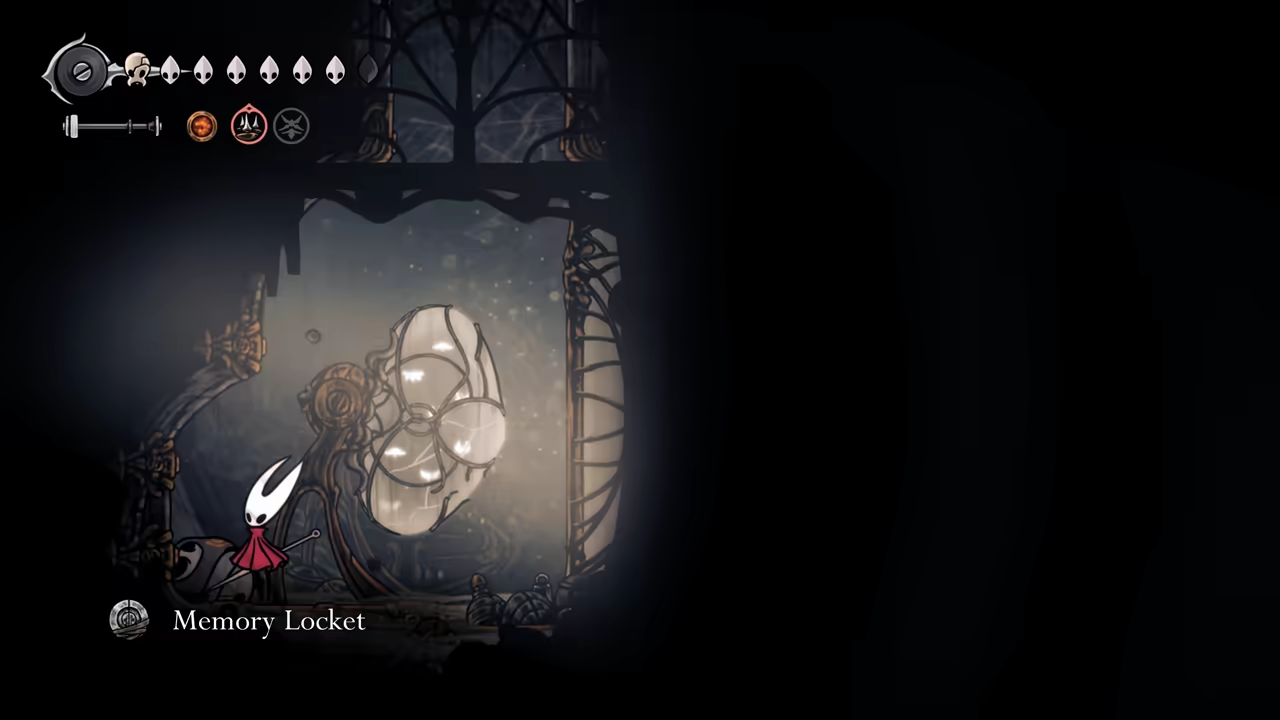
Find the Memory Locket
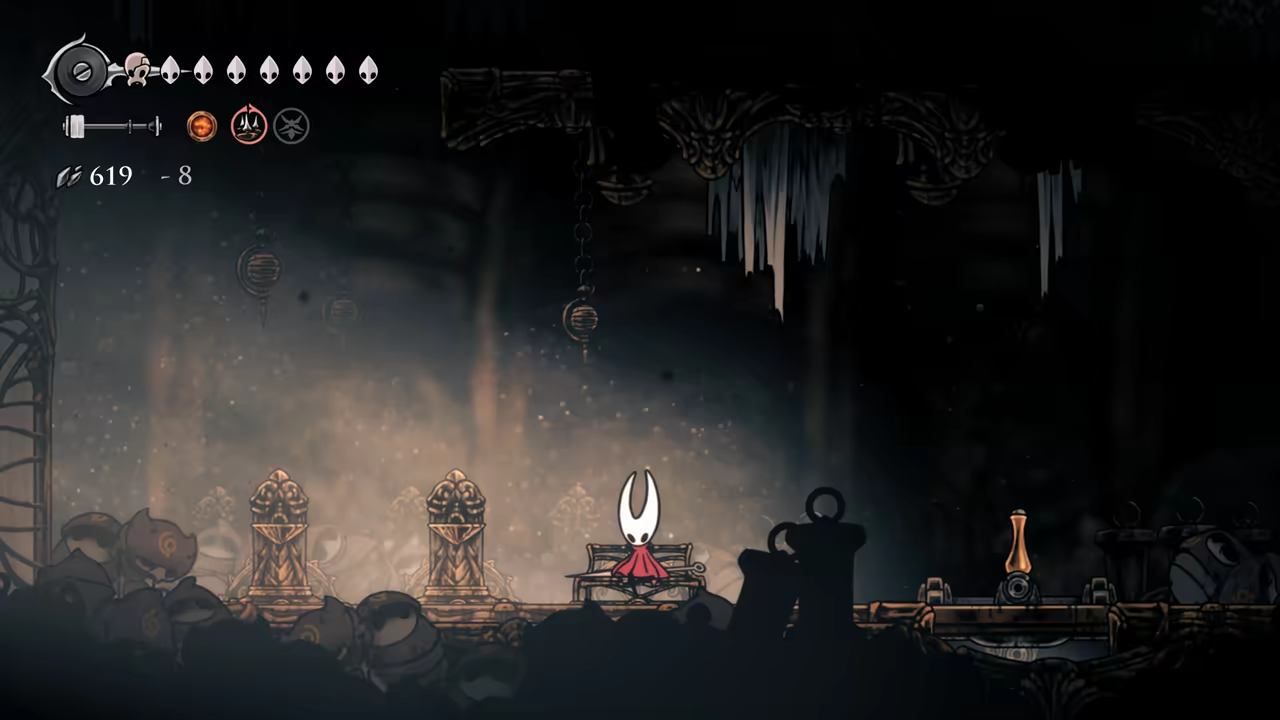
Section titled “Find the Memory Locket”Now go right and all the way around until you reach the room with three paid benches. Use one to create a save spot here. The same room contains a Memory Locket located at the top.
-
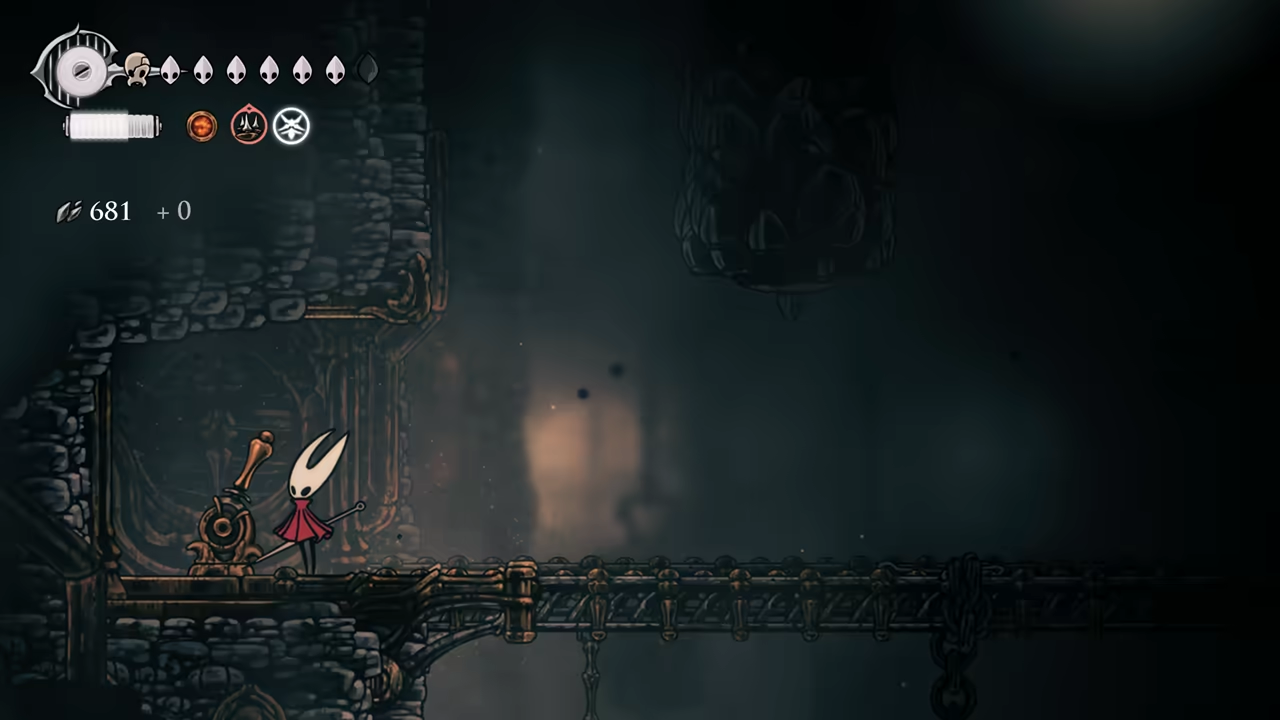
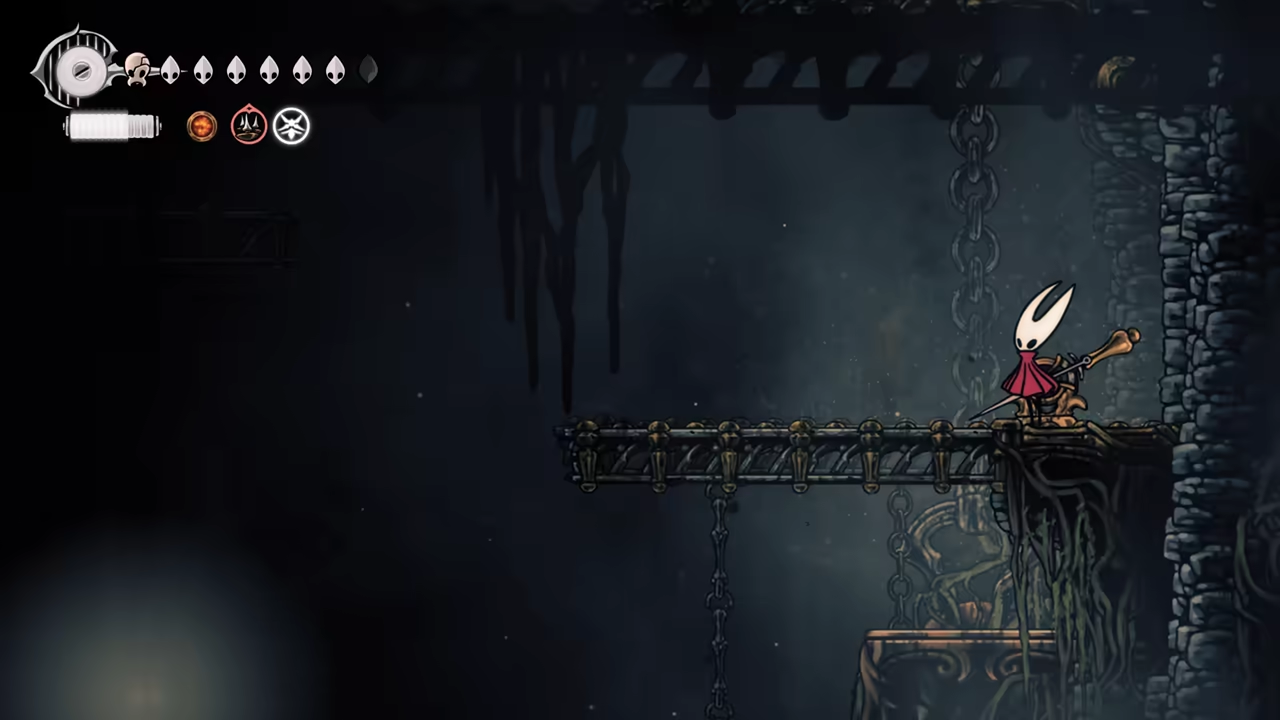
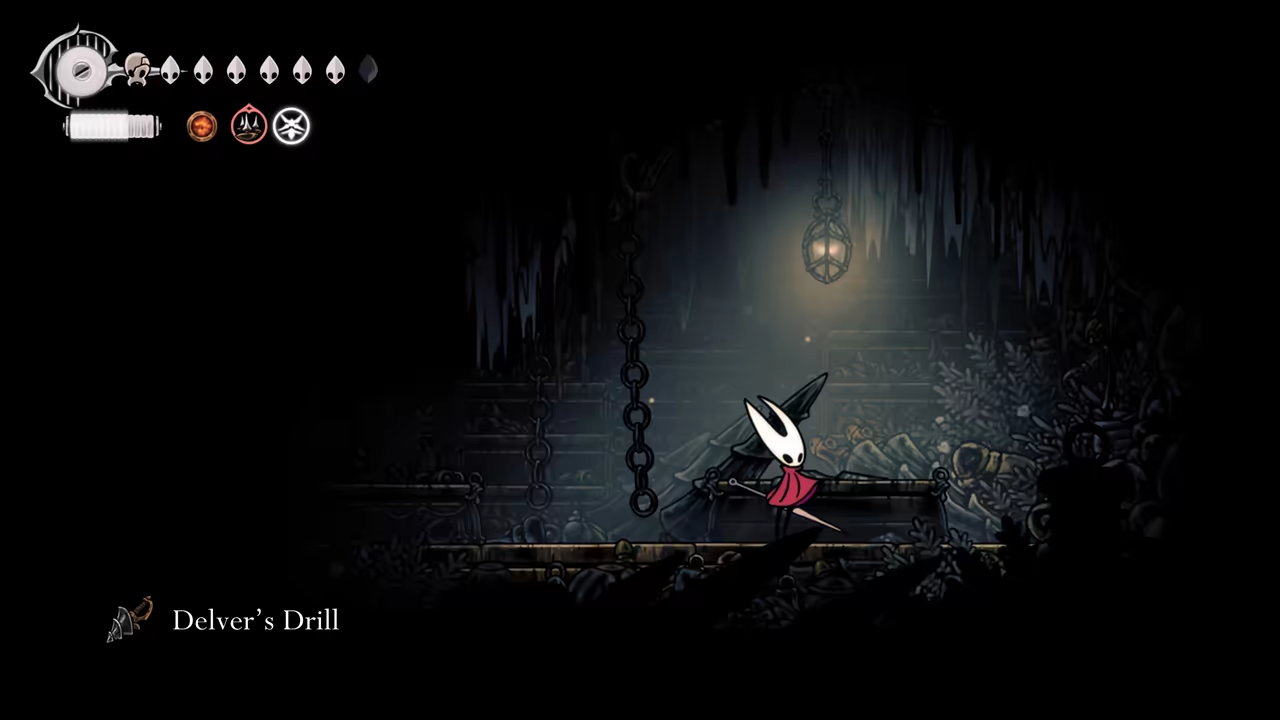
Get the Delver’s Drill
Section titled “Get the Delver’s Drill”From here, follow the path to the left until you reach the top of the first area. Activate a lever that allows us to reach the bottom. All the way down to the right, activate one more lever to open the room below it. Inside, we can find the Delver’s Drill.
-
Find the First Spool Fragment
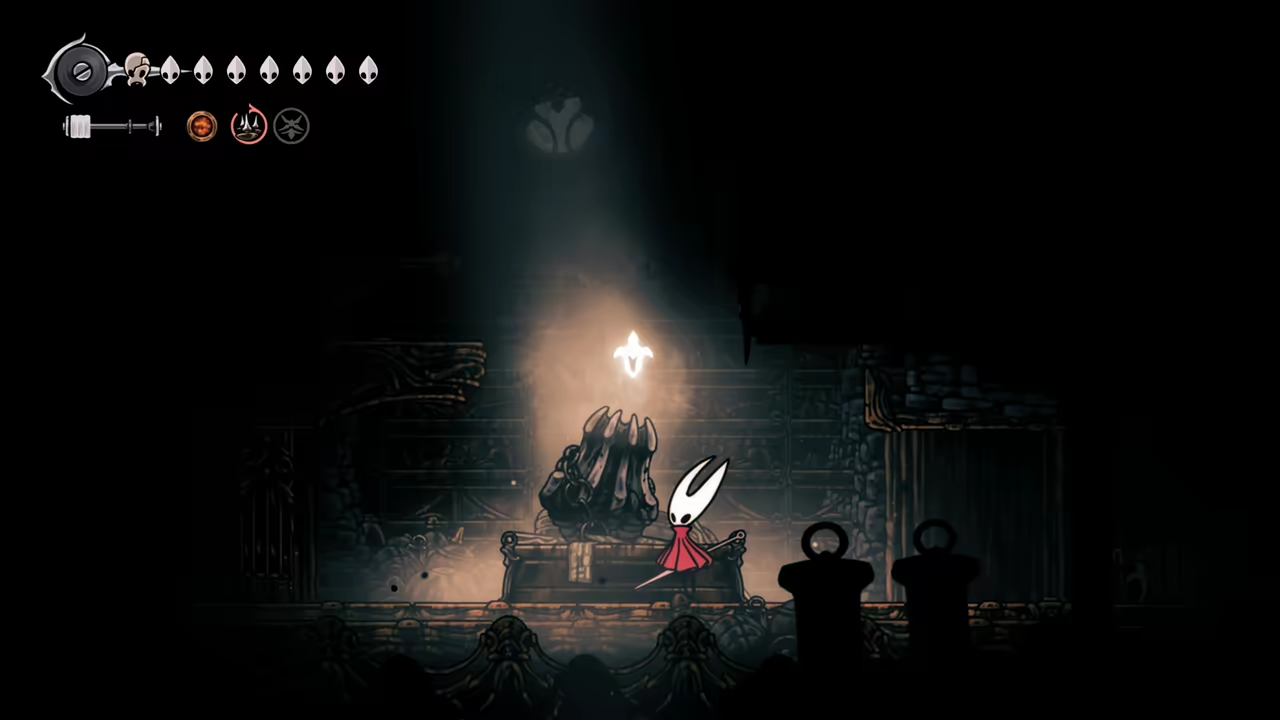
Section titled “Find the First Spool Fragment”Now quit and reload at the bench. Head right, following the second route (orange). Enter a room with a small arena; after defeating all the enemies, we can get one more Spool Fragment.
-
Access the Other Side
Section titled “Access the Other Side”Go back and unlock the fast travel. From here, return to the Bellway Station and bench to create a save spot. Next, we need to head towards the Trobbio Stage. Take the elevator all the way down and go left to access the other side of the Underworks area.
Here is the route for the second part:
-
Find the Second Spool Fragment
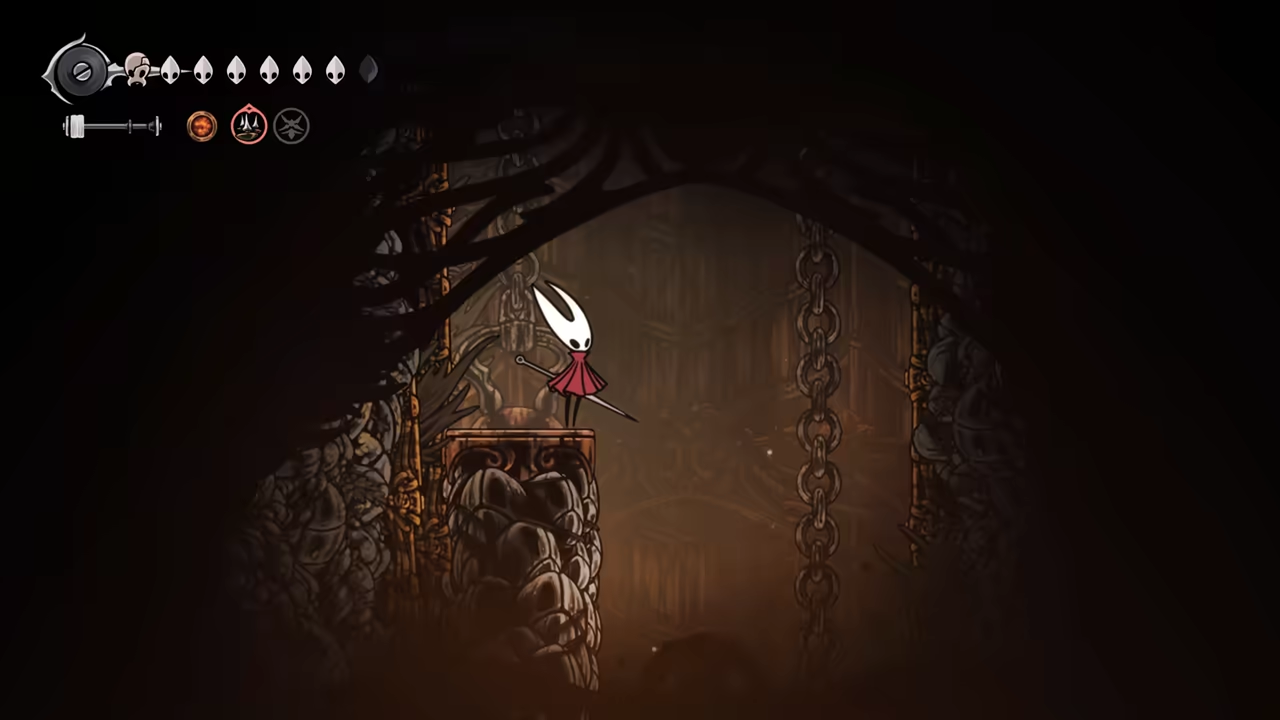
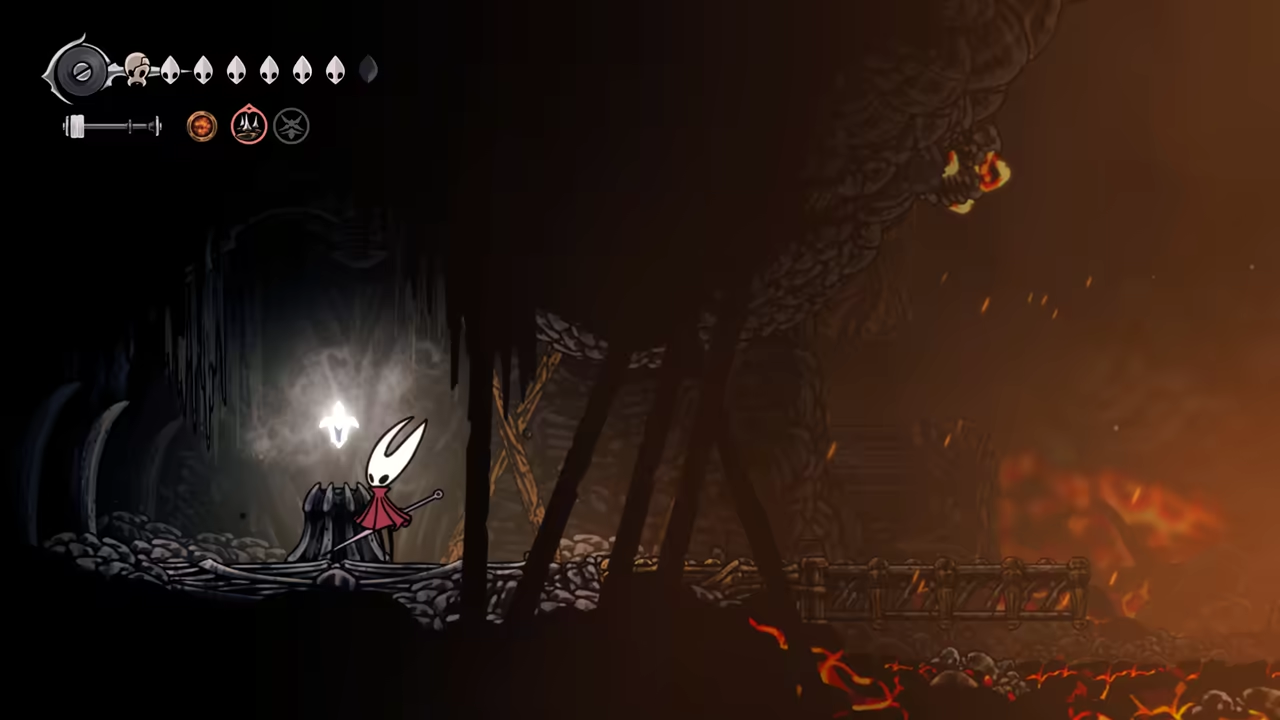
Section titled “Find the Second Spool Fragment”Inside a huge pit, we can find one more Spool Fragment behind a breakable wall.
-
Find the Lost Flea
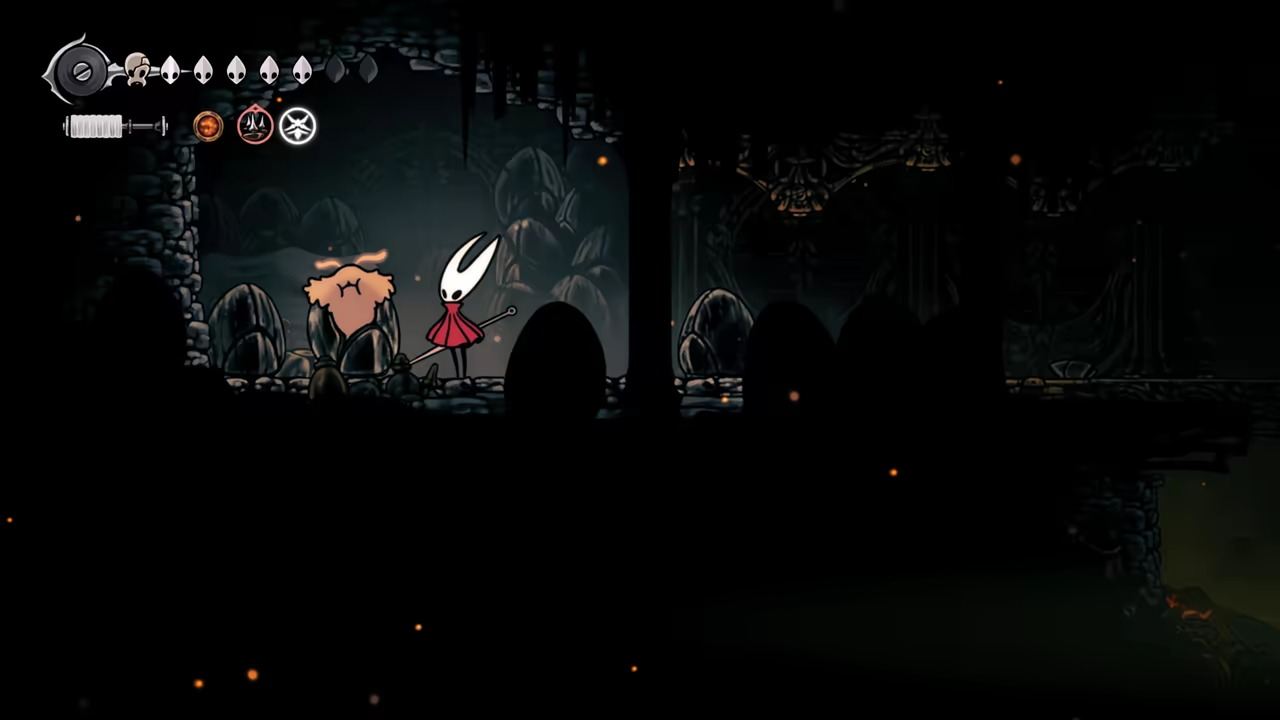
Section titled “Find the Lost Flea”Now, go left and traverse through the Architect room until we reach the lava area. Here, we will go downwards to the left and find a Lost Flea behind a barrage of exploding enemies for The Lost Fleas quest.
-
Proceed to the Citadel
Section titled “Proceed to the Citadel”Save and quit to reload at the Bellway Station. We can now start exploring the Citadel.
100% Choral Chambers
Section titled “100% Choral Chambers”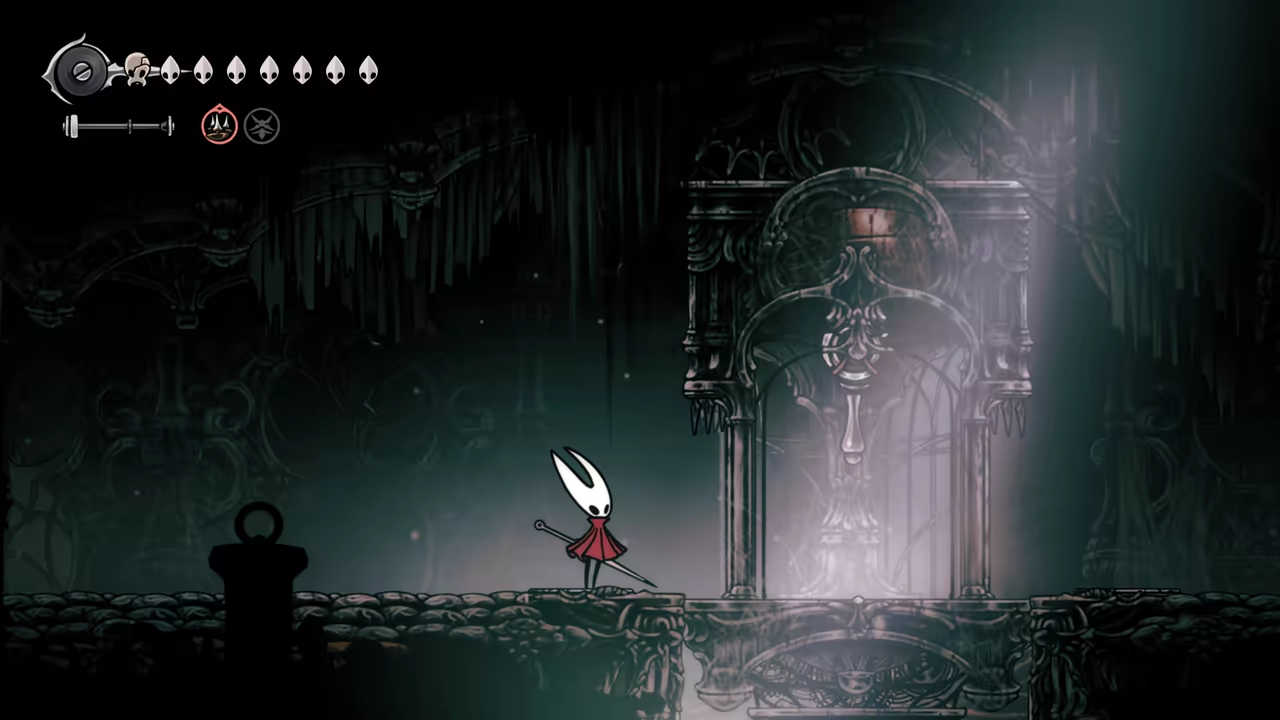
Key Items
- Pins (Quest Item)
- Spool Fragment
- Conductor's Melody
- Flea (x2)
- Cogheart
- Map
- Pale Oil
Quests
- Fine Pins
- Garb of the Pilgrims
- Courier's Rasher
- The Lost Fleas
- Trail's End
NPCs
- Sherma
- Shakra
Quest Preparation
Section titled “Quest Preparation”-
Farm Fine Pins
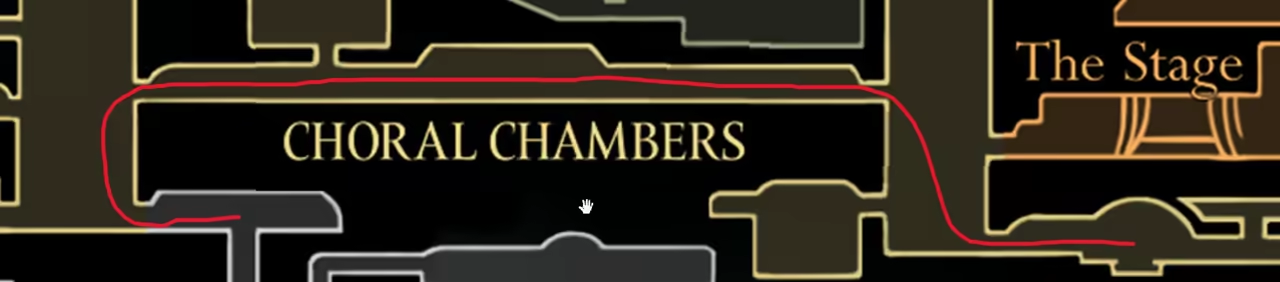
Section titled “Farm Fine Pins”First, fast travel to Songclave to meet Sherma again and accept new quests. Before exploring, we need to complete the Fine Pins quest. Fast travel back to Bellway and bench there. Go left and fight the Pin Warrior. The pin drop is random, so just return to the bench and repeat the fight until you have all the pins needed.
-
Unlock Whiteward Elevator
Section titled “Unlock Whiteward Elevator”After getting the pins, head towards the Whiteward area to unlock the elevator. This is needed to trigger a Sherma quest later.
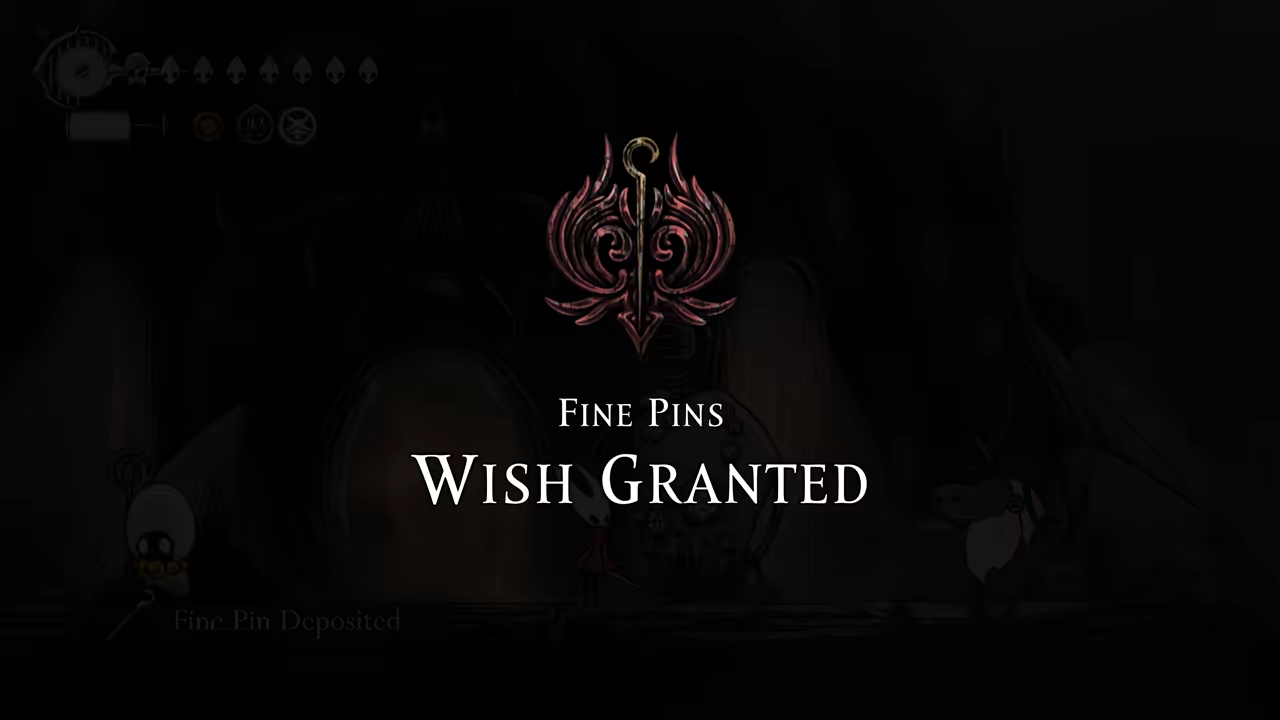
-
Complete Fine Pins Quest
Section titled “Complete Fine Pins Quest”Quit and reload at the Bellway bench, then fast travel once more to Songclave. Deliver the pins to complete the quest and receive some money.
-
Unlock New Quests
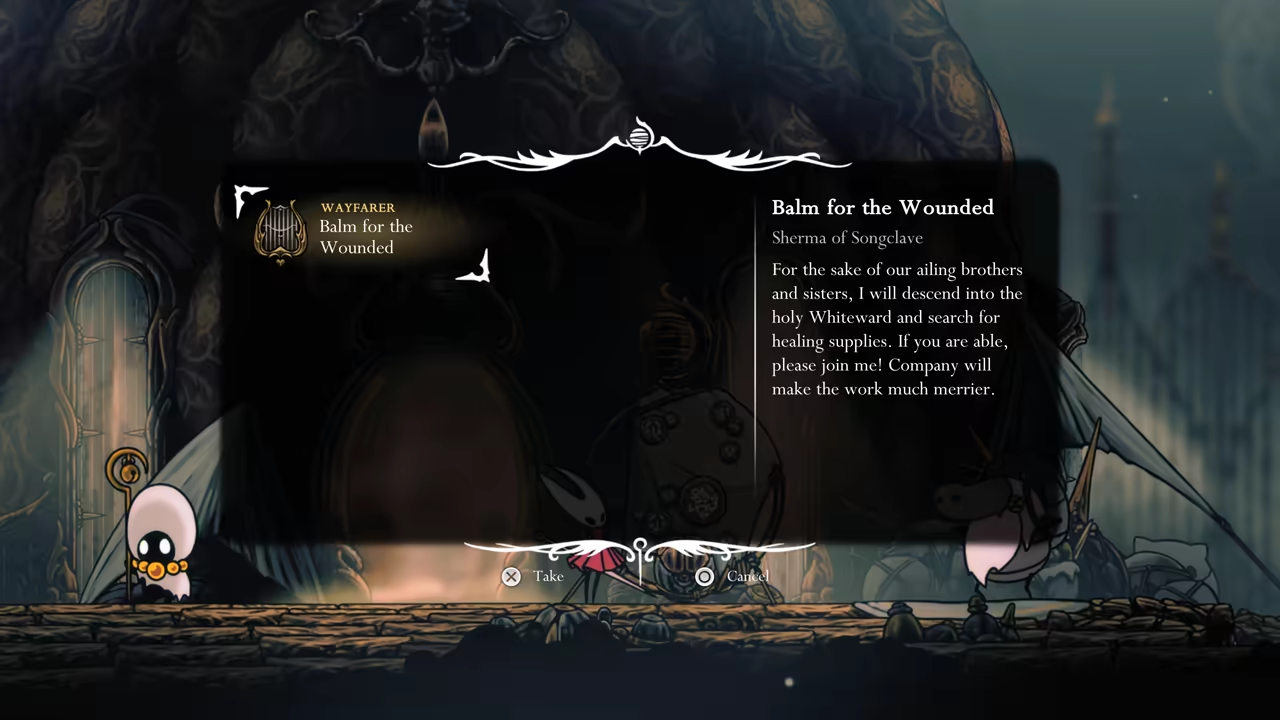
Section titled “Unlock New Quests”Use the bench inside the Bell Shrine, then quit to the menu and reload your save. You should now have new quests available—one for Garb of the Pilgrims, and another involving Sherma. If the Sherma quest hasn’t triggered yet, come back later to accept it.
Cogwork Core Cleanup
Section titled “Cogwork Core Cleanup”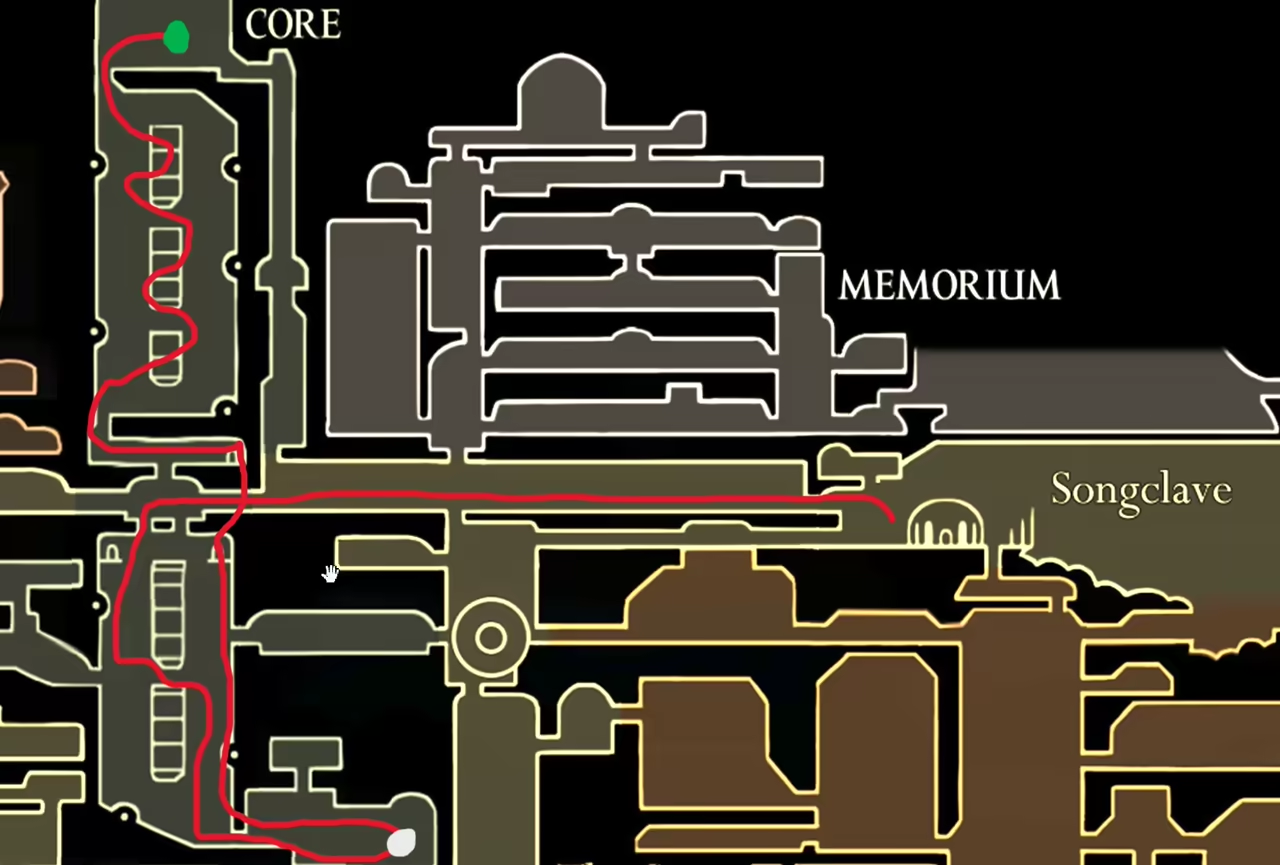
-
Find the Spool Fragment
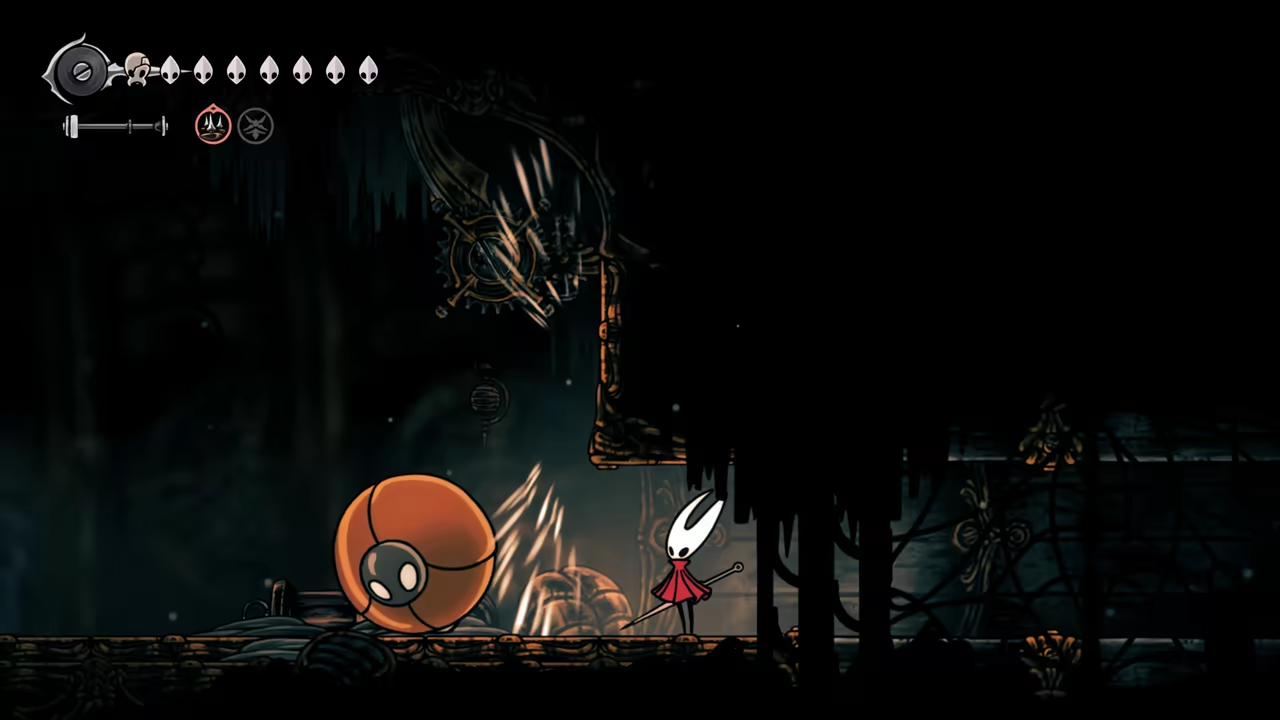
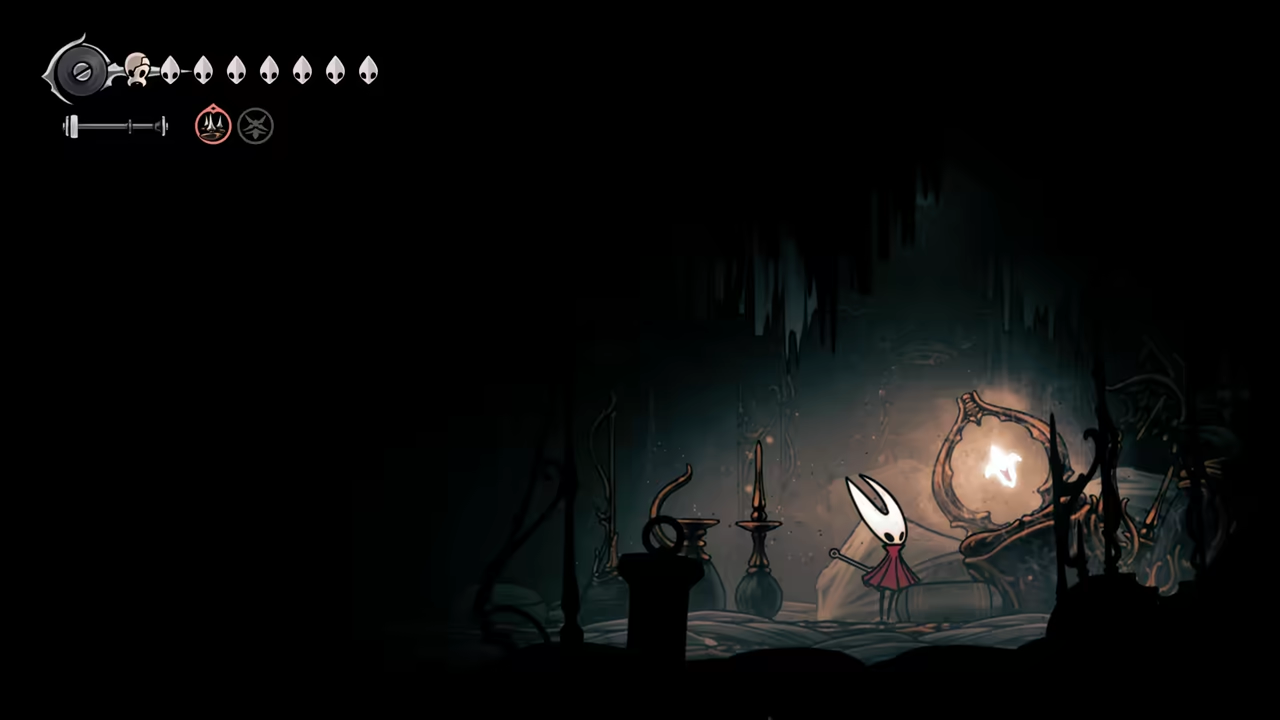
Section titled “Find the Spool Fragment”We’ll start the first section of the Citadel cleanup with a quick visit to Cogwork. At the bottom right, access a room with one more Spool Fragment guarded by a robot. You don’t need to fight it.
-
Get the Second Melody
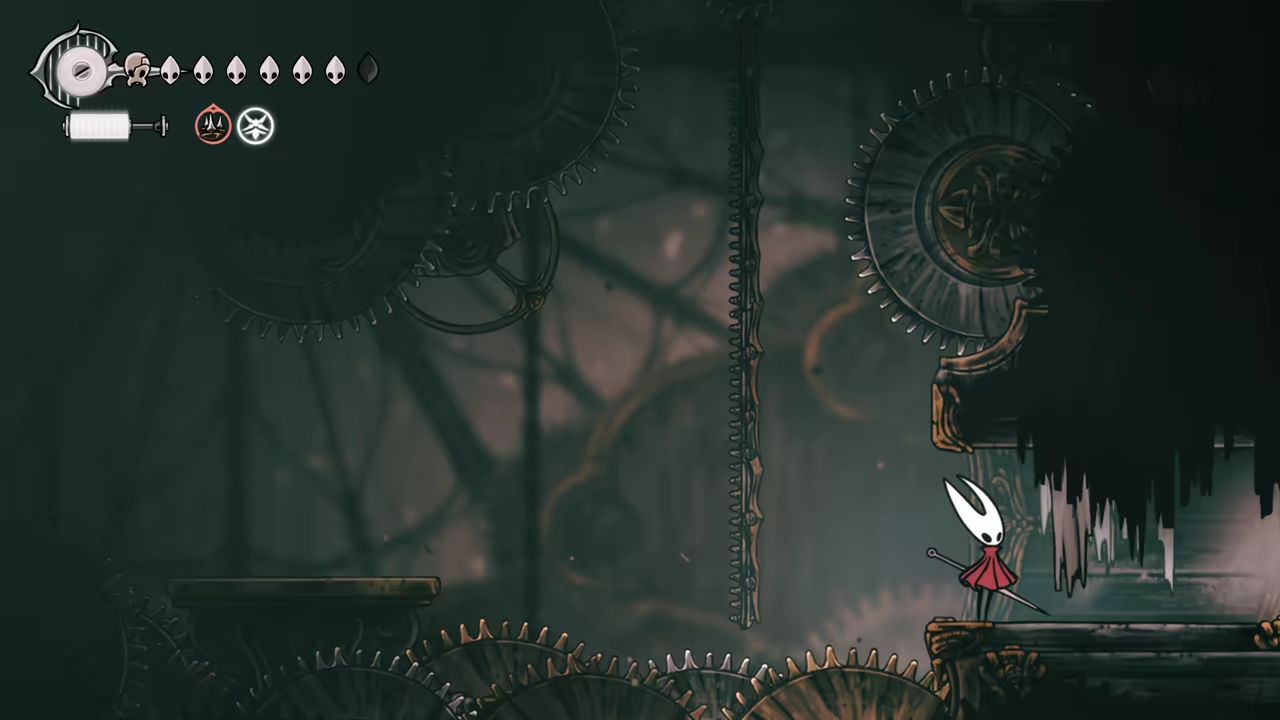
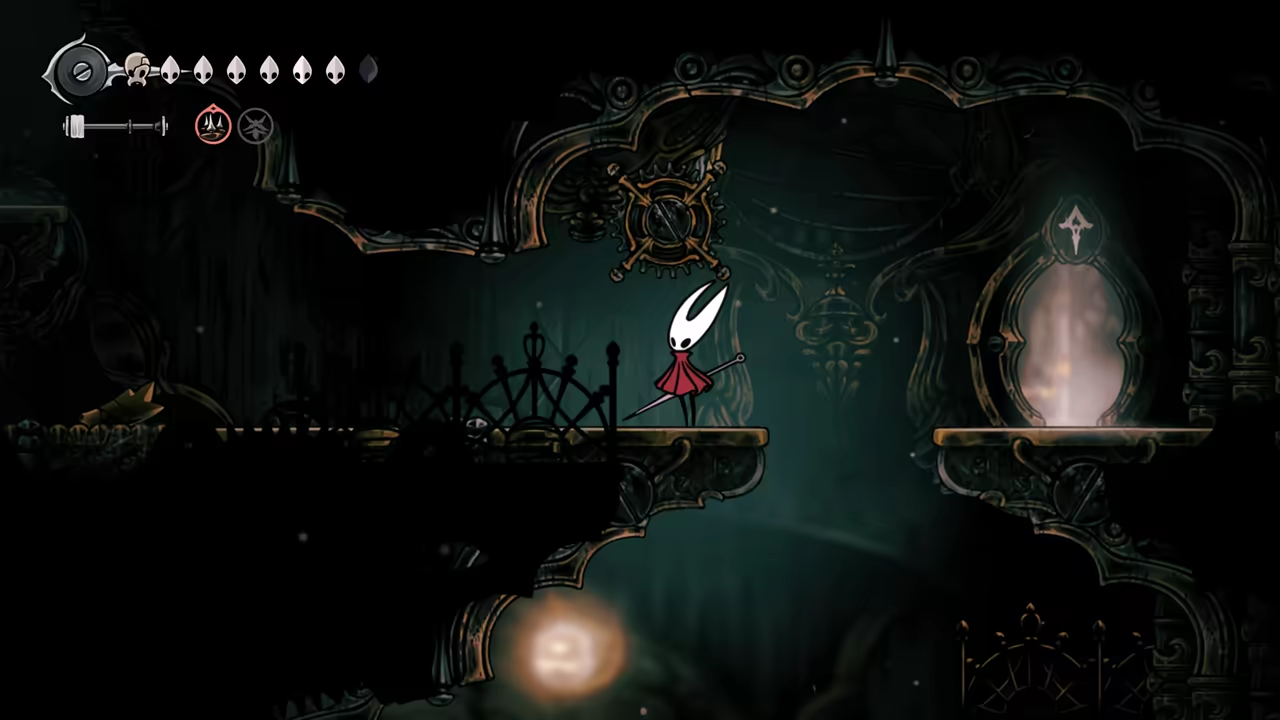
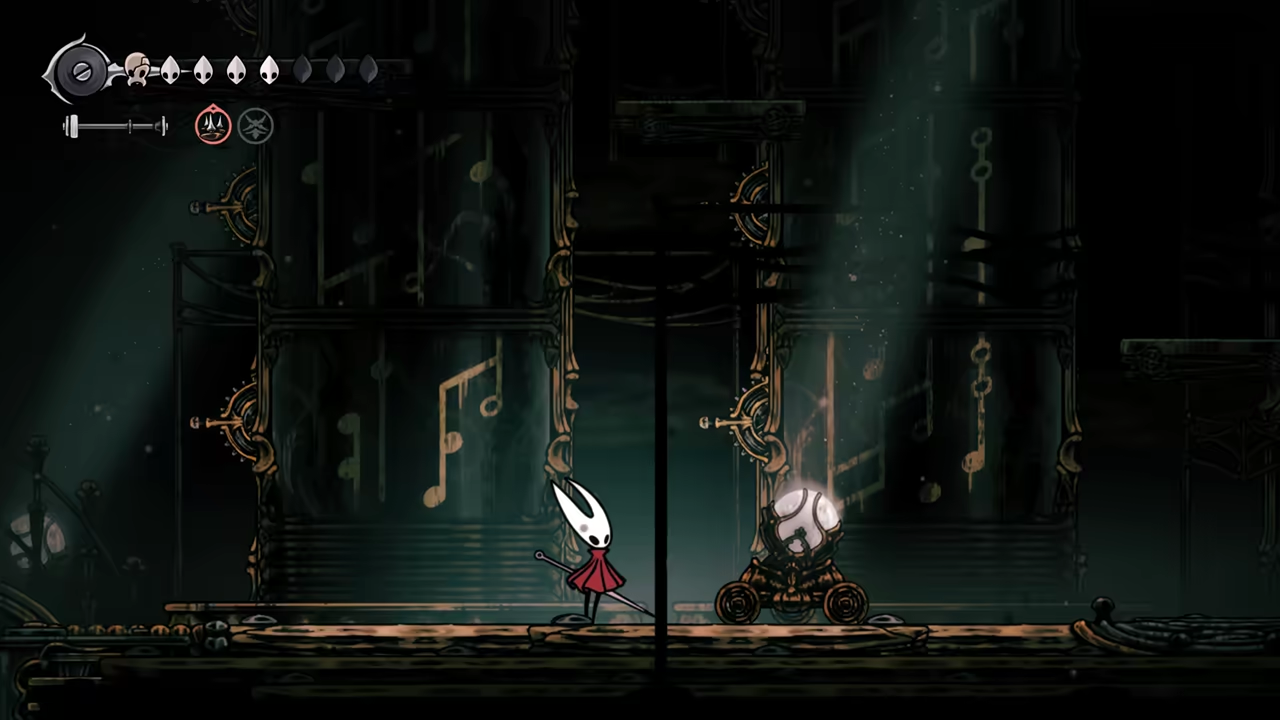
Section titled “Get the Second Melody”Next, climb to the top of Cogwork Core via the door on the top right. You can bypass the platforming challenge by using pogos, Faydown Cloak (double jumps), and Clawline (hooking) onto the cogs. Solve the puzzle to receive the second melody, Conductor’s Melody.
Left Choral Chambers & Courier Quest
Section titled “Left Choral Chambers & Courier Quest”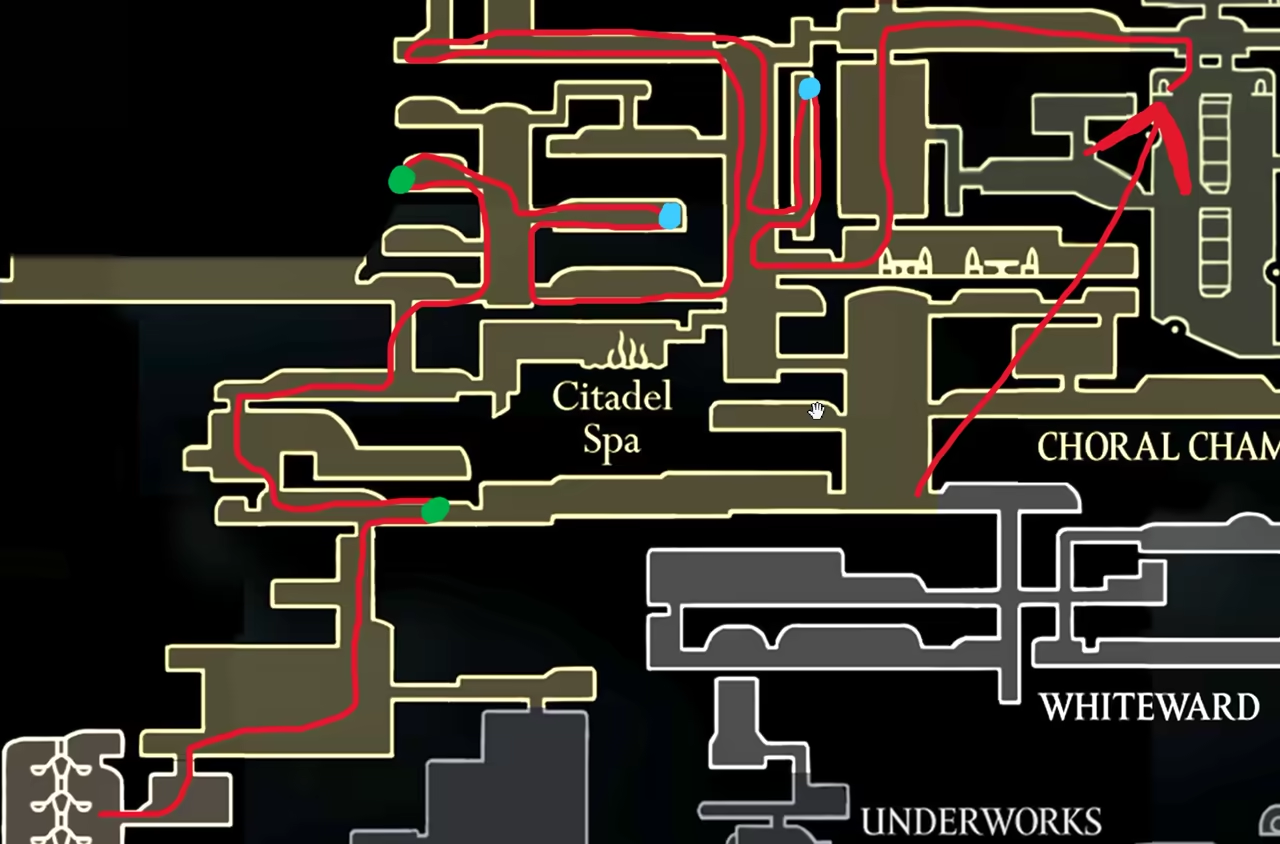
-
Find the First Flea
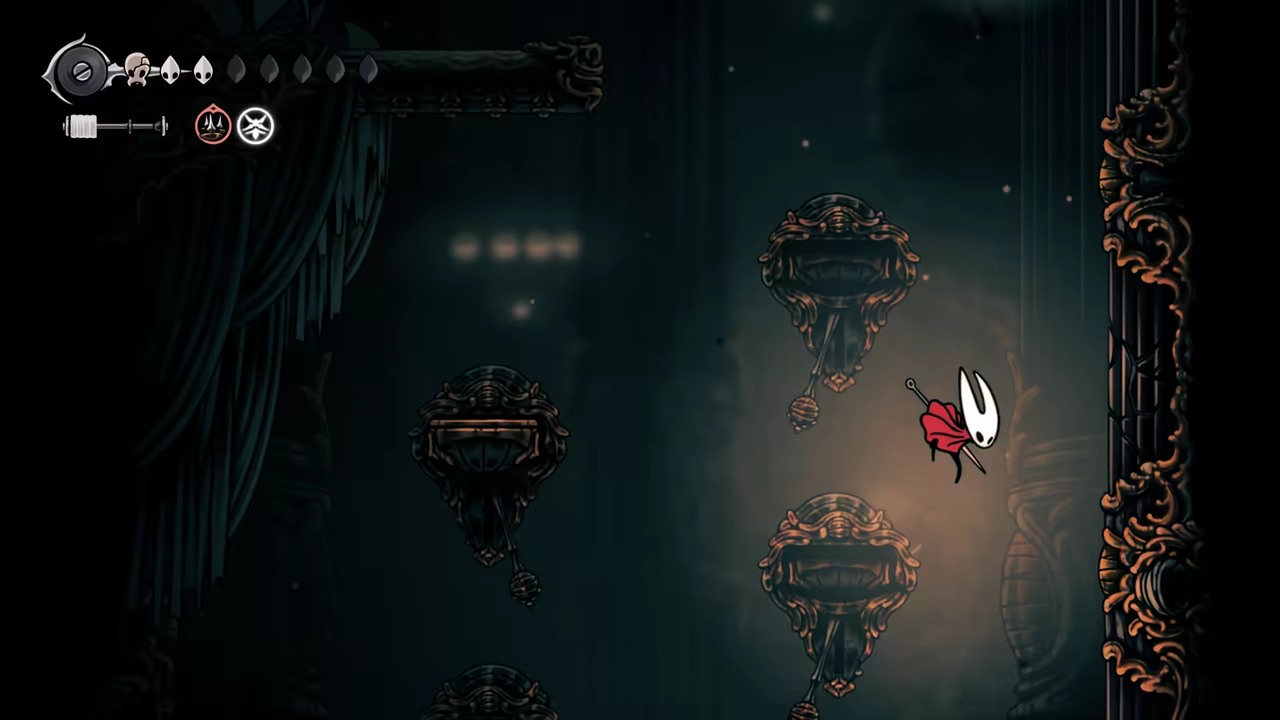
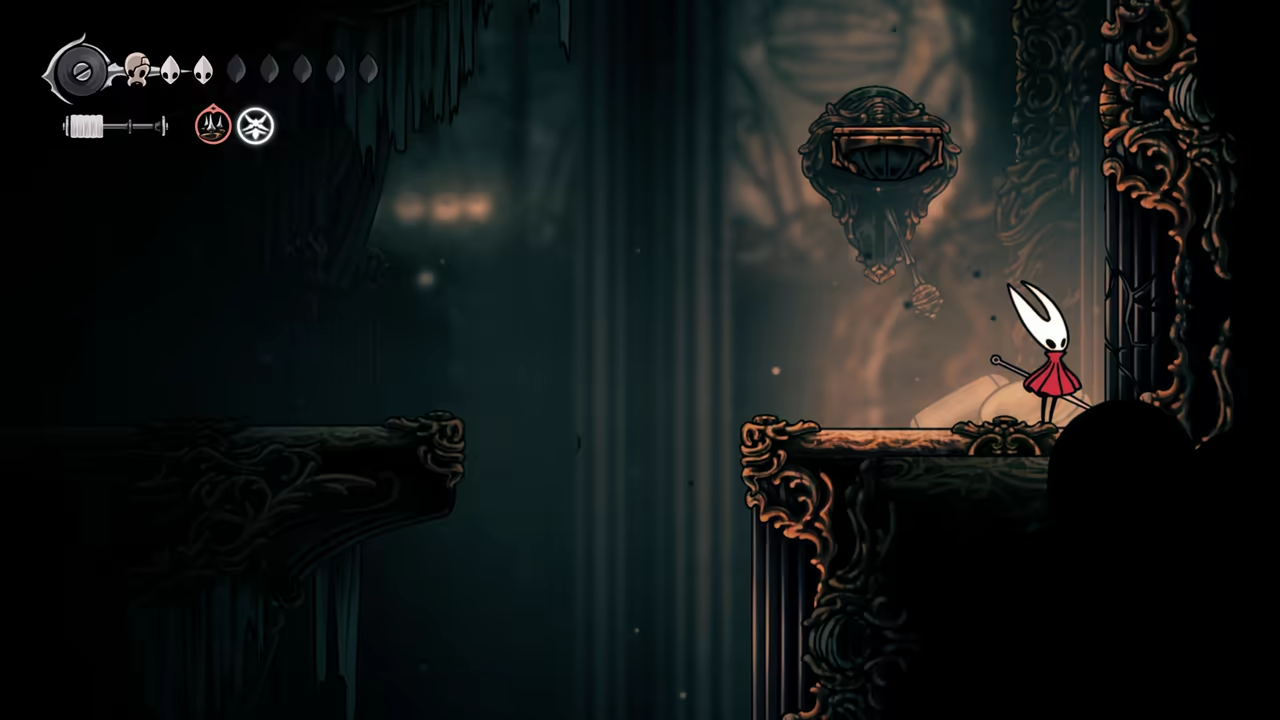
Section titled “Find the First Flea”From the bench at Cogwork, head left. The goal is to unlock passages for the Courier Meat delivery. After the dining room, in a tall corridor, break a wall to activate a vent, which will help you reach a flea hidden in a breakable wall above it.
-
Find the Second Flea & Cogheart
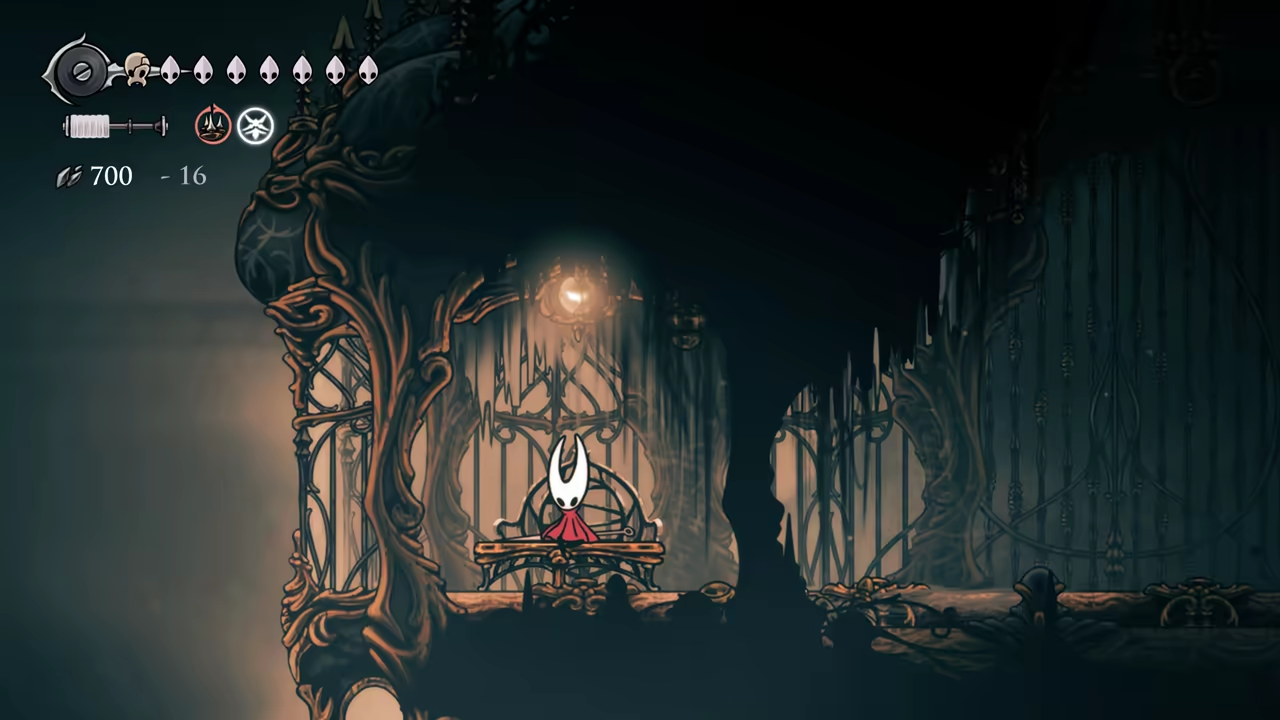
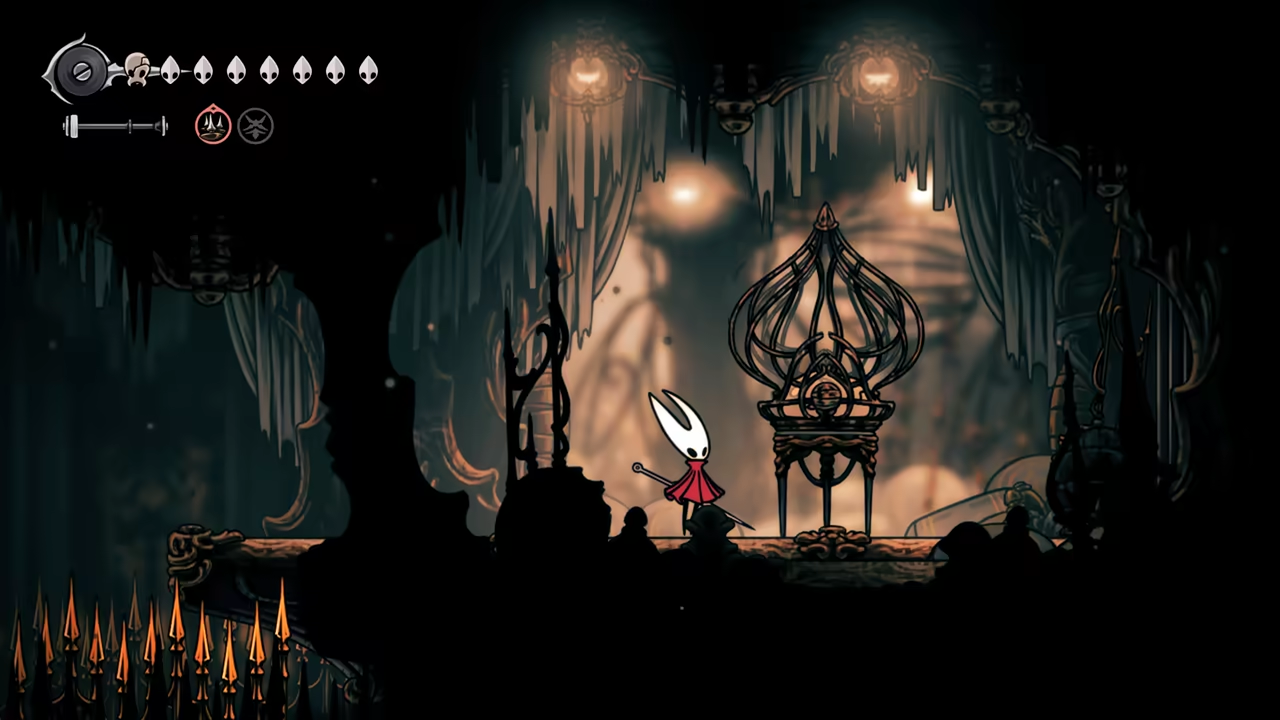
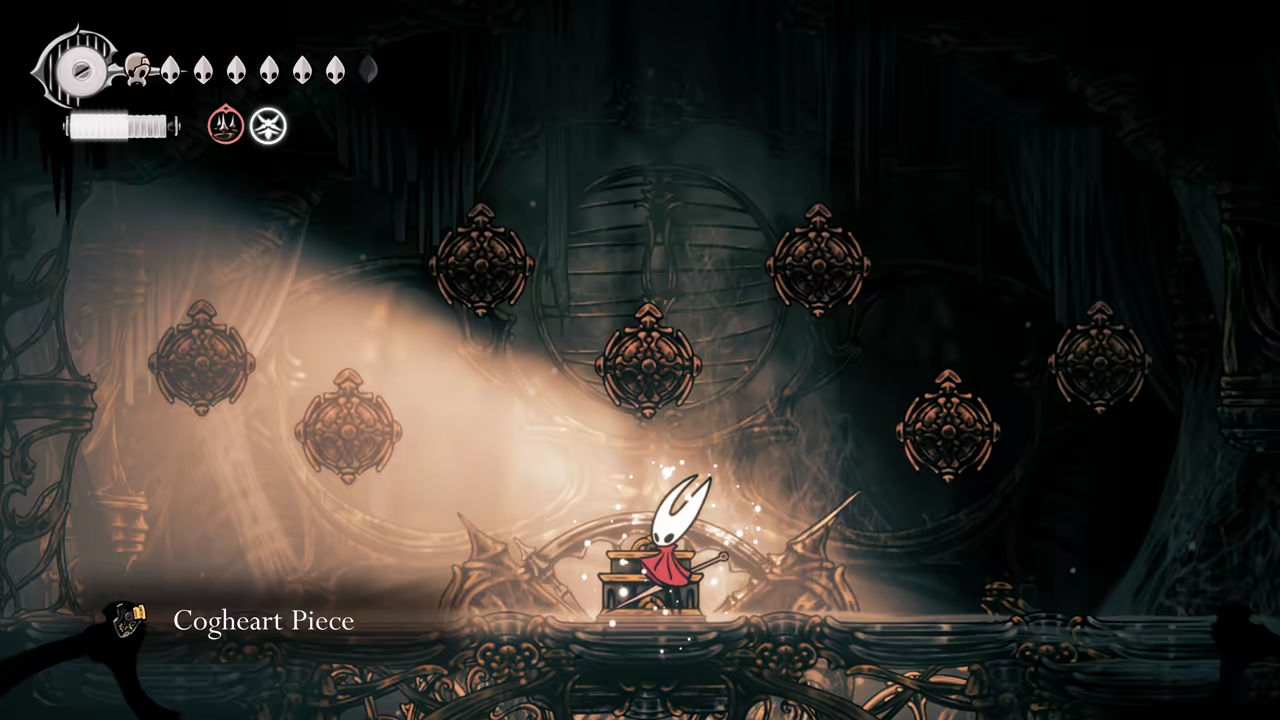
Section titled “Find the Second Flea & Cogheart”Head towards the top left, near the High Halls area, and use the bench as a save spot. Go back, climb down, and head left to another tall corridor. Access the room at the top right and rescue another flea. In the room to the left, you’ll find the second Cogheart.
-
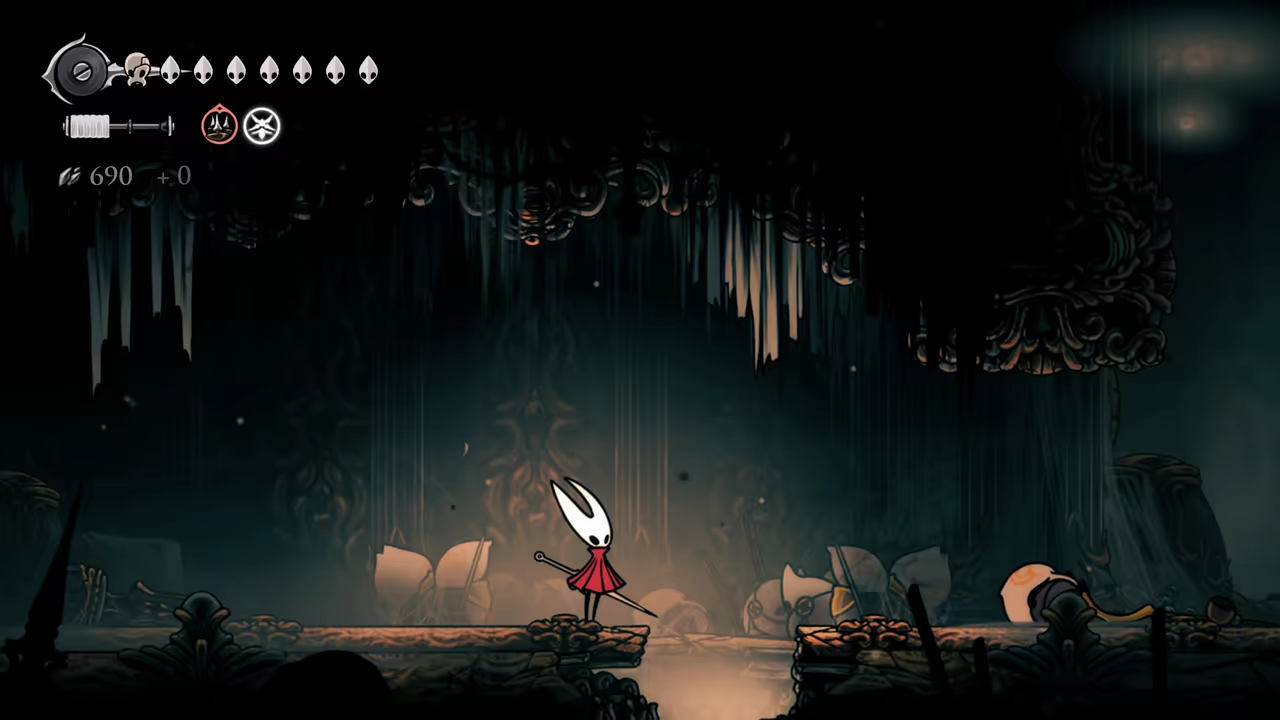
Get the Map
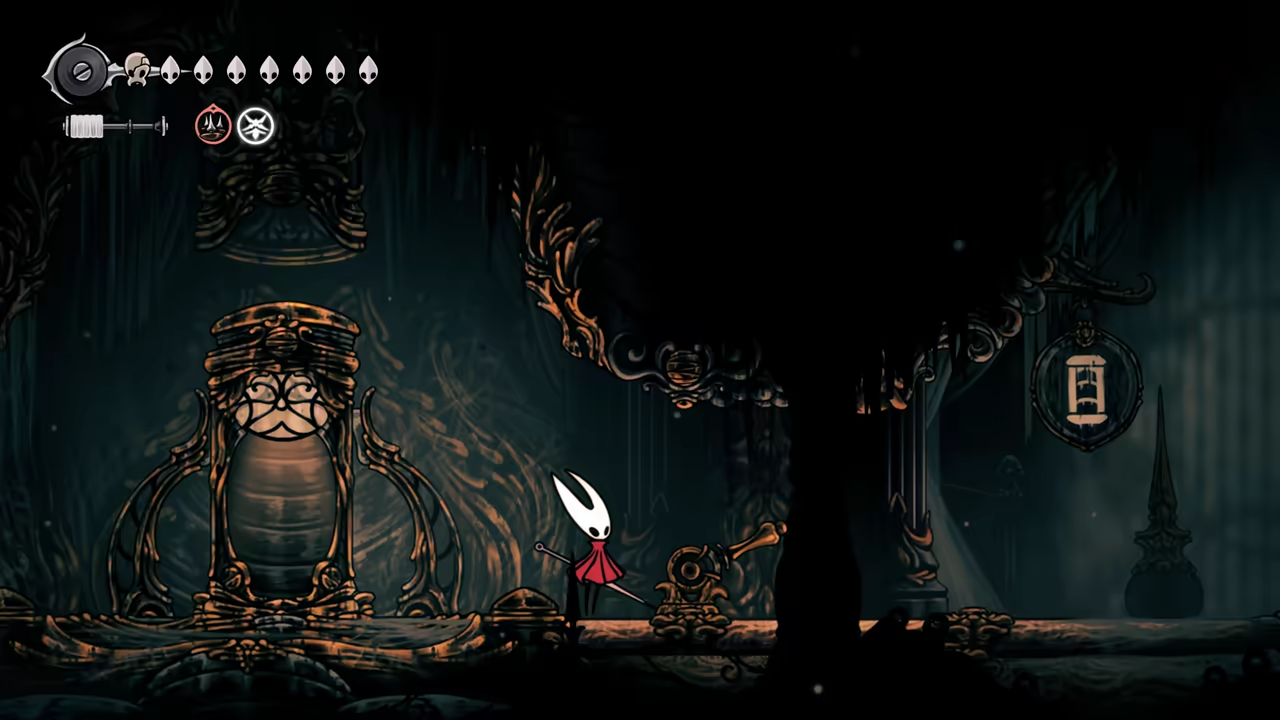
Section titled “Get the Map”Climb down towards the left, unlocking all shortcuts. Unlock the Ventrica Station and finally find the Choral Chambers map. Keep going down, breaking any walls or floors.
-
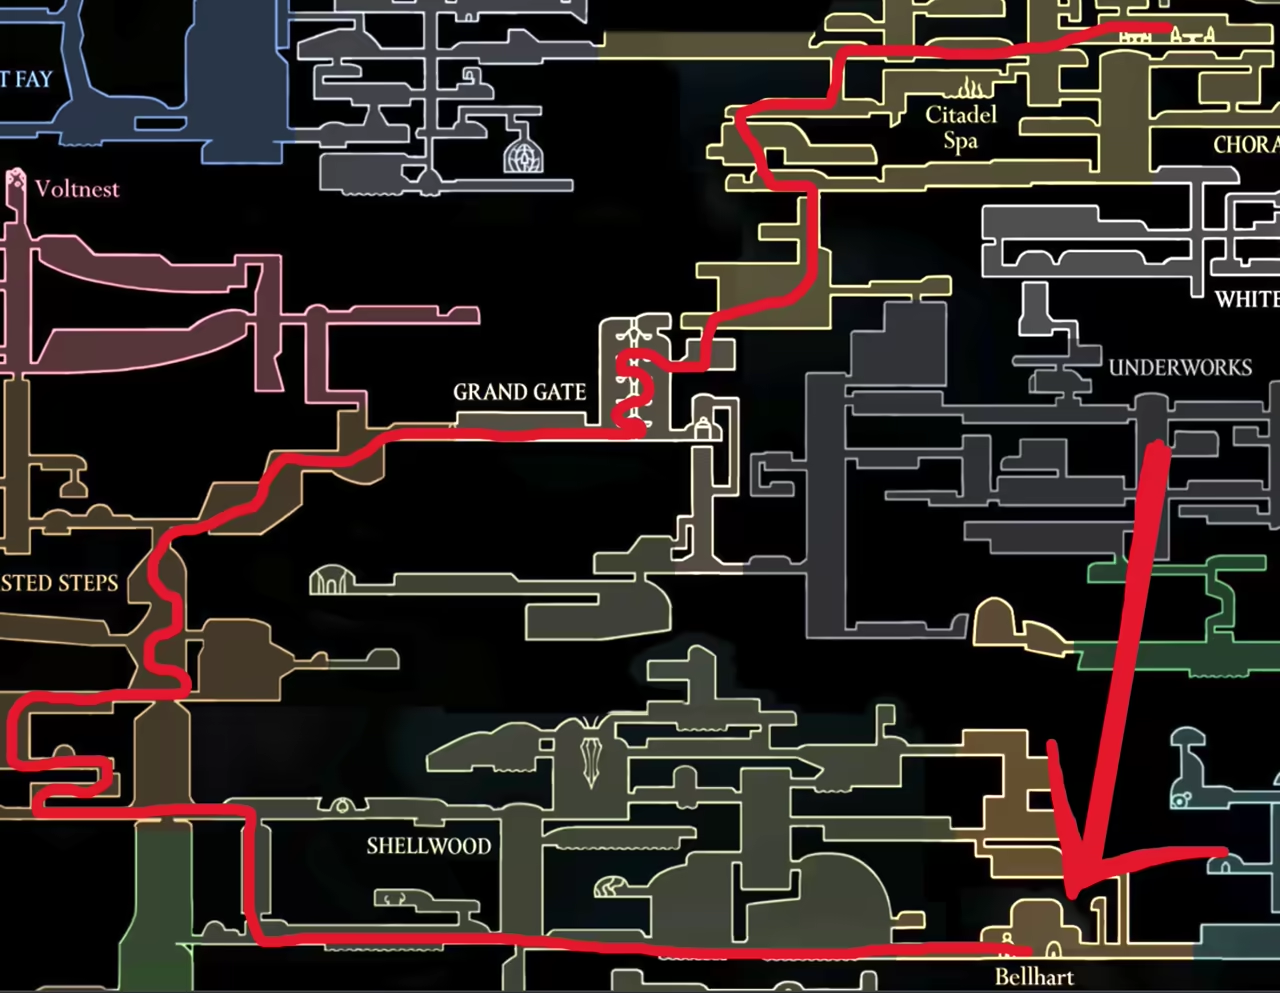
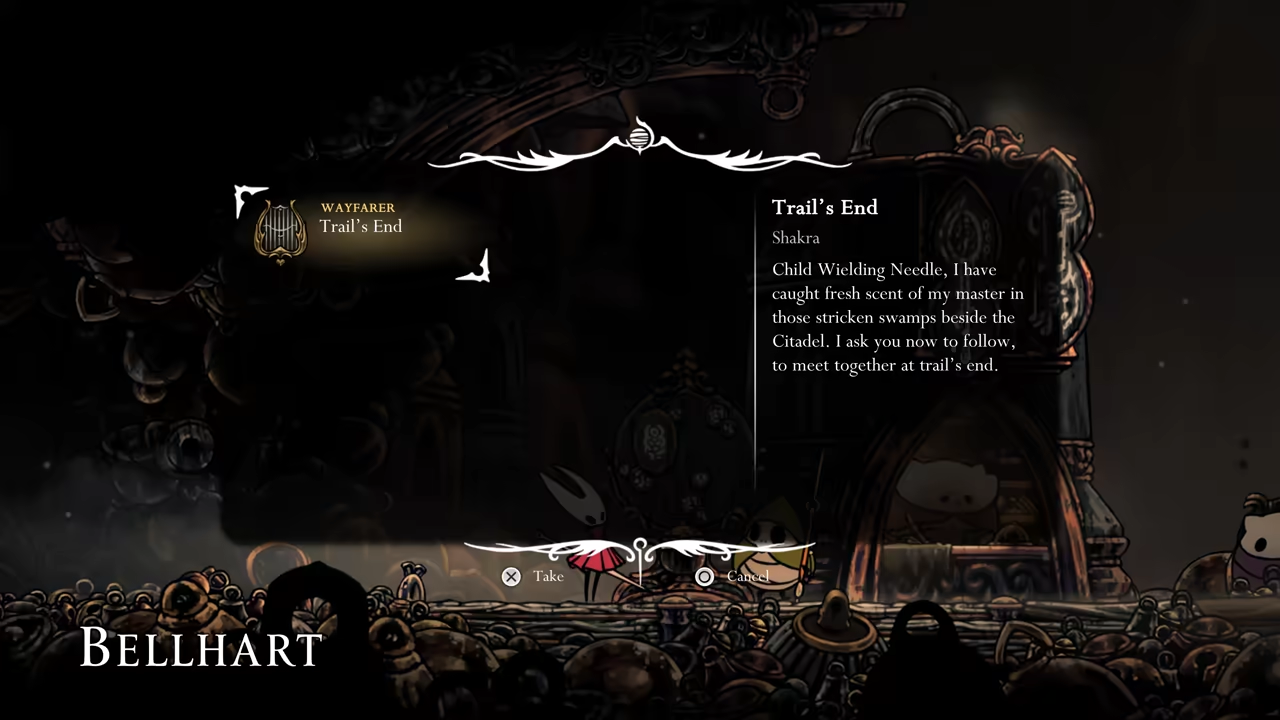
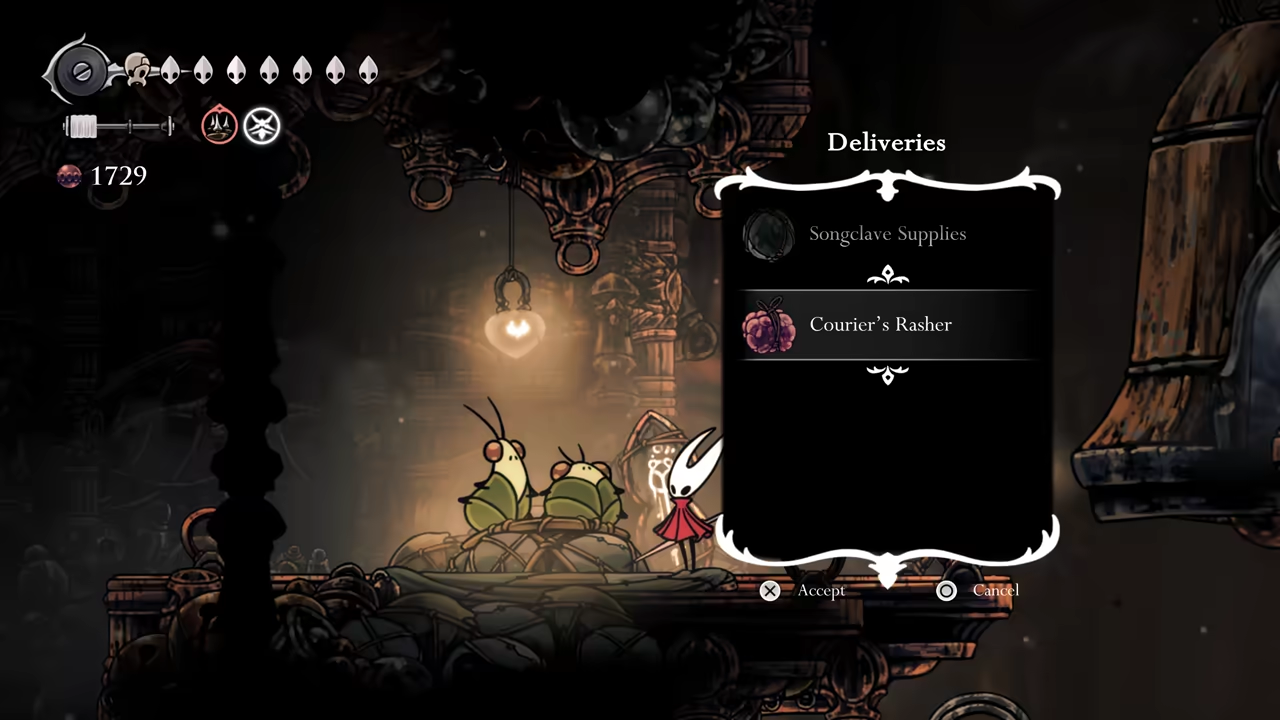
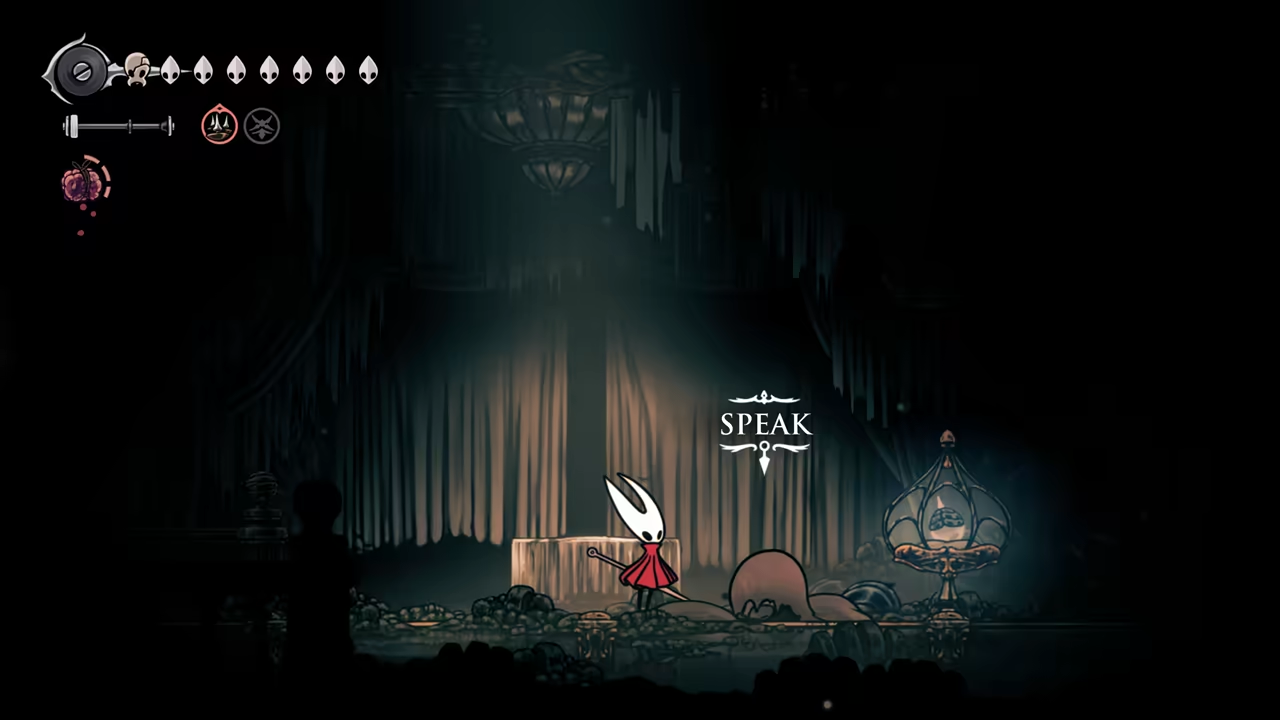
Complete the Courier’s Rasher Quest
Section titled “Complete the Courier’s Rasher Quest”Back at Bellhart, accept the Shakra quest (Trail’s End) now that we have all her maps. Talk to the courier friends to start the Courier’s Rasher course. The delivery is easy with Faydown Cloak (double jump). Finish the quest to get Pale Oil.
-
Final Nail Upgrade
Section titled “Final Nail Upgrade”Save and quit to create a hard save at Bellhart, then go get your next Nail upgrade.
100% High Halls
Section titled “100% High Halls”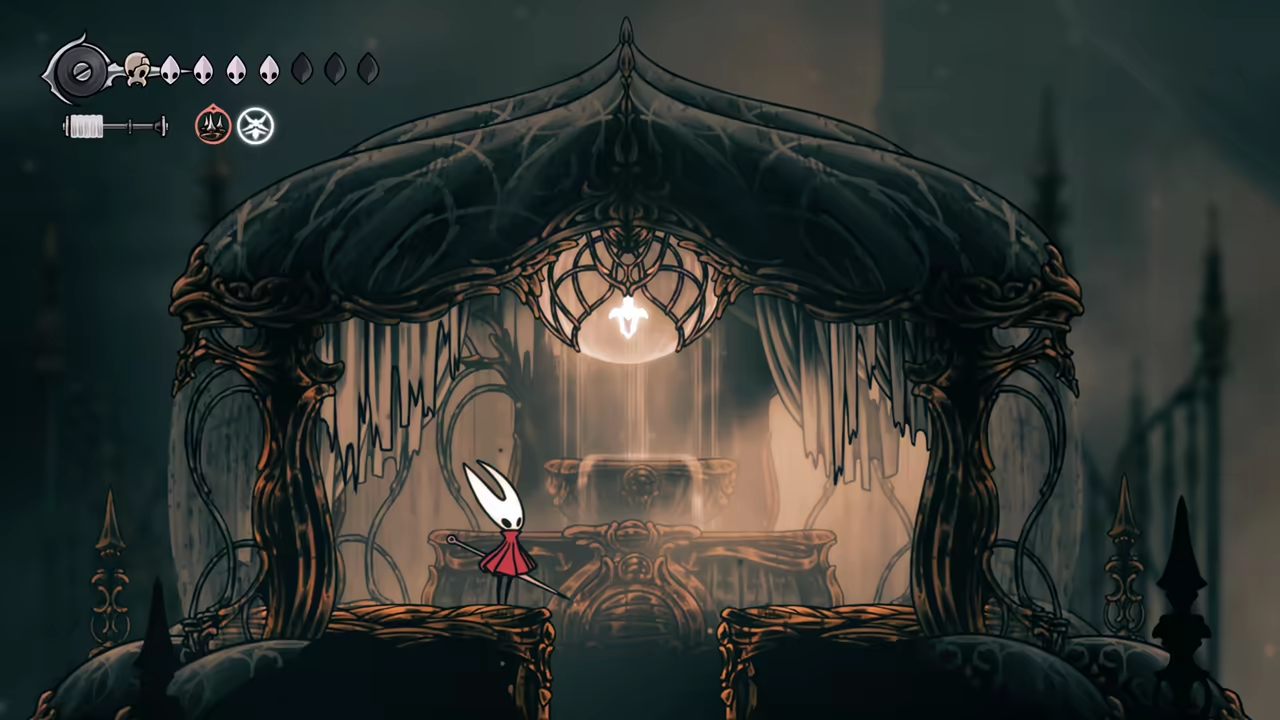
Key Items
- Spool Fragment
- Cogfly (Tool)
- Map
- Rosaries
- Rosary Cannon
Bosses
Quests
- Conductor's Melody
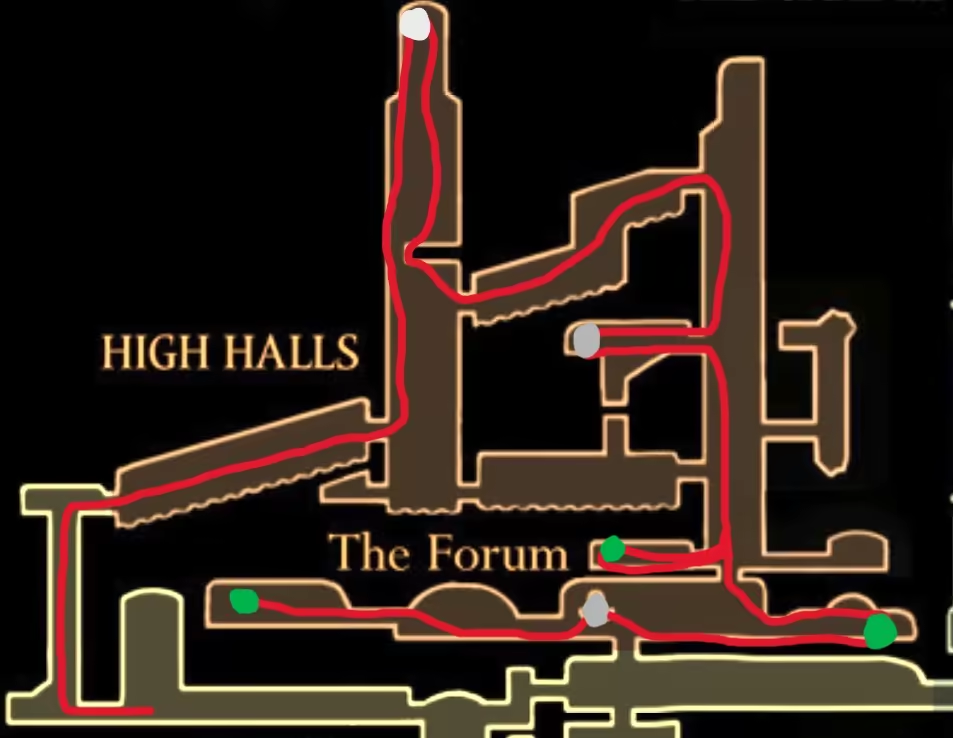
Back in the Citadel, head all the way back to the High Halls bench—we’re finally going to start climbing this area.
-
Find the Spool Fragment
Section titled “Find the Spool Fragment”As soon as you reach the area with the wheel, climb all the way to the top to find a Spool Fragment.
-
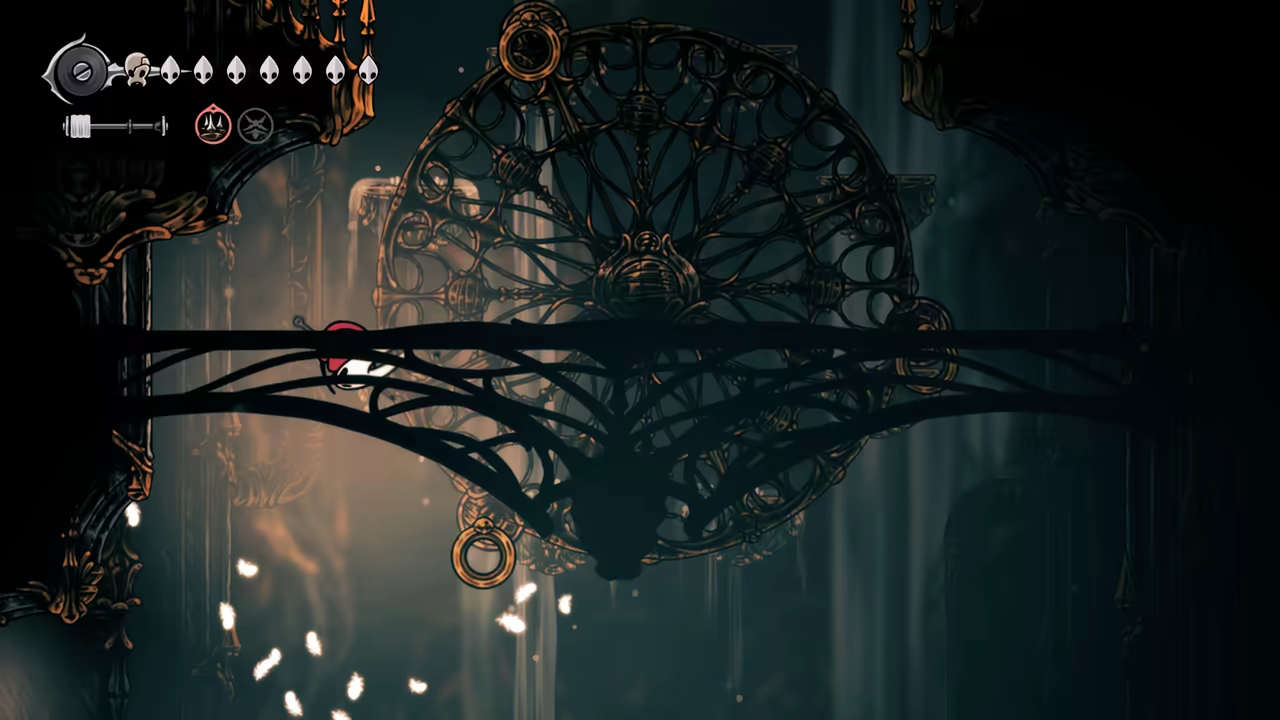
Get the Cogfly Tool
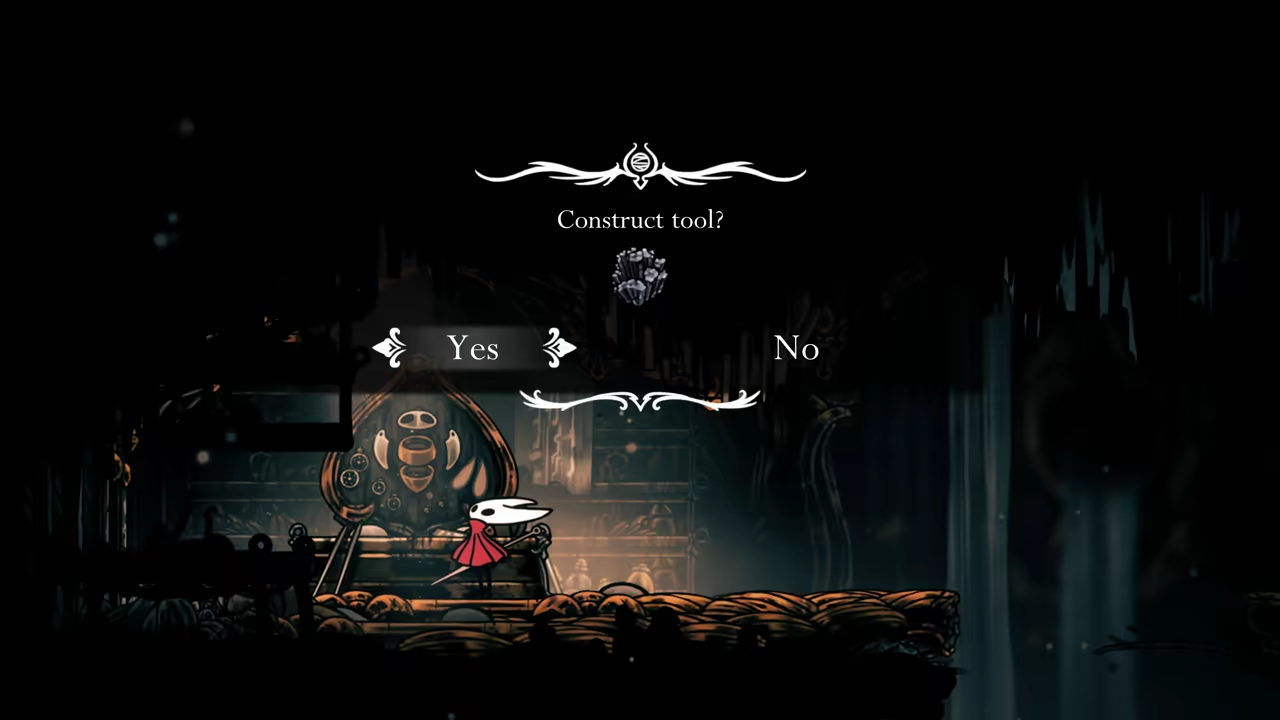
Section titled “Get the Cogfly Tool”Going back down, continue towards the right. Here you can access a room to the left with the Cogfly crafting station—this tool is definitely one of the coolest!
-
Solve the Cart Puzzles
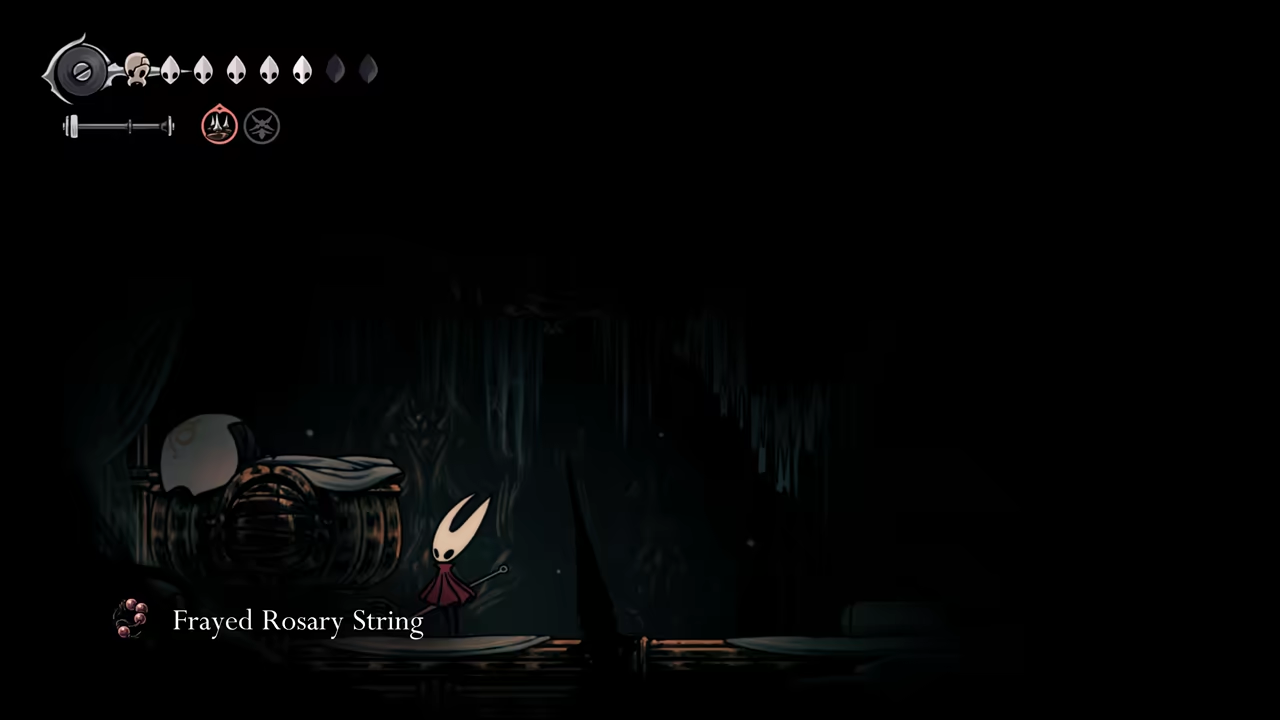
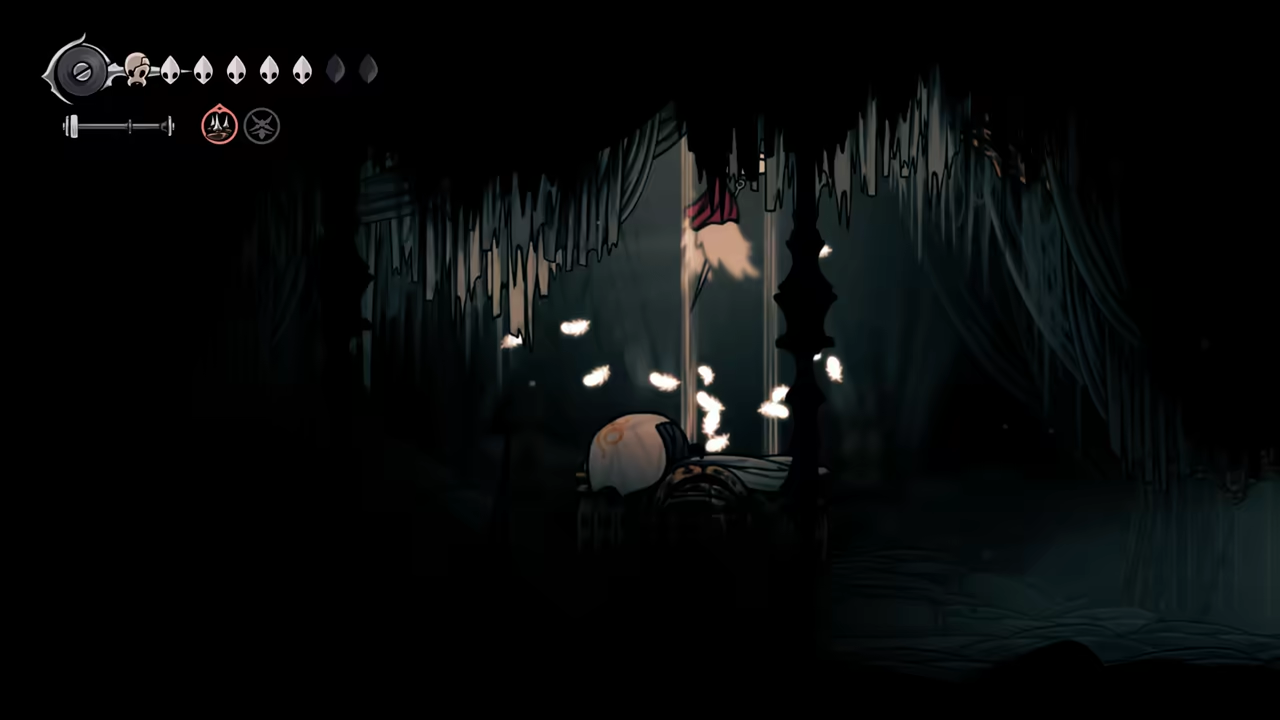
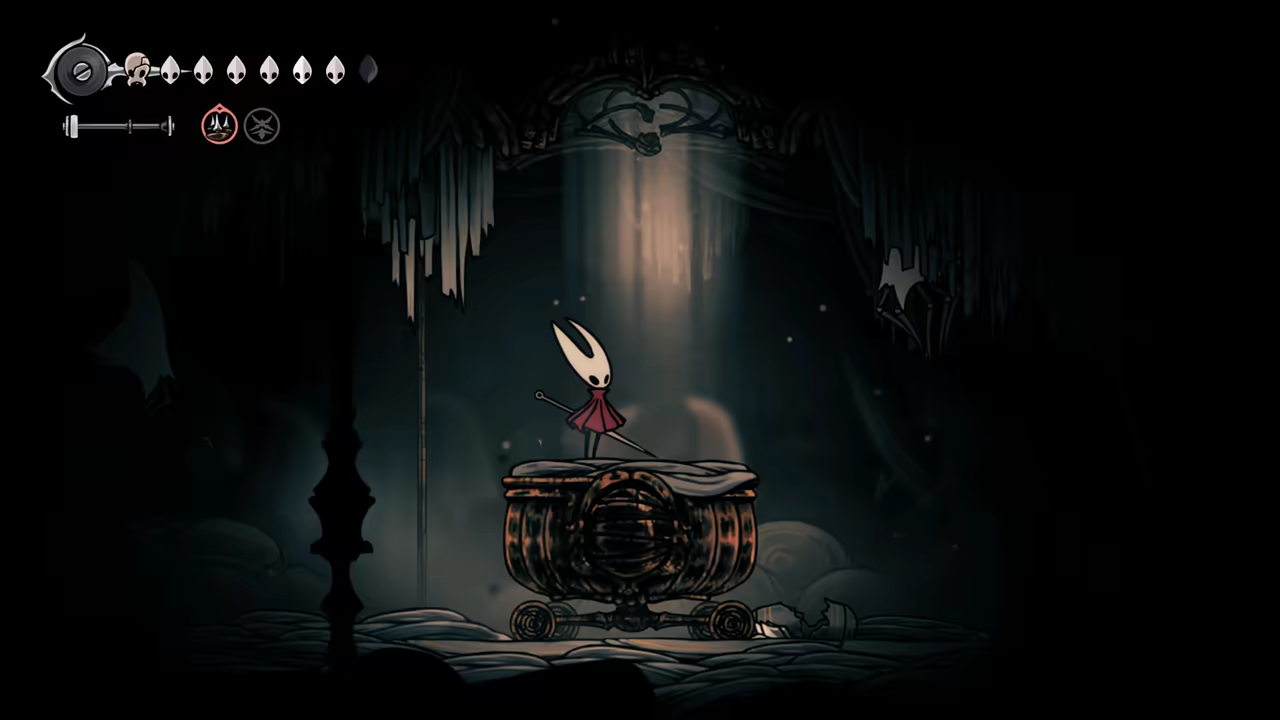
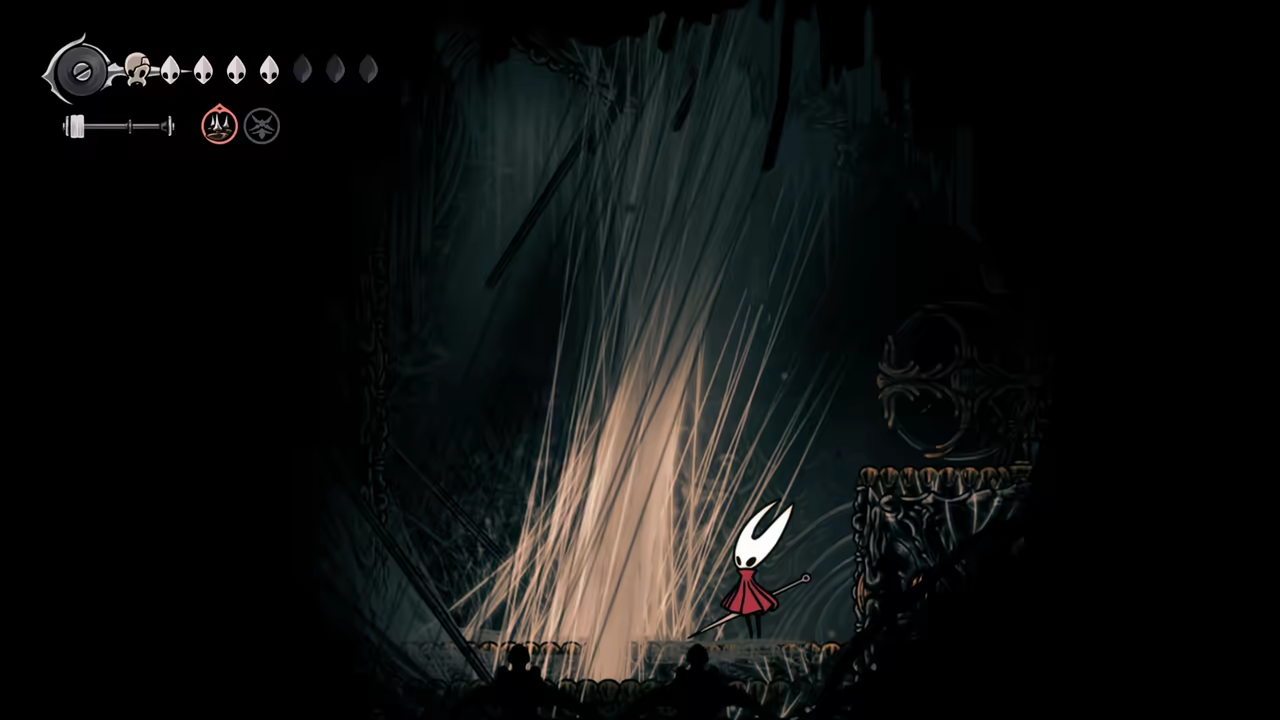
Section titled “Solve the Cart Puzzles”Go all the way down until you reach the bottom. In a strange room with a cart, hit it to move it. Perform a Faydown Cloak (double jump) to climb the next area. You’ll also need to move another cart to reach the top. Make sure to break the strings to disable the Clawmaidens’ spawn, which makes the upcoming fight much easier.
-
Coliseum Battle
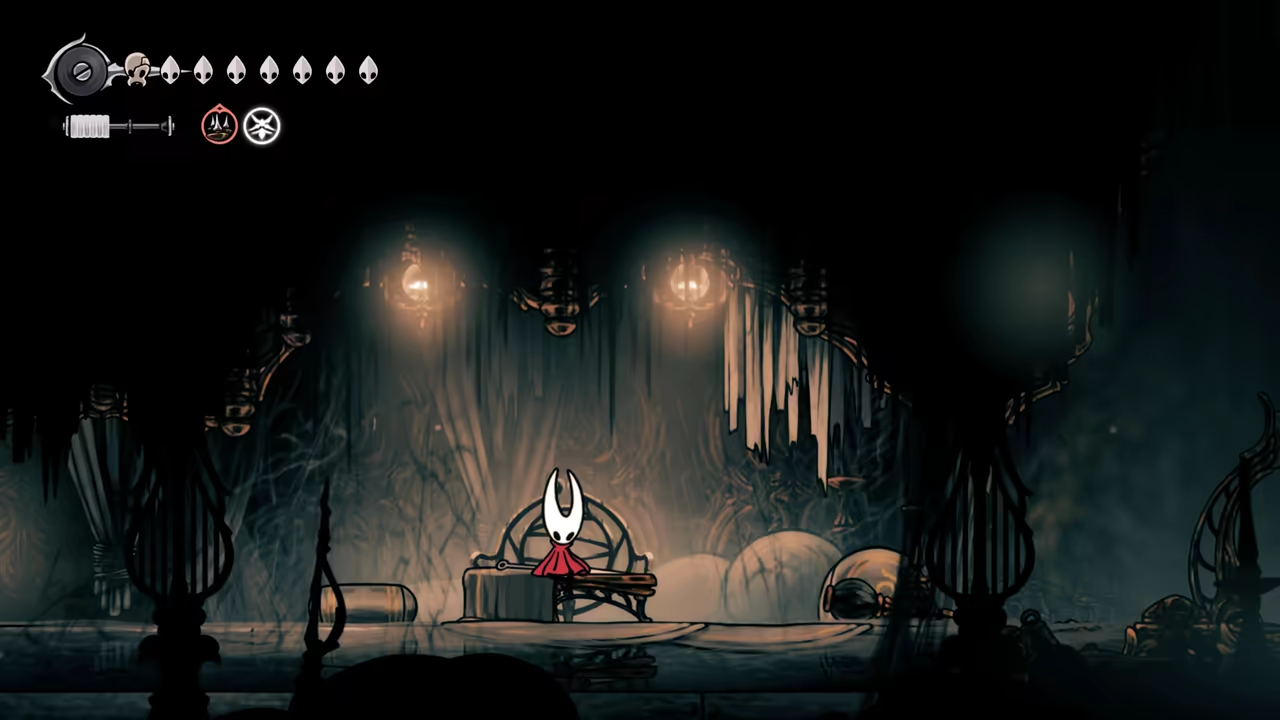
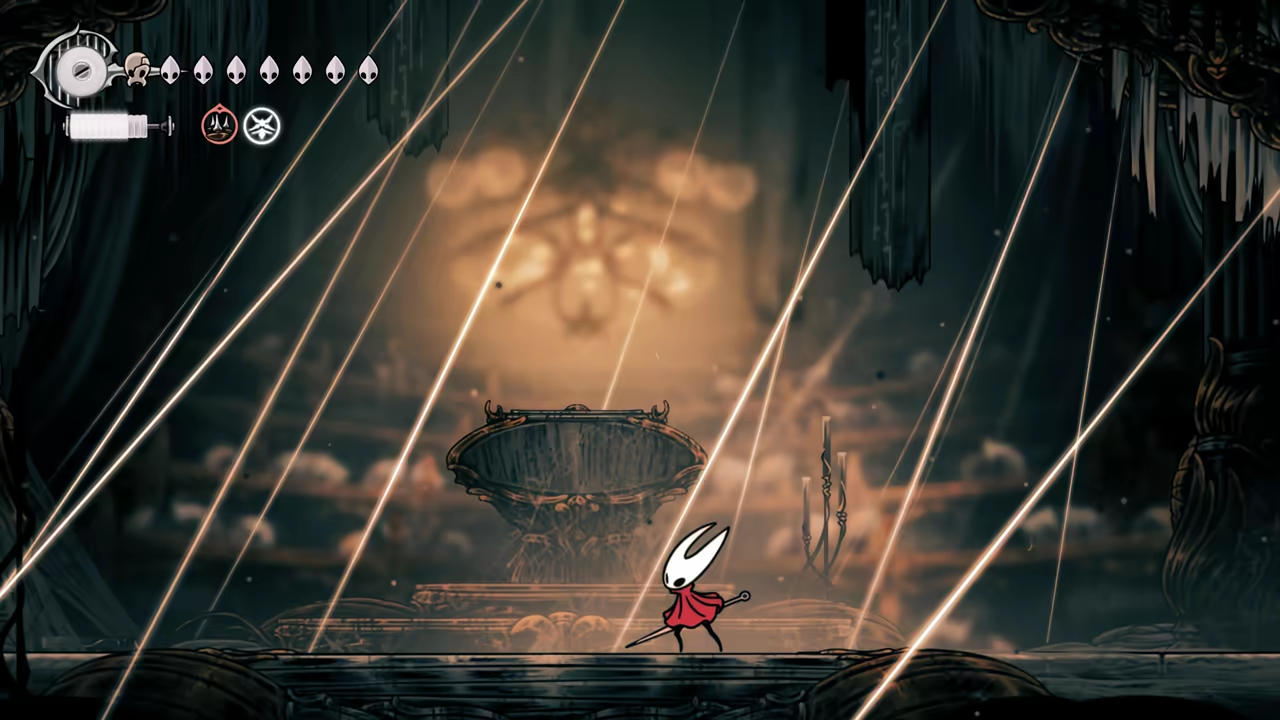
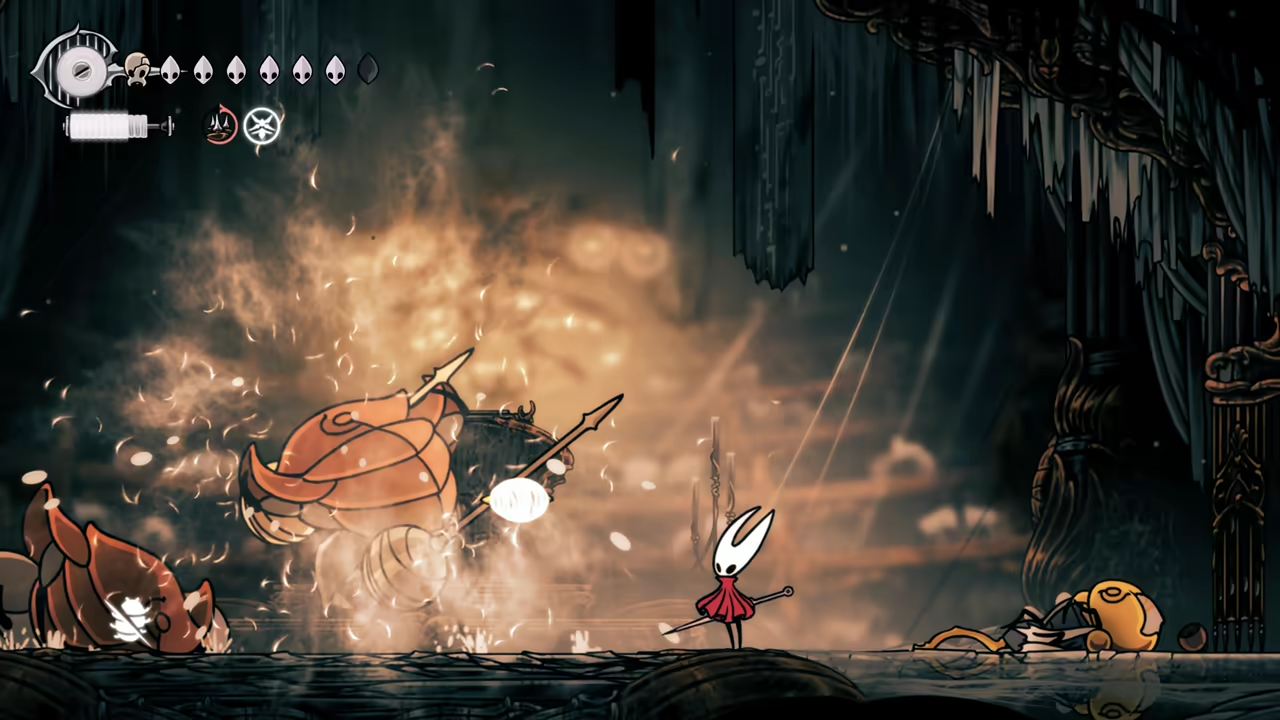
Section titled “Coliseum Battle”Going back down to the right, you’ll find a bench and the map of the area. Now for a fun coliseum battle against two big enemies. They attack one at a time, so it’s easy to dodge, and parrying makes the fight trivial.
-
Find the Rosary Cannon
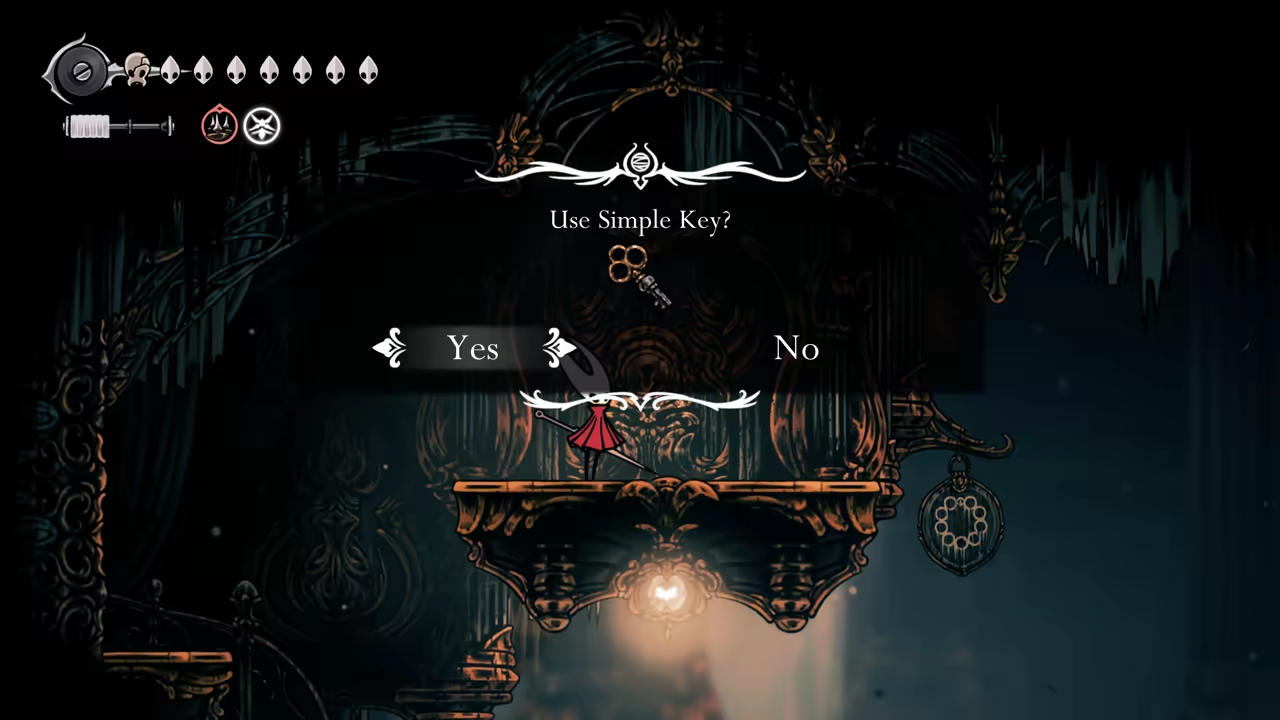
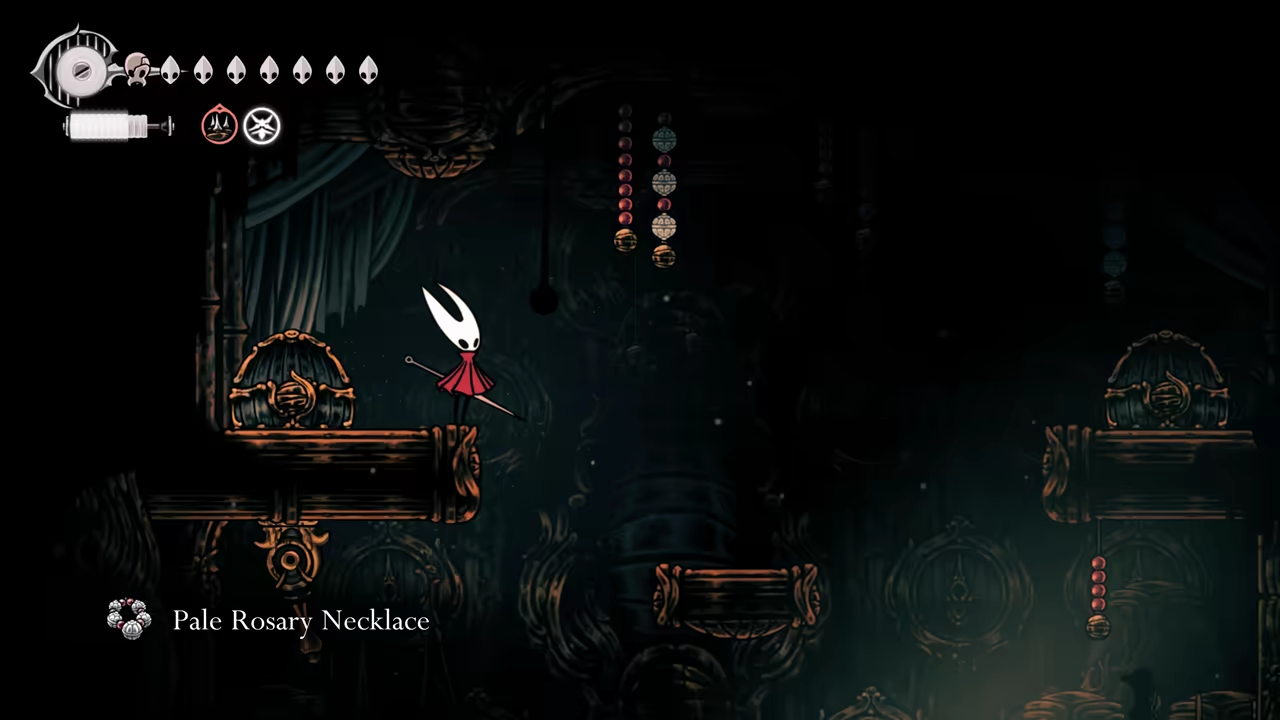
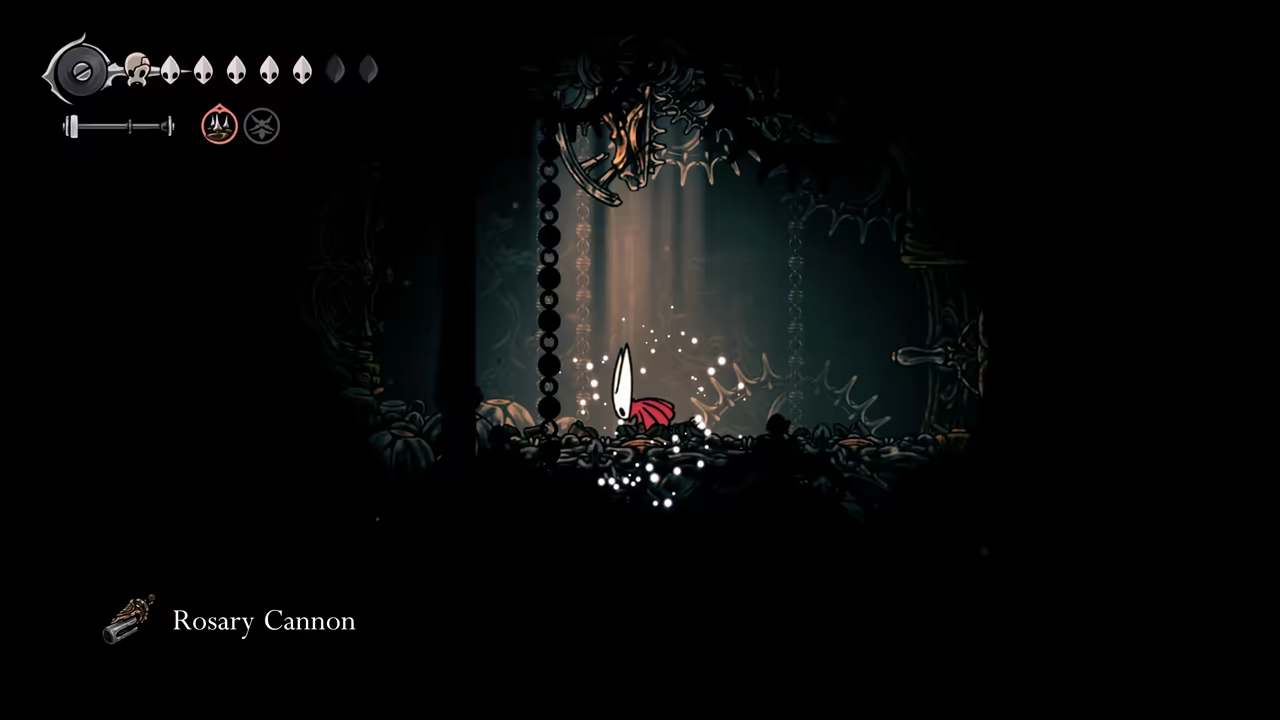
Section titled “Find the Rosary Cannon”After the battle, use the simple key to access the door. Inside, you’ll find a bunch of rosaries. Hidden behind one of the walls is the Rosary Cannon.
-
Get the Final Melody
Section titled “Get the Final Melody”Grab the Conductor’s Melody, and we’re done here.
100% Whiteward
Section titled “100% Whiteward”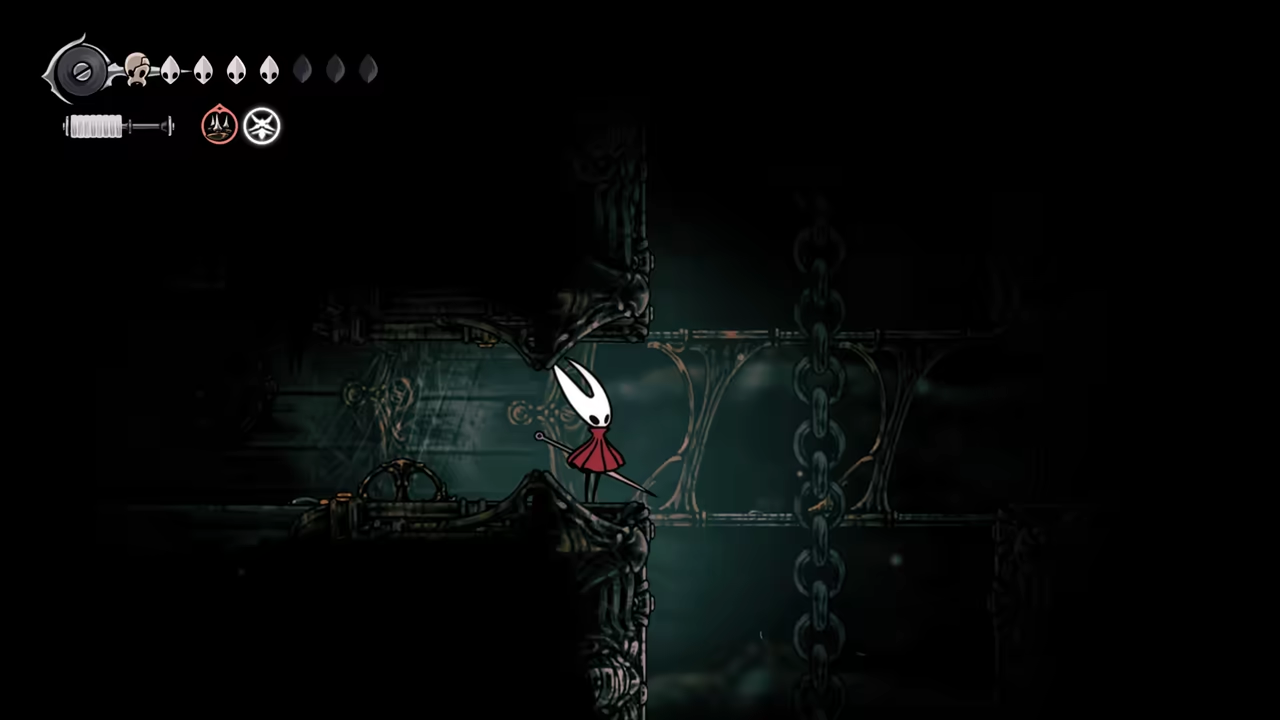
Key Items
- Spool Fragment (x2)
- Map
- Injector Band
- Surgeon Key
- Silk Heart
- Spool Extender
- Ascendant's Grip
- Mask Shard
Bosses
Quests
- Sherma's Quest
- Jubilana's Quest
NPCs
- Sherma
- Jubilana
Connects To
- Songclave
Use the fast travel and visit Songclave if you haven’t received the Sherma quest yet—it should be available now. Here is the route:
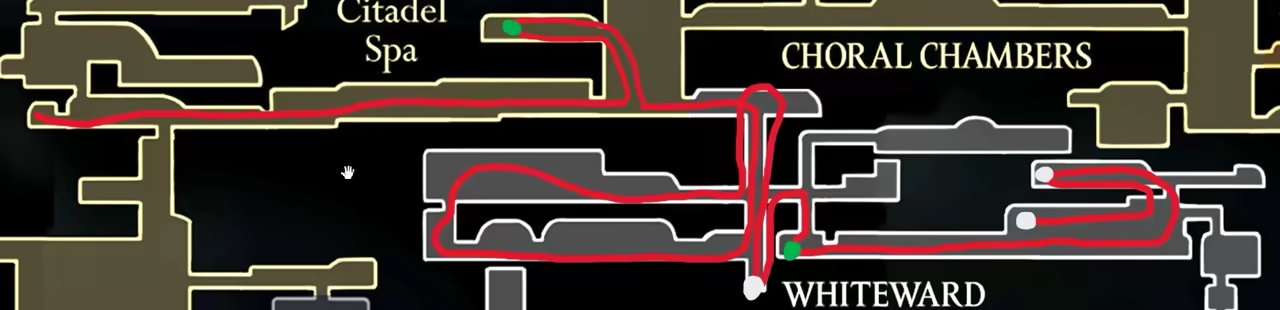
-
Enter Whiteward & Find First Spool Fragment
Section titled “Enter Whiteward & Find First Spool Fragment”Fast travel to the Choral Chambers and head all the way to the right. Before entering Whiteward, you can find Jubilana (the Songclave merchant) in a room to the left. Then proceed towards Whiteward. You’ll need to take the elevator down and go around to the left to reach the top again. Call the elevator once more, but before it reaches the top, drop down one of the holes. At the bottom, you’ll find a Spool Fragment.
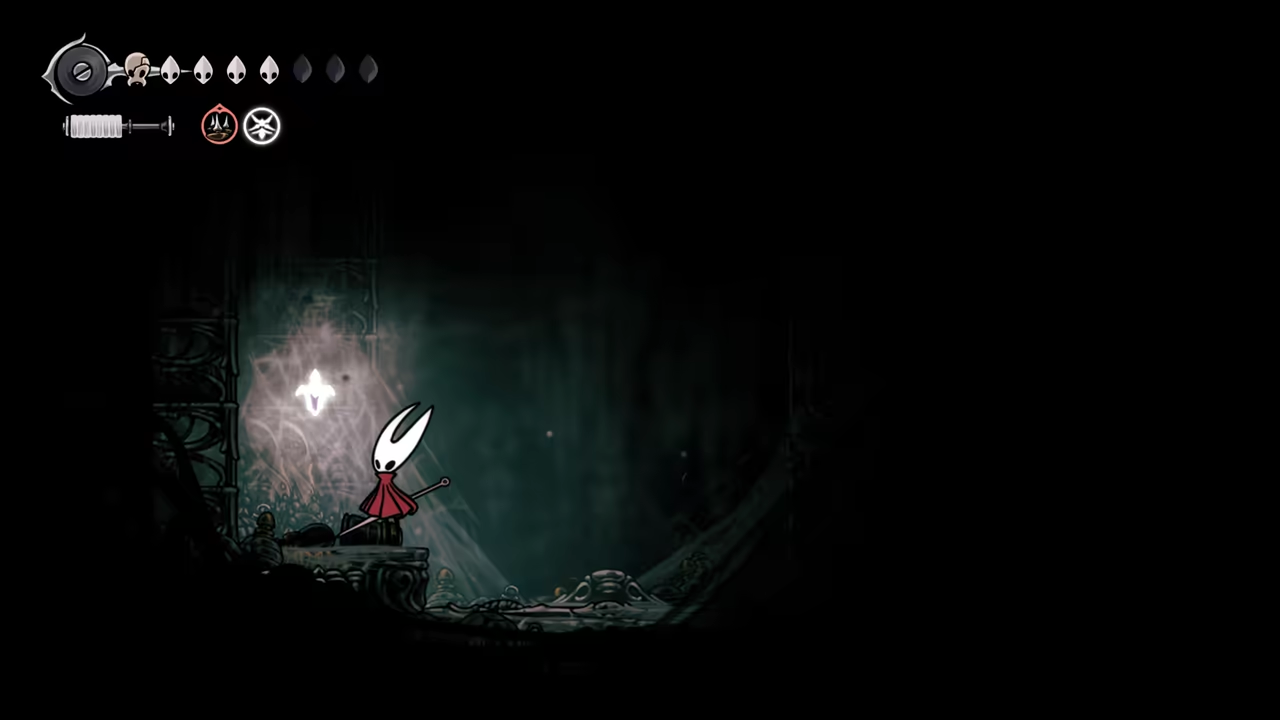
-
Get the Injector Band
Section titled “Get the Injector Band”Heading right, continue through the area. After finding the map, you’ll encounter some weird scissors-like bugs. Defeat them for rosaries (pogo makes this easy). Next, climb left where you’ll find the Injector Band.
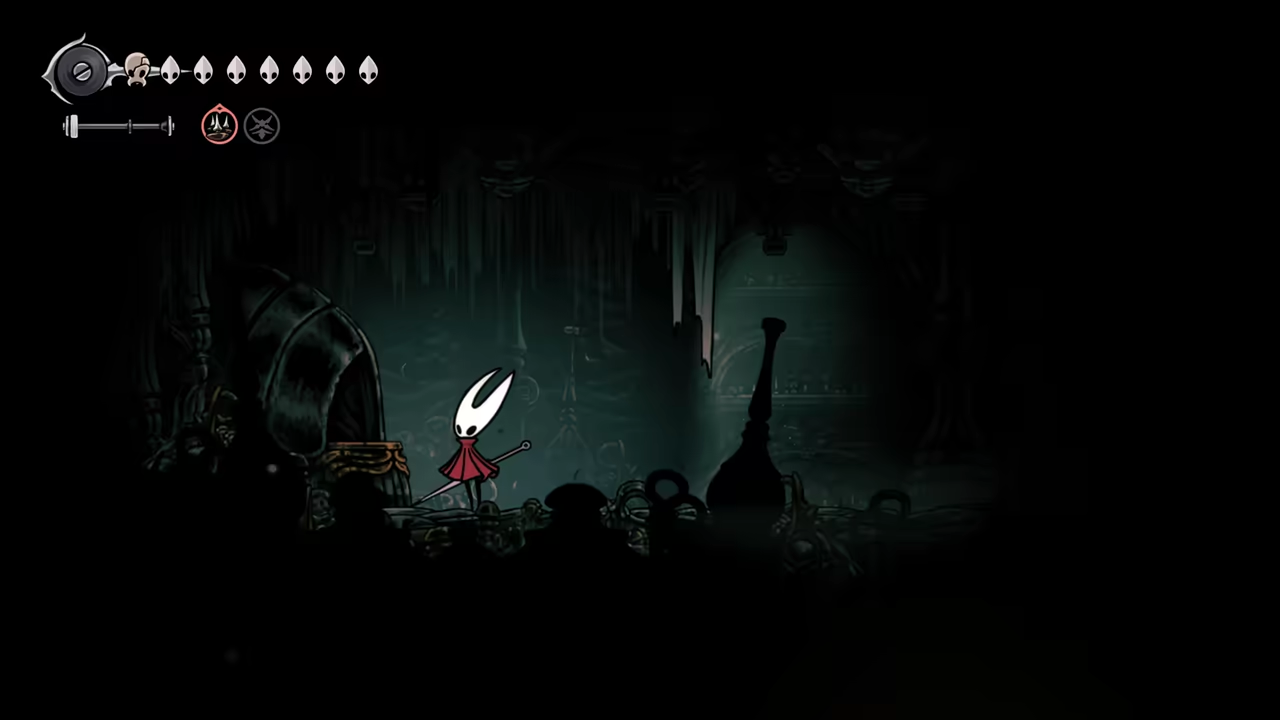
-
Rescue Sherma
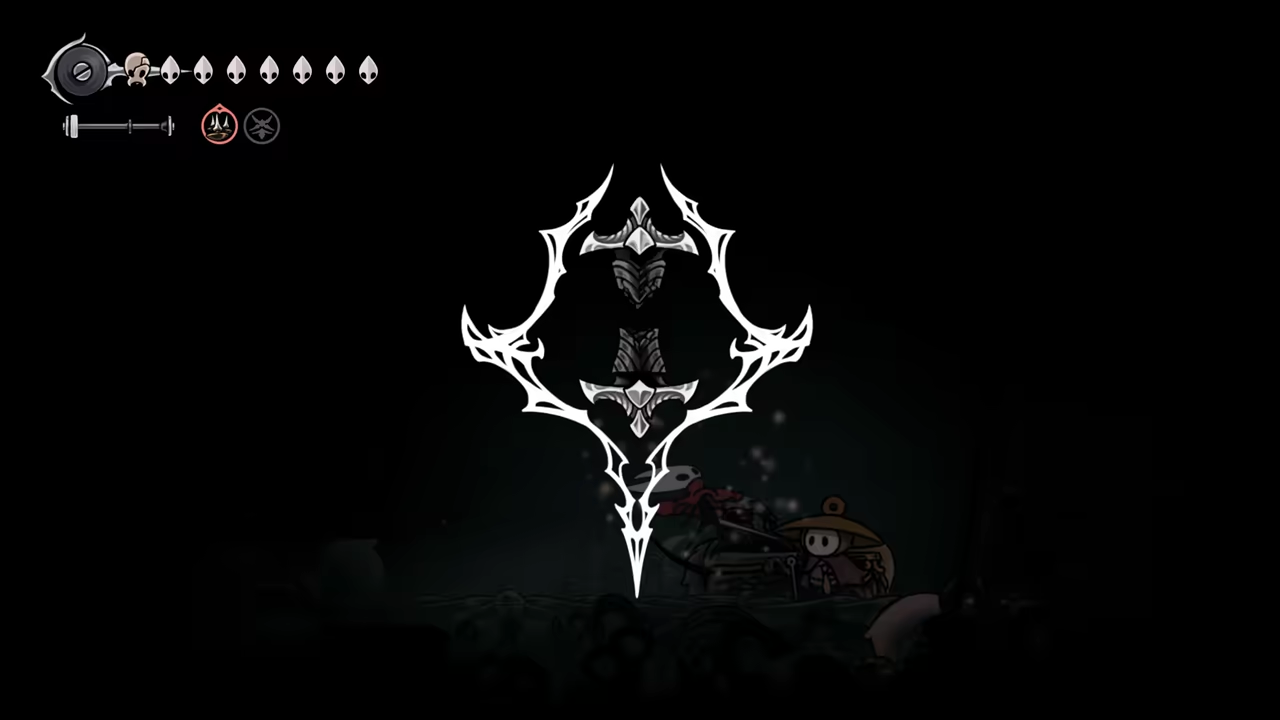
Section titled “Rescue Sherma”Enter the nearby door to find Sherma trapped behind a wall of wheelchairs. Talk to them to trigger an enemy arena. After defeating all enemies, Sherma will reward you with another Spool Fragment.
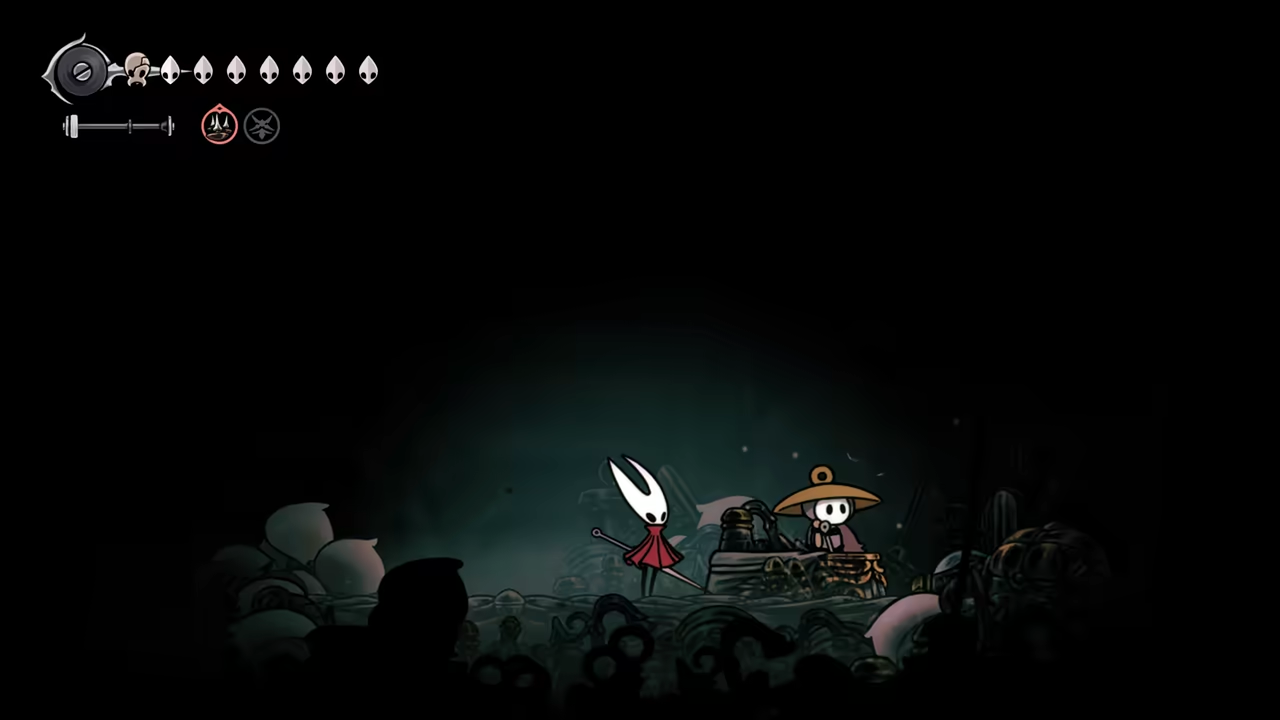
-
Find the Surgeon Key
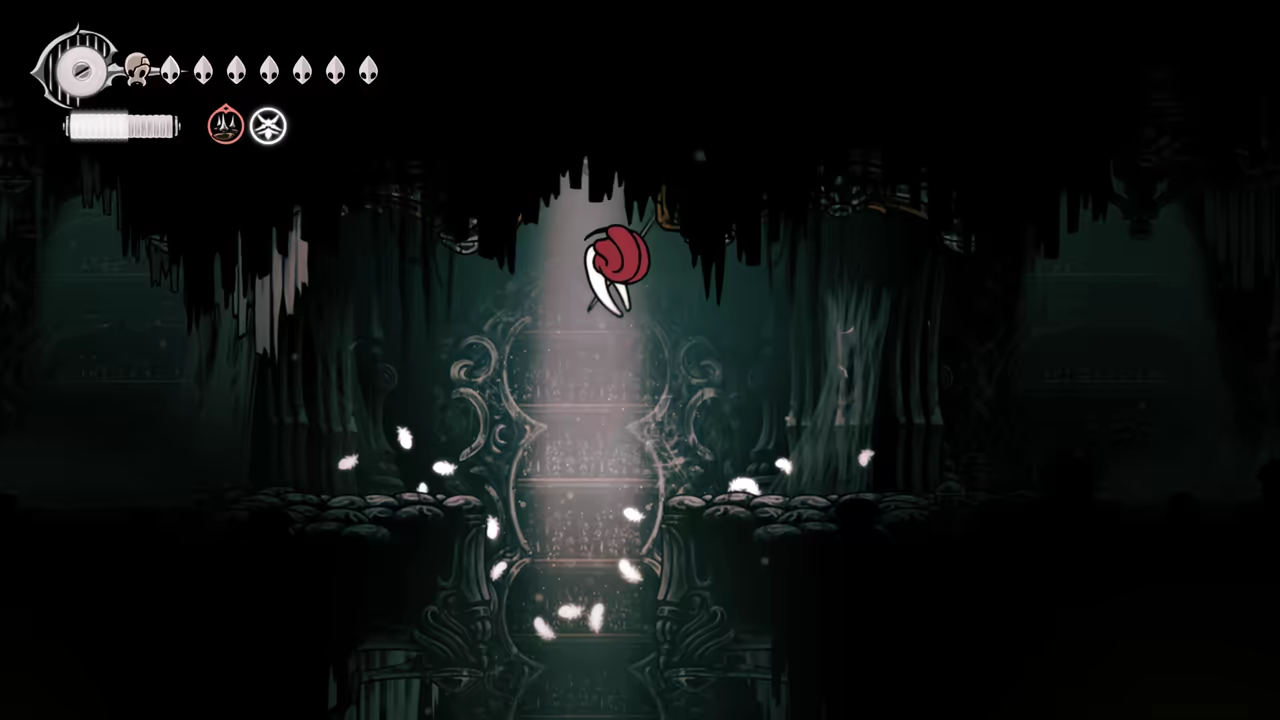
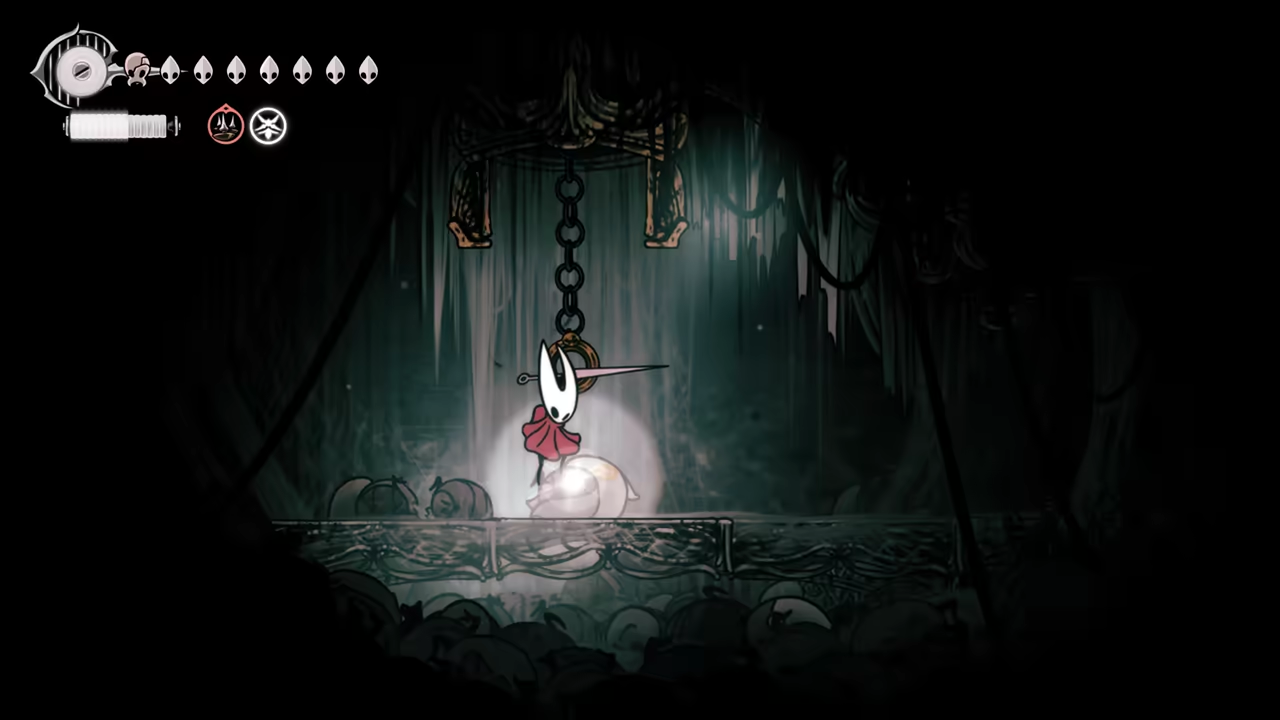
Section titled “Find the Surgeon Key”Go back, and just to the right of where you climbed, use a Faydown Cloak (double jump) to access a hidden area with a corpse holding the Surgeon Key.
-
Defeat The Unravelled
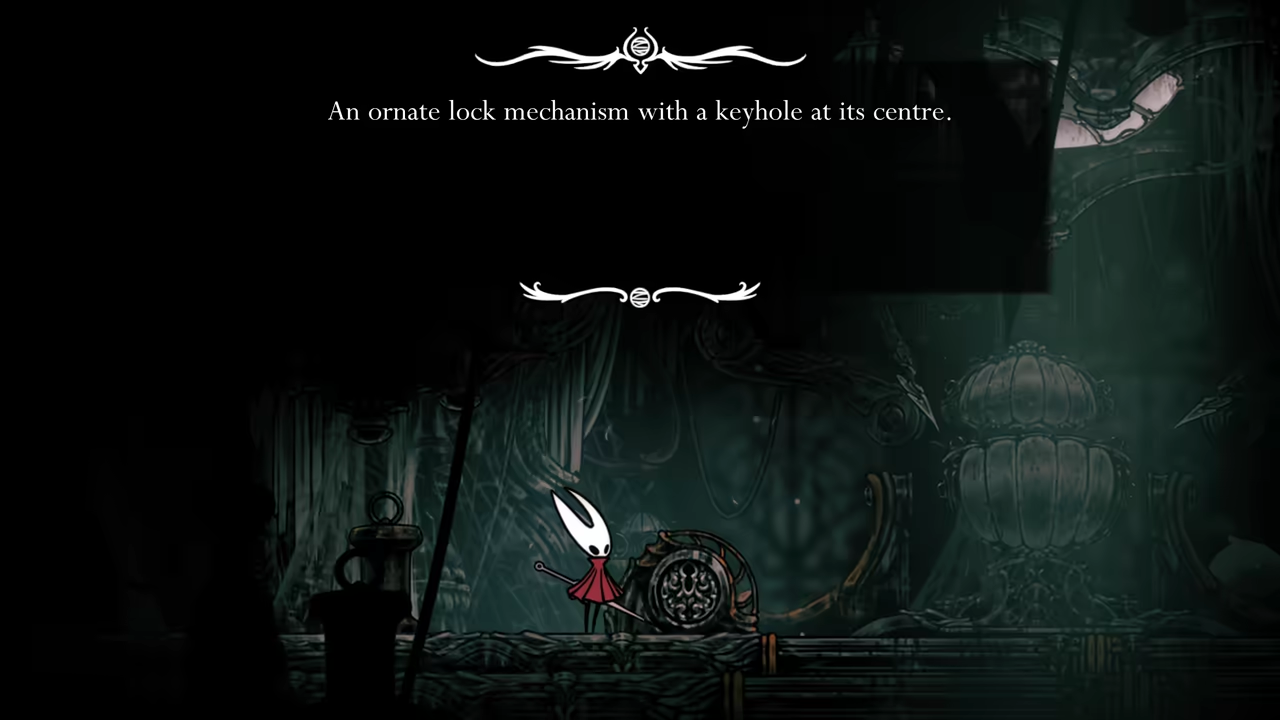
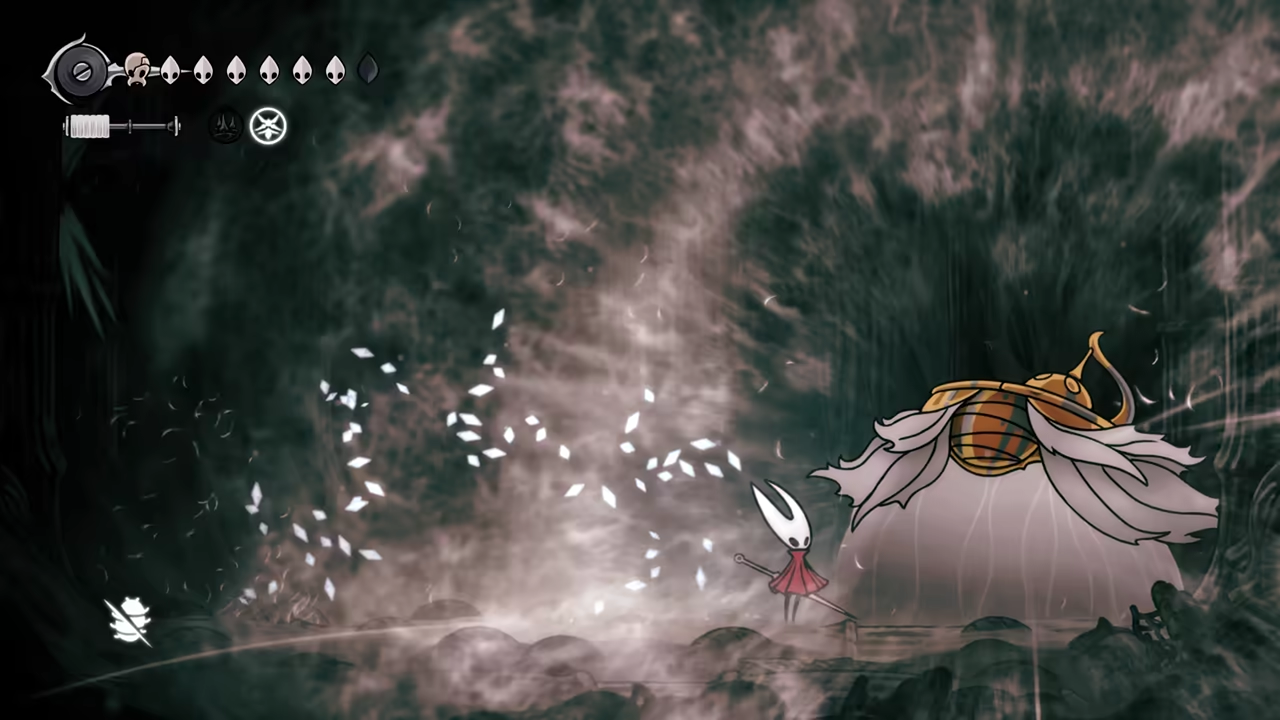
Section titled “Defeat The Unravelled”Save and quit to reload at the bench. Then, take the elevator down again and use the Surgeon’s Key on the door to the left. This leads to an arena where you’ll fight some creepy silk bugs and The Unravelled boss.
Winning this fight grants you the second Silk Heart.
-
Shop at Songclave
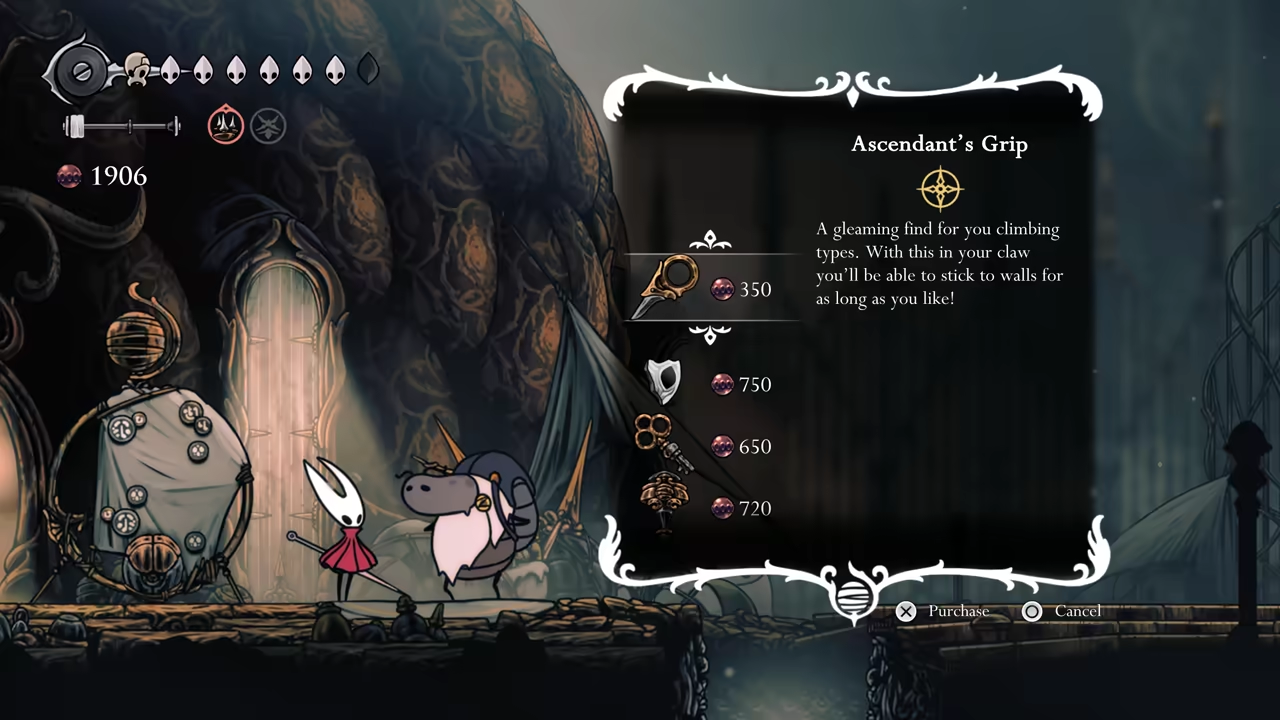
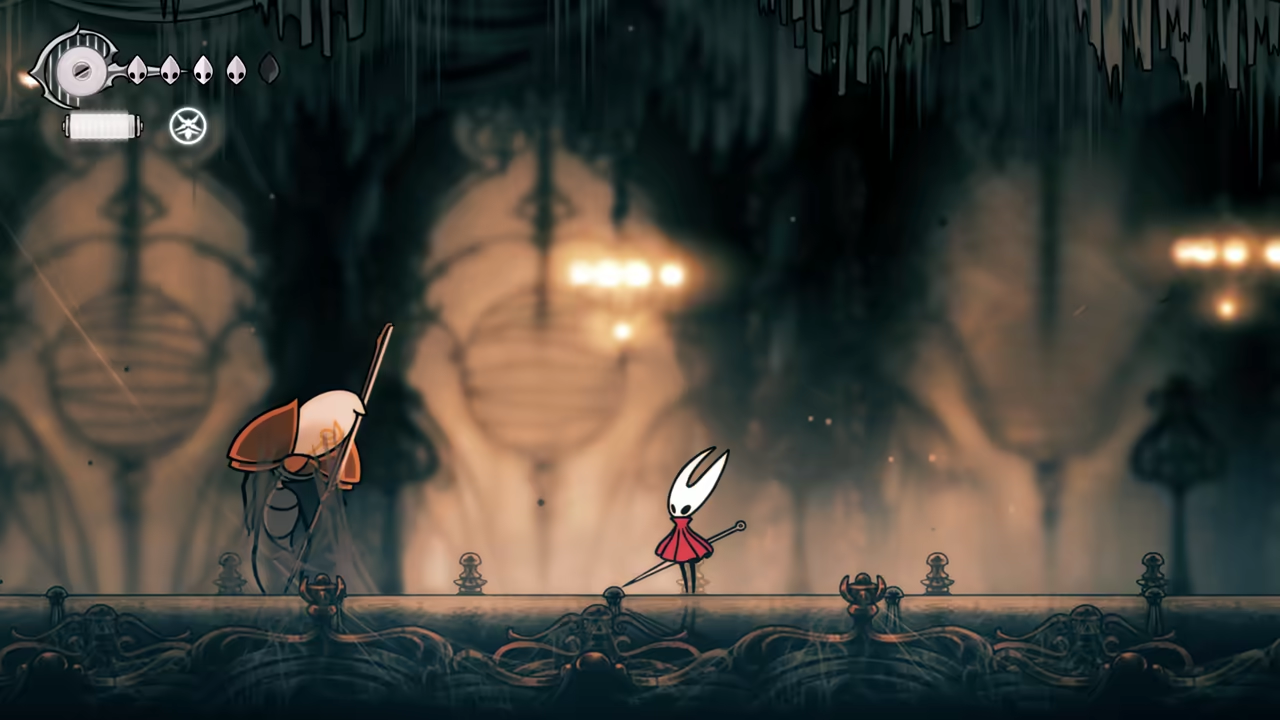
Section titled “Shop at Songclave”The game will hard save here. Exit through the bottom via Underworks. Head right to access fast travel and visit Songclave. Buy everything from Jubilana except the simple key. You’ll get:
- Spool Extender
- Ascendant’s Grip
- 1 Mask Shard
If you’re short on money, farm the enemy in the room to the left using an offensive skill like Thread Storm.
-
Unlock Next Quest
Section titled “Unlock Next Quest”After shopping, go to the Bell Shrine, bench there, quit the game, and reload. This should unlock the next Jubilana quest. If not, do some other activities and come back later.
100% Memorium
Section titled “100% Memorium”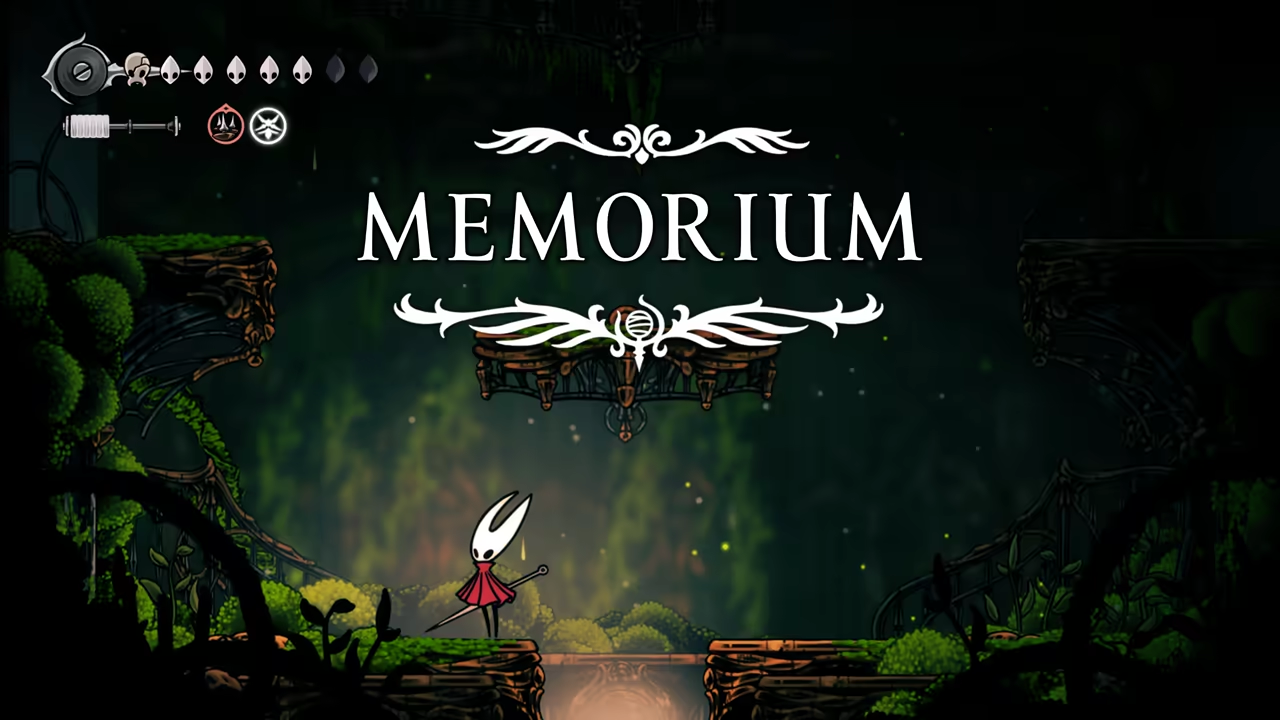
Key Items
- Memory Locket
- Spool Fragment
- Voltvessels
- Cogheart
- Mossberry
- Map
Bosses
Quests
- Jubilana's Quest
NPCs
- Jubilana
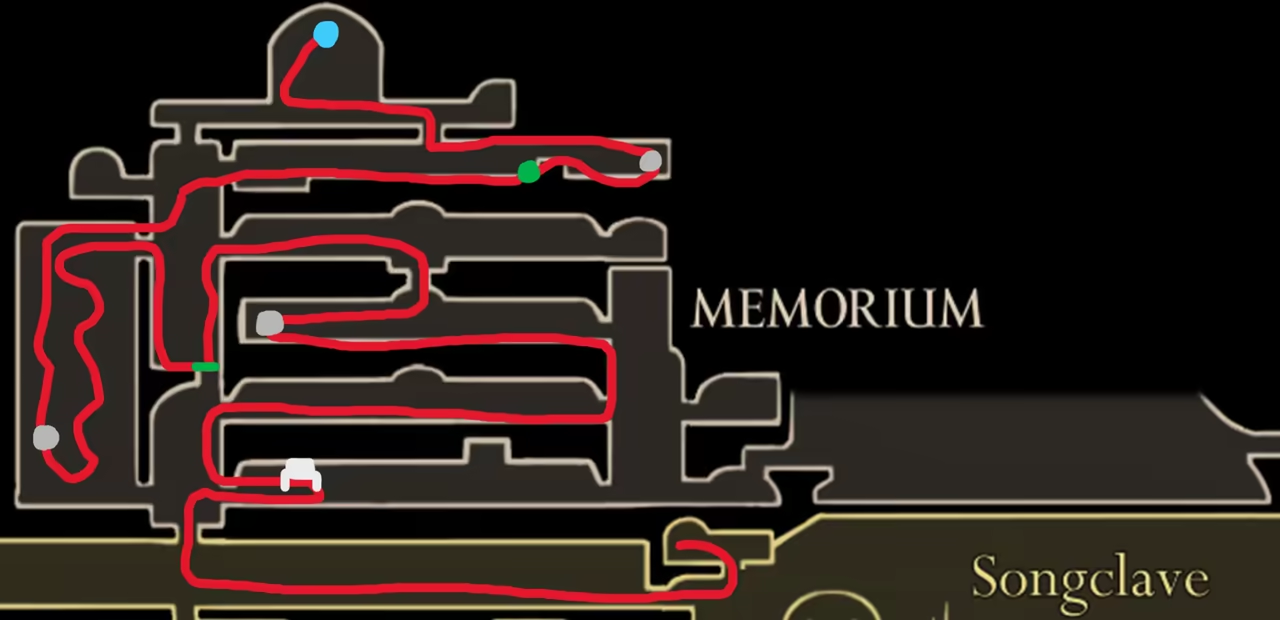
Now we will head toward the Memorium area, accessible using the Faydown Cloak (double jump).
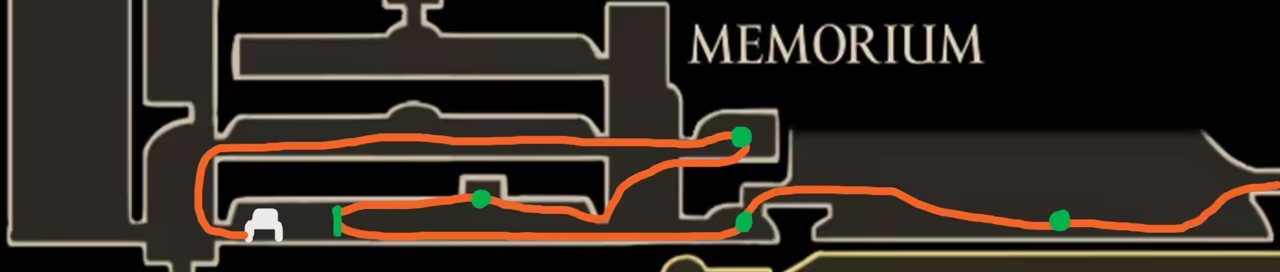
Here is the first route we will follow:
-
Find the Memory Locket
Section titled “Find the Memory Locket”First, grab the bench at the start of the area. Then, start climbing the Memorium and proceed through the top-right room. In the tall corridor, climb to the top-left room to find a memory locket.
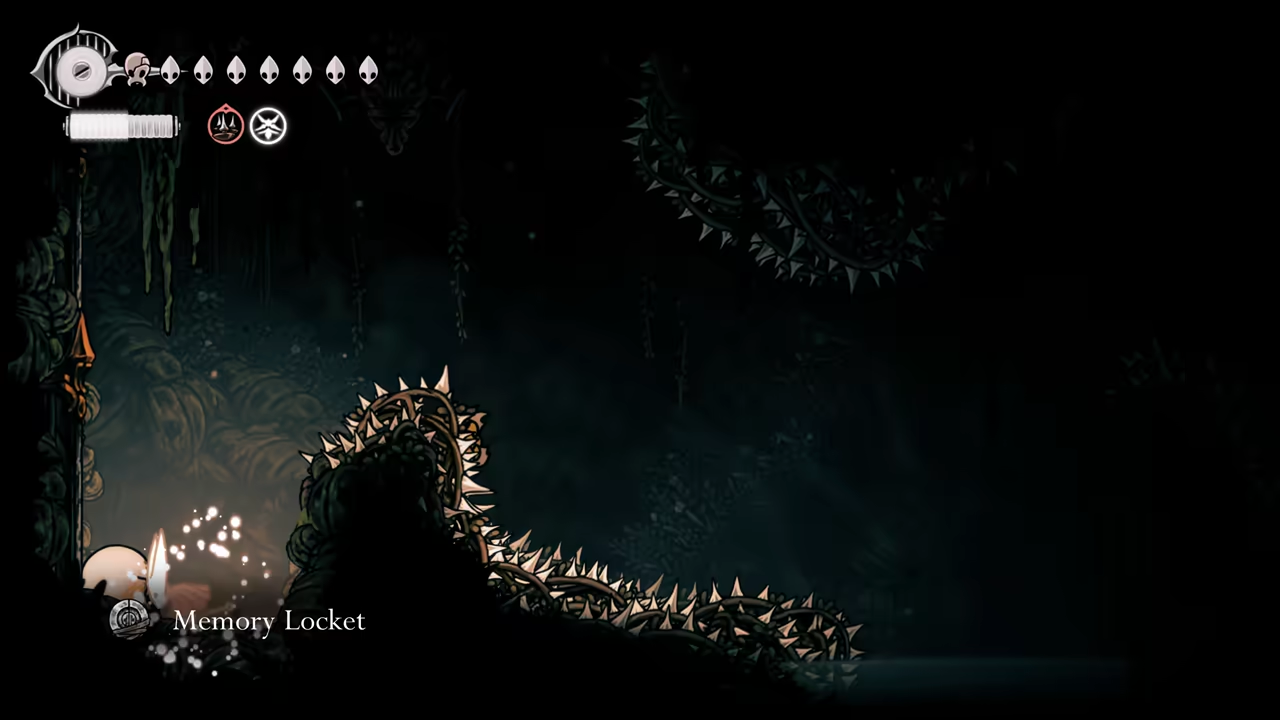
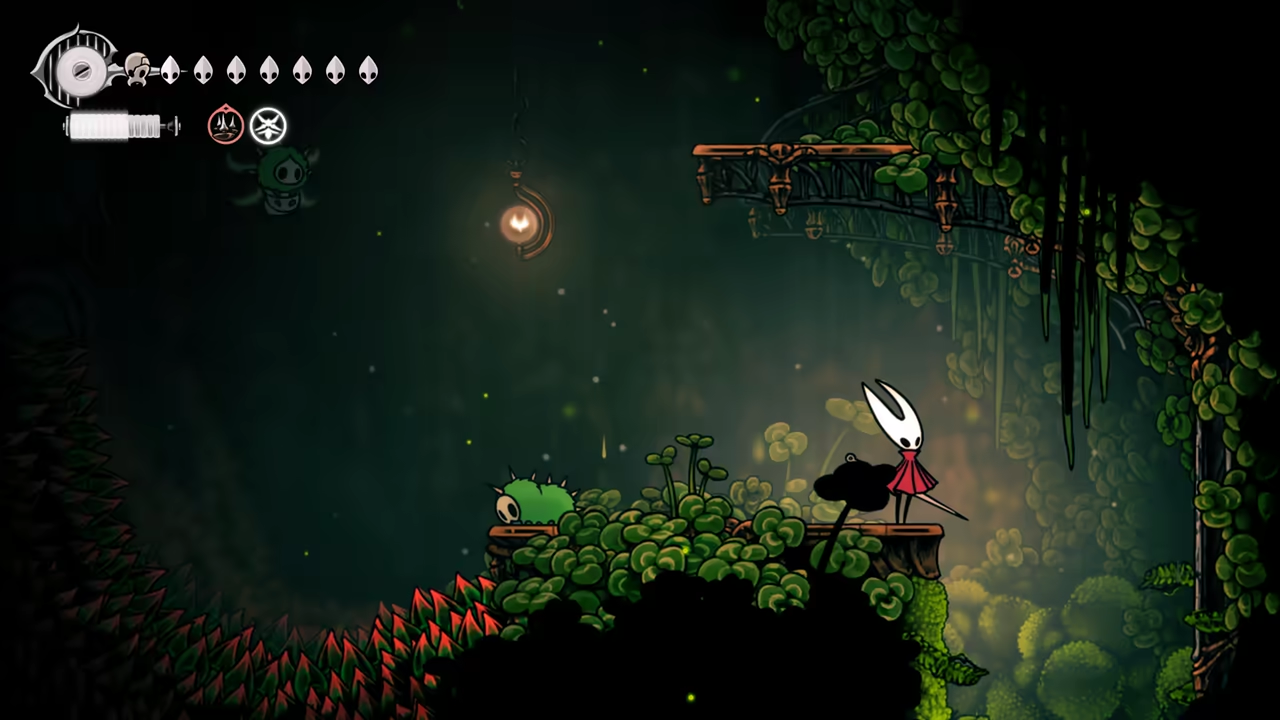
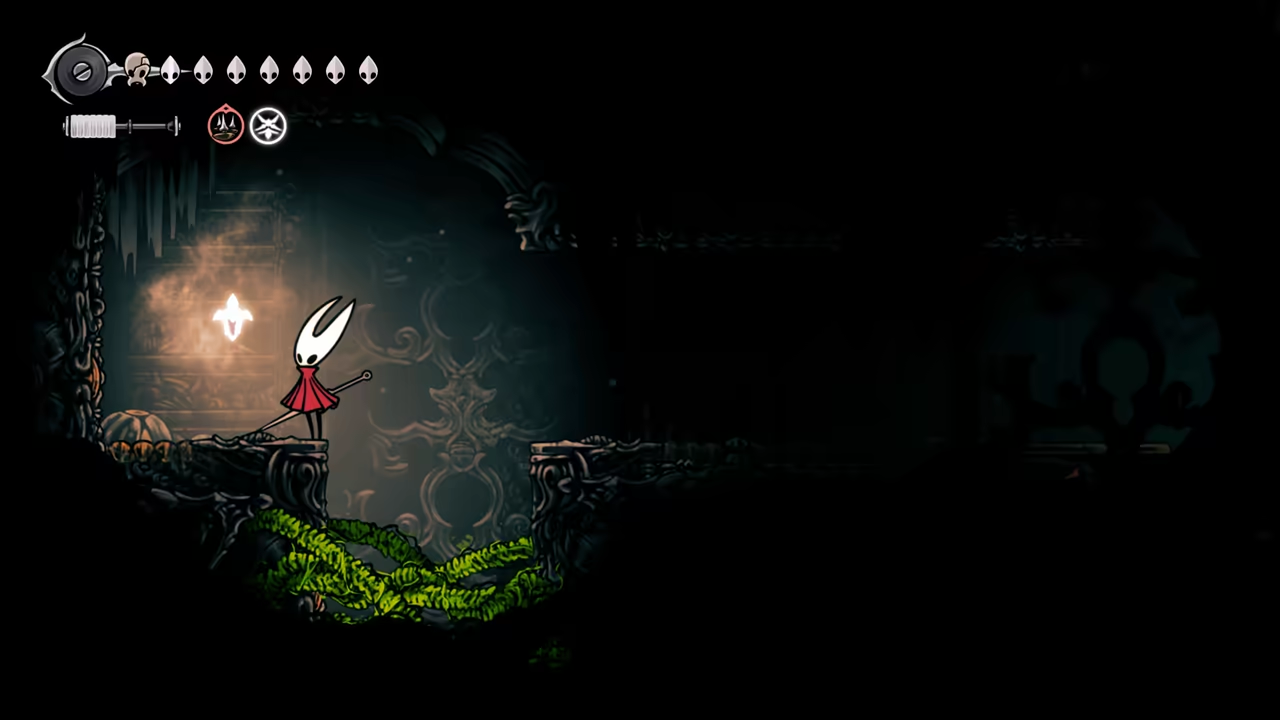
-
Find the Spool Fragment
Section titled “Find the Spool Fragment”Continue upward and to the left. Drop down to unlock a shortcut, then enter the room on the left. Inside, you’ll find a spool fragment hidden behind a platforming section.
-
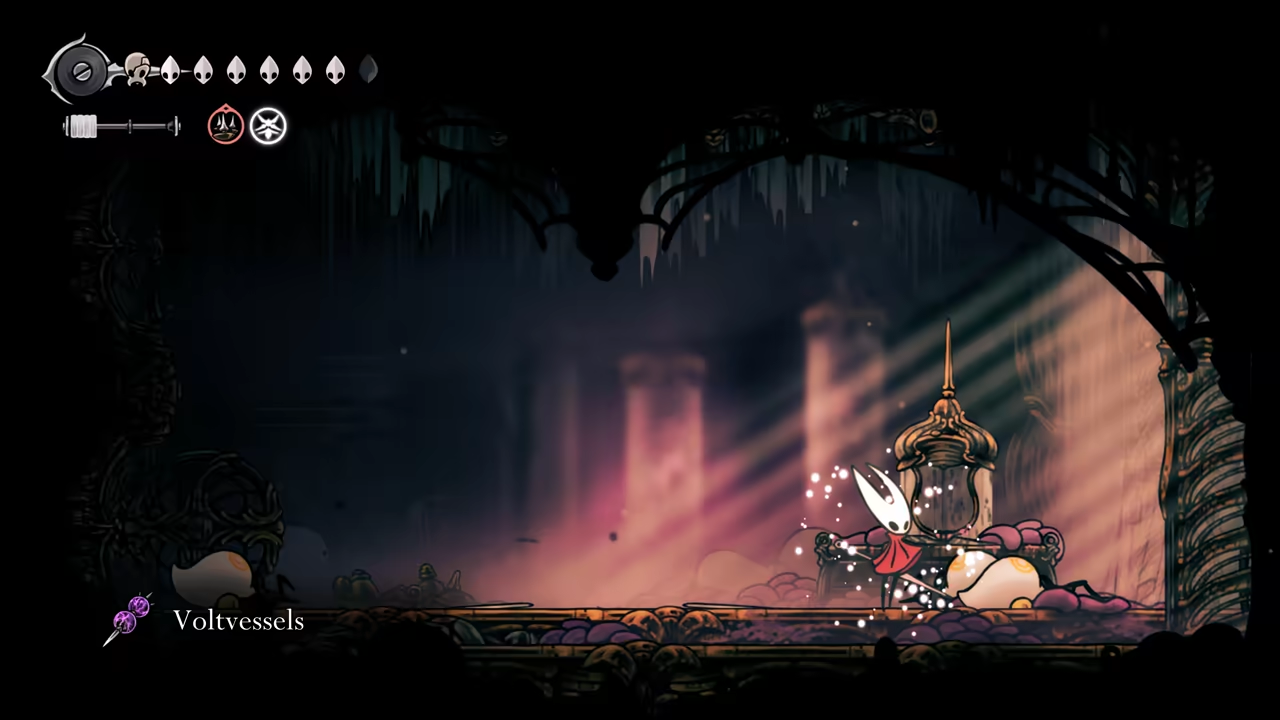
Find the Voltvessels
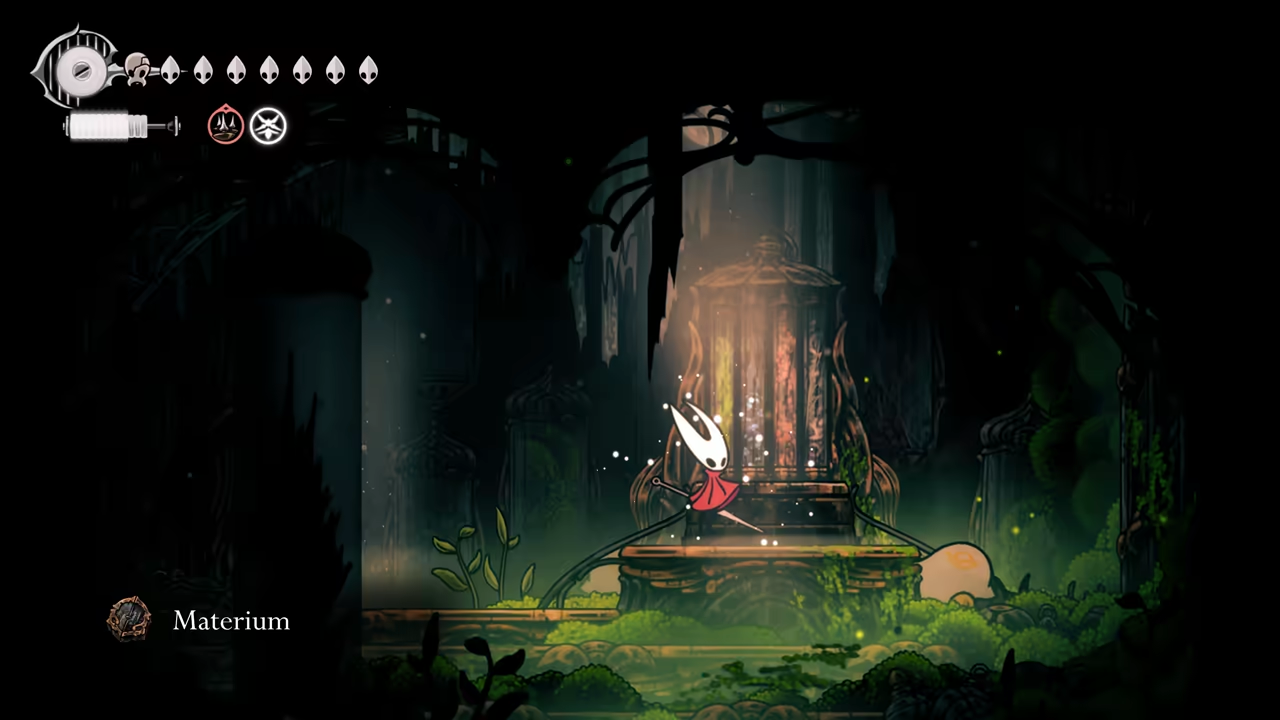
Section titled “Find the Voltvessels”Go back and keep ascending toward the right. You will reach the Materium (no need to complete it for 100%). At the top-right of the same room, find a hidden passage leading to two enemies guarding the voltvessels.
-
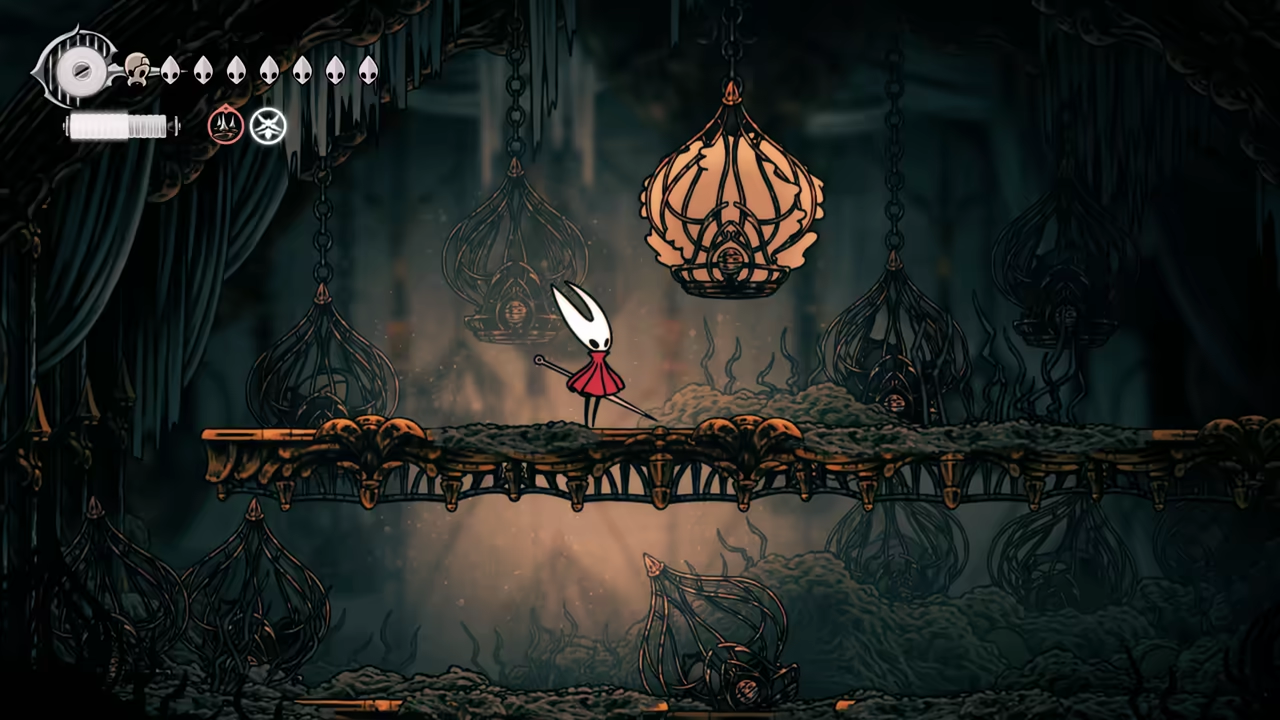
Defeat the Giant Flea Boss
Section titled “Defeat the Giant Flea Boss”Head back and enter the room at the top to encounter the Giant Flea boss. It’s quite easy; you can even stay on the bottom platform and hit it until the fight ends.
-
Start the Second Route
Section titled “Start the Second Route”Now quit and reload at the bench to start following the second route.
-
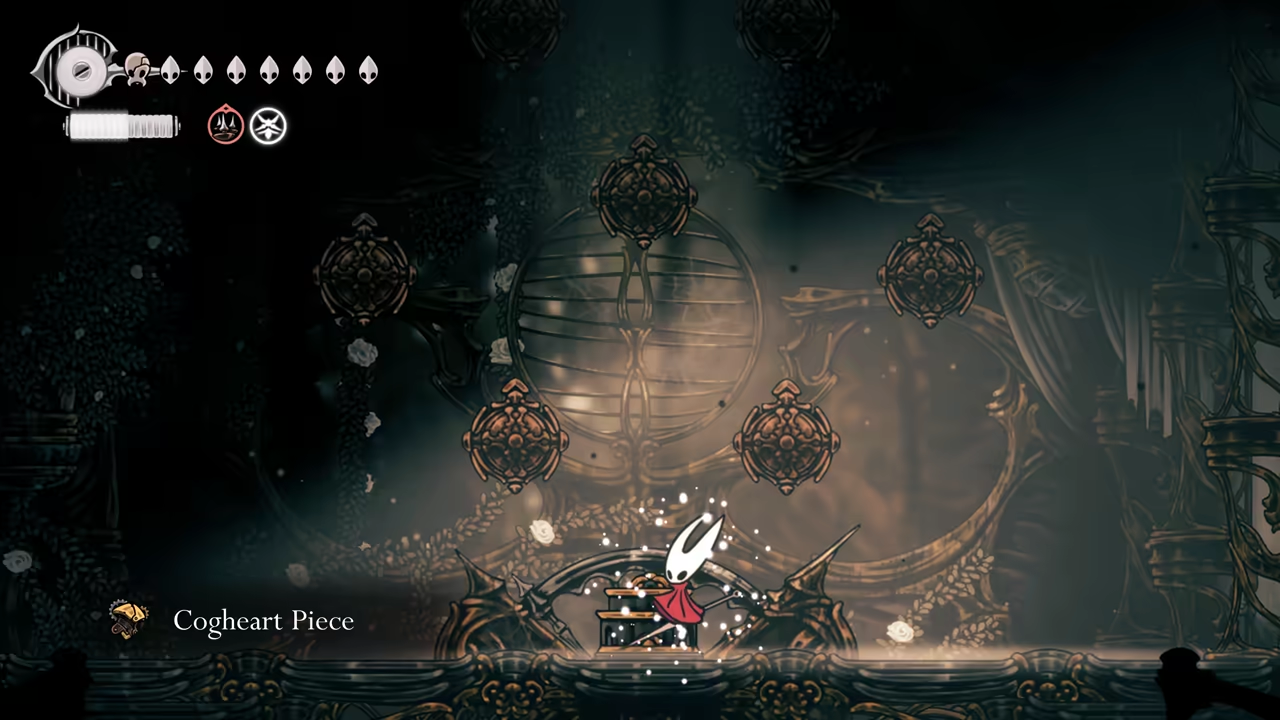
Find the Last Cogheart
Section titled “Find the Last Cogheart”All the way to the right, you’ll find the last cogheart piece.
-
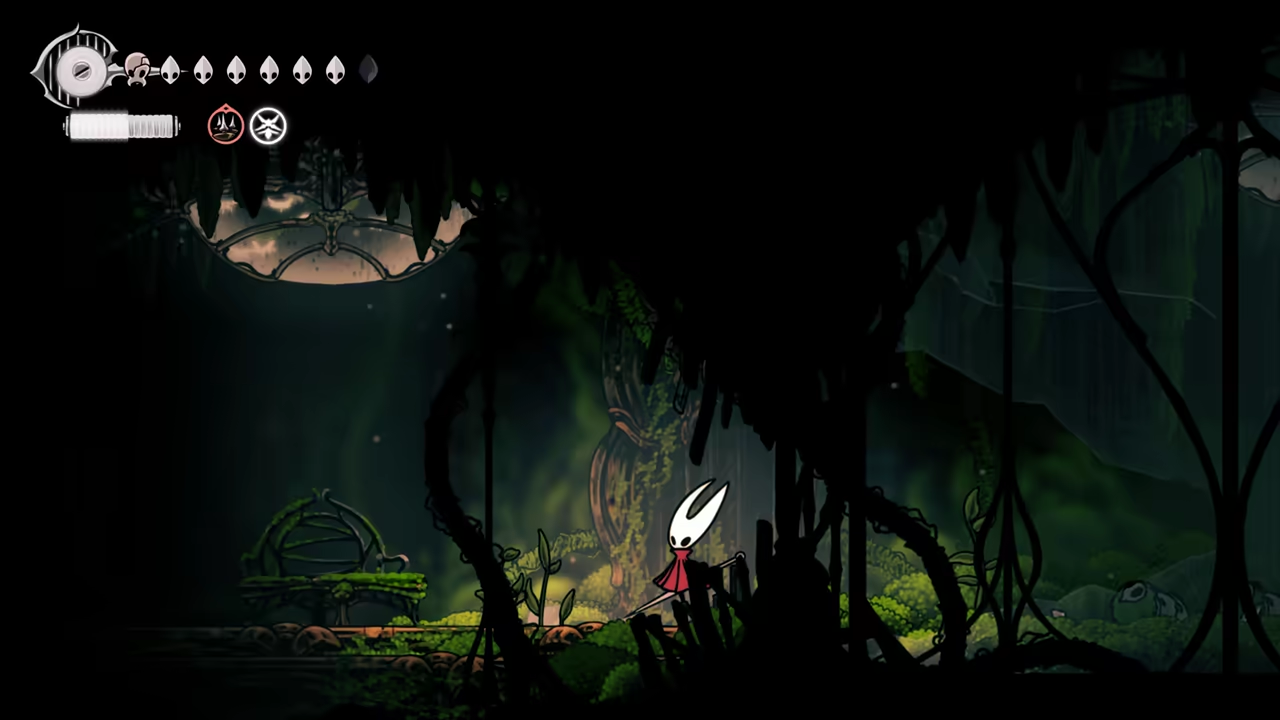
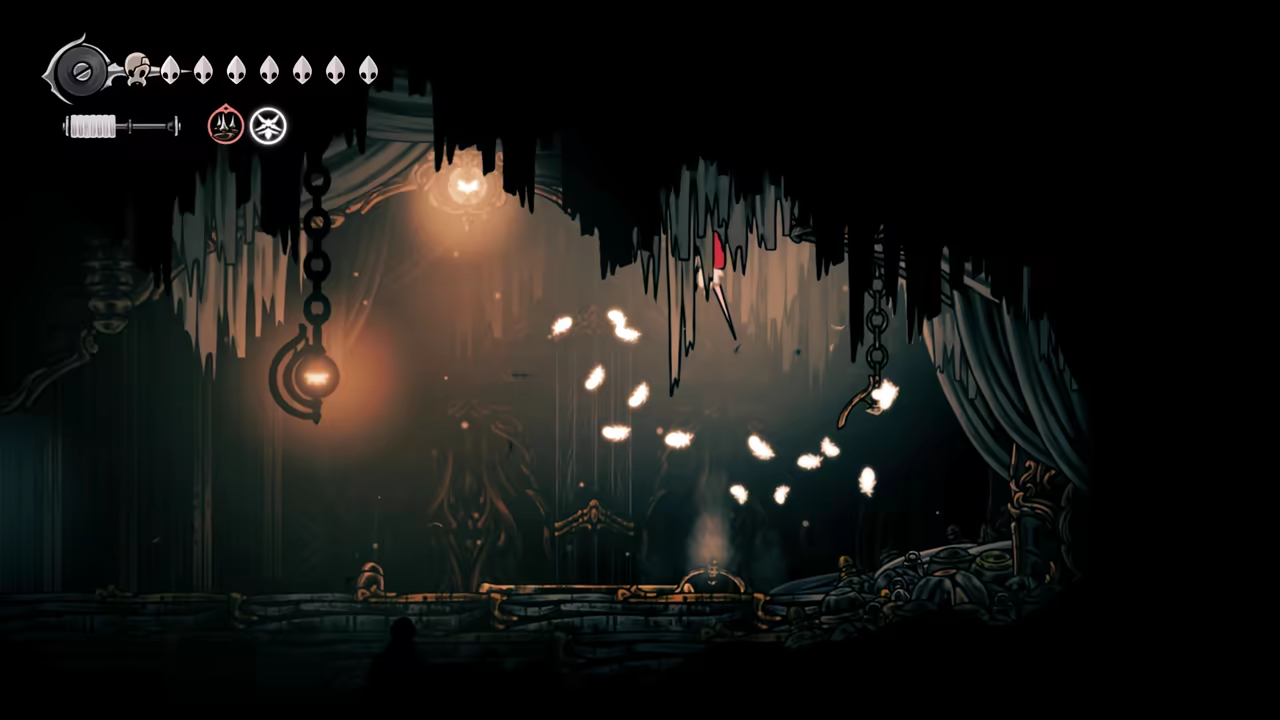
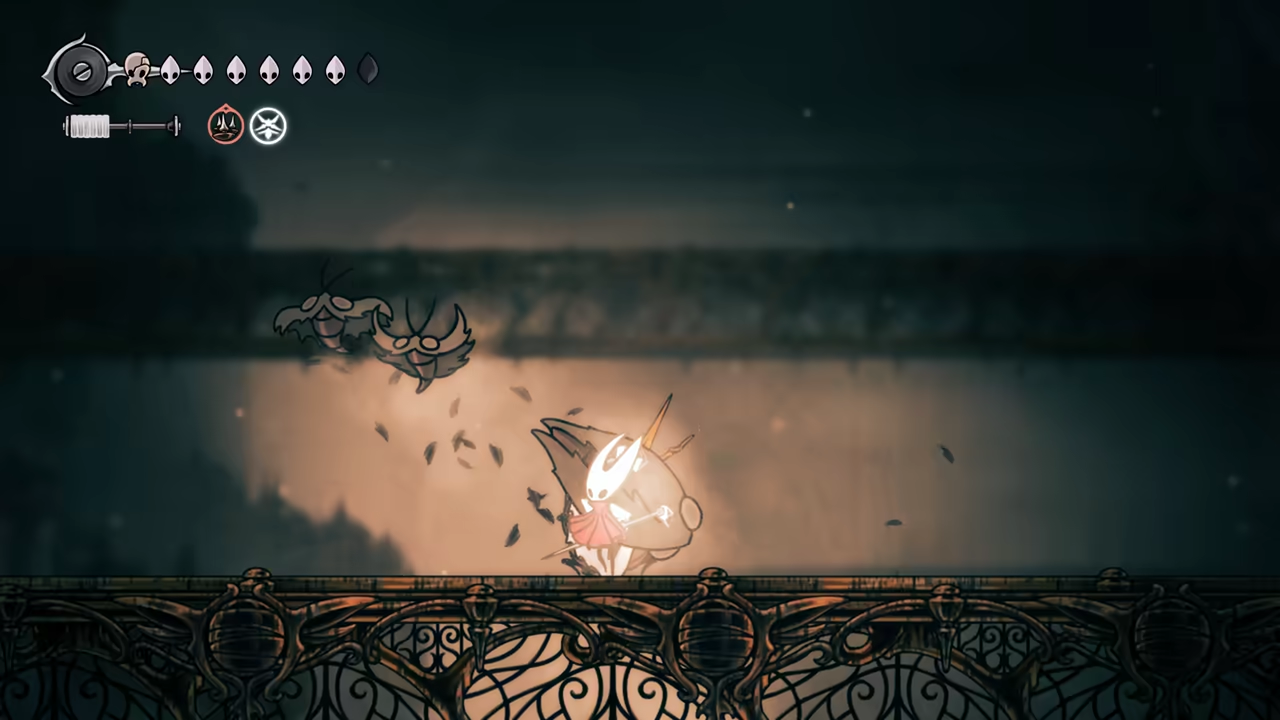
Get Mossberry and Map
Section titled “Get Mossberry and Map”Head down to the left to grab a mossberry and unlock a bench shortcut. Going all the way to the right again, you’ll find the Memorium map and a hidden passage. If you accepted the second Jubilana quest, you can find her here.
-
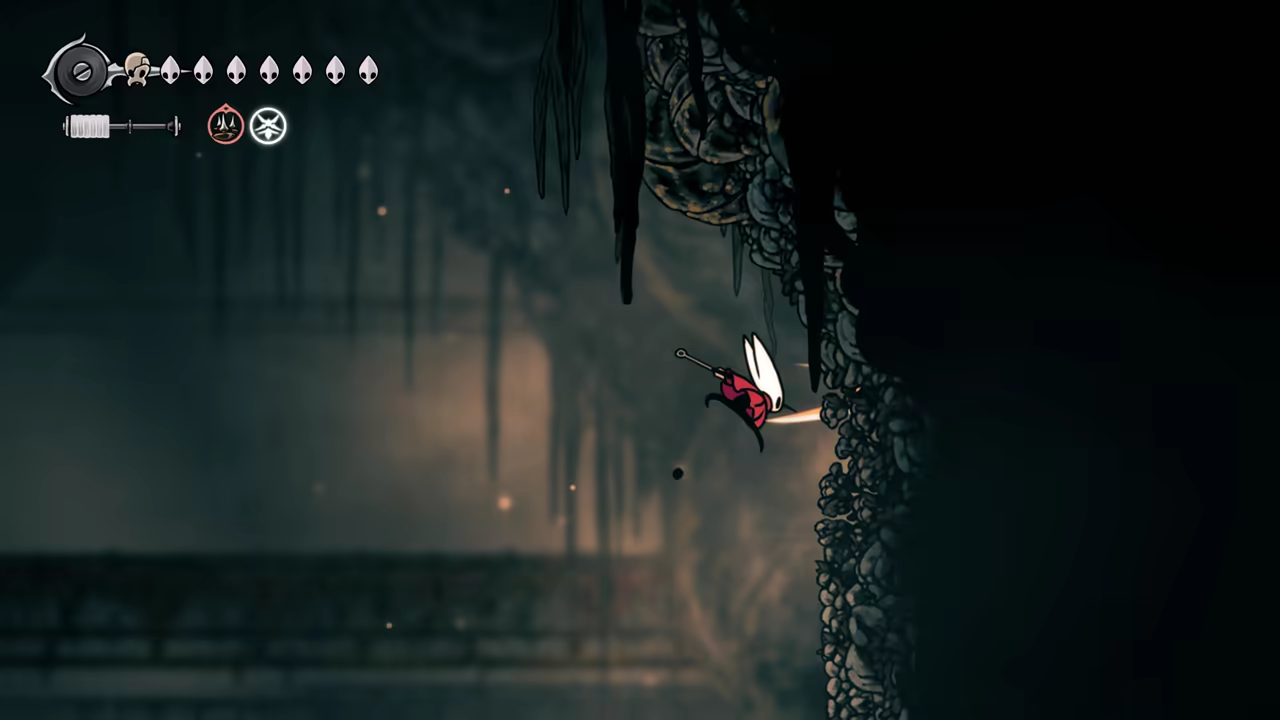
Proceed to the Next Area
Section titled “Proceed to the Next Area”Now climb the right side, break the wall, and access the next area.
100% Putrified Ducts
Section titled “100% Putrified Ducts”
Key Items
- Map
- Key of Apostate
- Craftmetal
- Wreath of Purity
Quests
- Huntress Quest
NPCs
- Huntress
- Vog
Connects To
- The Slab
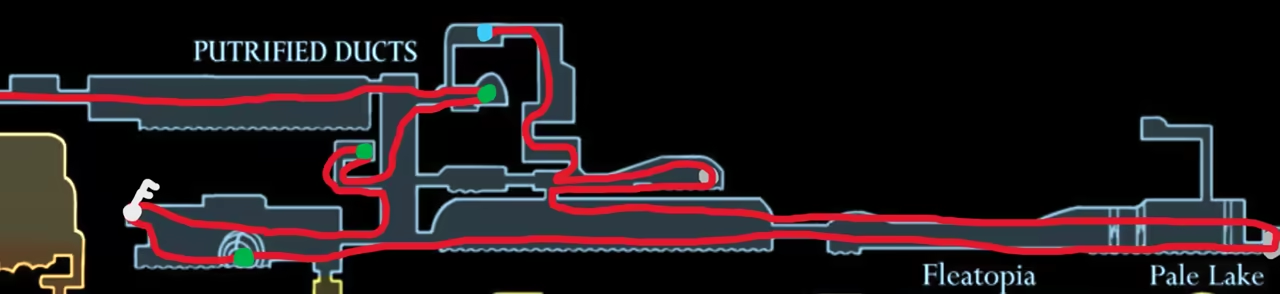
Here’s the route for this area:
-
Unlock Fast Travel
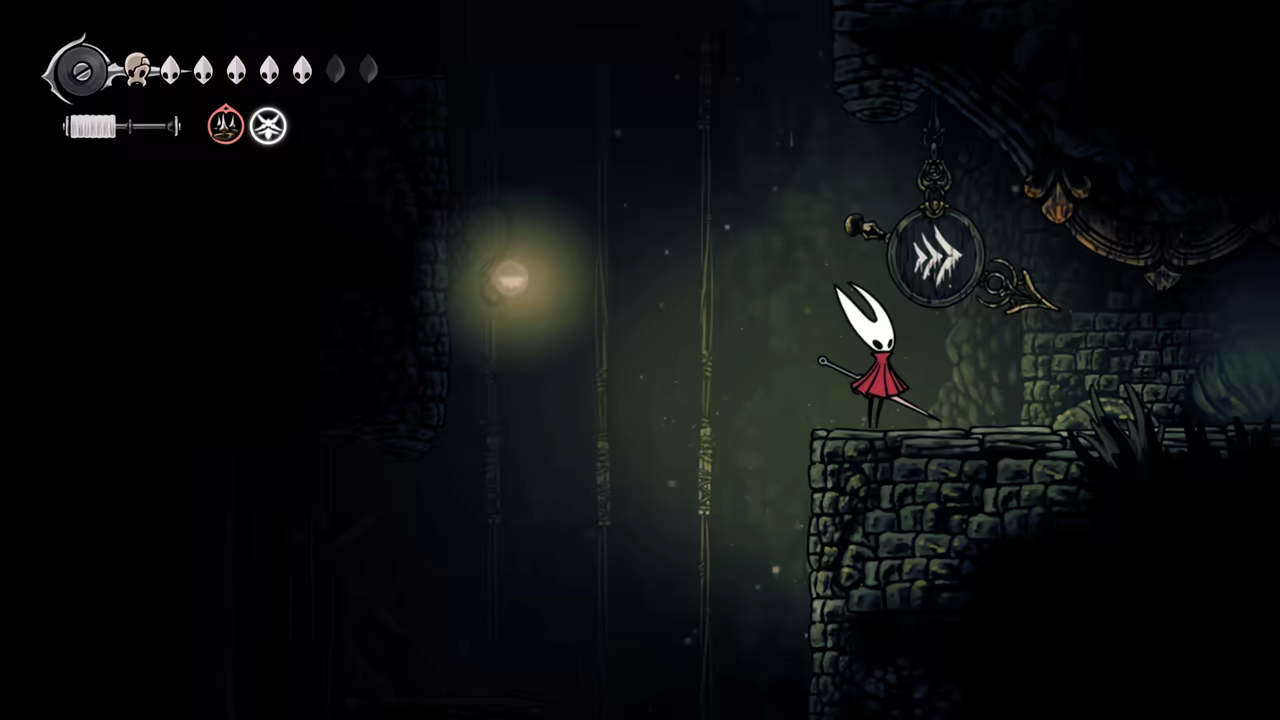
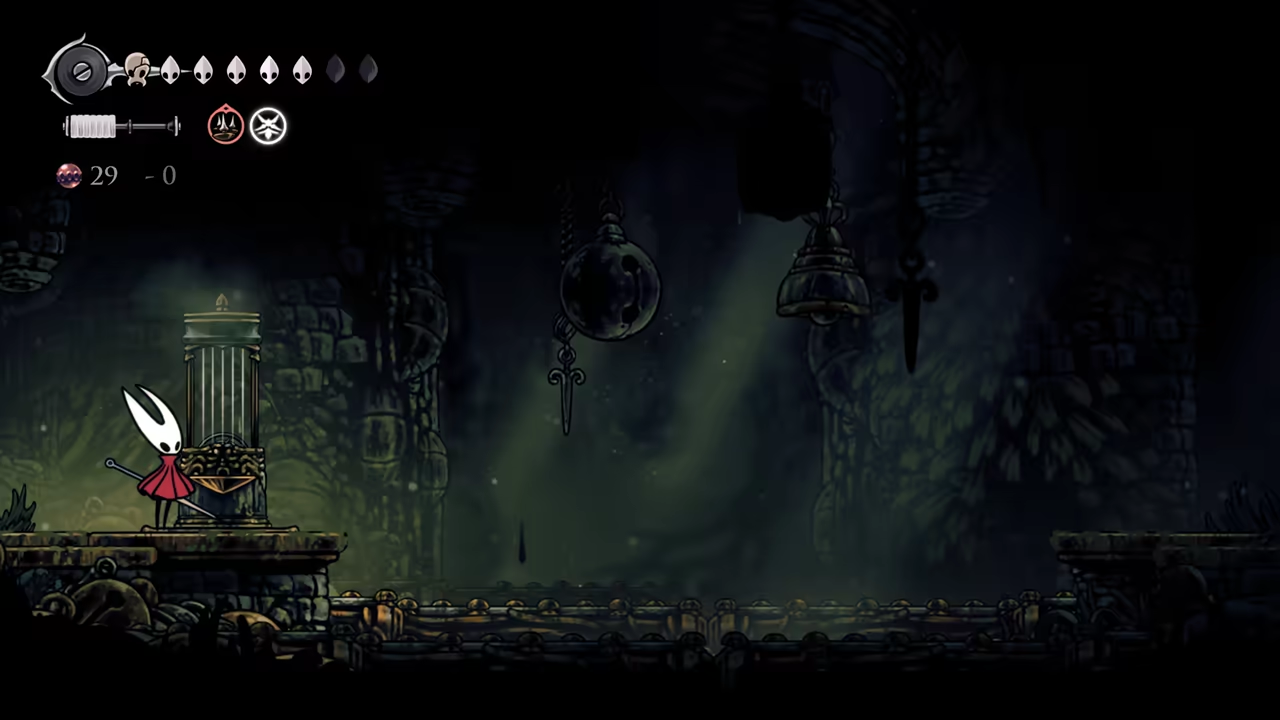
Section titled “Unlock Fast Travel”Start at the long corridor and go all the way to the right. As soon as you reach the tall corridor, find the fast travel sign—unlock it and activate the safety bench.
-
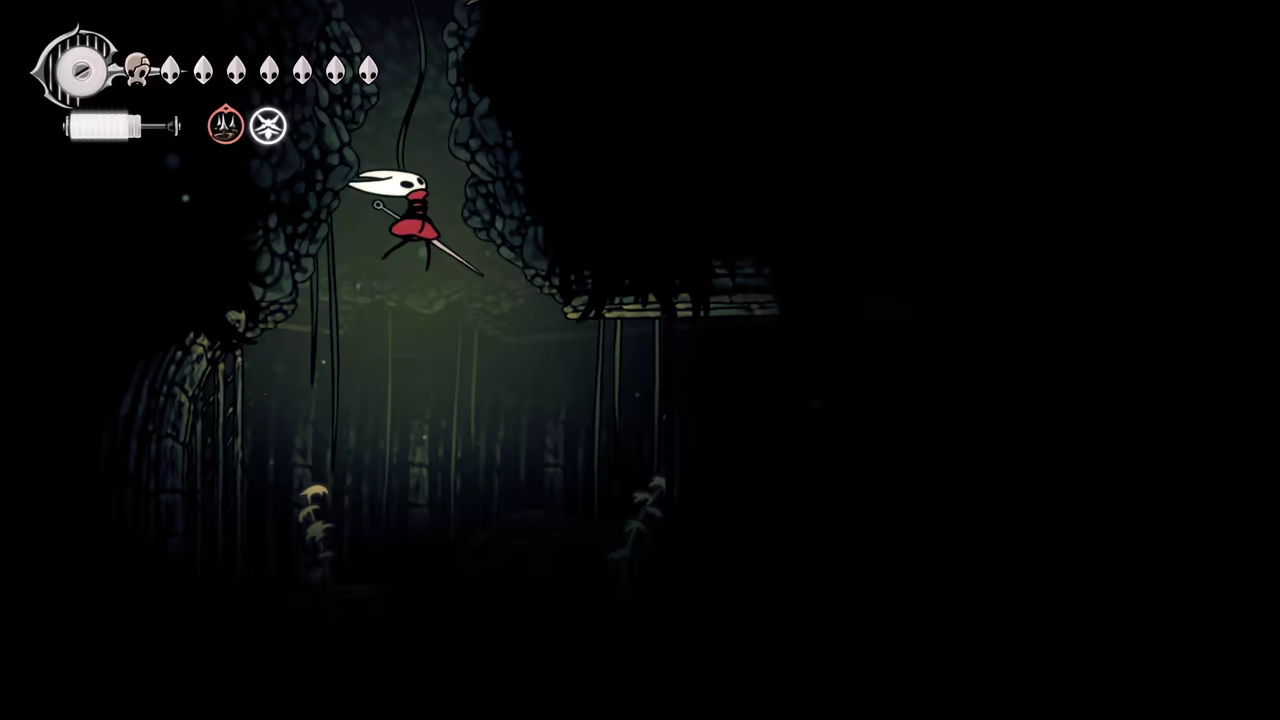
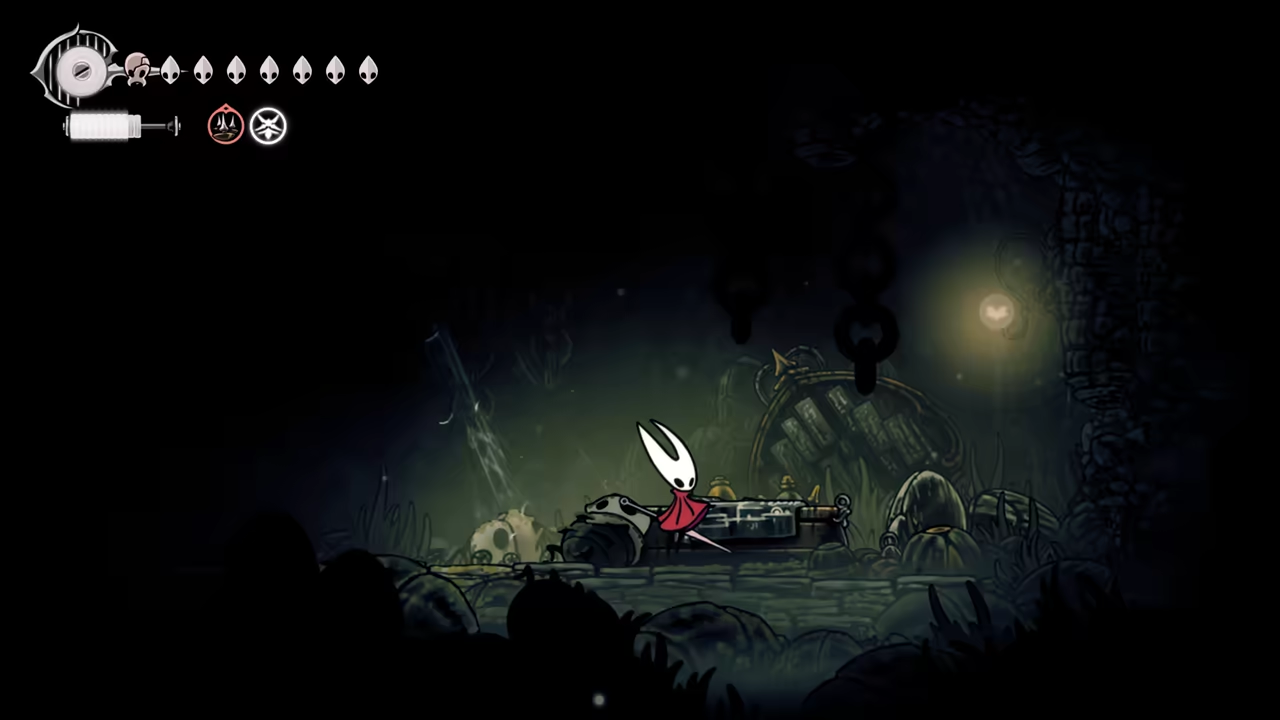
Get the Map
Section titled “Get the Map”Going back, access a room to the left with fake vines. Get captured by a Barnark to reach the top and obtain the map.
-
Find the Key of Apostate
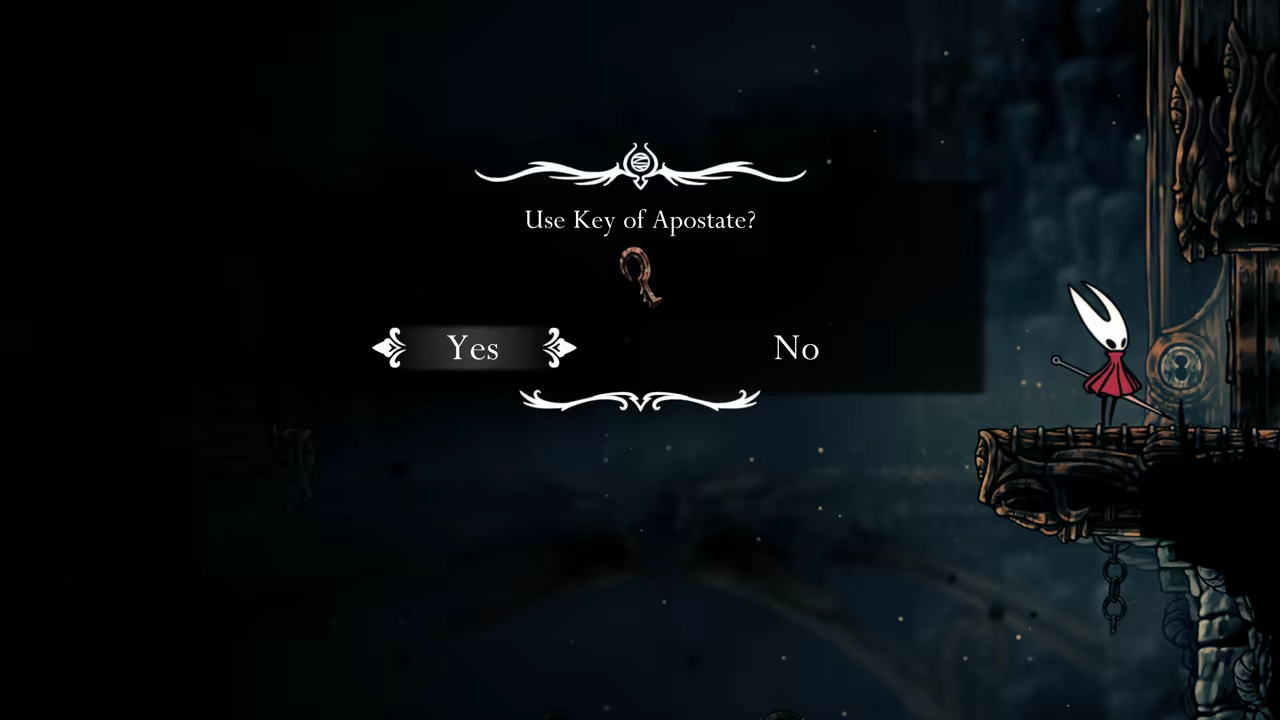
Section titled “Find the Key of Apostate”Return to the tall corridor and exit through the bottom left. At the top left of this room, you will find the Key of Apostate.
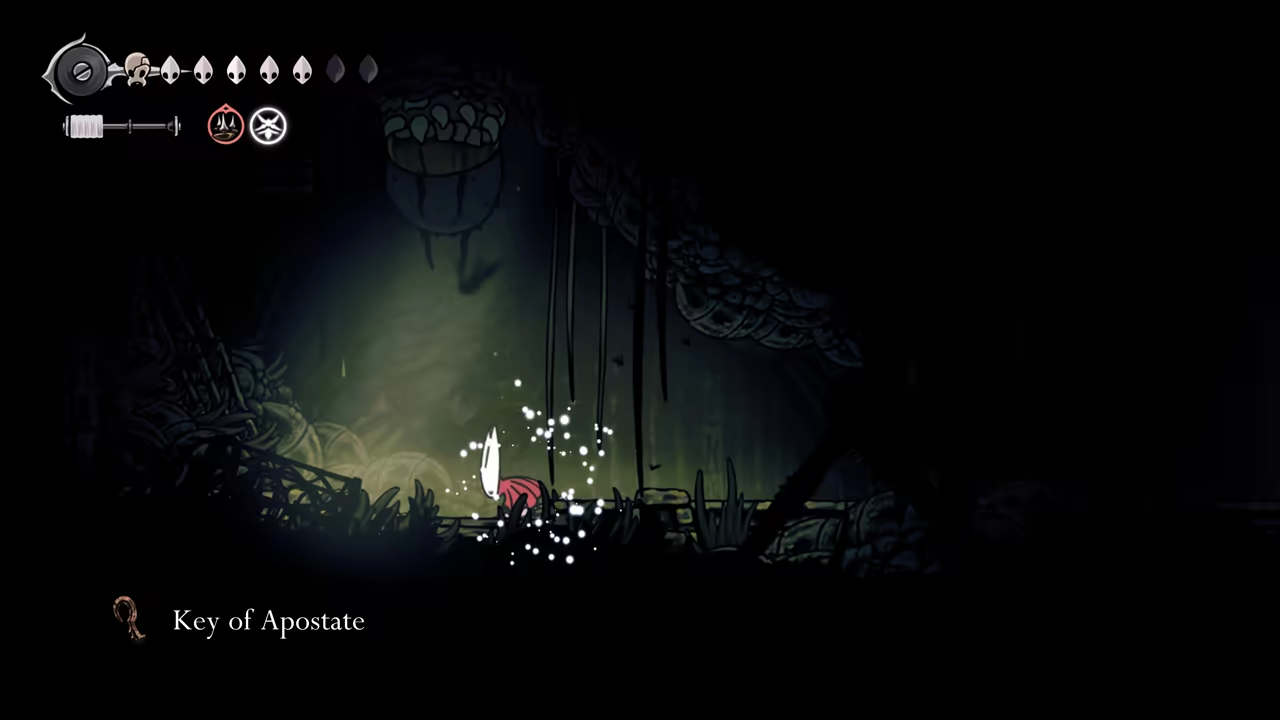
-
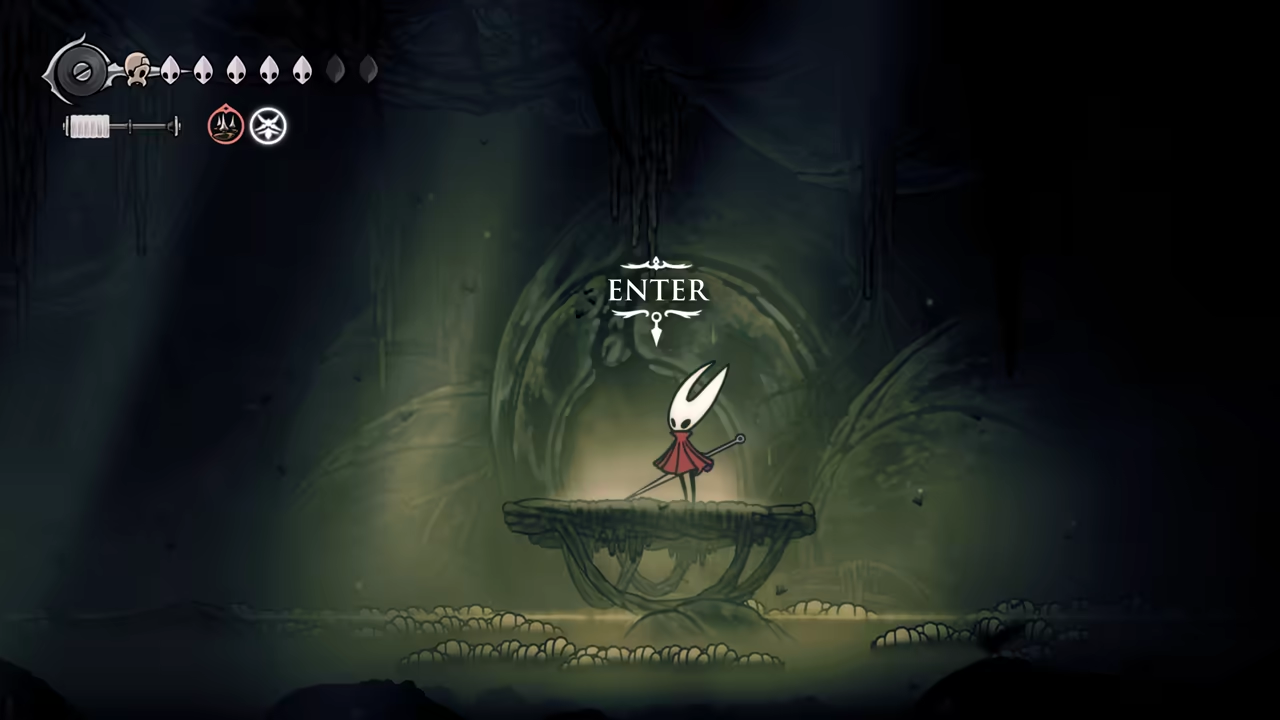
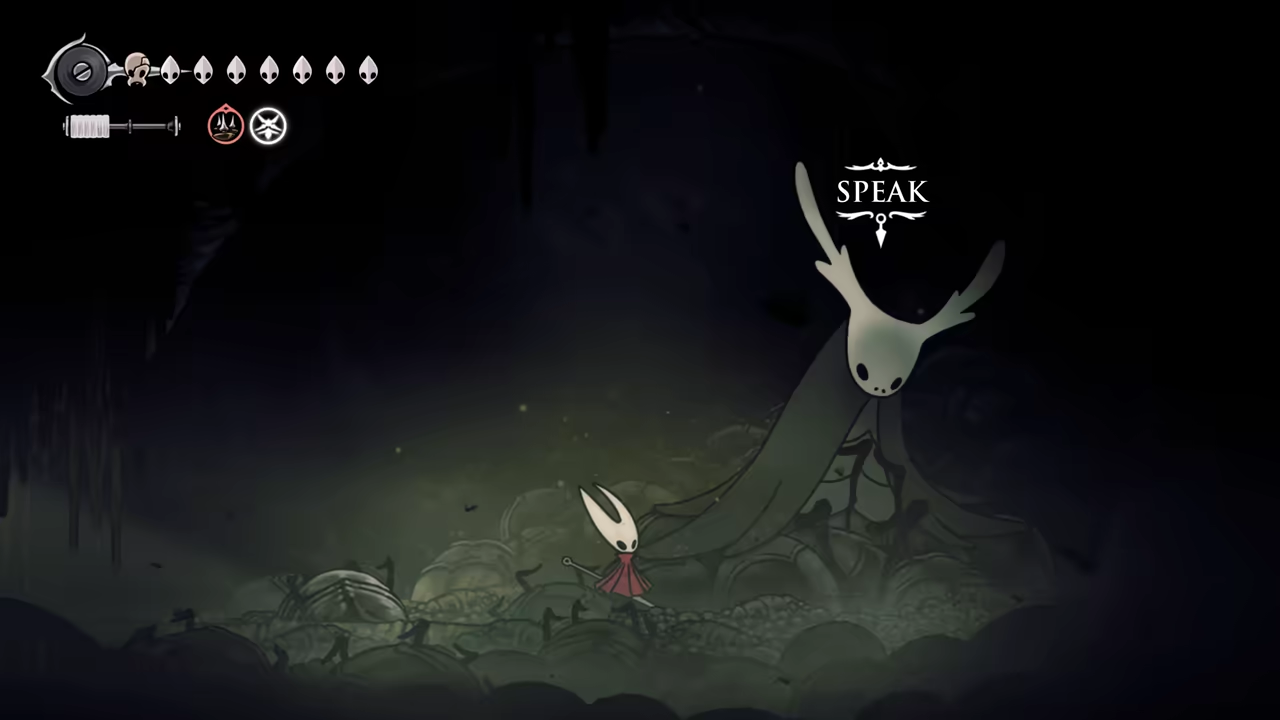
Start the Huntress Quest
Section titled “Start the Huntress Quest”Head down to the huntress’s house and visit her. Accept the quest—we will farm all the required materials soon.
-
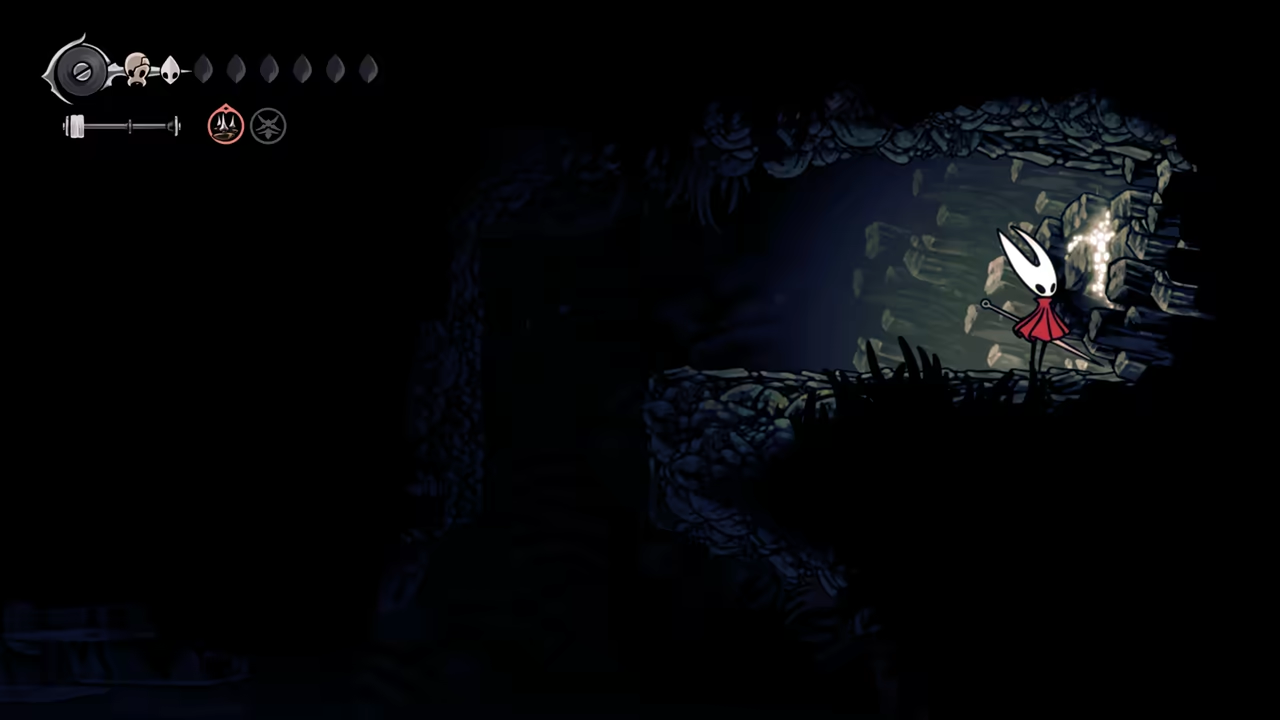
Find Craftmetal in Pale Lake
Section titled “Find Craftmetal in Pale Lake”Leave this room and continue walking all the way to the right until you reach the Pale Lake. This will allow the fleas to move in. You can also find one more craftmetal at the end of the room.
-
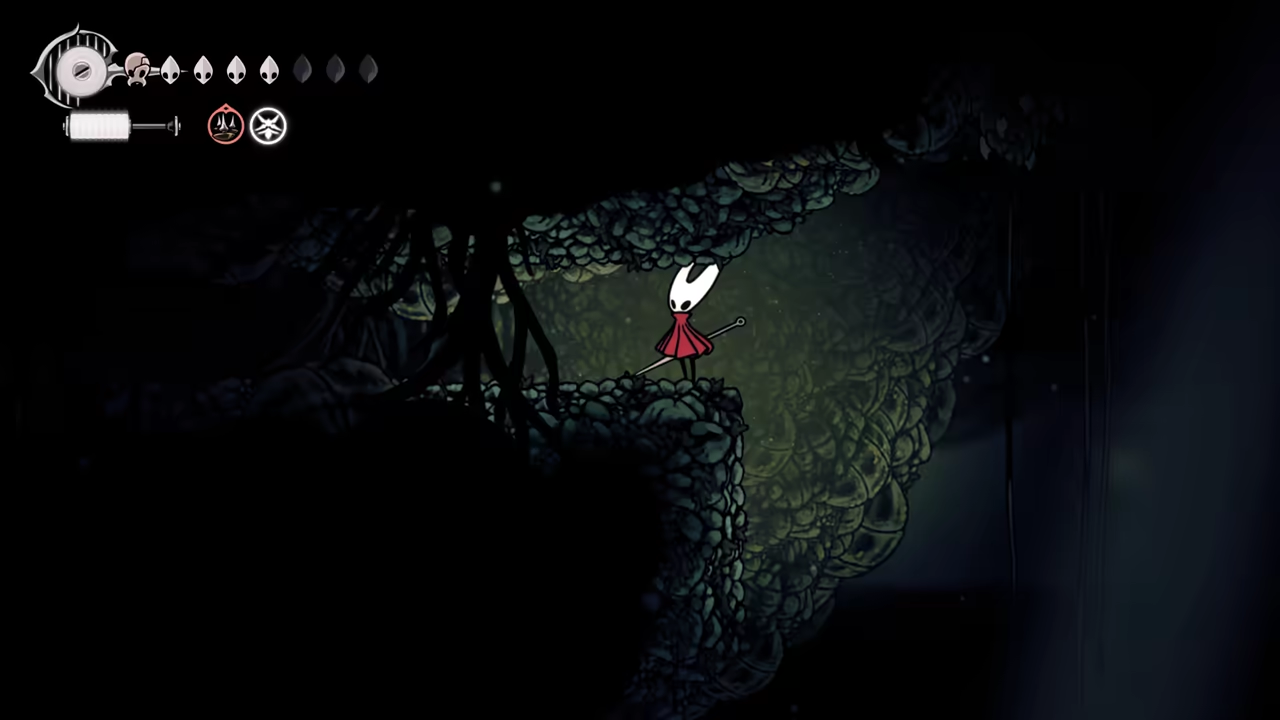
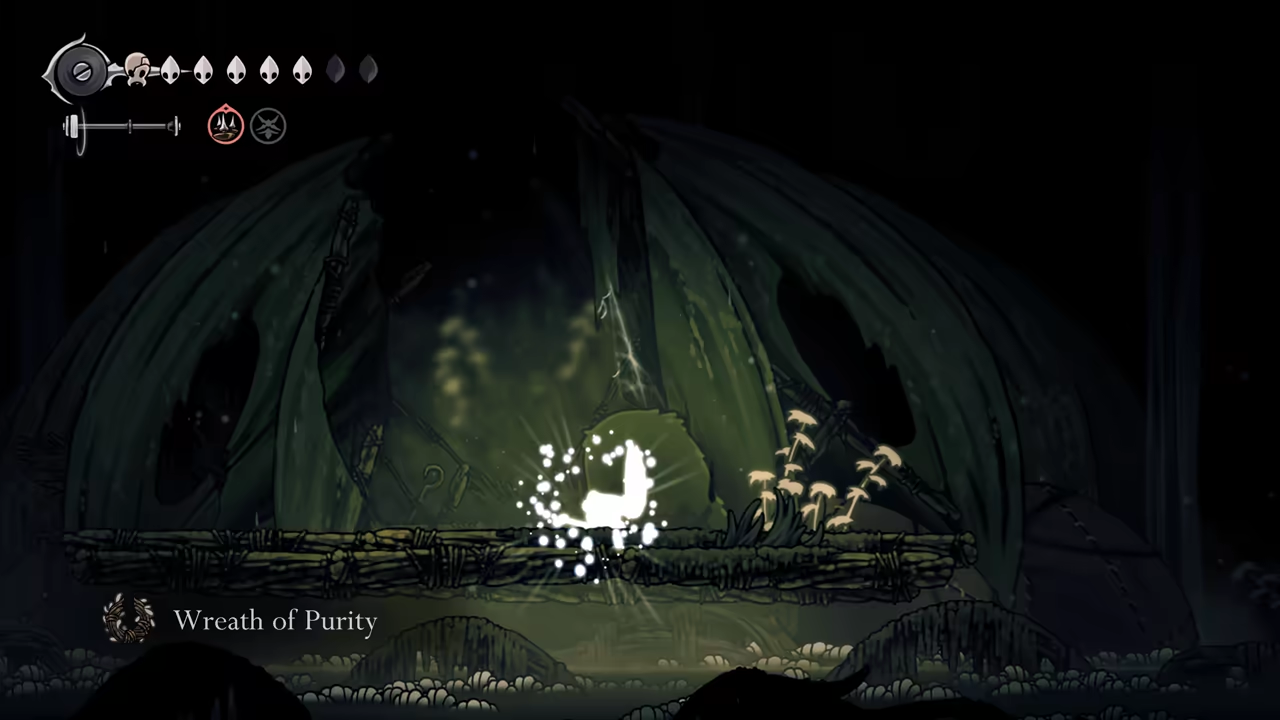
Get the Wreath of Purity
Section titled “Get the Wreath of Purity”Go back to the large corridor before the Pale Lake. Head to the top right to find a breakable wall. This will allow you to access the upper area. Going right will lead to the Wreath of Purity, which will be useful for the Bilehaven fight later.
-
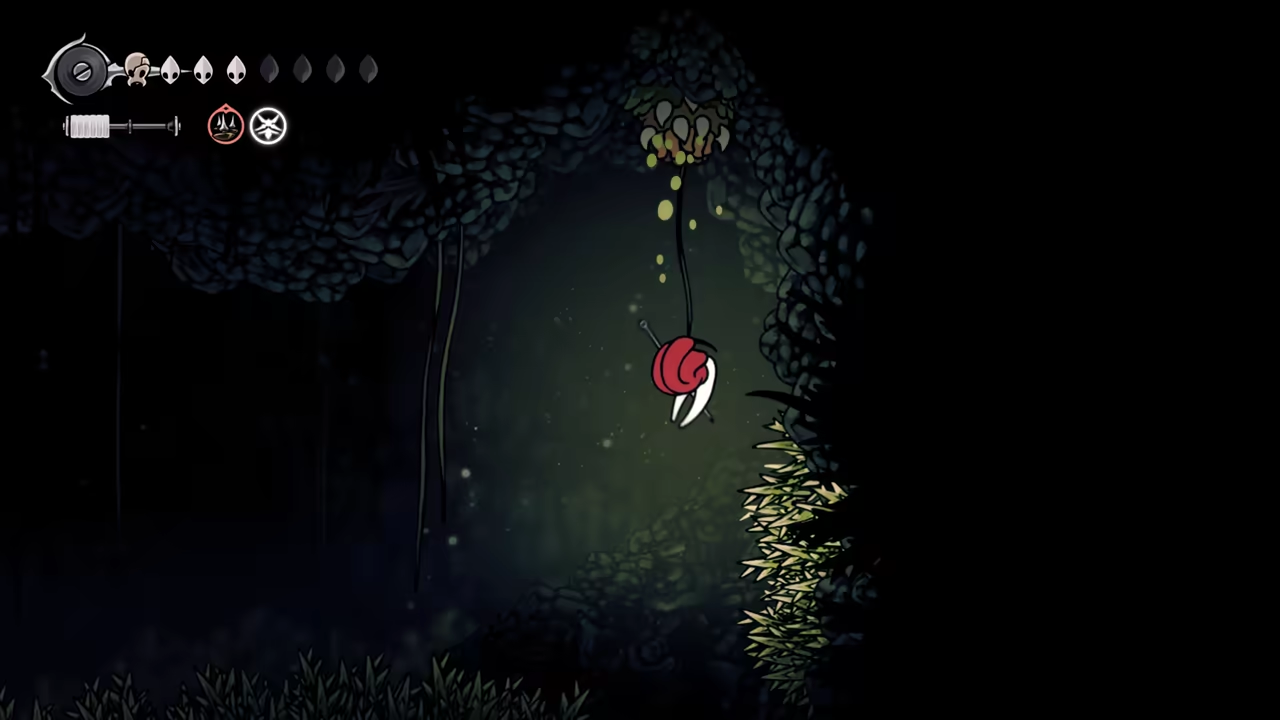
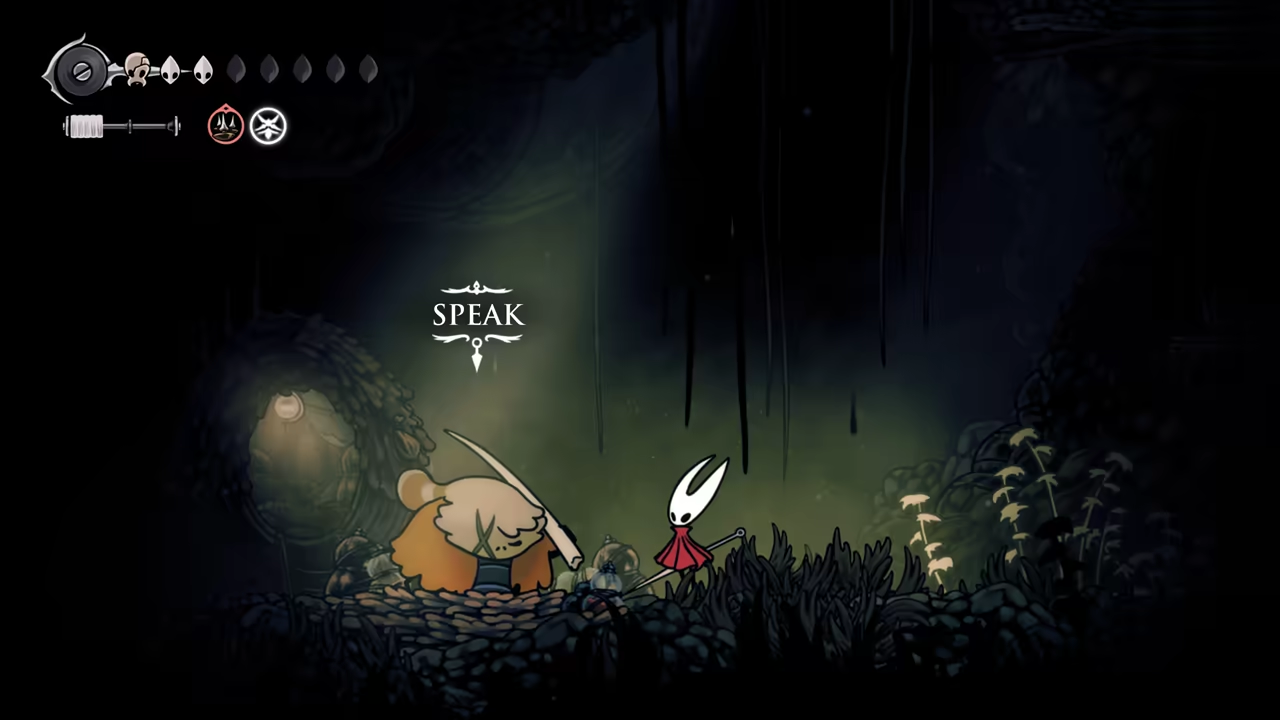
Find Vog
Section titled “Find Vog”Continue going up, using the Barnarks and your Clawline (hook) to assist with platforming. You will find Vog at the top.
-
Travel to The Slab
Section titled “Travel to The Slab”Now you can drop into the pit to access the bell station. We will fast travel to The Slab from there.
100% The Slab
Section titled “100% The Slab”
Key Items
- Flea (x2)
- Key of Apostate
- Spool Fragment
- Memory Locket
- Map
- Mask Shard
- Indolent Key
- Heretic Key
Bosses
Quests
- The Lost Fleas
After fast traveling back to the slab, we can start our first route for this area:
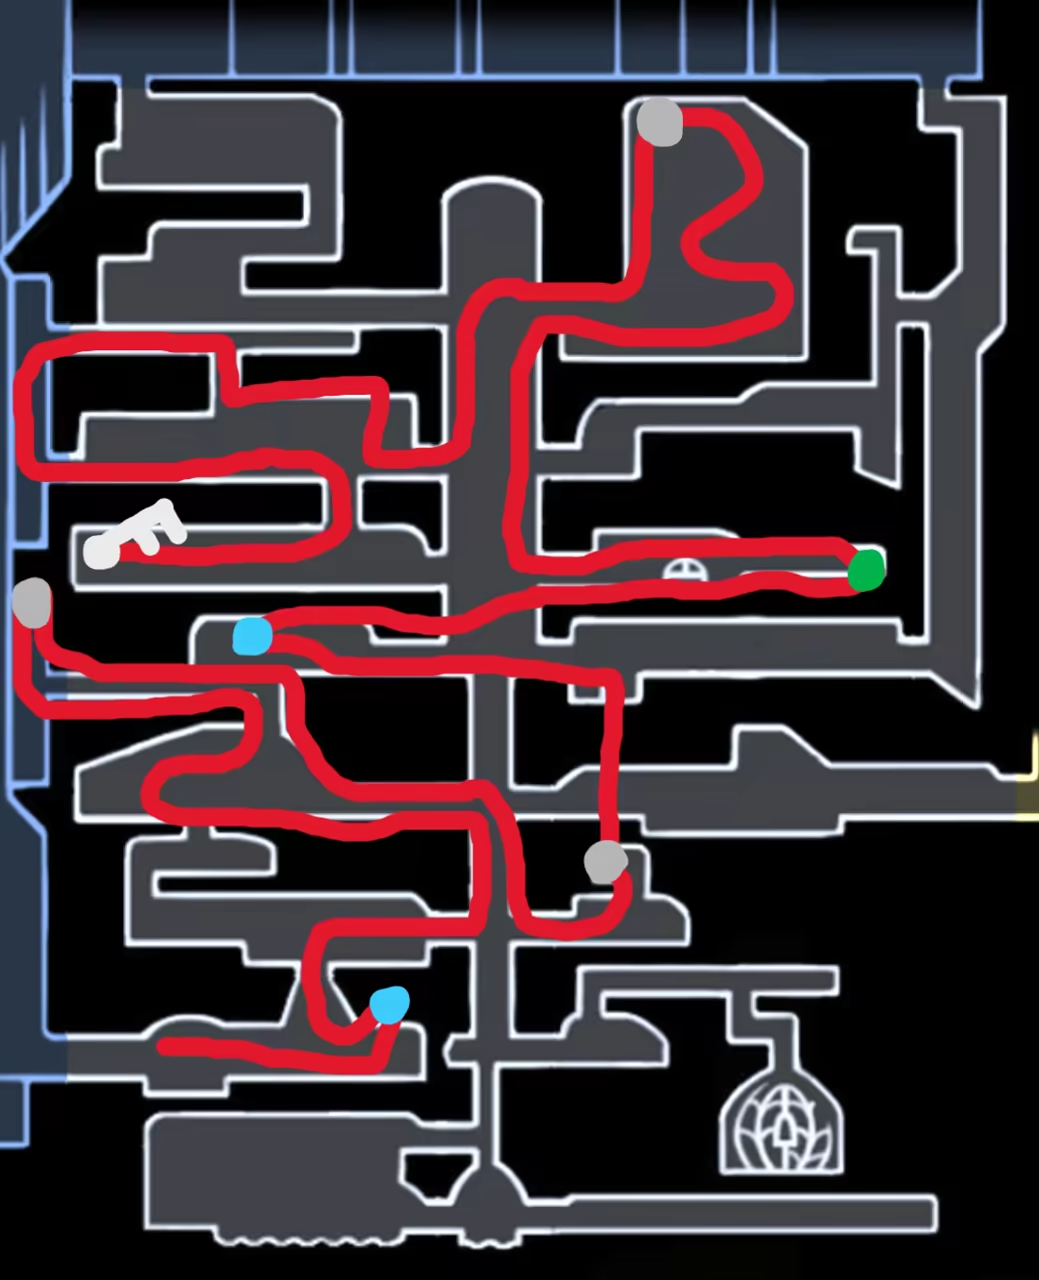
-
Find the First Flea
Section titled “Find the First Flea”Right next to the fast travel point, above the bench, you’ll find a lost flea.
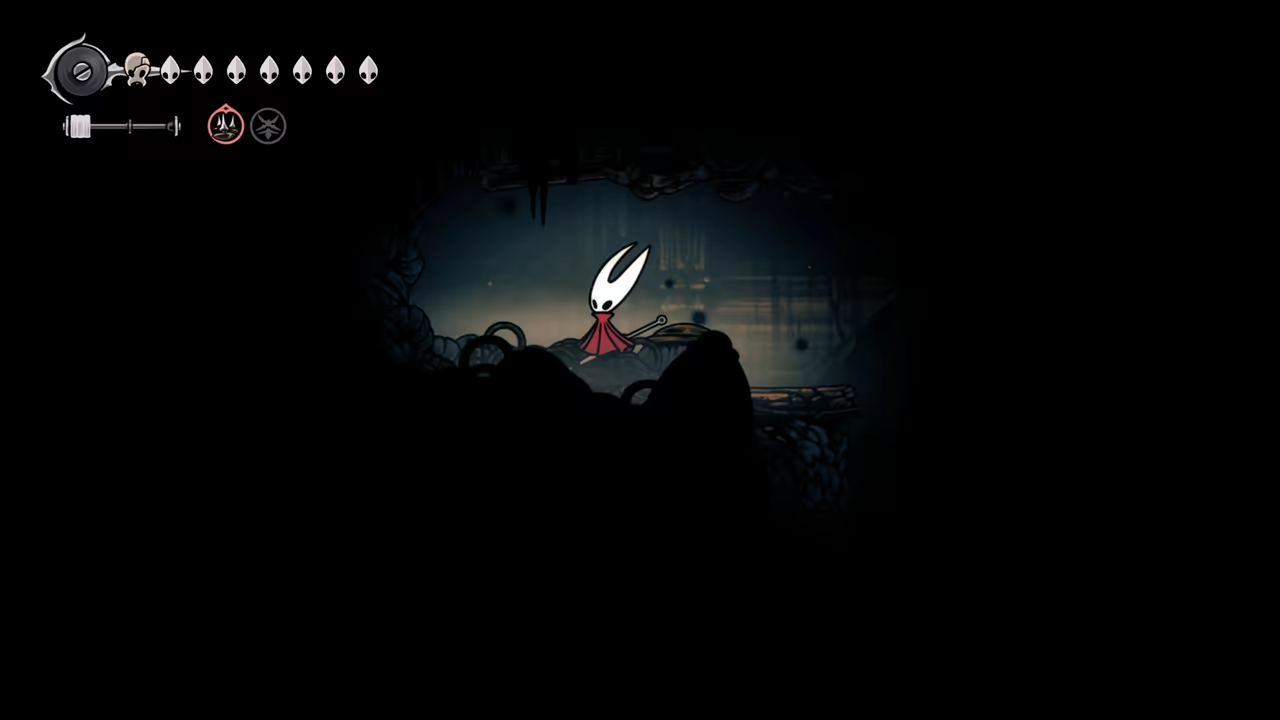
-
Get Spool Fragment and Memory Locket
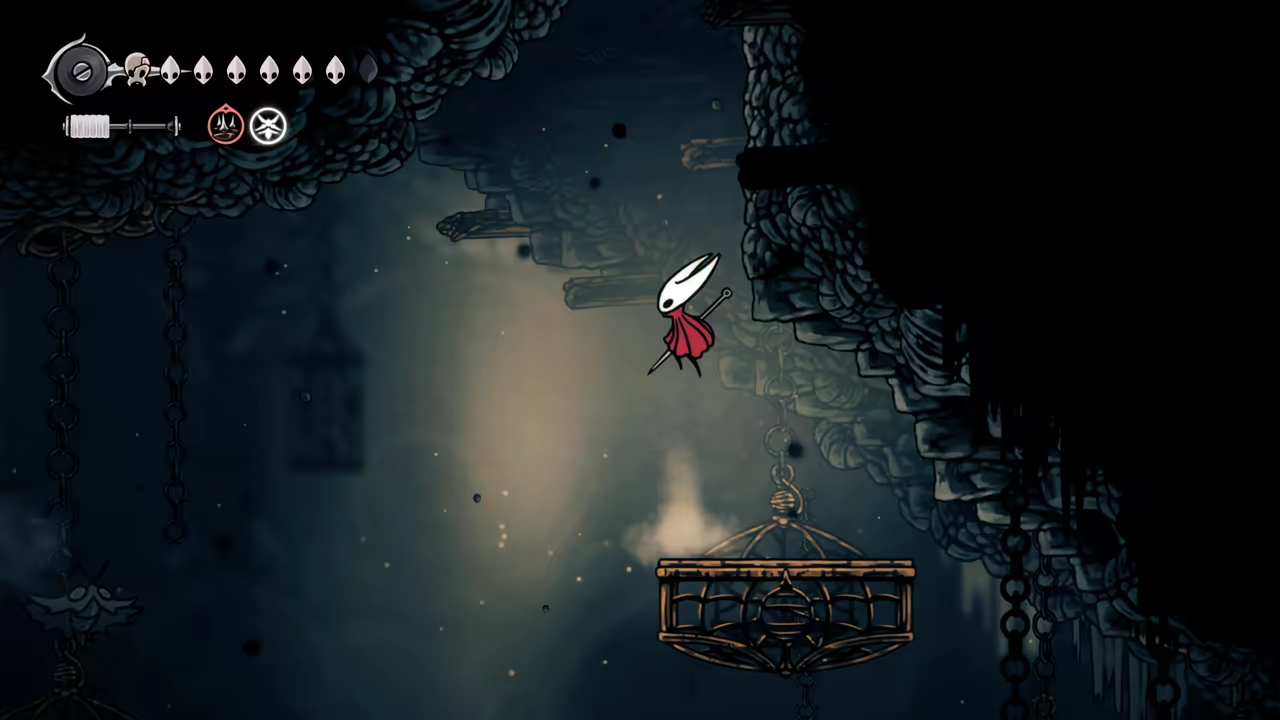
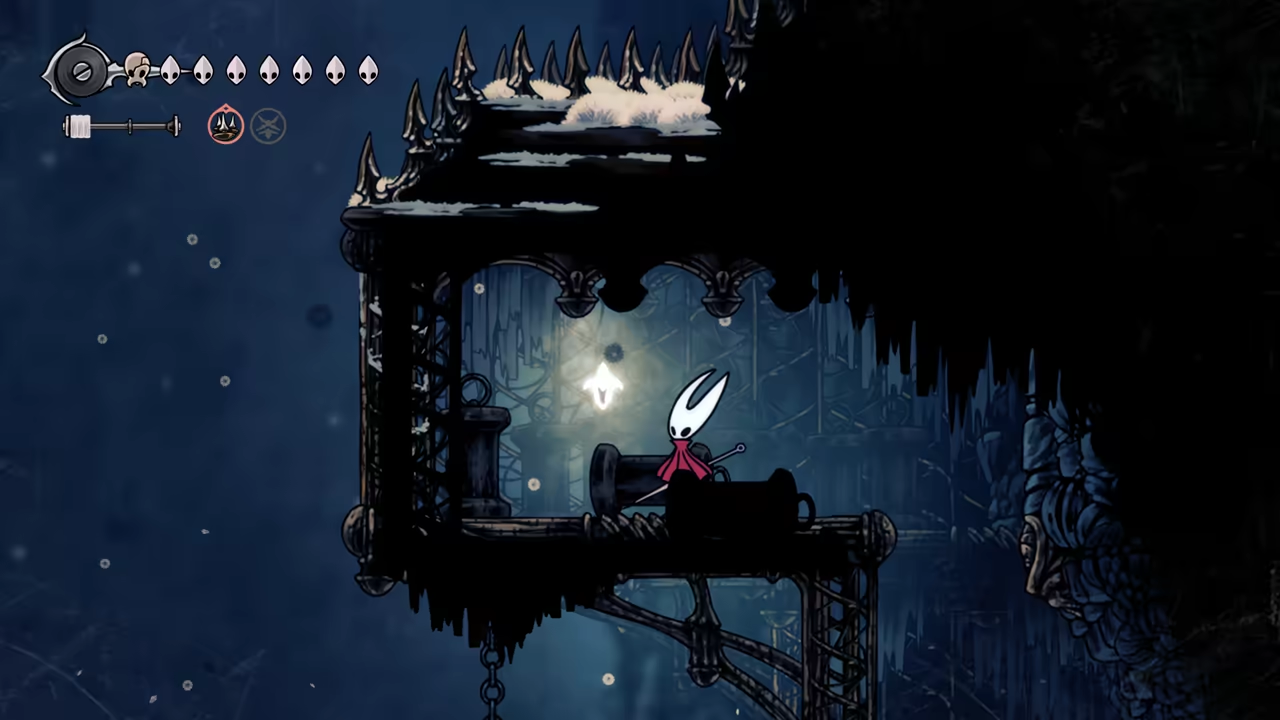
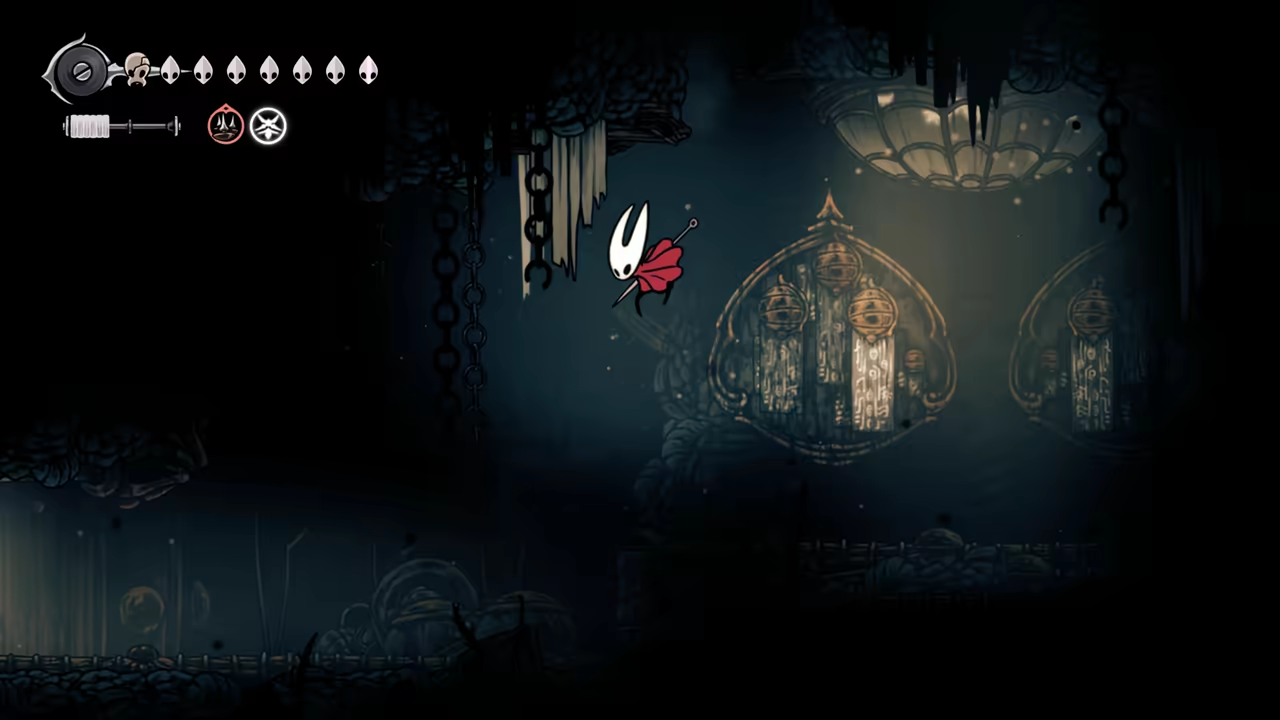
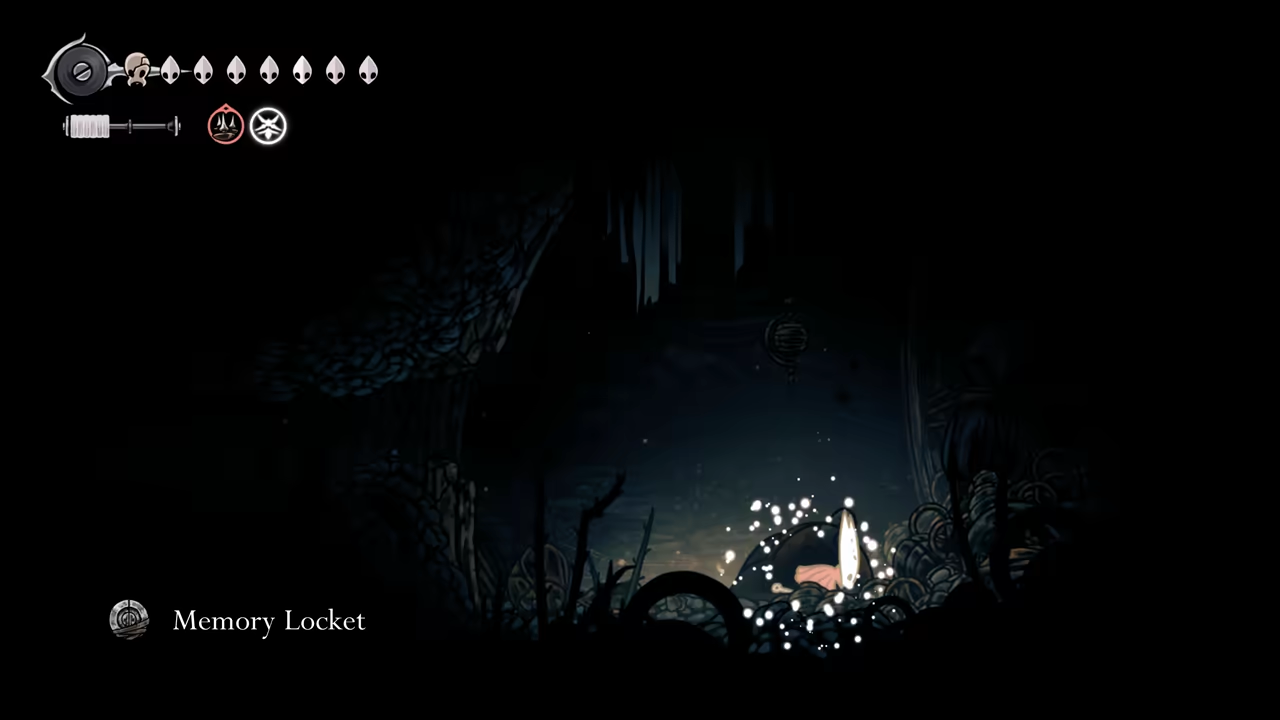
Section titled “Get Spool Fragment and Memory Locket”Go up and leave the area to the right using the Key of Apostate. In the tall corridor, enter the room on the left, climb to the top, and reach the outside area to find a Spool Fragment. Return to the tall corridor, jump into the hidden passage, and enter the cave to find a Memory Locket.
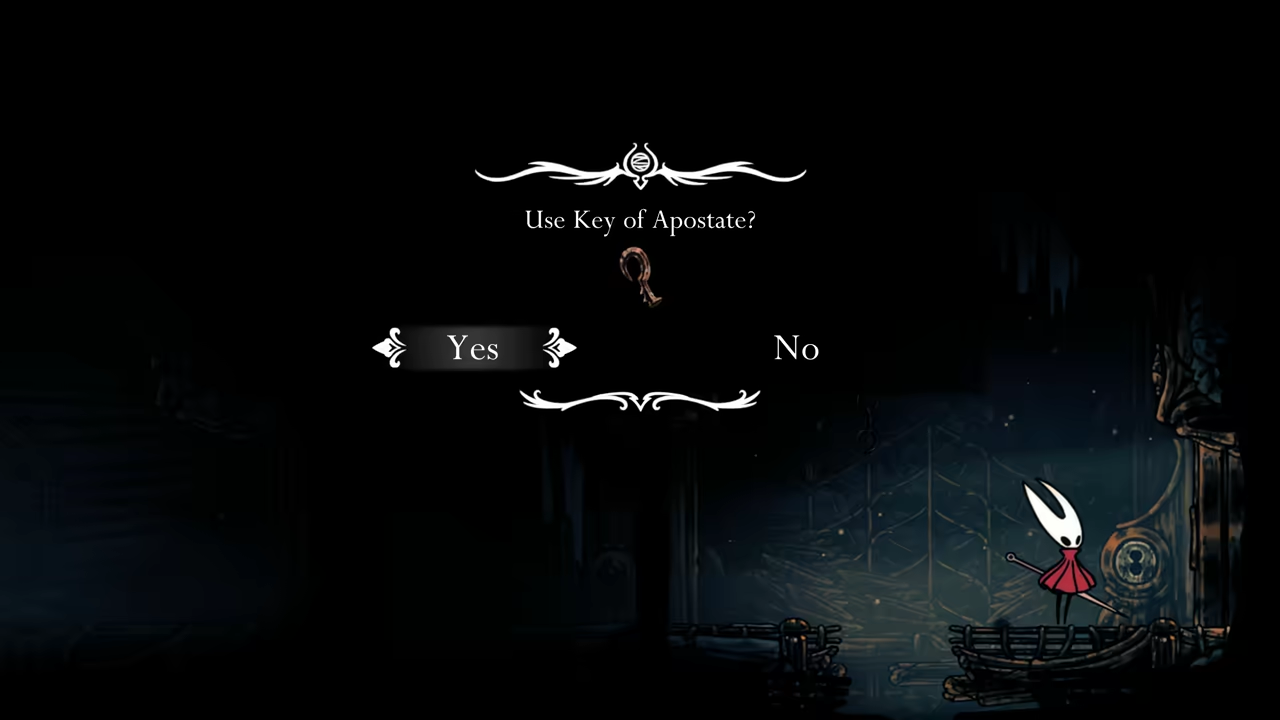
-
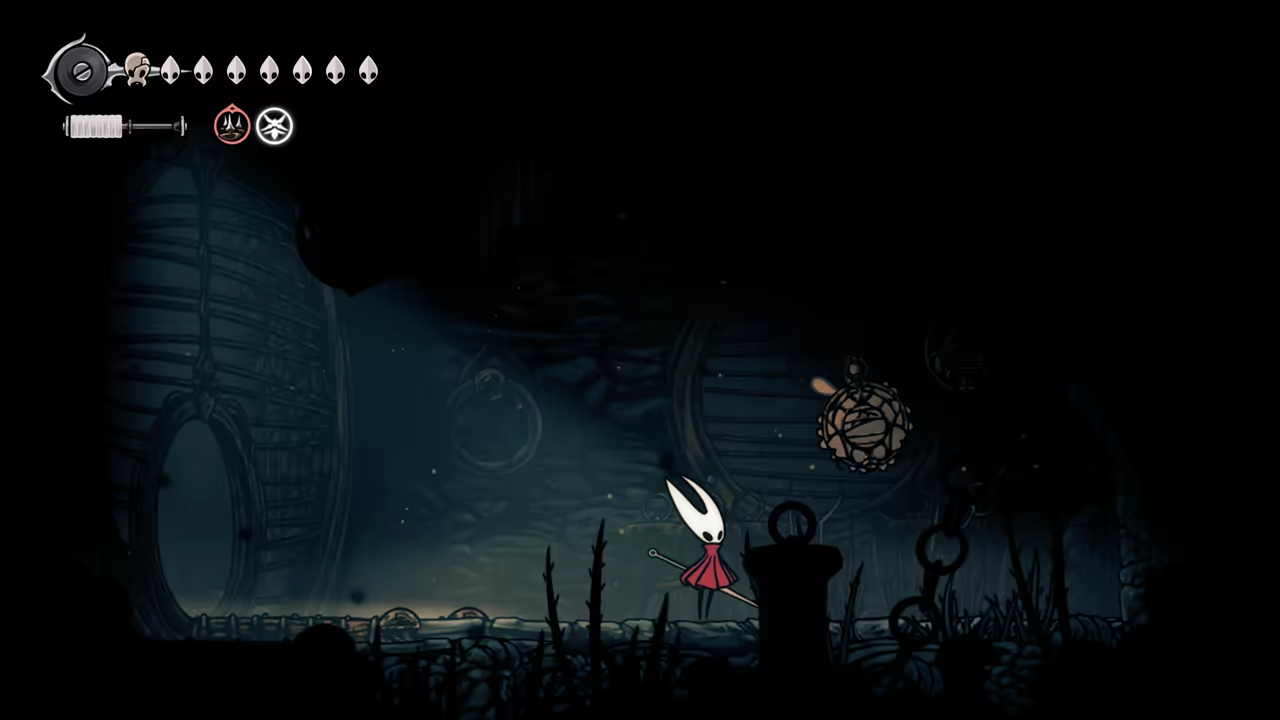
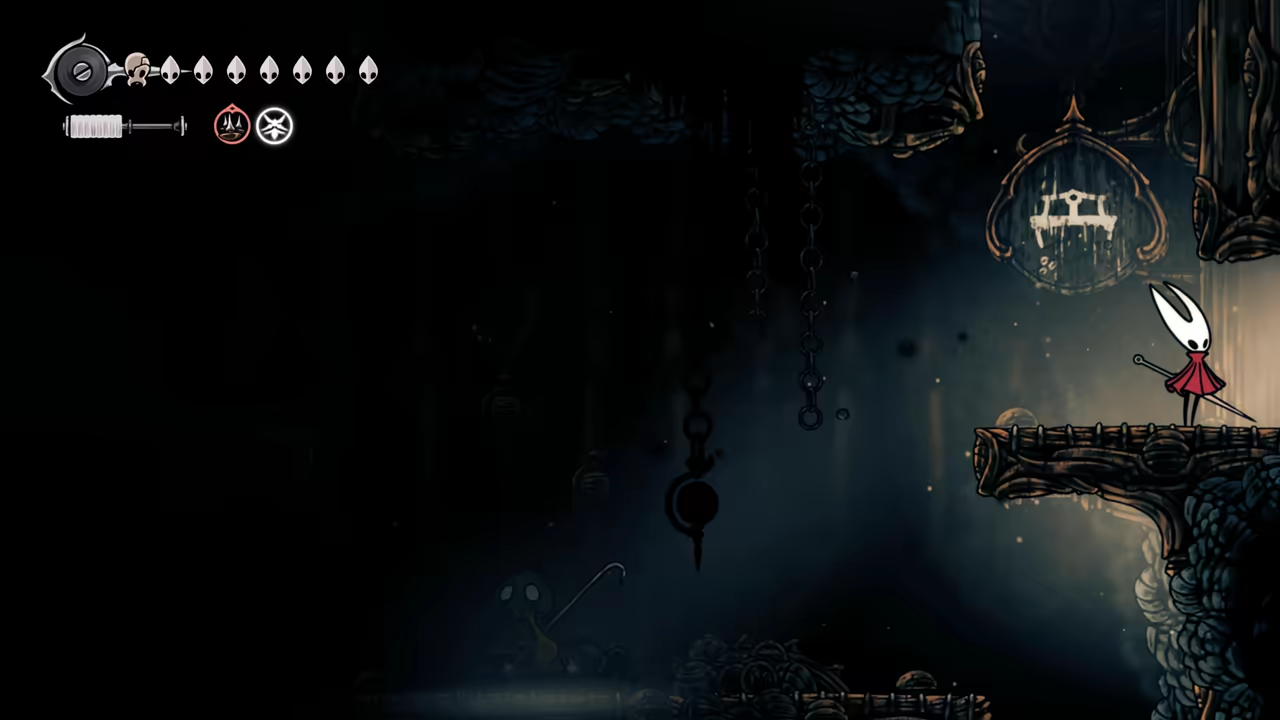
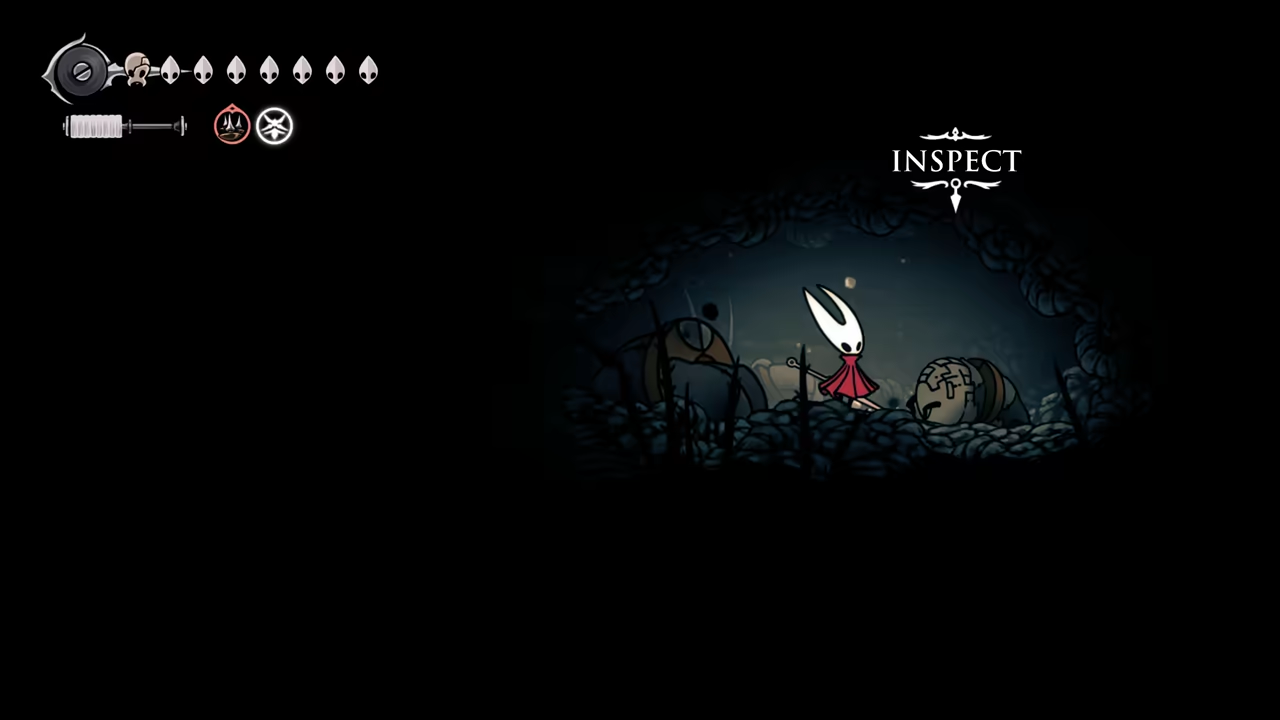
Find the Second Flea and the Map
Section titled “Find the Second Flea and the Map”Heading all the way to the left, you will find another lost flea trapped in a cage. Back in the tall corridor, continue to the right to find a bench. At the far right of the room, you can find the map.
-
Get the Mask Shard
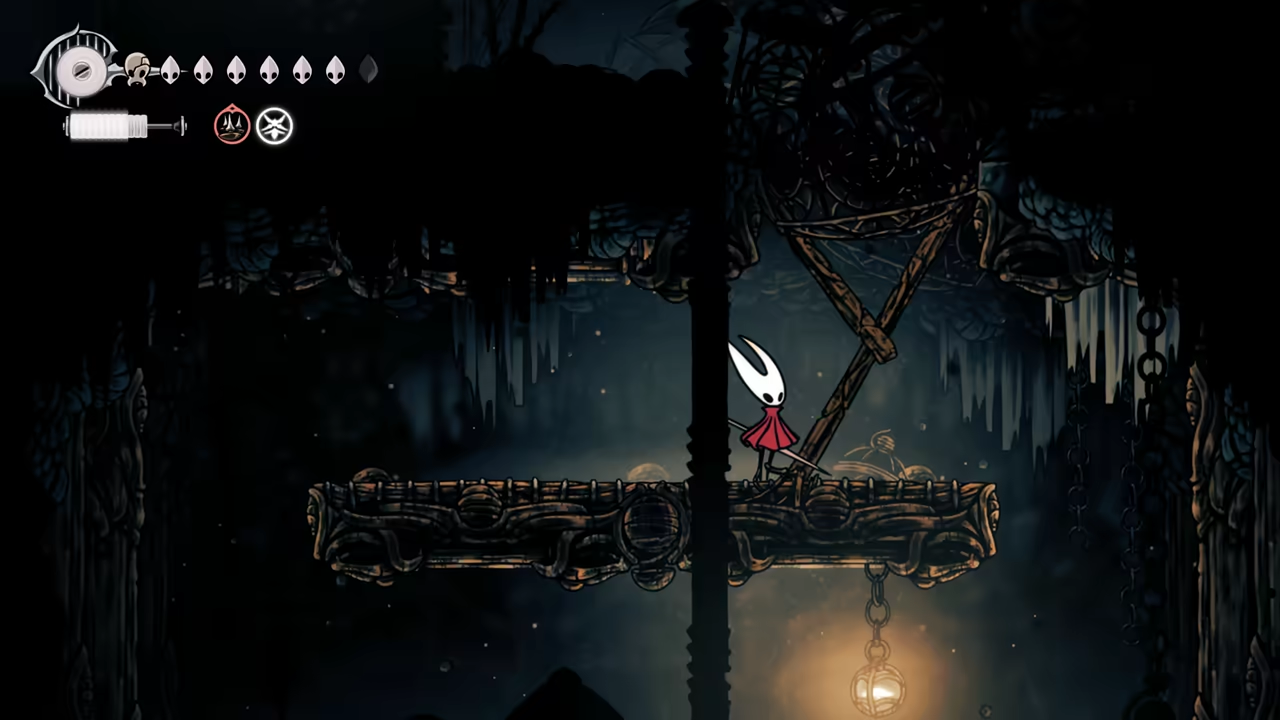
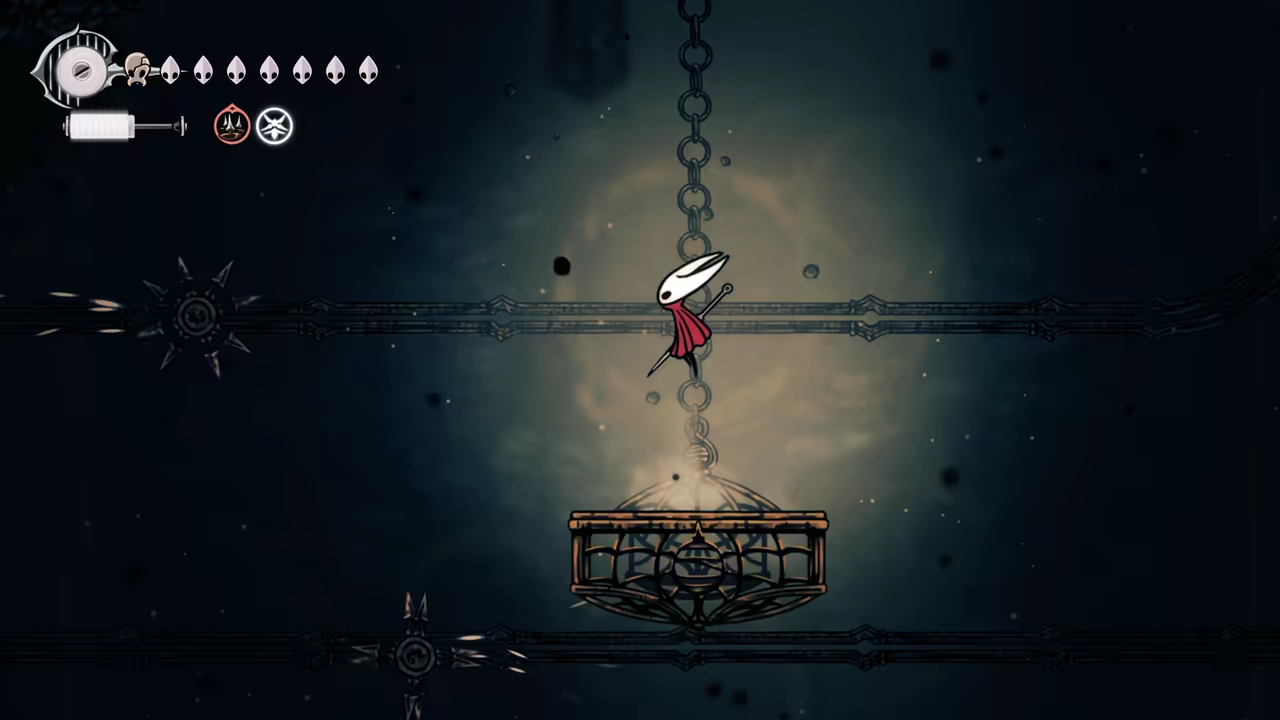
Section titled “Get the Mask Shard”Use the bench as a save spot. Climb the tall corridor until you reach a breakable ceiling. At the top right, use the Apostate Key again. Inside, there’s a platforming challenge with buzzsaws. It’s much easier with Faydown Cloak (double jump). Clear this to get a mask shard.
-
Find the Indolent Key
Section titled “Find the Indolent Key”Go down the left entrance (near where you broke the ceiling) to find a door requiring the Indolent key. In this room, break the ceiling to access the upper area and circle around to find the key on the other side.
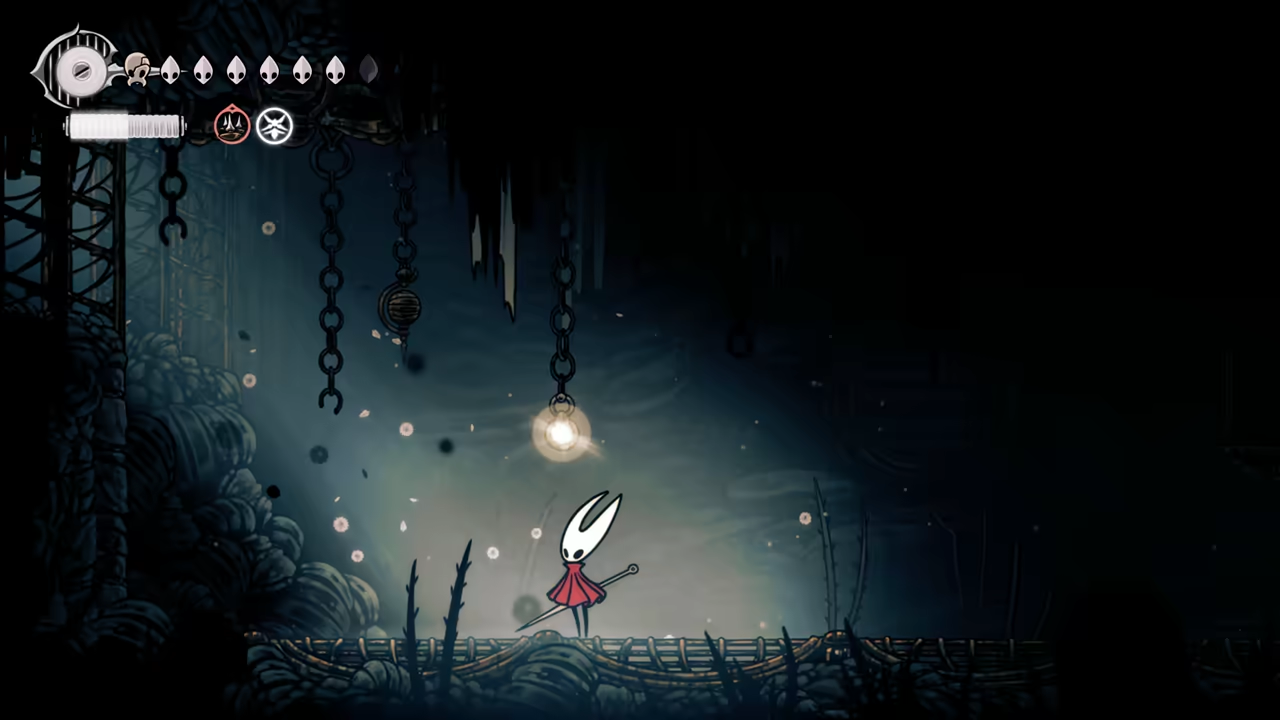
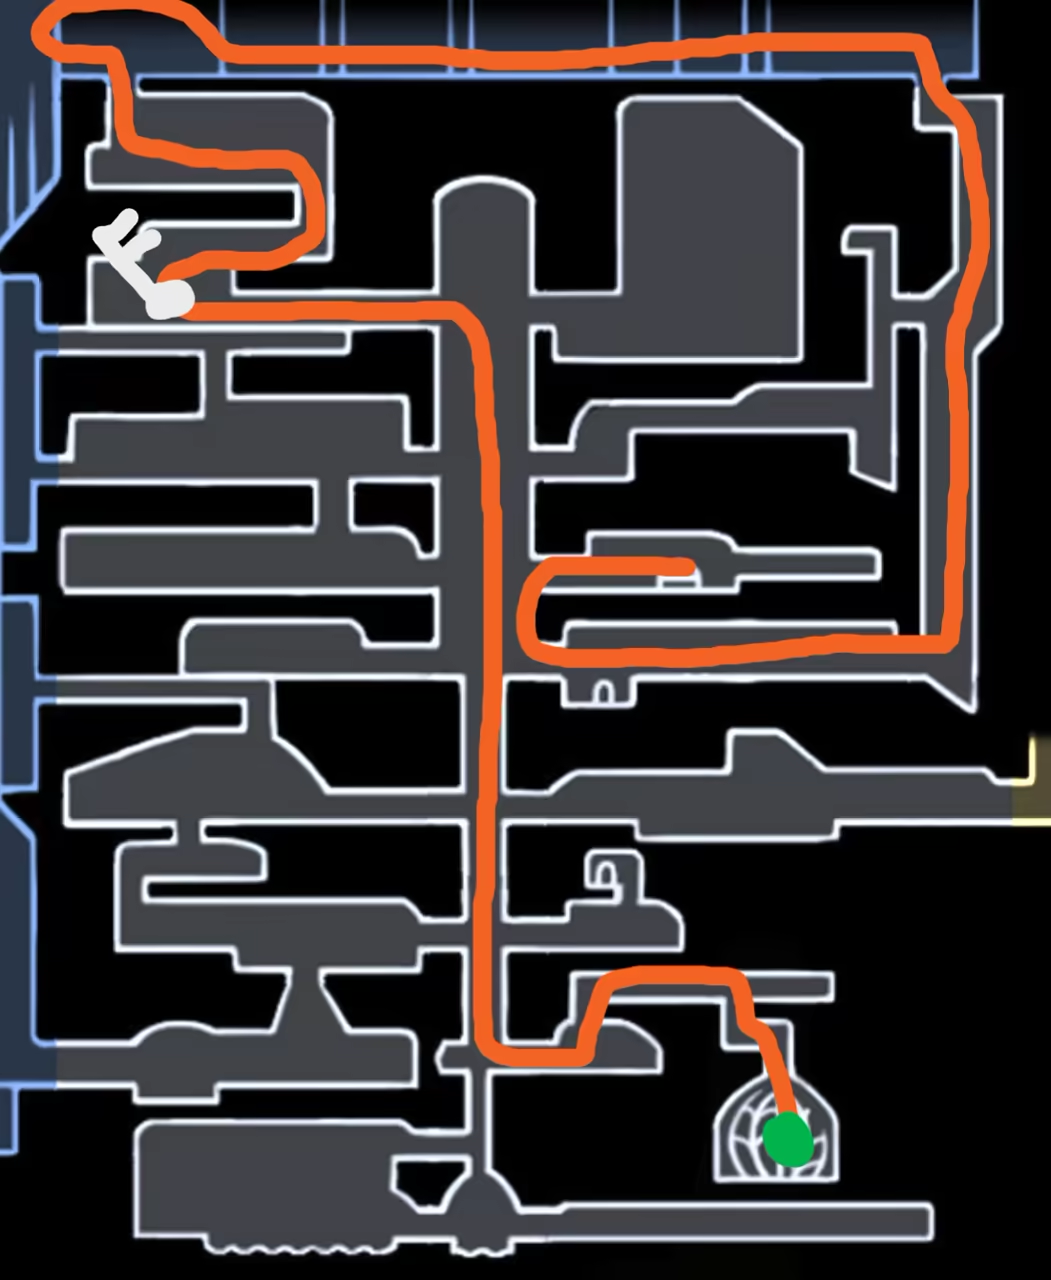
Route 2
Section titled “Route 2”With the key in hand, quit and reload at the bench to start the second part of the route:
-
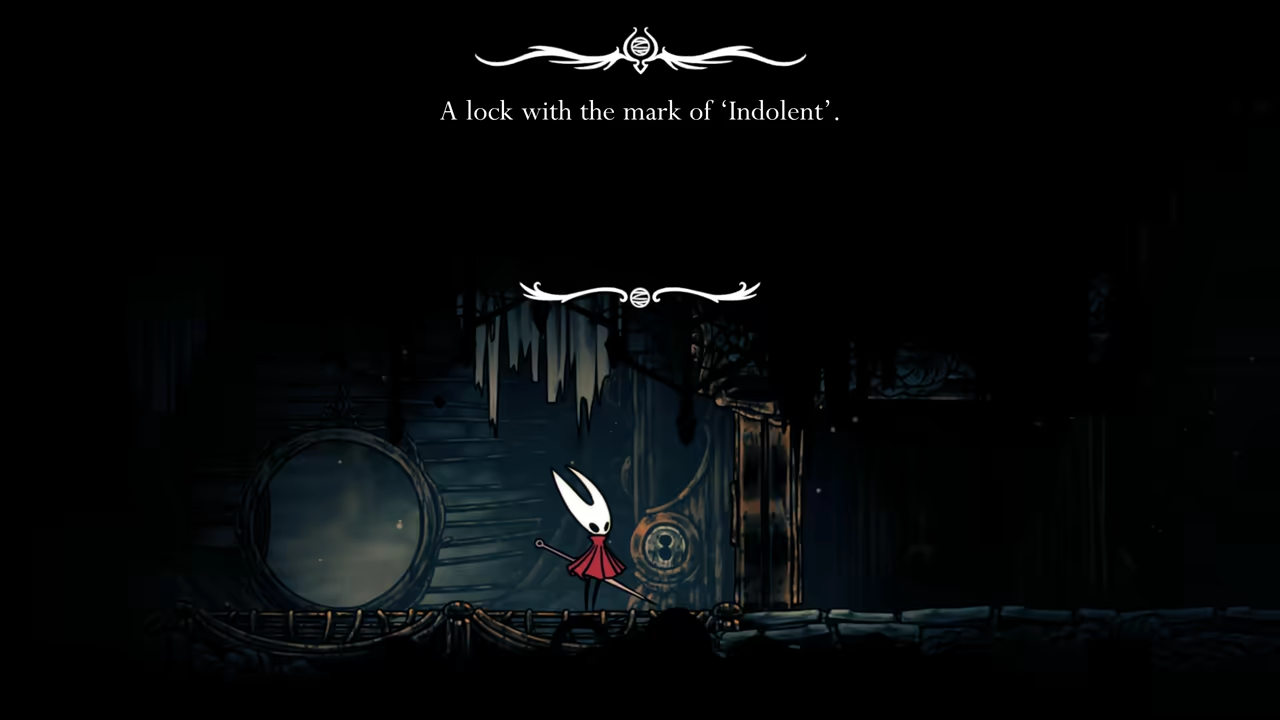
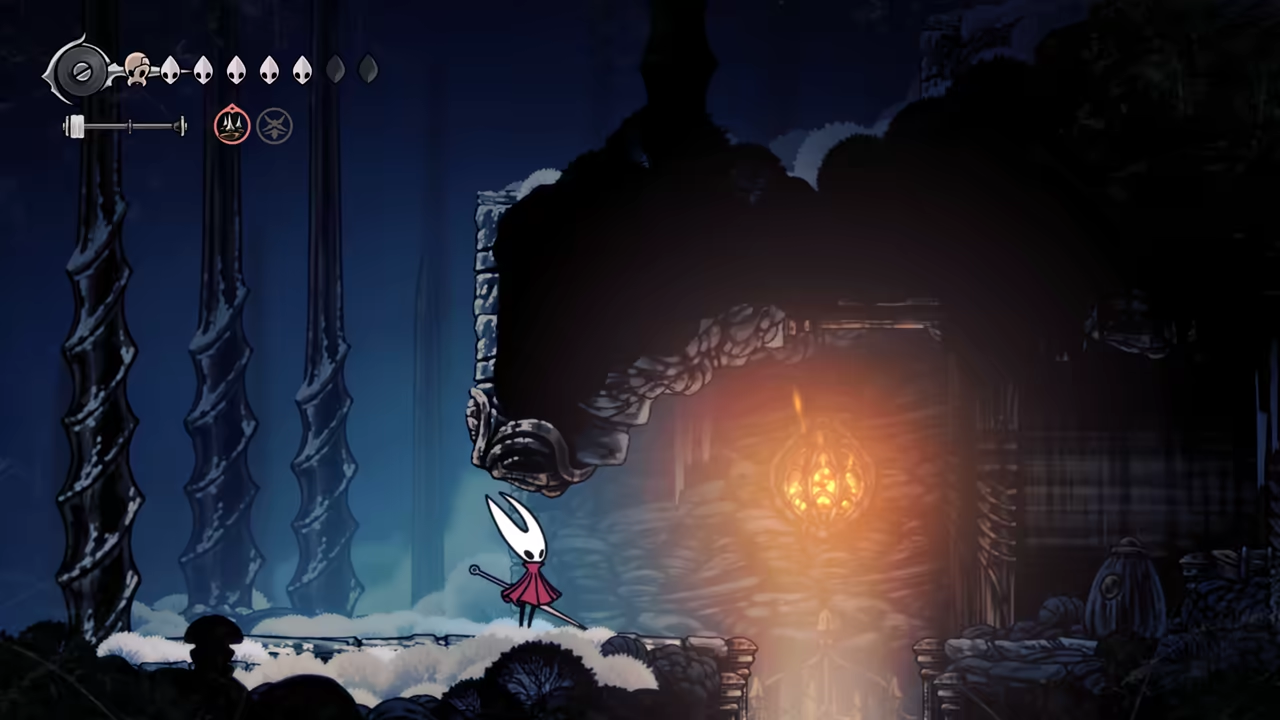
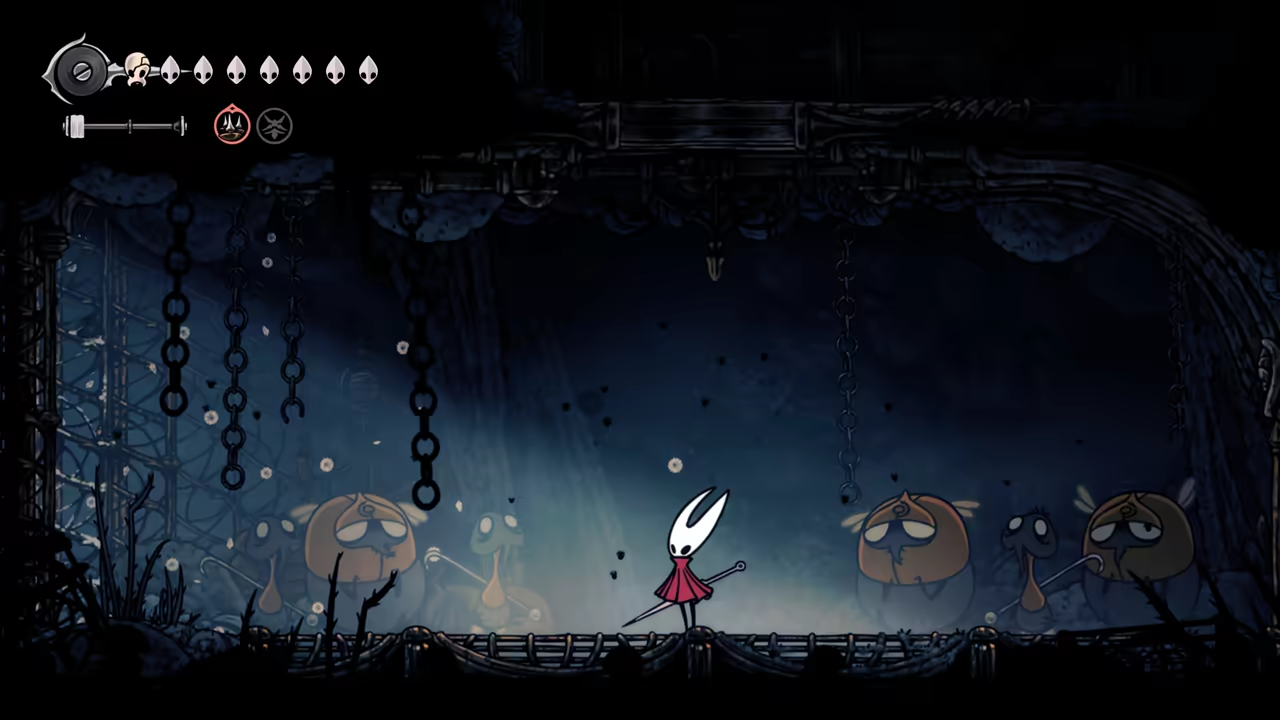
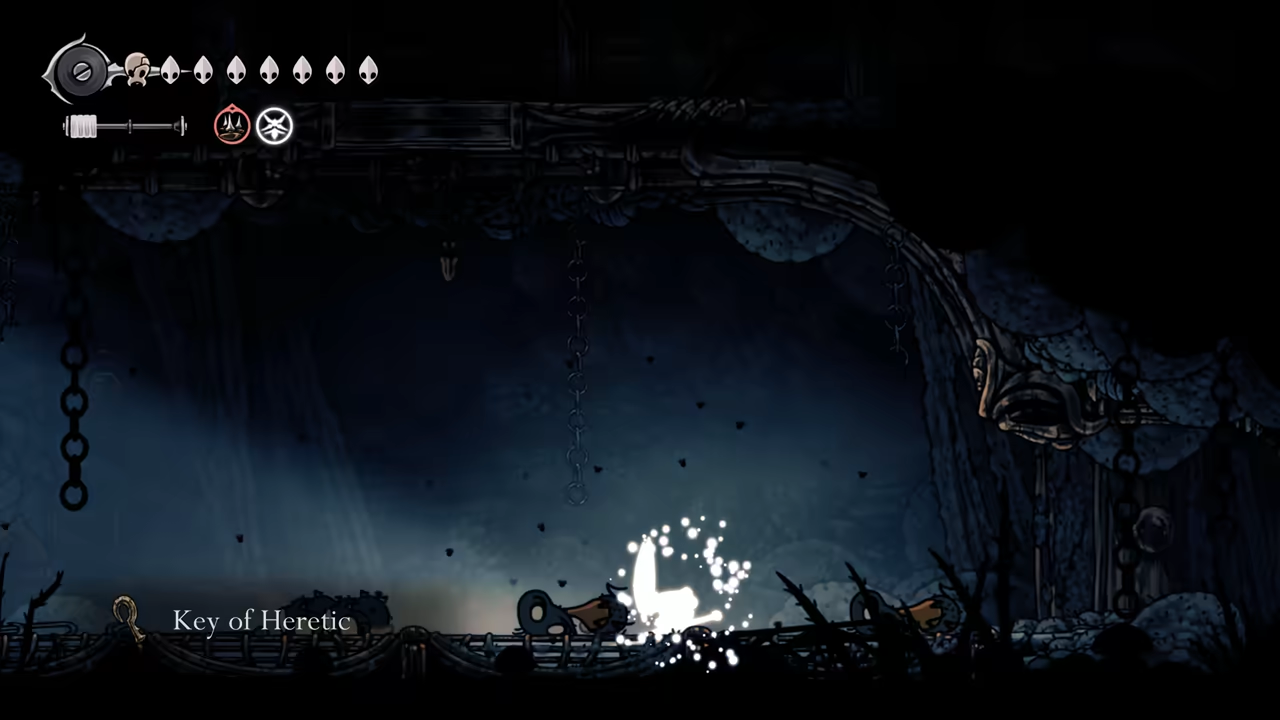
Find the Heretic Key
Section titled “Find the Heretic Key”Open the door requiring the Indolent key, located in the room below the bench. From here, climb all the way to the top of the prison, circle around, and after defeating all enemies, find the Heretic Key.
-
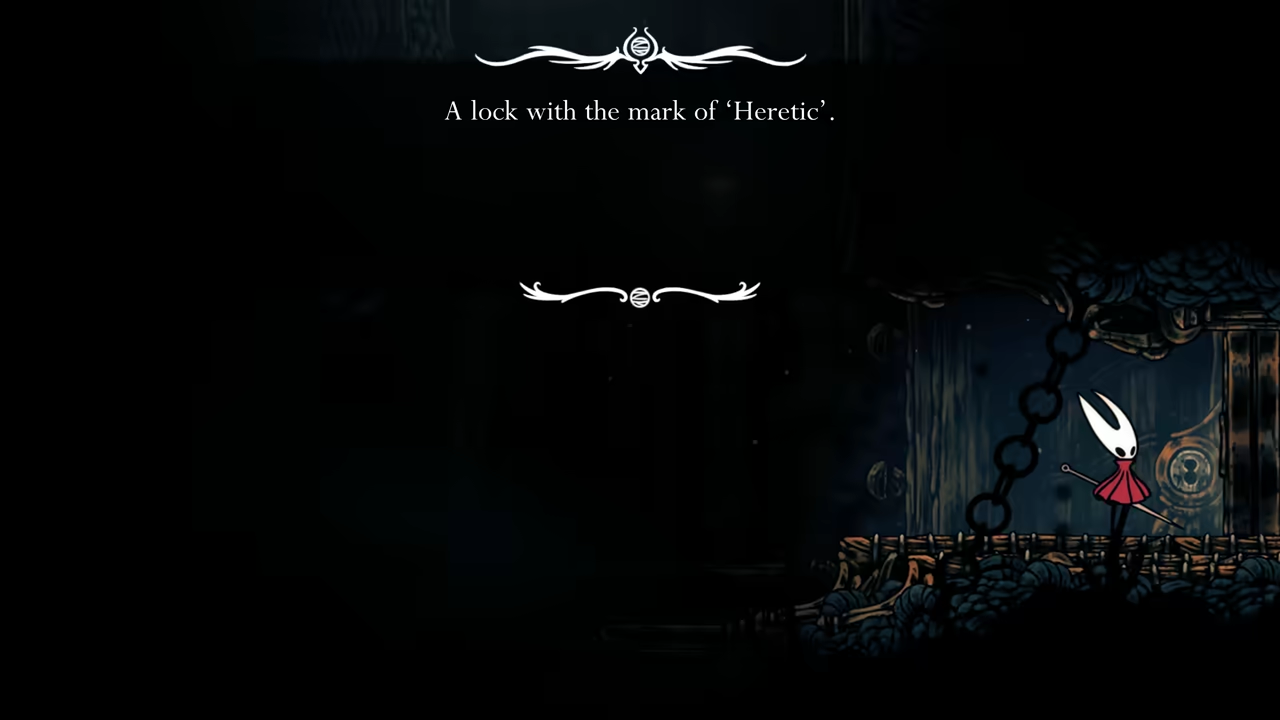
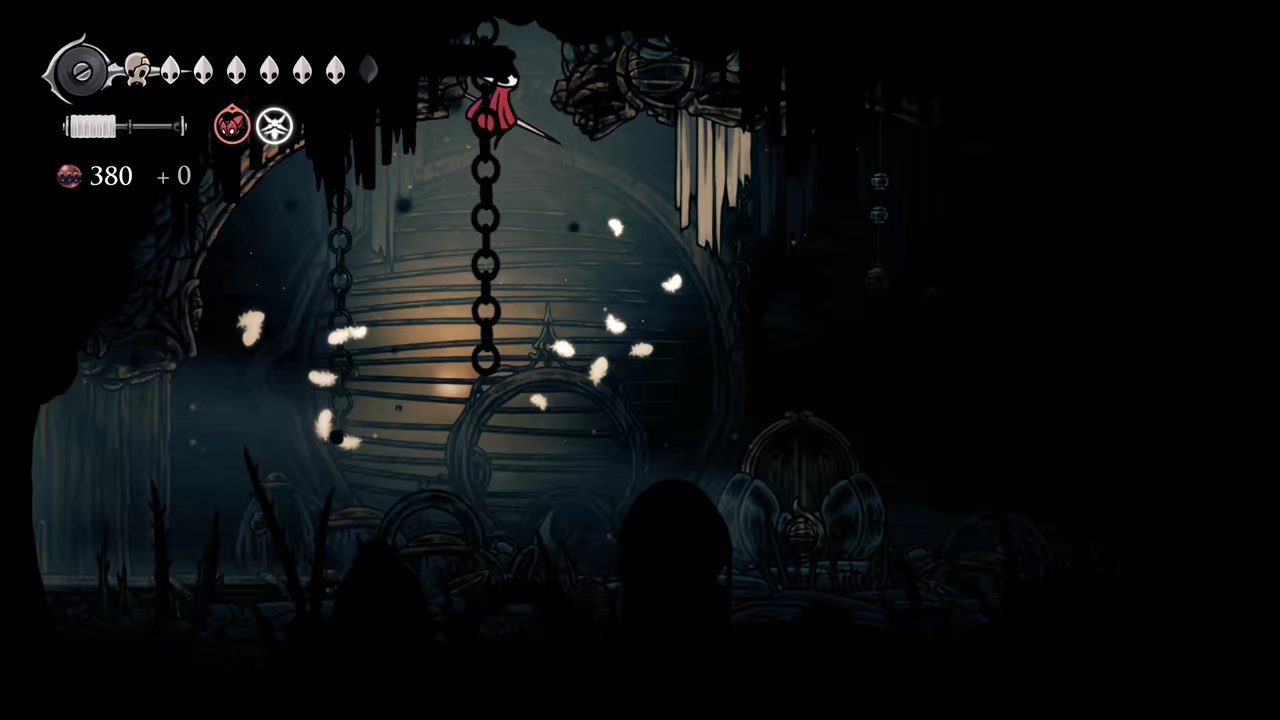
Face the First Sinner
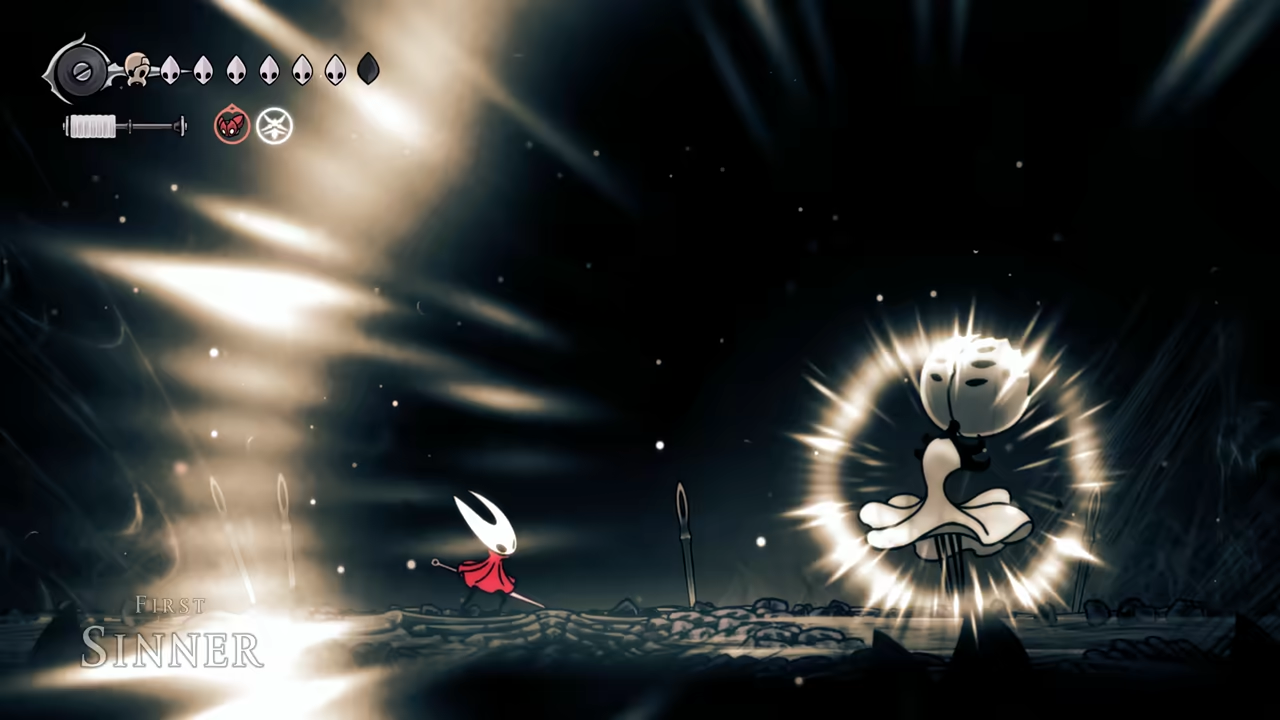
Section titled “Face the First Sinner”Descend to the bottom area to find a secret room (using Faydown Cloak (double jump)) behind a locked door requiring the Heretic key. Unlock all the cage bindings inside and prepare to face the First Sinner.
-
Get the Rune Rage Skill
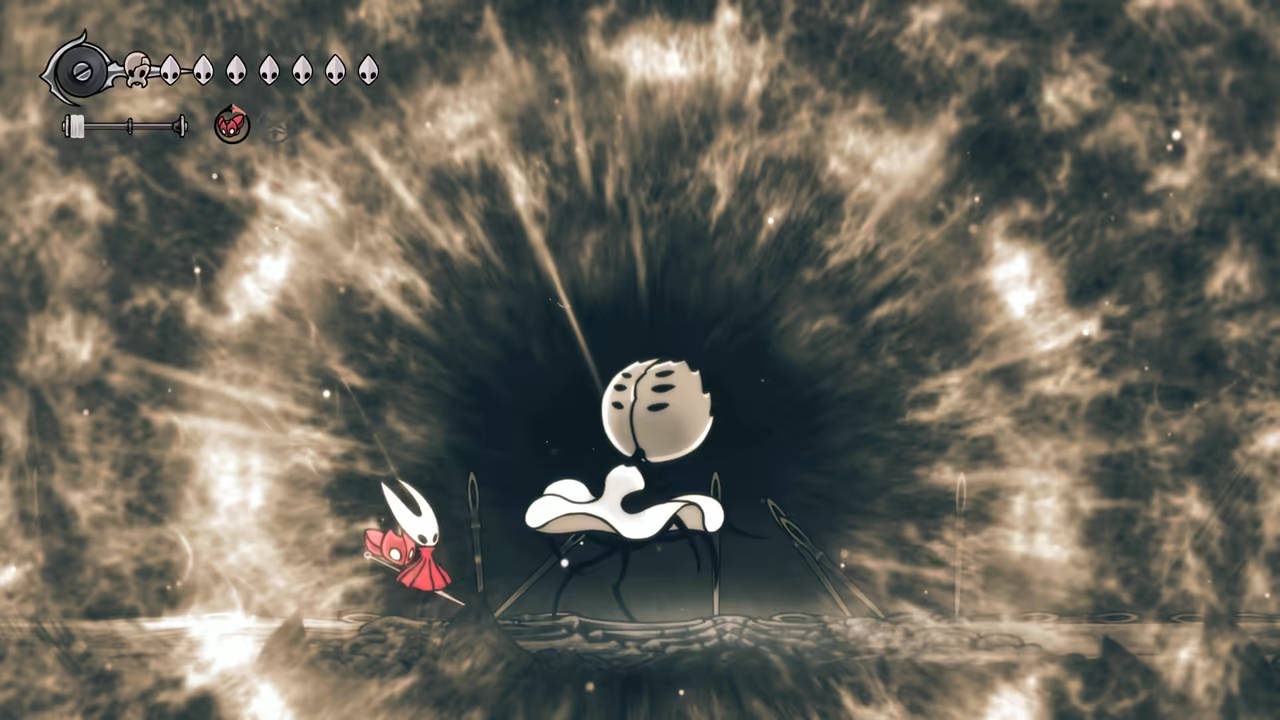
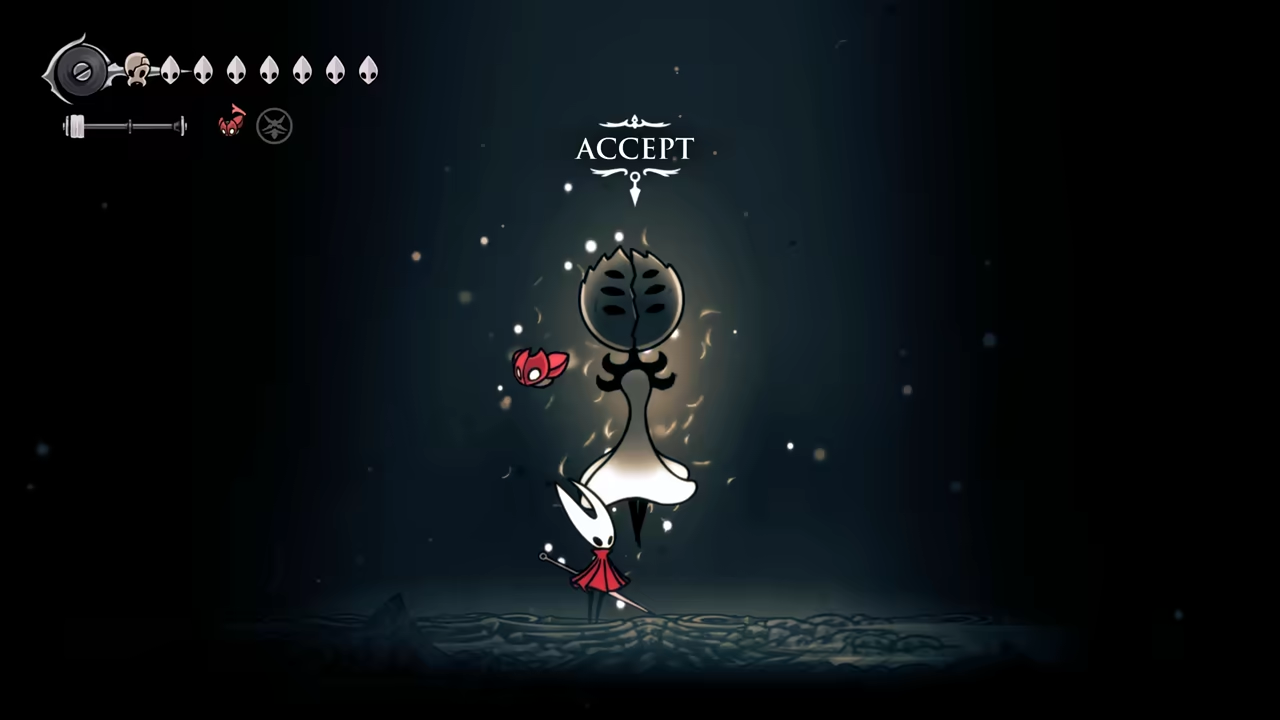
Section titled “Get the Rune Rage Skill”Defeating her grants you the Rune Rage skill, and that completes this section.
100% Act 2 Quests + Shops Cleanup
Section titled “100% Act 2 Quests + Shops Cleanup”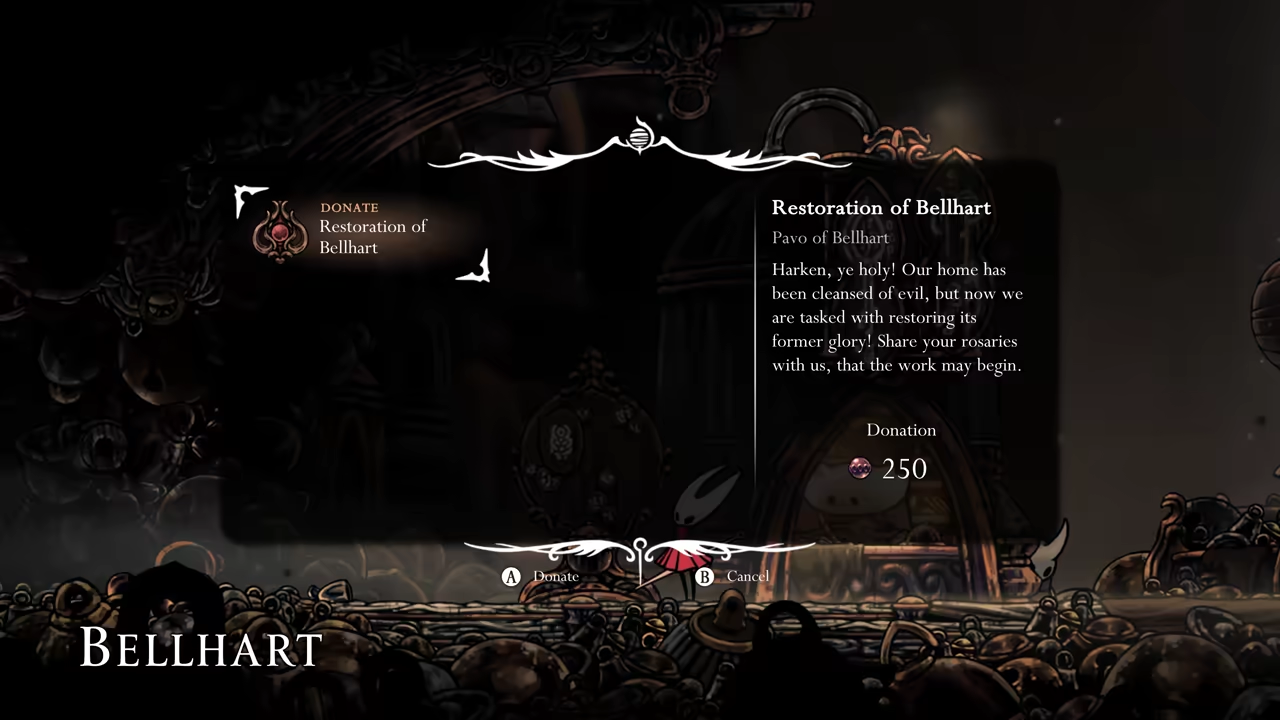
Key Items
- Horn Fragment
- Mask Shard
- Bellhome Key
- Skewered Organs
- Seared Organs
- Shredded Organs
- Spider Strings
- Spool Fragment
- Craftmetal
- Reserve Bind (Tool)
- Silkshot
- Cogwork Wheel
- Scuttlebrace
- Architect's Key
- Sawtooth Circlet
- Crafting Kit Upgrade
- Architect Crest
Quests
- Bone Bottom Repairs
- Garb of the Pilgrims
- A Lifesaving Bridge
- Volatile Flintbeetles
- The Terrible Tyrant
- An Icon of Hope
- Pinmaster's Oil
- Silver Bells
- My Missing Courier
- My Missing Brother
- Crawbug Clearing
- Restoration of Bellhart
- Bellhart's Glory
- Savage Beastfly Quest
- Huntress Quest
- Jubilana Quest
NPCs
- Pavo
- Huntress
- Jubilana
- Architect
This is probably the most boring part of the run, but we need to clean up before heading toward Bilewater. Let’s make it as painless as possible.
Bone Bottom Cleanup
Section titled “Bone Bottom Cleanup”Bellhart Cleanup
Section titled “Bellhart Cleanup”-
Start Donation Quests
Section titled “Start Donation Quests”You might find a few unfinished quests. First, talk to Pavo to unlock the donation quests. Leave and return to find the first one available.
-
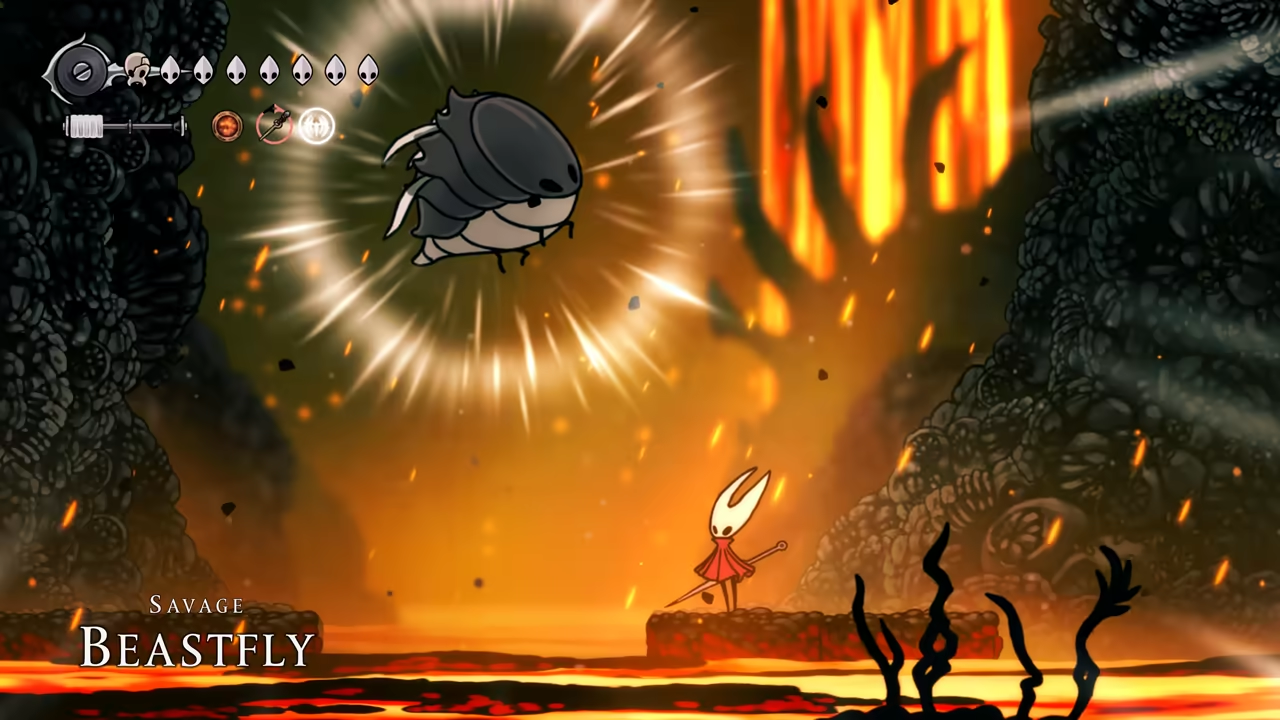
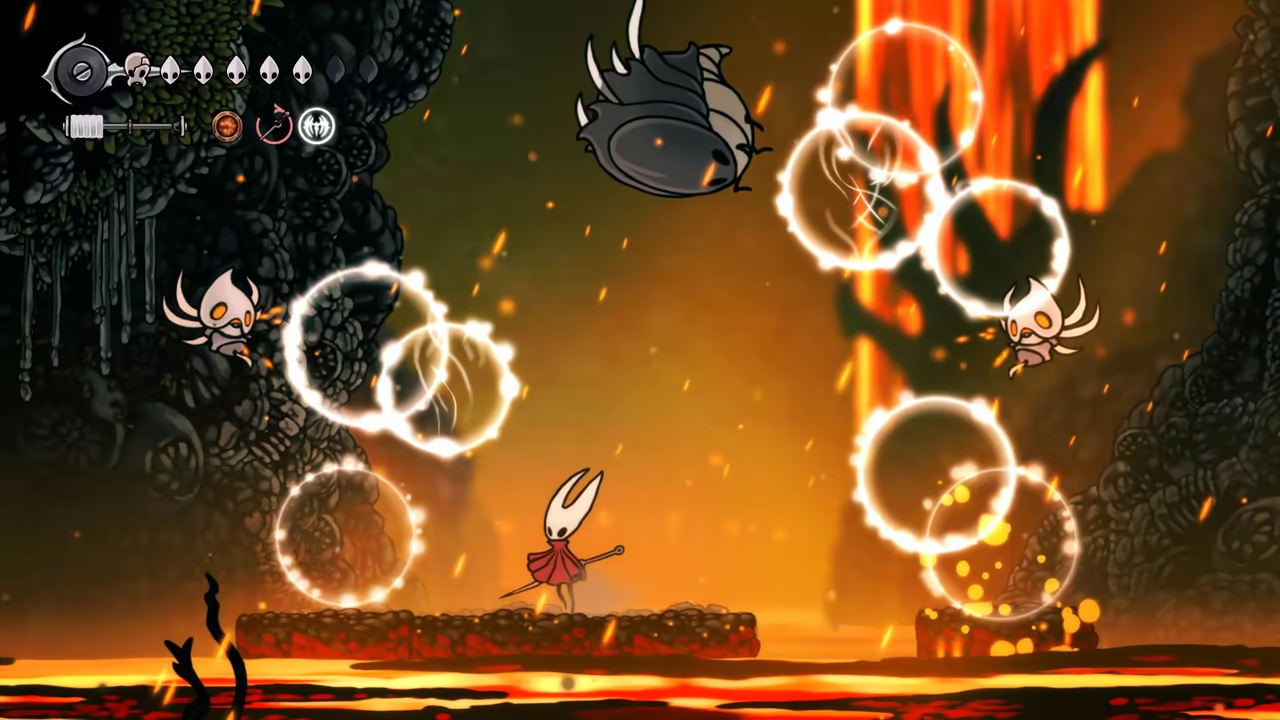
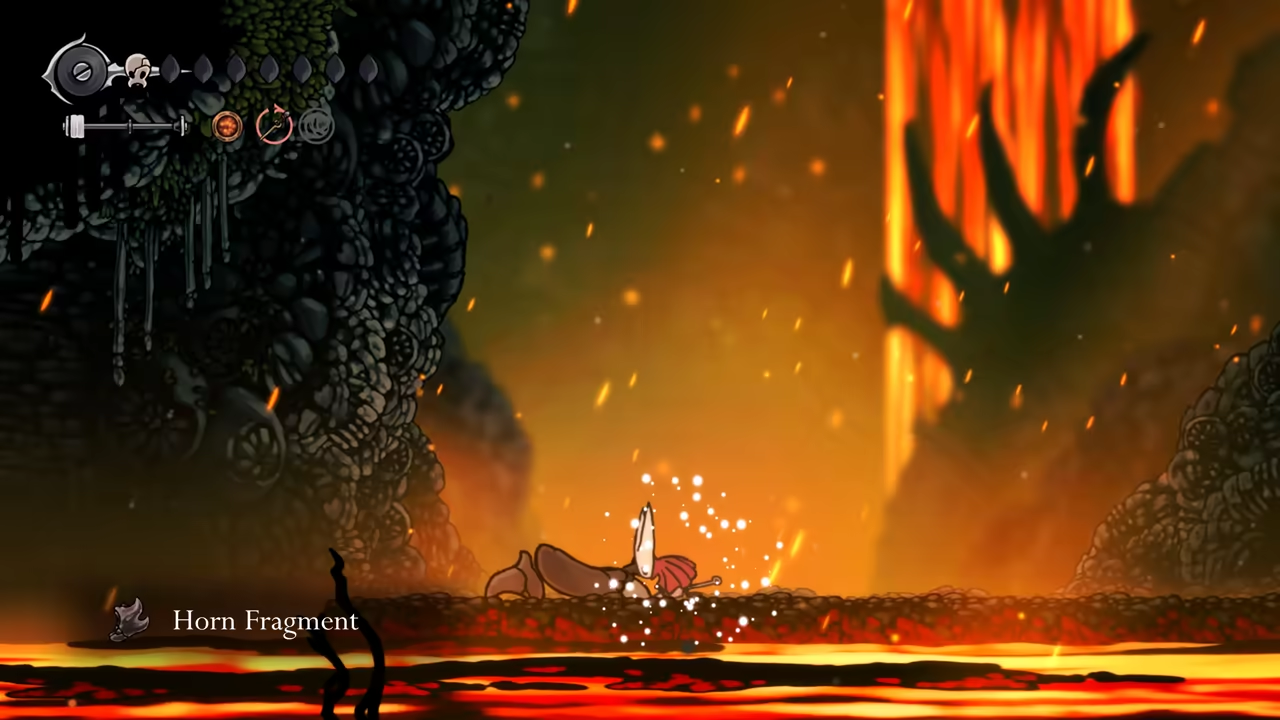
Hunt the Savage Beastfly
Section titled “Hunt the Savage Beastfly”Next, hunt the Savage Beastfly at the Far Fields (from the Fourth Chorus fight).
-
Complete Bellhart Quests
Section titled “Complete Bellhart Quests”Completing the Savage Beastfly quest gives you a mask shard and unlocks the next donation quest.
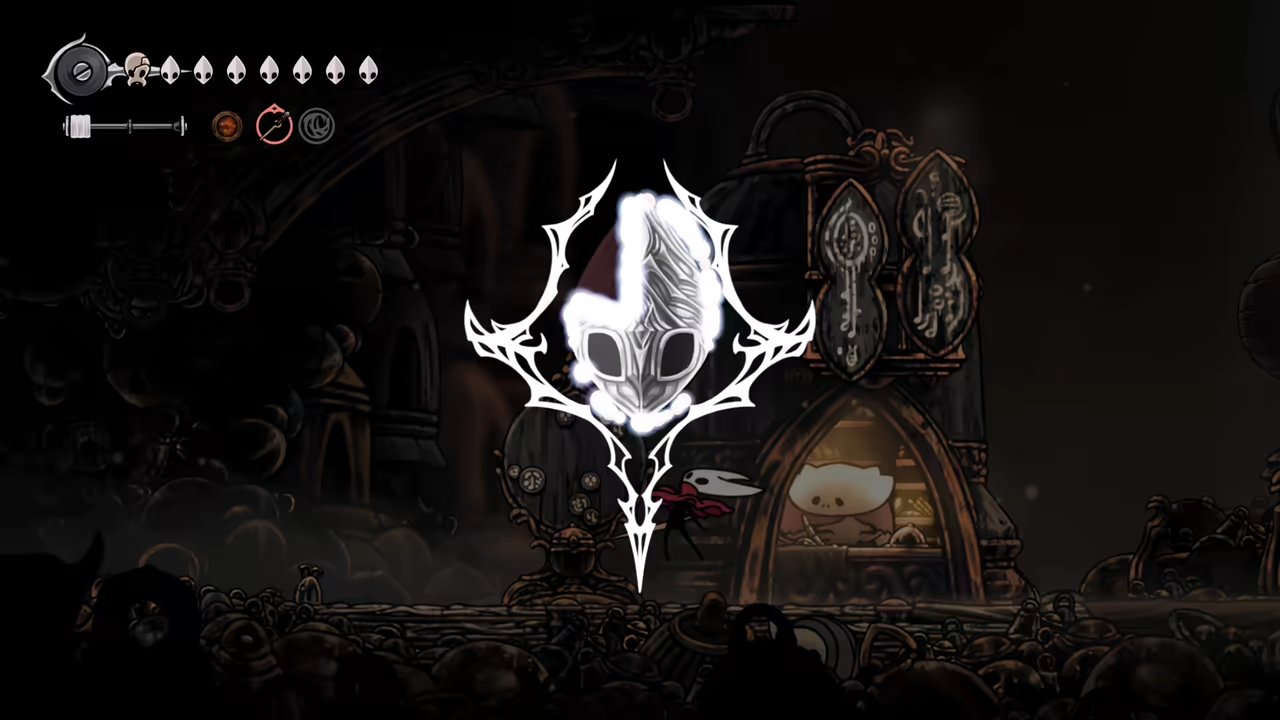
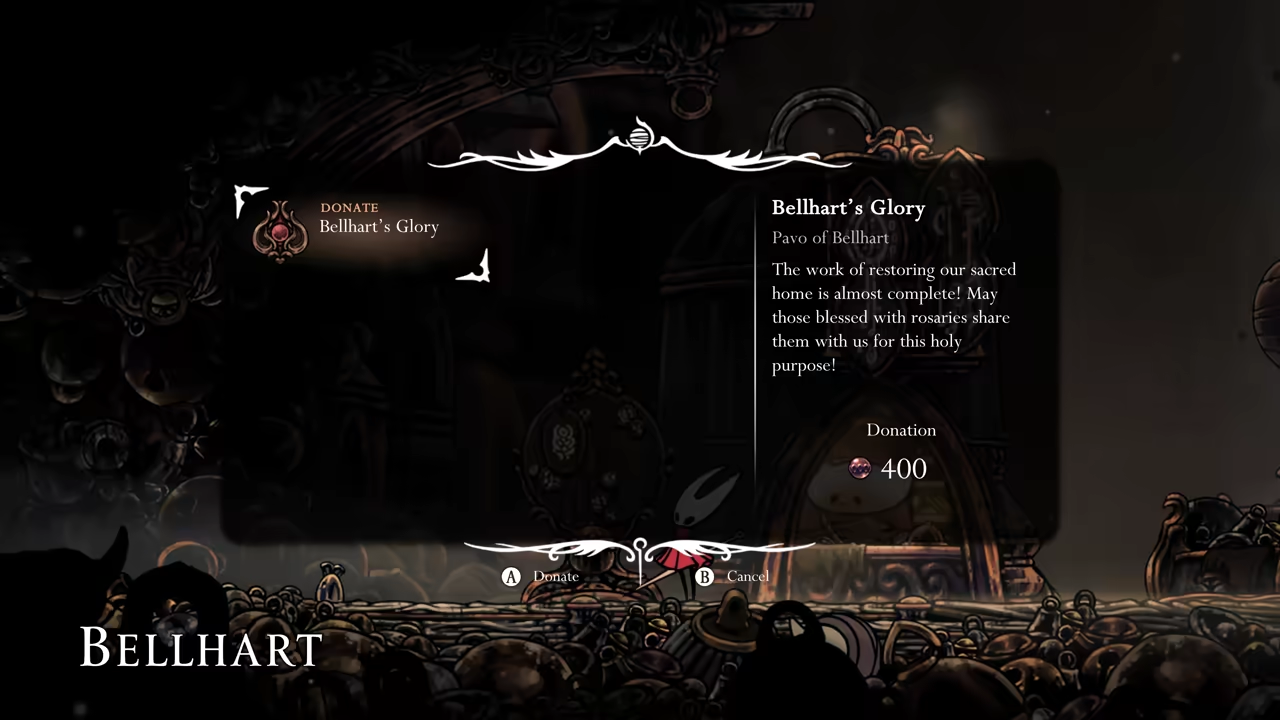
Ensure the full list of quests is completed:
-
Get the Bellhome Key
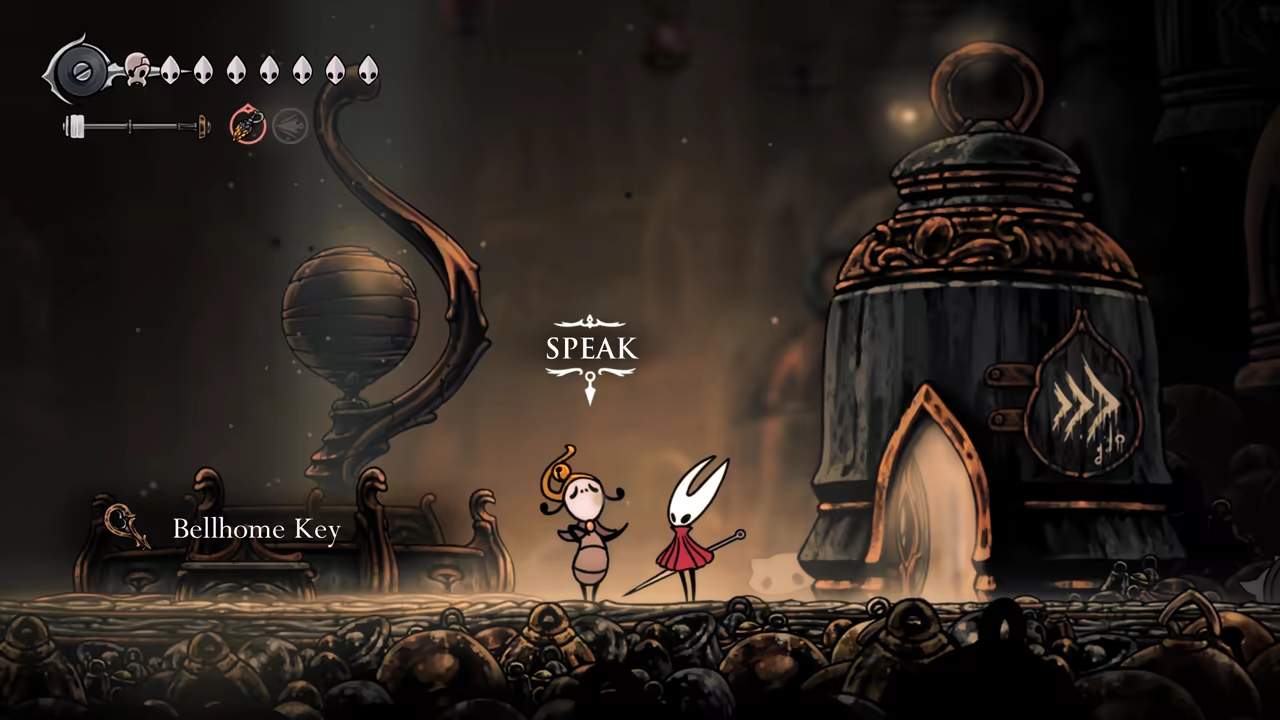
Section titled “Get the Bellhome Key”After the last donation, leave and return to get your Bellhome Key from Pavo. Mount the Materium, and we’re done here for now.
Songclave Cleanup
Section titled “Songclave Cleanup”-
Farm Organs for the Huntress
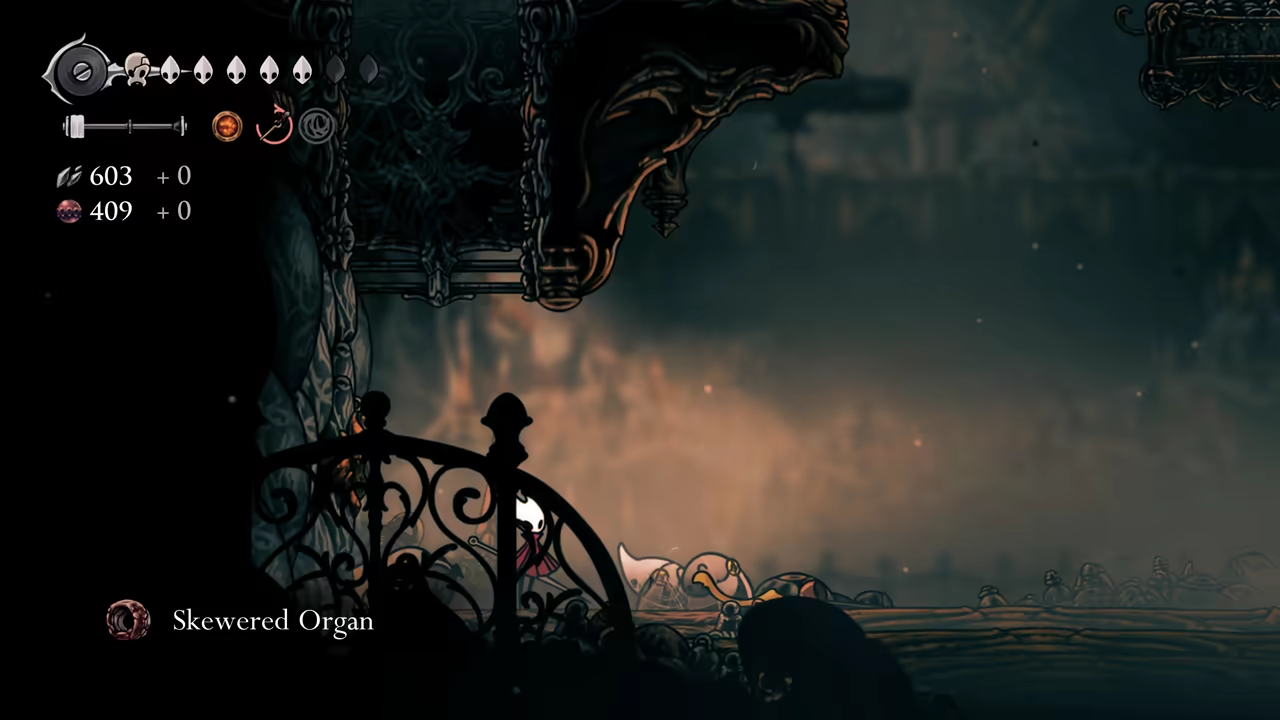
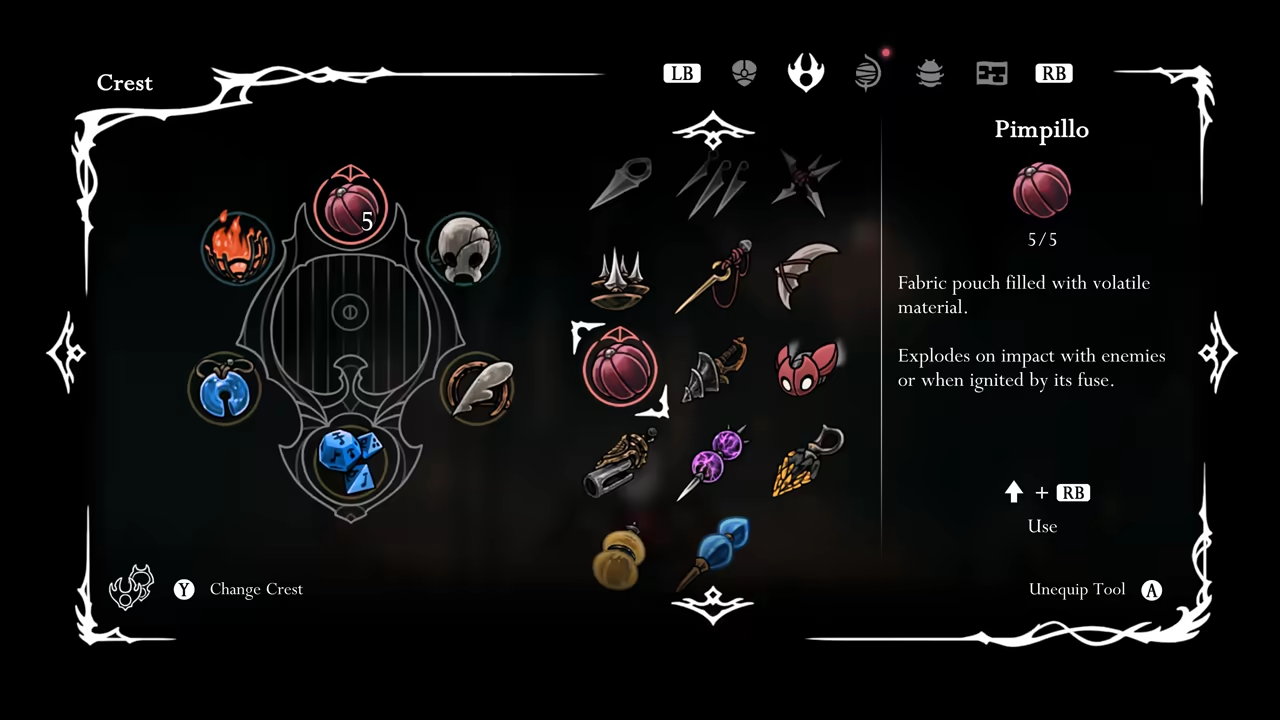
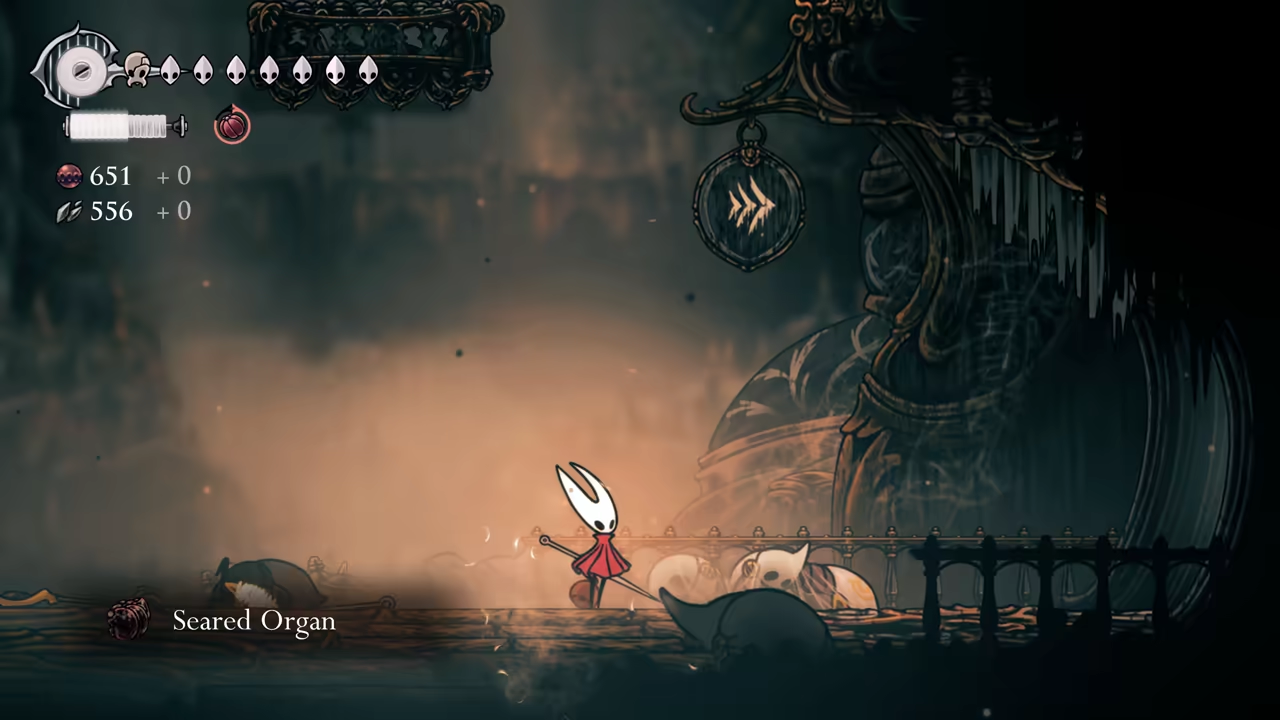
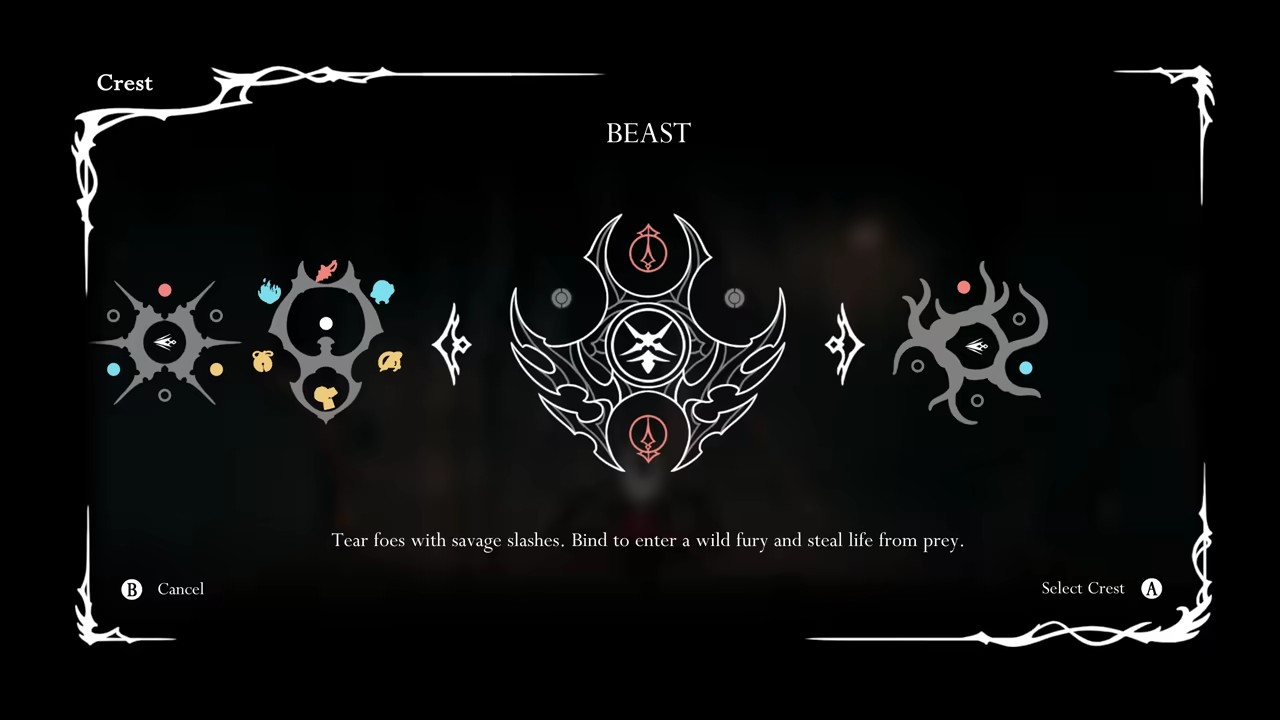
Section titled “Farm Organs for the Huntress”Now things get grindy. We need to collect organs for the Huntress quest. Fast travel to Bellway and farm the mobs on the left with different methods to get Skewered Organs, Seared Organs, and Shredded Organs (using the Beast Crest).
-
Hunt Quest and Shopping
Section titled “Hunt Quest and Shopping”Fast travel to Songclave for a new hunt quest and to buy Jubilana’s stock. Buy the Spider Strings, Spool Fragment, and Craftmetal.
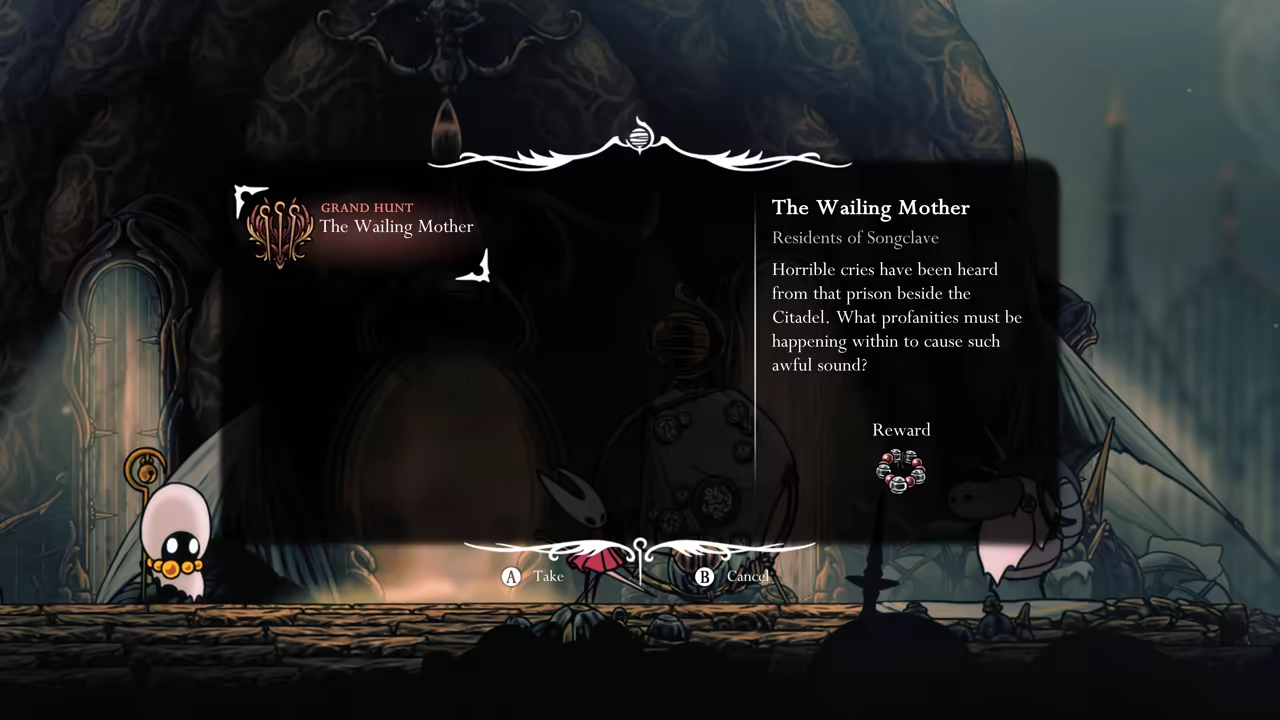
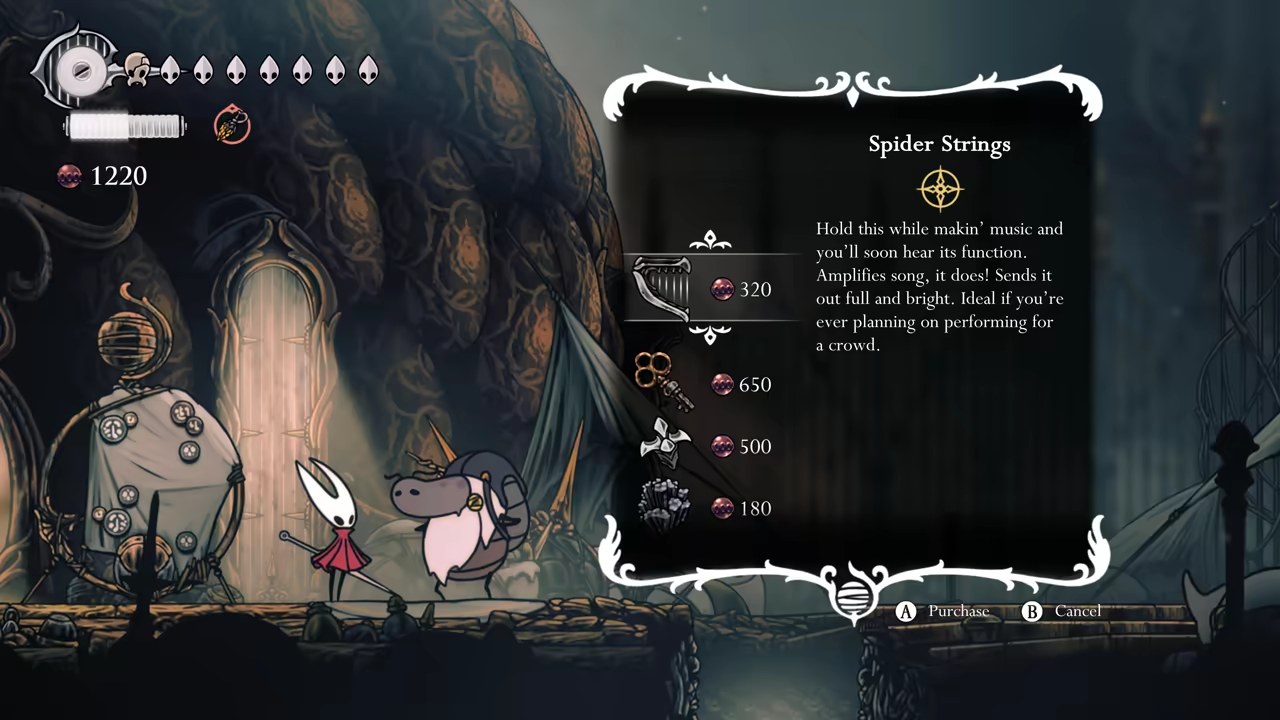
-
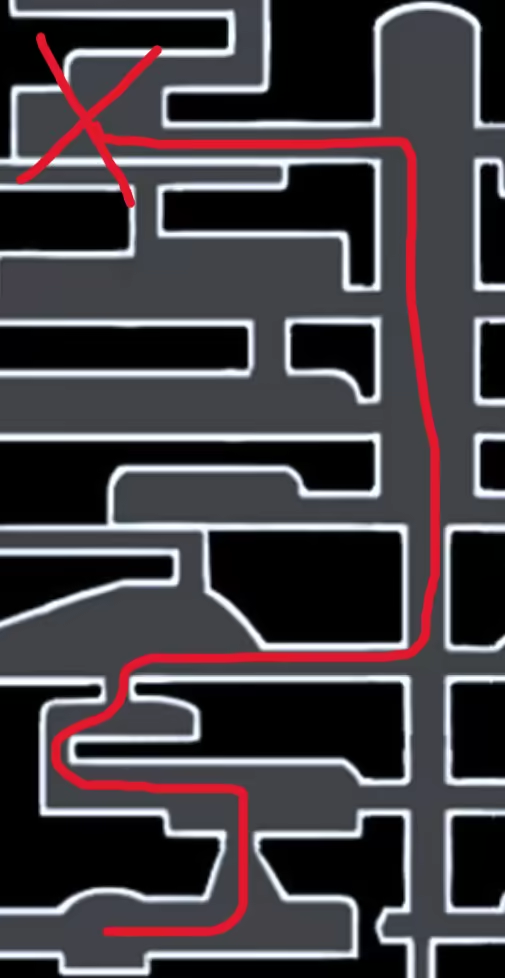
Hunt the Slab Mob
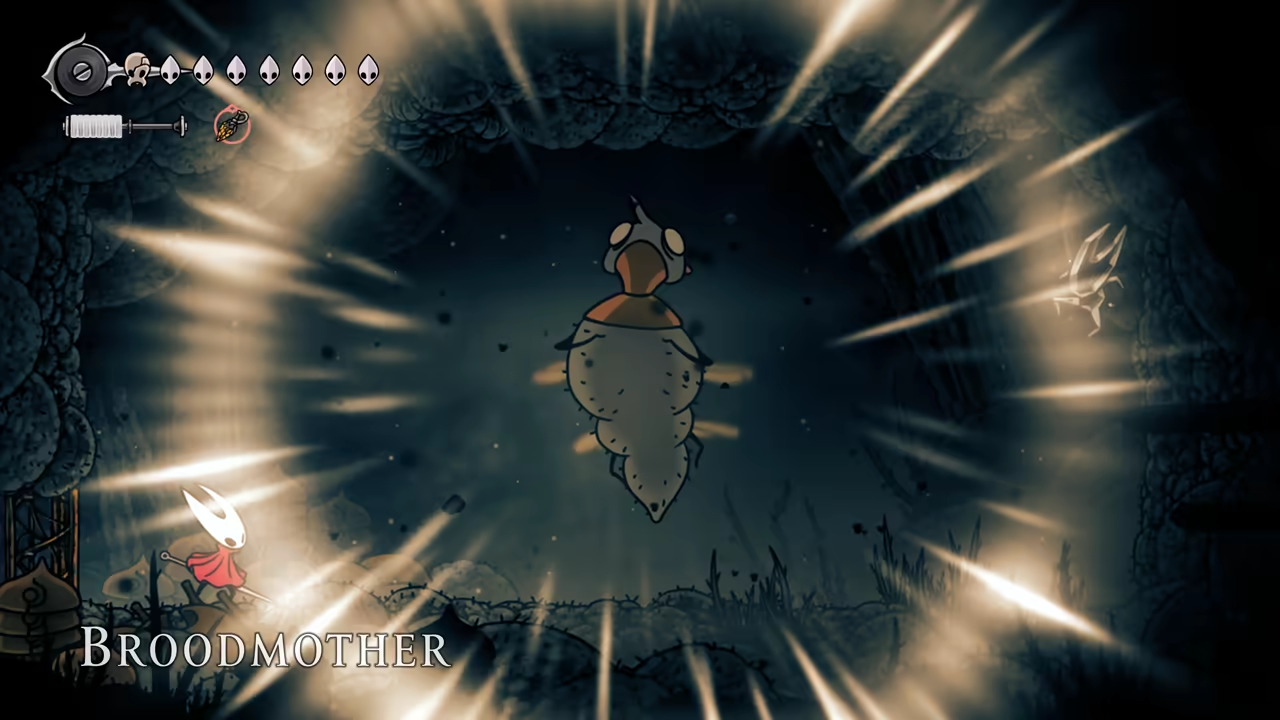
Section titled “Hunt the Slab Mob”Hunt the mob at the Slab. In the room where we got the Heretic Key, a passage leads to the boss. It’s an easy fight. Return to Songclave to deliver the egg.
-
Activate and Fight the Sentinel
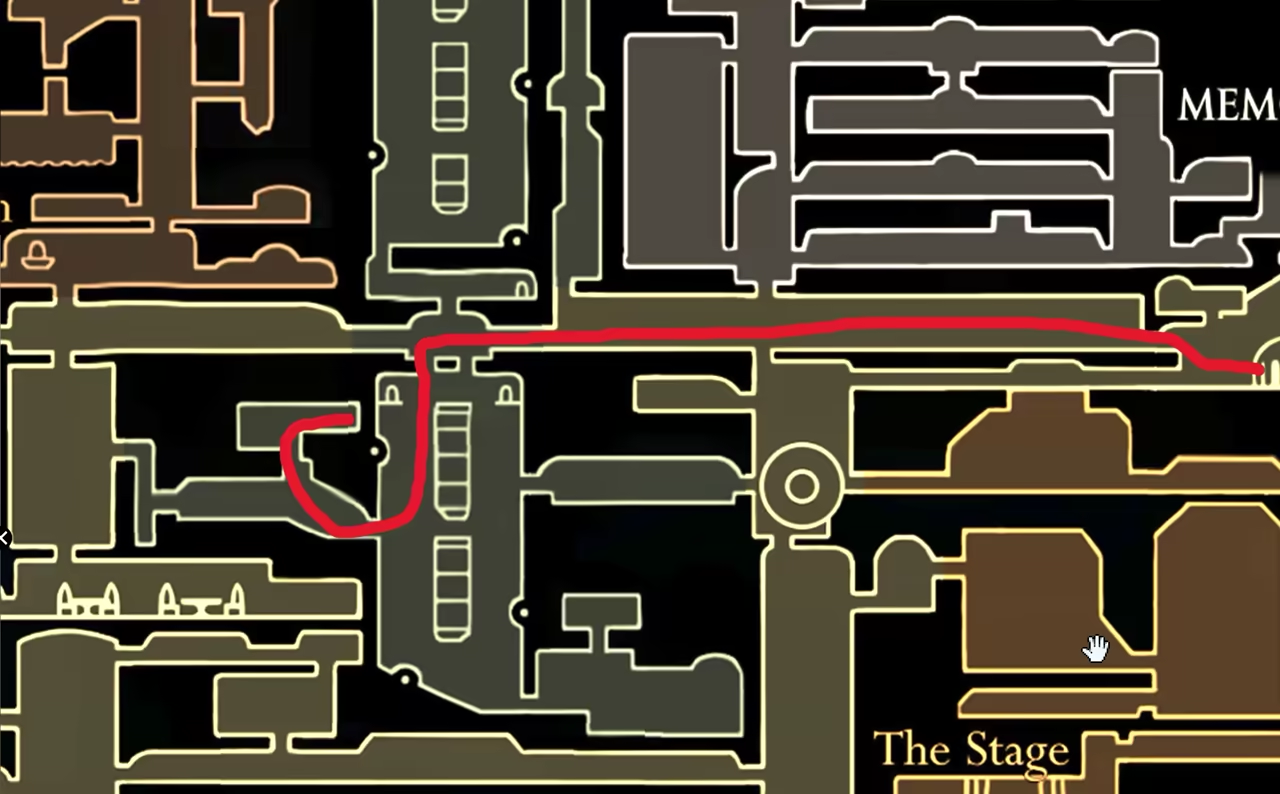
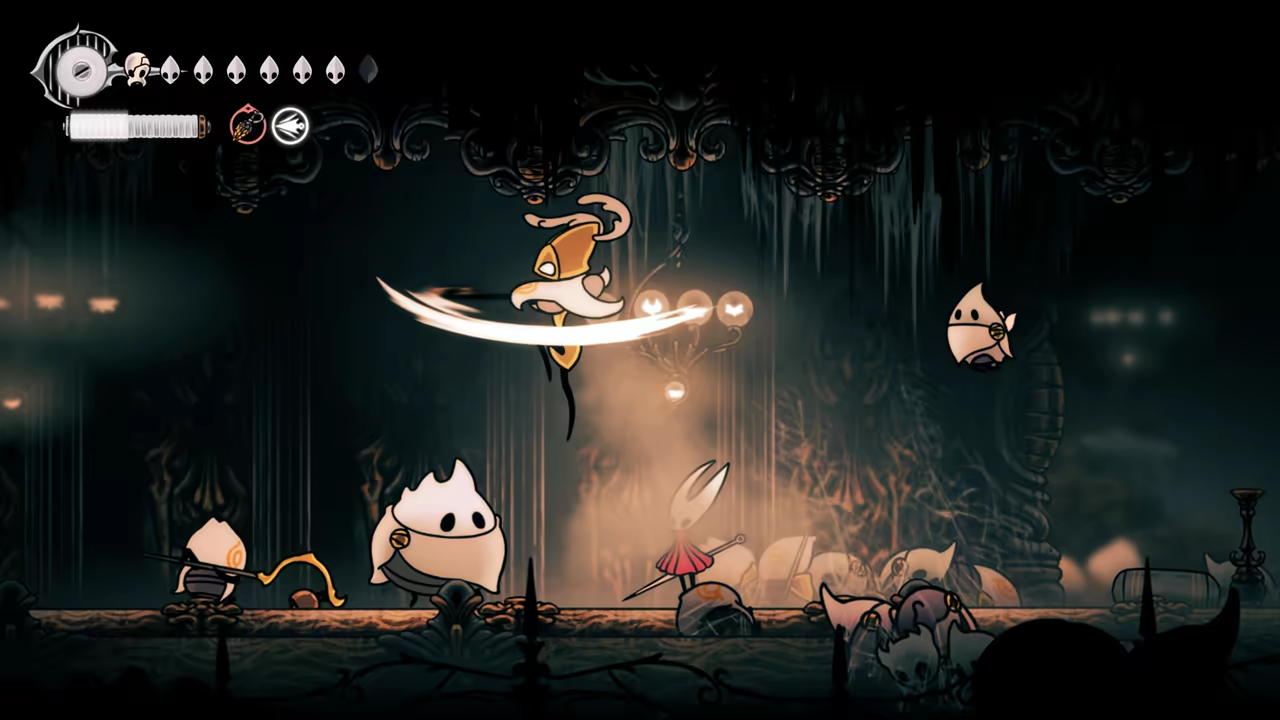
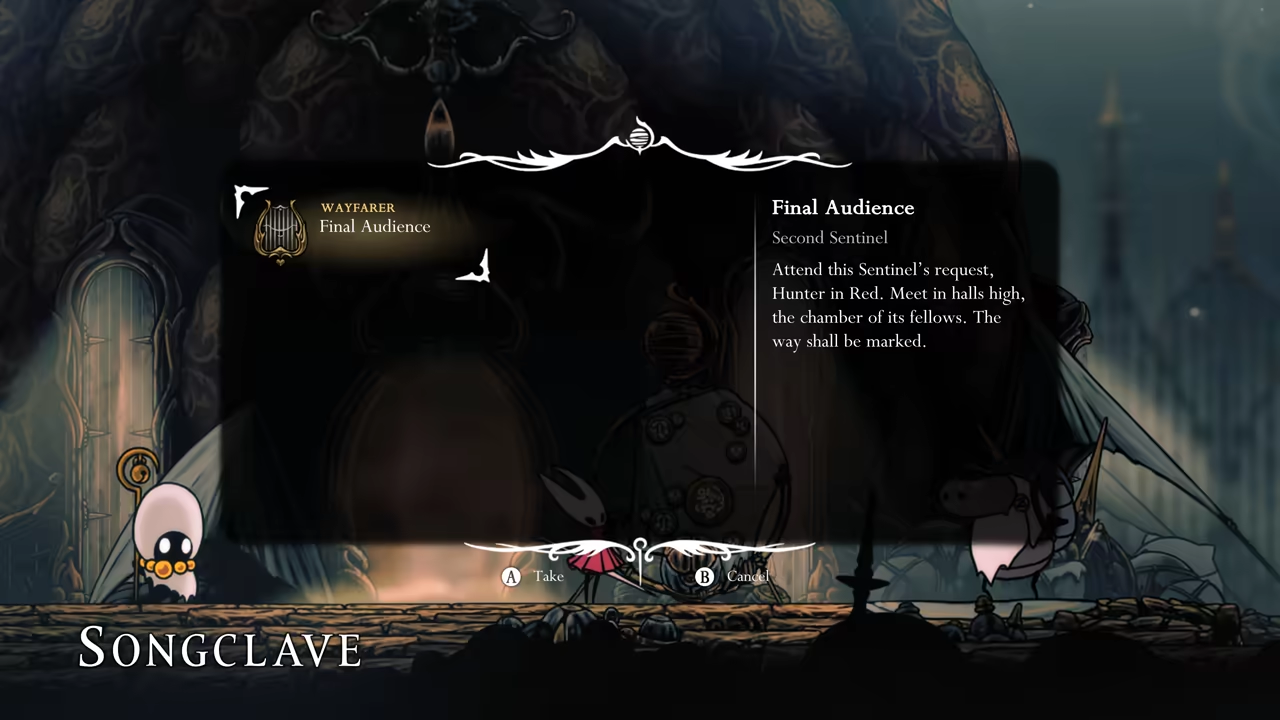
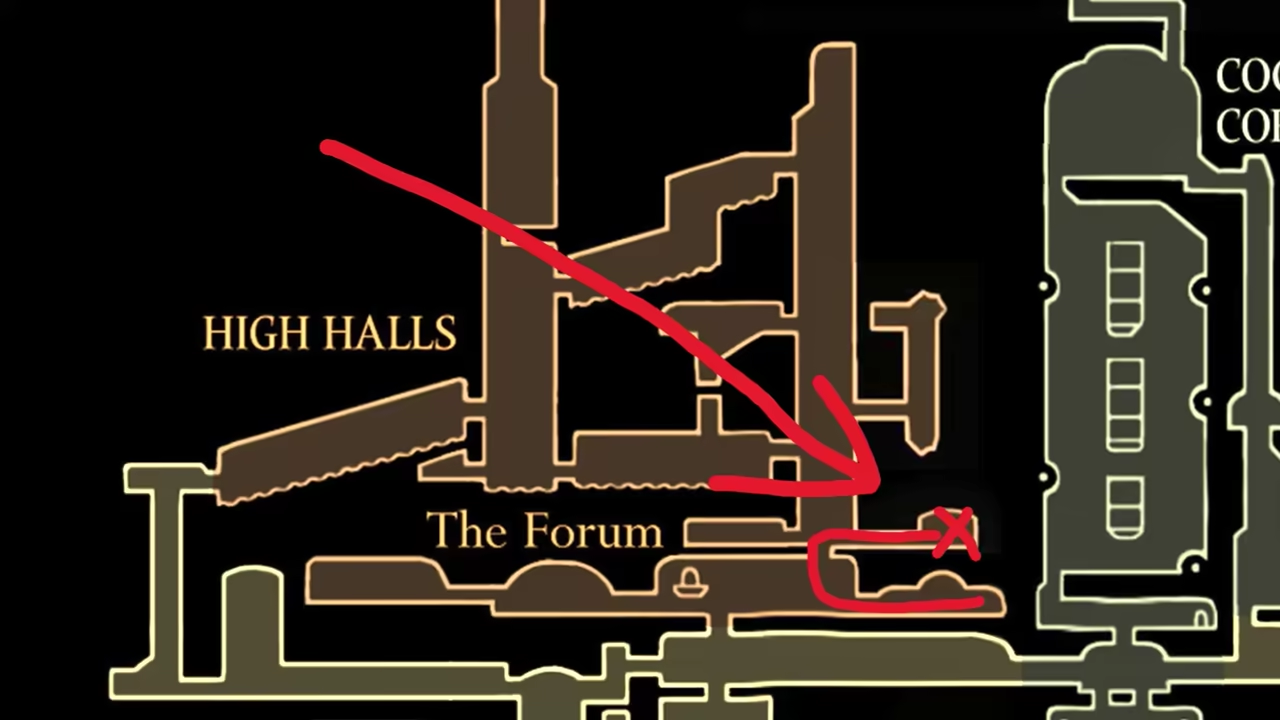
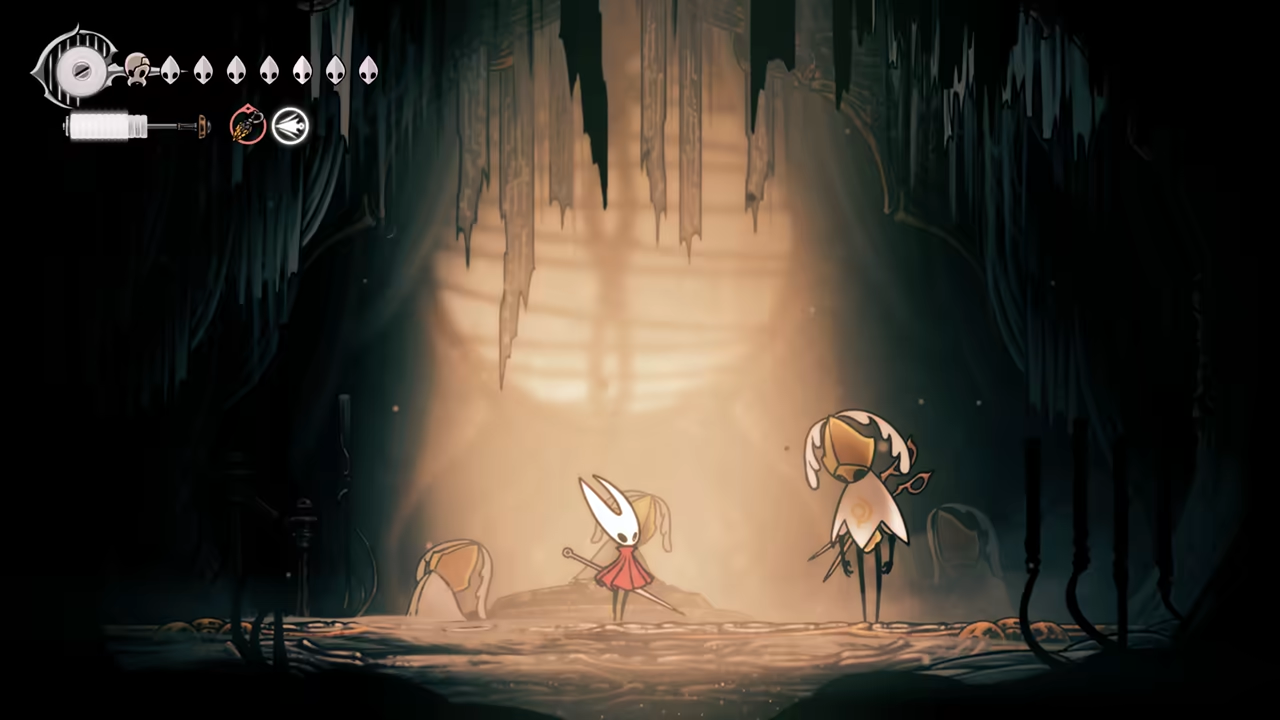
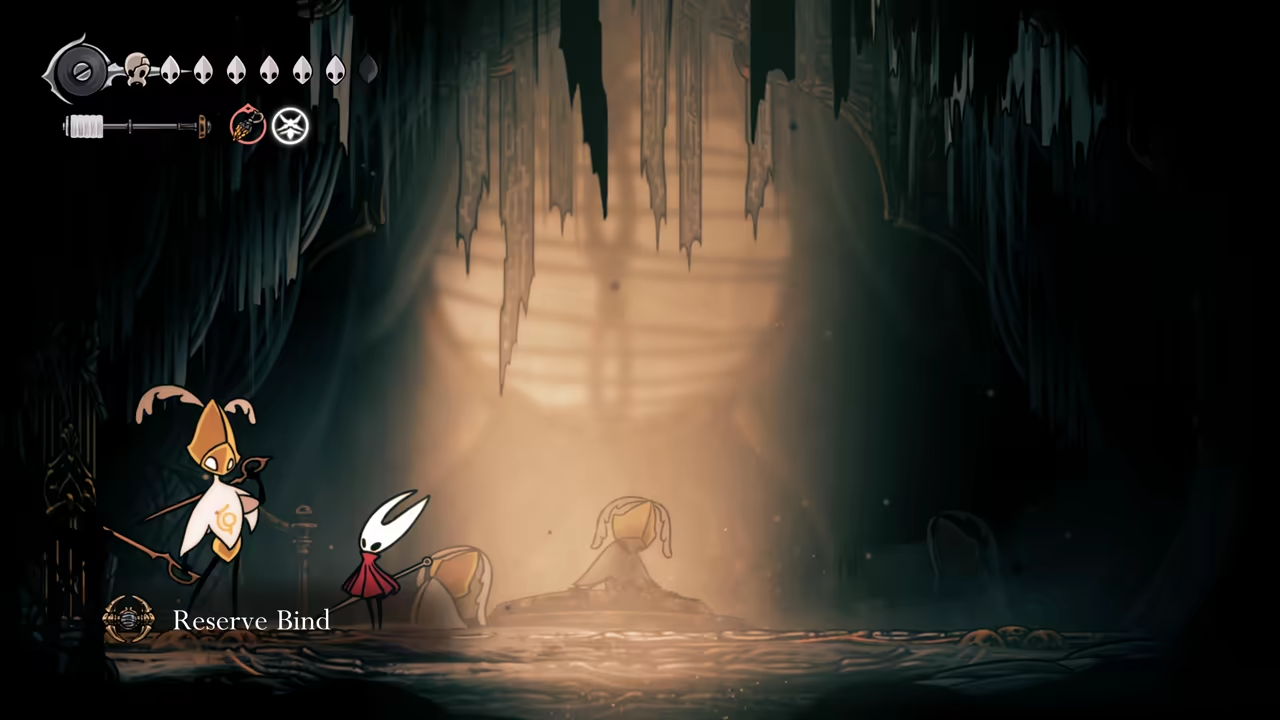
Section titled “Activate and Fight the Sentinel”Before farming for money, activate the Sentinel in the Cogwork Core by completing the Cogheart pieces. You’ll encounter her twice in the Citadel. Return to Songclave for a new quest and fight her in one of the rooms to the right of High Halls. After the fight, you’ll get the Reserve Bind tool.
-
Visit the Architect
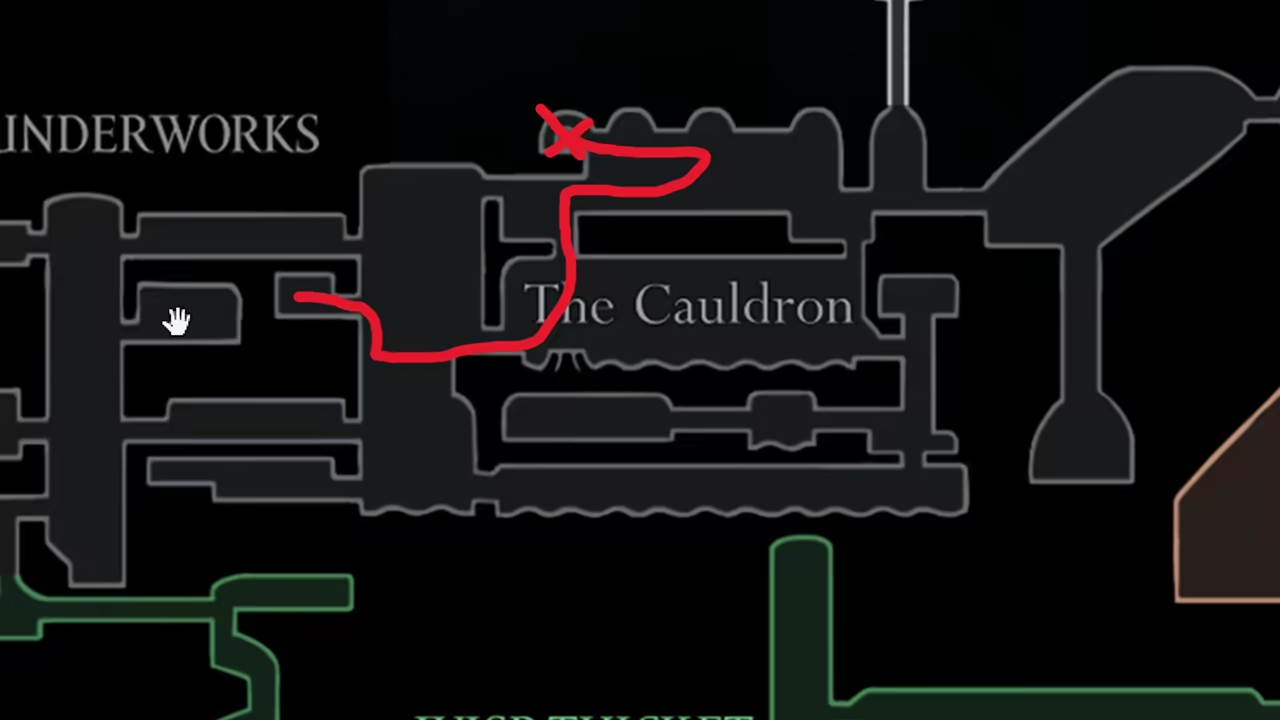
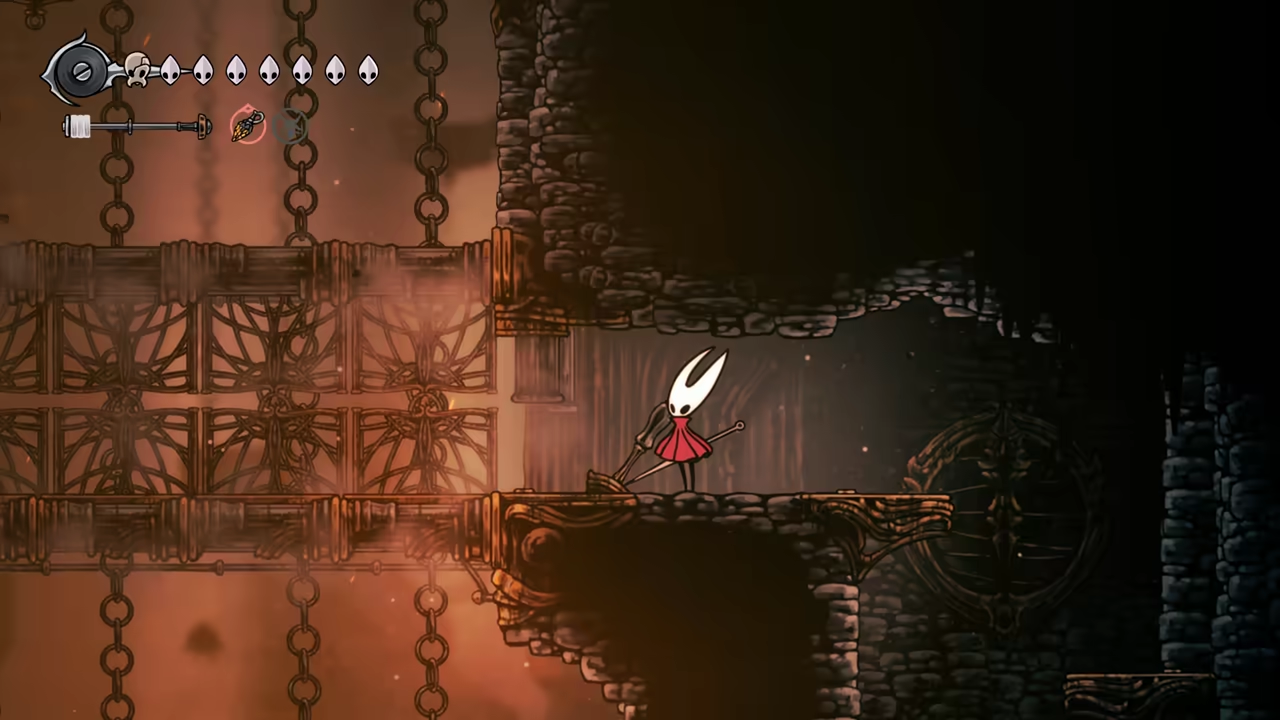
Section titled “Visit the Architect”Farm enough rosaries (around 1420 for the architect’s items). Fast travel to the Underworks, use the left lever to cross, then climb up to the architect’s room. Buy everything:
- Silkshot (Using the Ruined Tool)
- Cogwork Wheel
- Scuttlebrace
- Architect’s Key
- Sawtooth Circlet
- Crafting Kit Upgrade
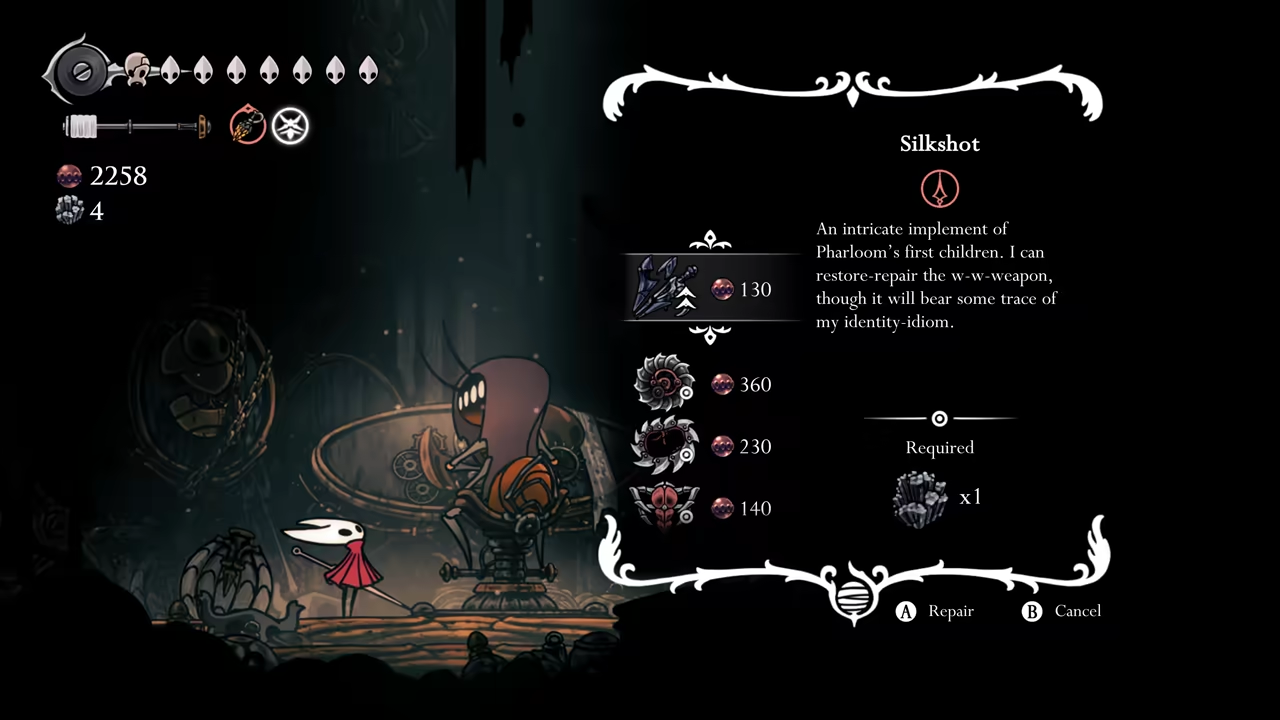
-
Bind the Architect Crest
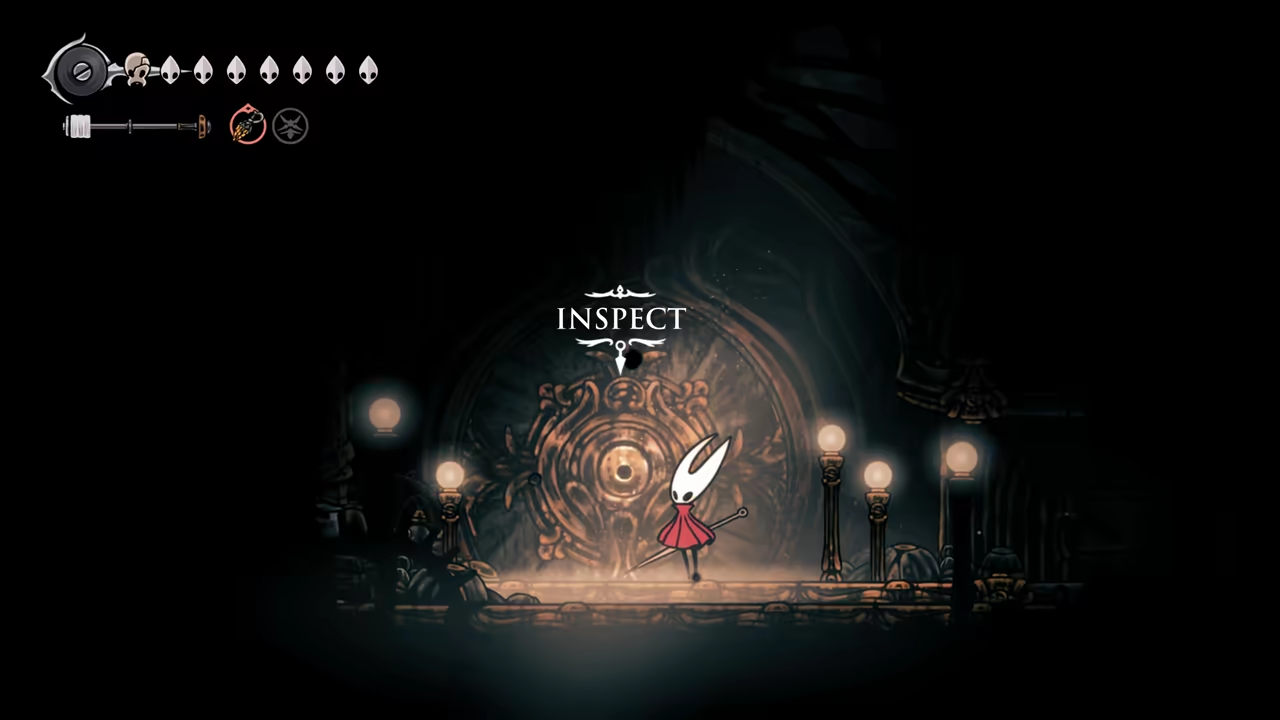
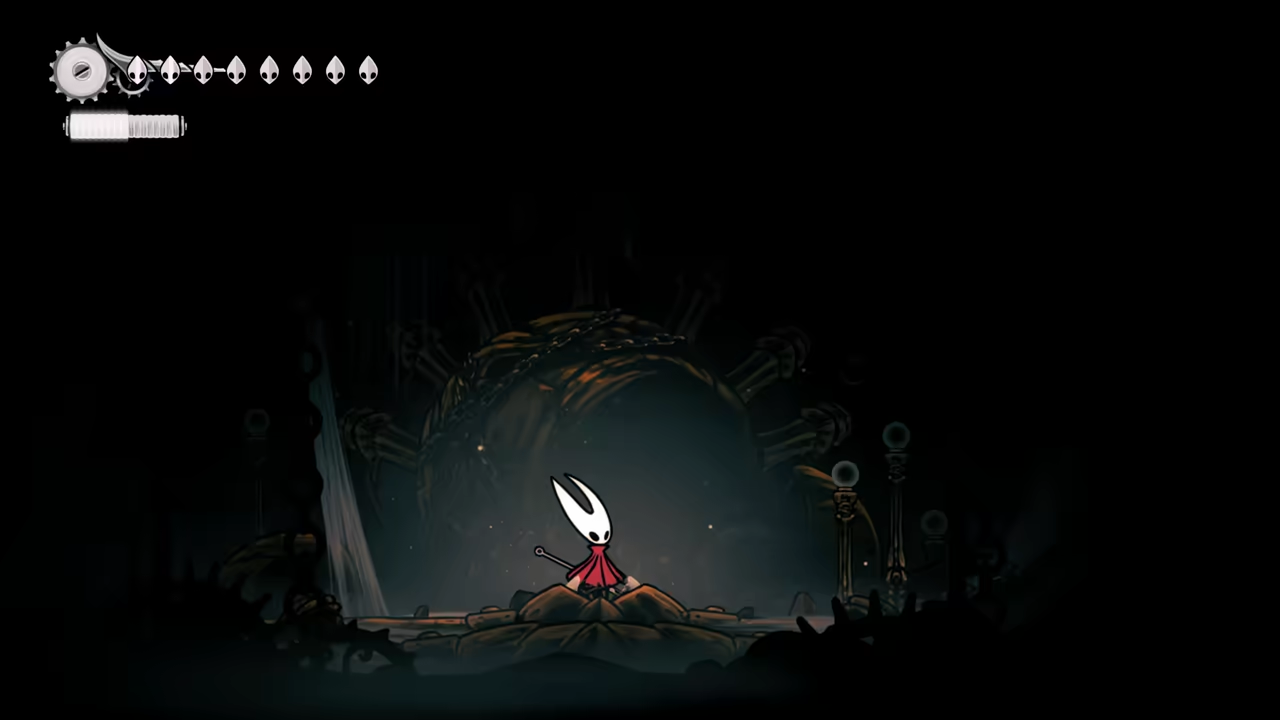
Section titled “Bind the Architect Crest”Head to the top-left of the room to find the Architect’s door. Bind the Architect Crest, and you’re done with Act 2 cleanup.
100% Bilewater
Section titled “100% Bilewater”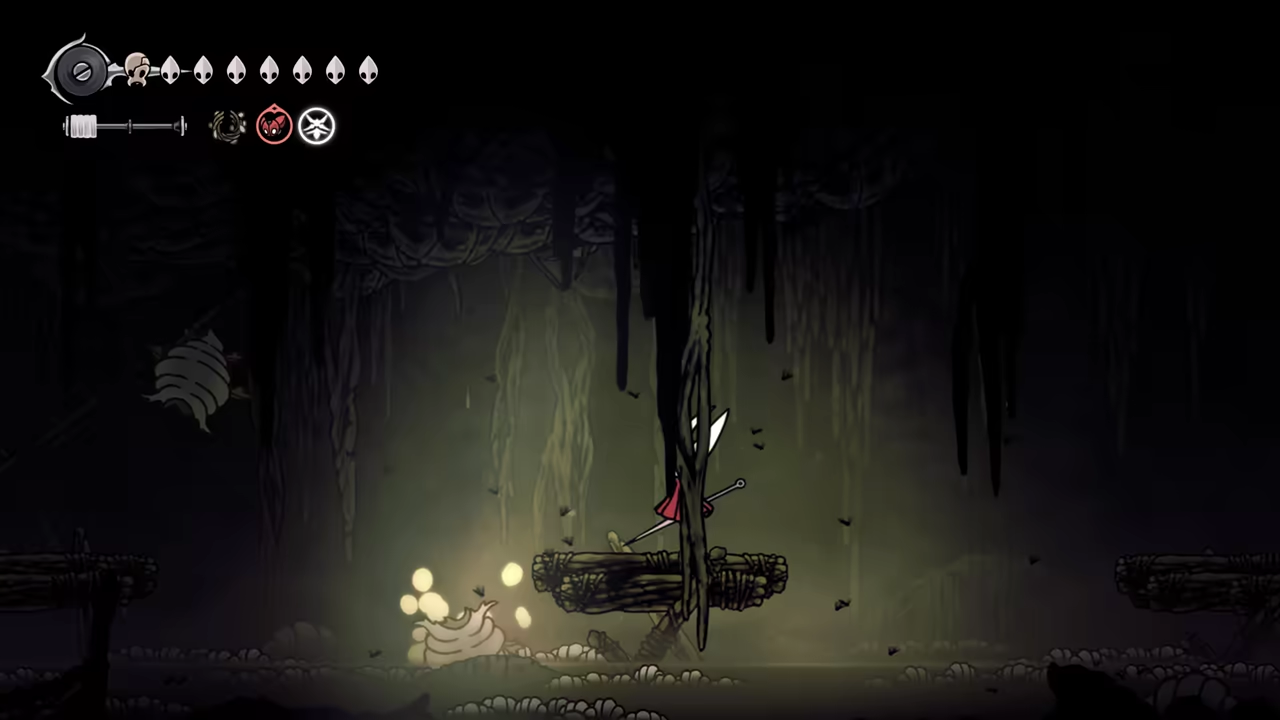
Key Items
- Wreath of Purity
- Mask Shard
- Quick Sling
- Flea
- Memory Locket
- Seeker's Soul
Bosses
Quests
- Trail's End
- Huntress Quest
NPCs
- Shakra
- Huntress
Connects To
- Greymoor
Equip your favorite build and bring along our friend, Wreath of Purity, because now we’re heading to Bilewater! We’ll begin with fast travel from the bottom left and then follow this route:
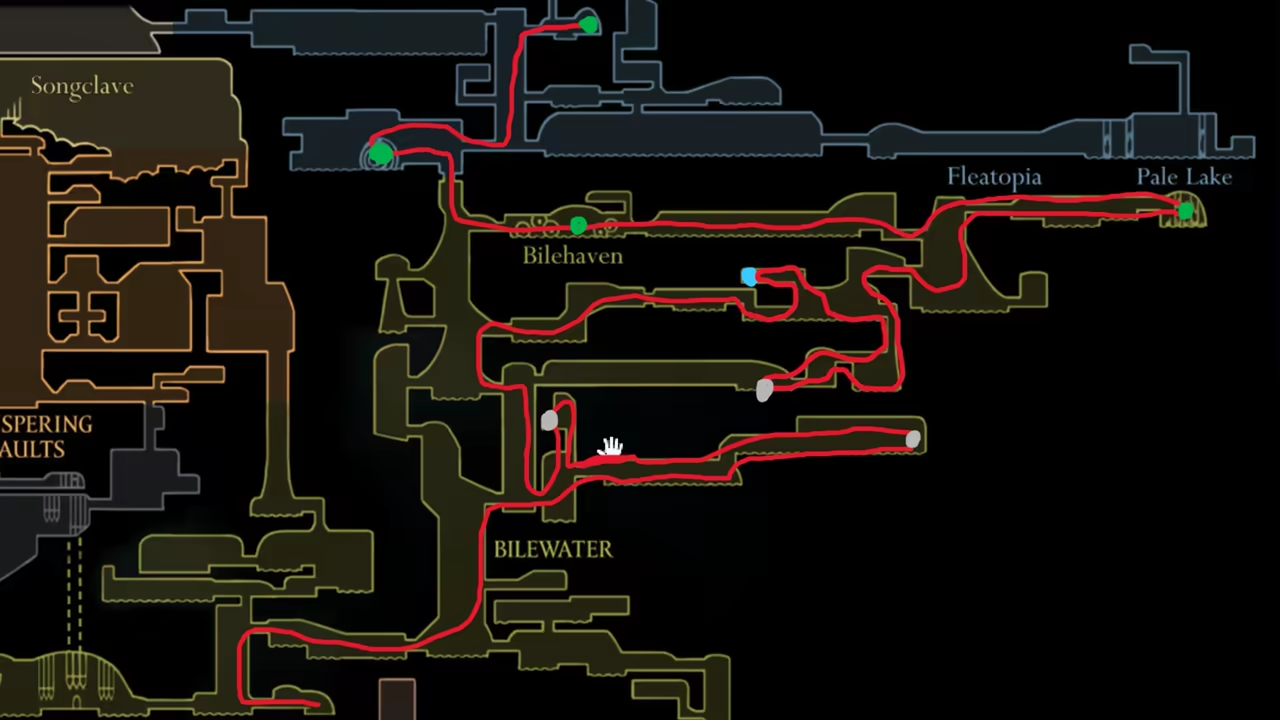
-
Find the Mask Shard
Section titled “Find the Mask Shard”In the area where we found Shakra’s room earlier, we’ll climb a bit further to explore more on the right. We’ll eventually reach a tall area, and from here, we’ll continue right until we reach the swamp with the roaches. At the end of this room, we’ll find our next mask shard.
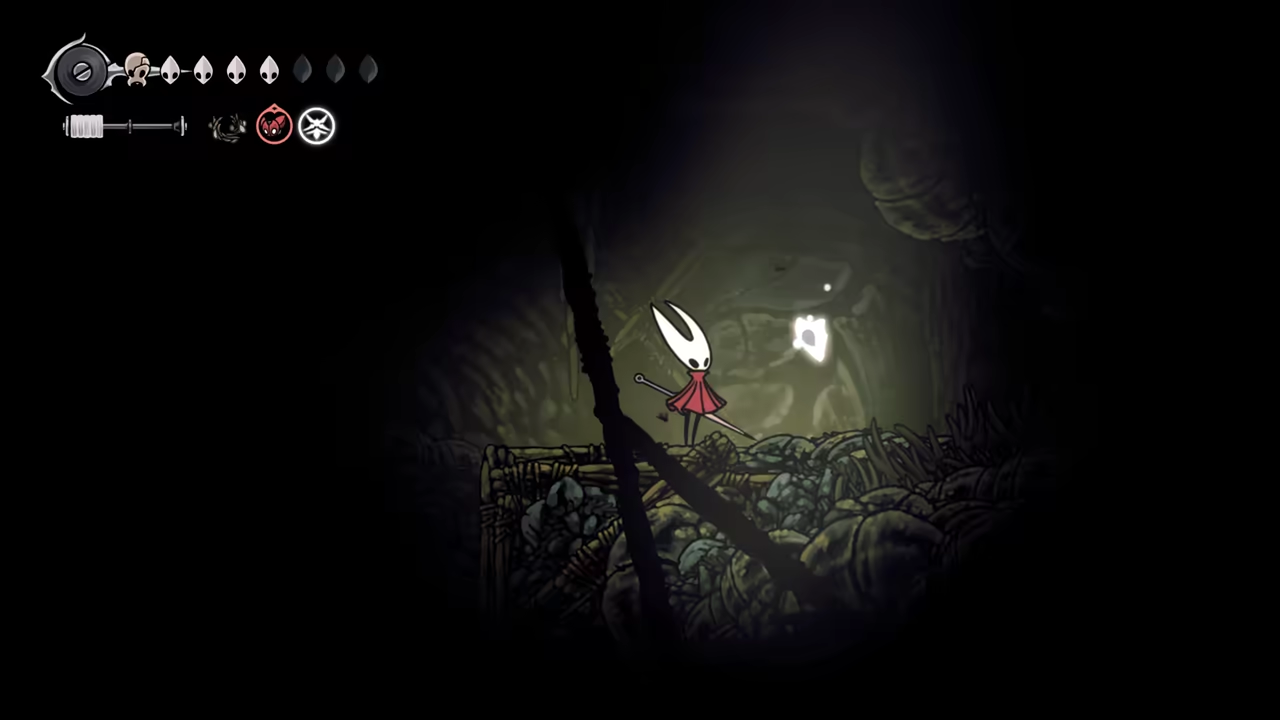
-
Get the Quick Sling
Section titled “Get the Quick Sling”Going back one room, we’ll continue climbing up until we reach a breakable ceiling. Here, we’ll find the Quick Sling.
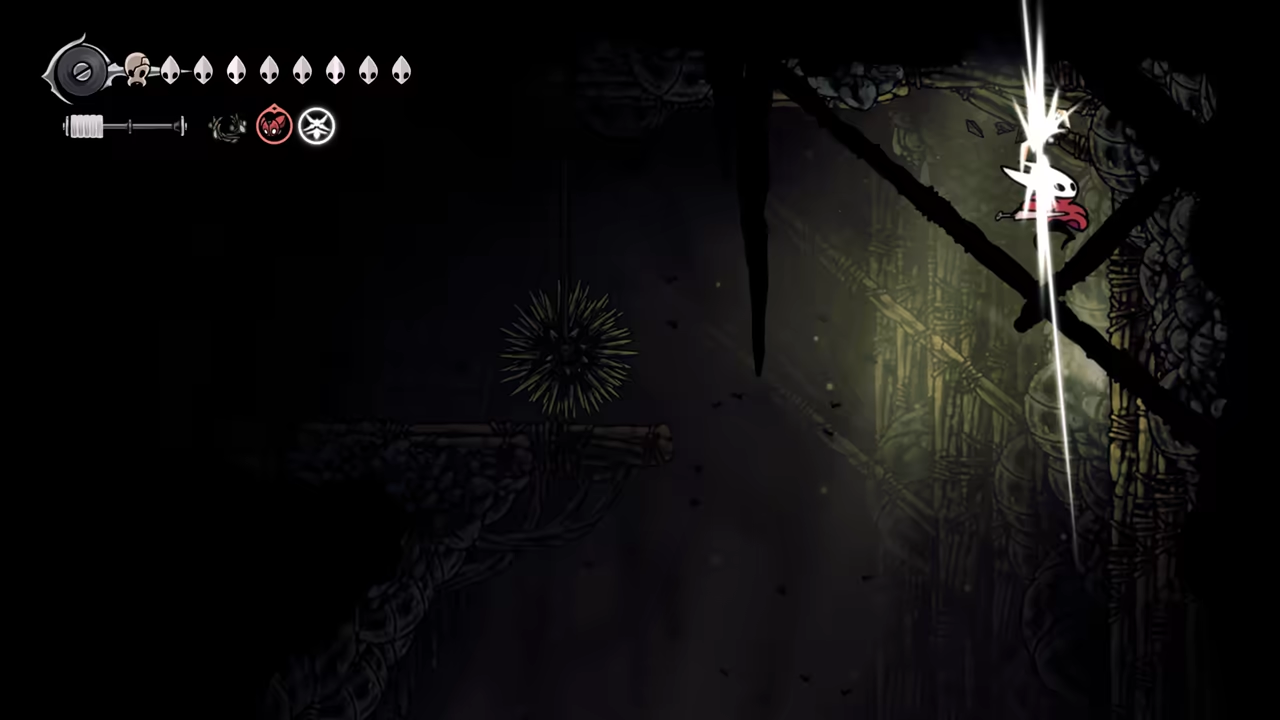
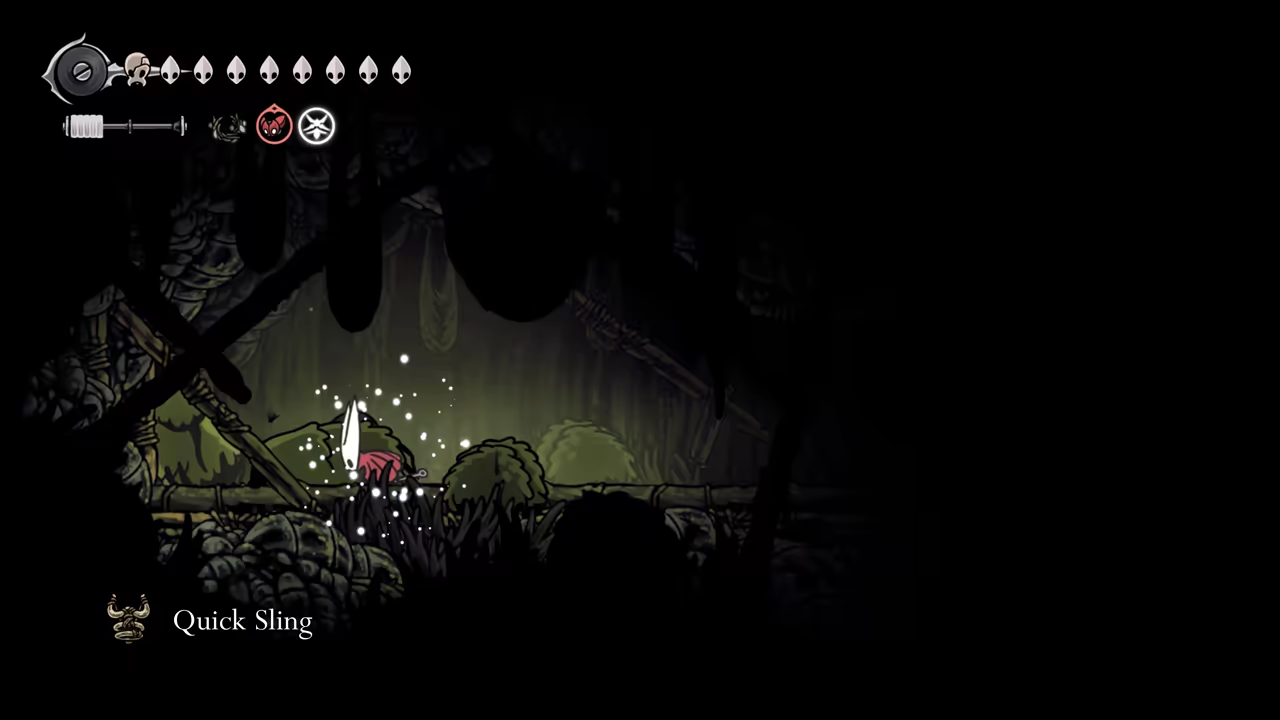
-
Find the Flea
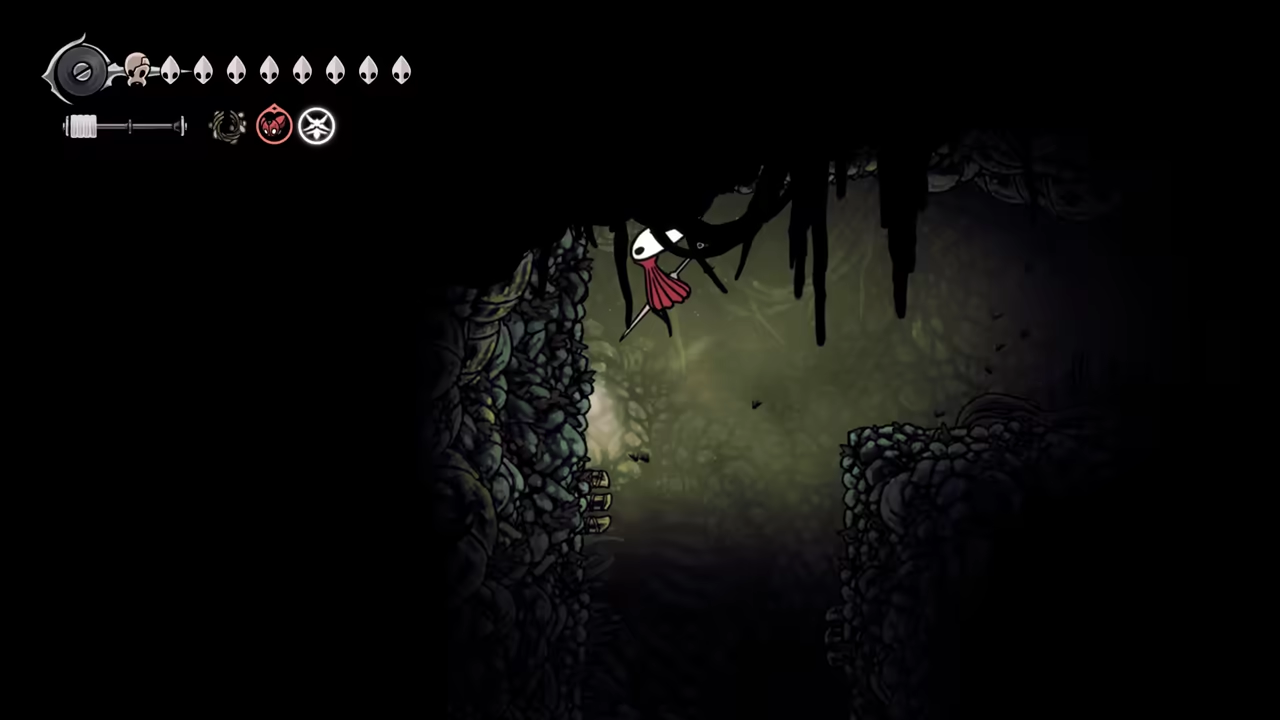
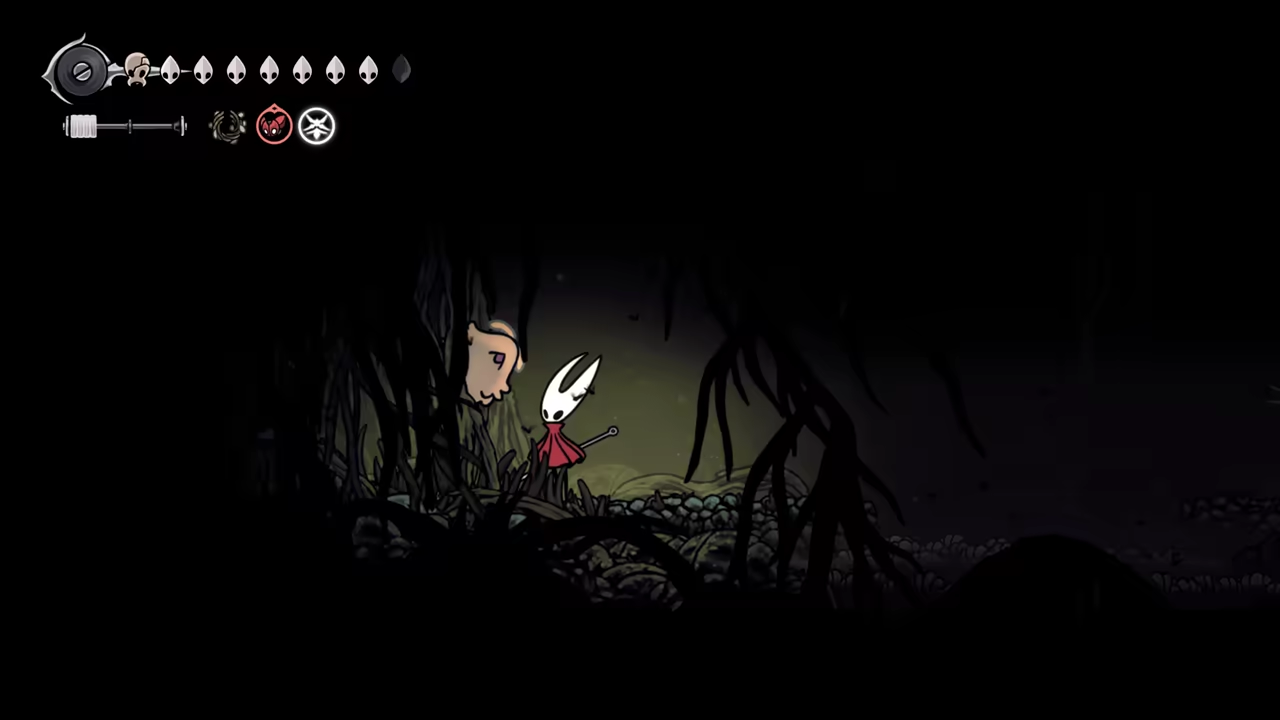
Section titled “Find the Flea”Returning to the tall corridor room, we’ll climb to the top left and continue progressing through Bilewater. In the next room, we’ll head right into a tricky area filled with traps. Run through quickly to the far-right side, where you can find a flea hidden behind a wall.
-
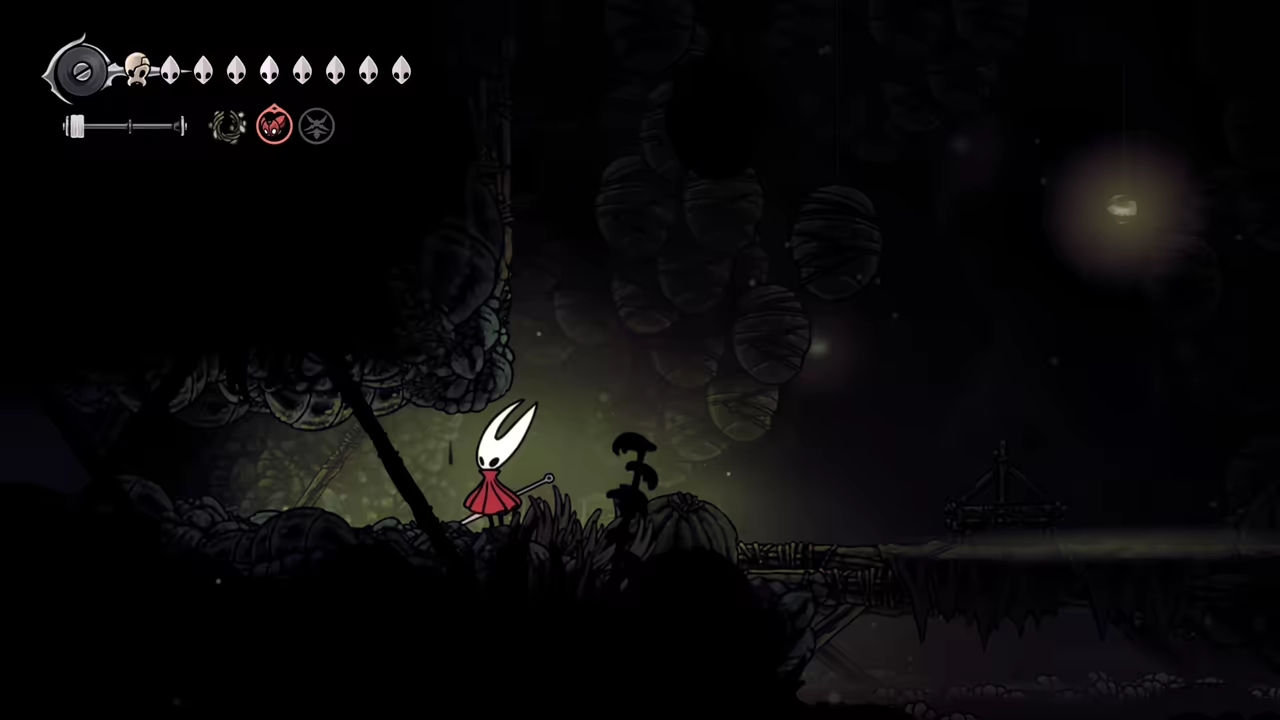
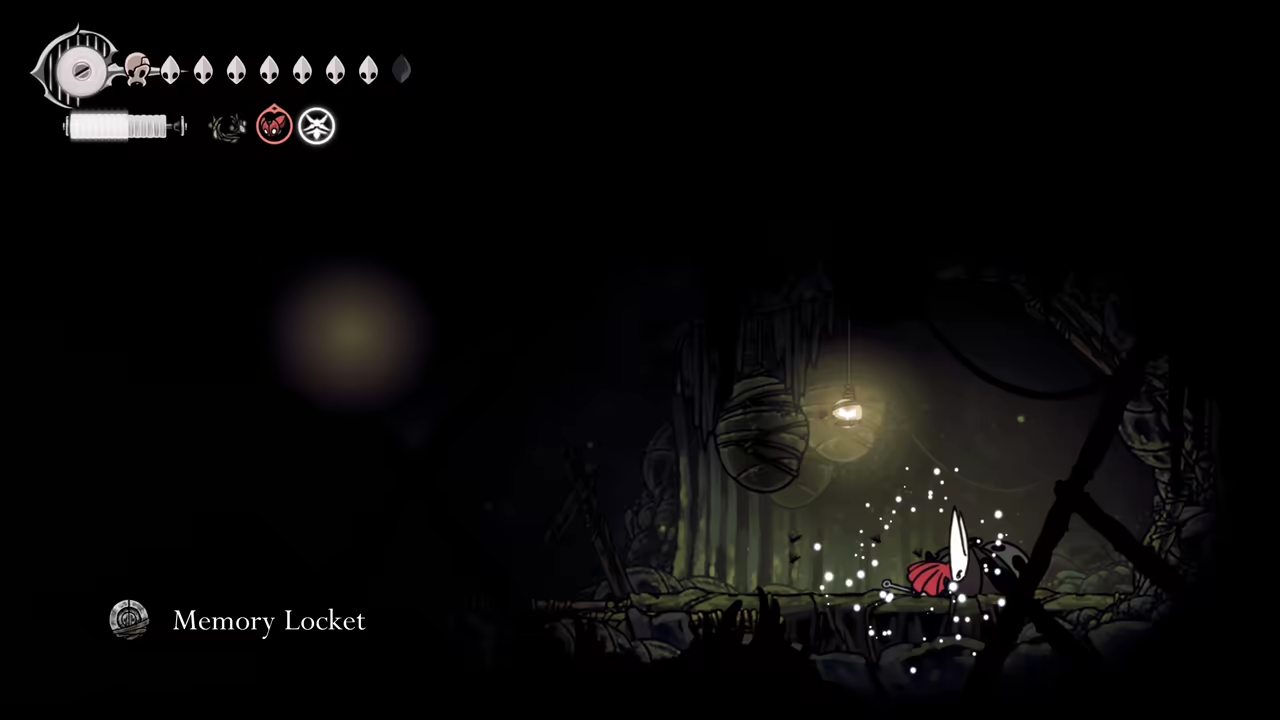
Find the Memory Locket
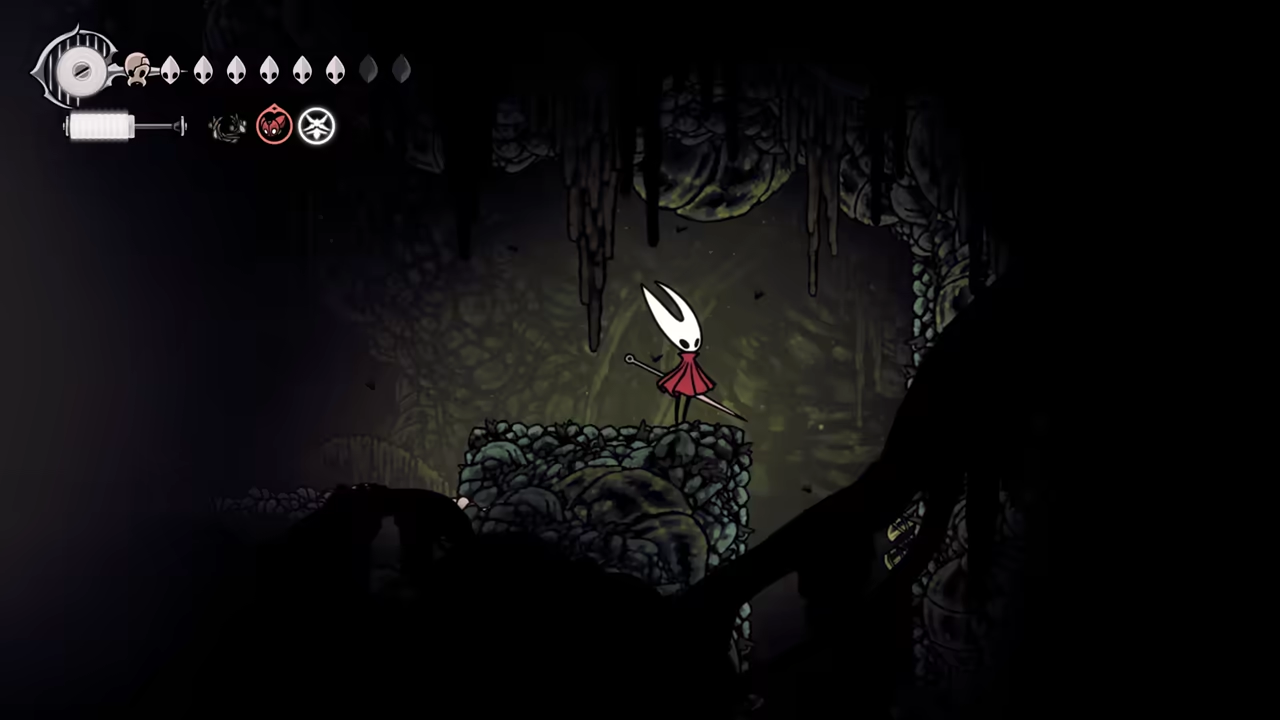
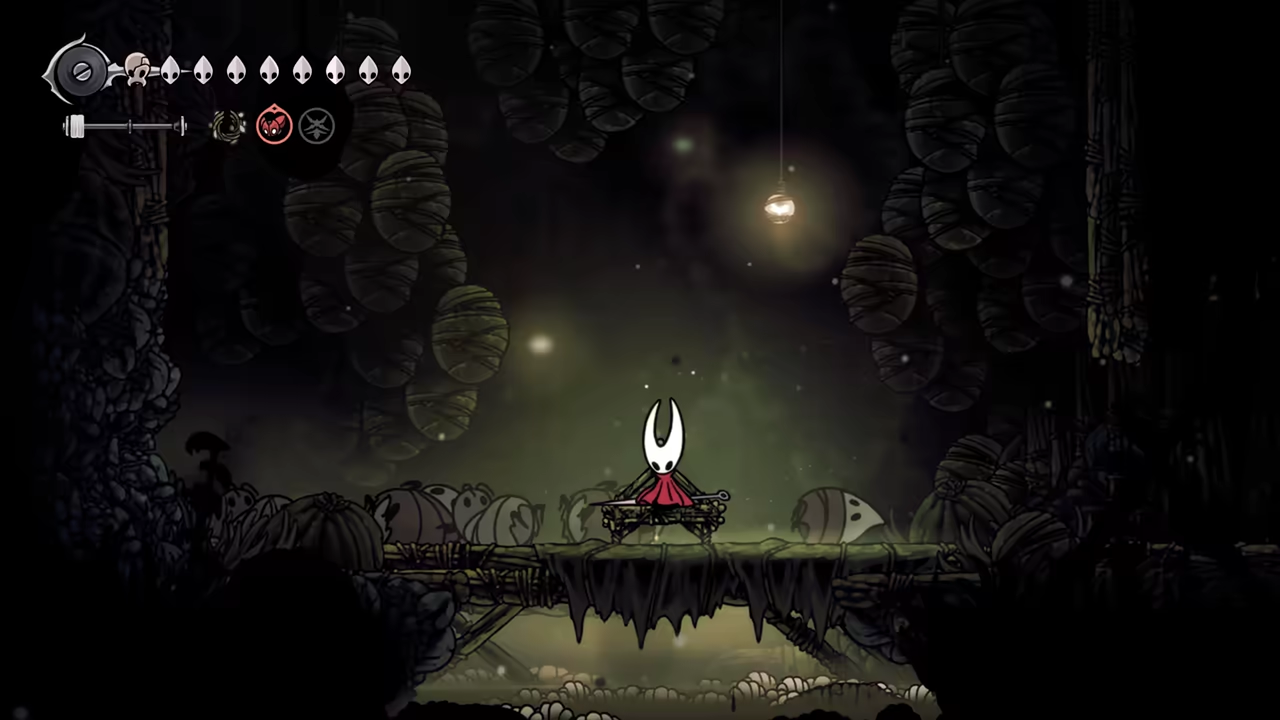
Section titled “Find the Memory Locket”Next, find the secret bench in this area. At the end of the room, there’s a hole filled with traps. Fall into it to find a breakable wall that leads to the bench. Moving left, break another wall to find breakable sacks. Breaking one will give us another memory locket.
-
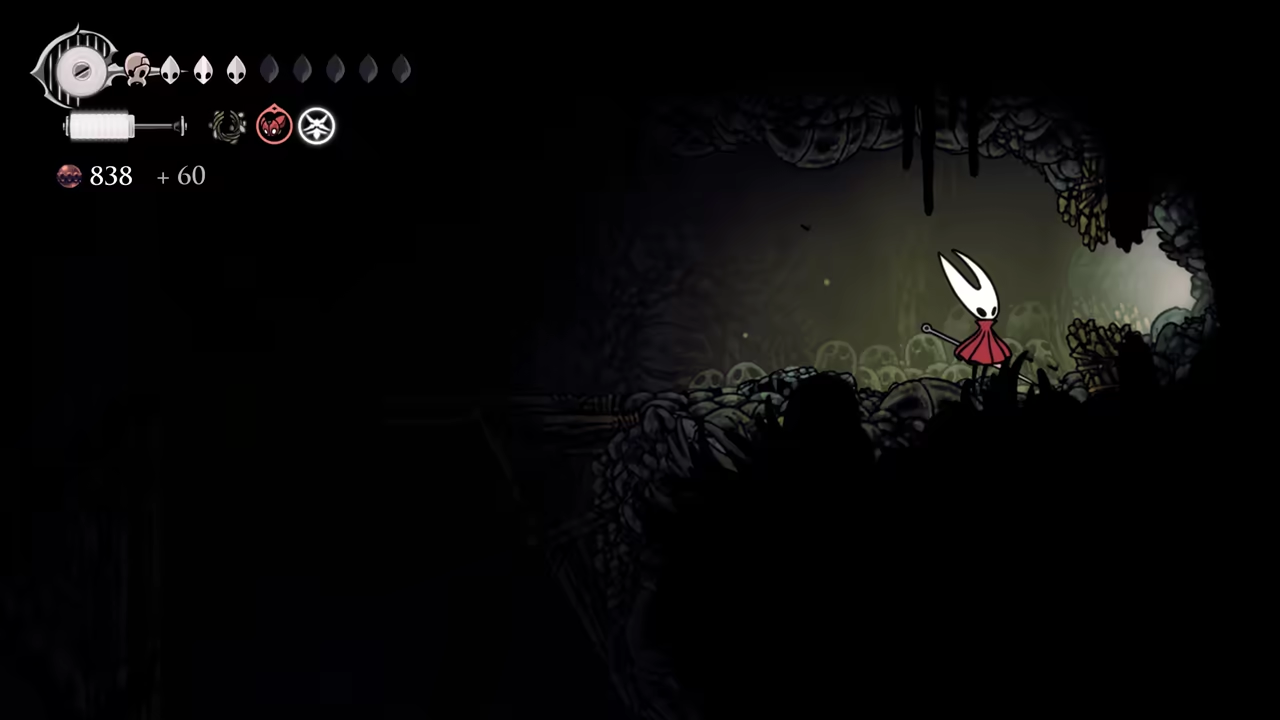
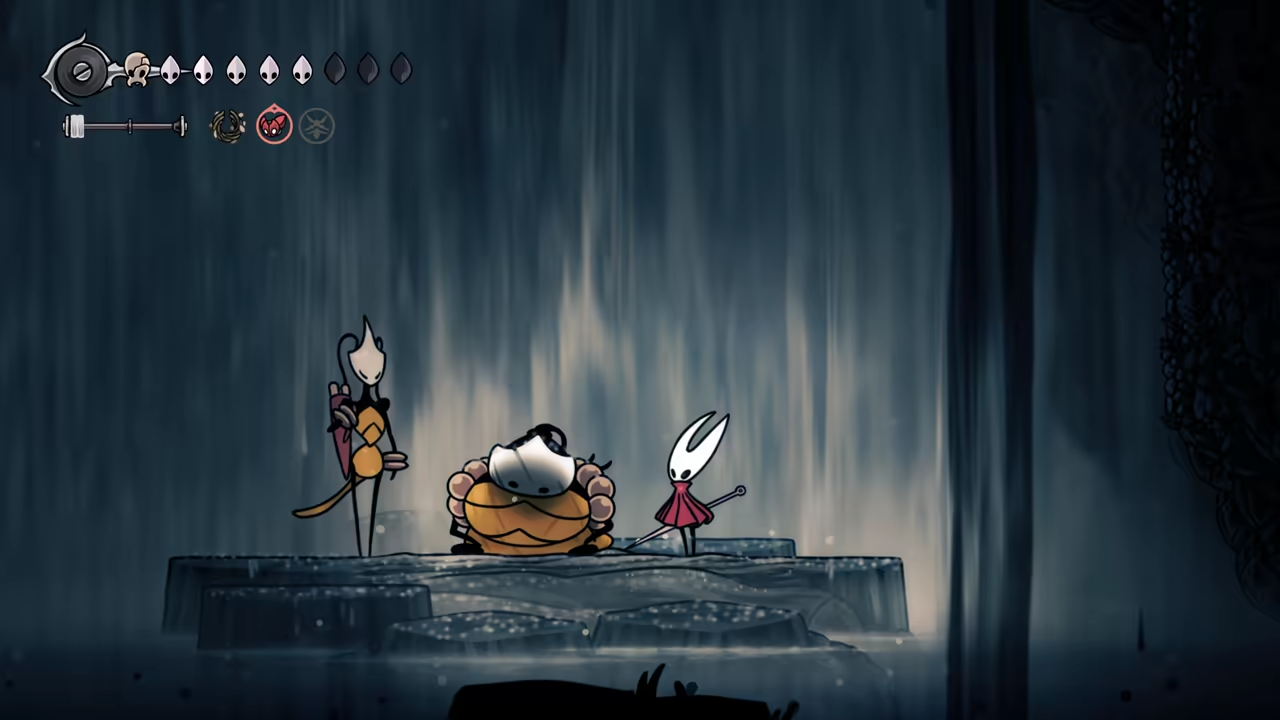
Complete Trail’s End Quest
Section titled “Complete Trail’s End Quest”Continue upwards to the top-right. Along the way, you’ll find traces of Shakra. Following these traces will lead you to them, where we’ll complete the Trail’s End quest.
-
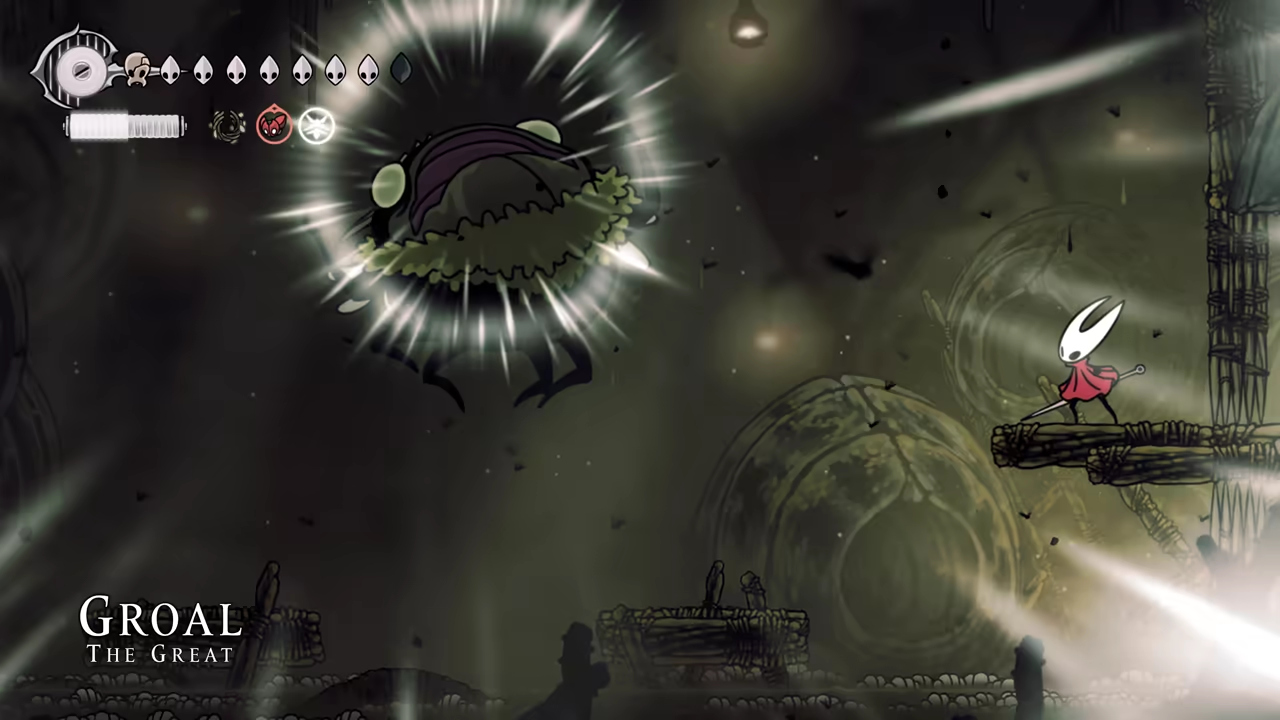
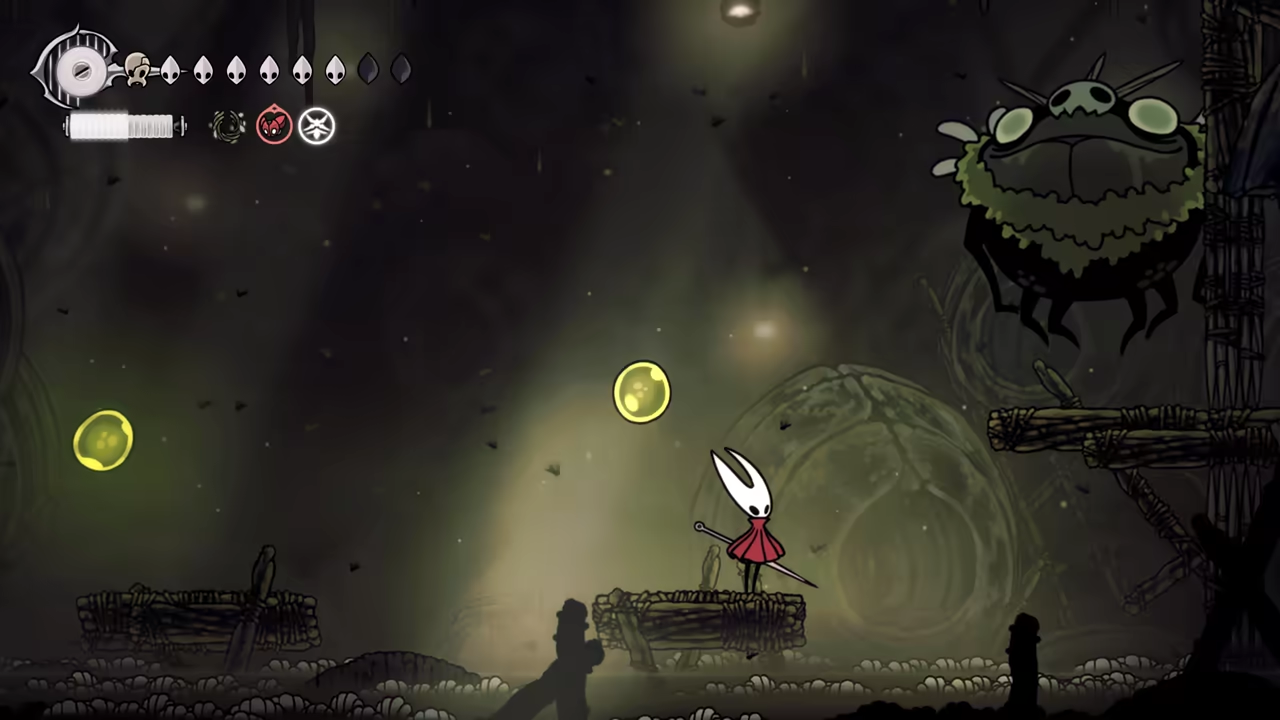
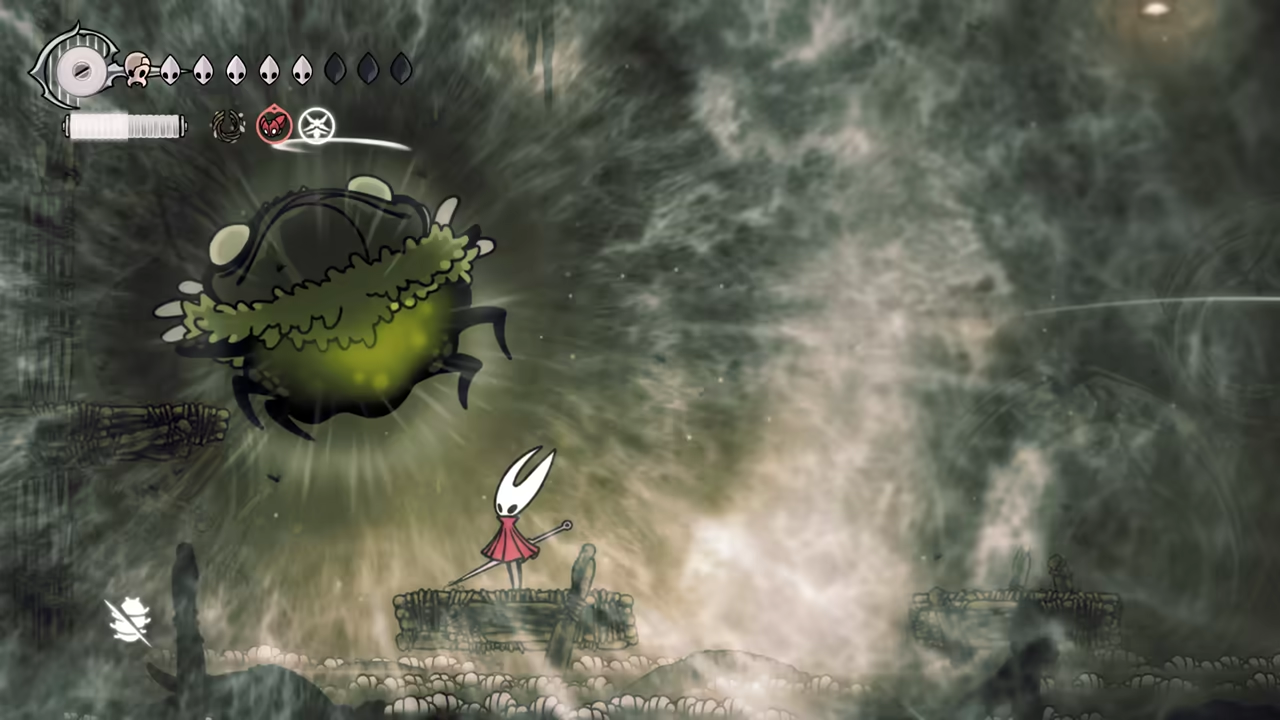
Defeat the Area Boss
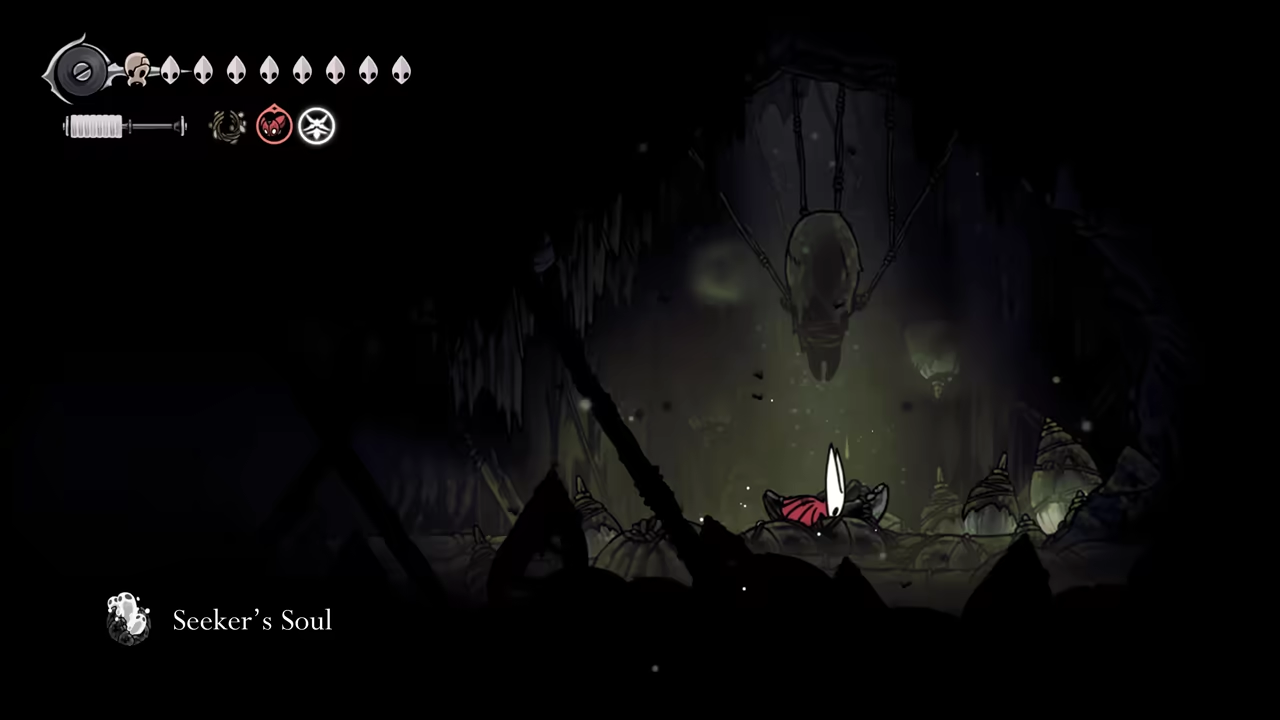
Section titled “Defeat the Area Boss”Once that’s done, go left to face the area boss. Every time the fight starts, you have to deal with an enemy arena first.
-
Complete the Huntress Quest
Section titled “Complete the Huntress Quest”Leave the area via the top-left to reach the Putrefied Ducts. Here, we’ll deliver all the organs to the Huntress and complete her quest.
-
Proceed to Greymoor
Section titled “Proceed to Greymoor”Finally, grab the fast travel, and let’s visit our flea friends at Greymoor!
Act 2 Finale & The Start of Act 3
Section titled “Act 2 Finale & The Start of Act 3”
Key Items
- Spool Fragment
- Tool Pouch Expansion
- Snare Setter
- Weavelight
Quests
- The Lost Fleas
- Silk and Soul
NPCs
- Fleamaster
- Caretaker
- Old Lady
- Eva
- Cogwork
-
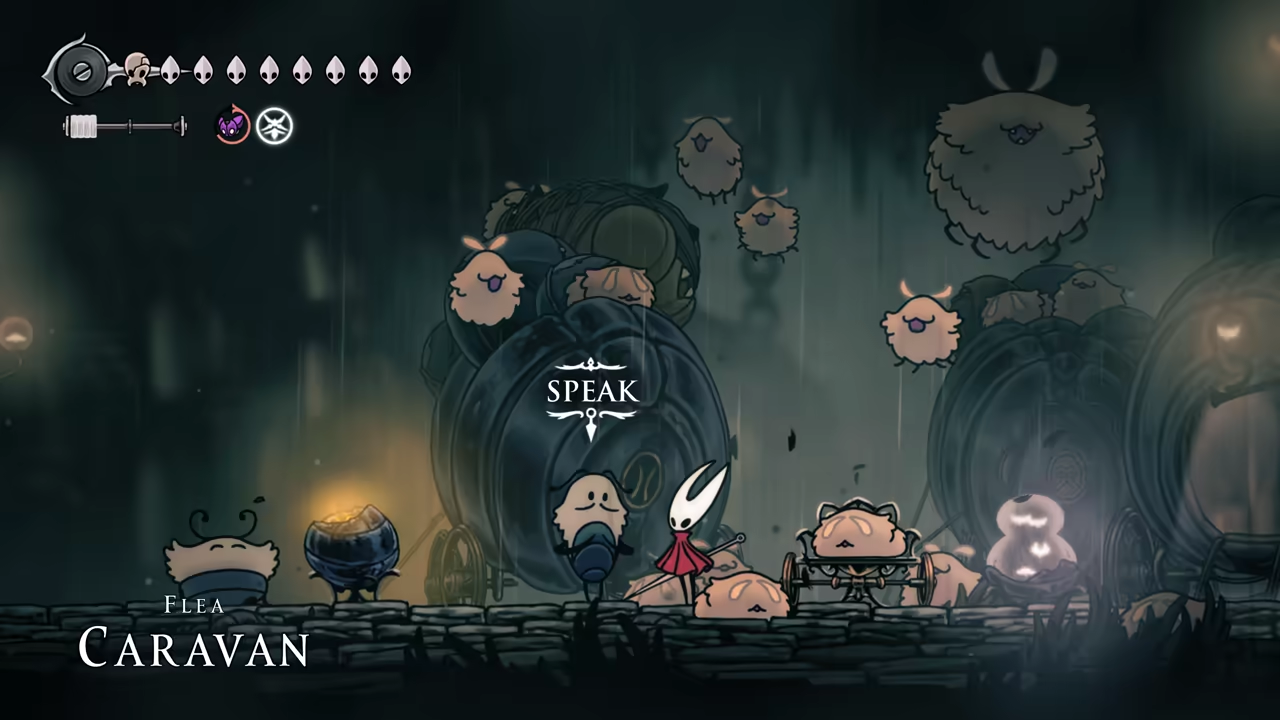
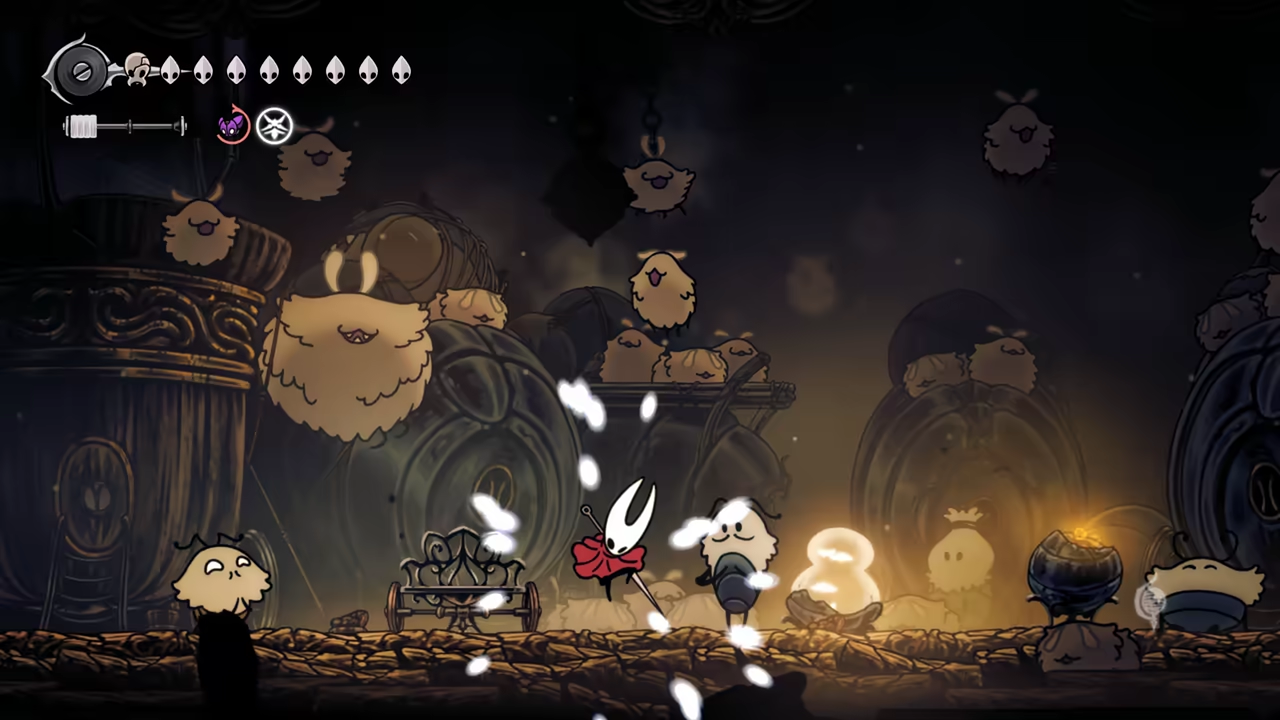
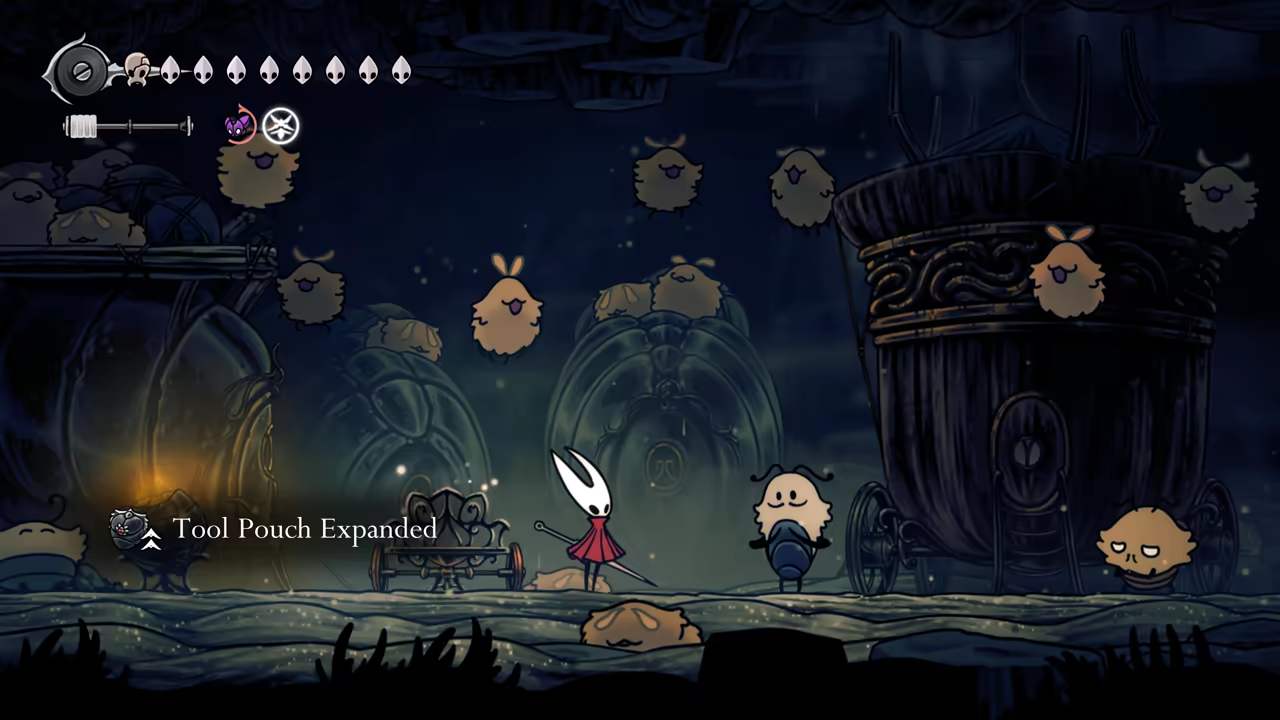
Progress The Fleas Quest
Section titled “Progress The Fleas Quest”Talk to the Fleamaster at Greymoor to progress The Lost Fleas quest. Agree to travel together. Once you reach the new area, use the bench, leave and re-enter, then quit and reload. You should be able to ask them to travel again. You’ll get a Spool Fragment for reaching the Bell Gate and a Tool Pouch Expansion for reaching Fleatopia.
-
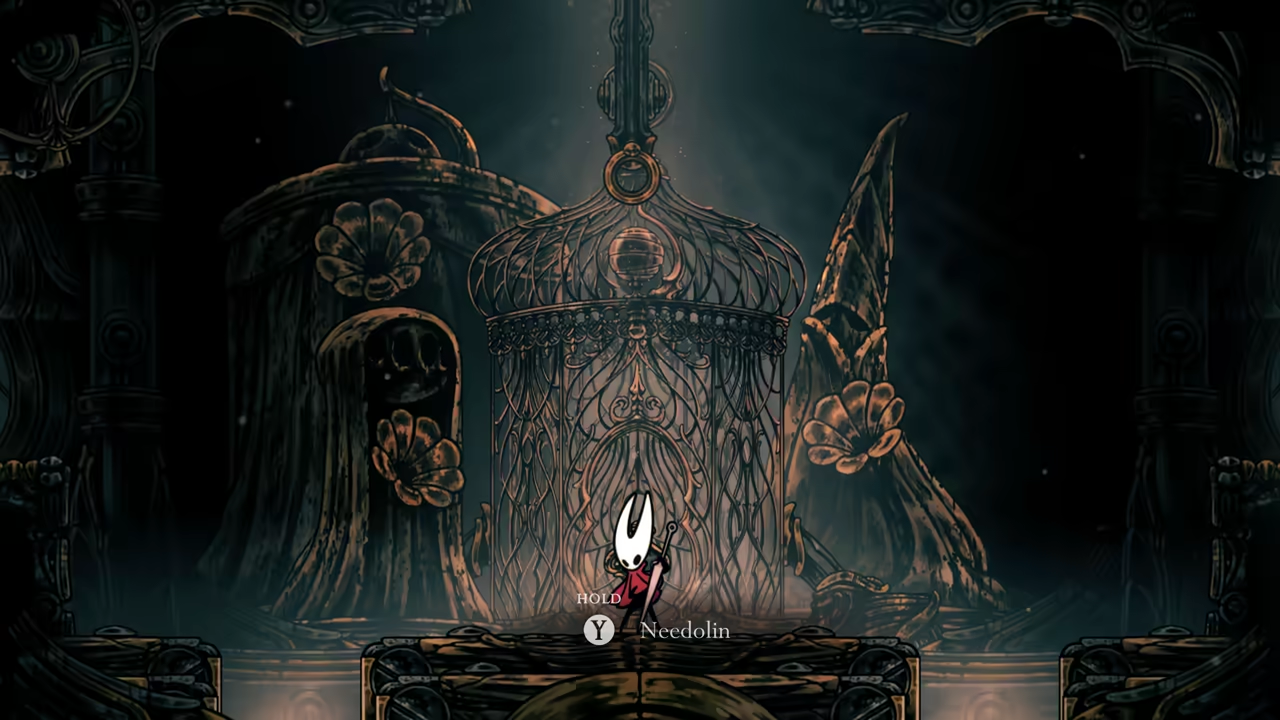
Defeat Lace (Second Fight)
Section titled “Defeat Lace (Second Fight)”Travel back to the Citadel and face Lace for the second time. With all your upgrades, this shouldn’t be too difficult. If you’re in a tough spot during her second phase, just spam Cogflies.
-
Start ‘Silk and Soul’ Quest
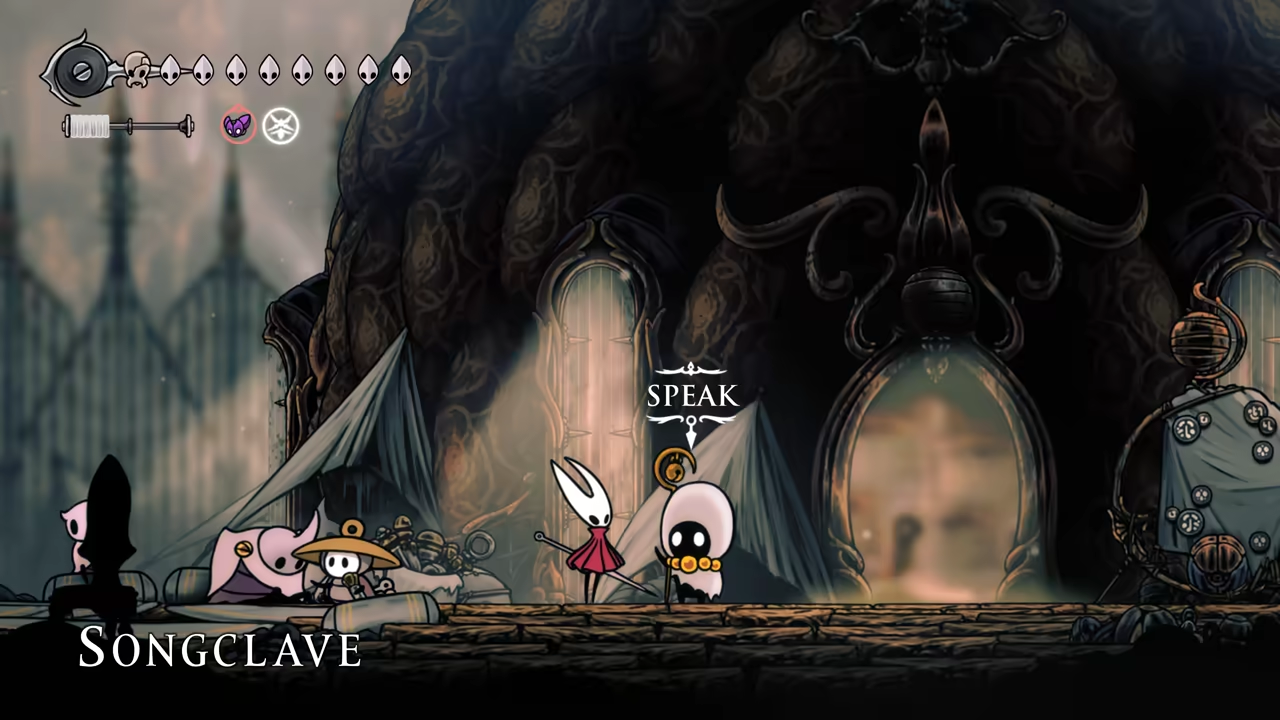
Section titled “Start ‘Silk and Soul’ Quest”Climb to The Cradle and unlock the fast travel point. Then, head back to Songclave to begin the final Act 2 quest, Silk and Soul. You can get it from the Caretaker or the Bellhart Wish Wall.
-
Gather Souls and Items
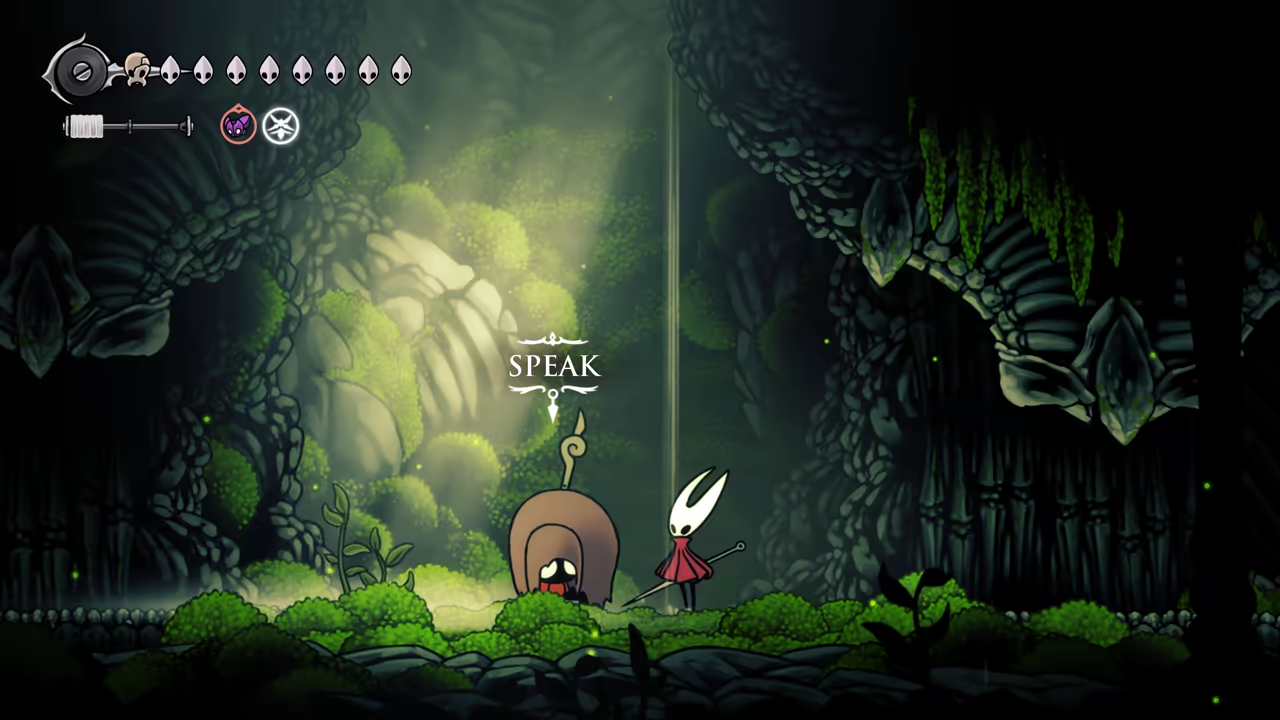
Section titled “Gather Souls and Items”The Caretaker will ask for 3 souls and a Weaver Trap. First, travel to Bellhart and head down and left to find a soul. Next, head back to Bone Bottom and find the Old Lady at the Ruined Chapel for another soul.
-
Bind Eva
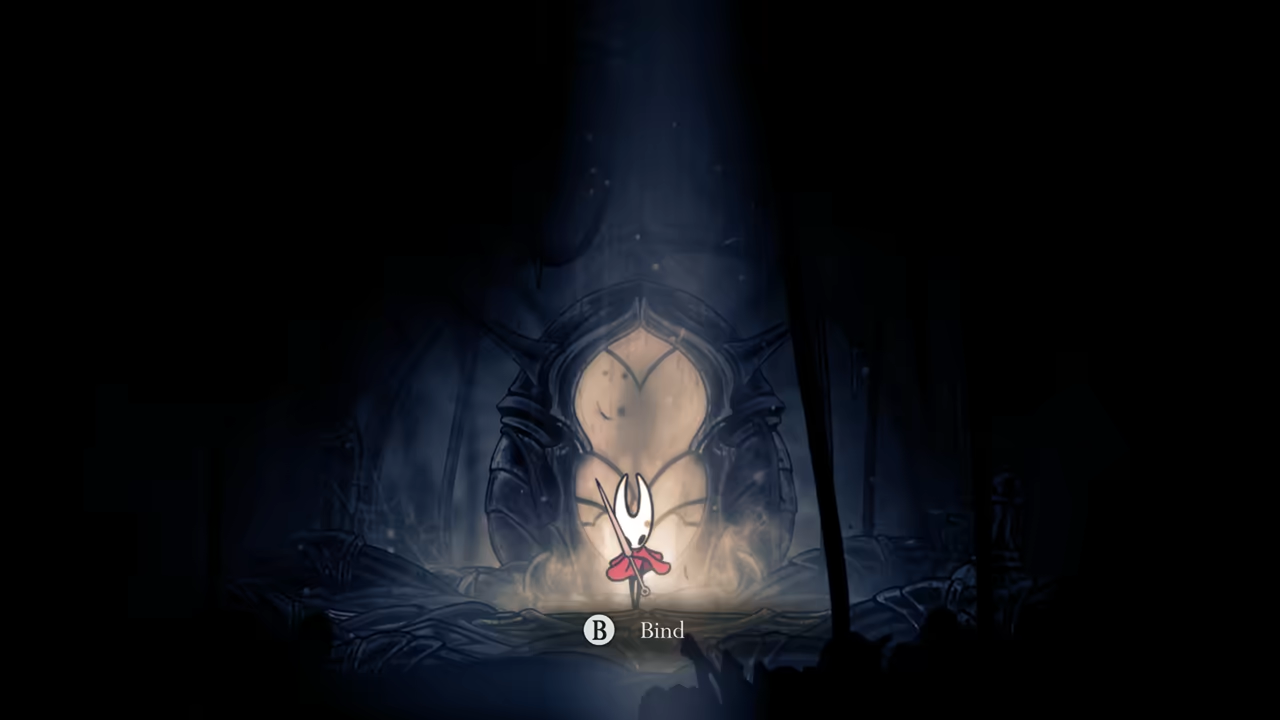
Section titled “Bind Eva”Visit Eva. If you’ve followed the guide, you should have 18 Memory Lockets. Sit on the Weavenest Atla bench and use all 18 to unlock all your Crest slots. Talk to Eva to get all upgrades and bind her.
-
Get Snare Setter & Weavelight
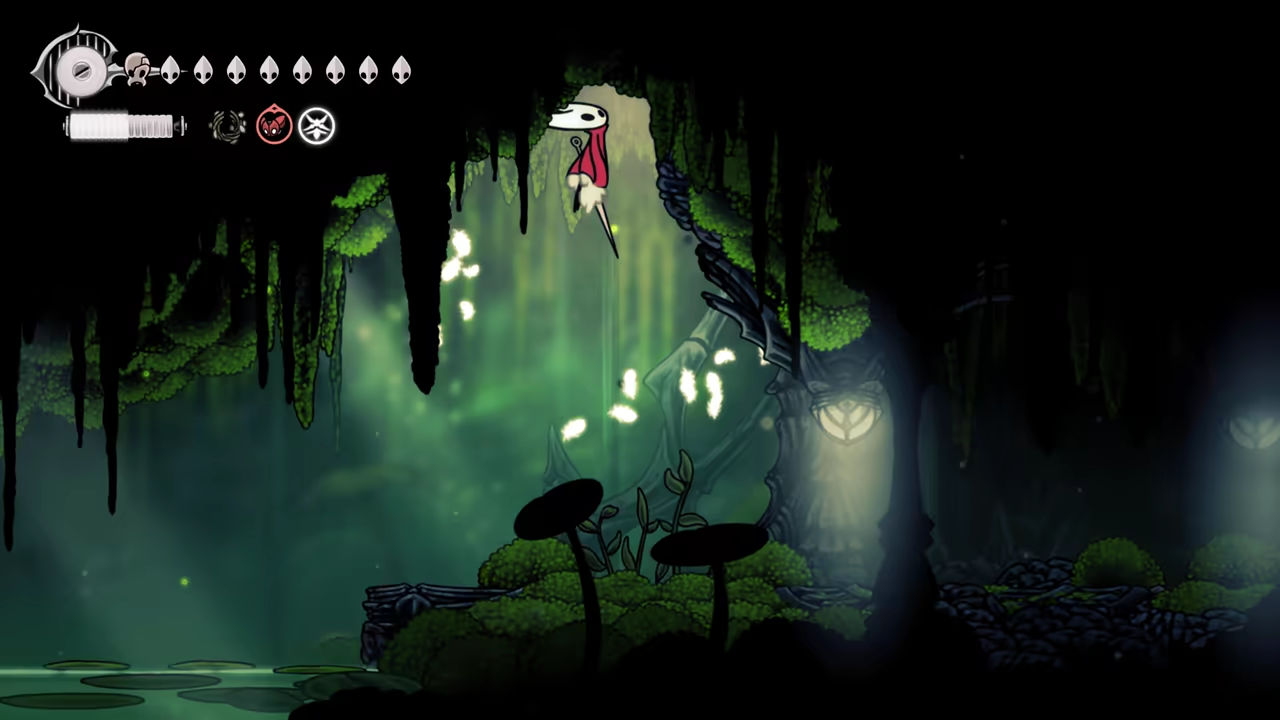
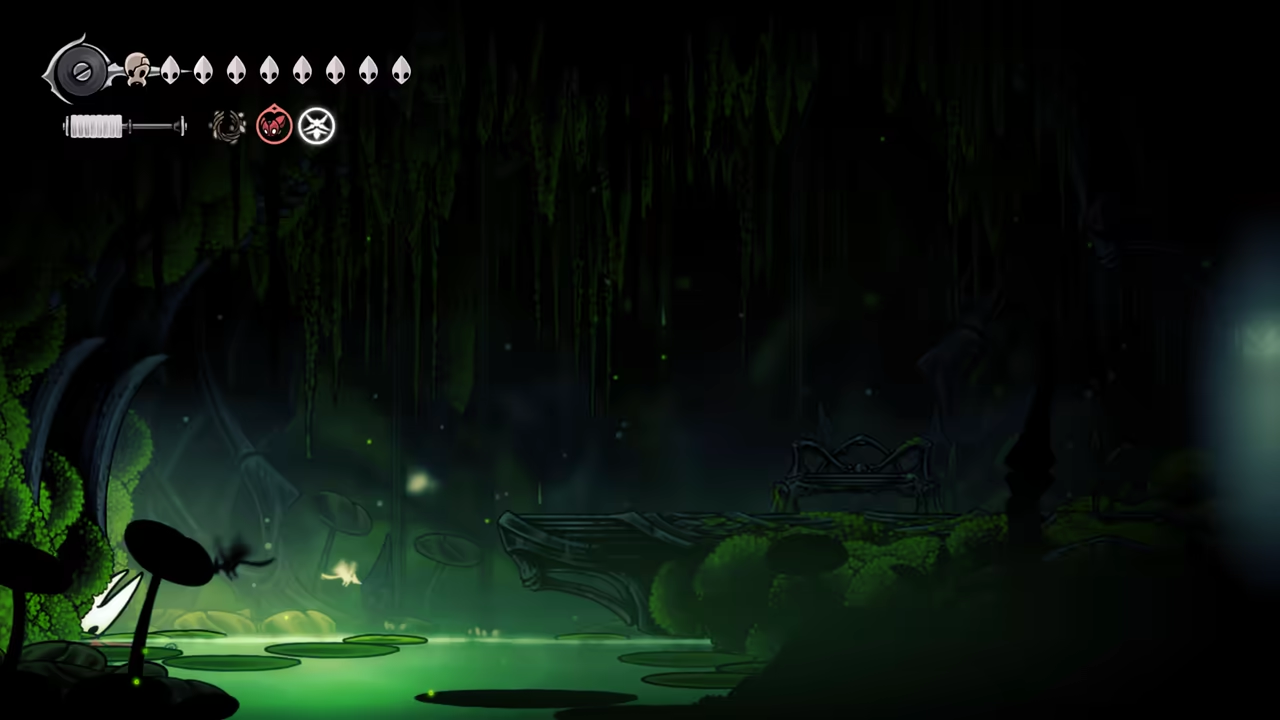
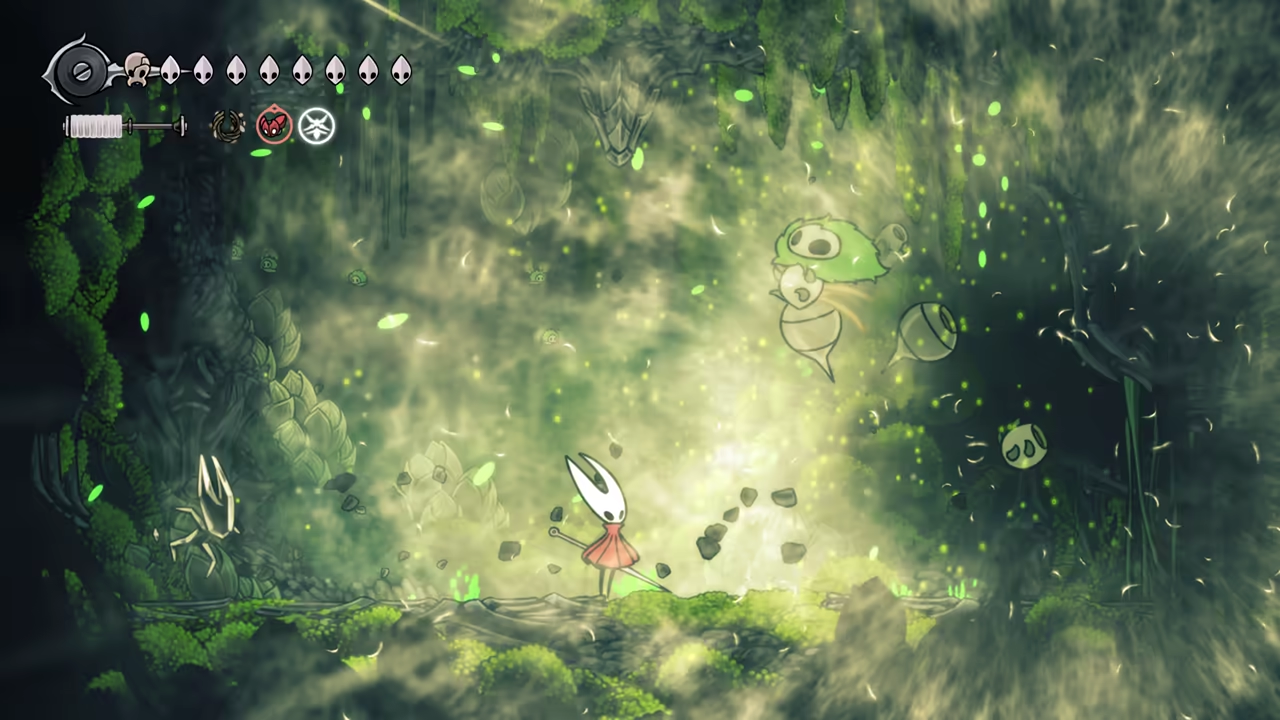
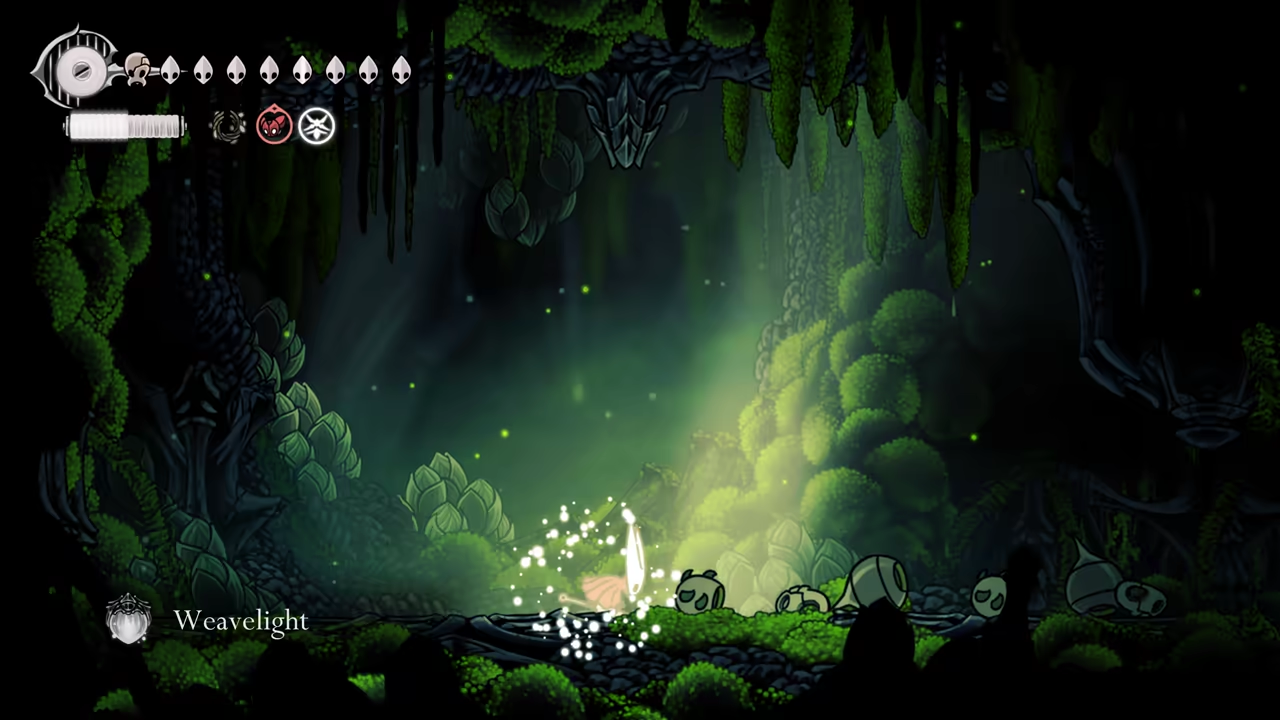
Section titled “Get Snare Setter & Weavelight”To the top left of the Weaver’s area, get the Snare Setter needed for the quest. Then, head left to a hidden area by the water to find a Moss Mother nest. Defeat the two bosses to get the Weavelight.
-
Defeat Grand Mother Silk (End of Act 2)
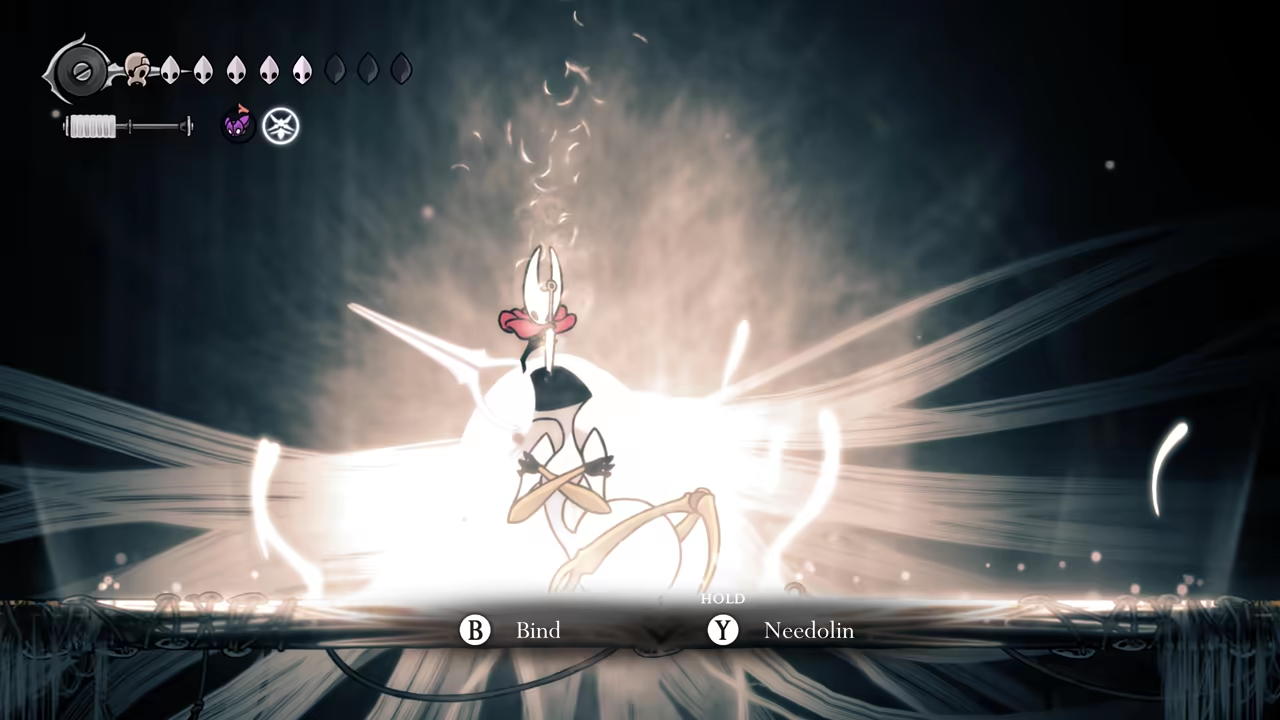
Section titled “Defeat Grand Mother Silk (End of Act 2)”Return to Songclave to deliver everything for the Grand Mother Silk Trap. Use fast travel to go to Terminus and find the Caretaker. Proceed to fight the Grand Mother Silk. The fight is easy at this stage; dash towards her and spam attacks. Use the Needolin to activate the trap.
-
Begin Act 3
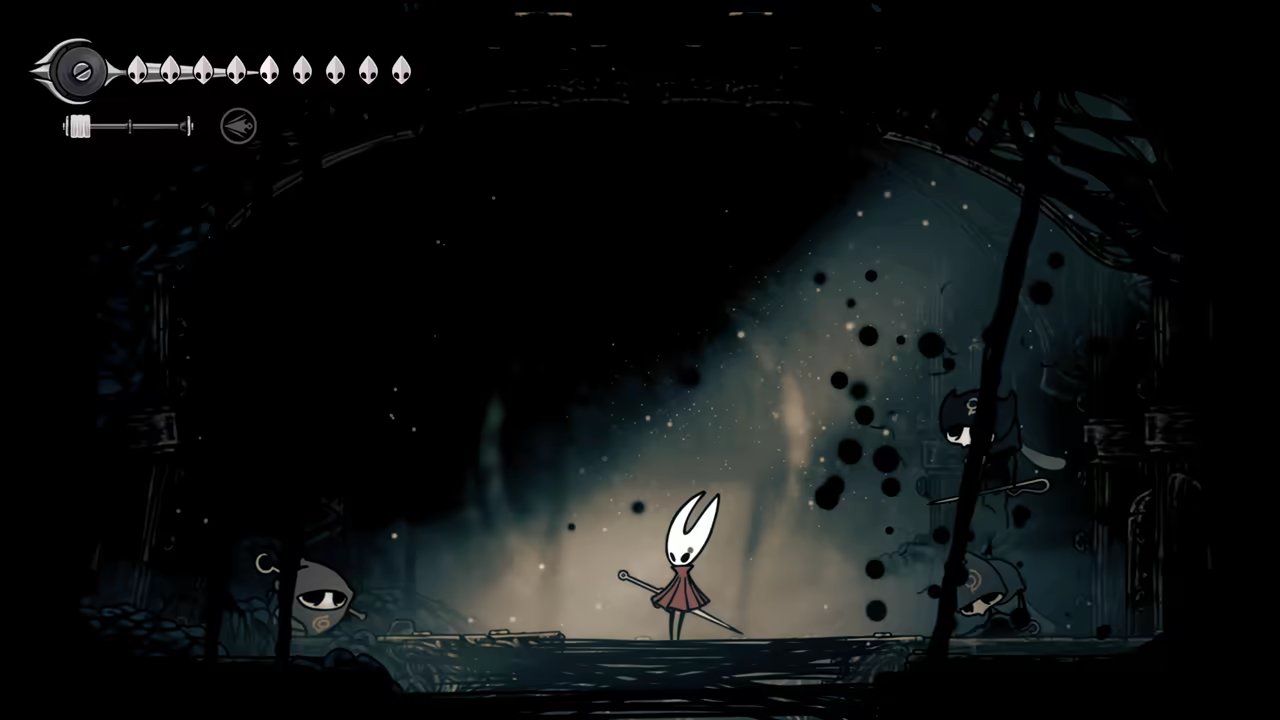
Section titled “Begin Act 3”Load your save. Start climbing down The Cradle. You’ll encounter Cogwork. Before escaping, you’ll face your first Void enemies. After the fight, you’ll wake up again at Songclave.
-
Proceed to the Next Objective
Section titled “Proceed to the Next Objective”Now, we need to pay a visit to our snail friends at the Ruined Chapel.
100% Abyss
Section titled “100% Abyss”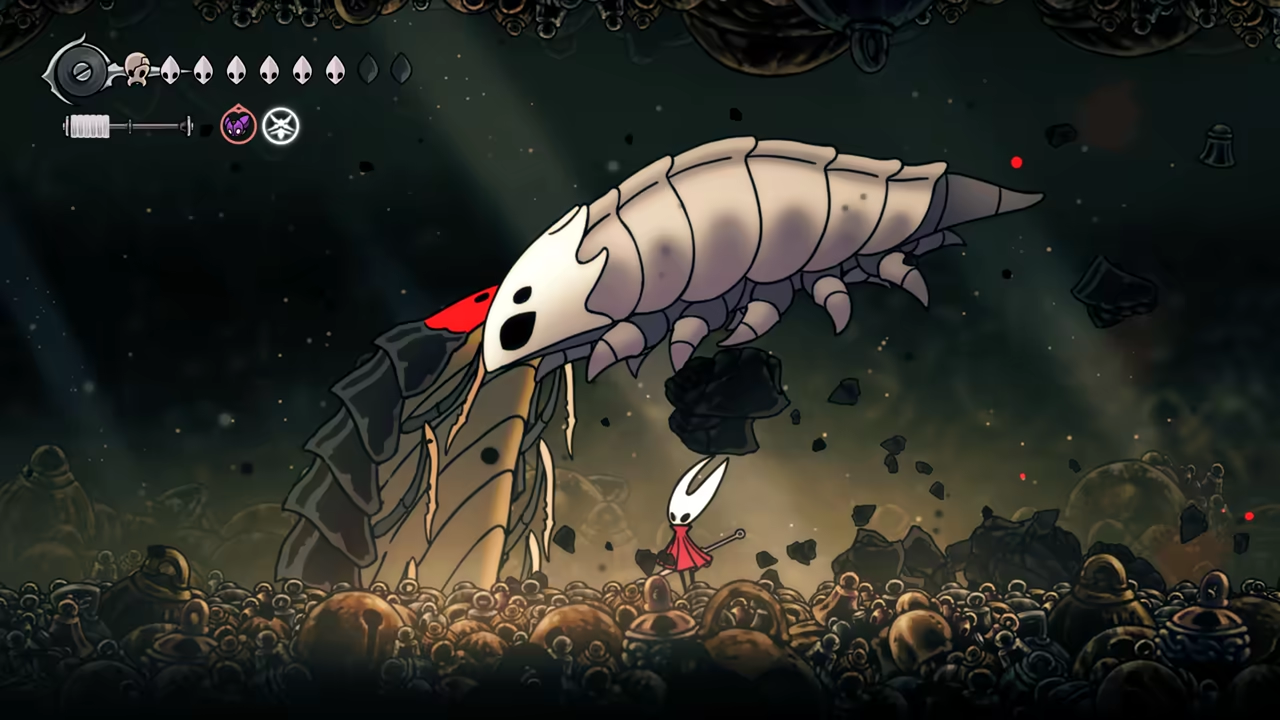
Key Items
- Bell Key
- Abyss Rune
- Final Crest
Bosses
Quests
- The Old Hearts
NPCs
- Bell Beast
- Forge Daughter
- Ballow
- Lace
Connects To
- Blasted Steps
-
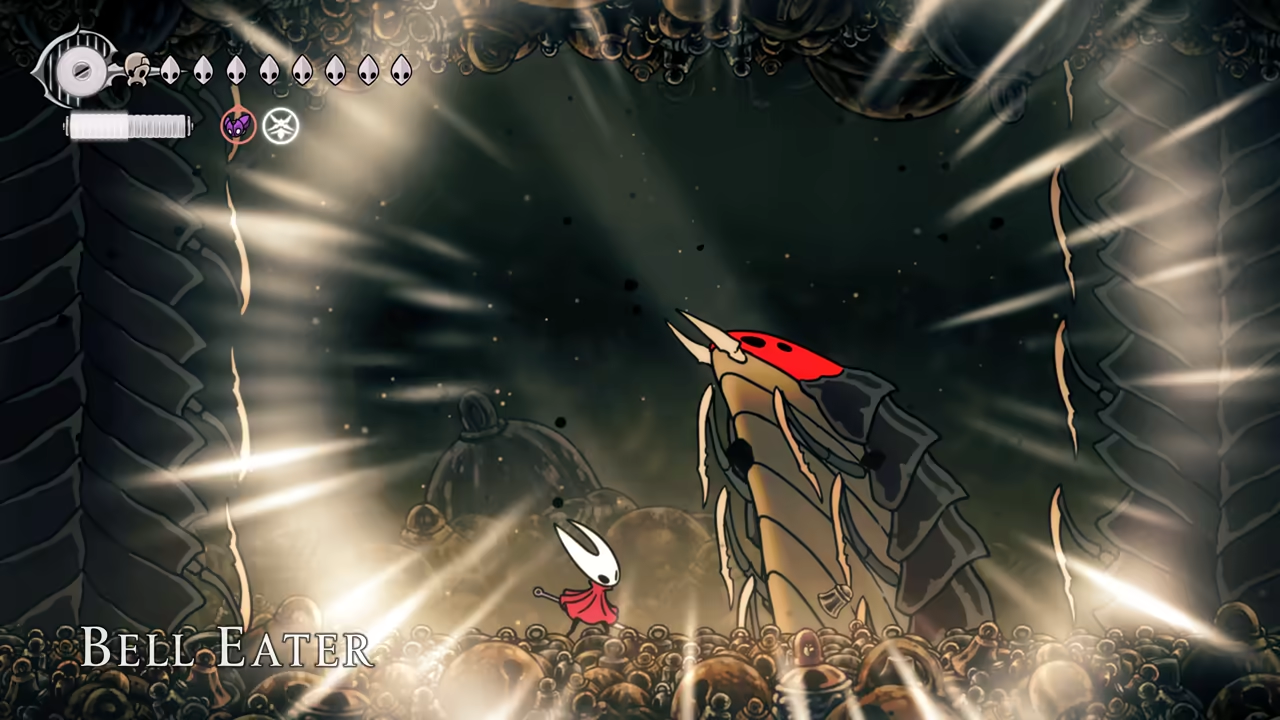
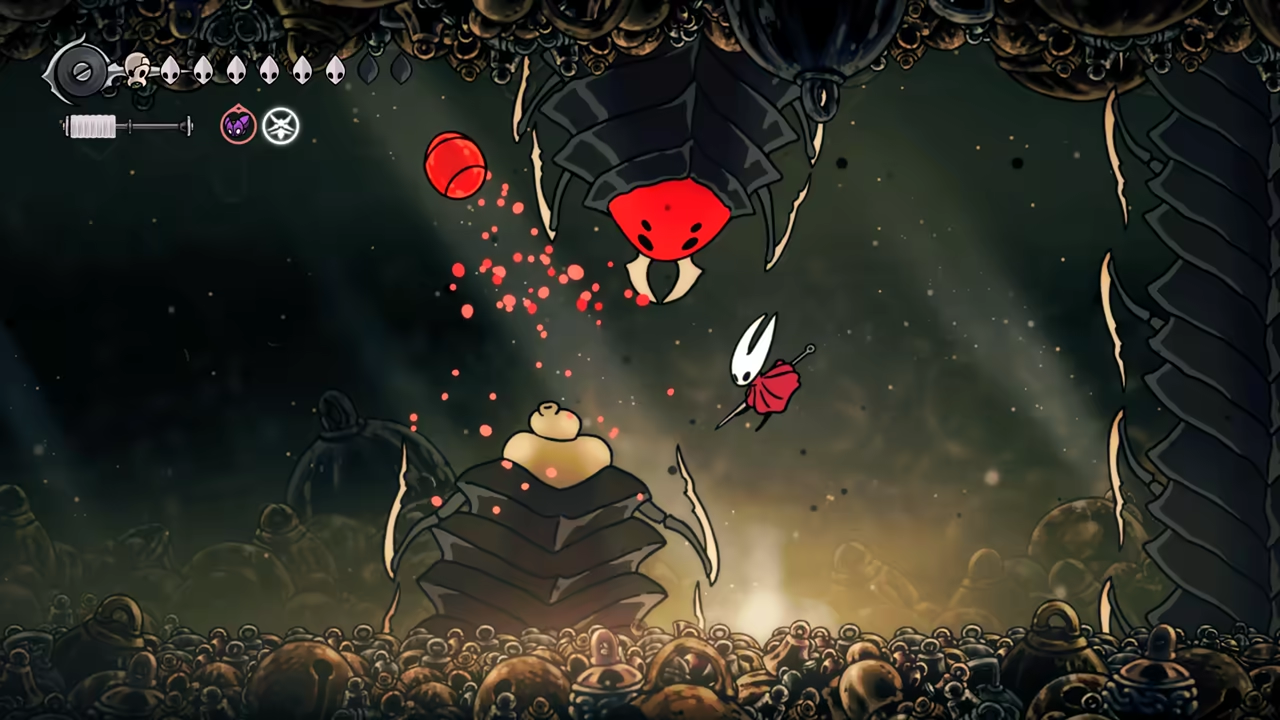
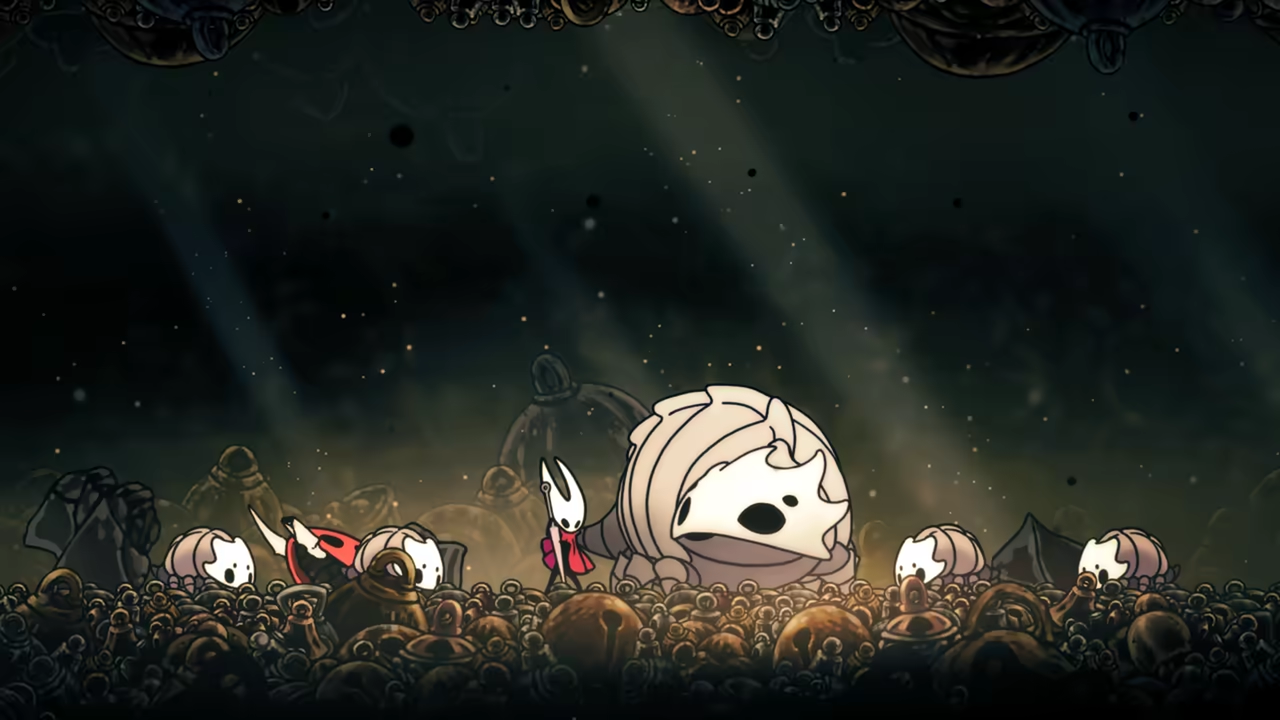
Fight the Bell Eater & Learn Beastling Call
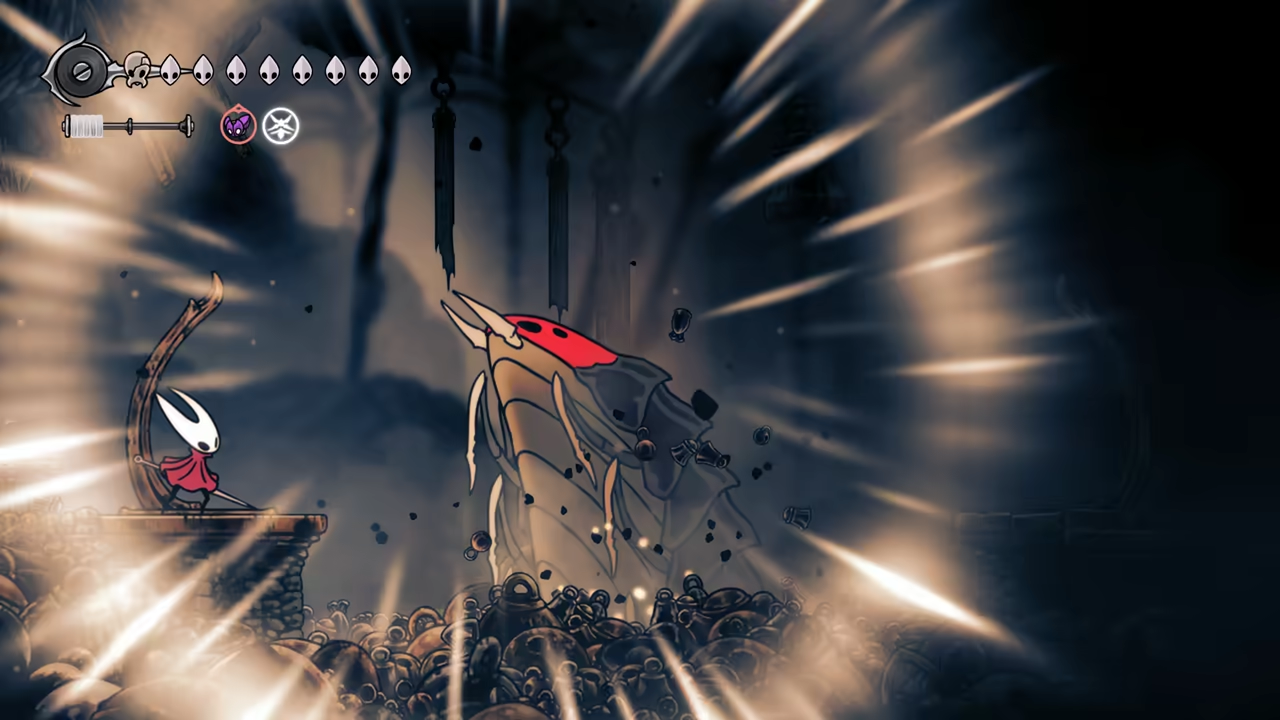
Section titled “Fight the Bell Eater & Learn Beastling Call”Going down into the Citadel towards the Bell Station will trigger an encounter with the Bell Eater.
-
Visit the Snails
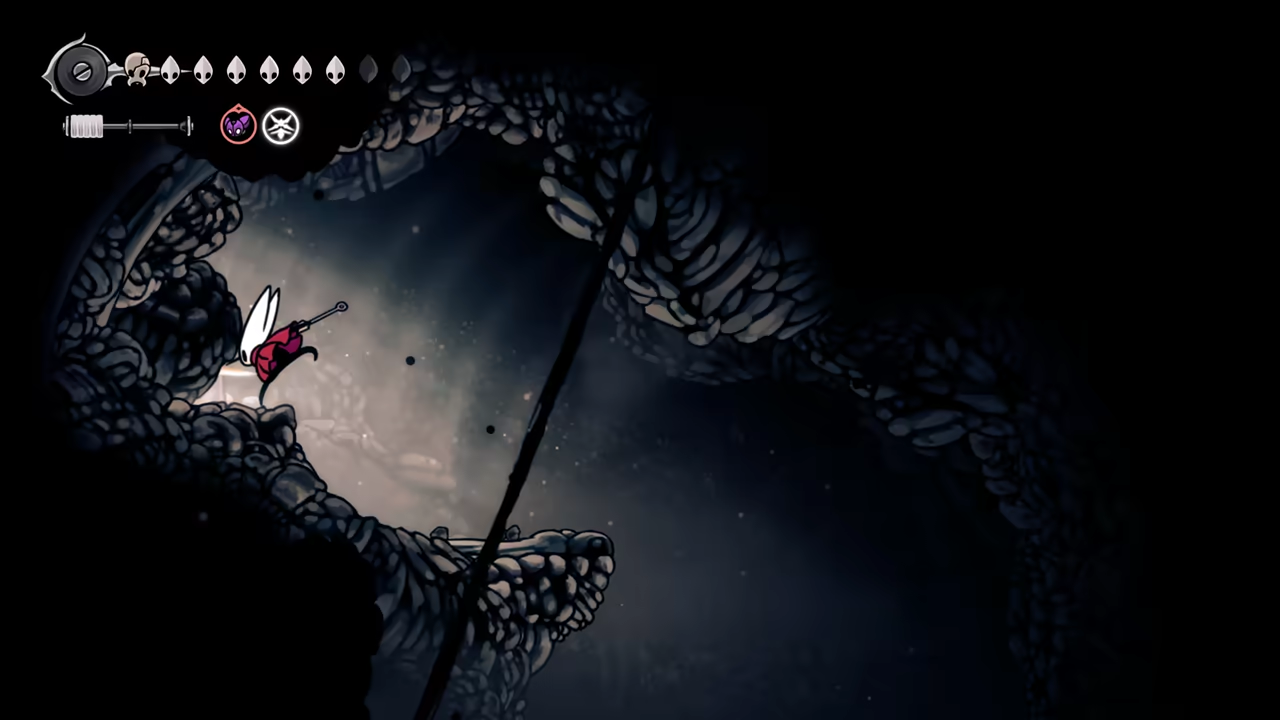
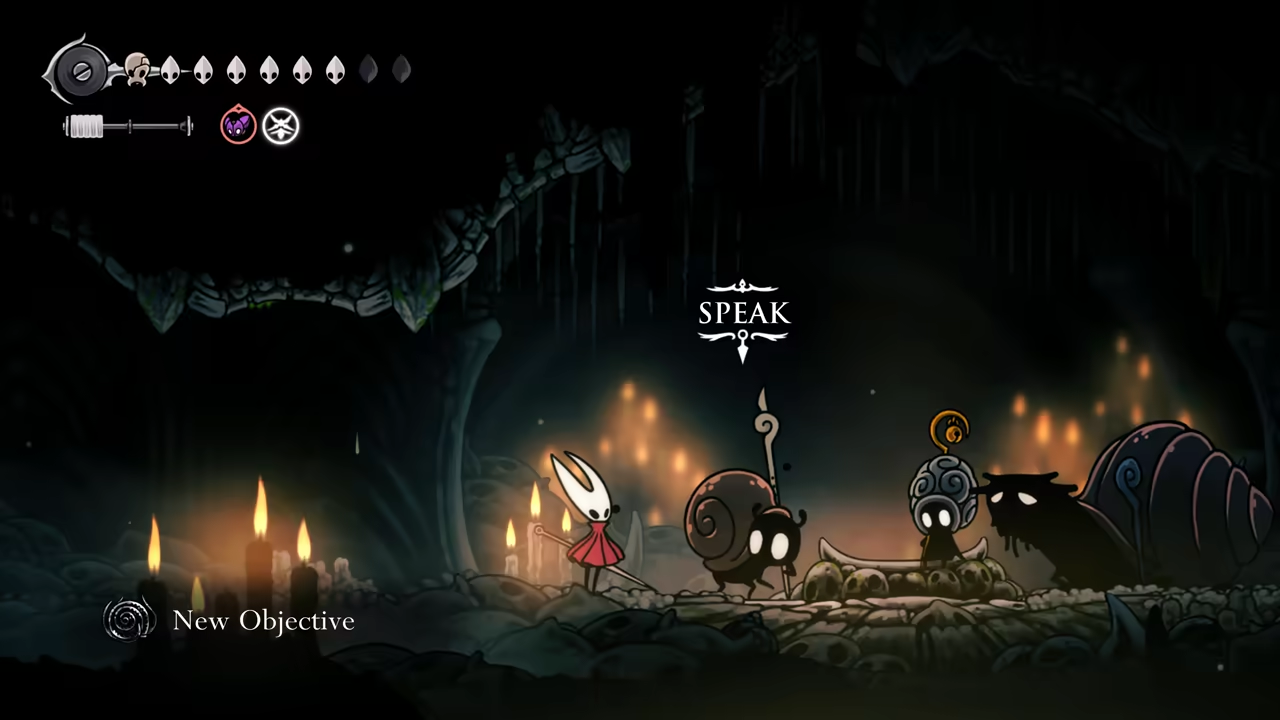
Section titled “Visit the Snails”Fast travel to Bone Bottom. Inside the Ruined Chapel, find the snails to unlock the next objective for The Old Hearts quest.
-
Get the Bell Key
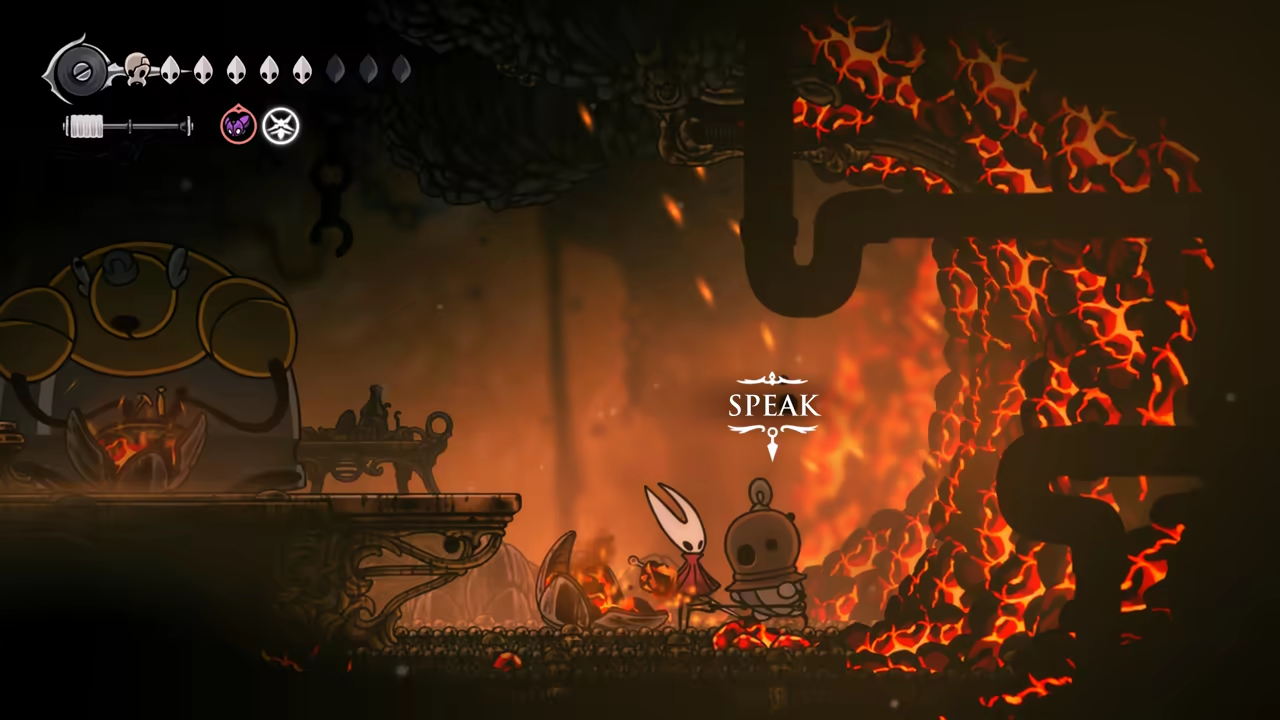
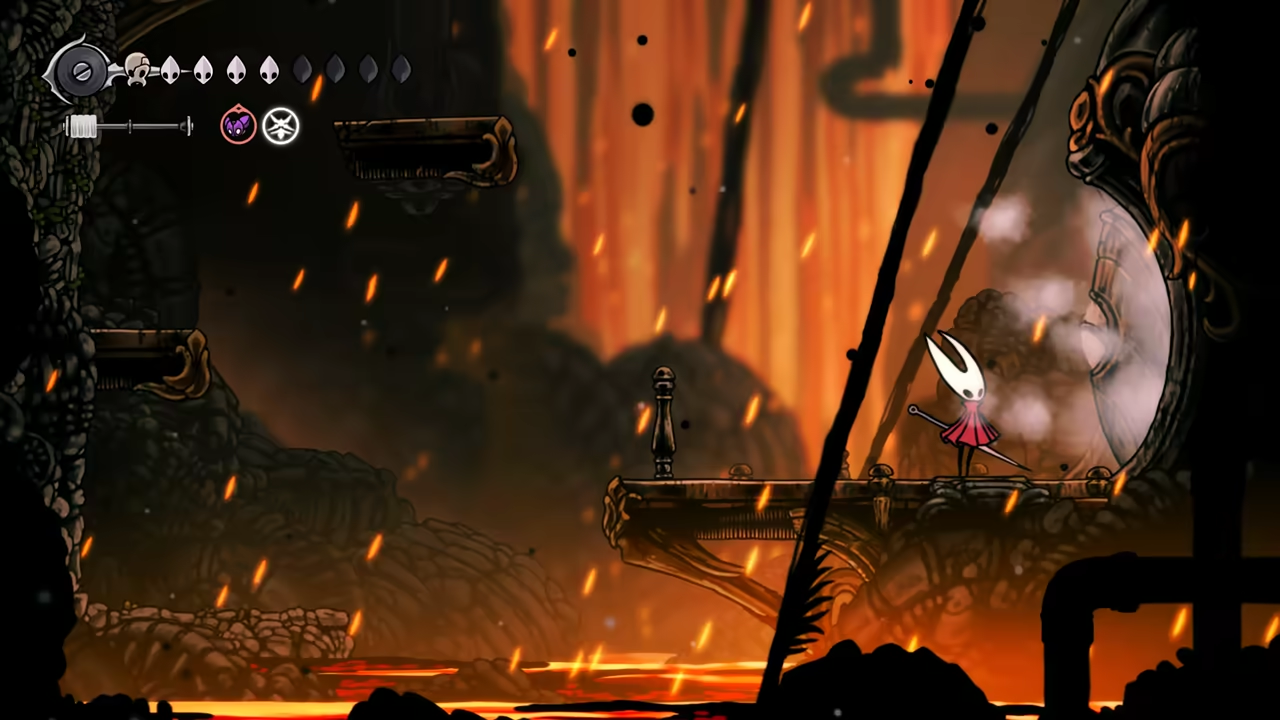
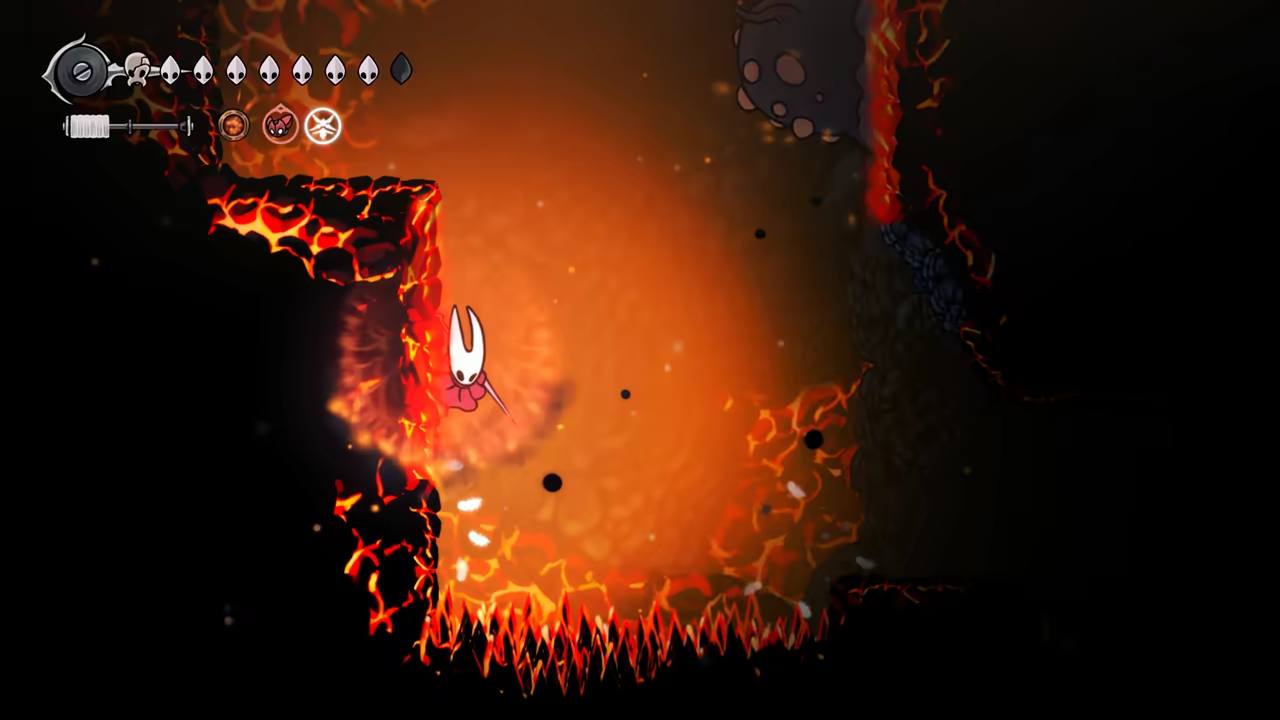
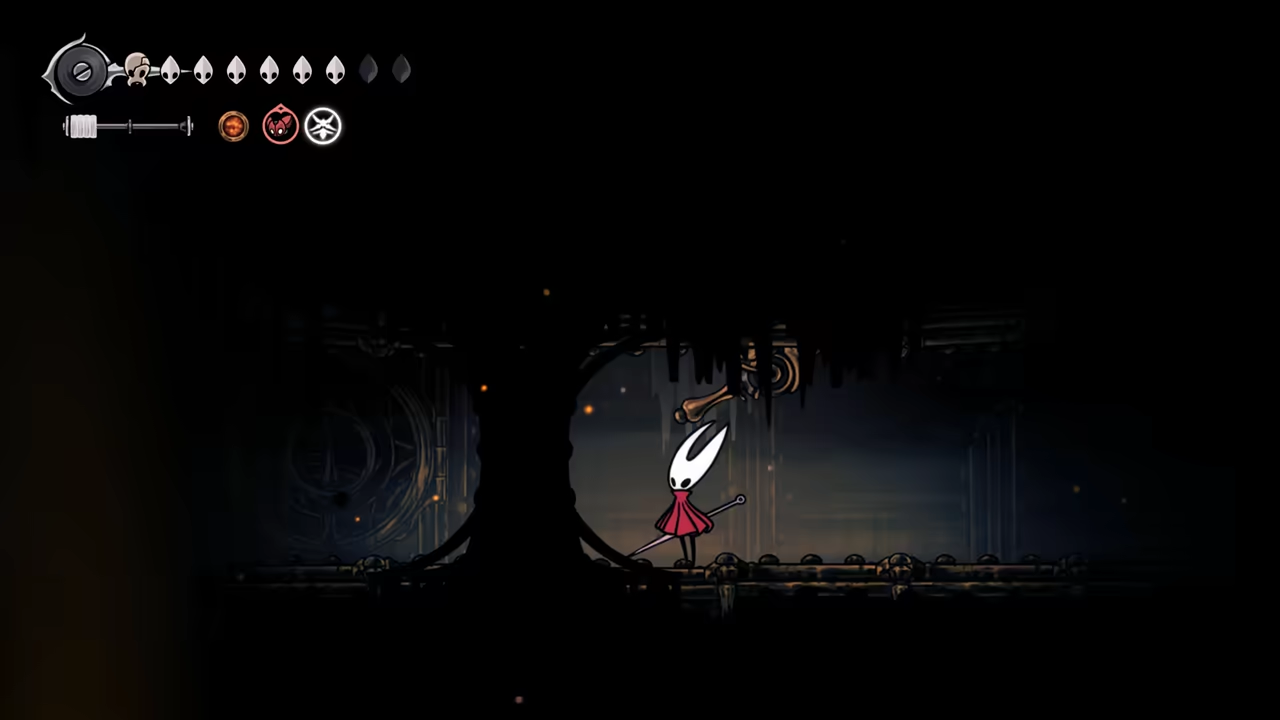
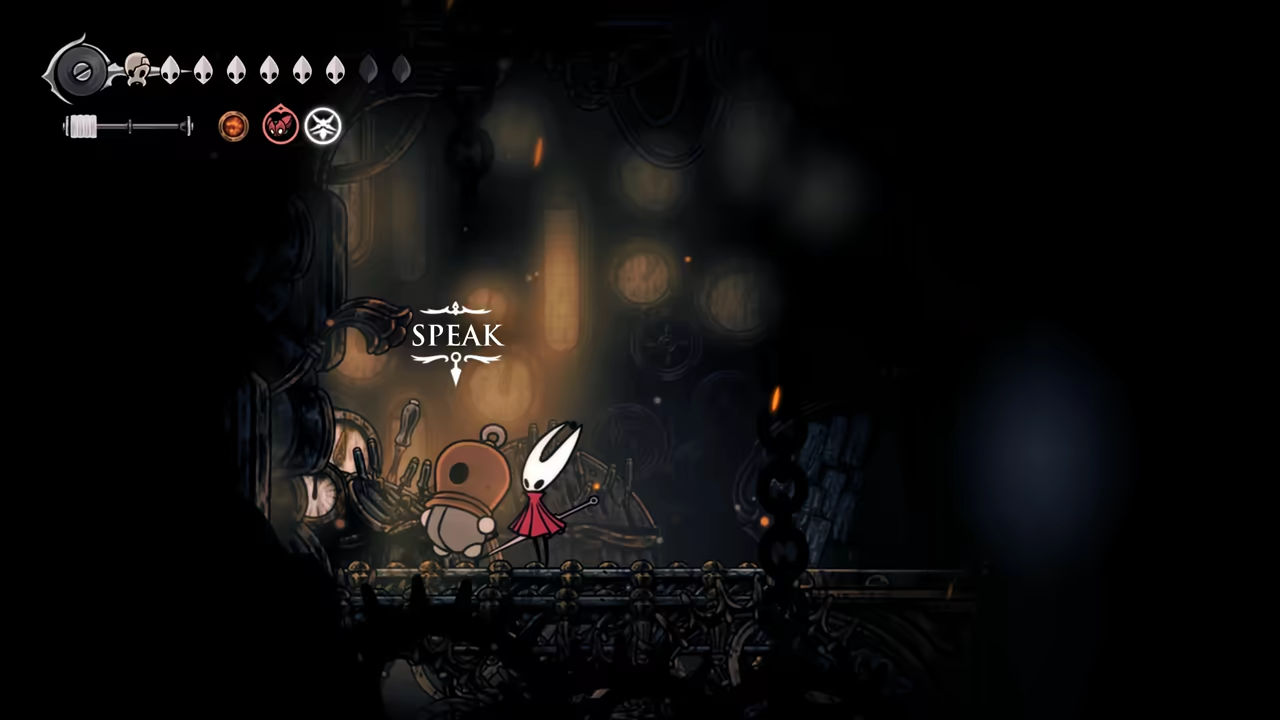
Section titled “Get the Bell Key”Next, fast travel to The Docks to meet the Forge Daughter and Ballow. Talking to Ballow will trigger the next objective. Descend toward the shortcut unlocked after fighting the Forebrothers Signis & Gron. Complete a simple platforming section and unlock the shortcut at the end. You will then find Ballow again and receive the Bell Key, which allows you to enter the Diving Bell.
-
Descend into The Abyss
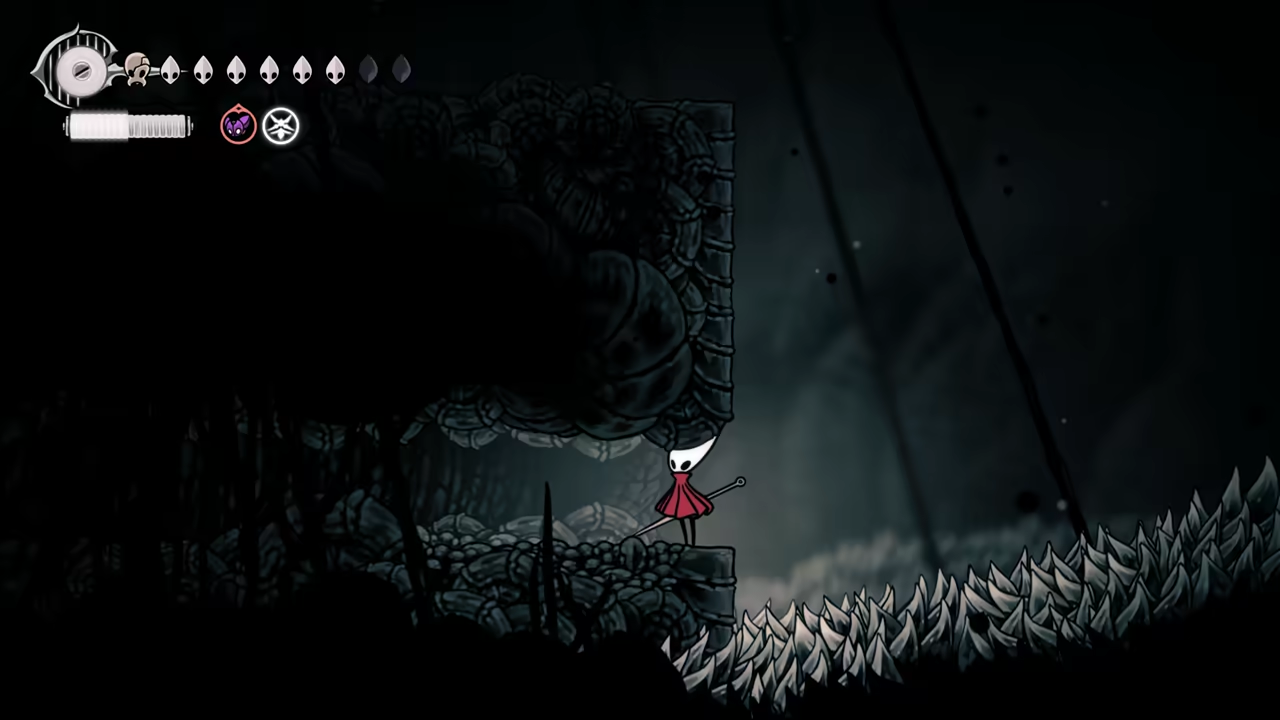
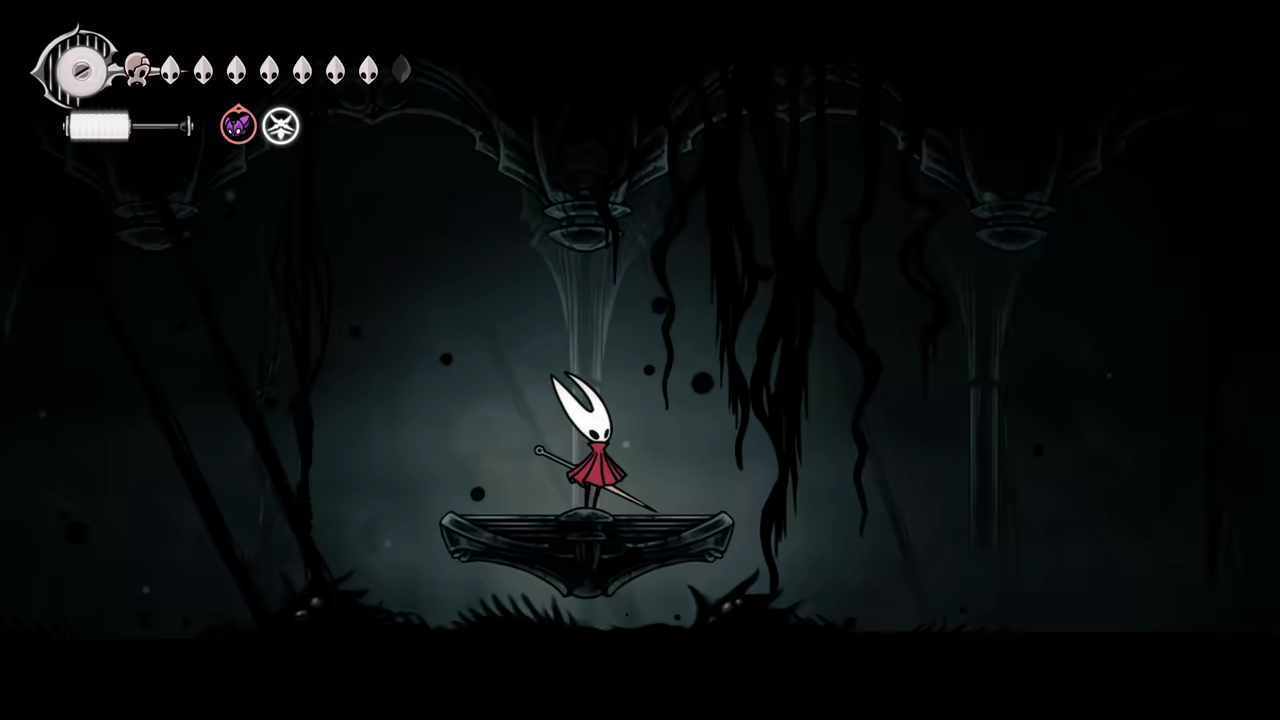
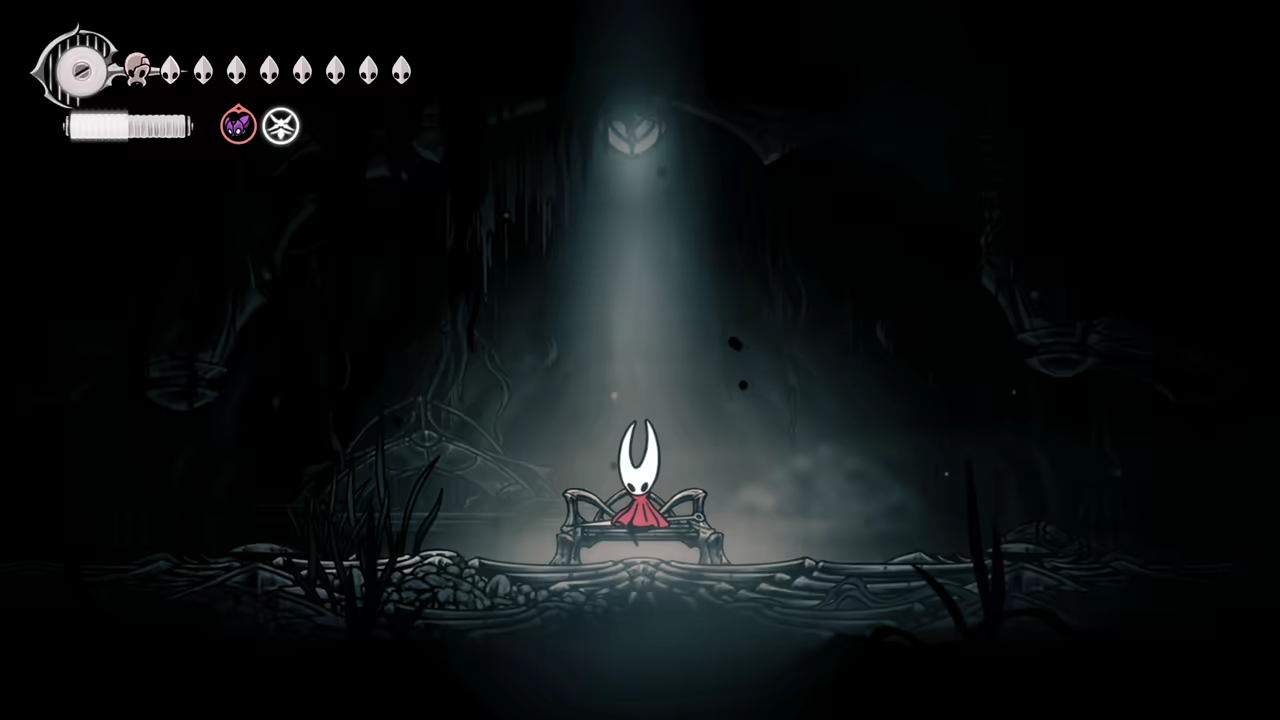
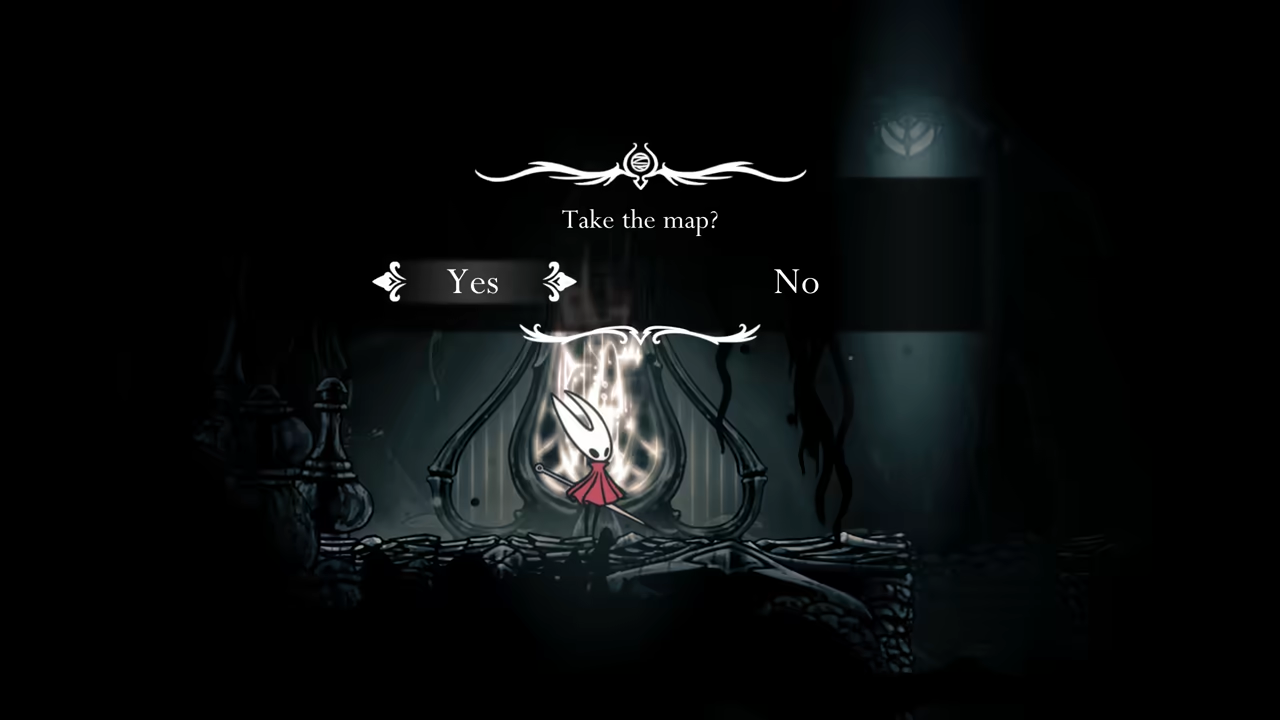
Section titled “Descend into The Abyss”The area is straightforward, so just keep descending. To avoid the large spitting enemy, look for small tunnels. You’ll soon reach an area filled with void. In the next room, find a bench and the rune depicting the Abyss above it.
-
Get Silk Soar (Super Jump)
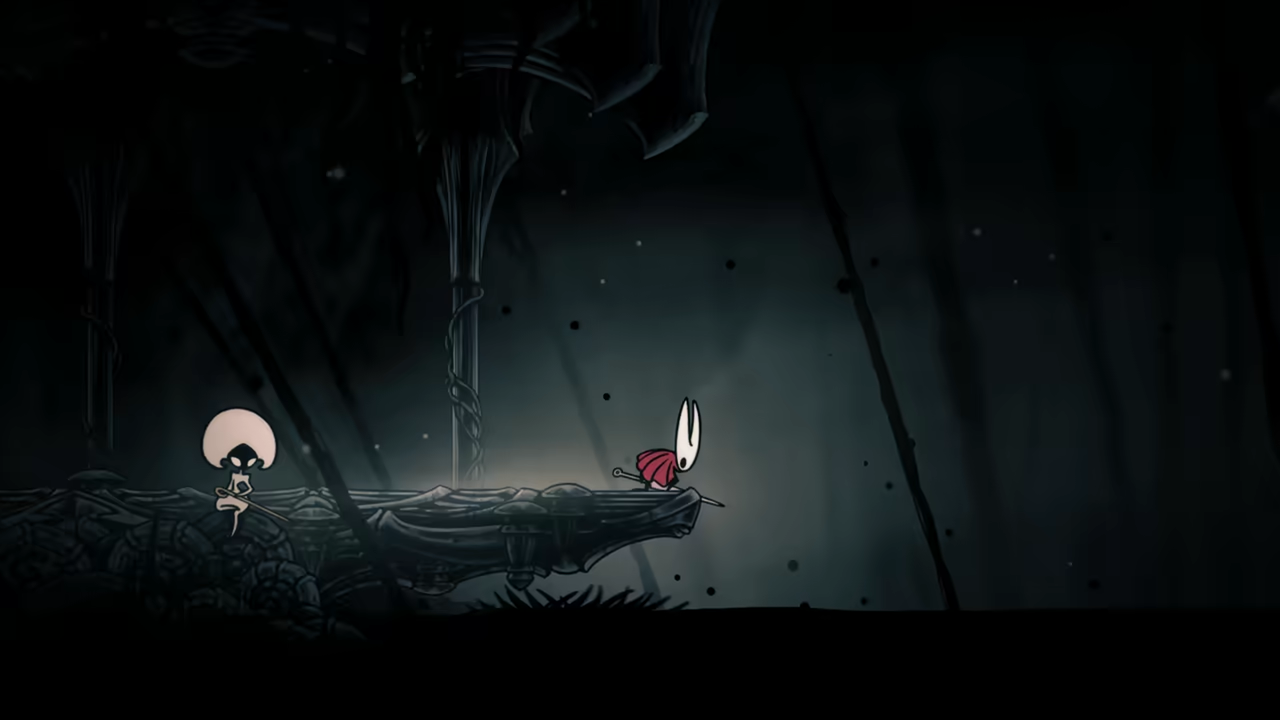
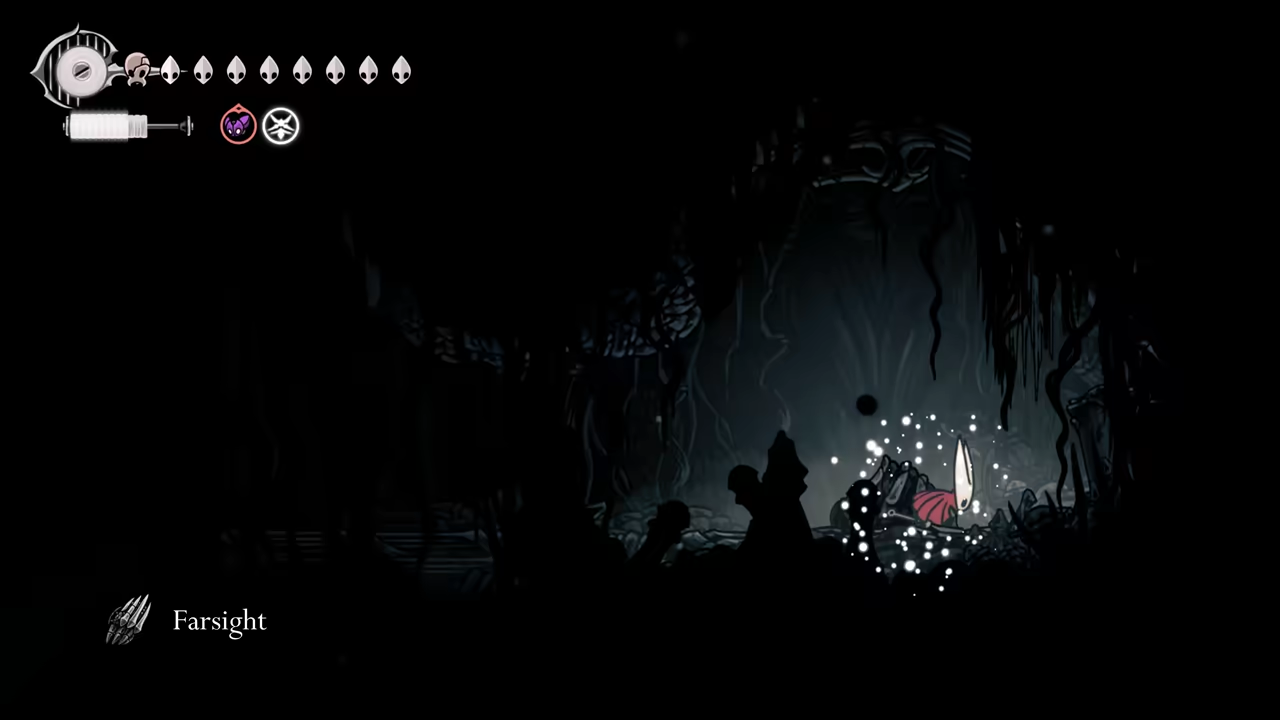
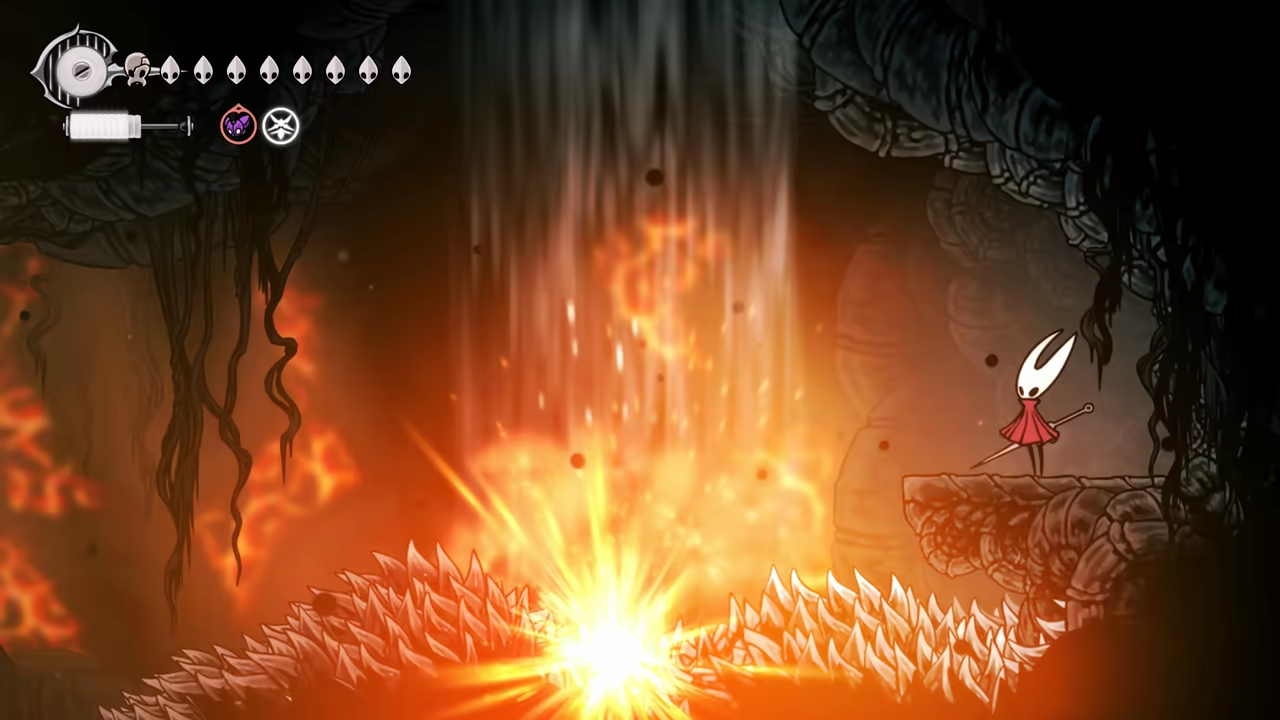
Section titled “Get Silk Soar (Super Jump)”Head right to meet Lace one more time, then continue right. After climbing up, you’ll find a Weavenest. At the far right, grab the collectible. Head down and bind the last Weaver to get the Silk Soar (Super Jump) ability needed to escape.
-
Escape The Abyss
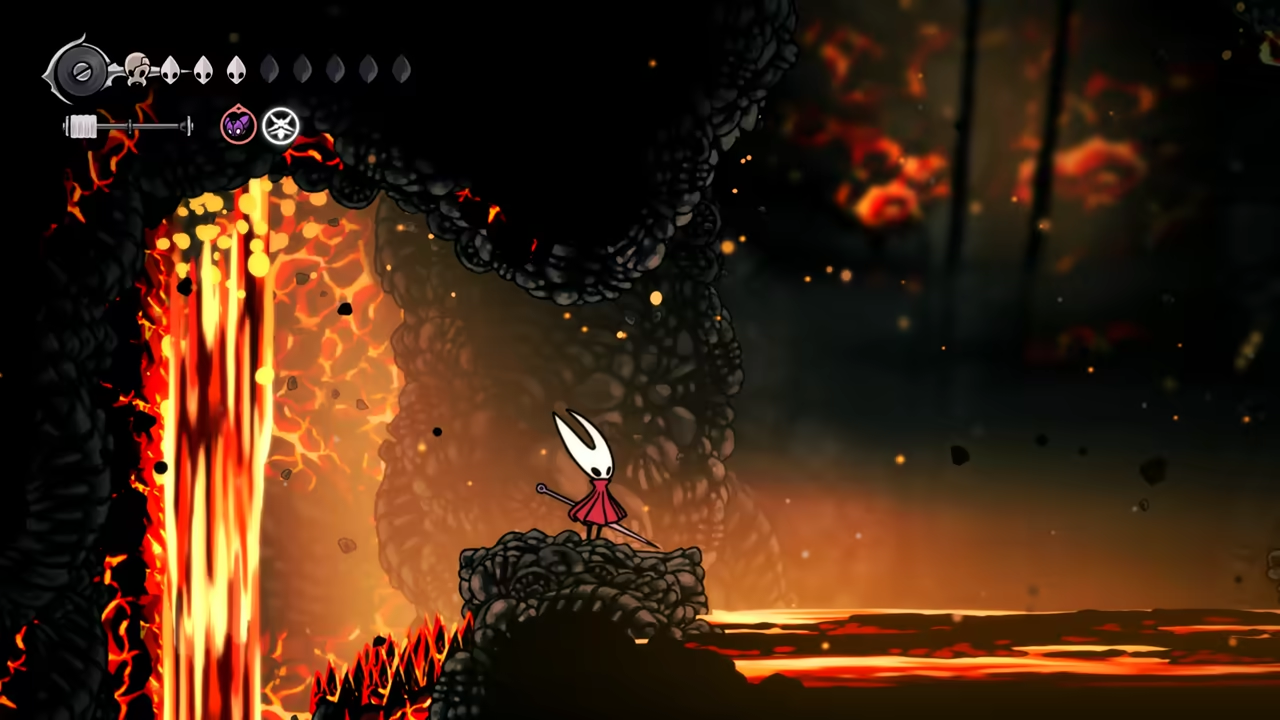
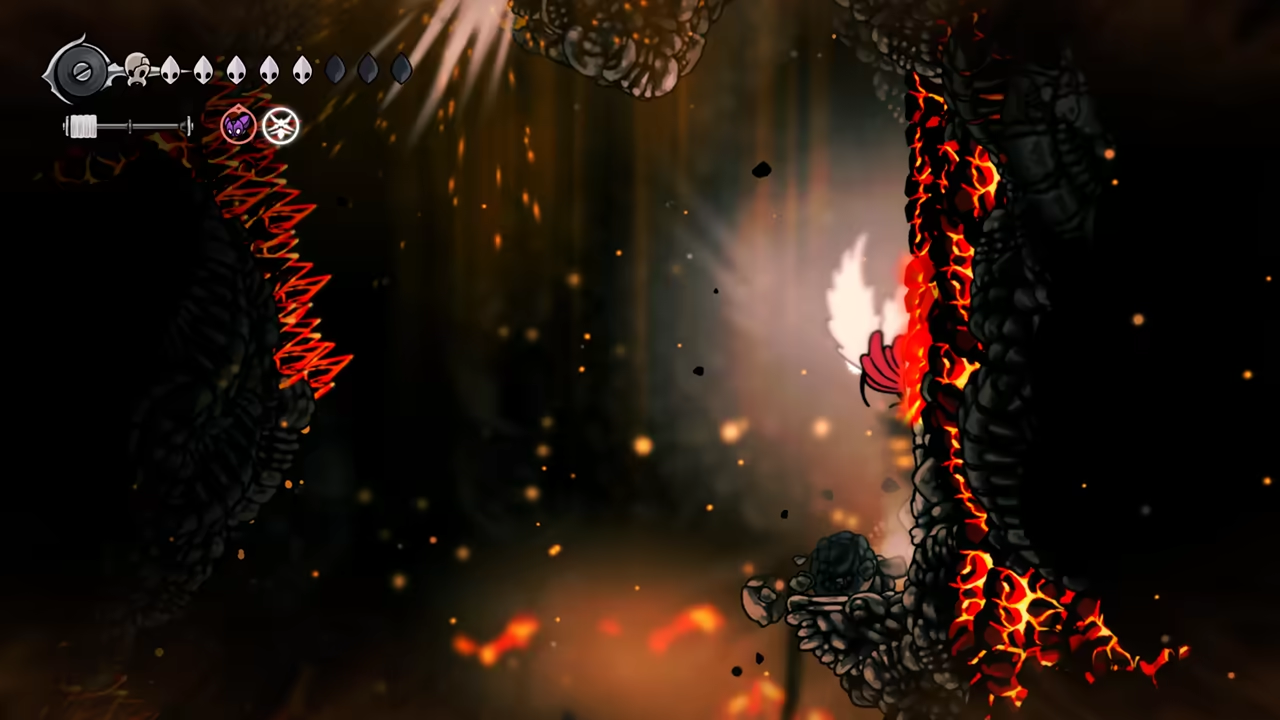
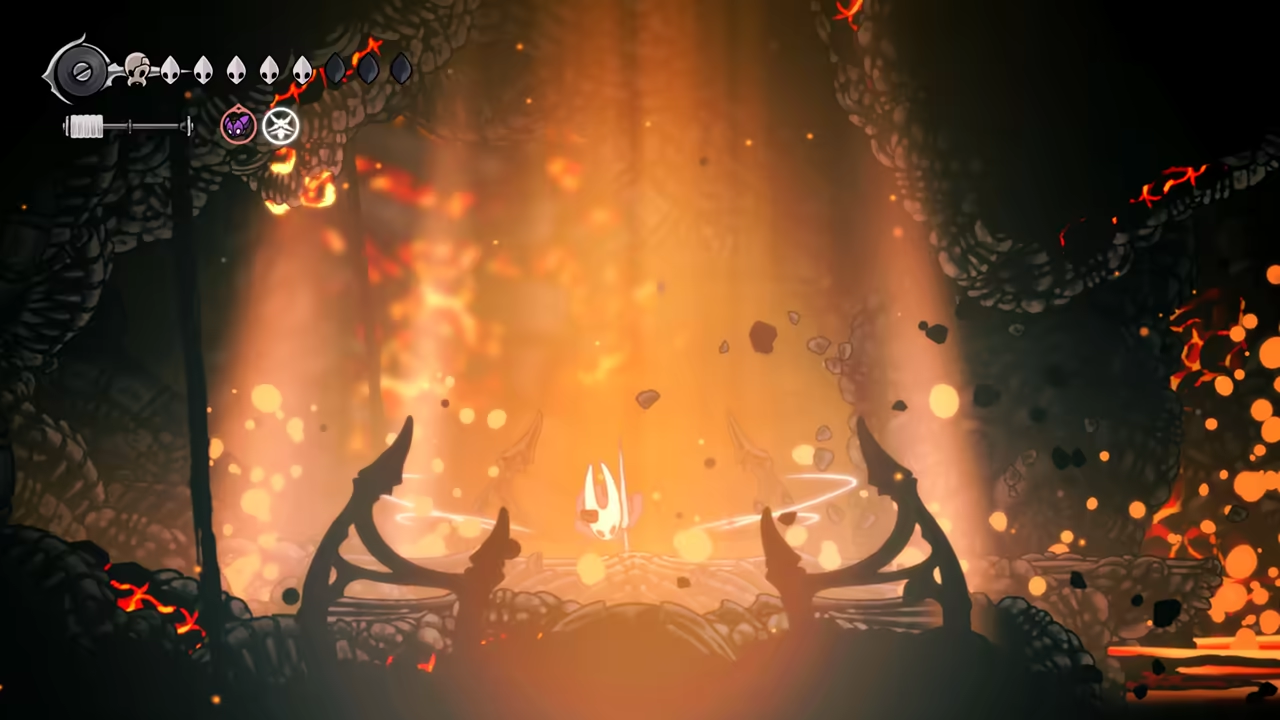
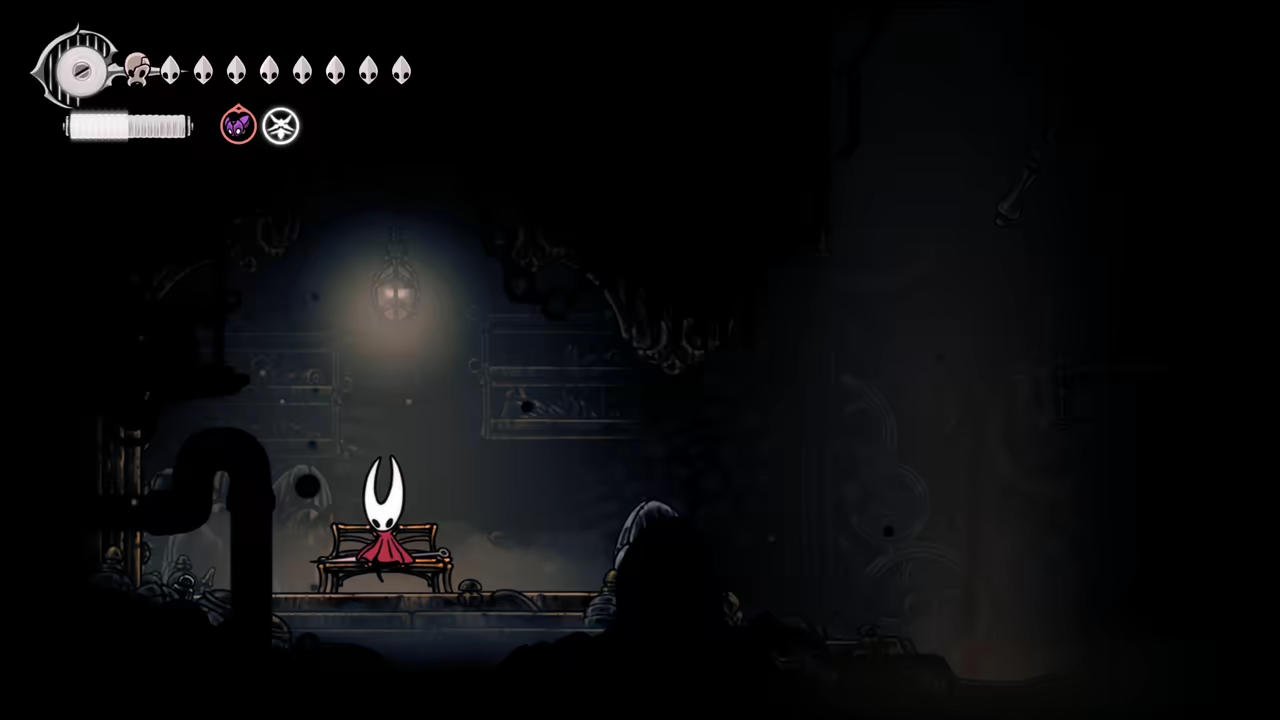
Section titled “Escape The Abyss”Head back to where the Diving Bell fell and start climbing. Complete the cool platforming section with rising lava to get back to The Docks.
-
Get the Final Crest
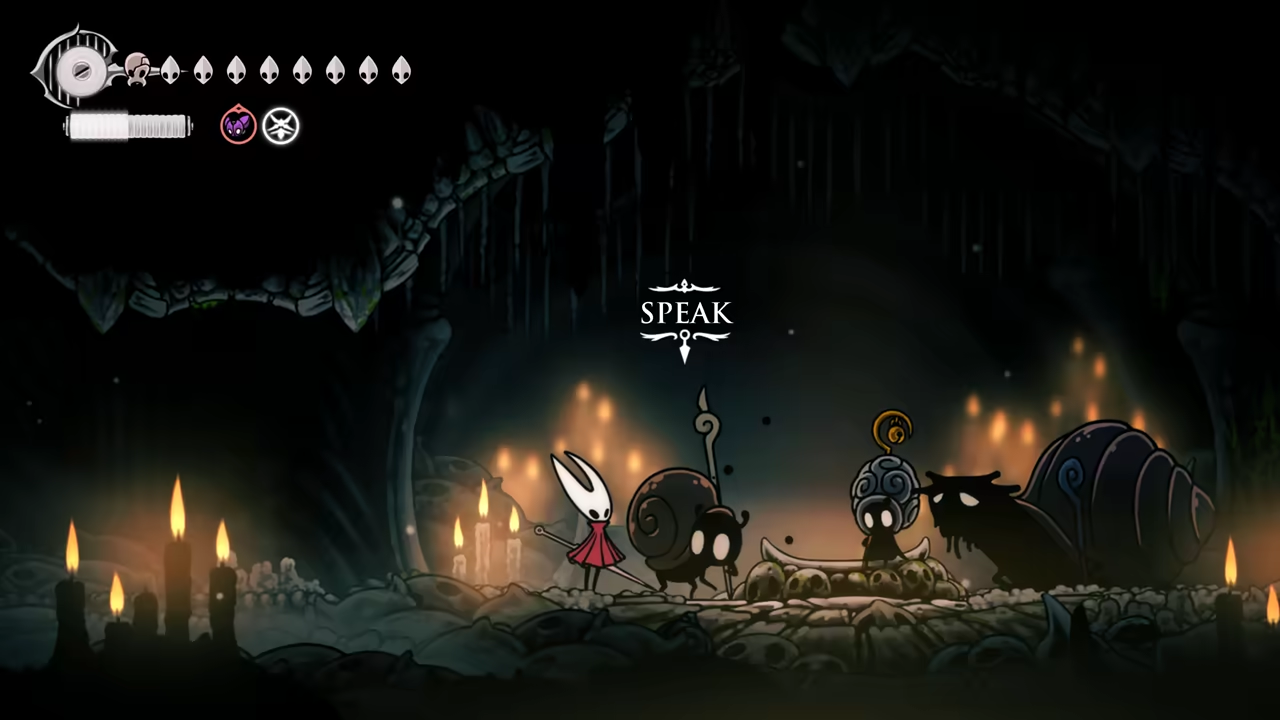
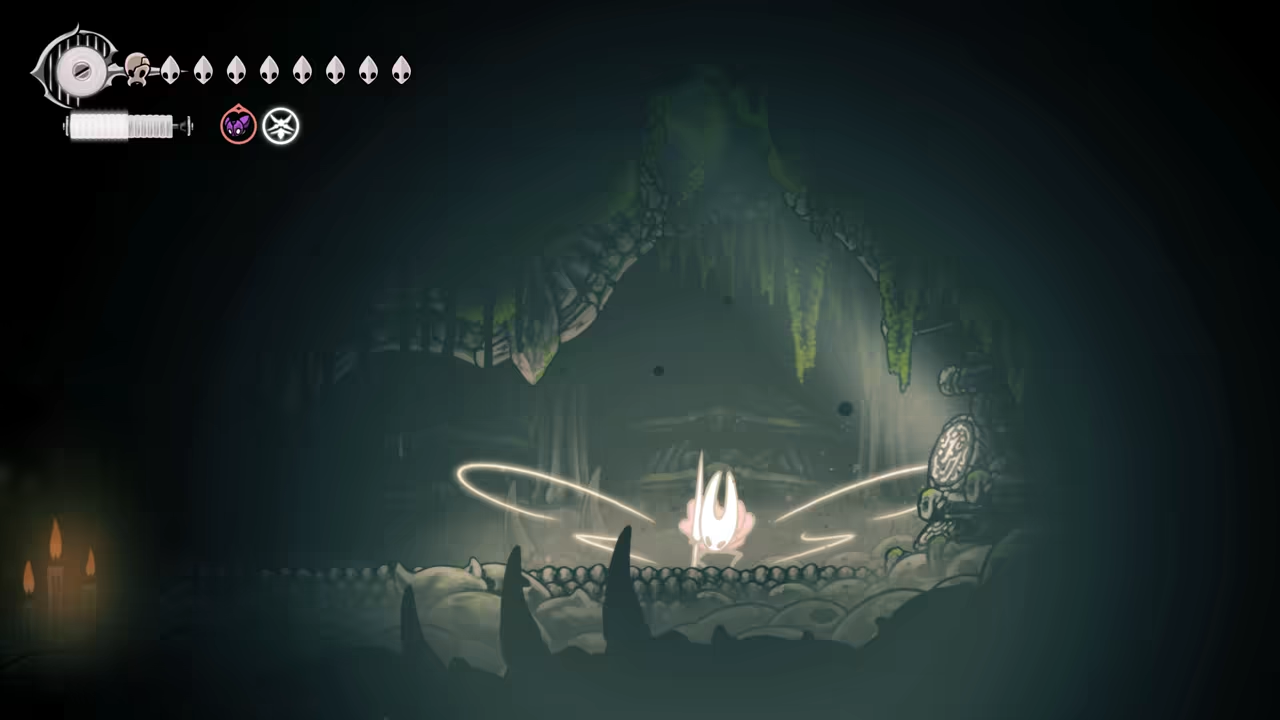
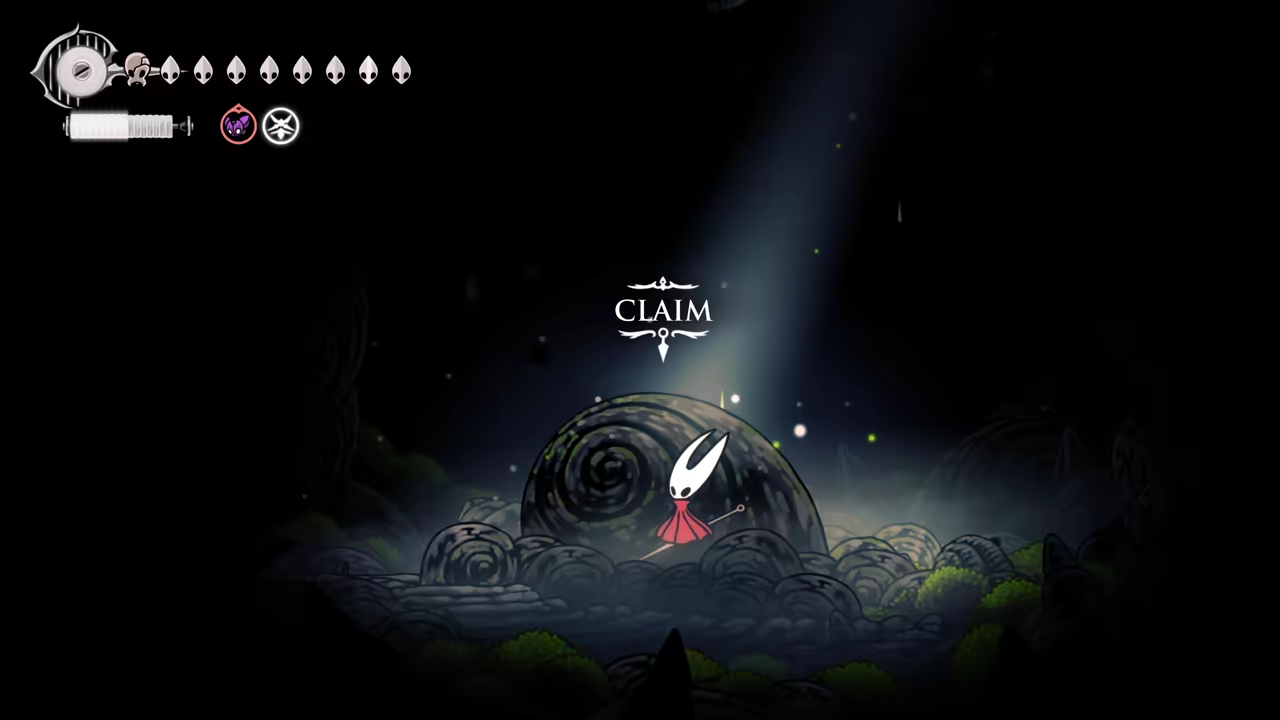
Section titled “Get the Final Crest”Return to the snails (use Beastling Call for direct travel) to learn a new song. From there, head right and use Silk Soar (Super Jump) to access the final Crest.
-
Proceed to the Blasted Steps
Section titled “Proceed to the Blasted Steps”Use Beastling Call to return to the Bell Station, and now we’re off to the Blasted Steps.
100% Sands of Karak
Section titled “100% Sands of Karak”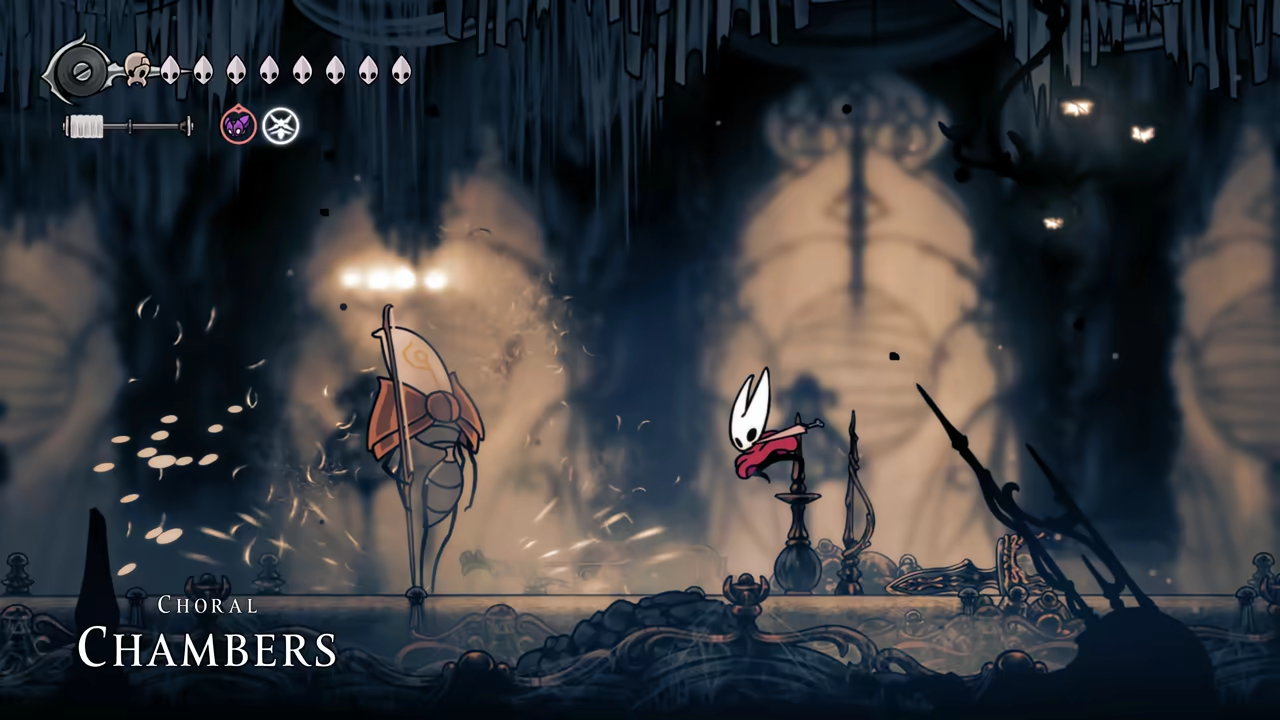
Key Items
- Crafting Kit Upgrade
- Spool Fragment
- Thief's Mark
- Snitch Pick
- Flea
- Volt Filament
- Conchcutter
- Hero Heart
Bosses
Quests
- The Lost Fleas
NPCs
- Grindle
Now that we have all the money needed, let’s fast travel to the Blasted Steps. Here’s the route:
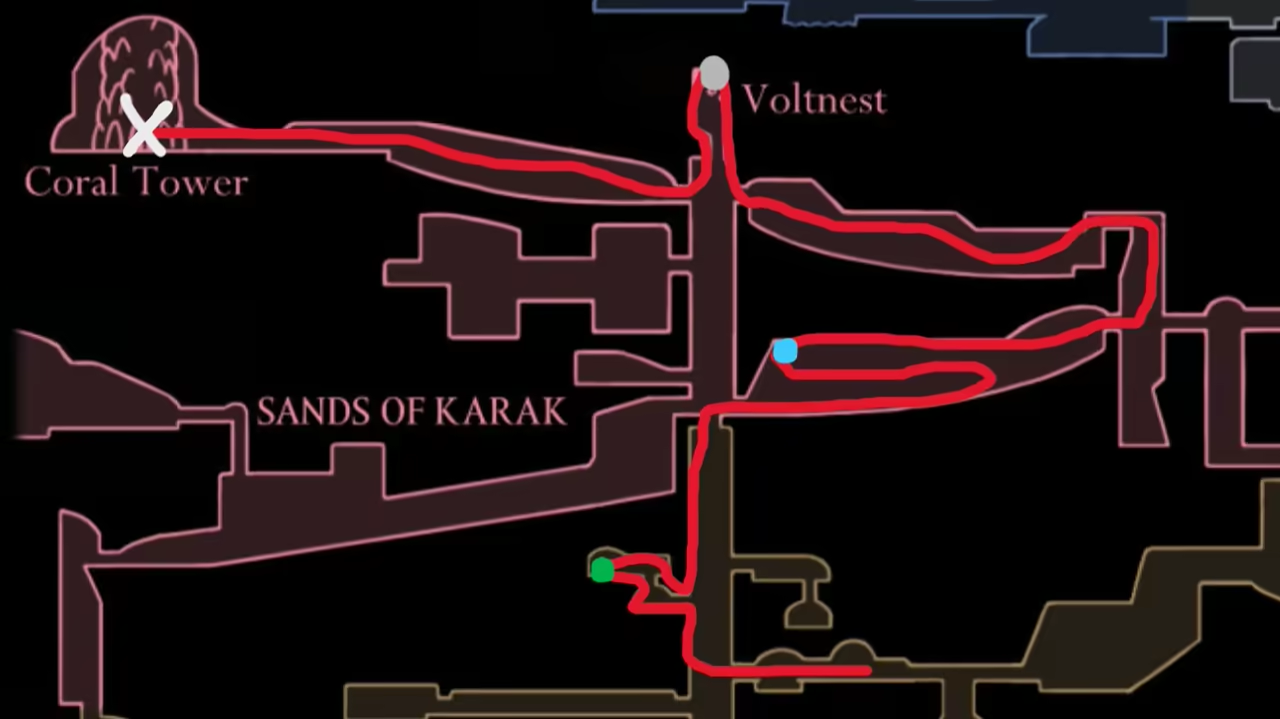
-
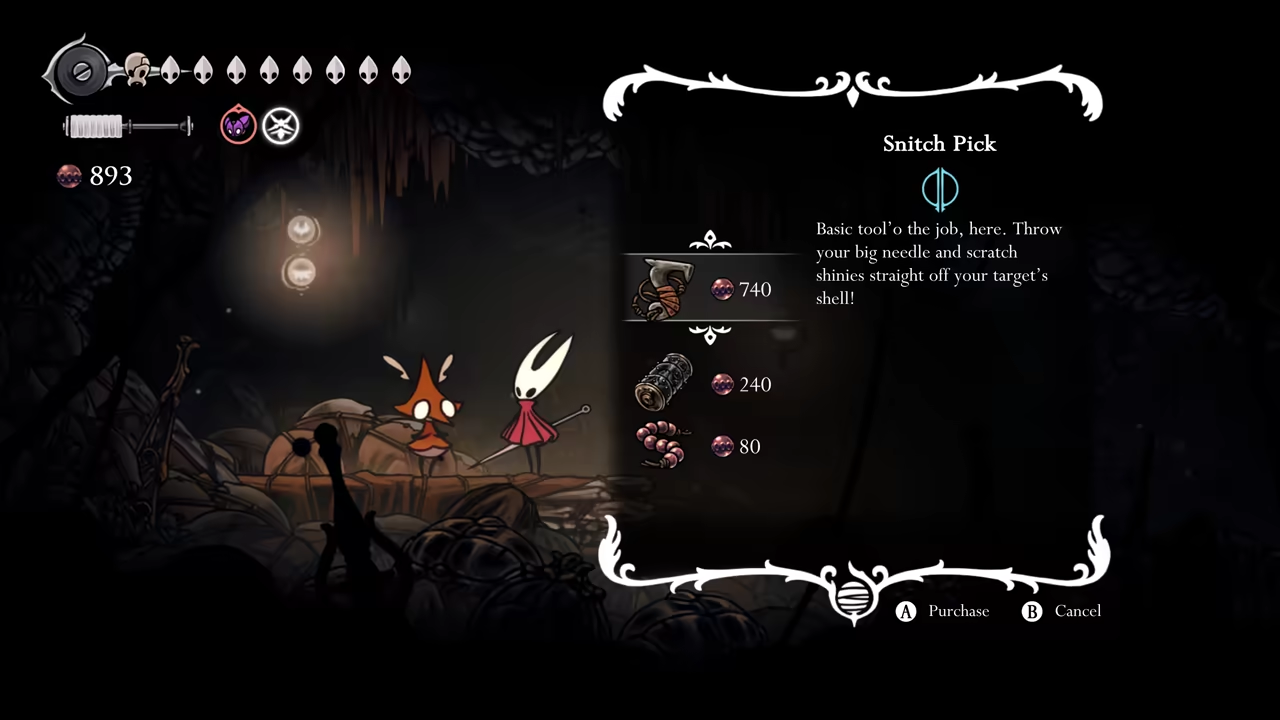
Shop at Grindle’s
Section titled “Shop at Grindle’s”Make a quick stop at Grindle and buy all the important stuff (unless you already bought everything during the
100% Blasted Stepsvisit). This will grant us:- Crafting Kit Upgrade
- Spool Fragment
- Thief’s Mark
- Snitch Pick
-
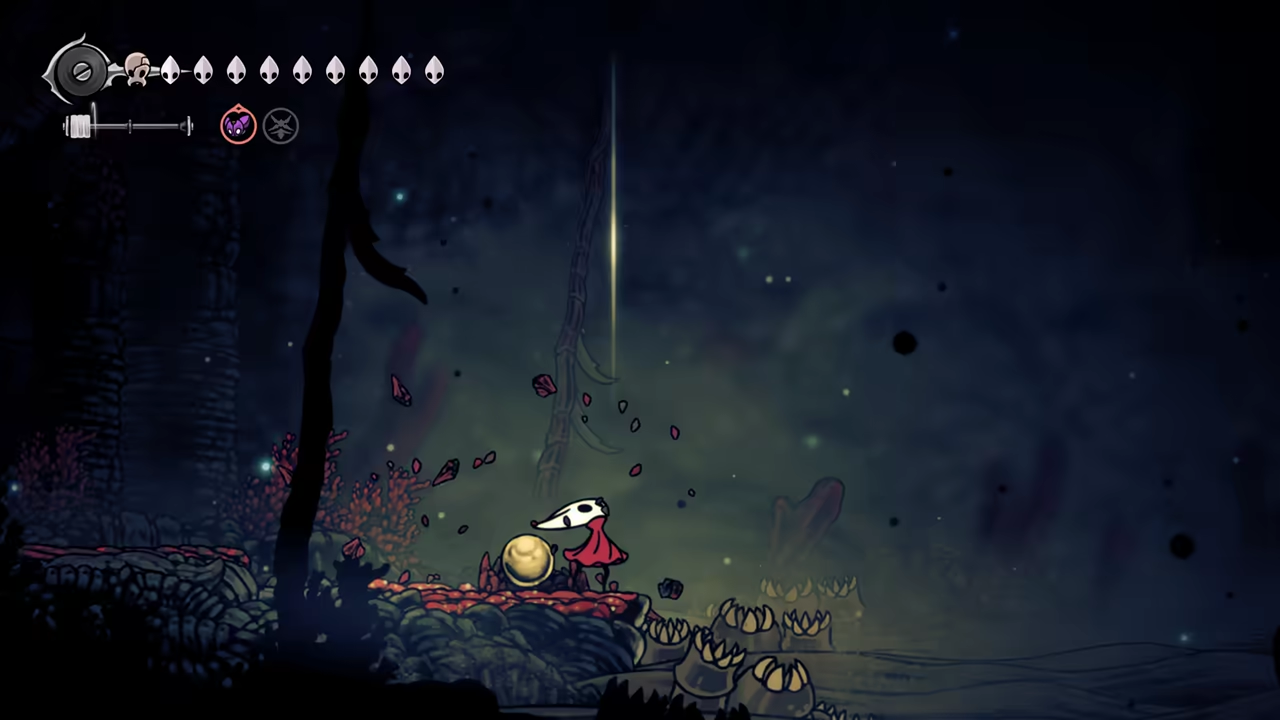
Find the Flea
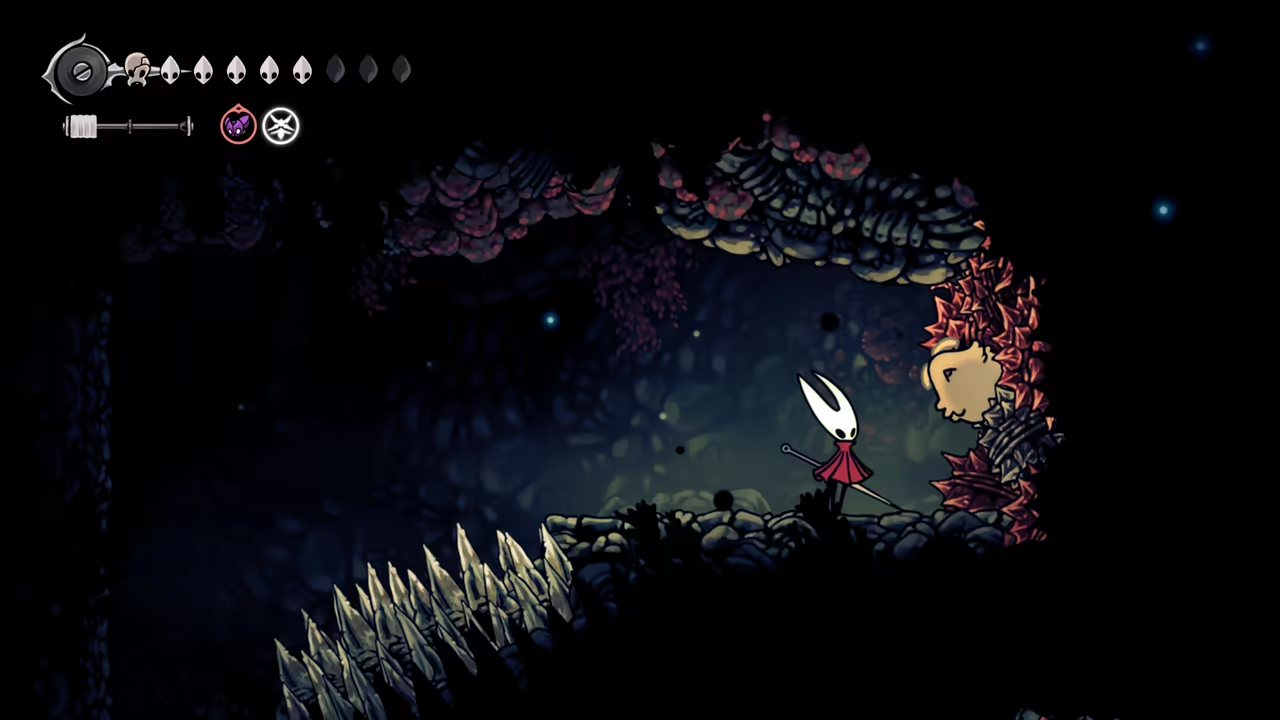
Section titled “Find the Flea”Keep climbing back up to the Sands of Karak. In the very first room to the right, there’s a flea. To reach it easily, you can use Silk Soar right at the start of the area.
-
Defeat Voltvyrm
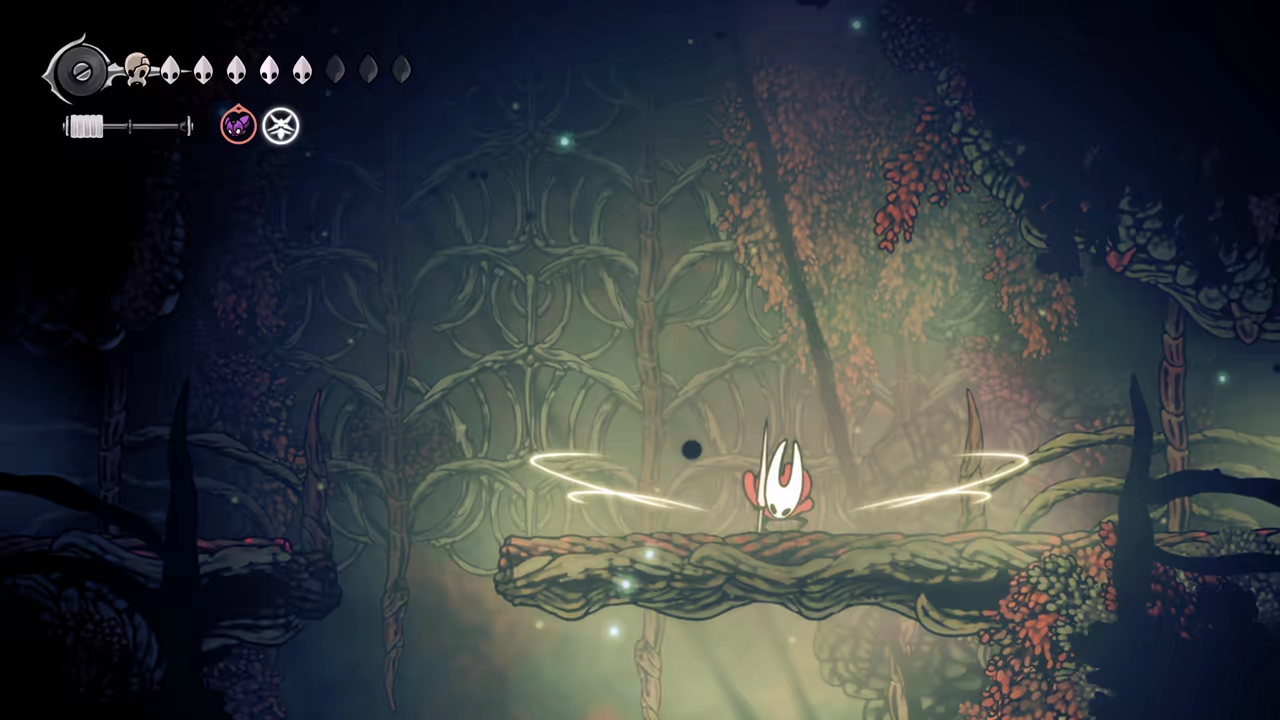
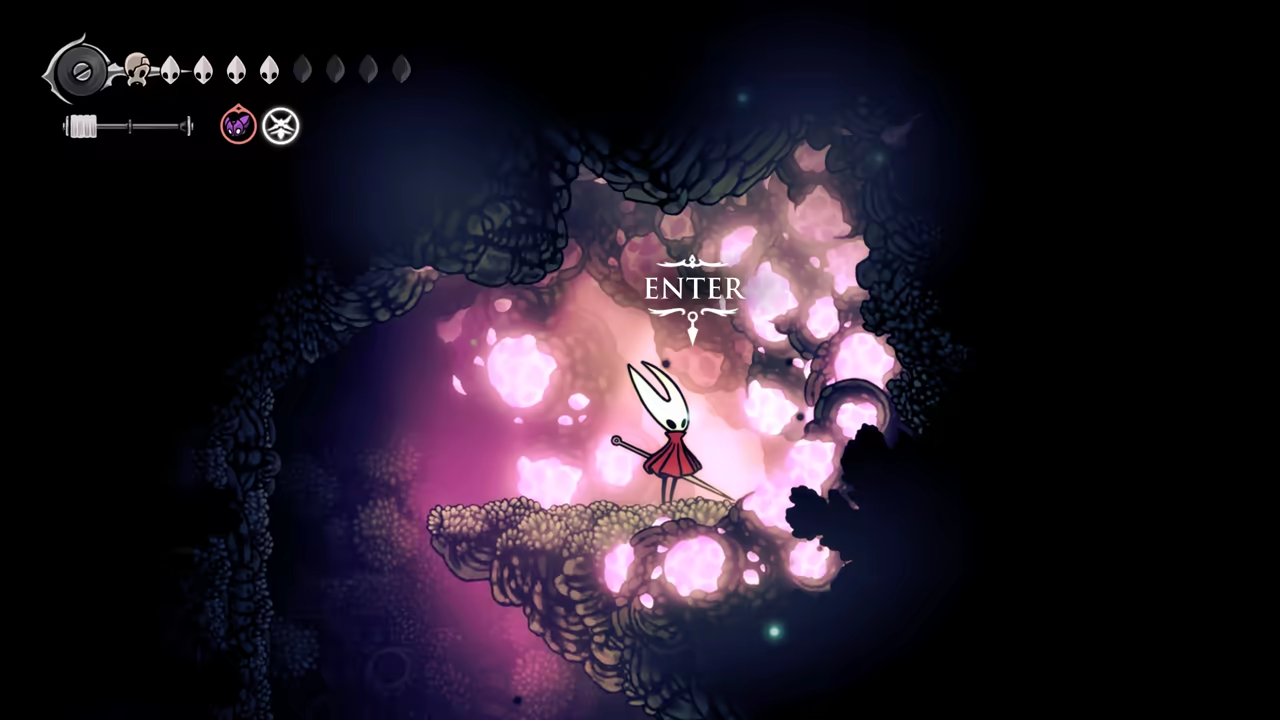
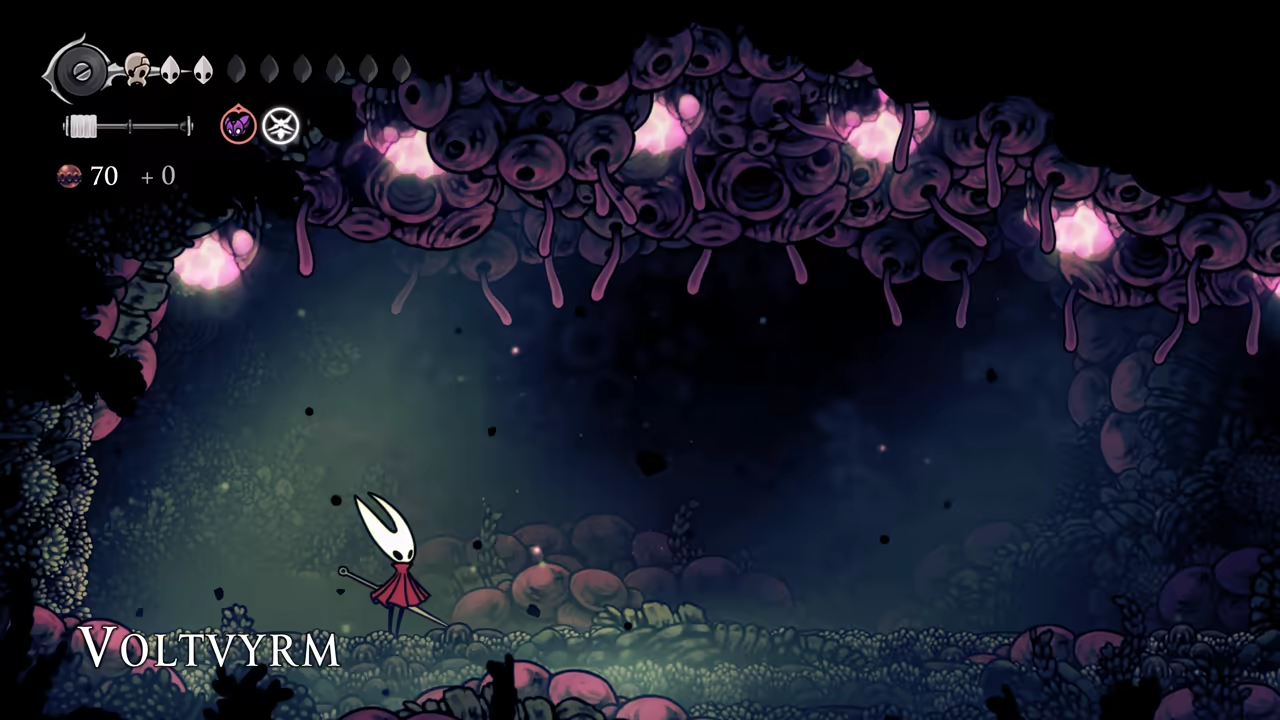
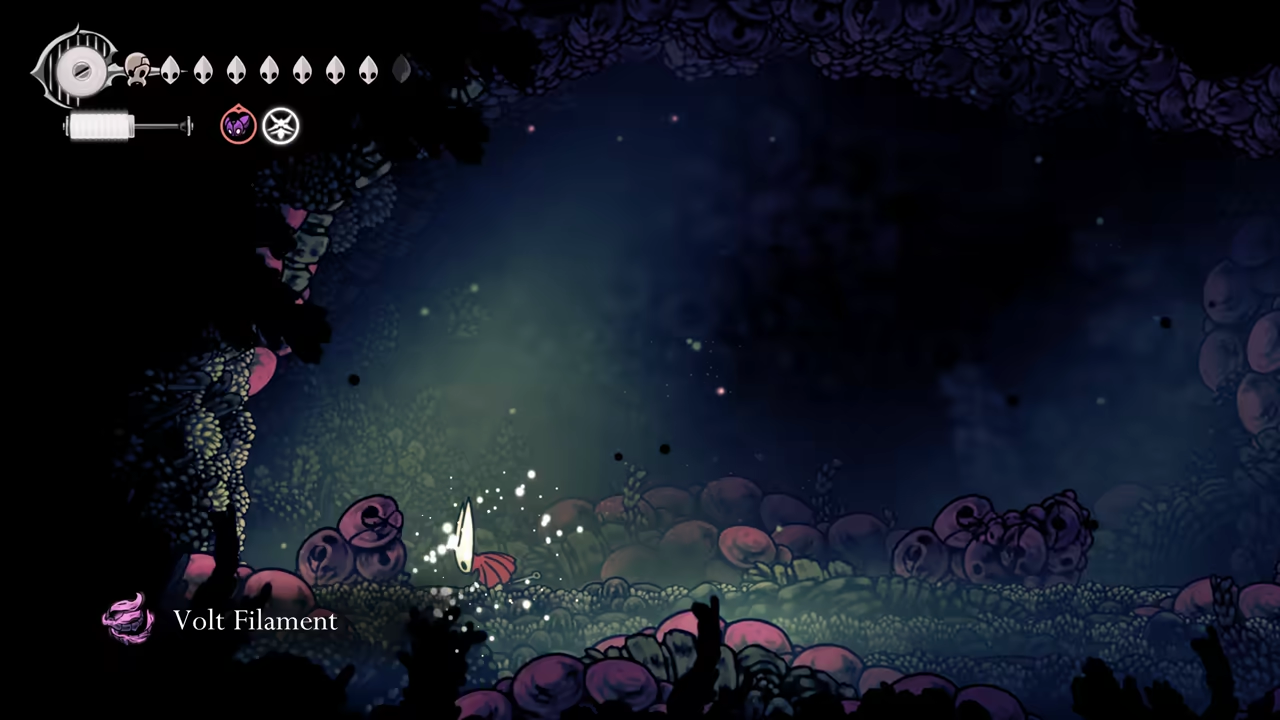
Section titled “Defeat Voltvyrm”Progress through the area until you reach the top. Platforming here can be tricky; remember you can Clawline (hook) into spiky rocks. After reaching the top, use Silk Soar to access the Voltnest. Exploring this area leads to the Voltvyrm boss fight. It’s an easy fight; dodge the telegraphed attacks. After defeating it, get the Volt Filament.
-
Defeat Conchfly & Enter Coral Tower
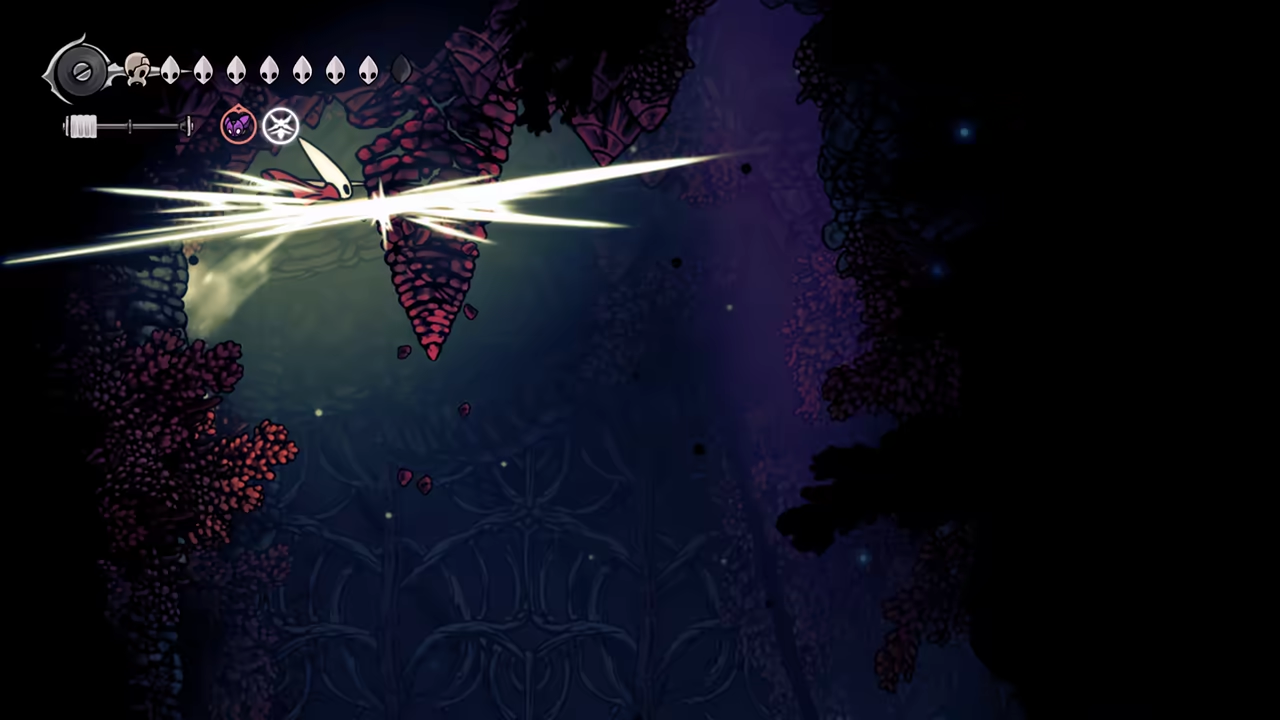
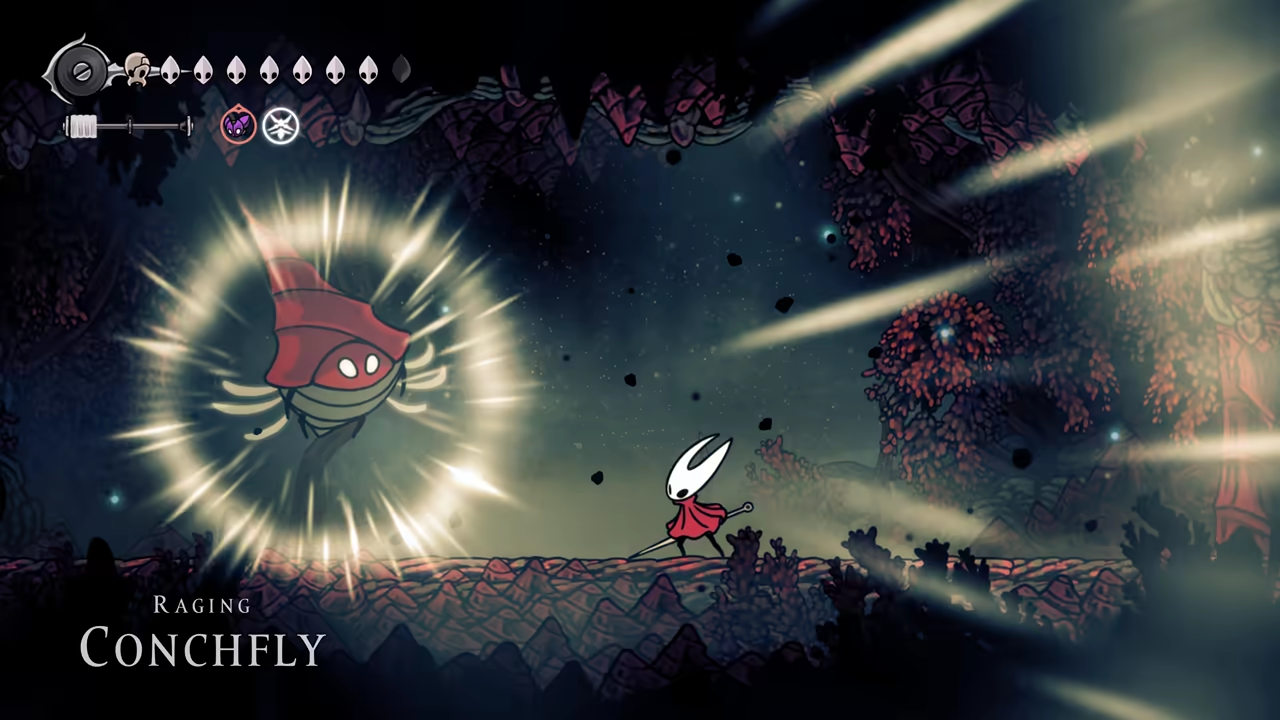
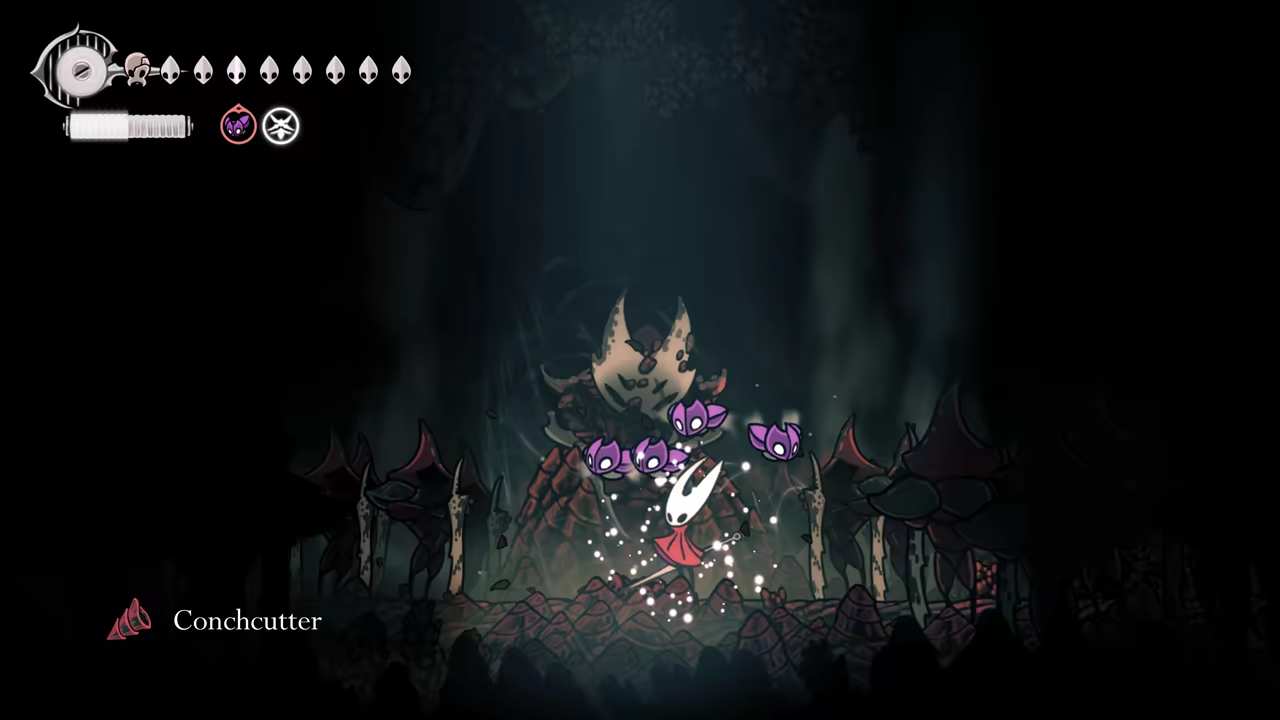
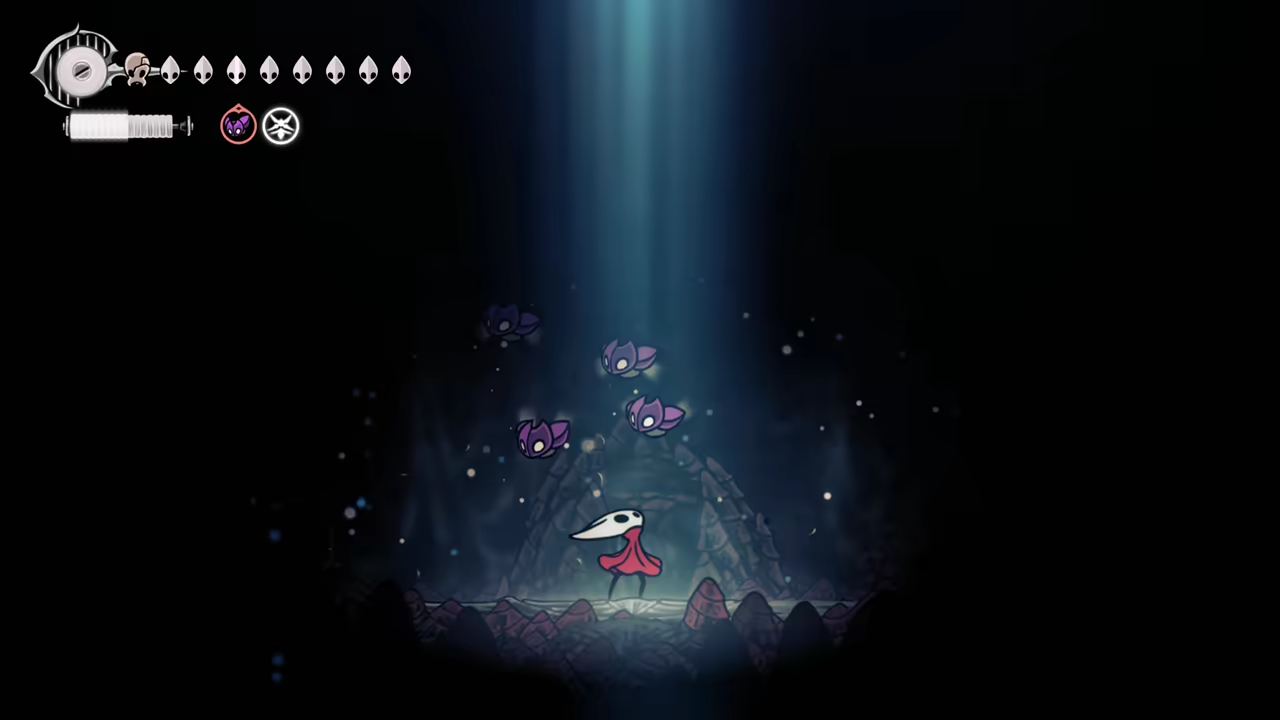
Section titled “Defeat Conchfly & Enter Coral Tower”Go back and progress toward the left. Unlock the shortcut before the next boss fight. The Conchfly can be annoying; take the fight slowly. After the fight, you can access the Coral Tower. Get the Conchcutter, and by using the Shaman’s Song, access Crust King Khann’s memory.
-
Defeat Crust King Khann
Section titled “Defeat Crust King Khann”Using Silk Soar, climb the tower and fight through some enemy arenas.
After two arenas, unlock a shortcut and start the final battle. First, clear the adds, then use Silk Soar to reach Crust King Khann. This boss is a joke—you can cheese all of his attacks with parry. After winning, you get your first Hero Heart.
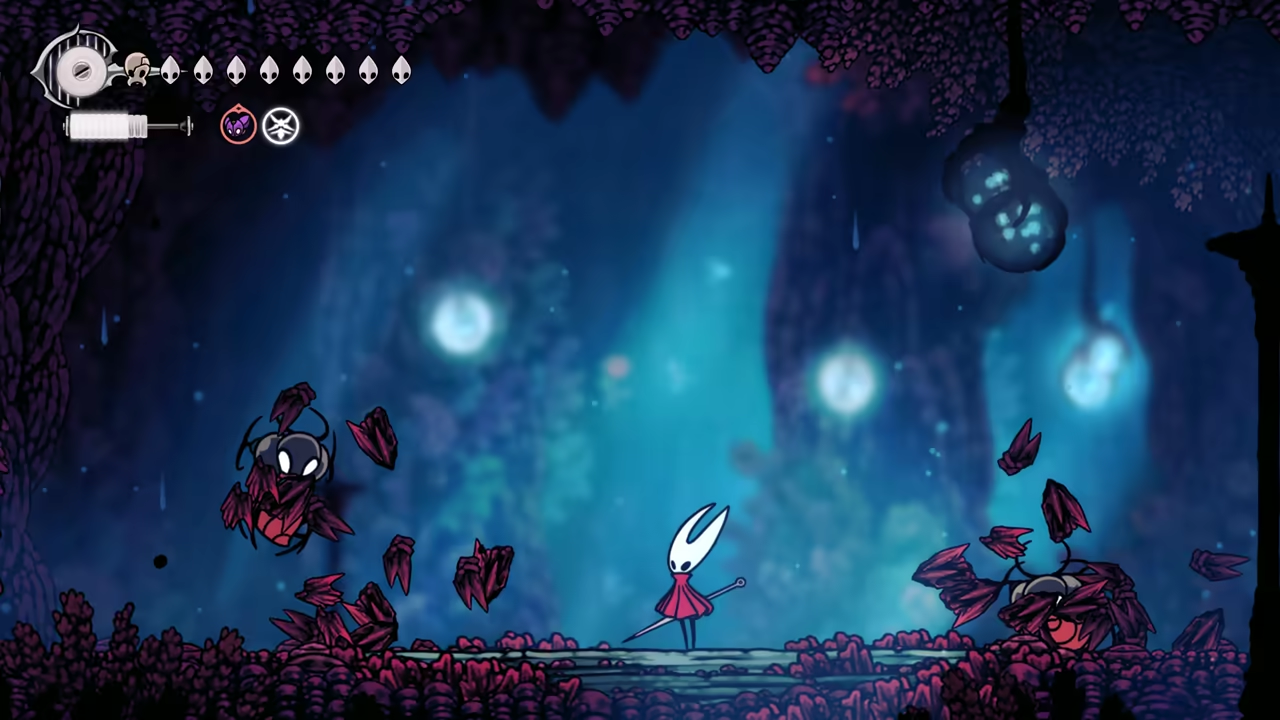
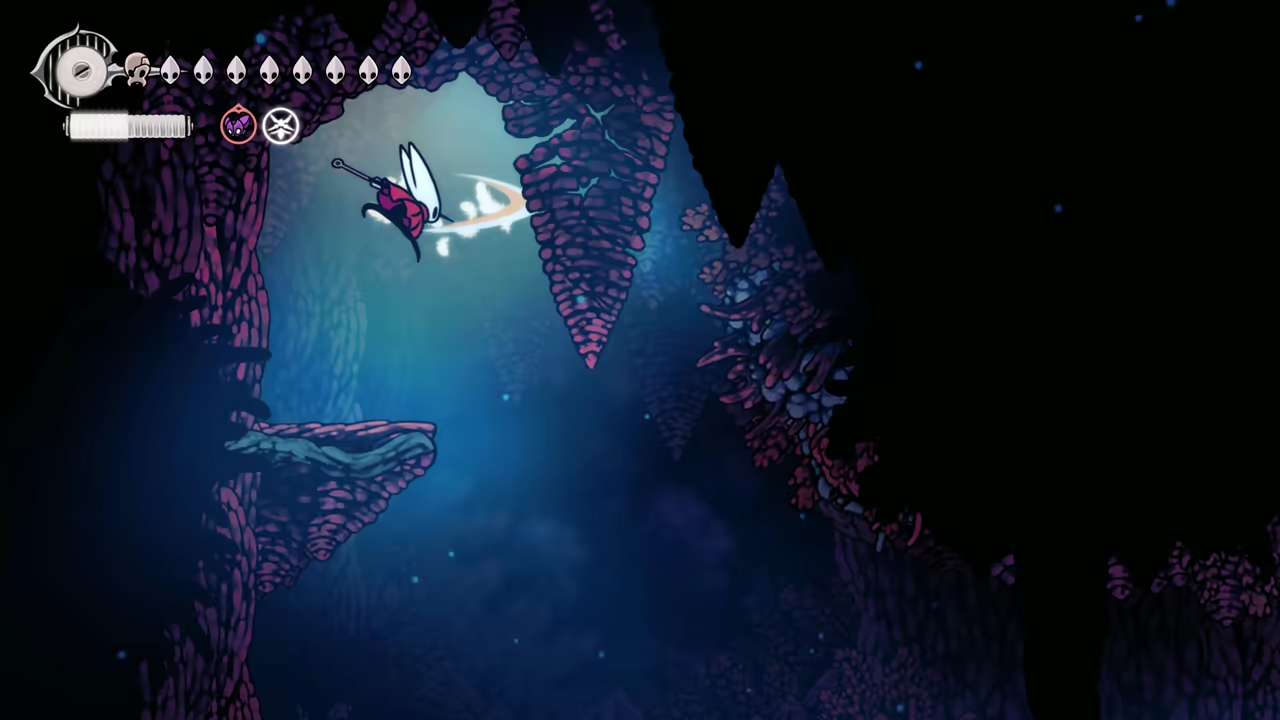
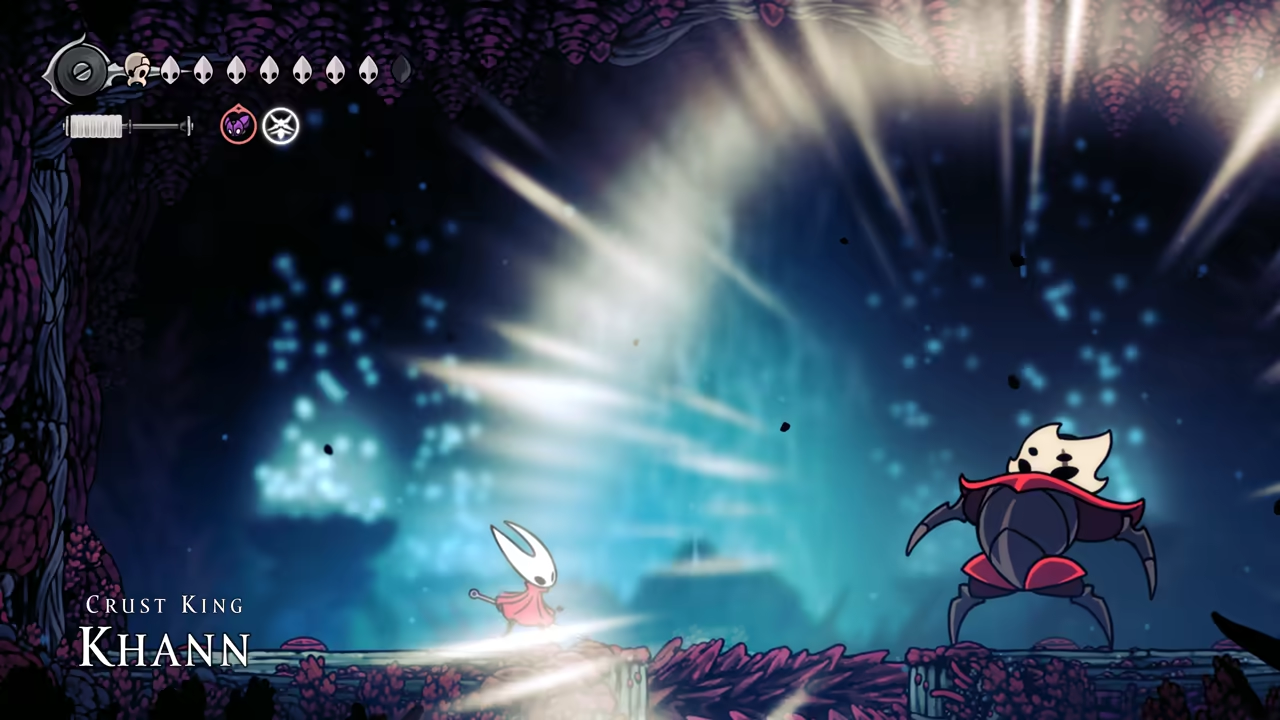

-
Move to the Next Objective
Section titled “Move to the Next Objective”Use the Beastling Call and we can move on to our next objective.
Seth and Nyleth
Section titled “Seth and Nyleth”From the Blasted Steps, we can head toward the Grand Gate and use our Silk Soar to reach the top.
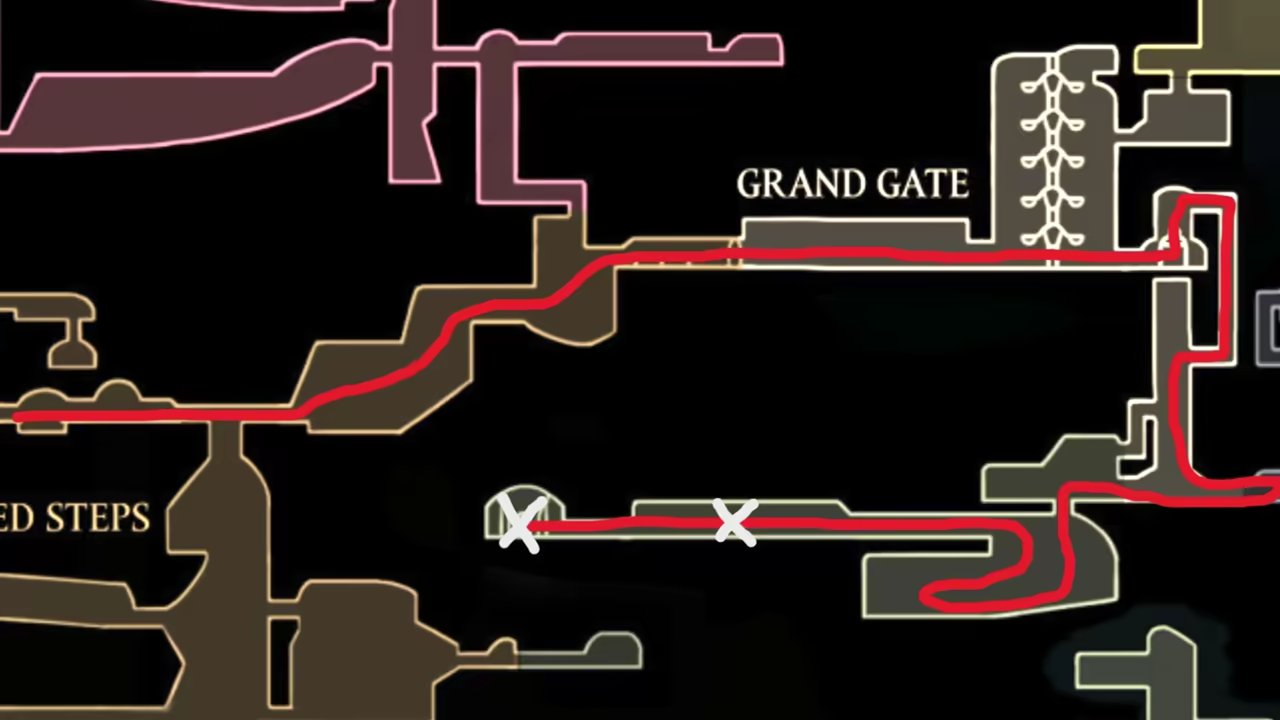
-
Find the Hidden Entrance
Section titled “Find the Hidden Entrance”Use Silk Soar to reach the top of the Grand Gate. Then, climb down the elevator area until you reach a safety bench at the bottom right. Look for a breakable wall on the left.
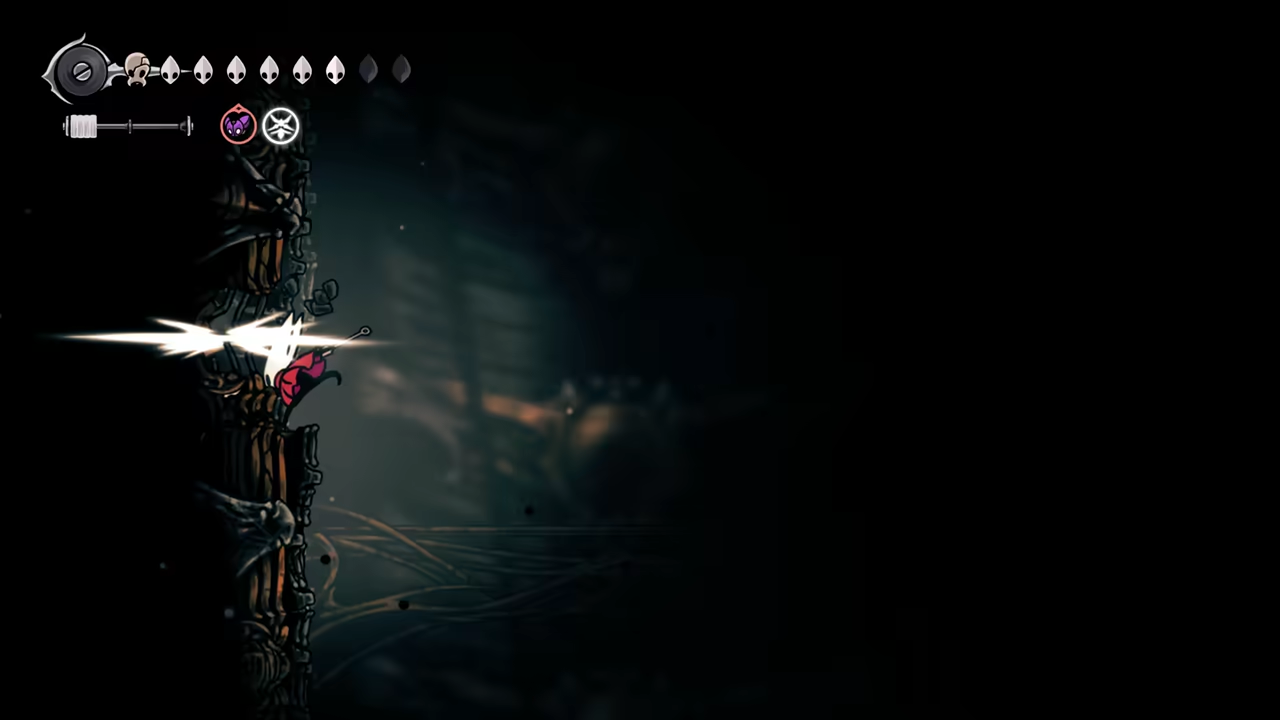
-
Defeat Seth
Section titled “Defeat Seth”After progressing through the forest area, we’ll find our big friend Seth, ready for a challenge!
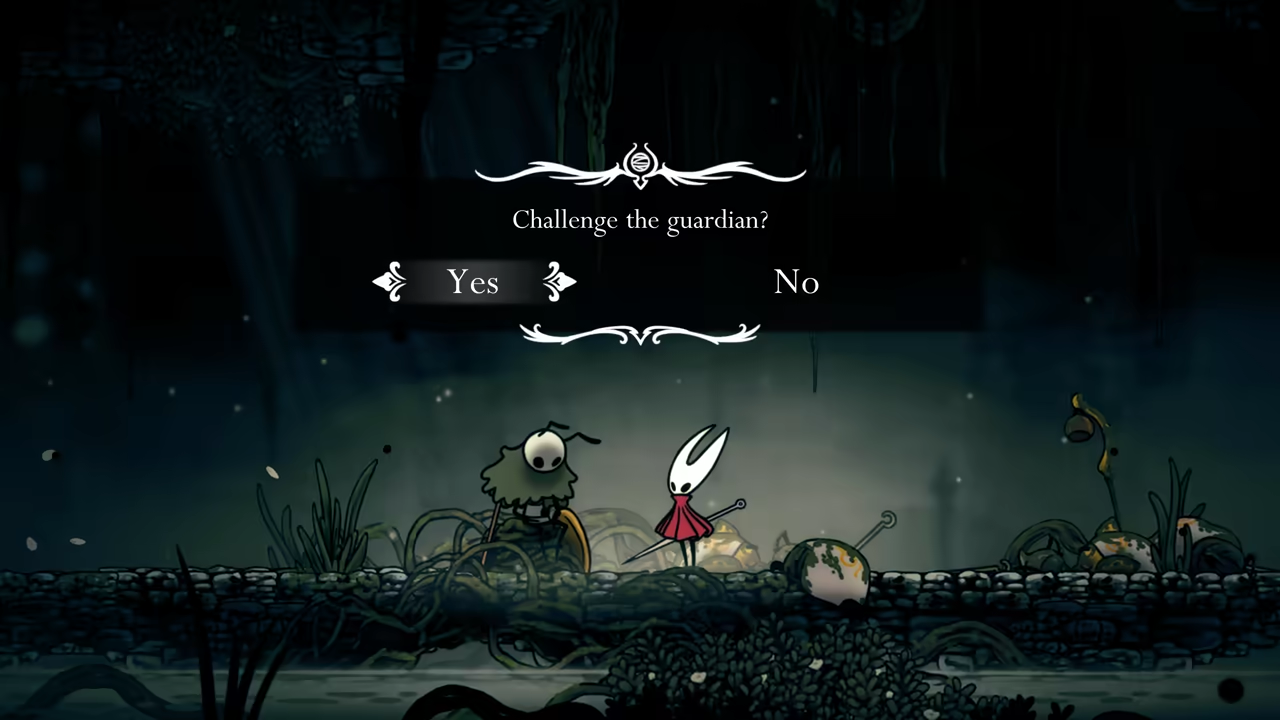
-
Defeat Nyleth
Section titled “Defeat Nyleth”After winning, we can enter the sanctuary and dive into Nyleth’s memory. This fight is… interesting? You can keep pogoing Nyleth and use parry as soon as she decides to attack, so it ends pretty quickly.
-
Collect the Hero Heart
Section titled “Collect the Hero Heart”After the fight, we’ll receive our next Hero Heart.

-
Proceed to Bellhart
Section titled “Proceed to Bellhart”Once again, use the Beastling Call and fast travel to Bellhart.
100% Fleatopia
Section titled “100% Fleatopia”
Key Items
- Farsight (Tool)
- Final Tool
- Pale Oil
Quests
- Fleatopia Questline
- Flea Festival
NPCs
- Fleamaster
- Pinmaster
-
Start the Questline
Section titled “Start the Questline”Now that we’ve saved all the fleas, it’s time to start the Fleatopia questline. Pick up all the new quests available in Bellhart and sit on the bench. Don’t forget to enter your Bell House to assemble the Farsight—this will show your overall game completion %.
-
Receive a New Tool
Section titled “Receive a New Tool”Travel all the way to Fleatopia and talk to the Fleamaster. You’ll receive one of our last Tools.
-
Start the Flea Festival
Section titled “Start the Flea Festival”Save and reload at Bellhart, and you’ll find a new quest available. Head back to Fleatopia to start the Flea Festival. We need to beat three scores here to get the last Pale Oil.
-
Minigame 1: Flea Juggle
Section titled “Minigame 1: Flea Juggle”The first minigame is Flea Juggle, where you need to beat a score of 30.
-
Minigame 2: Flea Dodge
Section titled “Minigame 2: Flea Dodge”Next is Flea Dodge. This one is more about staying still and only moving if a flea flies directly at you, since most will miss naturally.
-
Minigame 3: Flea Bounce
Section titled “Minigame 3: Flea Bounce”For Flea Bounce, equip the Wanderer Crest and Longclaw for the best pogo stability.
-
Get the Final Pale Oil
Section titled “Get the Final Pale Oil”After beating all the minigames, the Fleamaster will celebrate your victory, and you’ll receive your final Pale Oil.
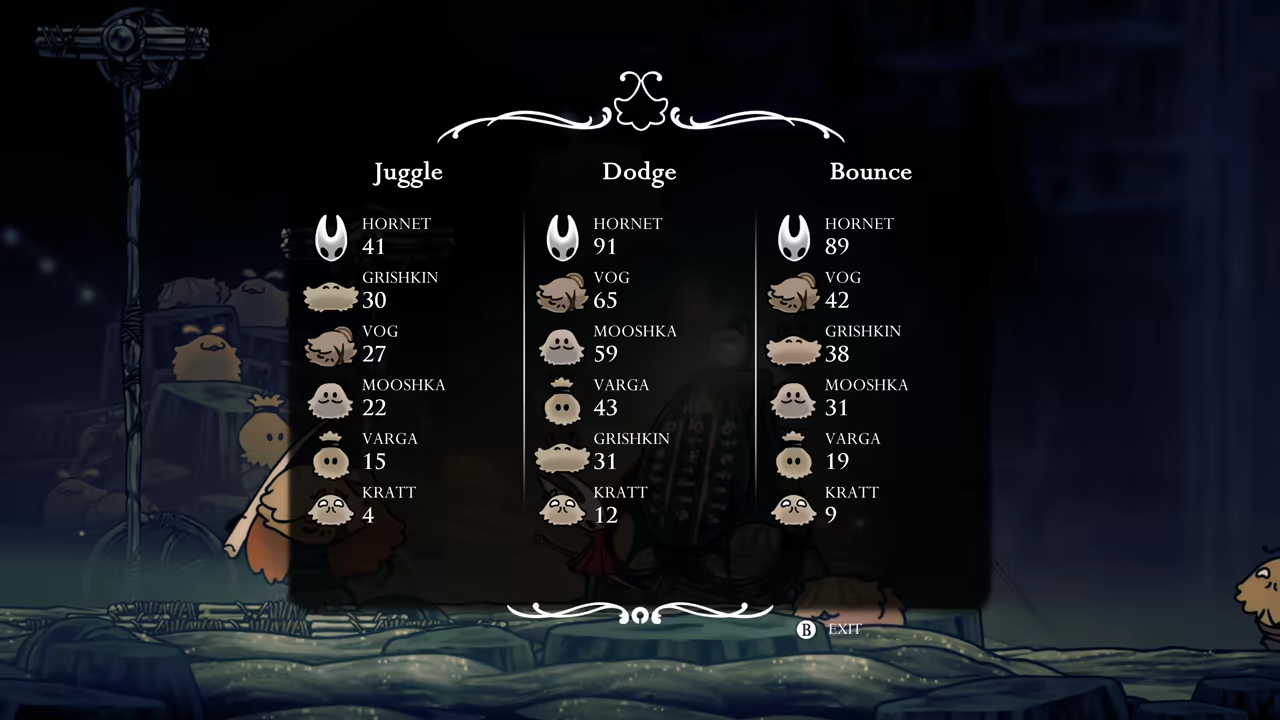
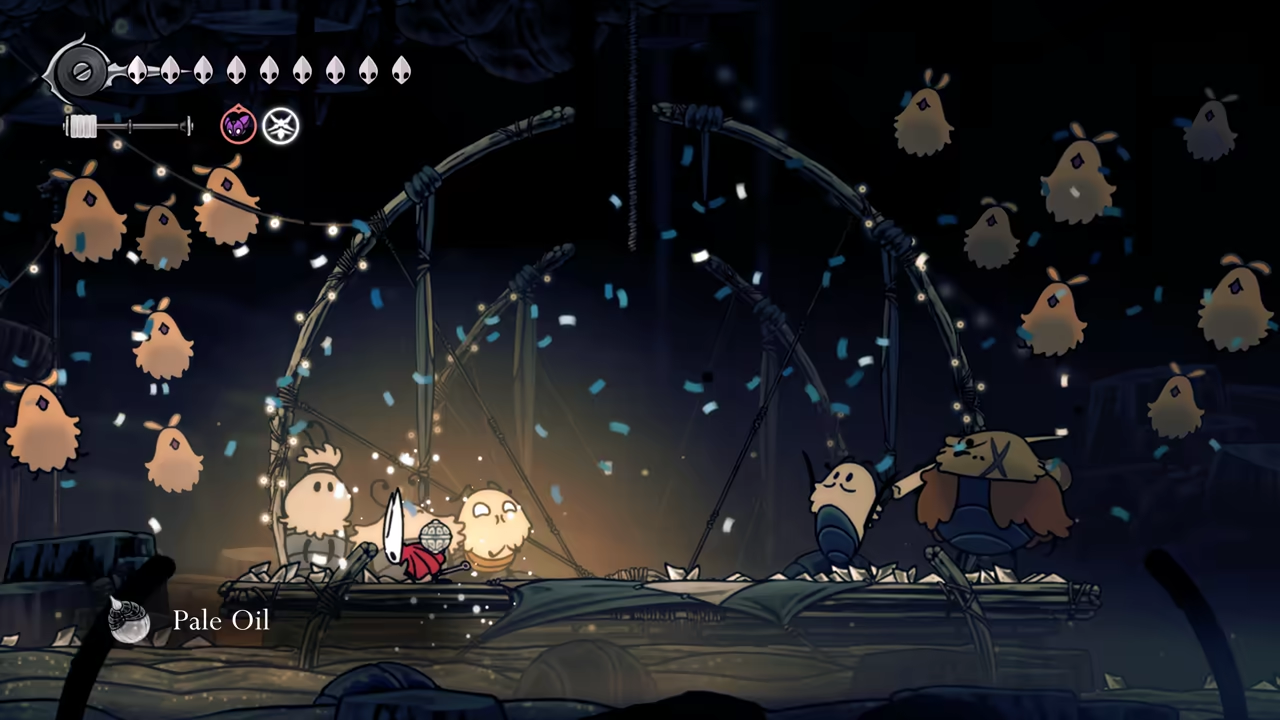
-
Rescue the Pinmaster
Section titled “Rescue the Pinmaster”Now use the Beastling Call and travel to Shellwood. We need to find the Pinmaster before upgrading our nail to its final form.
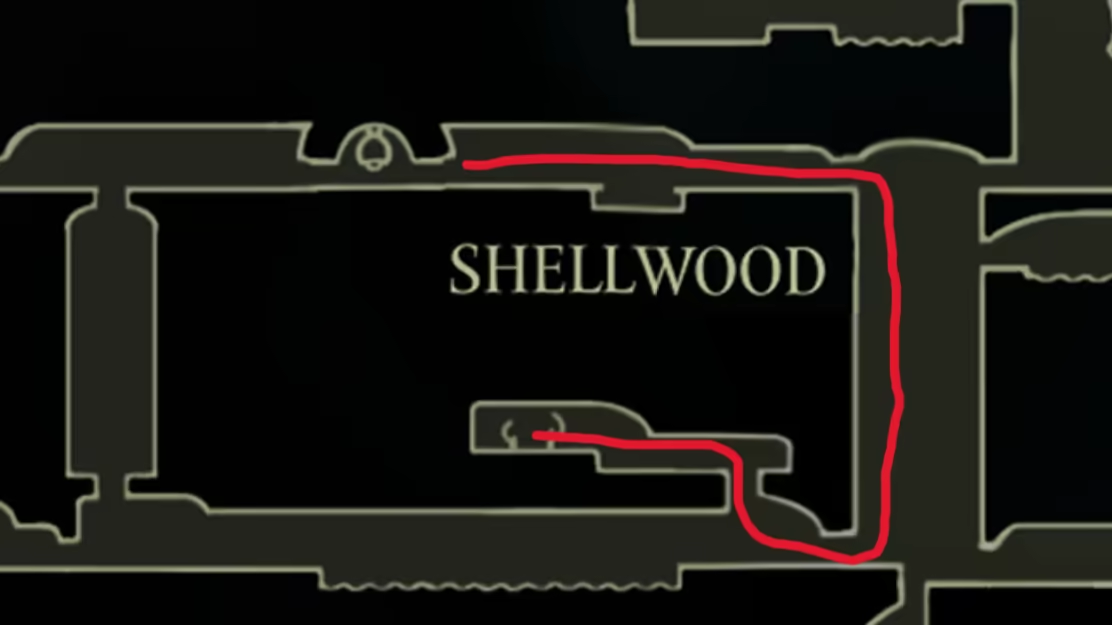
-
Final Nail Upgrade
Section titled “Final Nail Upgrade”After rescuing him, return to Bellhart and upgrade your nail one last time (680 rosaries).
100% Far Fields (Act 3)
Section titled “100% Far Fields (Act 3)”
Key Items
- Mask Shard (x2)
- Hero Heart
- Stolen Doll
Bosses
Quests
- Fastest in Pharloom
- Stolen Doll Quest
NPCs
- Sprintmaster
Here is the route for this region:
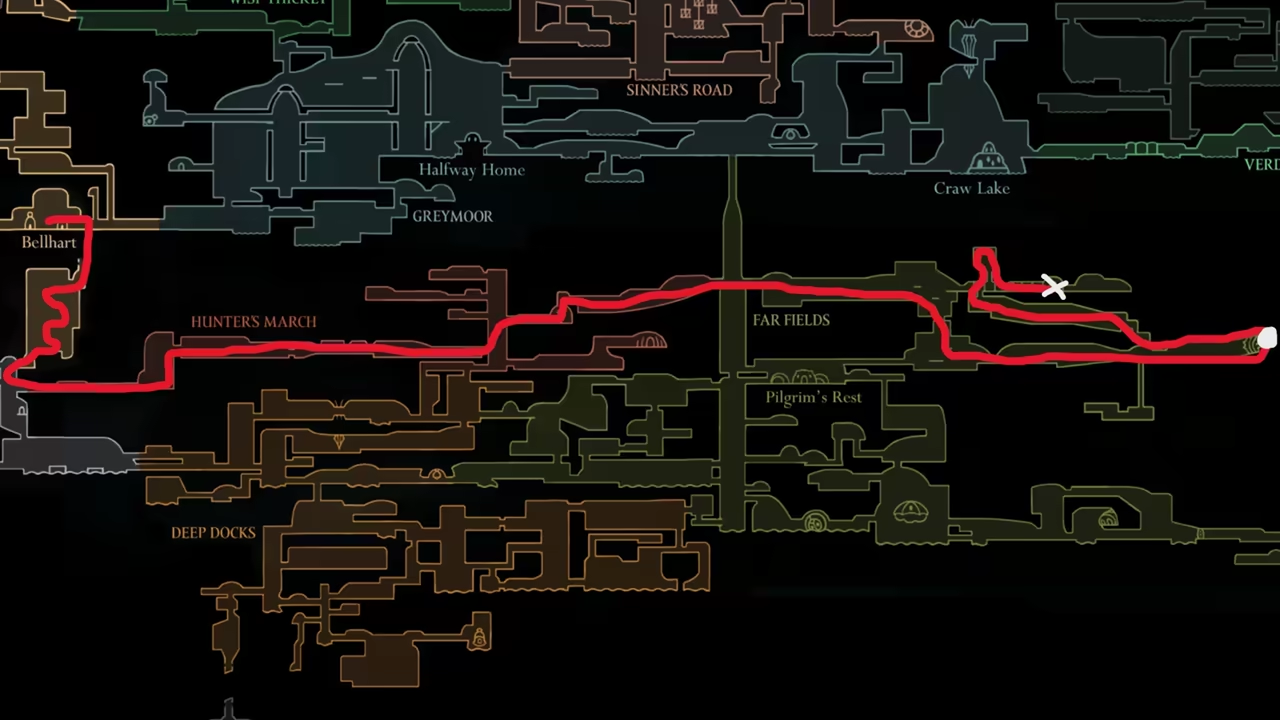
-
Race the Sprintmaster
Section titled “Race the Sprintmaster”While still in Bellhart, exit through the bell cave beneath the Bellway Station to enter Hunter’s March. Head all the way to the Karmelita statue, then use Silk Soar to reach the upper area. To the far right, you’ll find the Sprintmaster. Accept his Wish to race him. After three victories, you’ll earn a mask shard.
-
Defeat Skarrsinger Karmelita
Section titled “Defeat Skarrsinger Karmelita”Climb to the top to find Skarrsinger Karmelita. Enter her memory to face her prime self.
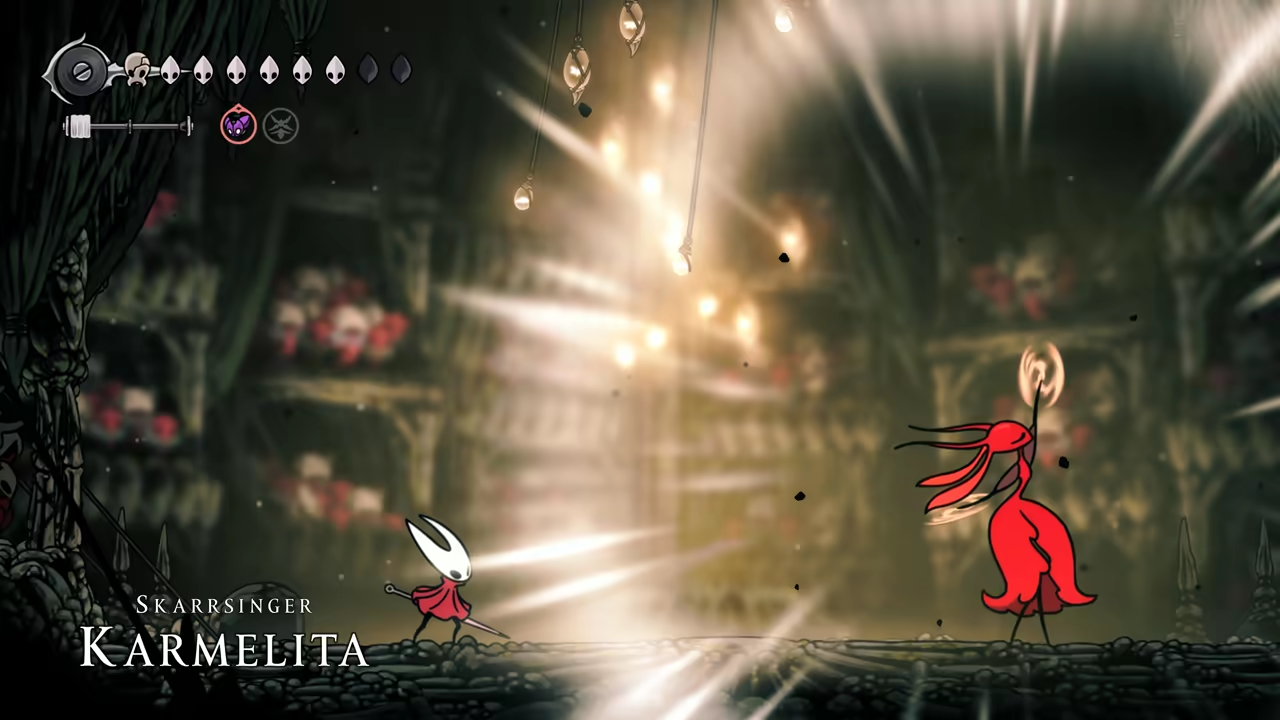

-
Defeat Gurr
Section titled “Defeat Gurr”The game performs a hard save here. Use Beastling Call to return to Bellhart, where a new wish about a stolen doll will appear. Save and quit to reload near Karmelita. From here, head down to find a trap—interact with it to trigger the Gurr encounter. The fight is straightforward: avoid traps and hit Gurr when he approaches.
-
Complete the Stolen Doll Quest
Section titled “Complete the Stolen Doll Quest”After winning, find the doll on the left side of the room. Use Beastling Call to return to Bellhart, deliver the doll, and claim another mask shard.
Act 3 Cleanup
Section titled “Act 3 Cleanup”
We’re almost done—now, it’s time to visit Mount Fay one final time. Here is the route:
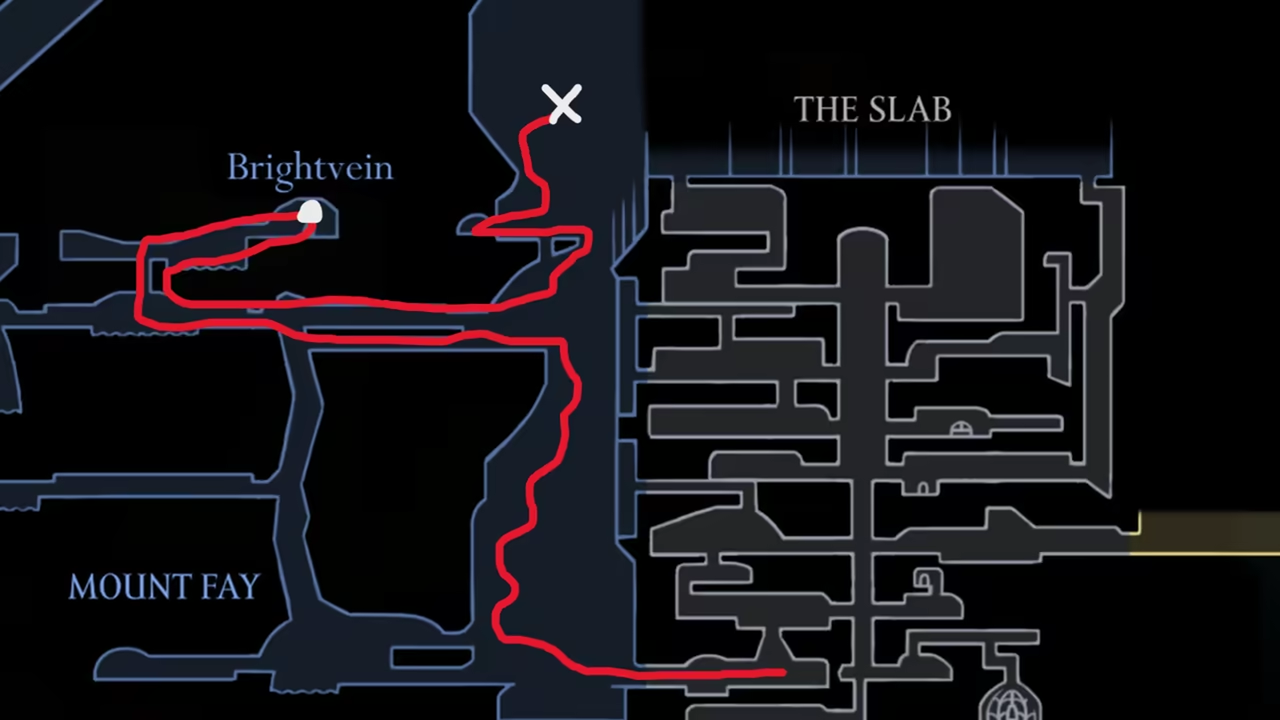
-
Start the Pinstress Quest
Section titled “Start the Pinstress Quest”You should have received the Pinstress quest, which asks you to duel her. Start by visiting her home at the Blasted Steps, where you’ll find a letter that tells you where to find her.
-
Find a Mask Shard in Brightvein
Section titled “Find a Mask Shard in Brightvein”Climb Mount Fay until you reach the second area with the lake. Use Silk Soar to access Brightvein. There’s a platforming section here—use the Clawline (hook) for better mobility. Reaching the top rewards you with another mask shard.
-
Duel the Pinstress
Section titled “Duel the Pinstress”Head back outside and climb until you find the Pinstress sleeping. Attack her to wake her for a fight.
-
Destroy 12 Void Masses
Section titled “Destroy 12 Void Masses”Next, collect your final mask shard by destroying 12 void masses scattered across the map.
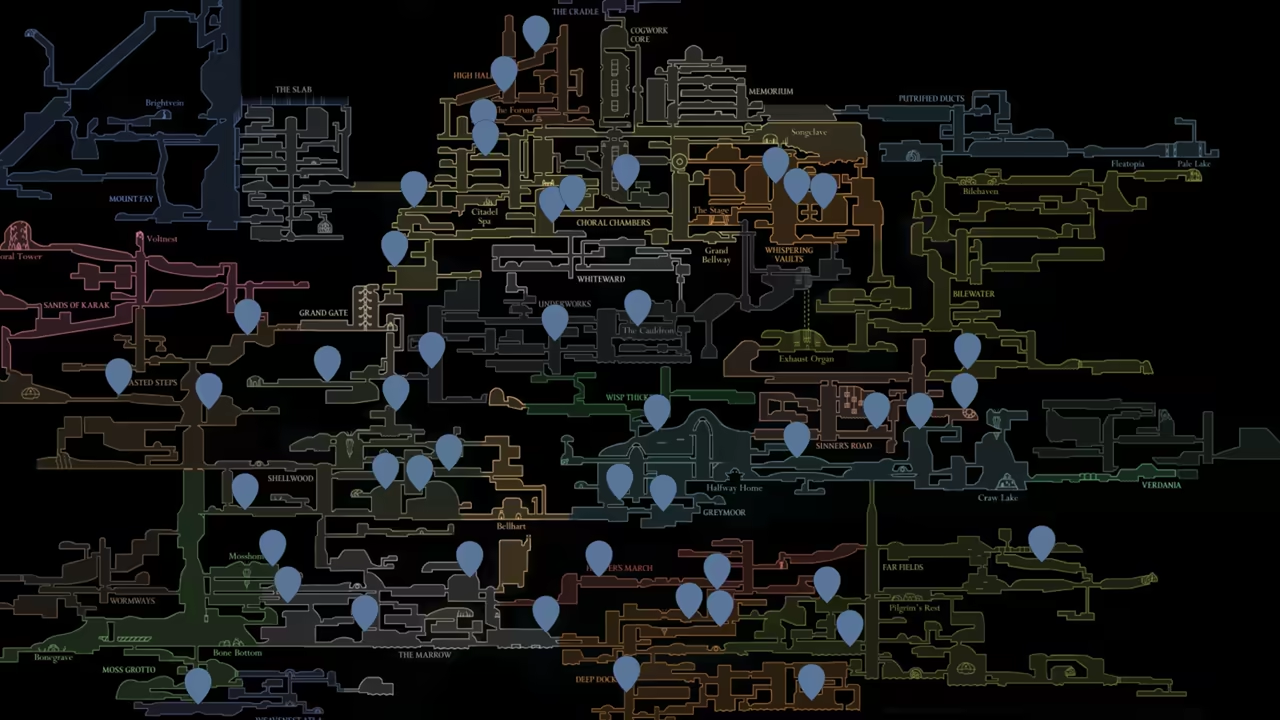
-
Claim the Last Mask Shard
Section titled “Claim the Last Mask Shard”Once you’ve destroyed 12, return to Bellhart to claim your last mask shard.
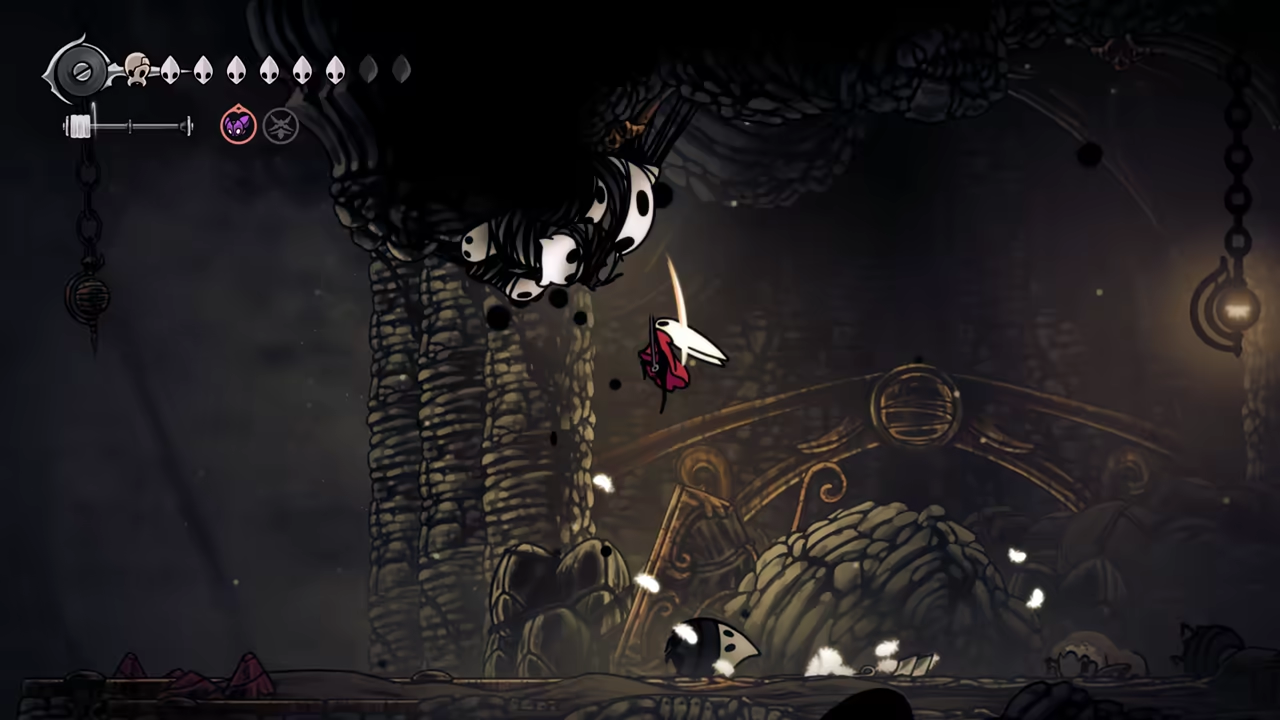
-
Bind the Final Ability
Section titled “Bind the Final Ability”One last task before finishing the game—climb The Cradle once more using Silk Soar to bind your final ability.
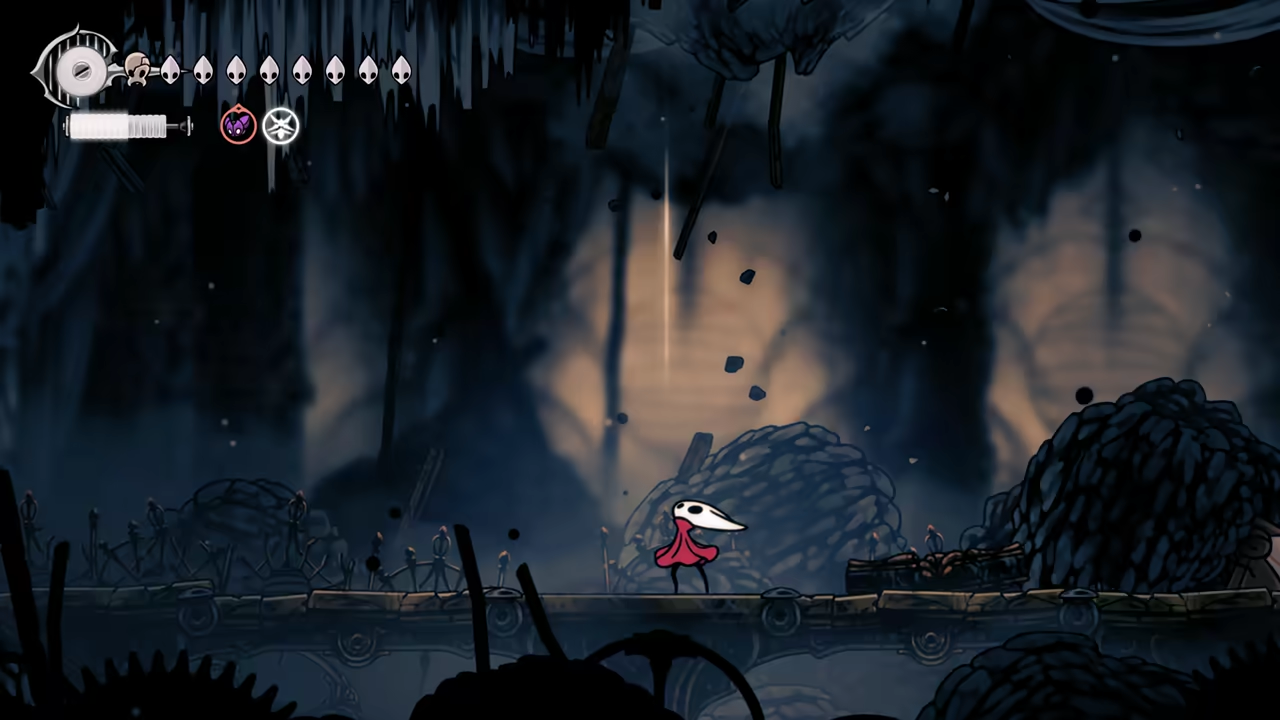
Ending
Section titled “Ending”
-
Claim the Everbloom
Section titled “Claim the Everbloom”Use the Beastling Call and return to Bonebottom. Here, we’ll meet the snails one last time and trigger the red memory sequence. After the cutscenes, you can claim the Everbloom.

-
Achieve 100% Completion
Section titled “Achieve 100% Completion”At this point, your completion percentage should hit 100%.
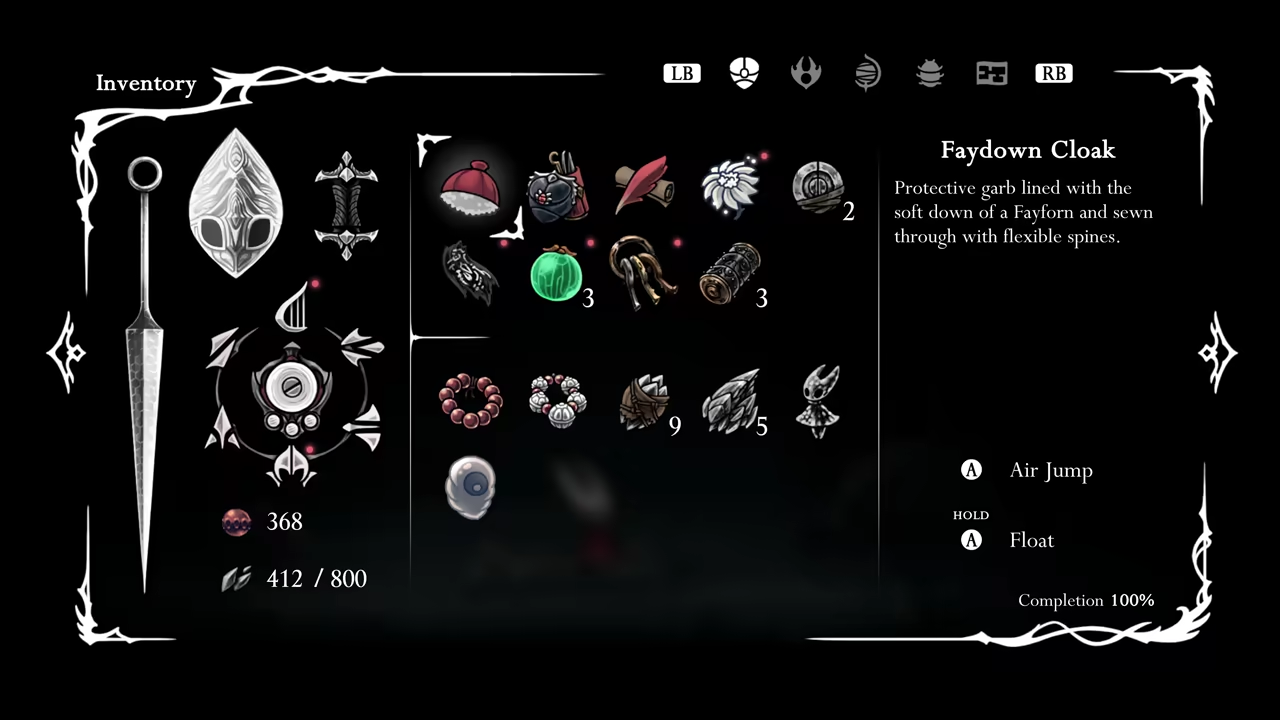
-
The Final Dive
Section titled “The Final Dive”Next, fast travel to The Docks one last time. Head to the Diving Bell to meet Ballow and let him know you’re ready to dive again. Now, dive all the way down into The Abyss for the final battle.
-
Defeat Lost Lace
Section titled “Defeat Lost Lace”This fight is definitely challenging—practice on your normal save before trying it on Steel Soul. Once you’re consistent, defeat Lost Lace to unlock the true ending and finish 100% in under 30 hours.
The final section will cover the exclusive Steel Soul boss challenge, which is completely optional.
Optional Steel Soul Content
Section titled “Optional Steel Soul Content”
Key Items
- Infinite Shells Shard source
Bosses
Quests
- A Vassal Lost
NPCs
- Zi
- Vassal
Before talking about the quest, there’s a small thing I’d like to mention: since we skipped the Sister Splinter boss fight during the Shellwood speedrun, we can still find her there, awaiting to pierce us with her spiny vines… So yeah, she is truly just an optional boss, which I find really funny.
Also, if you take the time to decorate your Bellhome, you can paint it in an exclusive metallic color, available only on Steel Soul (it replaces the white color).
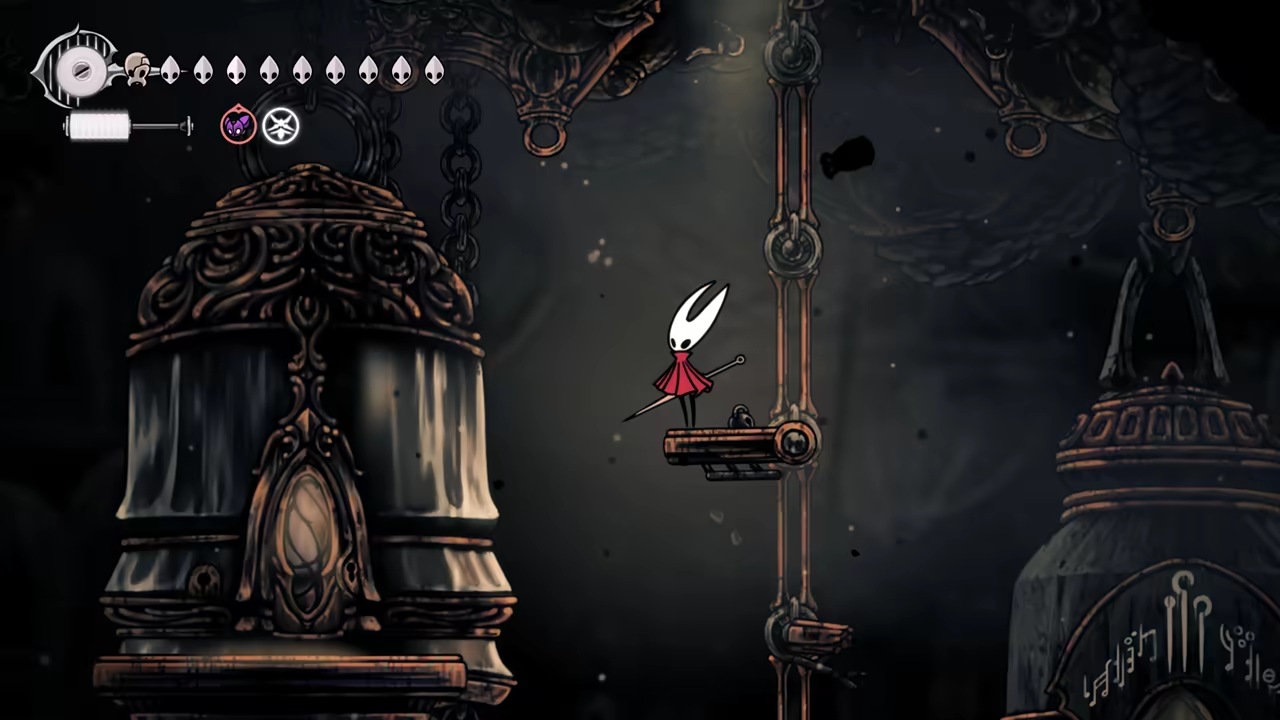
A Vassal Lost
Section titled “A Vassal Lost”-
Start the Quest
Section titled “Start the Quest”We met Zi during the
100% Blasted Stepsvisit, and she marked some spots on the map that we need to visit for the A Vassal Lost quest. The locations are randomly selected from a pool of possible spots:
- Resting Site - Moss Grotto
- Resting Site - Far Fields
- Resting Site - Putrified Ducts
- Resting Site - High Halls
- Resting Site - Shellwood
- Resting Site - Sands of Karak
-
Visit the Marked Locations
Section titled “Visit the Marked Locations”These are the locations she marked for me:
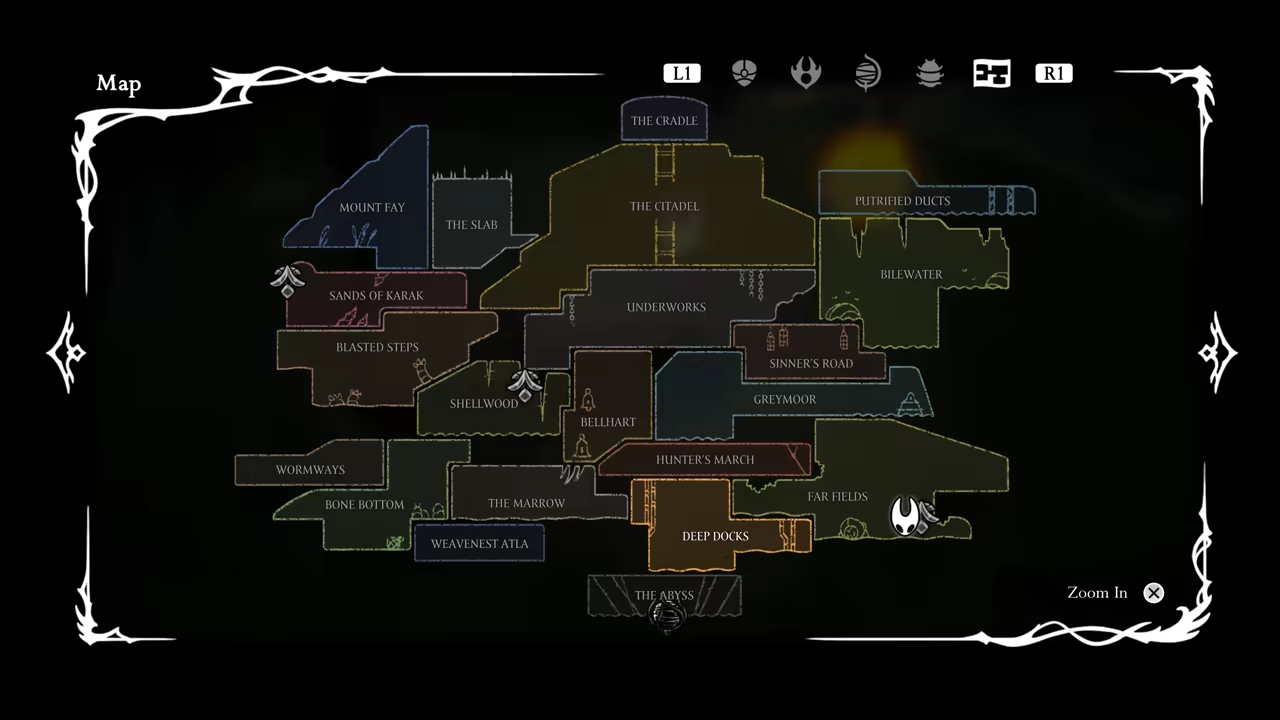
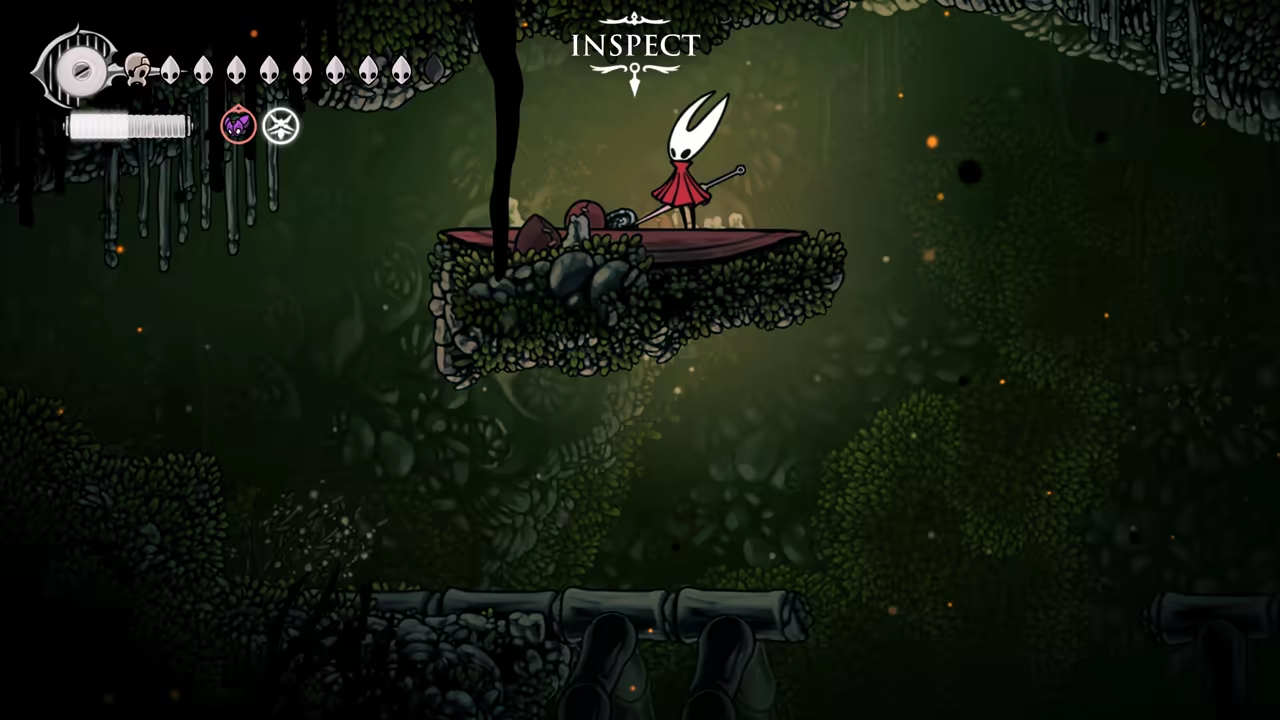
-
Find the Final Location
Section titled “Find the Final Location”After visiting all the locations, Hornet will mark a spot in the very bottom left of the map, close to the Bonegrave area.
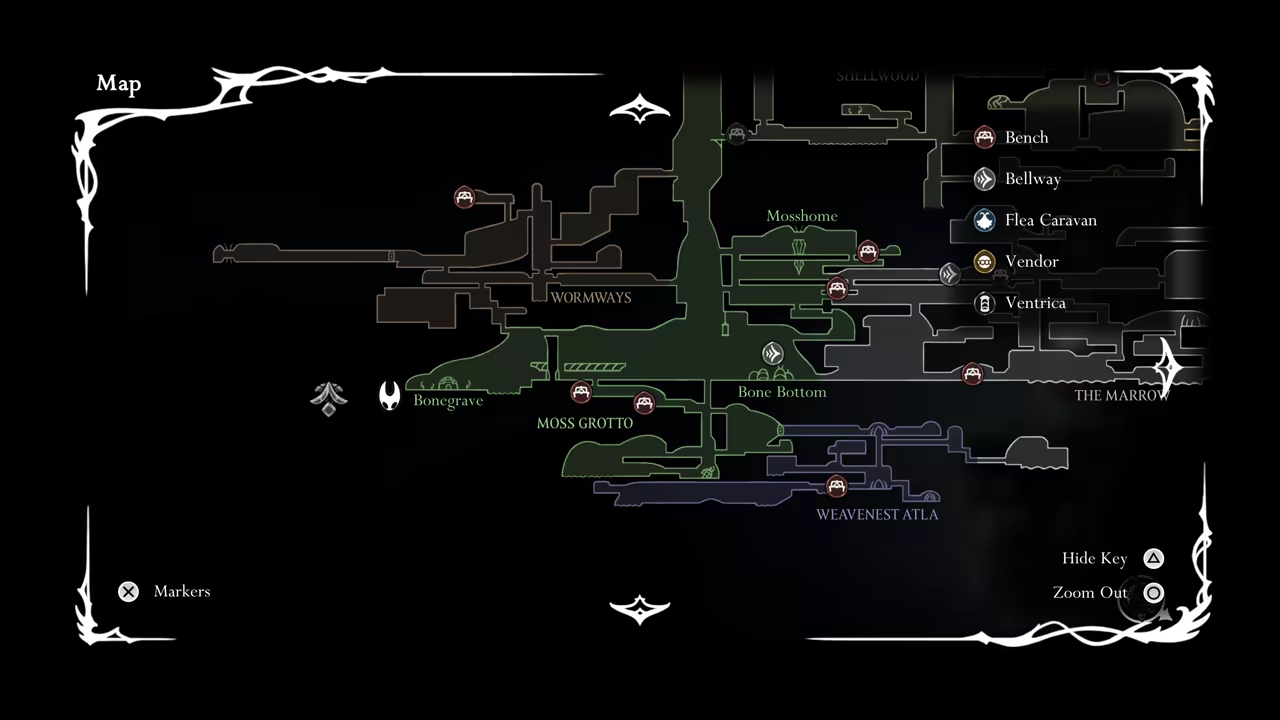
-
Defeat the “Saviour”
Section titled “Defeat the “Saviour””Inside, we will find the Vassal performing a dark ritual, which summons the “Saviour,” a being of void. This is a very easy and underwhelming boss fight that ends up being more of a “just smash him to win” situation.
-
Claim the Reward
Section titled “Claim the Reward”The Vassal will flee, and we can return to Zi to receive our reward: an infinite Shells Shard source.