
How to Beat The Unravelled (Boss Guide)
The Unravelled is a large, formidable boss found in a hidden pit in Whiteward. This is an endurance fight that will test your focus and patience. The battle is broken up by waves of minions, giving it a unique, multi-stage feel. Its huge hitbox is both a blessing and a curse, making it easy to hit but also easy to get hit by.
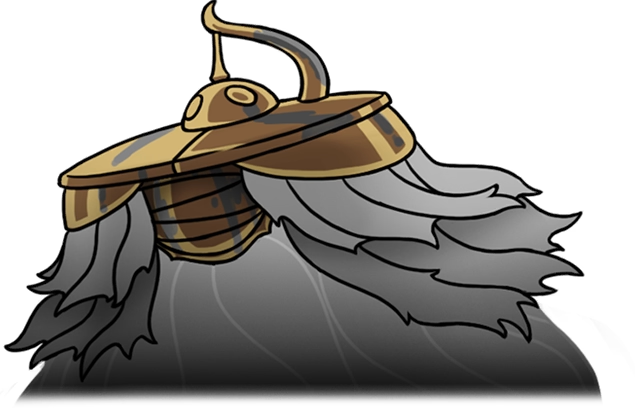
The Unravelled
Location: Whiteward
Rewards: Silk Heart

Where to Find The Unravelled
Section titled “Where to Find The Unravelled”The Unravelled is located at the bottom-left corner of Whiteward. Accessing its arena requires finding and using the Surgeon’s Key.
-
Find the Surgeon’s Key The key is located in the top-right section of Whiteward. Look for a secret passage in the ceiling after a section with Mortician enemies. You will need the Clawline ability to climb up and open a trash chute, where the key will fall down.
-
Find the Keyhole The mechanism to use the Surgeon’s Key is in a hallway just above The Unravelled’s boss room. It’s to the left of the elevator that connects to the Choral Chambers.
-
Enter the Arena Using the key on the mechanism will open the floor, dropping Hornet directly into the boss arena to begin the fight.
Build & Preparation
Section titled “Build & Preparation”This build focuses on maximizing damage during the small punish windows and surviving the long fight.
- Ability:
 Thread Storm - Extremely useful for quickly clearing the minion waves between the main boss phases.
 - Crest:
 Reaper Crest - The wider slashes make it easier and safer to hit the boss from behind after its charge attack.
 - Tools:
 Flintslate: Boosts your needle damage, which is perfect for making the few hits you land after a charge really count.
 Injector Band: Faster healing is critical in this long endurance fight, especially during the minion waves.
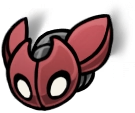 Cogfly: Provides extra passive damage while you’re busy dodging projectiles and spears.
 Magnetite Dice: A great defensive tool that gives you a chance to ignore damage, which can save a run.
Phases & Minion Waves
Section titled “Phases & Minion Waves”This isn’t a simple two-phase fight. The battle is broken up by forced intermissions where you must clear waves of adds.
- Preamble: You’ll fight a Dreg Husk, followed by a Dreg Husk and a Dregwheel.
- Phase 1: The Unravelled appears. Fight until it’s staggered.
- Intermission 1: Clear a wave of two Dregwheels.
- Phase 2: The Unravelled returns with new attacks. Fight until it’s staggered again.
- Intermission 2: Clear a final, tougher wave of adds.
- Phase 3: The boss returns, using its Phase 2 moveset but faster and more frequently.
How to Beat The Unravelled
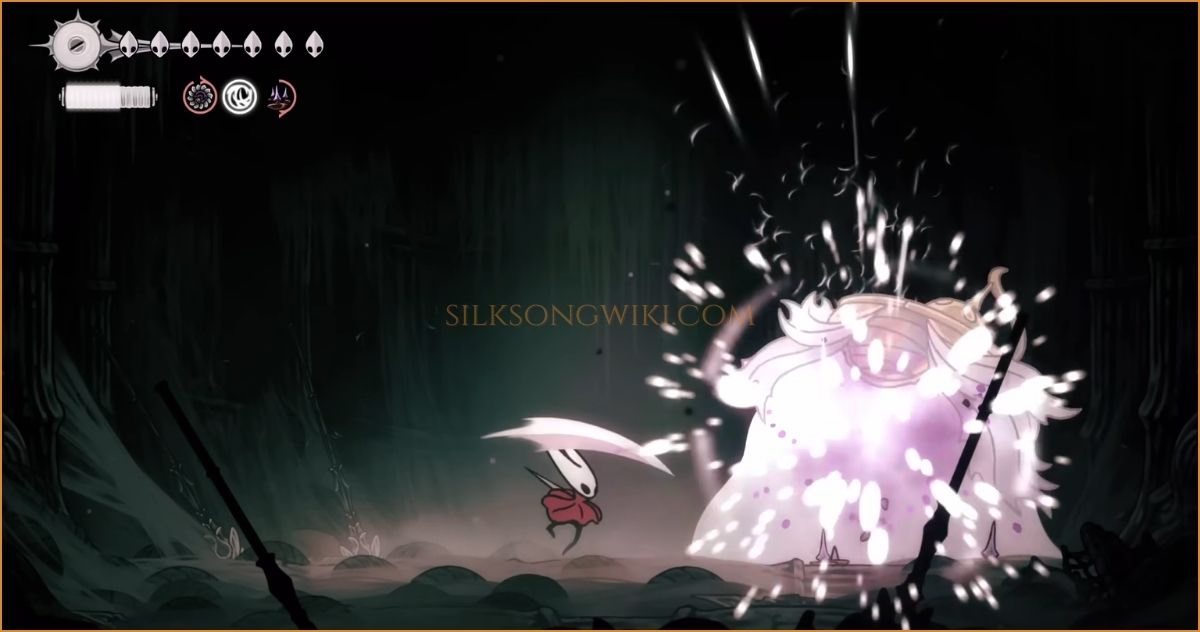
Section titled “How to Beat The Unravelled”This is a battle of attrition. Don’t get greedy; focus on consistent punishes and solid defense. The core gameplay loop revolves around punishing the boss’s charge attack, as shown below.
-
Punish the Charge Attack The boss’s charge attack is your primary and safest window for damage. Jump over it as it rushes past, then immediately turn and land one or two hits on its back before it burrows into the ground. Repeat this for the entire fight.
-
Use Minion Waves to Recover The intermission waves are a blessing in disguise. Use these moments to safely attack the weaker enemies to build up your Silk gauge. This is the best time to heal up before the main boss returns.
-
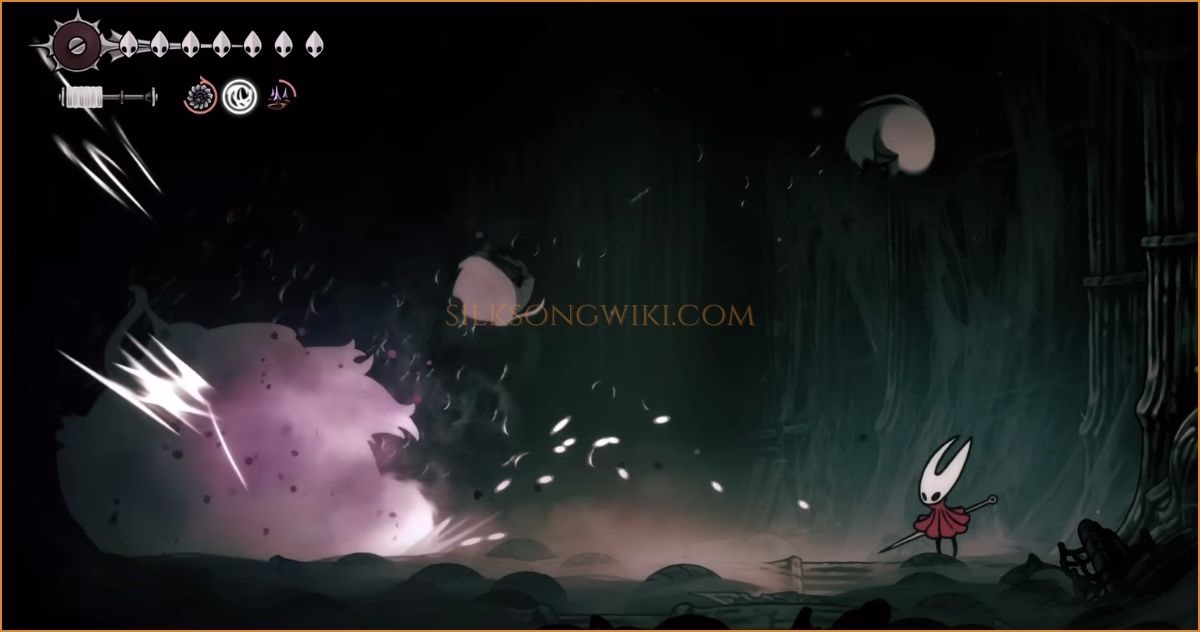
Dodge Projectiles from a Distance When the boss appears at the far edge of the arena, it’s about to use its projectile spit. Immediately dash to the opposite side of the screen. This gives you maximum time and space to react and jump over the lowest projectile.
-
Keep Moving During Spear Storms In Phase 2, the boss will summon spears that track your last position. The key is to never stop moving. The spears lock on just before they shoot down, so a simple walk or dash will cause them to miss.
Attack Patterns & Counters
Section titled “Attack Patterns & Counters”The boss telegraphs its emergence with dust particles on the ground. Be ready to react.
Phase 1 Attacks
Section titled “Phase 1 Attacks”The Unravelled emerges and rushes straight across the arena before burrowing again. This is its most common attack in all phases.
Counter: Jump and dash over it, then hit it once or twice from behind. This is your main damage window.
The boss appears at a far edge of the arena and spits two projectiles with fixed trajectories.
Counter: Move to the opposite side of the room as soon as it appears. This gives you plenty of space to see the projectile paths and jump over the lower one.
Phase 2 Attacks
Section titled “Phase 2 Attacks”An upgraded version of the Phase 1 attack, but with three projectiles and different trajectories, covering more of the screen.
Counter: The strategy is the same. Get to the far side of the arena and prepare to jump over the lowest projectile. The timing is a bit tighter.
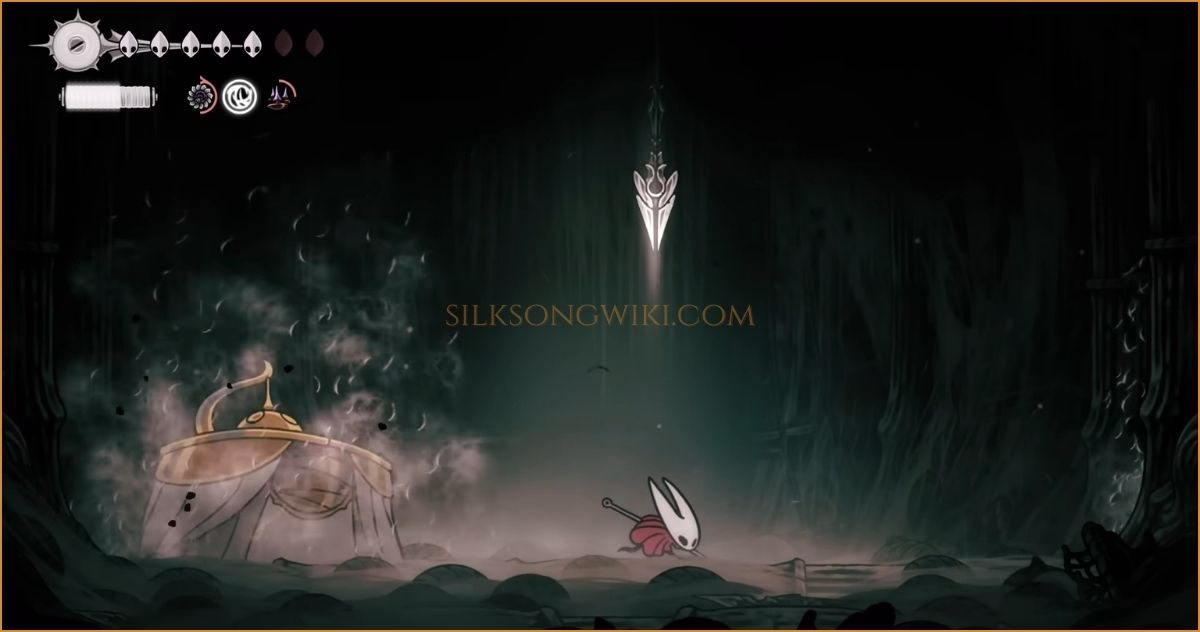
The boss summons 3-4 spears from the ground. They spin, track your last known position, and then shoot straight down in quick succession.
Counter: Stay mobile. The spears lock onto your position before they attack, so as long as you keep walking or dashing, they will miss. Don’t stand still.
The boss emerges briefly in the center of the arena and screams, summoning two spears at the far edges of the room. They then fly up and converge, striking down together in the very center.
Counter: As soon as the boss appears in the center, move towards one of the corners. The middle of the arena is the danger zone. There is a small safe spot between the two spears as they fall, but it’s safer to just stay away.
Unravelled Rewards
Section titled “Unravelled Rewards”- Silk Heart: Defeating The Unravelled grants you one Silk Heart. This powerful passive item automatically restores a small amount of Silk whenever your gauge hits zero.