
Lost Fleas Wish (All Flea Locations)
The Lost Fleas is a major, Pharloom-spanning Wayfarer Wish that will have you exploring every corner of the world. Similar to the Grub collection in Hollow Knight, this quest involves finding and rescuing a number of lost Fleas who have gotten themselves into trouble. The rewards for your efforts are substantial, including a new camp, a refillable buff item, and even the ability to skip a major boss fight.
 Quest Overview
 How to Start the Lost Fleas Wish
Section titled “How to Start the Lost Fleas Wish”To begin this quest, you must find Fleamaster Mooshka and his Flea Caravan. They are first encountered in the upper parts of The Marrow. Speak to Mooshka, and he will ask you to find his 5 missing fleas, officially starting the quest.
All Lost Flea Locations
Section titled “All Lost Flea Locations”Each Flea is trapped behind a unique challenge. You can rescue them in any order depending on the abilities you have unlocked.
Flea #1
Section titled “Flea #1”- Required Ability: None (Basic platforming)
- Area: The Marrow
This Flea is at the very top of The Marrow. The path involves a straightforward but dangerous climb.
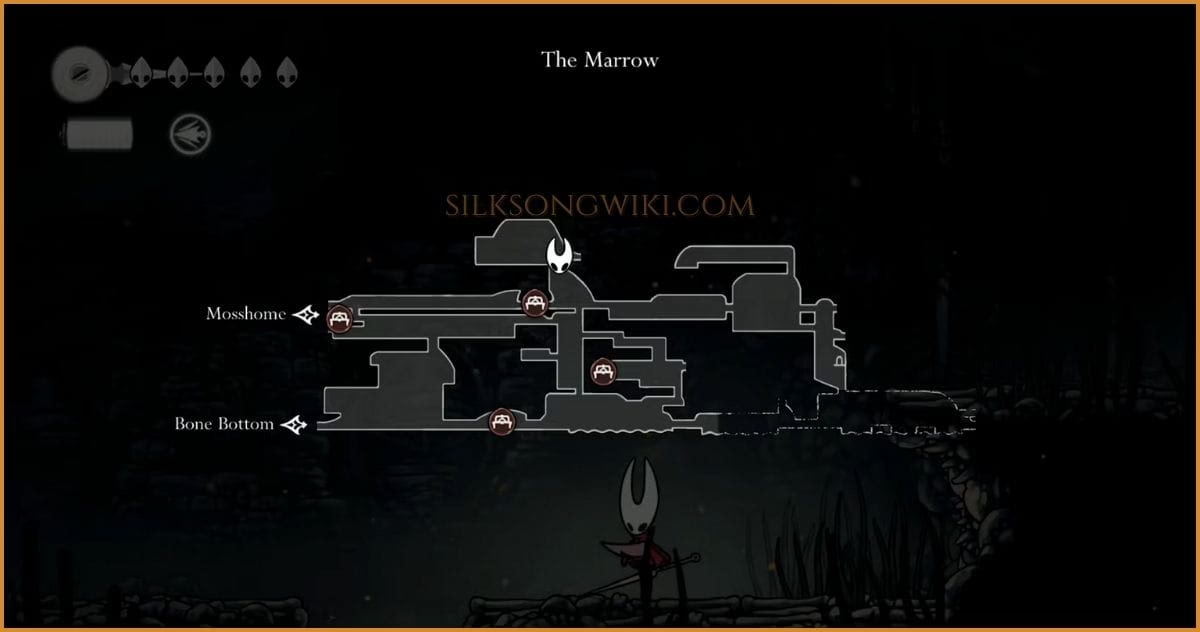
-
Upper Platforms From the main chamber, begin climbing upwards, dealing with the bugs blocking your path to the top-right of the area.
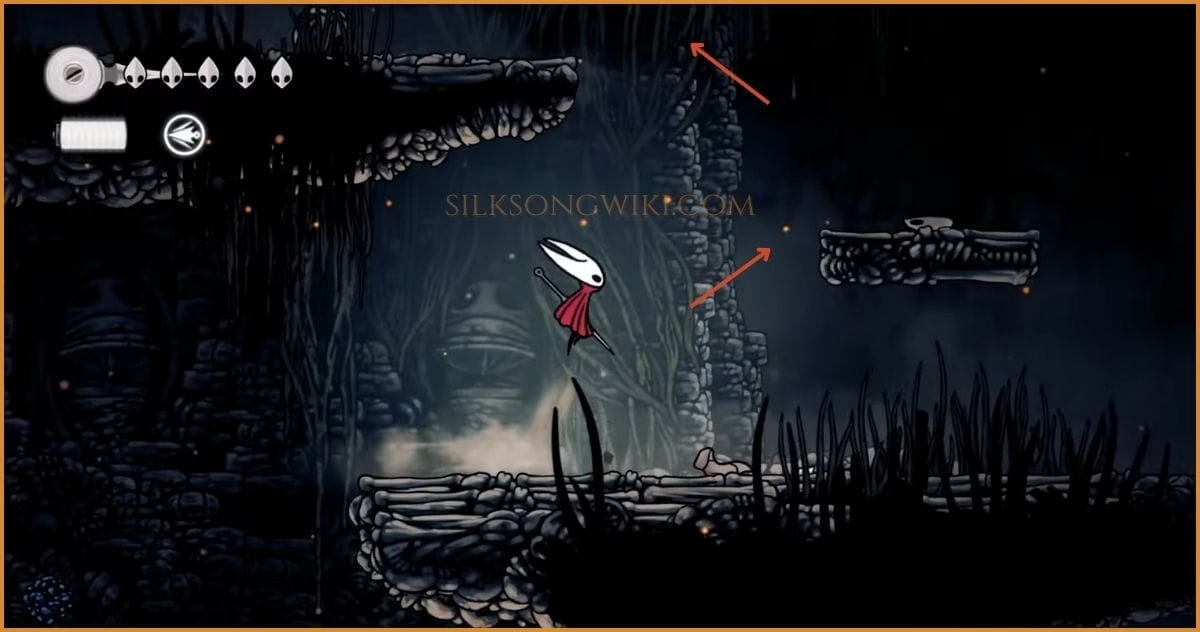
-
Free the Flea You’ll find the Flea entangled in vines at the end of the path. Strike the vines with your Needle to break them and set it free.
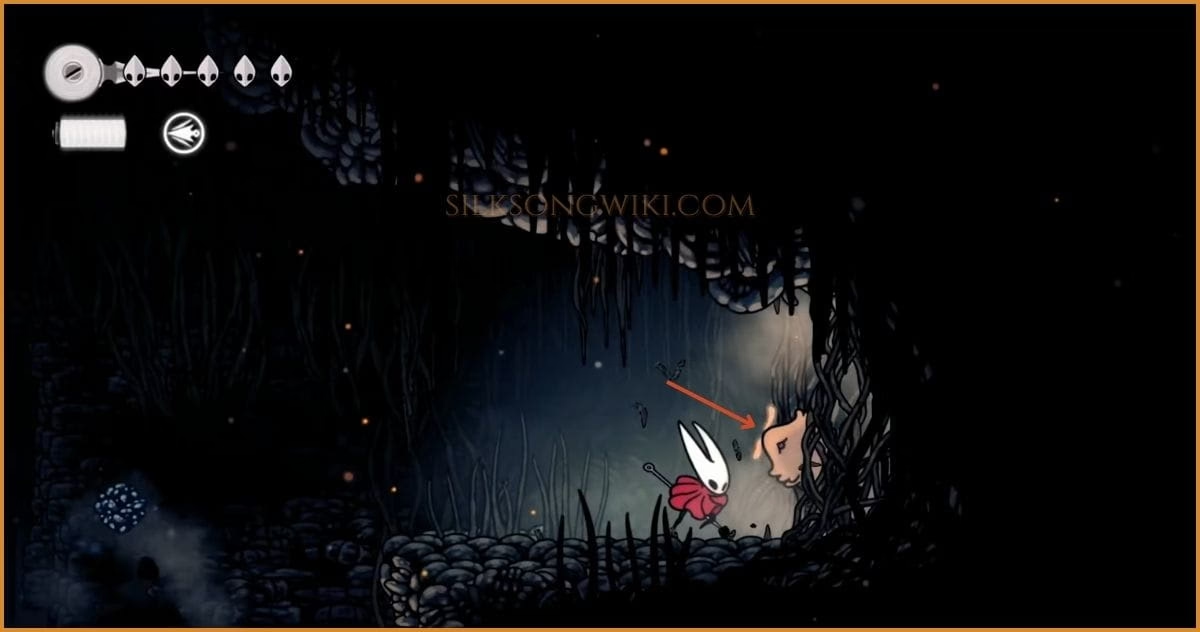
Flea #2
Section titled “Flea #2”- Required Ability: None
- Area: Deep Docks (Lower)
Found behind a secret wall, this rescue requires careful timing.
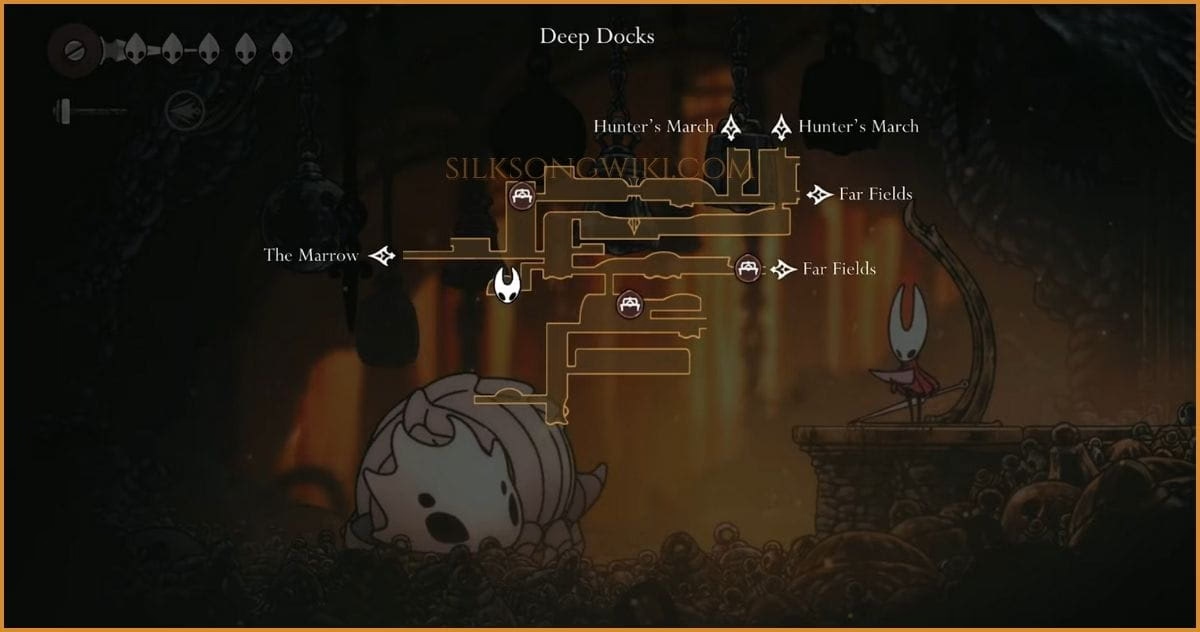
-
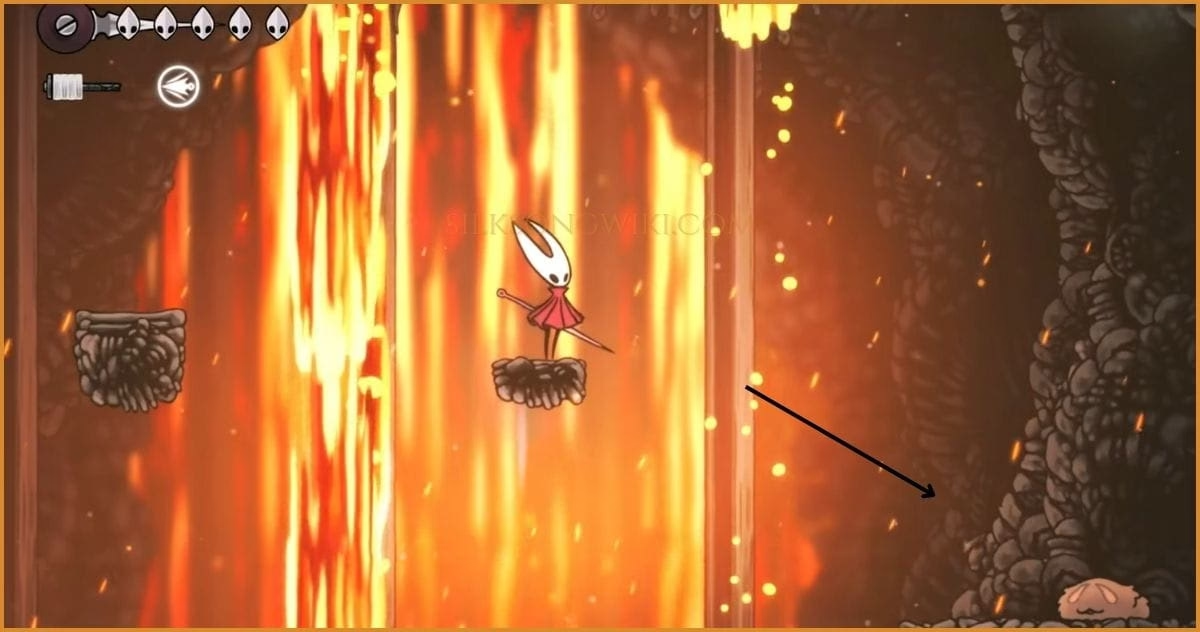
Find the Secret Wall Near the Bell Beast station in the lower docks, look for a breakable wall to the left of the lava waterfall section.
-
Dodge the Lava Flows Carefully time your jumps to pass through the cascading lava falls. The middle fall is the fastest, so be patient.
Flea #3
Section titled “Flea #3”- Required Ability: Swift Step (Dash)
- Area: Deep Docks (Upper)
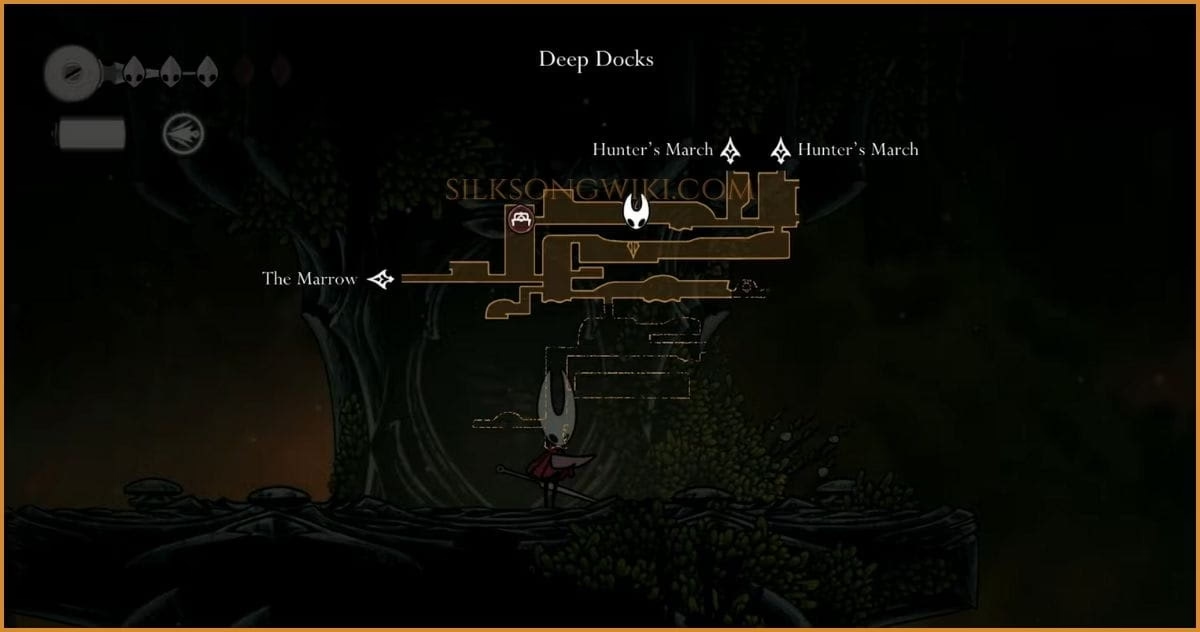
This Flea requires you to backtrack after gaining the Dash ability.
-
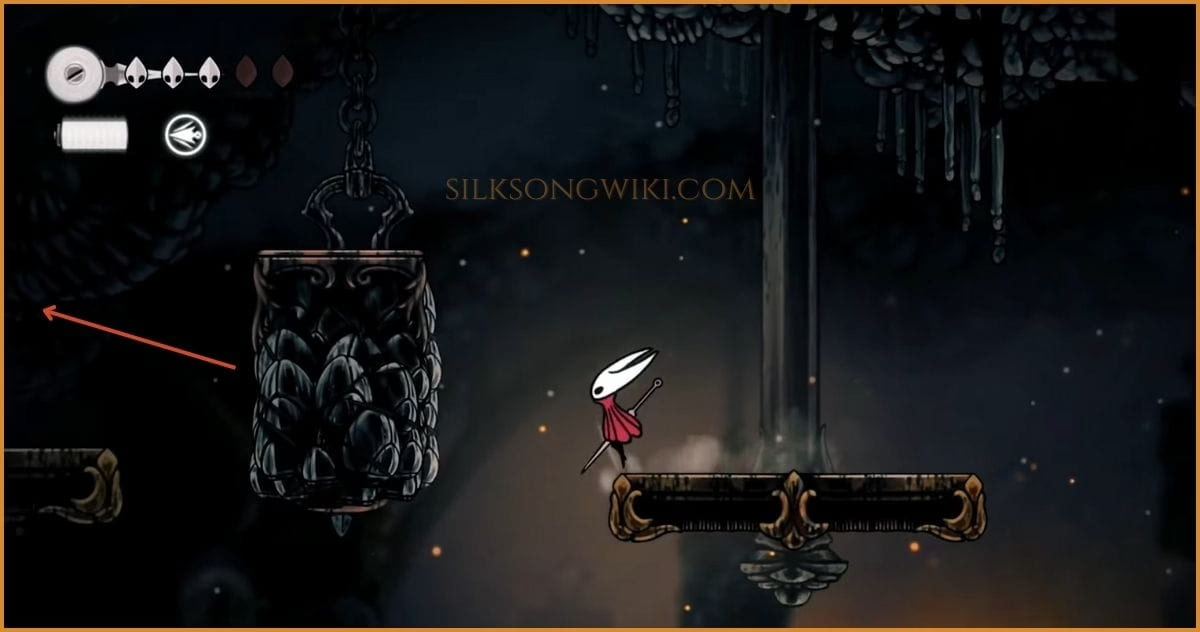
Dash Across the Gaps Return to the upper section of Deep Docks. Use your Swift Step to cross the large gaps between platforms that were previously unreachable.
-
Use the Counterweight Find and strike a lever to lower a counterweight. Use this new platform to climb higher and find the Flea.
Flea #4
Section titled “Flea #4”- Required Ability: Drifter’s Cloak (Glide)
- Area: Far Fields
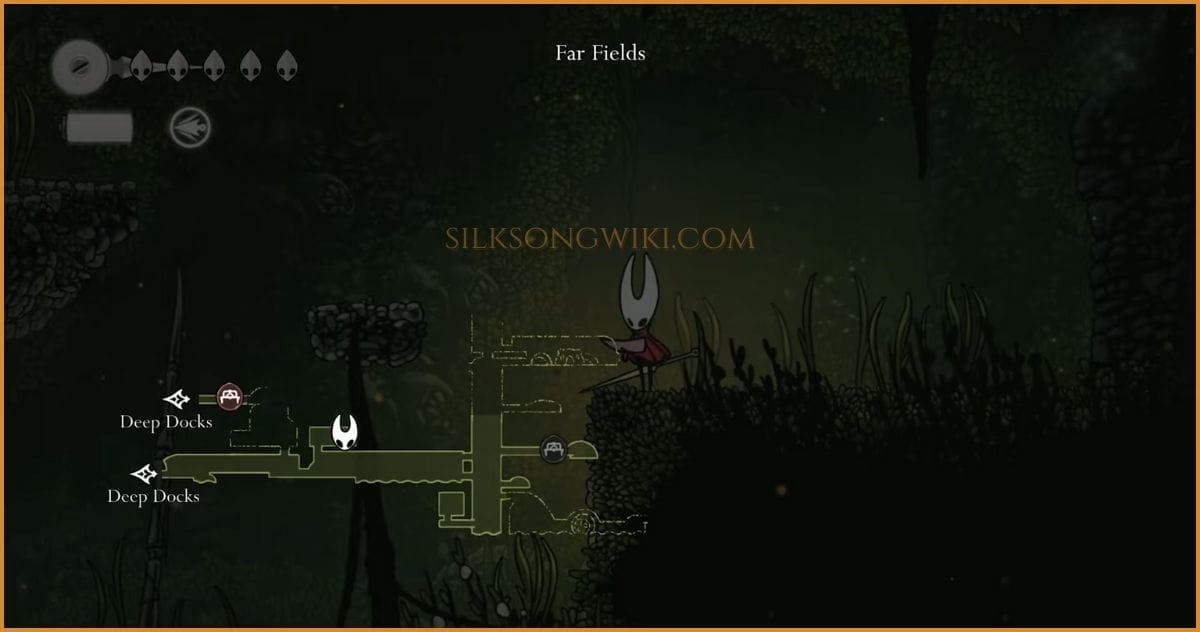
An ambush awaits you on the way to this Flea.
-
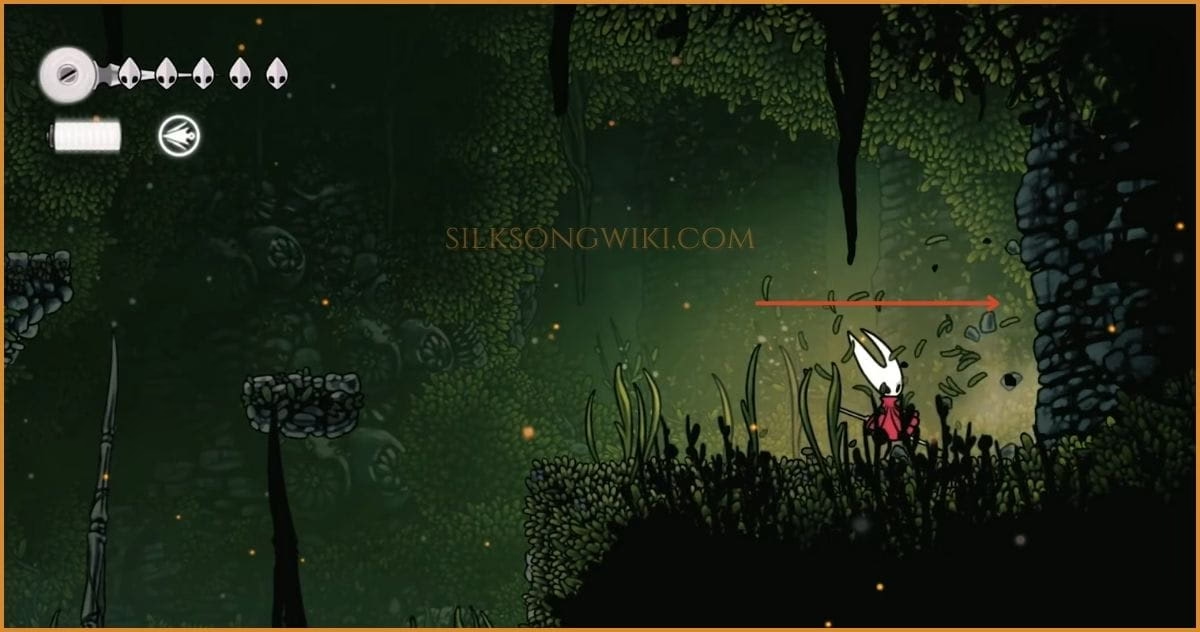
Ride the Wind Tunnels On the far left side of Far Fields, use your Drifter’s Cloak to ride the updrafts into a dark cave entrance high above.
-
Survive the Ambush As you proceed through the cave, a powerful Ant Warrior will ambush you. Defeat it to clear the path.
-
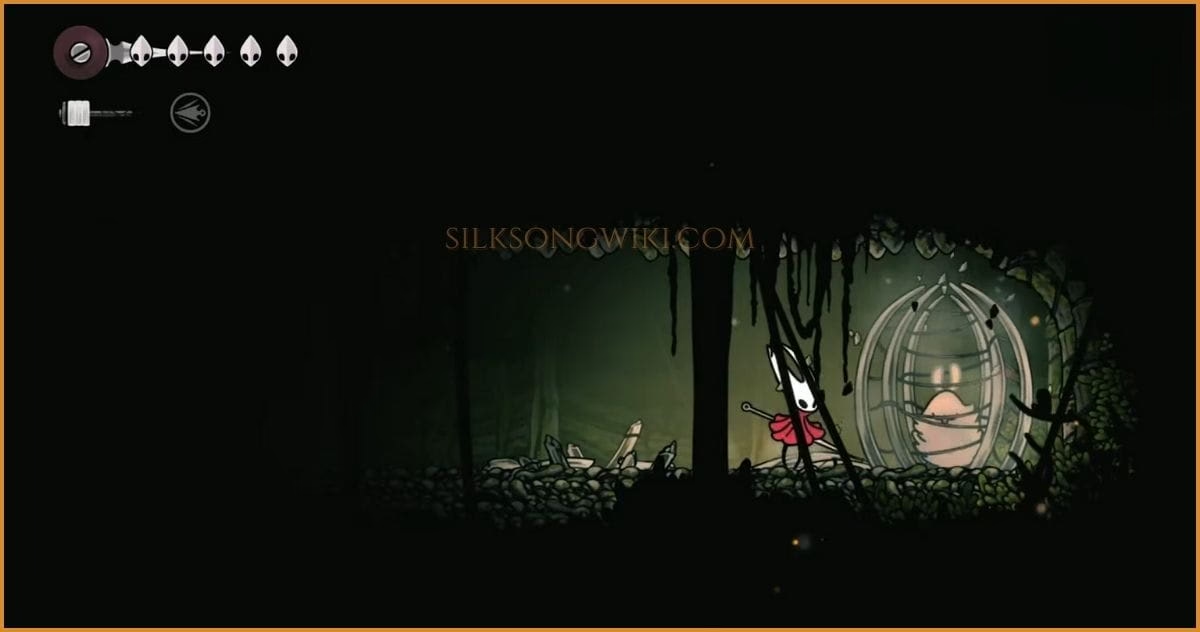
Rescue the Flea With the warrior defeated, proceed to the end of the cave to find and free the Flea.
Flea #5
Section titled “Flea #5”- Required Ability: Pogo Jump
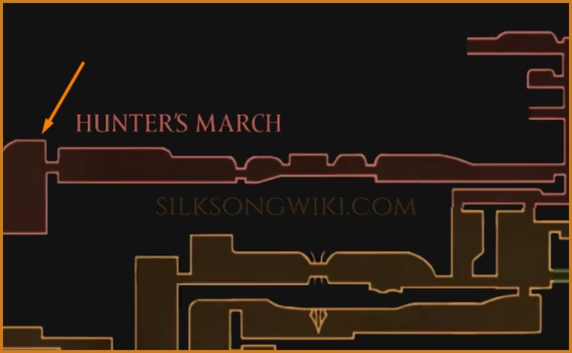
- Area: Hunter’s March
A test of your pogo skills.
-
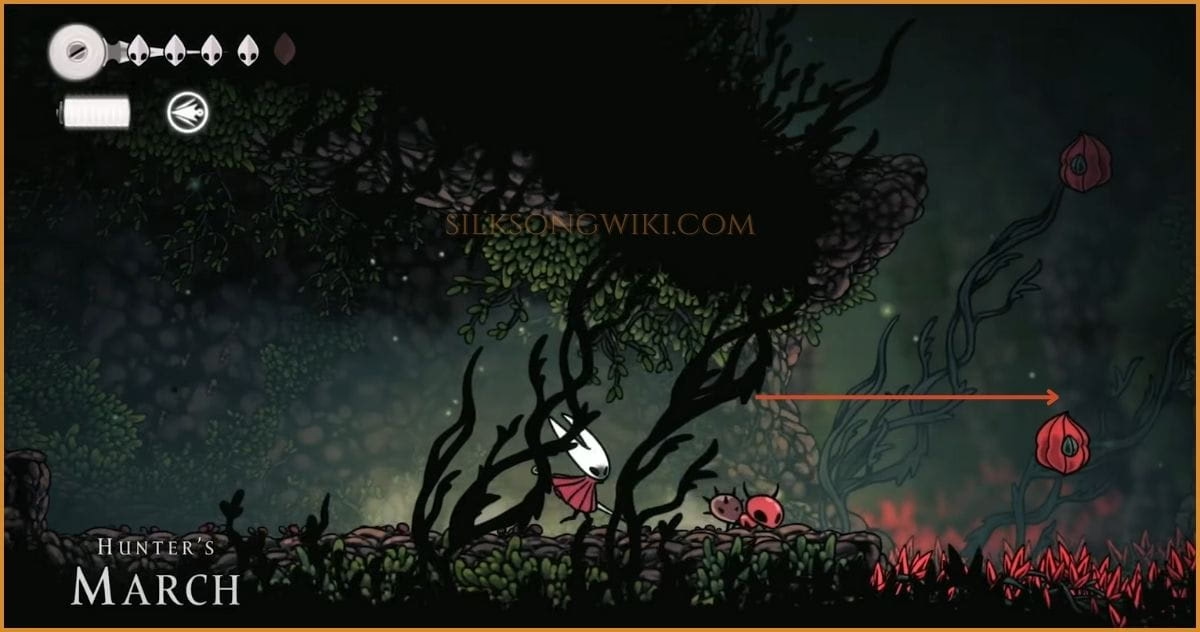
Begin the Pogo Section Near the start of Hunter’s March, you’ll find a vertical challenge room filled with red flowers and spikes.
-
Ascend Using the Flowers You must precisely pogo-jump off the series of red flowers to gain height without touching the spikes.
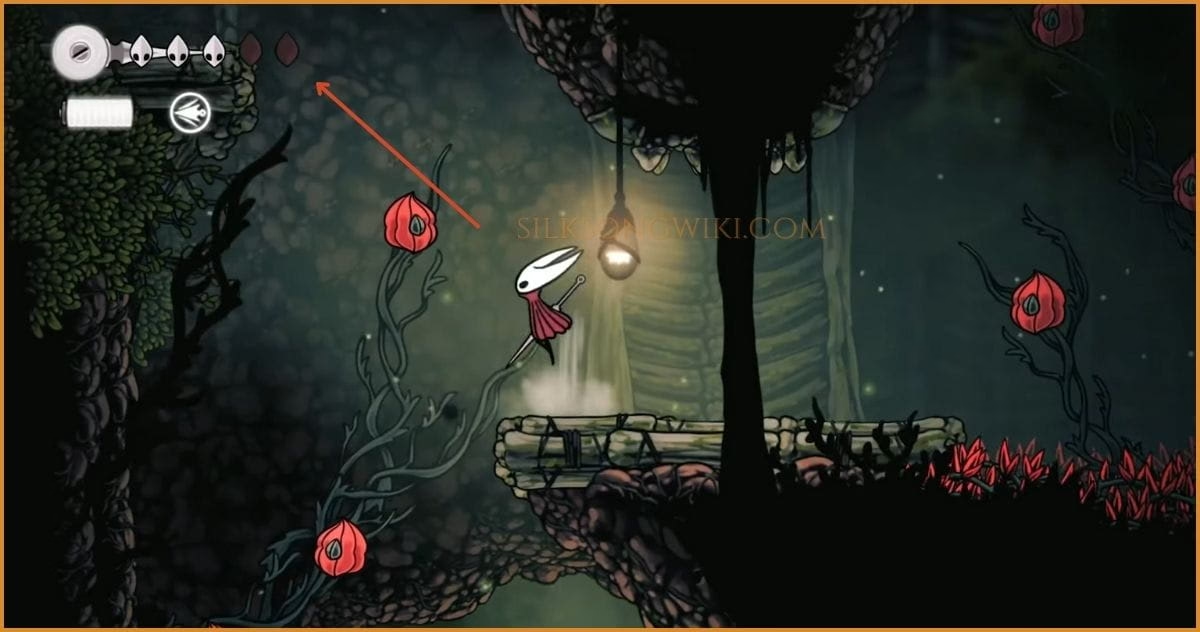
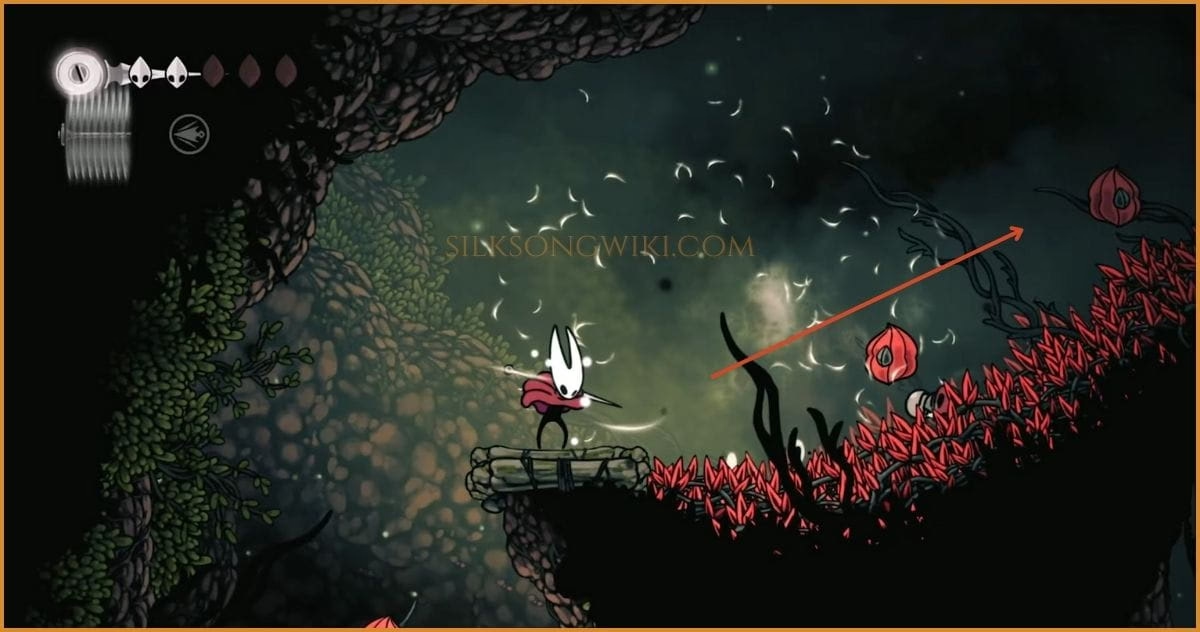
-
Free the Caged Flea At the top of the challenge, you’ll find the Flea in a cage. Break it and set it free.
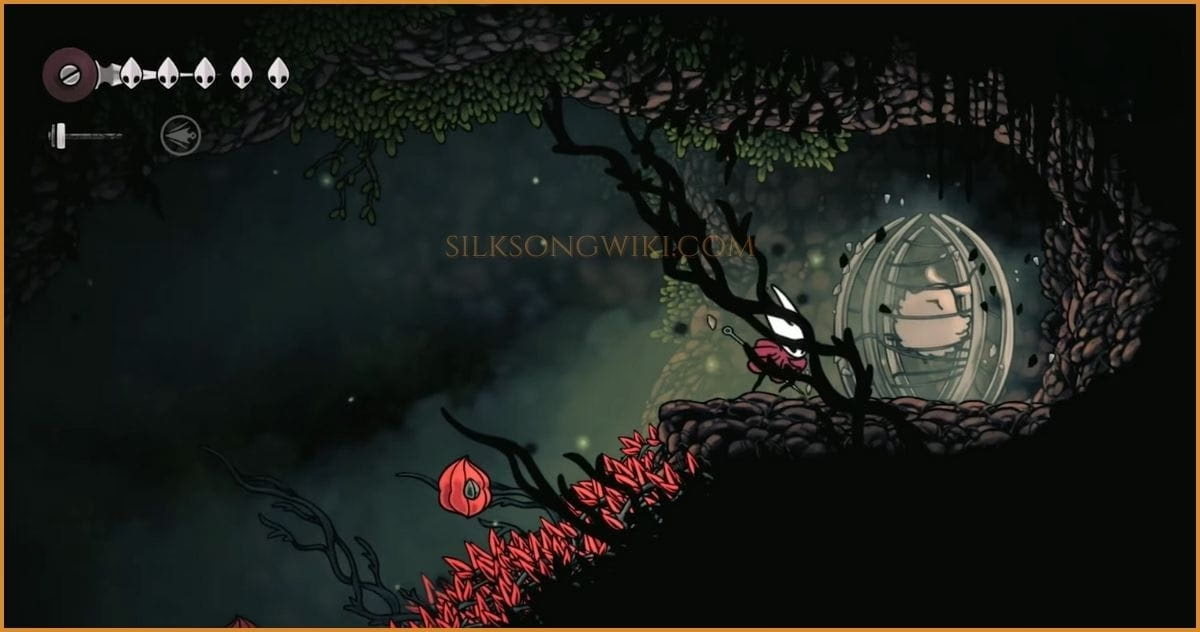
Flea #6
Section titled “Flea #6”- Required Ability: Pogo Jump
- Area: Greymoor
This rescue involves creating your own platforms.
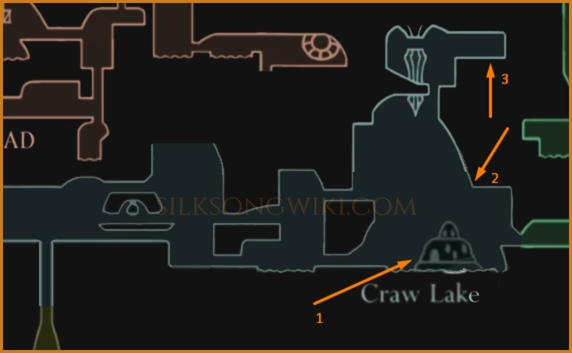
-
Clear the House Enter the rightmost house in Greymoor and defeat all the enemies in a “mob rush” combat encounter.
-
Activate the Balloons Clearing the house allows you to hit a lever, which releases pogo-able balloons outside the house.
-
Pogo to the Flea Use the newly appeared balloons as platforms to pogo your way up and to the right, where the Flea is waiting.

Lost Fleas Wish: All Rewards
Section titled “Lost Fleas Wish: All Rewards”The rewards for this quest are significant and impact the game world.
Reward 1: Flea Caravan Moves to Greymoor
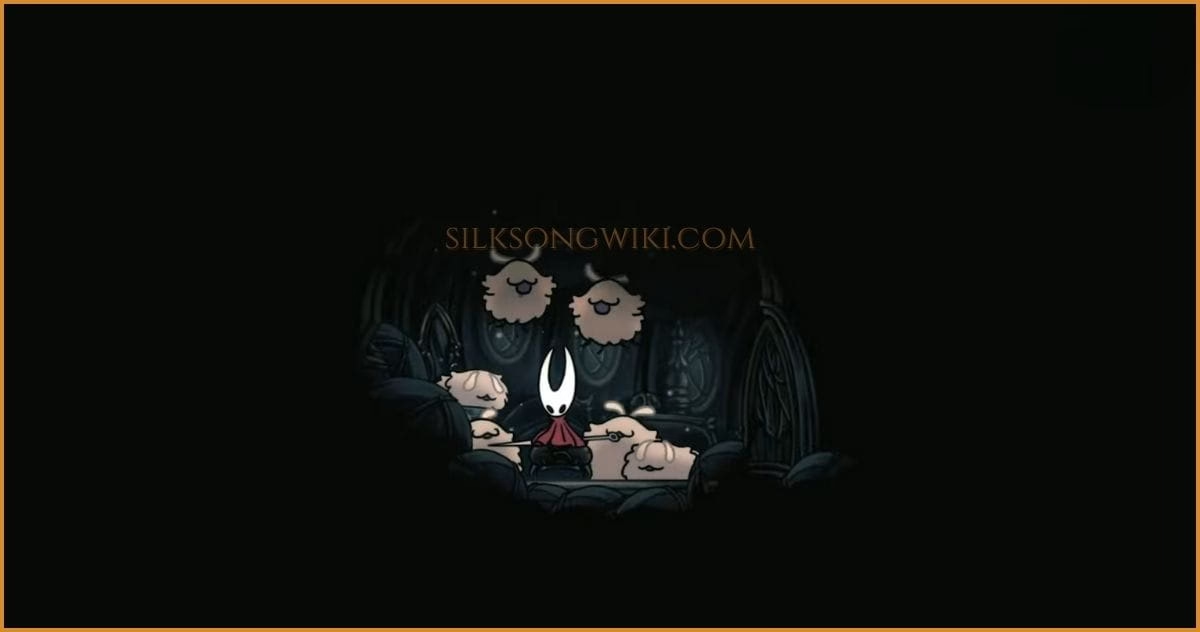
Section titled “Reward 1: Flea Caravan Moves to Greymoor”After you rescue the first 5 fleas and report back, the Flea Caravan will pack up and move to the safer hub of Greymoor, establishing a permanent camp there for the rest of the game.
Reward 2: Flea Brew (Refillable Buff)
Section titled “Reward 2: Flea Brew (Refillable Buff)”Mooshka’s companion, Grishkin, will reward you with 3 bottles of Flea Brew.
- Effect: A consumable drink that provides a temporary attack and movement speed boost.
Reward 3: Skip the Moorwing Boss Fight
Section titled “Reward 3: Skip the Moorwing Boss Fight”This is perhaps the most unique reward. By finding the first 5 fleas, the Flea Caravan’s new travel path will intercept and occupy the arena of the Moorwing boss. This means the boss fight is completely removed from your playthrough.
- Veteran’s Analysis: This is an incredible perk for players who may struggle with certain boss types. It’s a strategic choice: do you want to experience the boss fight, or would you rather take the guaranteed progress? Having this option is a massive benefit.