Walkthrough & Progression Route
Welcome to the main hub for the Hollow Knight: Silksong Walkthrough. This guide is designed to provide a detailed, step-by-step path through the main story, ensuring you don’t miss any critical items, abilities, or secrets along the way.
Our walkthrough is broken down by major locations and objectives. While exploration is a core part of the experience, we recommend following the Game Progression Route for an optimized path through the game, especially on your first playthrough.

Act 1 Walkthrough
Section titled “Act 1 Walkthrough”This section outlines the recommended order of progression through Pharloom to ensure you acquire key abilities and tools at the right time. Each step in the walkthrough will contain detailed information on enemies, bosses, items, and shortcuts.
Part 1: Moss Grotto
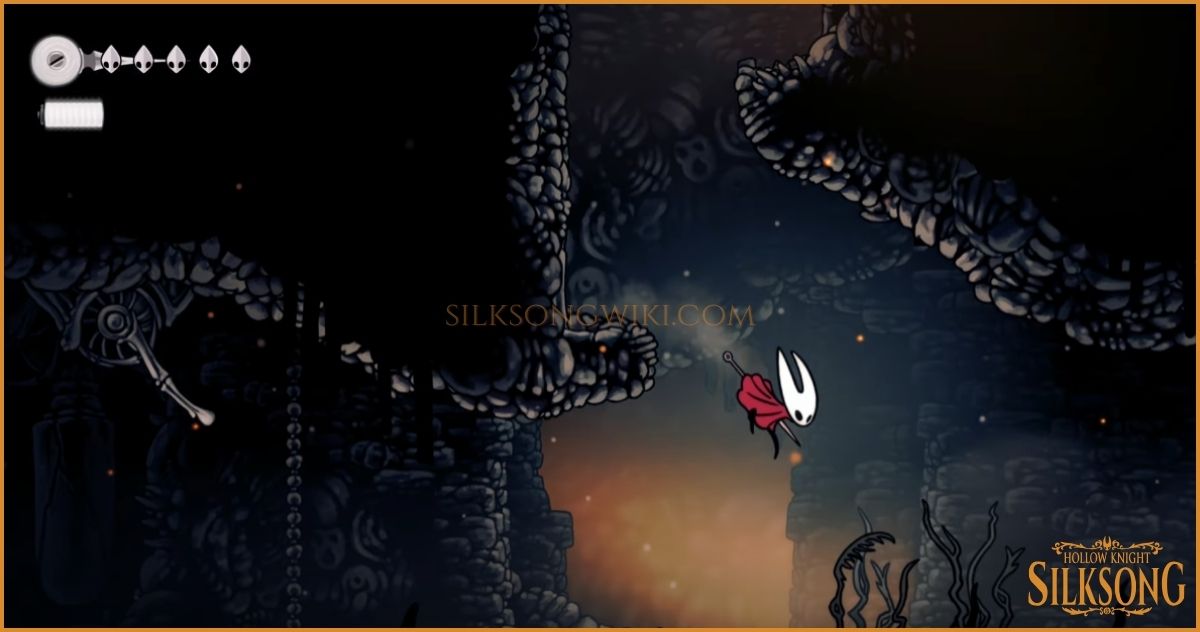
Section titled “Part 1: Moss Grotto”Your pilgrimage begins in the Moss Grotto, a lush, verdant area that serves as the game’s starting location. This section will guide you through the optimal path, ensuring you find all secrets and items.
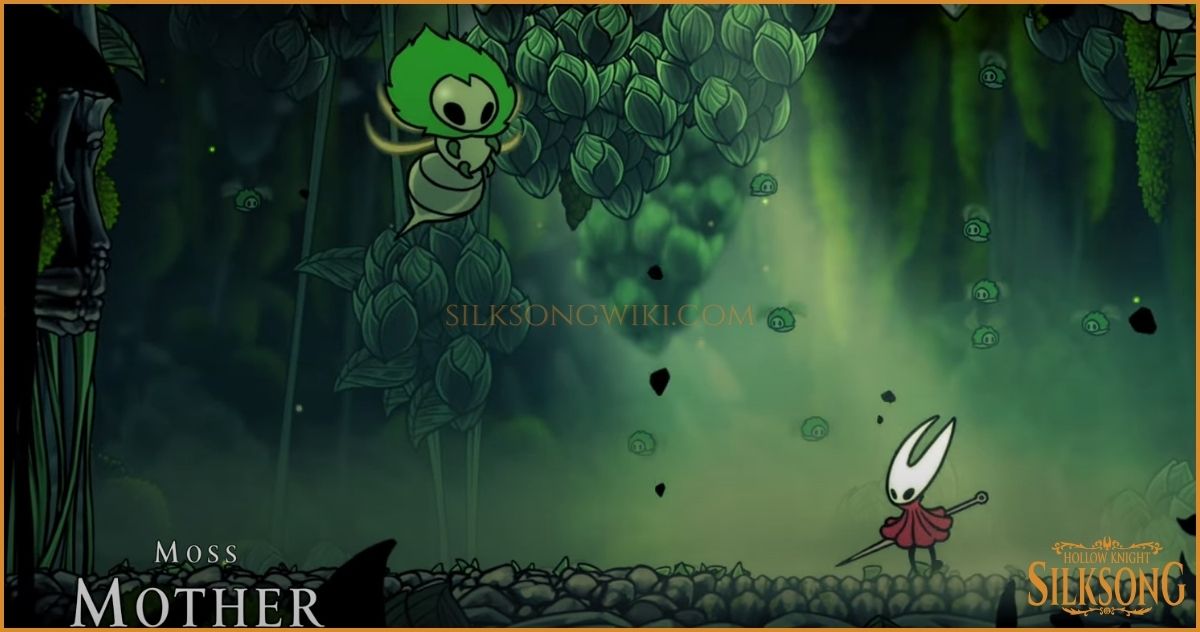
- Main Boss Moss Mother
- Next Area
-
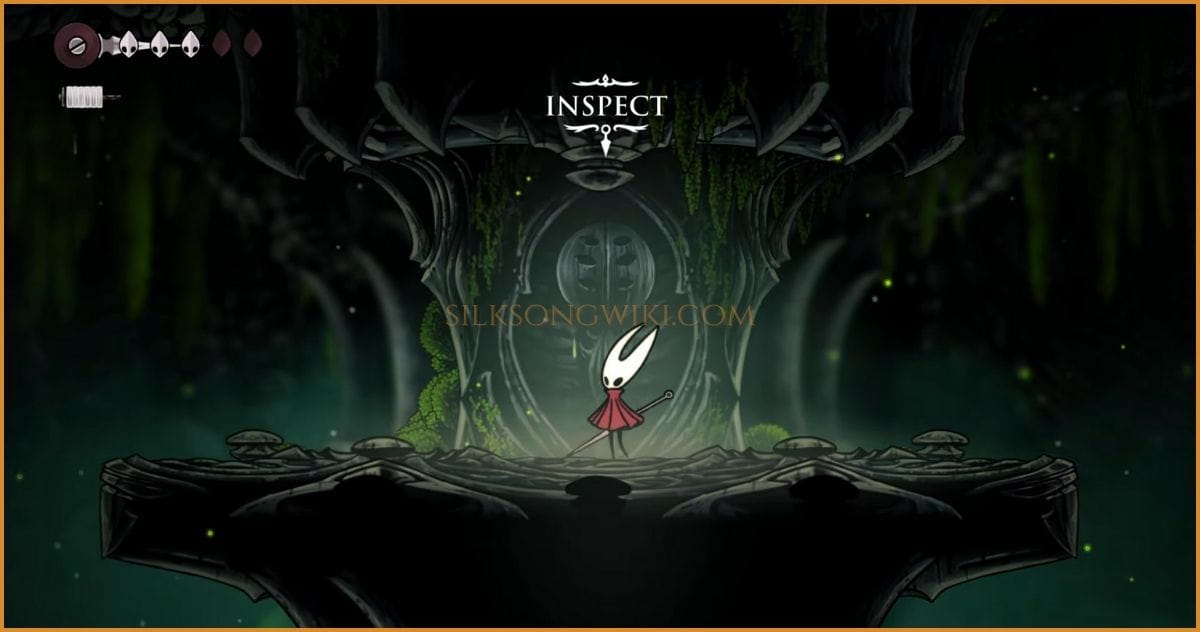
The Awakening
Section titled “The Awakening”After the opening cutscene, you gain control of Hornet. Break the vines at the top of the steps to enter the main Moss Grotto area.

-
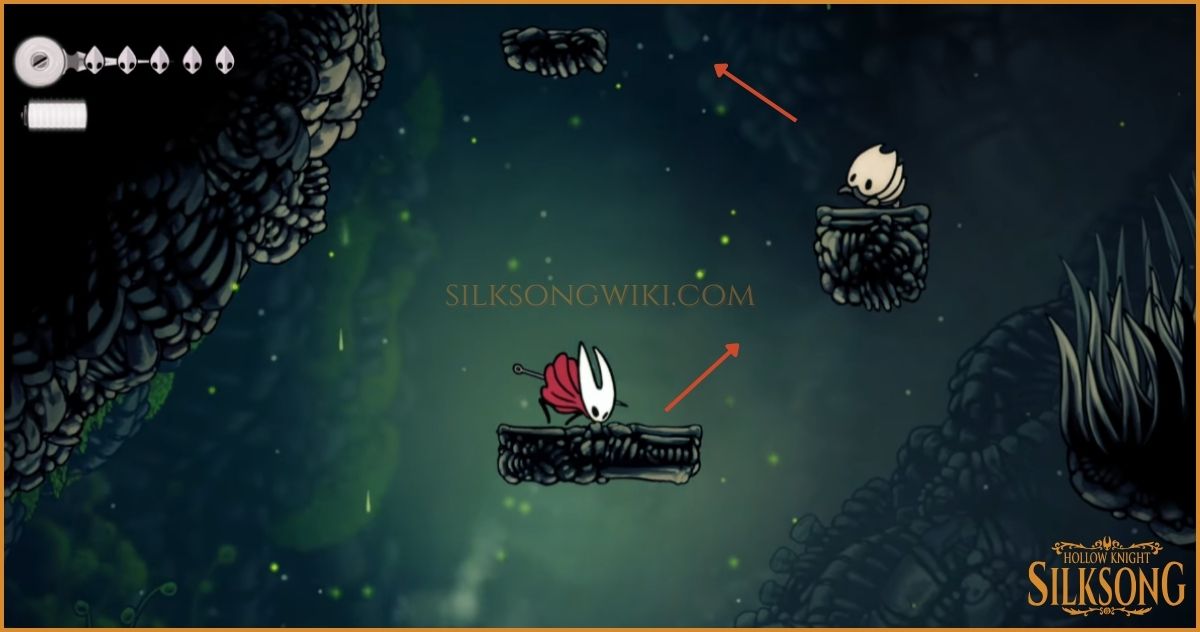
The First Secret
Section titled “The First Secret”Continue left until you reach a large open area with a pool of water. Climb up the rocks to reach the upper area and find a secret cache of Shell Shards.
-
First Enemies
Section titled “First Enemies”Head back right, defeating the first Spiky Moss Worms as you go.
-
The Frayed Rosary String
Section titled “The Frayed Rosary String”Proceed right until you reach a small rift. Make your way down to the lower ledge to grab the Frayed Rosary String before jumping across.

-
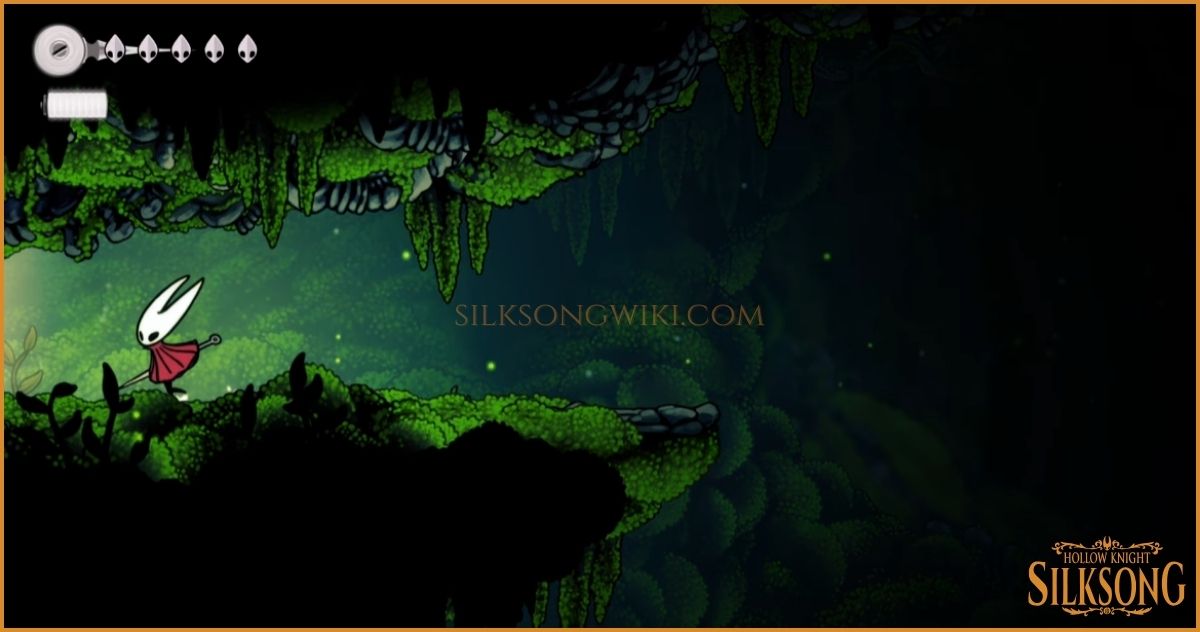
The Ascent
Section titled “The Ascent”Once across, enter the next passageway and climb the rocks to the upper left. Defeat the rolling enemies with a downward strike.
-
Upper Path
Section titled “Upper Path”Continue heading up into the next area.
-
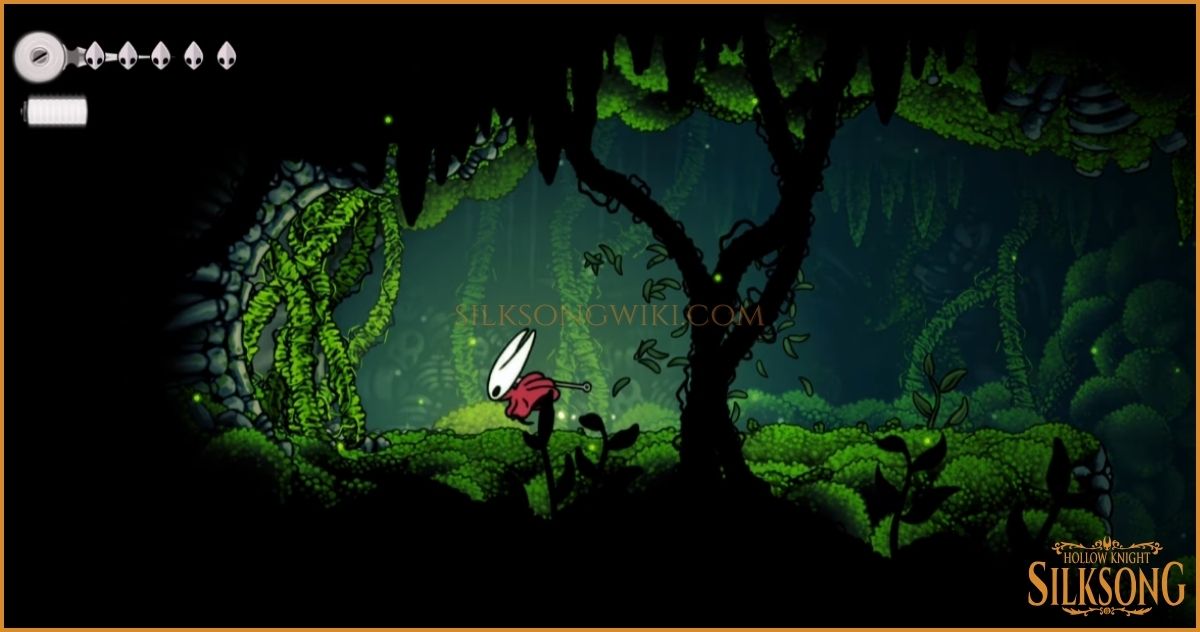
Ruined Chapel Entrance
Section titled “Ruined Chapel Entrance”Hop across the small ravine and break the vines to open a passageway that leads to the Ruined Chapel.
-
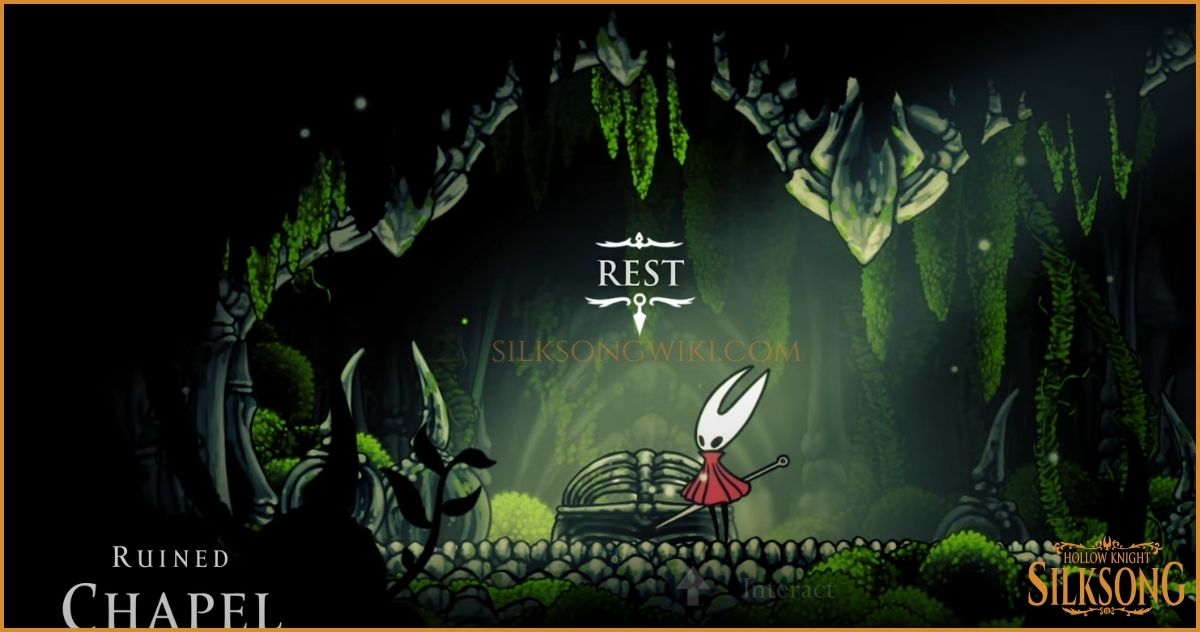
The First Bench
Section titled “The First Bench”Use the Bench on the left side of the Ruined Chapel to rest, save your progress, and set your respawn point.
-
Path to the Boss
Section titled “Path to the Boss”When you’re ready, hop up the ledges near the Chapel entrance and break the vines at the top to enter the boss arena for the Moss Mother.
-
The Moss Mother Battle
Section titled “The Moss Mother Battle”The Moss Mother is a major boss and the matriarch of the Moss Grotto. This encounter serves as an introduction to managing multiple threats and using your abilities strategically. Stay mobile, use your attacks after her swoop, and defeat her summoned Moss Worms to replenish your Silk for healing. If you’re struggling with this boss, we’ve prepared a detailed page with all attack pattern videos. See the Moss Mother Boss Guide for more.
-
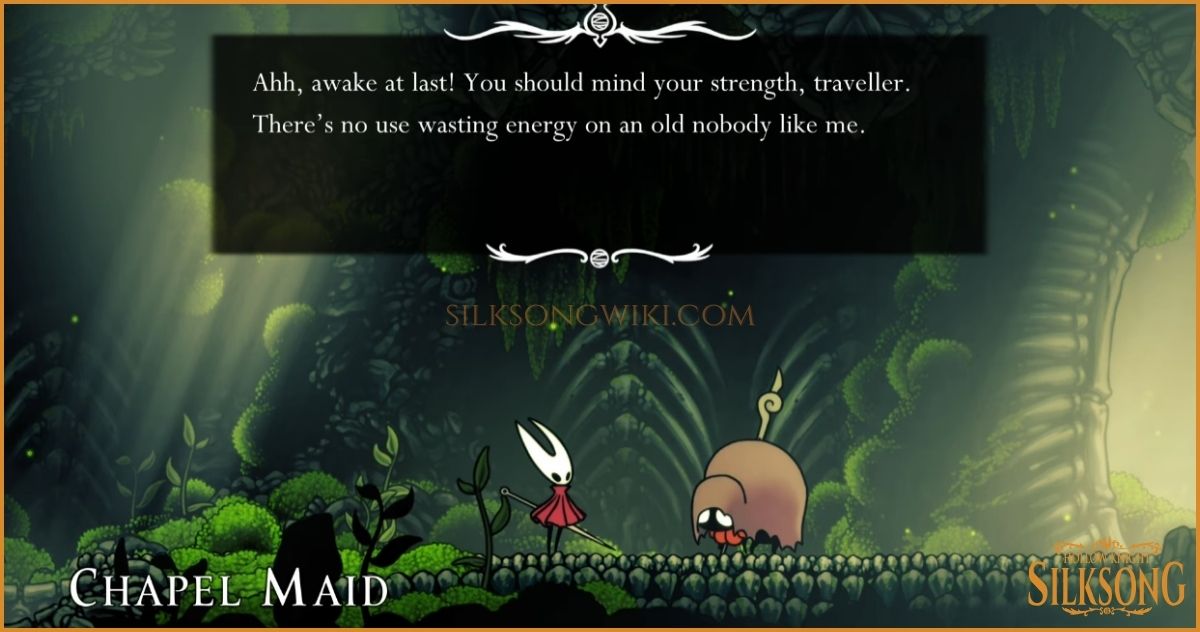
Leaving the Grotto
Section titled “Leaving the Grotto”After defeating the boss, head left and ascend the rope. A cutscene will play where the Chapel Maid wakes Hornet, giving you The Great Citadel objective and concluding this area.
Part 2: Bone Bottom
Section titled “Part 2: Bone Bottom”A stark contrast to the lush greenery of the Moss Grotto, Bone Bottom is a skeletal graveyard of ancient creatures. This area introduces new key mechanics, including the first shopkeeper and a new way to save your progress.

- Main Boss None (Arena Challenge)
- Next Area
-
The Little Pilgrim
Section titled “The Little Pilgrim”After your encounter with the Chapel Maid, head east to leave the grotto. You’ll soon enter Bone Bottom. The first friendly face you’ll see is the Little Pilgrim, resting by a bench. It’s always a good idea to rest here to heal and set your checkpoint before exploring this perilous new land.

-
Pebb’s Wares
Section titled “Pebb’s Wares”Just past the bench, you’ll find Pebb, a travelling merchant. Before venturing deeper, it’s wise to see what Pebb has to offer. We highly recommend purchasing the Mask Shard. Collecting four of these shards will forge a new Mask, permanently increasing Hornet’s maximum health.
-
The Boneyard Path
Section titled “The Boneyard Path”Once you’re done shopping, continue east. The path will lead you upwards through a boneyard. Clear out any skeletal foes you encounter. When you reach what appears to be a dead end, the only way forward is a drop down into the passage below.
-
Trial of Bones
Section titled “Trial of Bones”At the bottom, head west until you find a section of unstable, crumbling ground. Don’t hesitate—step on it. You’ll fall into a sealed chamber. Prepare for a fight! A wave of enemies will spawn, and you must defeat them all to proceed. Once the last foe falls, the gates will open. Head down again.
-
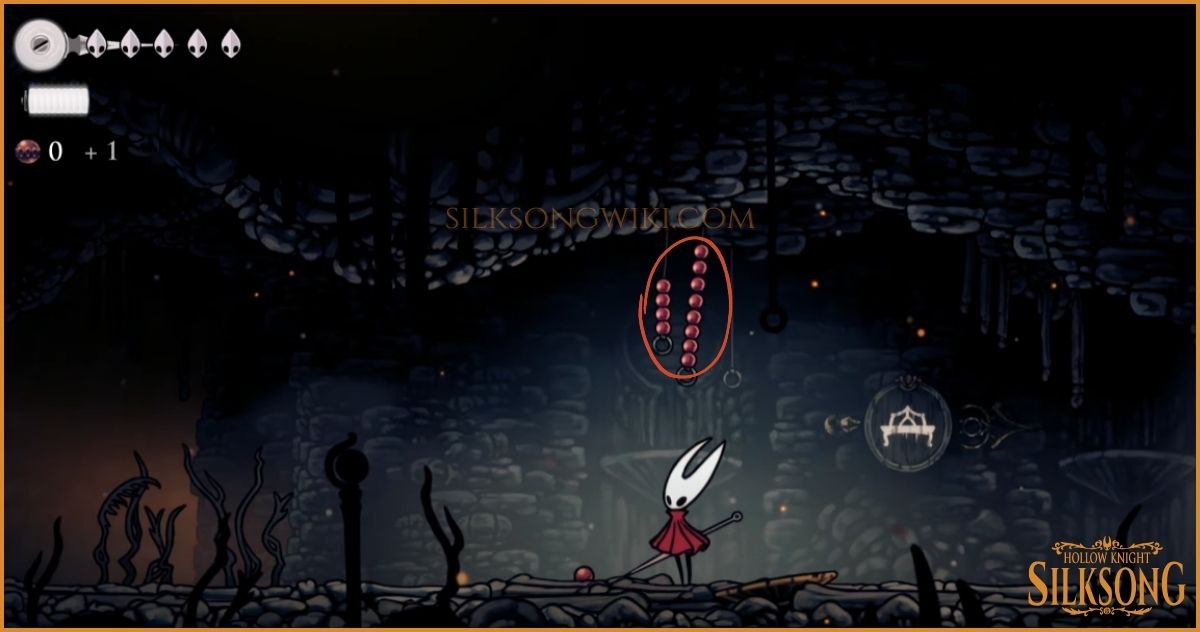
The First Rosary String
Section titled “The First Rosary String”After surviving the trial, head east. Keep an eye out for a glowing Rosary String. Strike it to break it, and it will shatter into valuable Rosary Beads. These are a crucial new resource used to unlock new benches, so make sure to collect them.

-
A Toll for Rest
Section titled “A Toll for Rest”Pressing onward, you will find a dormant, unlit bench. This is a Toll Bench. Interact with it and spend 30 Rosary Beads to activate it permanently. This will save your progress and provide a vital checkpoint before you enter the next dangerous area. Once you’re ready, continue east to reach The Marrow.

Part 3: The Marrow
Section titled “Part 3: The Marrow”Leaving the boneyard behind, you now begin your ascent through The Marrow, a vertical cavern that will test your platforming skills. Your goal is the settlement of Mosshome, which lies at the very top.

- Main Boss None
- Next Area
-
The Ascent Begins
Section titled “The Ascent Begins”Upon entering The Marrow from Bone Bottom, your primary objective is to ascend. The path is largely vertical, so prepare for a climb. Your destination, Mosshome, lies at the peak of this cavern.
-
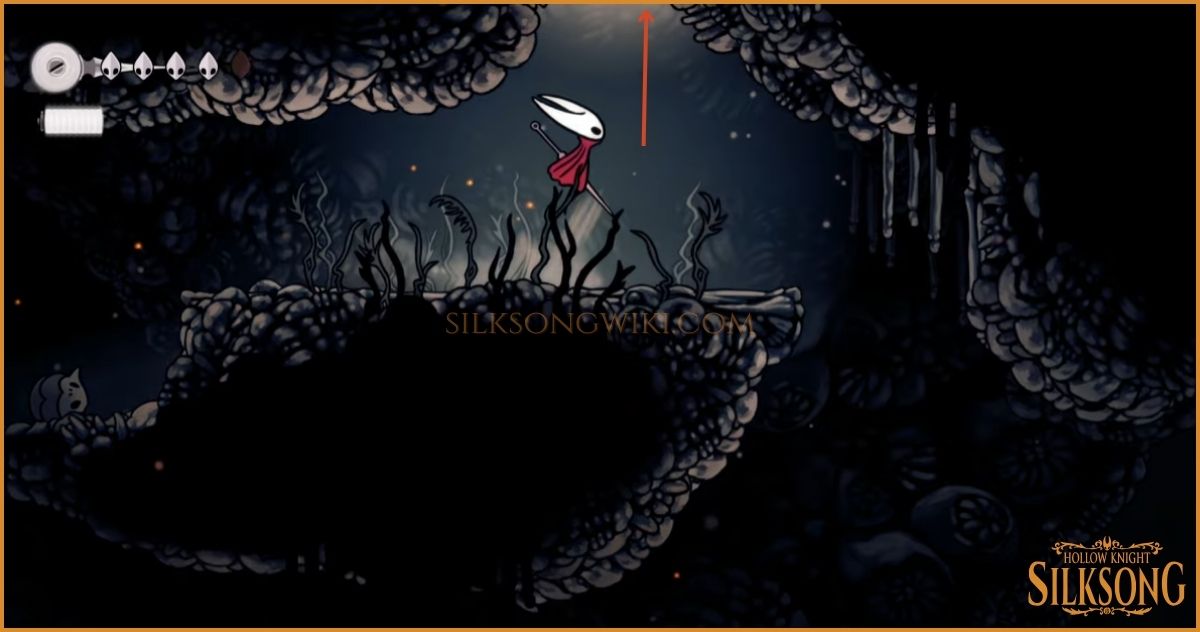
The Vertical Shaft
Section titled “The Vertical Shaft”You’ll know you’re on the right path when you come to a large hole in the ceiling. This shaft serves as the main artery of The Marrow. Leap up through it to reach the upper, more treacherous half of the area.
-
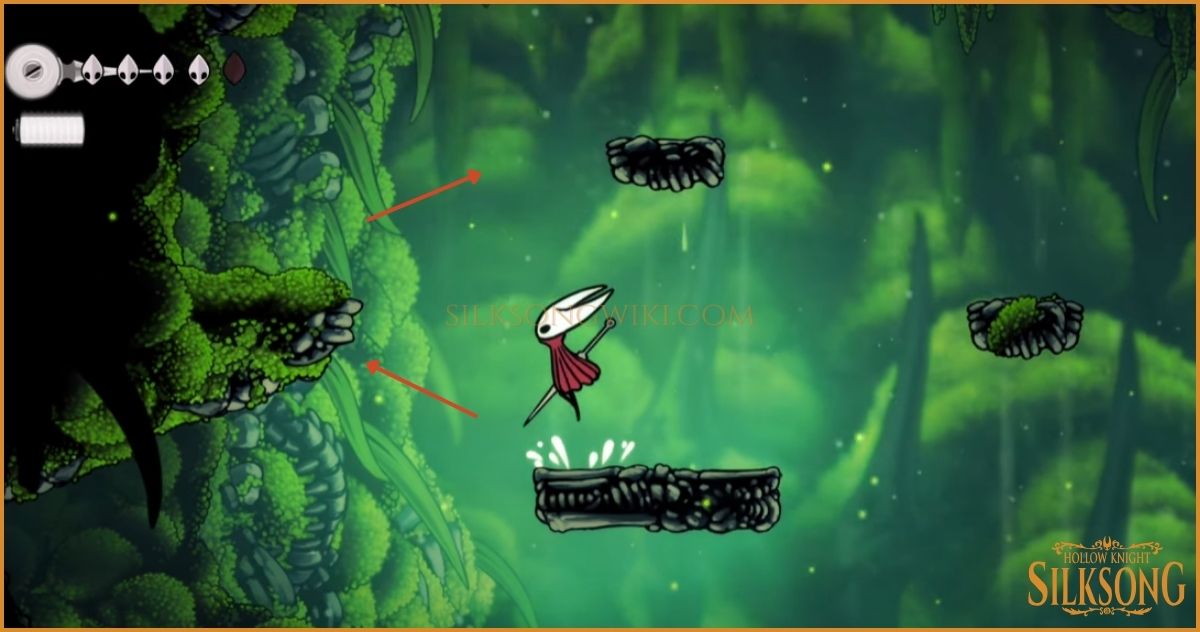
Precarious Platforms
Section titled “Precarious Platforms”This area will test your agility with its shaking platforms. These footholds will crumble and disappear shortly after you land on them, so your movements must be quick and decisive. Time your jumps carefully to avoid a long fall.

-
The Shard Pendant Tool
Section titled “The Shard Pendant Tool”As you climb, you’ll spot a formidable beetle-like enemy guarding an entrance to a small room on the left. Defeat it and head inside. Your reward is the Shard Pendant, a valuable Tool. When equipped, it increases the amount of Shell Shards dropped by enemies, making it essential for farming currency.
-
The Path to Mosshome
Section titled “The Path to Mosshome”After acquiring the pendant, exit the room and continue your ascent. The climb will eventually lead you to a distinct pathway, signaling your approach to Mosshome. Head inside to enter the transitional area.
-
A Hidden Stash
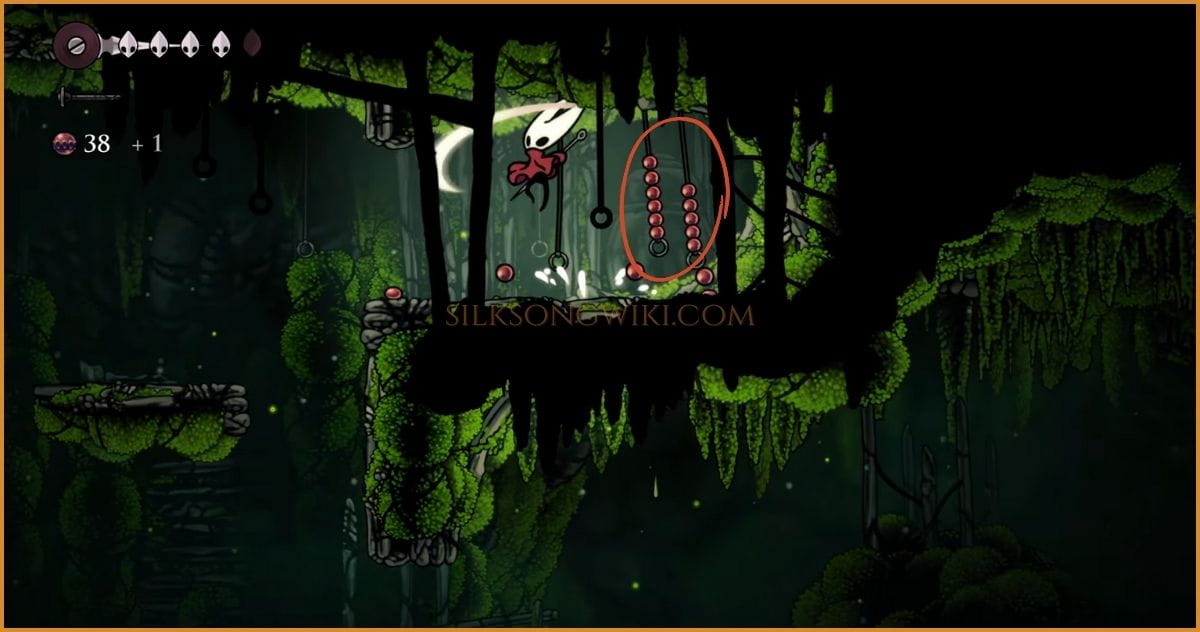
Section titled “A Hidden Stash”Once you enter this new passage, before heading west towards your goal, take a quick detour by dropping down. You’ll find a small chamber with several skulls wrapped in Rosary Strings. Break them to collect a handsome amount of Rosary Beads!

-
The Map Maker’s Tune
Section titled “The Map Maker’s Tune”After collecting the beads, head west. As in any new land, a map is your most valuable asset. Listen closely for a humming tune and look for scattered papers to find Shakra, the map maker. For a small price in Rosary Beads, you can purchase a map of The Marrow. Don’t miss her!

-
Levers and Pulleys
Section titled “Levers and Pulleys”With map in hand, proceed west to finally reach Mosshome. You’ll immediately notice that progress is blocked by a series of inactive pulleys. Your next task will be to explore this new area to find and activate the levers that control them.
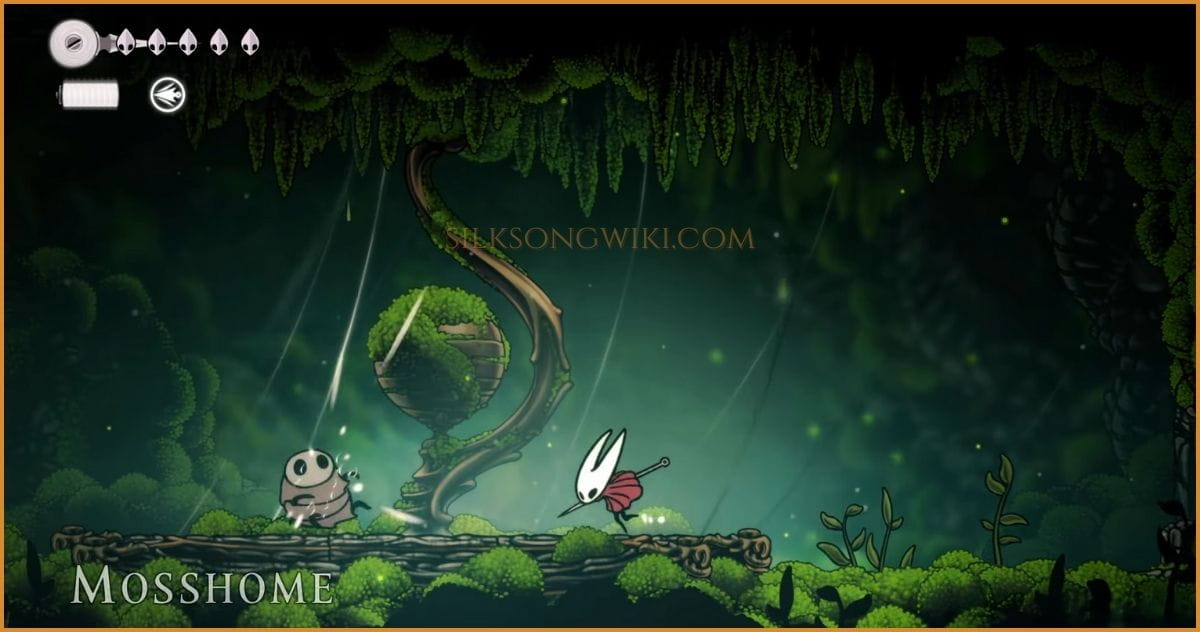
Part 4: Mosshome
Section titled “Part 4: Mosshome”You’ve arrived at Mosshome, the first proper settlement on your pilgrimage. This verdant hub is key to unlocking the wider world. Your main goal here is to find a new ability, the Silkspear, which is required to free a colossal, trapped creature known as the Bell Beast.
- Main Boss Bell Beast
- Next Area
-
Welcome to Mosshome
Section titled “Welcome to Mosshome”Your primary goal in this area is to reach the spider effigy that will grant you the Silkspear skill. This powerful new ability is the only thing that can break the thick silk barriers blocking your path, including the one trapping the Bell Beast.
-
Snail Sentries
Section titled “Snail Sentries”As you enter Mosshome proper, proceed west by climbing the nearby platforms. Be wary of the new snail-like creatures that spit corrosive green orbs. A good strategy is to bait out their attack, then quickly jump or dash onto their platform during their brief cooldown to strike.

-
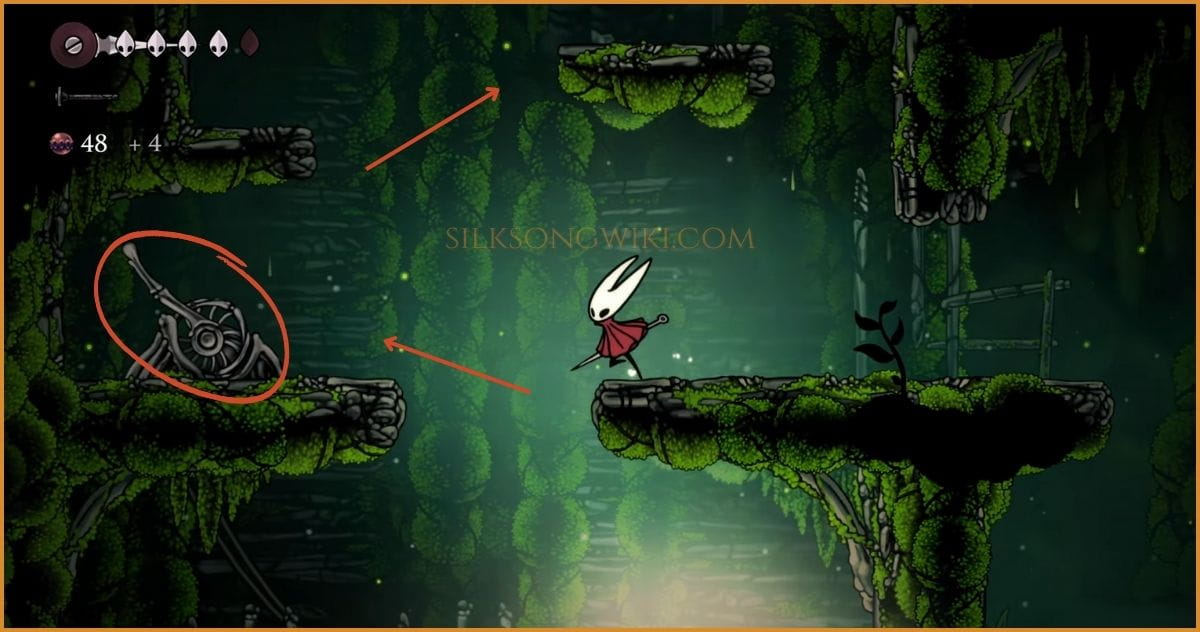
Levers and Loot
Section titled “Levers and Loot”Before proceeding to the upper levels, hit the lever you encounter. This will activate a helpful shortcut below for later use.
-
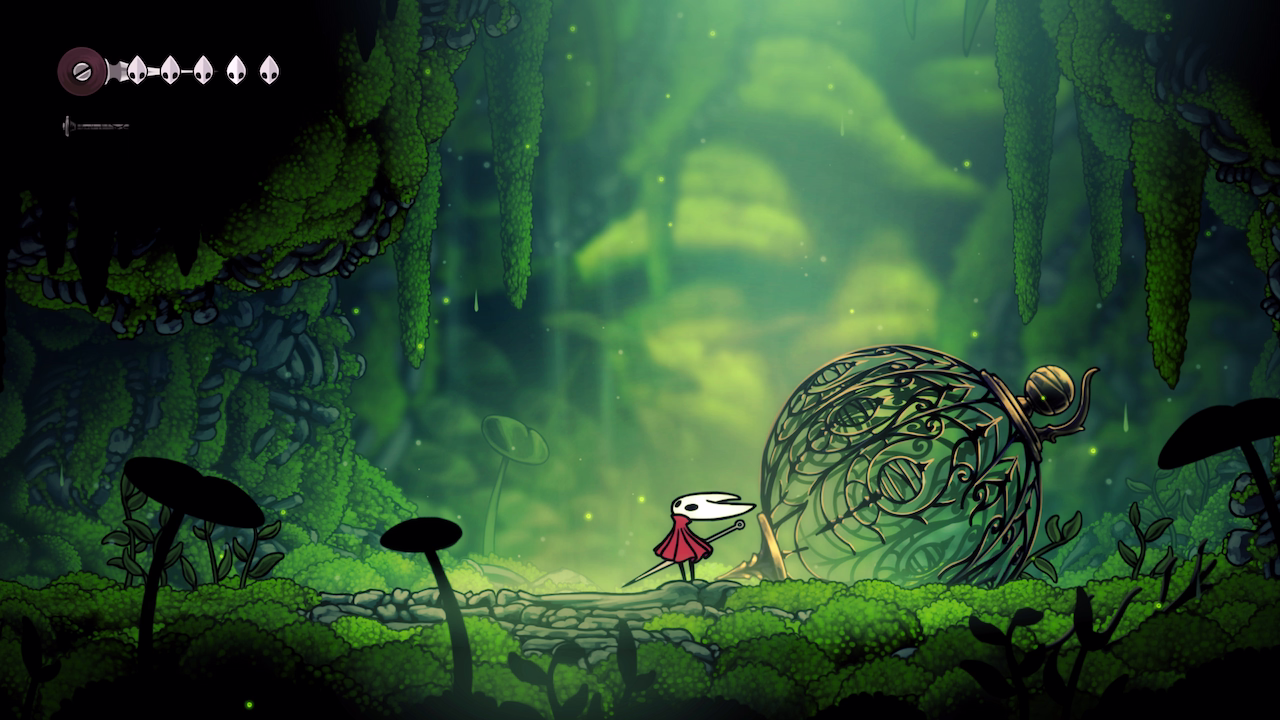
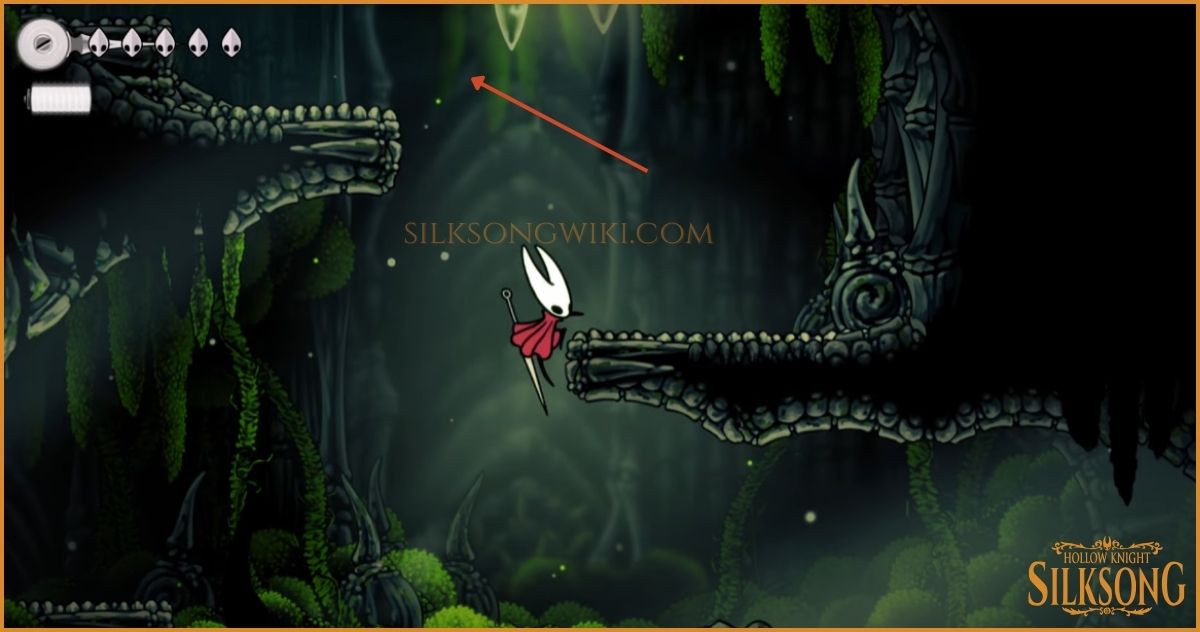
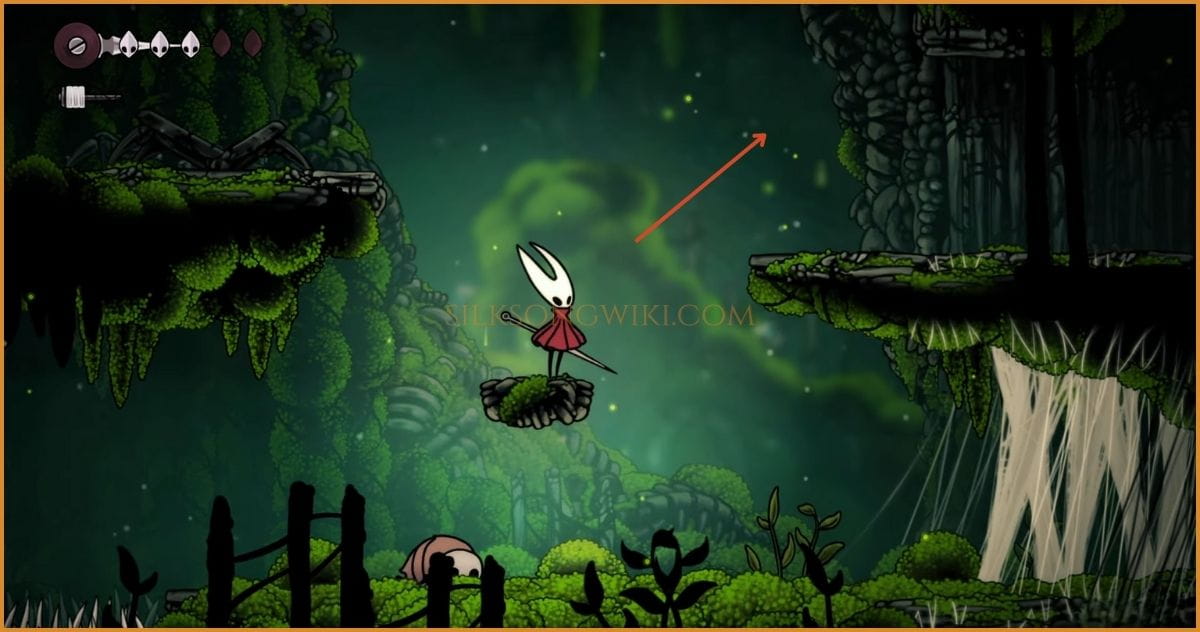
Silk Barrier
Section titled “Silk Barrier”As you continue, your path will be blocked by a thick wall of silk. You can’t break this yet. The image below shows the barrier and the direction you need to go.
-
The Spider Effigy
Section titled “The Spider Effigy”Head into the room directly above the silk wall. Inside, you will find a glowing spider effigy. Interact with it to absorb its power and unlock the Silkspear ability—a swift, powerful forward thrust perfect for shattering obstacles.
-
The Moss Druid
Section titled “The Moss Druid”With your new skill, return to the silk-blocked path and shatter it with the Silkspear. This leads to a new chamber where you’ll meet the Moss Druid NPC, who will offer you the Berry Picking quest. Before you leave, rest at the bench to save your progress. Your next objective is to backtrack to the entrance of Mosshome, so drop down the nearby hole to make your way back.
-
Freeing the Bell Beast
Section titled “Freeing the Bell Beast”Return to the area near Mosshome’s entrance and find the chamber holding the captive Bell Beast.

-
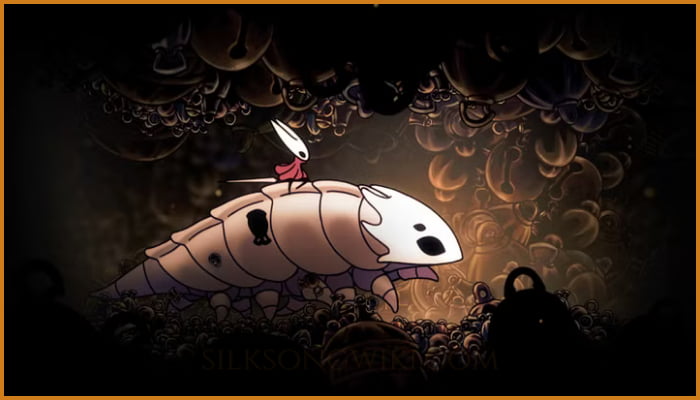
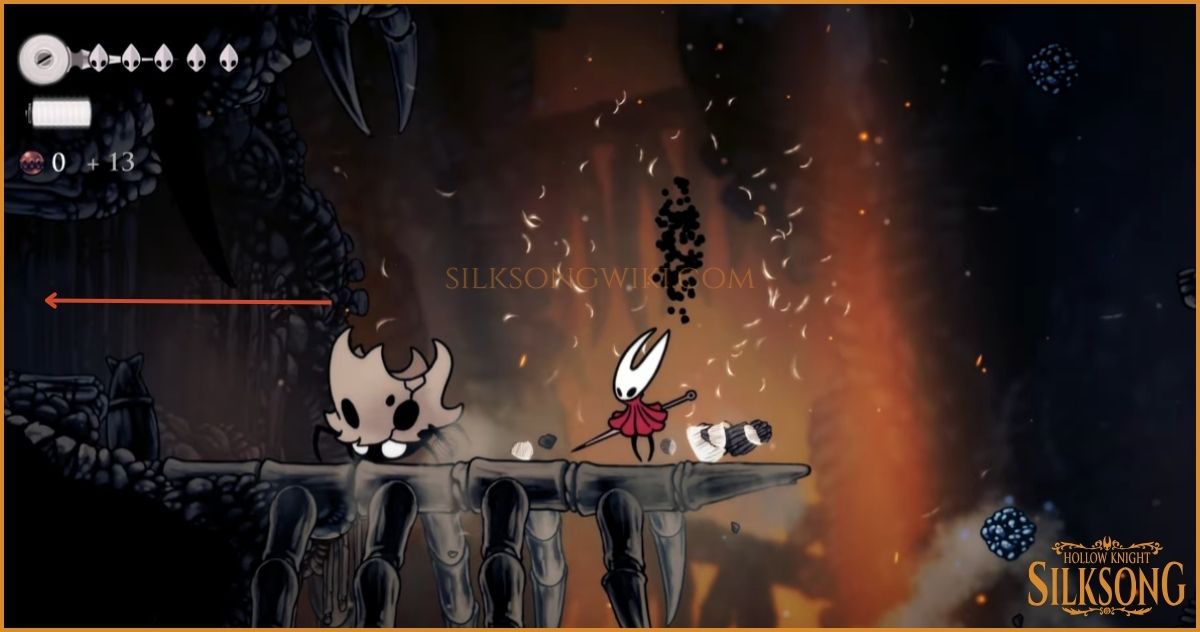
Boss Fight: Bell Beast
Section titled “Boss Fight: Bell Beast”Freeing the beast does not tame it! As soon as it’s loose, it will turn on you, triggering a major boss fight. The Bell Beast uses its immense size and powerful sonic attacks to control the arena. Stay mobile and strike when you see an opening.
-
A Kingdom Connected
Section titled “A Kingdom Connected”Upon its defeat, the Bell Beast is pacified. A Silk Heart from your inventory will be consumed, and in return, the beast will serve you, unlocking the Fast Travel system! You can now ride the Bell Beast between discovered Bell Stations. Your first journey will take you straight back to Bone Bottom.