
Courier’s Rasher Quest (Path)
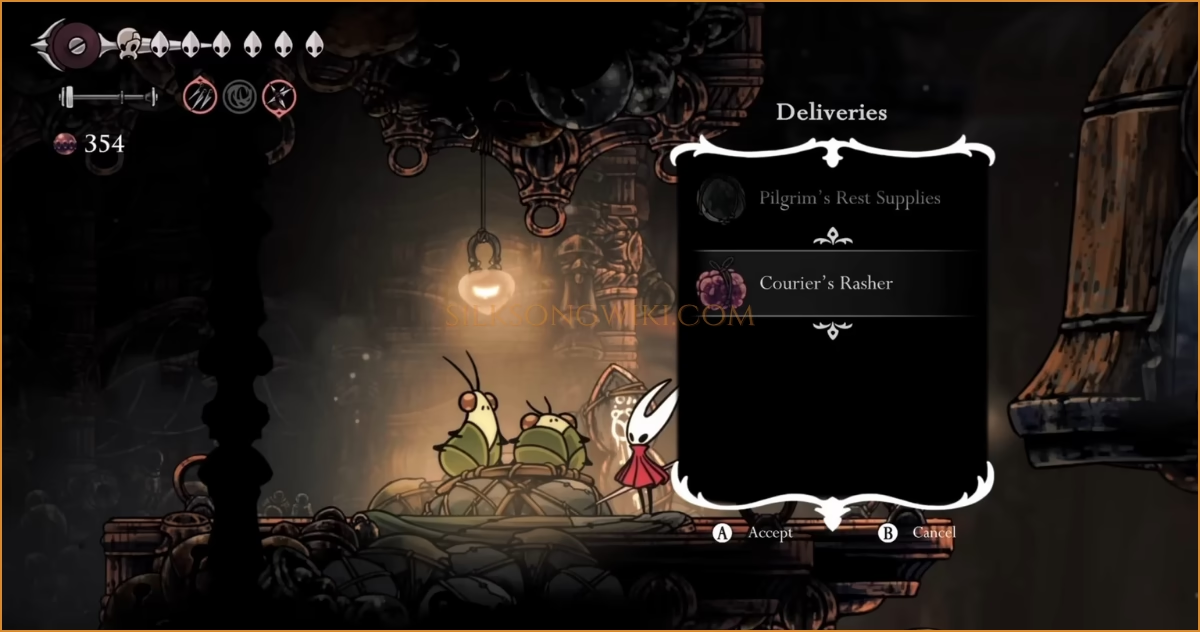
Courier’s Rasher is a Delivery Quest tied to The Great Taste of Pharloom. After rescuing the courier brothers in My Missing Courier and My Missing Brother, speak to Tipp & Pill in Bellhart to receive the Courier’s Rasher and deliver it to Loyal Mergwin in the Choral Chambers.
 Quest Overview
- Quest Type: Delivery (Side Quest)
- Objective: Carry the Courier’s Rasher from Bellhart to Loyal Mergwin (Choral Chambers)
- Prerequisites: Complete My Missing Courier and My Missing Brother
- Recommended Abilities: Clawline, Faydown Cloak
- Constraints: No Bellway fast travel; avoid taking damage; delivery is time-sensitive
How to Start
Section titled “How to Start”After finishing both prerequisite quests, find Tipp & Pill on the upper platform above Frey’s shop in Bellhart and accept Courier’s Rasher.
The delivery begins as soon as you take the parcel—no fast travel allowed and damage degrades the package.
Recommended Route & Prep
Section titled “Recommended Route & Prep”- Route (safe & fast): Bellhart → Shellwood → Blasted Steps → Grand Gate → Choral Chambers → Loyal Mergwin.
- Build: speed and mobility (e.g., Silkspeed Anklets, Flea Brew); plan Clawline grapples and Faydown double jumps in advance.
- Shortcuts: Open levers/doors on this path before attempting a serious run.
Walkthrough (Bellhart to Loyal Mergwin)
Section titled “Walkthrough (Bellhart to Loyal Mergwin)”-
Bellhart Exit
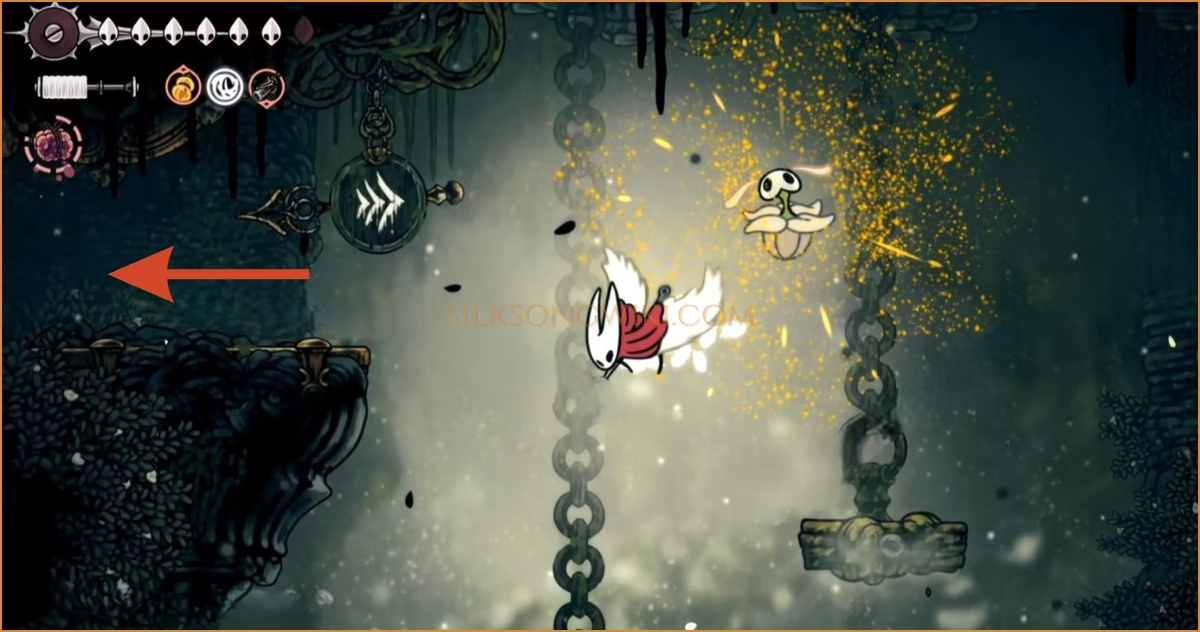
Section titled “Bellhart Exit”Leave Bellhart toward Shellwood; expect early enemies along the path—prioritize no-hit movement over combat.
-
Entering Blasted Steps
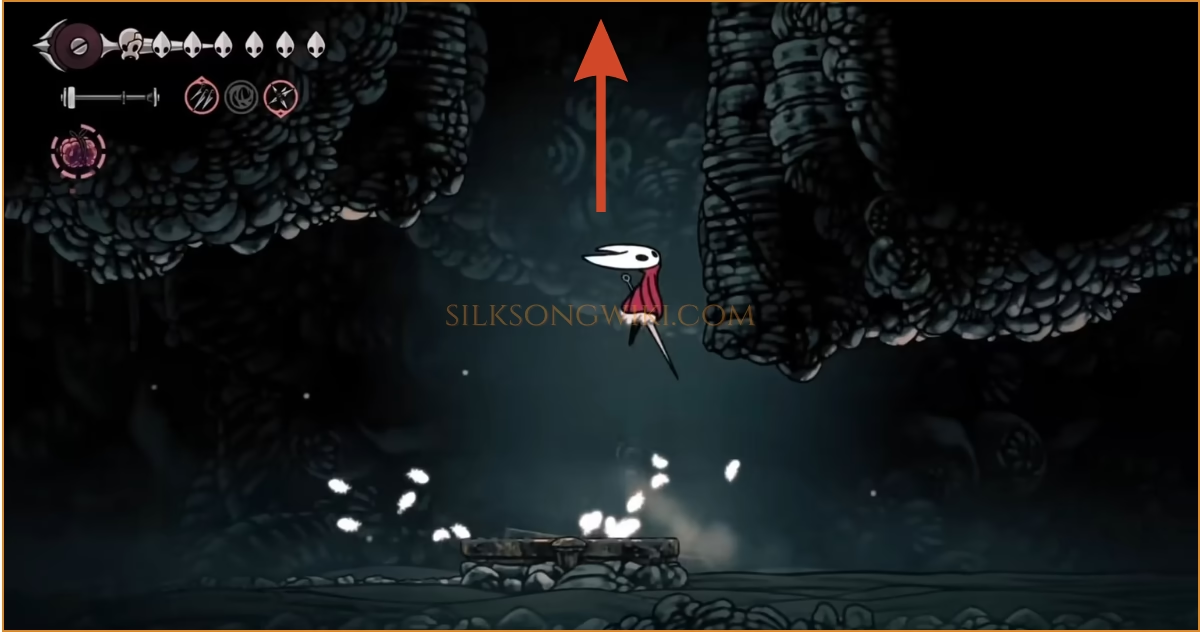
Section titled “Entering Blasted Steps”Reach Blasted Steps and drop through the first opening to commit to the ascent route.
-
Unlock the Shortcut
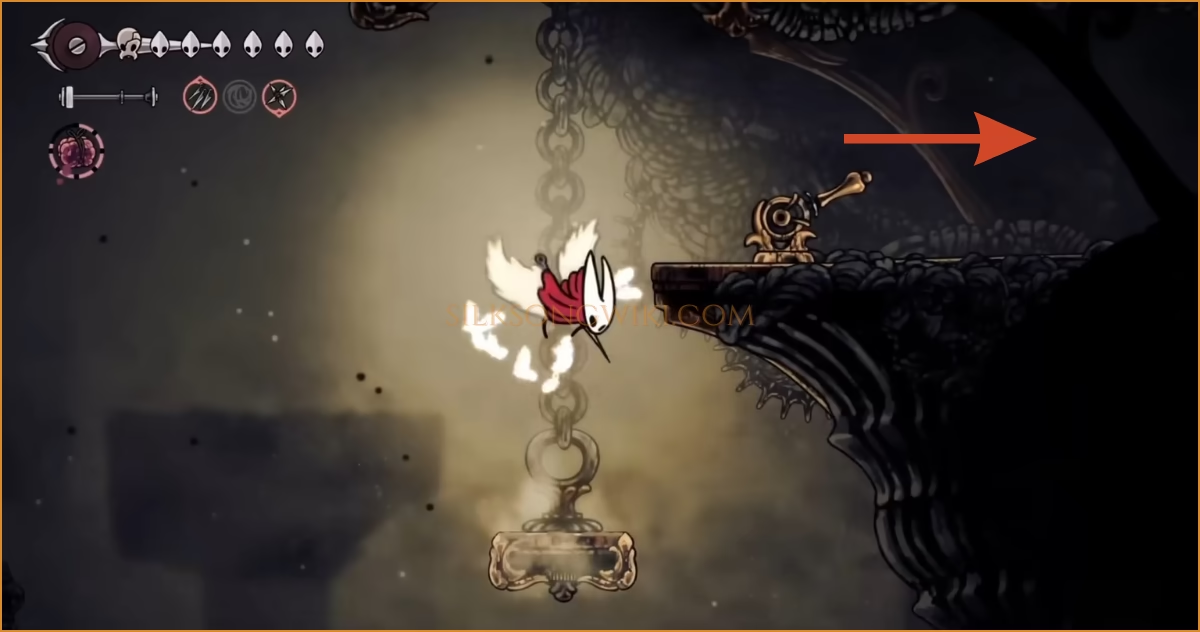
Section titled “Unlock the Shortcut”Take the brief right-side detour to pull the lever and enable a time-saving shortcut for retries.
-
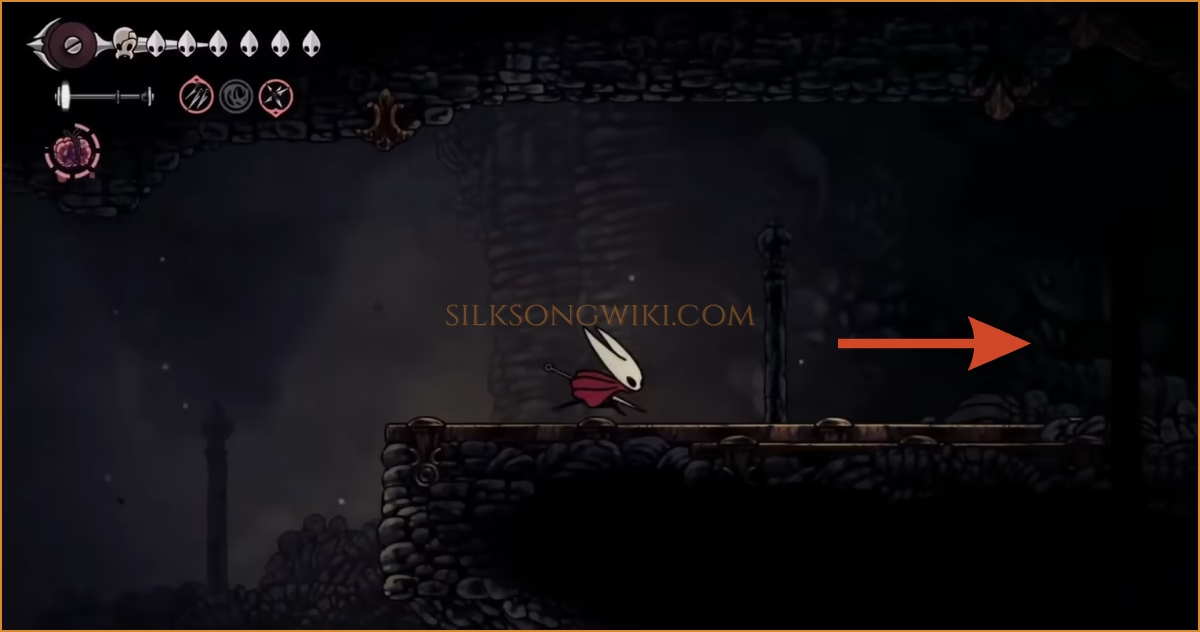
Push Right Through the Caverns
Section titled “Push Right Through the Caverns”From the shortcut, continue right; keep your momentum and avoid unnecessary fights.
-
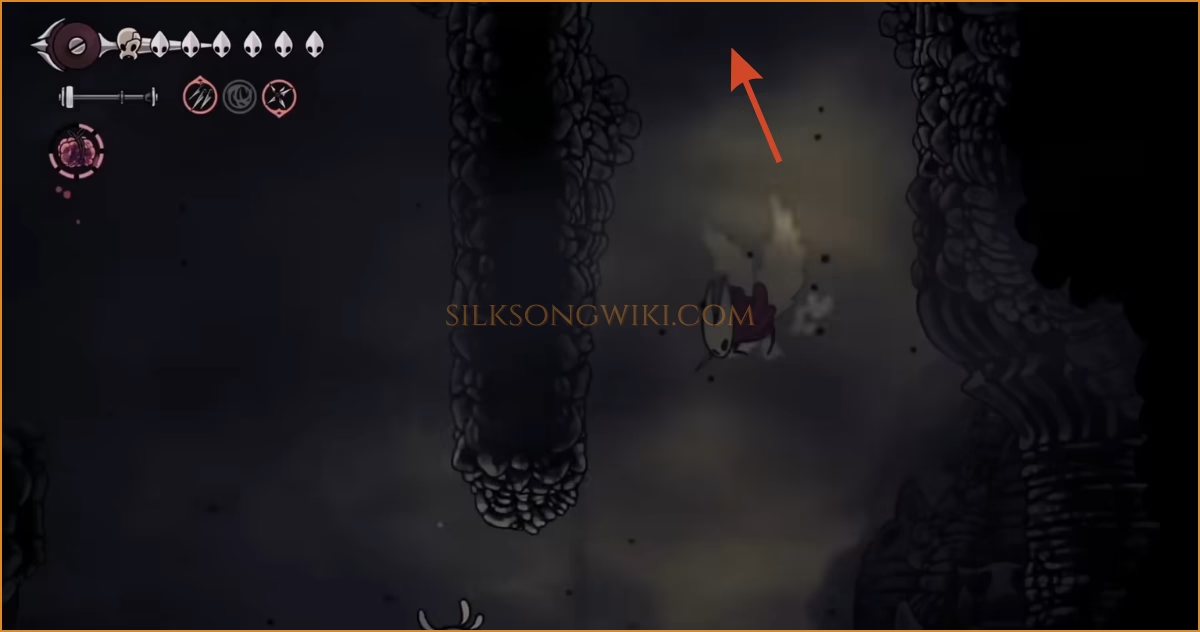
Vertical Hops
Section titled “Vertical Hops”Use careful jumps and wall work to climb; keep the parcel safe while threading tight platforms.
-
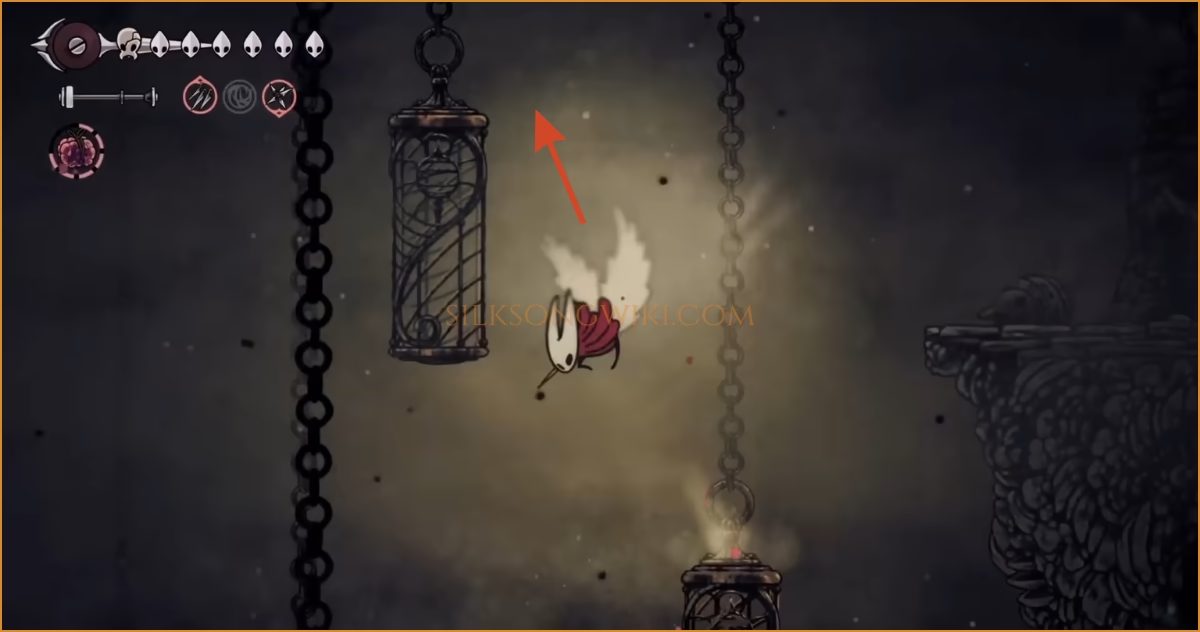
Bell Bounces
Section titled “Bell Bounces”Pogo/bounce across the bells to reach higher ledges; time your swings to avoid grazes.
-
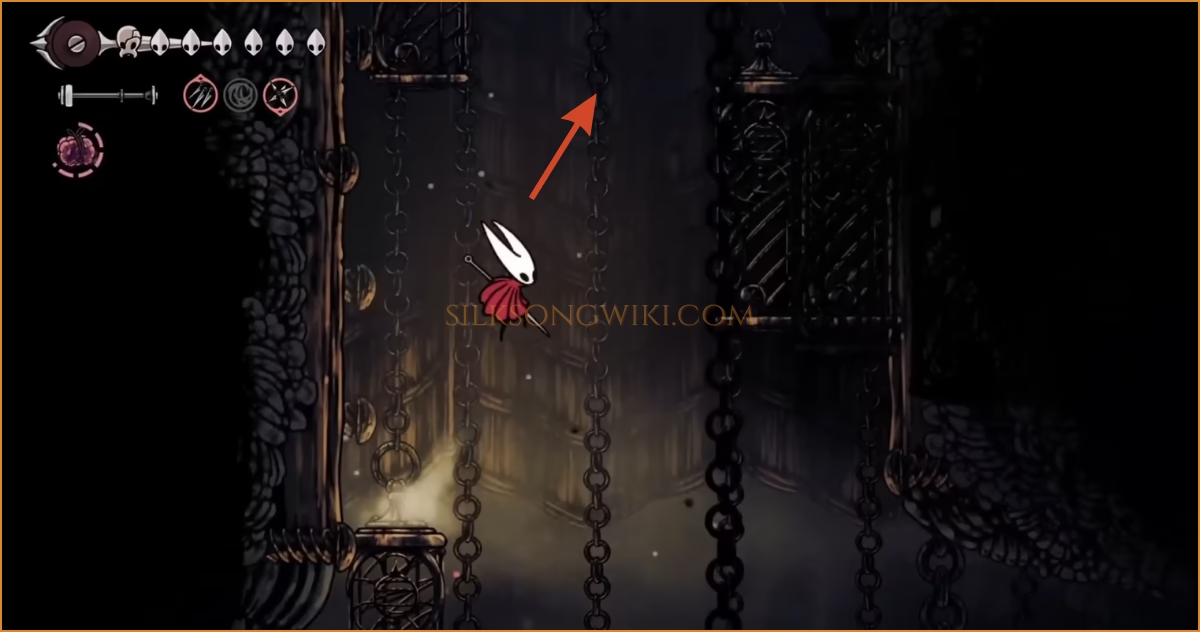
Cage Leap to the Right
Section titled “Cage Leap to the Right”Commit to the rightward cage jump to line up for the final Blasted Steps push.
-
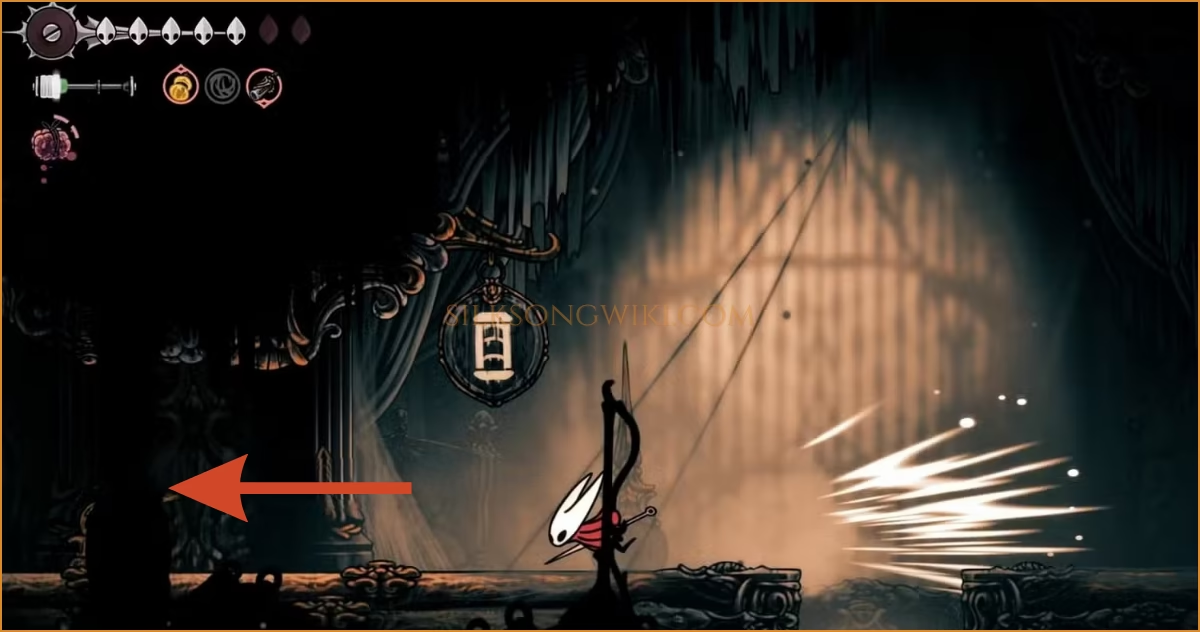
Ventrica Chamber — Hidden Left Route (1/3)
Section titled “Ventrica Chamber — Hidden Left Route (1/3)”In Choral Chambers’ lower approach, favor the left-side shortcut chain for fewer enemies.
-
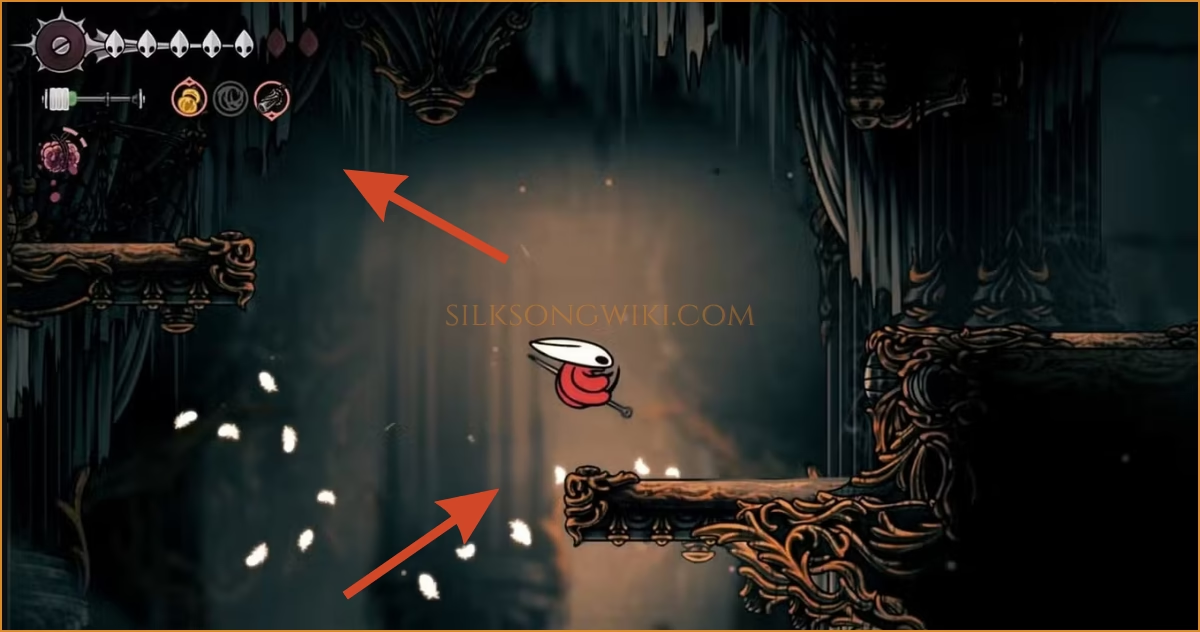
Ventrica Chamber — Hidden Left Route (2/3)
Section titled “Ventrica Chamber — Hidden Left Route (2/3)”Continue along the left path; it’s narrower but calmer under time pressure.
-
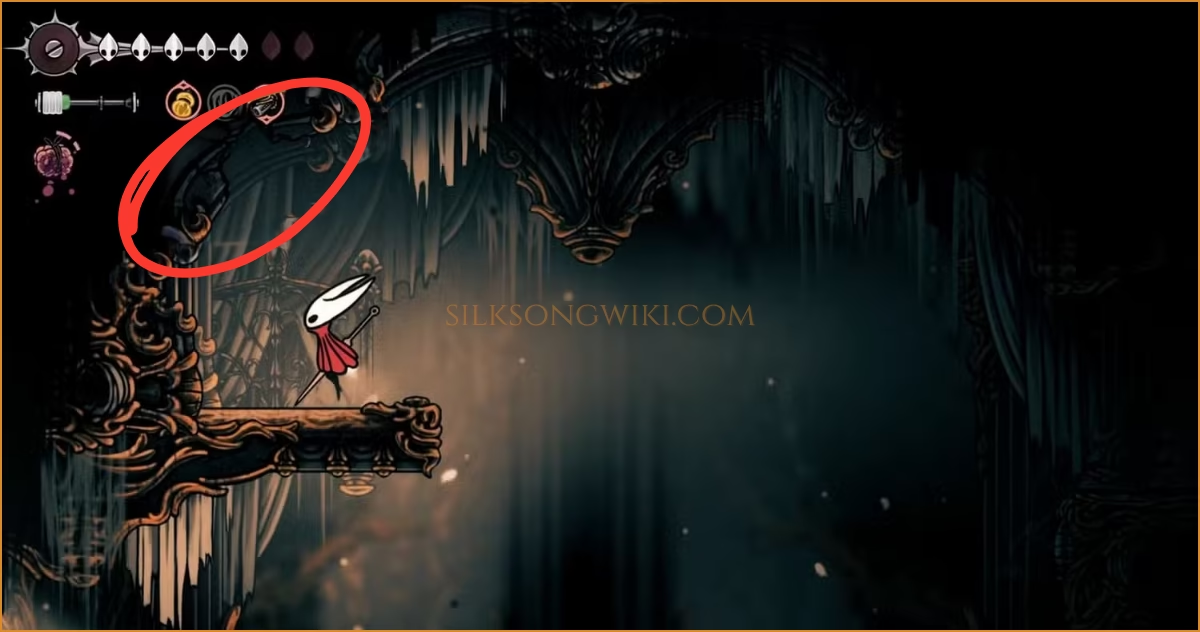
Ventrica Chamber — Hidden Left Route (3/3)
Section titled “Ventrica Chamber — Hidden Left Route (3/3)”Finish the left shortcut chain to pop out near the upper exits toward the Citadel spa link.
-
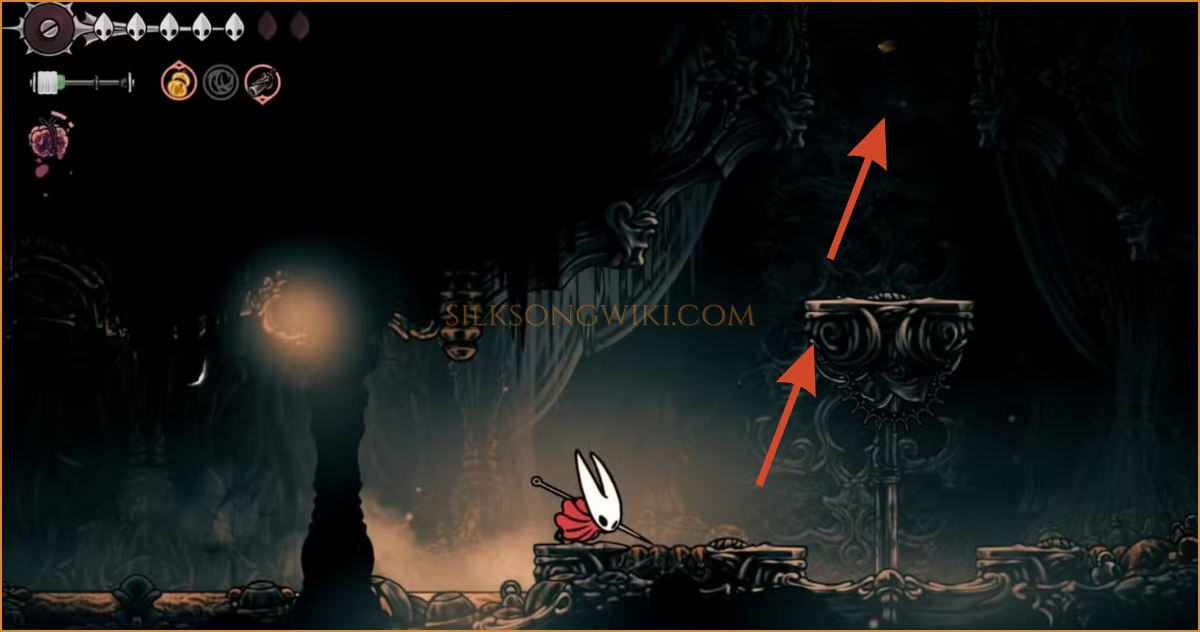
Toward Loyal Mergwin
Section titled “Toward Loyal Mergwin”With the left route complete, angle westward through the baths corridor toward Mergwin’s hall.
-
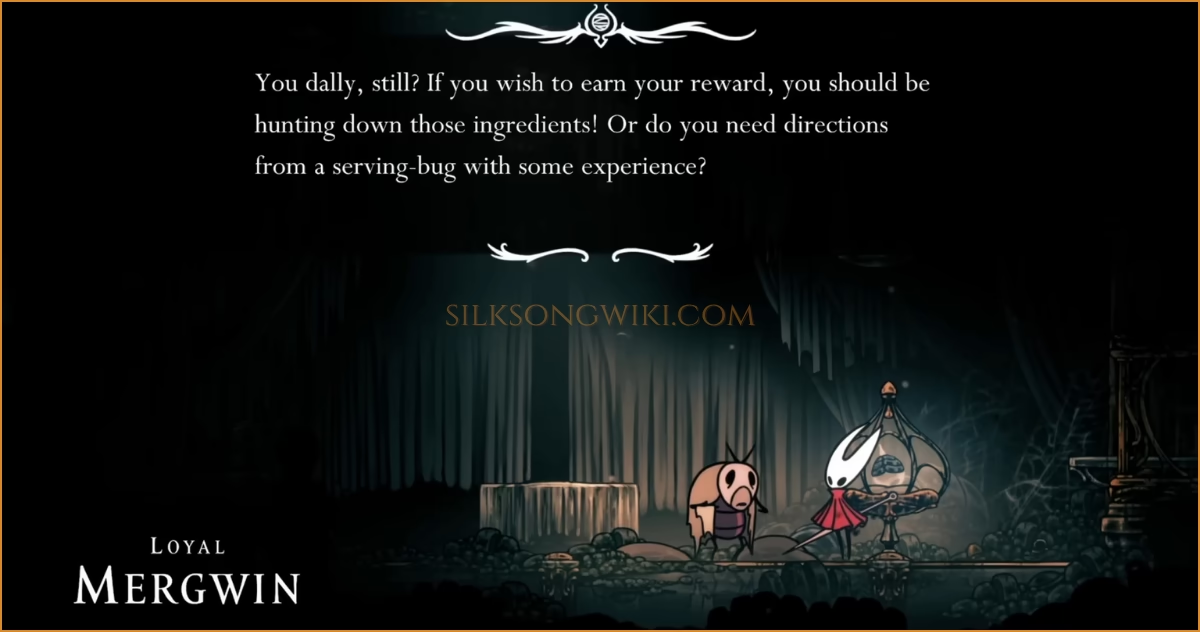
Turn-In
Section titled “Turn-In”Speak to Loyal Mergwin to hand over the Courier’s Rasher and update The Great Taste of Pharloom objective.
Tips for a Successful Run
Section titled “Tips for a Successful Run”- Go clean: Clearing enemies beforehand helps, but don’t rest at benches you’ll pass during attempts (it resets spawns).
- Use the map menu: Opening the menu map pauses the timer; plan your next room there.
- Mind collisions: Sprinting head-first into walls counts as parcel damage—feather inputs near edges.
- If you fail: Return to Tipp & Pill in Bellhart and restart. Consider re-opening missed shortcuts or lever doors first.
After this ingredient, your next target in The Great Taste of Pharloom is often the Crustnut. Routes differ—prepare supplies.