
Groal the Great Boss Guide (+How to Cheese)
Groal the Great is a giant, frog-like boss hidden at the top of Bilewater. This entire encounter is designed to test your endurance, combining a brutal runback and a tough enemy gauntlet with the boss itself.
There are two very different ways to approach this fight: an easy “cheese” method that uses the arena to your advantage, or the standard, reflex-based fight. This guide will cover both, starting with the easy method.
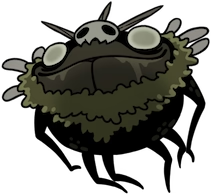
Groal the Great
Location: Bilewater / Bilehaven
Rewards: Access to Bilehaven (Seeker's Soul)

Location & The Runback
Section titled “Location & The Runback”Groal is located in Bilehaven, at the very top of the Bilewater region. Getting there is a challenge in itself, and the runback is notoriously difficult.
- Path: From the bench in Bilewater, you need to begin a long ascent. This involves using pogo jumps and your Clawline on a series of enemies and objects to climb upwards.
- The Challenge: This runback is punishing. Taking damage here means starting the pre-boss gauntlet with less health and silk. The goal is to get through the climb as cleanly as possible. Patience is key.
Loadouts & Preparation
Section titled “Loadouts & Preparation”This build focuses on countering Groal’s main attacks and surviving the gauntlet.
Required Ability
Section titled “Required Ability”- Ability: Faydown Cloak (Double Jump) - It is highly recommended that you go to Mount Fay and get the double jump ability before attempting this fight. It makes the runback and the fight itself significantly more manageable.
Recommended Loadout
Section titled “Recommended Loadout”- Crest: Reaper Crest - Consistent pogo jumps are key for both the gauntlet and the boss. The Reaper Crest’s wide pogo slash is your best friend here.
- Tools:
- Voltvessels: This is the hard counter to Groal’s most dangerous attack, the Vacuum Suck. A must-have for the standard strategy.
- Cogfly: A great tool for automatically dealing with the extra enemies that spawn during the gauntlet and the main fight.
- Injector Band: Groal doesn’t give you many long healing windows. This tool lets you heal much faster.
- Druid’s Eye: You’ll likely take small hits from summoned enemies. This tool passively builds silk when you take damage, which is very useful.
- Magnetite Dice: A utility tool that gives you a random chance to negate damage. Can be a lifesaver.
The Pre-Boss Gauntlet
Section titled “The Pre-Boss Gauntlet”Before Groal even appears, you must survive five waves of enemies in the arena. Getting through this with full health is arguably the hardest part of the whole encounter.
-
Wave 1: 2x Stilkin Stay on the far-right platform. This will bait both of them to surface right below you. You can then pogo on both of them easily to clear the wave quickly.
-
Wave 2: 2x Stilkin Trapper Stay directly on top of them with pogo jumps to avoid their pin attacks. As soon as this wave ends, a Spike Ball will swing from the ceiling, so immediately hug a corner to stay safe.
-
Wave 3: 3x Swamp Squit These enemies explode when they die. Avoid fighting them in the corners to give yourself room to escape the explosions.
-
Wave 4: 1x Stilkin + 1x Stilkin Trapper Before the wave starts, get on the left platform. This lets you immediately kill the Stilkin Trapper while the regular Stilkin is too far away to hit you. Hug the corner again afterwards to avoid the Spike Ball.
-
Wave 5: 2x Swamp Squit + 1x Stilkin Trapper Pogo on the closest Swamp Squit to get airborne, then immediately target and eliminate the Stilkin Trapper.
How to Beat Groal the Great
Section titled “How to Beat Groal the Great”This is the intended way to fight Groal, focusing on reflexes and countering each move directly.
-
Counter the Vacuum Suck When Groal opens its mouth and starts inhaling, immediately throw a Voltvessel at it. This will instantly interrupt the attack, stun Groal for a moment, and deal good damage. If you don’t have a Voltvessel, you must dash and use your Clawline to escape the pull.
-
Pogo for Damage Your main source of damage will be pogoing on Groal’s large body. The best opportunity is during its Poison Spit attack. If you position yourself well, you can stay on top of it and land multiple hits while it’s locked in the spitting animation.
-
Know When to Heal The best and safest time to heal is when Groal dives into the water for its Dive & Resurface attack. The animation is long, giving you plenty of time to bind safely.
-
Dodge the Projectiles & Summons For the Soul Projectiles, lure the shots high by jumping just before it fires. For the summoned adds, get above them as they emerge from the water and pogo them for extra silk.
How to Cheese Groal the Great (Easy Method)
Section titled “How to Cheese Groal the Great (Easy Method)”You can avoid most of Groal attacks by using the poison water at the bottom of the arena as a safe zone. This makes the fight much, much easier.
-
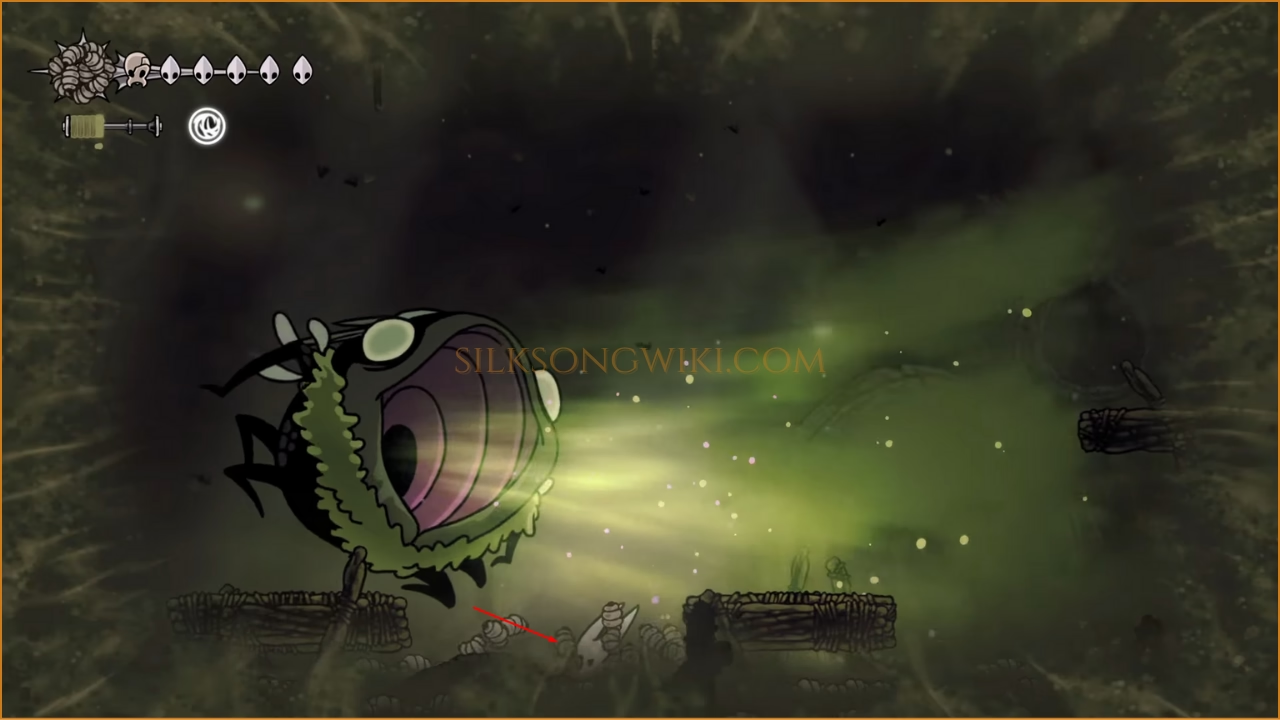
Dodge the Vacuum Suck in the Water When Groal starts its suck attack, just drop into the water and wait in a corner. The pull isn’t strong enough to affect you down there.
-
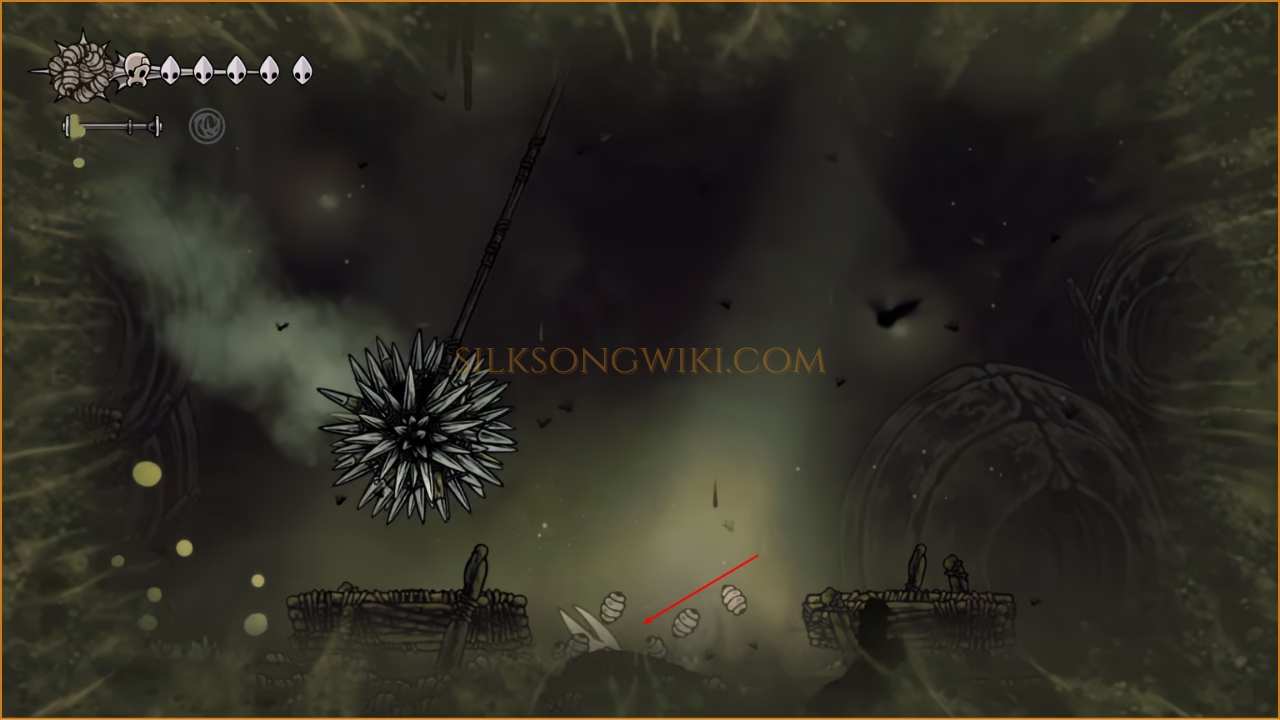
Dodge Traps and Summons in the Water The periodic Spike Ball trap can’t hit you if you’re submerged. When Groal summons enemies, just stay in a corner in the water; their attacks won’t reach you.
-
Dodge the Soul Projectiles in the Water When Groal starts firing its white projectiles in the final phase, how do you avoid them? You guessed it: just stay in the water.

-
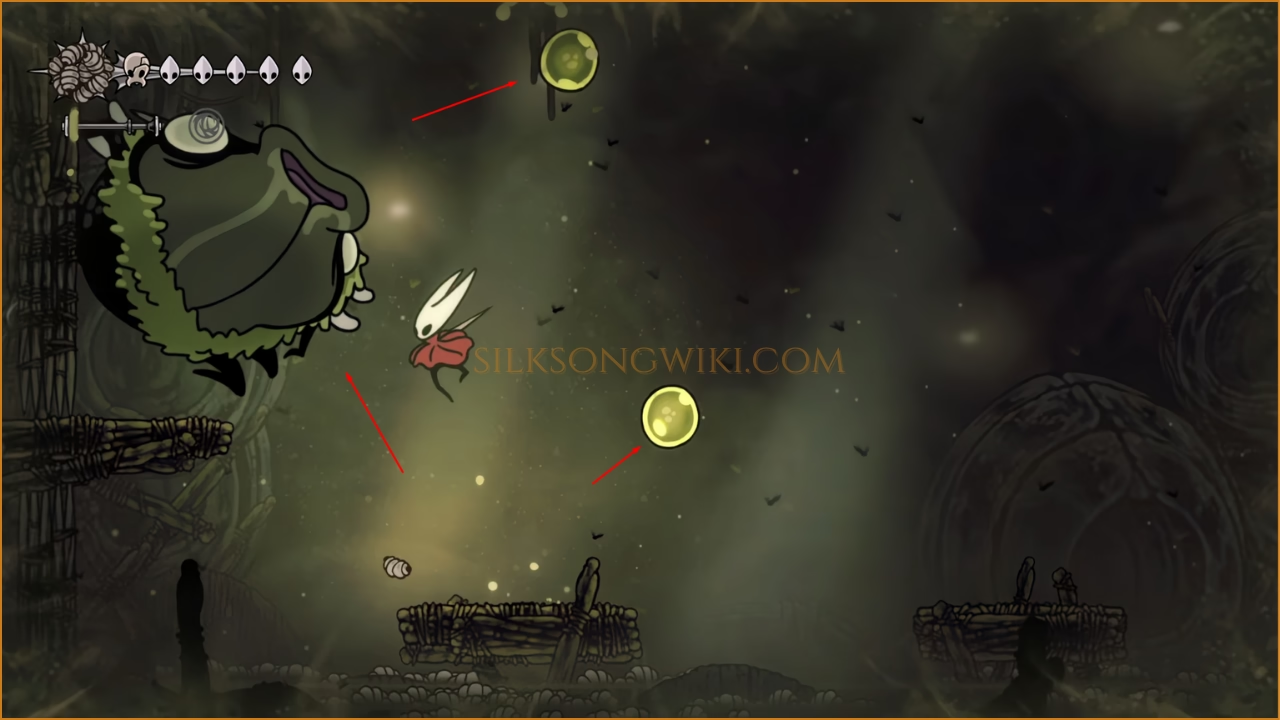
Attack During the Poison Spit Your main (and safest) time to attack is when Groal is spitting poison balls. It’s locked in place, so you can jump out of the water, get on top of it, pogo a few times, and then drop back into the safety of the water.
Attack Patterns & Counters
Section titled “Attack Patterns & Counters”Here are Groal’s main moves.
Groal spits out large green orbs that explode on contact or after one bounce.
Counter: You can hit the balls back at it, but the best strategy is to get above Groal and pogo on its head while it’s stuck in the spitting animation.
Groal dives into the water and reappears somewhere else, usually near your location.
Counter: This is your main window to heal or set up tools. Just make sure you aren’t standing right where the green particles indicate it will resurface.
Groal opens its mouth and creates a powerful vacuum, pulling you in.
Counter: The hard counter is to throw a Voltvessel at it, which cancels the attack. If you don’t have one ready, you need to dash and use your Clawline away from it to resist the pull.
Groal glows white and shoots up to three horizontal soul projectiles, similar to the Knight’s Vengeful Spirit.
Counter: Lure the shots high by jumping just before it fires, then dash. Wall jumps give you more control to dodge the projectiles.
After diving, two fountains of goop may appear, spawning enemies from the pre-boss gauntlet.
Counter: Get out of the way of the spawn spots. The best way to deal with the new enemies is to get above them and pogo them for silk as they emerge.
Periodically, a chain snap sound is heard, and a giant spike ball swings across the entire arena.
Counter: Listen for the sound cue. Wait about half a second, then do a simple jump over the ball as it swings by.
Groal the Great Rewards
Section titled “Groal the Great Rewards”- Reward: Access to Bilehaven - While the boss itself is optional, defeating Groal is the only way to access the rest of the Bilehaven area. This area contains the Seeker’s Soul, a key item needed to access Act 3 of the story, and a path to the Putrefied Ducts where you can find the Key of Apostate. So, you’ll probably want to beat him eventually.