
Lost Lace Boss Guide (How to Beat the Void's Grip)
Let’s be clear: Lost Lace is more than just a boss. She’s the tragic, void-twisted version of Lace, and she serves as the brutal final challenge of Act 3. Found deep in The Abyss, this fight is a true test of everything you’ve learned, pitting you against a relentless, teleporting foe who commands the very shadows around you. Her goal is to capture you to save her kingdom, which makes this entire battle feel incredibly personal and intense.
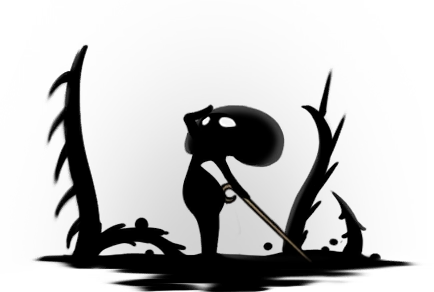
Lost Lace
Location: The Abyss
Rewards: Lace's Freedom (Cutscene), Access to Post-Game Content

How to Unlock the Lost Lace Fight
Section titled “How to Unlock the Lost Lace Fight”Getting to Lost Lace is a journey in itself. It’s the culmination of a massive questline, so you’ll need to have done a lot in Pharloom before you can face her.
-
Clear the Boards First, you need to clear out every single wish on the wish boards across the world, including the ones in the Citadel.
-
Save the Fleas You’ll have to find and rescue all the Lost Fleas so the Flee Caravan can finally make it to Fleatopia.
-
Find the Key Make sure you’ve acquired the Bellhome Key.
-
Beat the Game (Sort of) You need to defeat the main story boss, Grand Mother Silk, for the first time.
-
Get the Trap After that, head back to the Caretaker. He’ll give you a new quest for a special trap.
-
Round Two with Grandma Go back to Grand Mother Silk and beat her a second time. Once she’s down, use your Needolin to activate the trap you received.
-
Welcome to Act 3 Activating the trap unlocks Act 3. Now you can finally make your way down into The Abyss.
-
The Final Walk From The Abyss Bench (South), just head straight to the right. She’ll be waiting.
Build & Preparation
Section titled “Build & Preparation”Lost Lace is all about speed and overwhelming you with attacks. A good build should give you consistent damage without forcing you to be in her face, and enough survivability to withstand a long, tough fight.



Lace loves to dash around on the ground. Make her regret it. Scattering Tacks across the floor is a fantastic way to get in free, passive damage.

Another source of “fire and forget” damage. Let your little buddy chip away at her health, especially in the chaotic later phases when you need to focus 100% on dodging.

This makes your Tacks and Cogfly inflict poison. It’s a massive damage-over-time boost that really adds up in a long fight.

Finding a safe moment to heal can feel impossible. Warding Bell gives you that precious shield, turning a risky heal into a safe one.
Other Gear to Consider
Section titled “Other Gear to Consider”- Shell Satchel: If you’re a heavy tool user, this gives you more ammo.
- Fractured Mask / Magnetite Dice: Your standard “get out of jail free” cards. Good for survivability.
- Witch Crest: If you’re feeling confident and want to play aggressively, this crest offers incredible speed.
- Healing Build (Multibinder / Injector Bands): If you master the “aerial healing” trick (see below), this combo can make you incredibly durable.
How to Beat Lost Lace
Section titled “How to Beat Lost Lace”Trying to brute-force this fight will only lead to frustration. The key is patience, learning her tells, and understanding one crucial, almost hidden mechanic that the game never tells you about.
How to Beat Lost Lace
Section titled “How to Beat Lost Lace”Trying to brute-force this fight will only lead to frustration. The key is patience, learning her tells, and understanding a few crucial, almost hidden mechanics that the game never explains.
-
Stop Dashing So Much (Seriously!) This is the big secret. Many players feel she teleports unfairly on top of them. She does, but you’re triggering it.
-
The WRONG Way: You land a hit, and your muscle memory screams “Dash away!”. You do it, and BAM! Lace instantly teleports into your path for 2 masks of contact damage. This isn’t bad luck; it’s a trap she baits you into.
-
The RIGHT Way: You land a hit. Now, fight your instincts. Just walk away or do a small hop. Watch as Lace teleports somewhere else, completely missing you. You’ve just avoided her most frustrating “mechanic.” Save your dashes for dodging attacks that are already in motion.
-
-
Exploit the Parry When Lace holds her pin up to block, your instinct is to back off. Instead, use it to create your biggest opening.
-
The WRONG Way: You hit her parry, panic, and dash away from her. She launches her aerial counter and catches you at the end of your dash every single time.
-
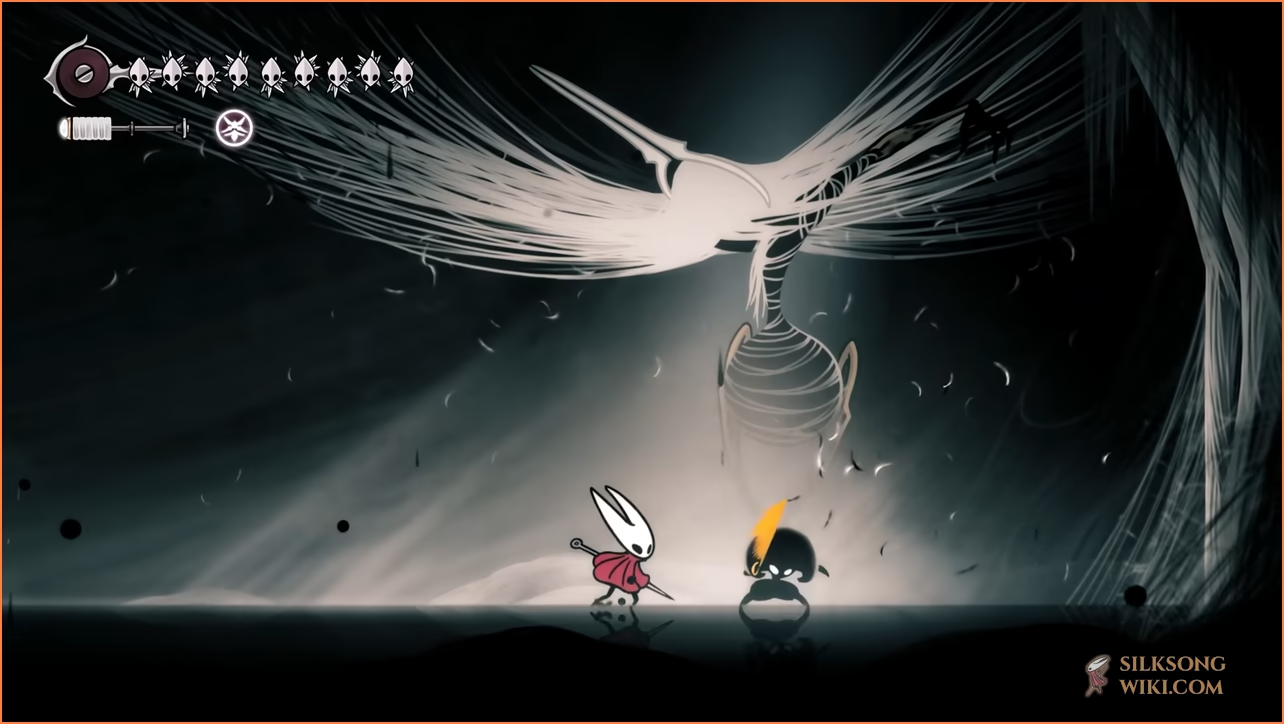
The RIGHT Way: You hit her parry on purpose. She flashes for the counter. Instead of retreating, you calmly jump forward, over her head. You’ll sail right over her attack and land safely behind her while she’s stuck in her recovery animation. This is your best window for dealing heavy damage.
-
-
The Sky is Your Friend A lot of her deadliest attacks are on the ground. So, don’t stay there.
-
The WRONG Way (Healing): You’re low on health, run to a corner on the ground, and desperately try to heal. She teleports on top of you mid-bind and you die. We’ve all been there.
-
The RIGHT Way (Healing): You’re low on health. You sprint to the nearest wall, wall-jump, then double-jump to get as high as possible. You are now out of range of almost everything. Get your heal in. You’ve just reset the fight on your terms.
-
-
Make the Floor a Minefield You’re going to be so busy dodging in the later phases that you’ll barely have time to attack. So, let the arena do the work for you.
-
The Situation: Lace is zipping everywhere. You’re dodging projectiles, tentacles, and tsunamis. You can’t get a single hit in.
-
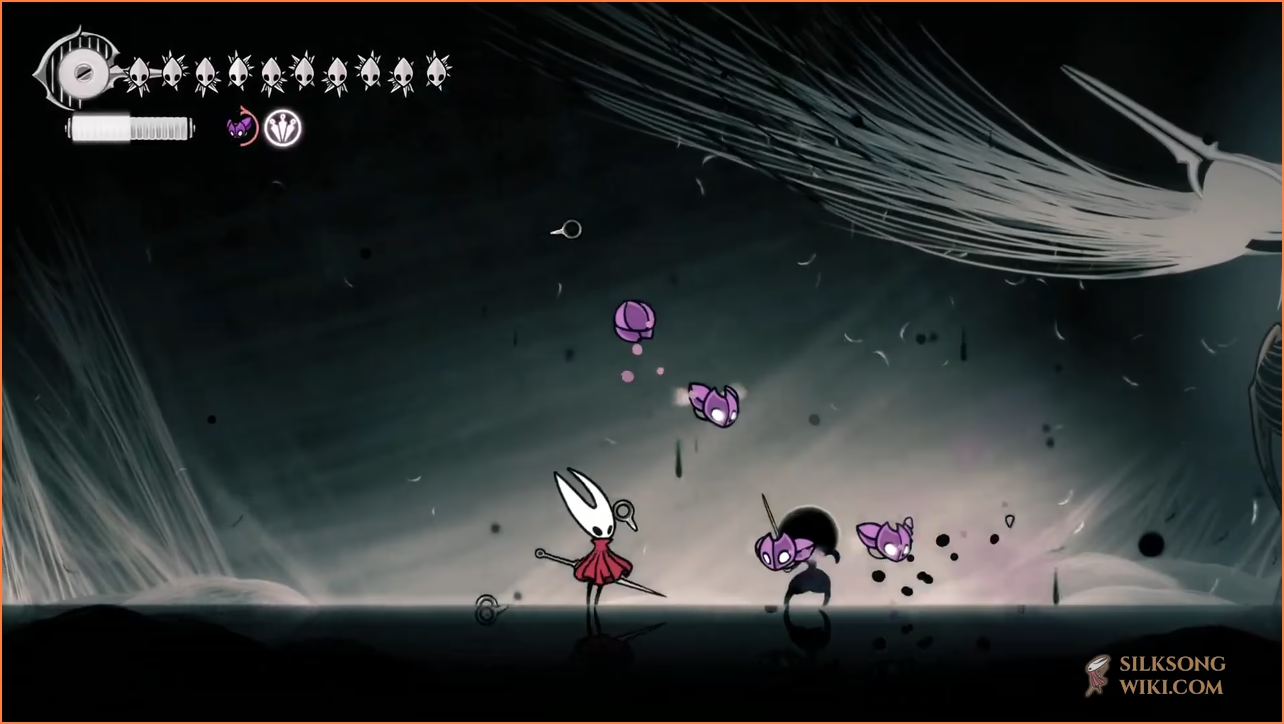
The Solution: At the start of the fight, or during a safe moment, toss your Tacks all over the middle of the arena. Now, just focus on surviving. As she dashes and teleports like a maniac, she’ll constantly run into your traps, taking damage. It’s free, passive damage that adds up massively.
-
-
Respect the Phases This isn’t a fight where you can use the same strategy from start to finish. You have to adapt.
-
Phase 1 Mentality: Your job here is to learn. Be cautious. Identify her attacks. Practice the parry counter. Don’t worry about dealing massive damage yet.
-
Phase 2 & 3 Mentality: She screams, the music intensifies. The real fight begins. Your attack windows are now tiny. Your priority shifts from “dealing damage” to “staying alive.” Rely more on your Tacks and Cogfly, and only go for the absolute safest hits (like after the parry counter). Don’t get greedy, or she will send you right back to the bench.
-
Attack Patterns & Counters
Section titled “Attack Patterns & Counters”Lost Lace has a massive arsenal, and nearly all of her direct hits will cost you 2 Masks of damage. Here’s a breakdown of what she’ll throw at you.
Phase 1 Attacks
Section titled “Phase 1 Attacks”A basic combo of rapid, close-range slashes with her pin.
Counter: The range isn’t huge. A quick dash or double jump away from her is usually enough to stay safe.
Her arm morphs into shadowy tentacles and lashes out with surprising range. Can be performed on the ground or in the air.
Counter: Dodge away or jump. If you can get behind her during this, she’s open for a punish.
An almost instant series of multiple stabbing attacks, followed by a quick downward slash.
Counter: This attack has almost no wind-up. As soon as you see her move, dash away or jump to create distance.
She performs a small upward slash, pauses briefly in the air, then dives diagonally downward.
Counter: This is a simple repositioning attack. Just move or dash out of her diagonal path.
A quick charging dash with her pin. When she does this on the ground, she leaves a trail of shadowy tentacles behind her.
Counter: Jump to avoid the dash and the trail. Pogoing on her head is a great way to deal damage while staying safe.
Phase 2 Attacks
Section titled “Phase 2 Attacks”Shadowy tentacles erupt from the ground, lashing out violently.
Counter: The ground will darken where they’re about to spawn. See the tell and move to a safe spot.
She hovers and releases black spheres into the air. When they land, they transform into deadly blades.
Counter: Don’t jump when she releases the spheres. Wait for them to land, then jump and dash over the resulting blades.
She summons multiple glowing orbs in the air that shoot shadow projectiles at you.
Counter: This is a bullet-hell section. Focus on movement and weaving through the gaps.
Phase 3 Attacks
Section titled “Phase 3 Attacks”She disappears and a massive wave of shadow sweeps across the entire screen.
Counter: Get to a wall immediately. The only way to survive is to wall jump and stay high until it passes.
Glowing orbs appear and explode after a few seconds, creating slashes out of thin air.
Counter: Another spatial awareness check. Identify the gaps between the glowing orbs and stand there before they explode.
Rewards
Section titled “Rewards”So what do you get for beating the toughest boss in Act 3? You get to see the story’s conclusion.
- Lace’s Freedom: A cinematic cutscene plays, showing Hornet saving Lace from the power of the void.
- Access to Post-Game Content: You can now explore the world to tie up loose ends and discover new secrets.