
Sister Splinter Boss Guide (How to Beat)
Sister Splinter is a mandatory boss in Hollow Knight: Silksong. She is located in the upper area of Shellwood and is often seen as the gatekeeper to the mid-game. This fight focuses less on direct combat and more on arena control. Sister Splinter main danger comes from her ability to summon hazards and minions, forcing you to handle multiple threats in a tight space. Defeating her is an important progression point, as it unlocks the Cling Grip ability.
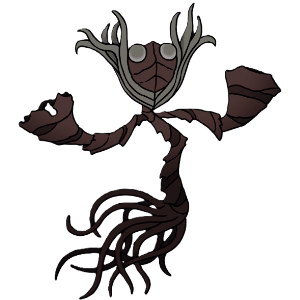
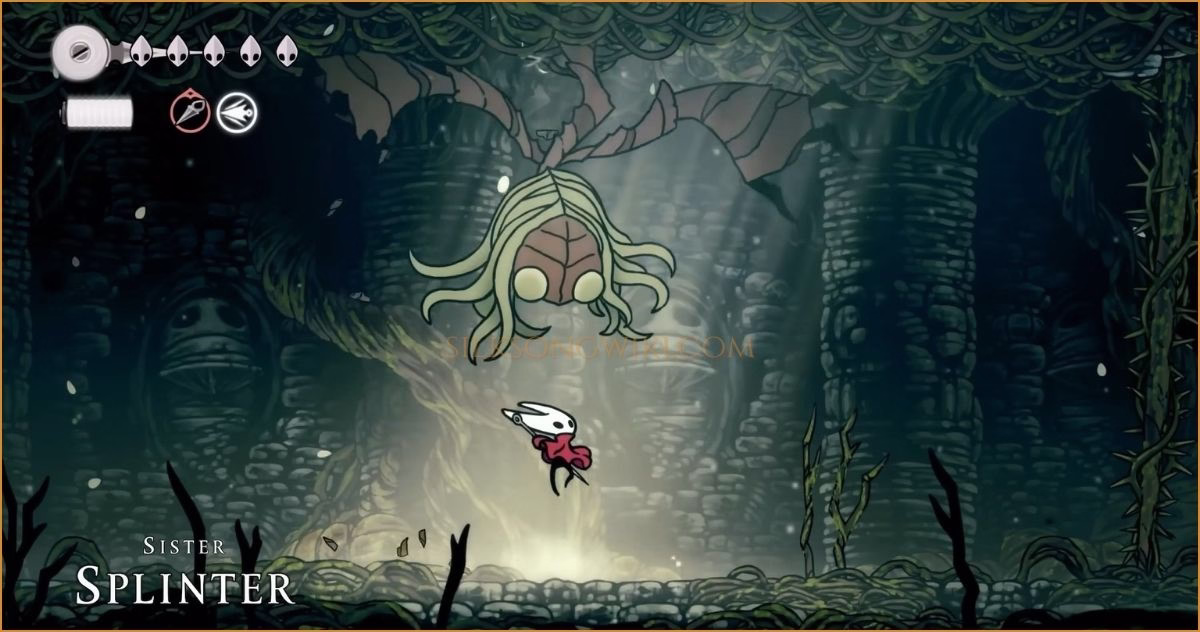
Sister Splinter
Location: Upper Shellwood
Rewards: Access to the Cling Grip Upgrade

Where to Find Sister Splinter
Section titled “Where to Find Sister Splinter”Sister Splinter is found at the top of Shellwood. To reach her, you’ll need to navigate up through the region from the entrance connecting to Bellhart. The path is largely linear, taking you past Shakra’s location and an important bench.
Quick Runback to Sister Splinter
Section titled “Quick Runback to Sister Splinter”The runback for this boss can be frustrating until you unlock the critical shortcut. The closest bench is the first one you unlock in Shellwood, near where you find Shakra.
-
Find the Bench After your first arena fight upon entering Shellwood from Bellhart, follow the path up and spend 80 rosary beads to unlock the first Shellwood bench. Rest here.
-
Activate the Elevator Shortcut From the bench, proceed left and up through the next few rooms. You will eventually loop back around to the upper portion of the same room the bench is in. Before proceeding right to the boss, make sure to activate the elevator on your left. This creates a permanent shortcut from the bench.
-
The Runback If you die, start from the bench, exit right, and take the newly activated elevator straight up. Head right from the top of the elevator through a short platforming room, and you will be at Sister Splinter arena.
Loadouts & Preparation
Section titled “Loadouts & Preparation”This fight benefits from tools and abilities that offer wide coverage to deal with multiple threats at once.
Recommended Loadout
Section titled “Recommended Loadout”- Ability: Threadstorm - Given the tight space, this large AoE attack is invaluable for hitting the boss, her thorns, and any summoned enemies simultaneously.
- Tool 1: Warding Bell - An excellent defensive choice. It can shield you from an unavoidable hit while you heal and counter-attacks with a shockwave, which is perfect for a crowded arena.
- Tool 2: Straight Pins - While not a mandatory pick, the Straight Pins are highly effective for quickly eliminating the summoned Splinterbark enemies from a safe distance before they can charge you.
- Crest: Reaper Crest - The wide, powerful crescent slash (which replaces your pogo) is superb for clearing out thorn ropes and hitting multiple targets at once.
How to Beat Sister Splinter
Section titled “How to Beat Sister Splinter”Victory against Sister Splinter hinges on your ability to keep the arena clean. Her direct attacks are simple, but the fight becomes overwhelming if you allow thorns and minions to build up.
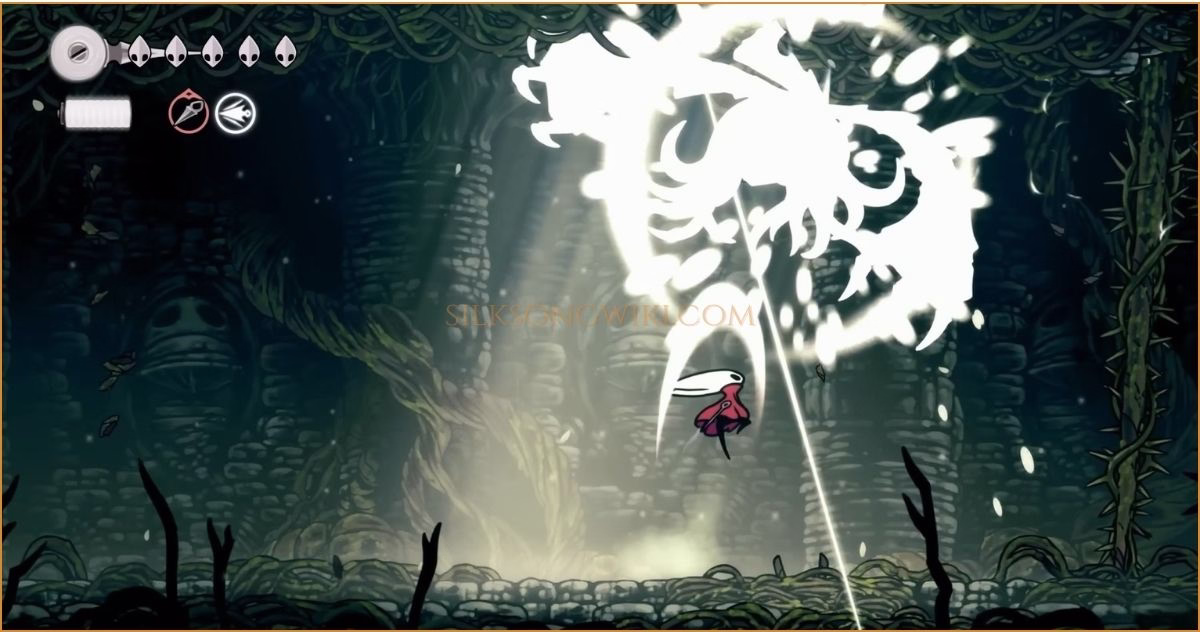
The fight progresses through phases, marked by Sister Splinter howls. The second phase begins with her summoning two Splinterbark enemies. The final phase sees her summoning thorn ropes much more frequently.
Your main damage windows are right after she repositions or immediately after she finishes her three-hit combo. After taking enough damage, she will be stunned and fall to the floor, giving you about three seconds to deal a massive amount of damage.
Attack Patterns & Counters
Section titled “Attack Patterns & Counters”Sister Splinter only has three moves, but their combined effect is what makes the fight challenging.
Sister Splinter disappears and summons two ropes of thorns that stretch from the ceiling to the floor, blocking off sections of the arena. Their location is telegraphed by rustling spots on the ceiling.
Counter: Immediately destroy the thorn ropes with a few needle slashes to keep your maneuvering space open. The Reaper Crest’s wide slash is particularly effective here.
Sister Splinter only direct attack. She performs three consecutive downward punches. The first fist she uses will have a small shine, telegraphing the attack.
Counter: The punches are angled. The safest way to dodge is to move to the same side as the attacking fist. For example, if she attacks with her left fist, move to the far left of it to avoid the angled strike. This is a great time to attack her after the third punch lands.
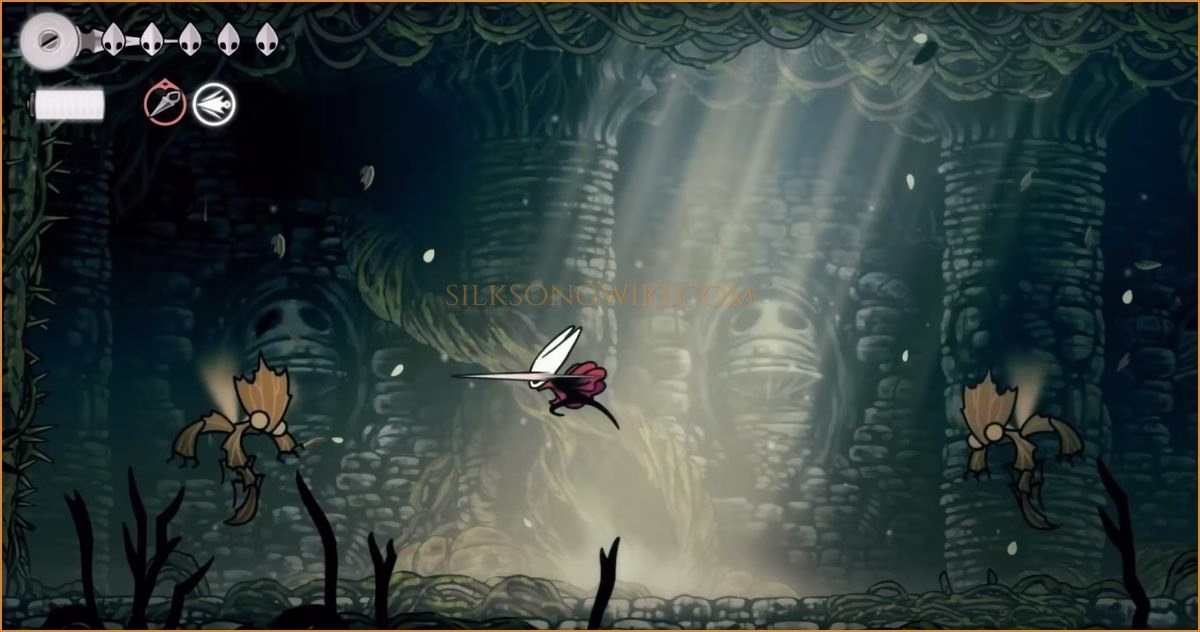
Sister Splinter howls and summons small, flying bugs called Splinterbarks from the ceiling. They float down before charging at Hornet with a spinning attack.
Counter: This is your top priority. Attack the Splinterbarks with upward slashes while they are still floating down, before they have a chance to attack. If one gets too close, a well-timed parry can knock it back, but it’s safer to kill them early with needle attacks, Threadstorm, or Straight Pins.
Sister Splinter Rewards
Section titled “Sister Splinter Rewards”Sister Splinter does not drop any items or grant a new skill directly upon defeat. However, her demise is mandatory for progression.
- Reward: Access to the Cling Grip Upgrade - Defeating her clears the path to the right, which leads to the top of Shellwood. There you will find a spider effigy that grants you the Cling Grip, a crucial ability that allows you to perform Wall Jumps and explore countless new areas.