
How to Beat Gurr the Outcast (Boss Guide)
Gurr the Outcast is a huge yet stealthy Skarr boss found in the Far Fields. As an expert trapper, Gurr spends most of the fight burrowed underground, creating a frustrating battle of patience. This fight demands you capitalize on brief attack windows with high burst damage, punishing the boss each time it emerges.
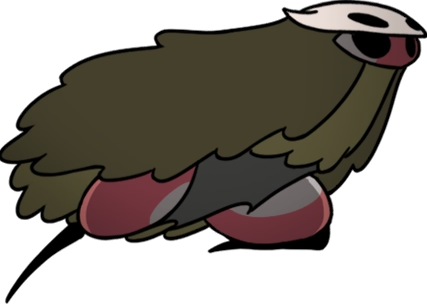
Gurr the Outcast
Location: Far Fields
Rewards: Grass Doll

Where to Find Gurr the Outcast
Section titled “Where to Find Gurr the Outcast”Gurr the Outcast is located in an arena in the eastern part of the Far Fields. Access is restricted until Act 3, and you must have the Silk Soar ability to enter the boss area.
Build & Preparation
Section titled “Build & Preparation”This build is focused on dealing maximum damage in short bursts. Gurr’s frequent burrowing limits your opportunities, so a loadout focused on high-impact tools and passive damage is critical.
- Silk Skill:
 Thread Storm - Offers a powerful burst of damage when Gurr is stationary.
 - Crest:
 Witch Crest - The Silk Bind attack provides another reliable source of burst damage, perfect for punishing Gurr during its brief appearances.
 - Tools:
 Cogfly: Essential for this fight. It deals consistent, passive damage and its seeking mechanic is perfect for tracking the highly mobile boss.
 Voltvessels: A core part of the strategy. Place these where Gurr is about to emerge to inflict massive damage instantly.
 Fractured Mask: A defensive option to increase your survivability.
 Magnetite Dice: Another great defensive tool that gives you a chance to negate damage from the expanding projectiles.
How to Beat Gurr the Outcast
Section titled “How to Beat Gurr the Outcast”Patience and precise positioning are key. The entire fight revolves around reading the signals that telegraph Gurr’s emergence and punishing it before it disappears again.
-
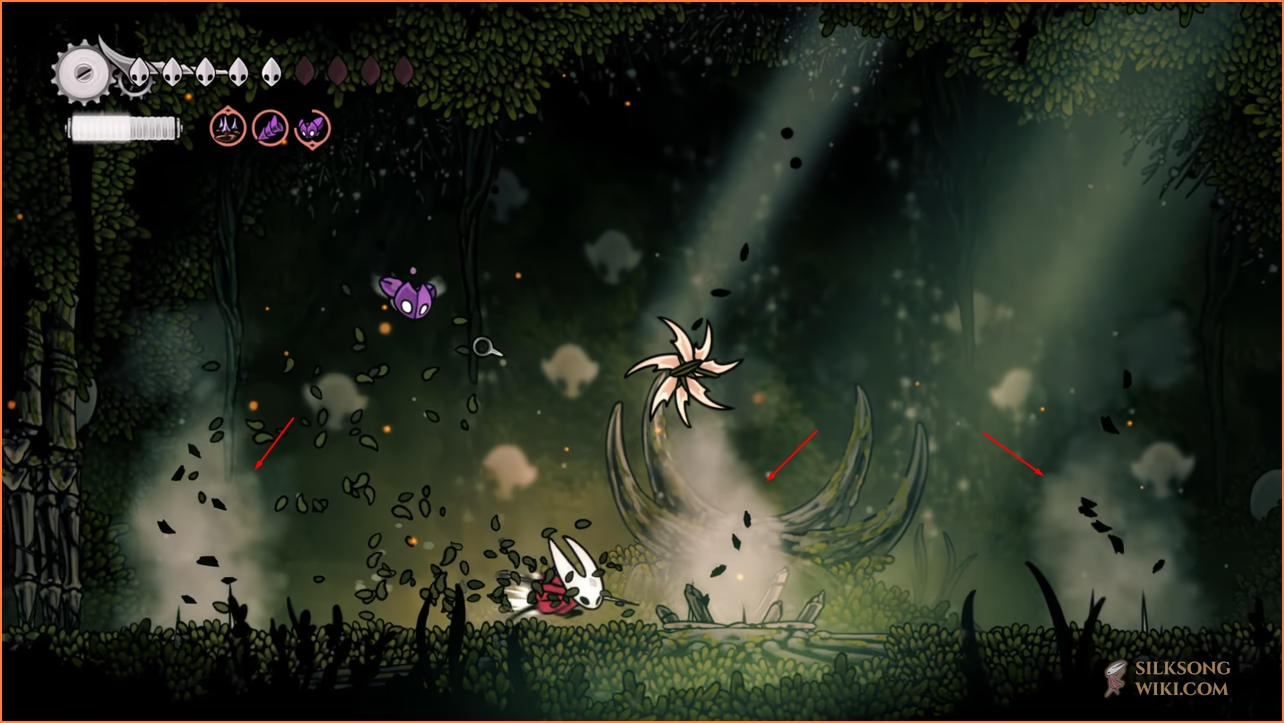
Exploit the Steam Cue The most important signal in this fight is the stream of steam that appears on the ground just before Gurr emerges. This is your cue to prepare an attack. Place a Voltvessel on the steam or ready a Silk attack to deal damage the moment Gurr appears.
-
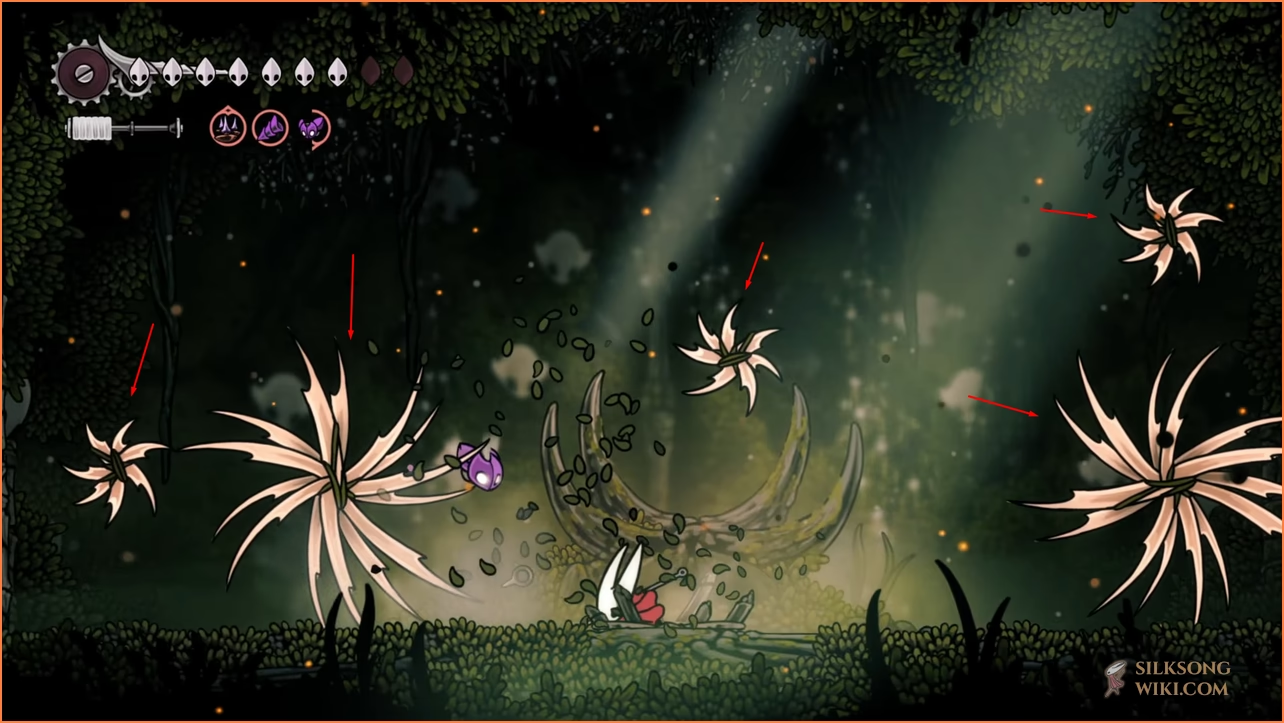
Avoid the Expanding Spikes Gurr’s most dangerous attack fills the arena with projectiles that expand into large hazards. Your priority must shift from offense to defense. As soon as the spikes are thrown, move to a clear area of the arena and wait for them to disappear before re-engaging.
-
Punish the Charge Attack Gurr’s charge across the arena is its most predictable move. A simple jump is enough to avoid it. Use this opportunity to pogo off its back for safe, consistent damage throughout the fight.
Attack Patterns & Counters
Section titled “Attack Patterns & Counters”Gurr has three primary attacks, all of which are telegraphed by distinct visual cues.
Gurr bursts from the ground after a steam vent appears, hurling several white flower-like spikes into the air. These projectiles linger for a moment before expanding into large, damaging thorny hazards, severely limiting your movement.
Counter: This is Gurr’s most dangerous move. As soon as you see the steam, position yourself slightly behind the emergence point. Land a few quick jumping strikes on its back as it appears, then immediately dash away to a clear part of the arena before the spikes expand. Do not linger in the area.
Gurr will briefly roll backwards or crouch down, tucking itself under its fur. It then charges straight across the arena before burrowing underground again. The telegraph is quick but distinct.
Counter: A simple jump is all that’s needed to evade this attack. For an extra bit of damage, perform a short hop and pogo off its back as it passes underneath you.
While burrowed, several streams of dust or steam vents will appear simultaneously across the floor. After a short delay, sharp bone spikes will erupt from these spots.
Counter: This is purely a defensive phase. As soon as you see multiple dust clouds appear, stop attacking and focus on finding a safe spot on the ground between them. Wait for the spikes to retract before preparing for Gurr’s next move.
Rewards
Section titled “Rewards”After defeating Gurr the Outcast, a path to an adjacent room will open. Inside, you can collect the Grass Doll, a key item required to complete The Hidden Hunter Wish quest.
A huge, yet stealthy Skarr. An expert trapper and master of the undergrowth.
Hunter’s Notes: “His tracks and traps… It should have been obvious from the start, this old hunter sought to draw me in. But what reason drove him to test himself so brutally? That answer I suspect I shall never know.”