
Silksong: All Bosses List
Welcome to the central hub for all Bosses in Hollow Knight: Silksong. Boss encounters are formidable, high-health enemies with complex mechanics that require precision, pattern recognition, and a deep understanding of Hornet’s abilities. Team Cherry has confirmed that Silksong will feature over 40 new bosses, many of which are mandatory for progression.
This page serves as a complete list for all known bosses, a recommended progression route, and in-depth analysis of the most significant adversaries.

List of Bosses
Section titled “List of Bosses”Below is a full list of all bosses in Hollow Knight: Silksong, sorted chronologically by their appearance in the game.
| Portrait | Boss | Location | Status | Reward / Notes |
|---|---|---|---|---|
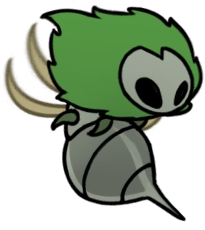 | The aggressive matriarch of the Moss Grotto. An optional duo version can be fought later. | Moss Grotto | Mandatory (Act 1) | Reward: N/A (Duo fight rewards Weavelight Tool) |
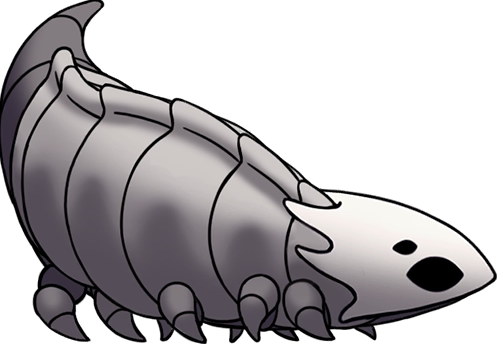 | Bell Beast An early mandatory foe that, once defeated, unlocks the Bellways for fast travel. | The Marrow | Mandatory (Act 1) | Reward: Silk Heart Unlocks Bellway fast travel. |
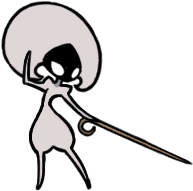 | A swift, recurring rival fencer who you must fight in both Act 1 and Act 2. | Deep Docks / The Cradle | Mandatory (Act 1 & 2) | Reward 1: N/A Reward 2: Silk Heart |
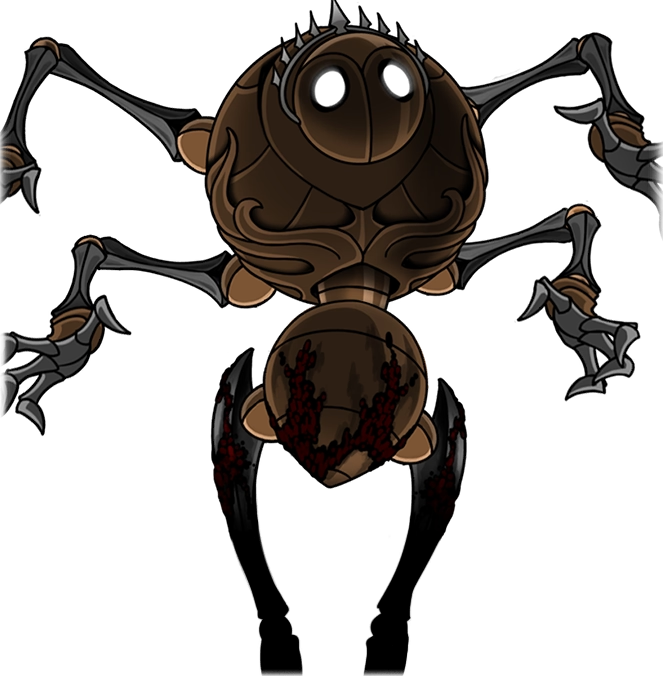 | A colossal automaton that awakens after you acquire the Drifter’s Cloak. | Far Fields | Mandatory (Act 1) | Reward: N/A |
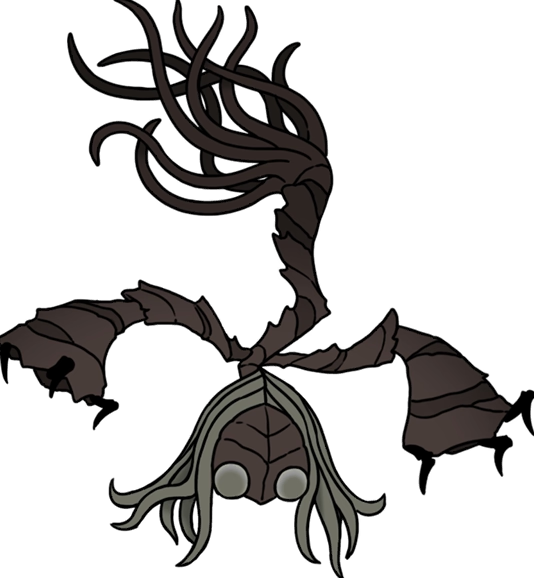 | A mandatory boss in Shellwood who clutters the arena with minions and thorns. | Shellwood | Mandatory (Act 1) | Reward: Cling Grip ability |
 | A major spider-like boss in Bellhart required to progress the story in Act 1. | Bellhart | Mandatory (Act 1) | Reward: Needolin |
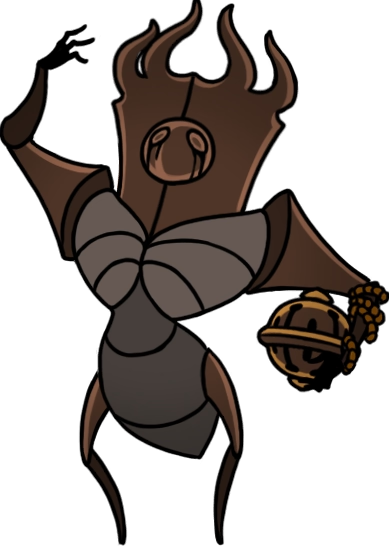 | The final mandatory boss of Act 1, guarding the main path to the Citadel. | Blasted Steps | Mandatory* (Act 1) | Reward: Access to the Citadel *Can be skipped via Phantom’s route. |
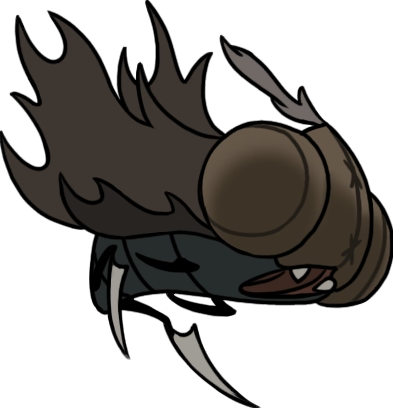 | A large, difficult airborne boss that blocks a main path in Greymoor. | Greymoor | Optional* (Act 1) | Reward: N/A *Can be skipped via several methods. |
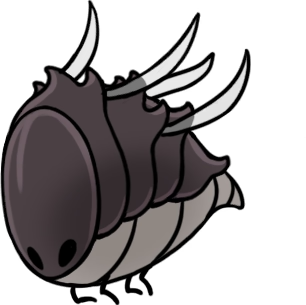 | An optional beast fought in a chapel. A stronger version appears later via a Wish. | Hunter’s March / Far Fields | Optional (Act 1 & 2) | Reward 1: Beast Crest Reward 2: Mask Shard |
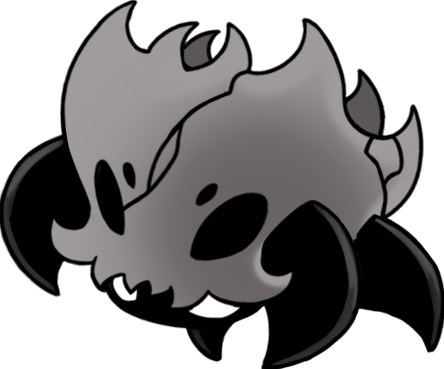 | A large skull fought via “The Terrible Tyrant” Wish, with a random rematch later. | The Marrow | Optional (Act 1) | Reward: Heavy Rosary Necklace |
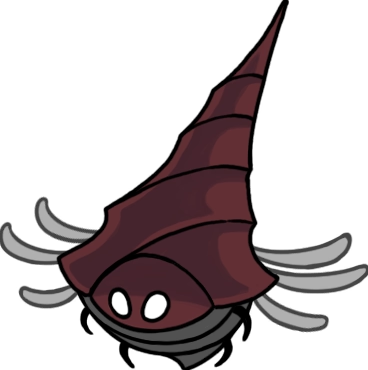 | Great Conchflies A duo of large conchflies blocking the path to the Sands of Karak. | Blasted Steps | Optional (Act 1) | Reward: Access to the Pinstress |
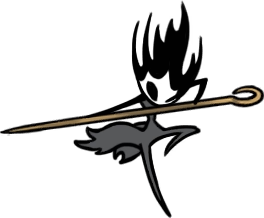 | A secret boss that provides an alternate route into the Citadel, allowing you to skip the Last Judge. | Exhaust Organ | Secret / Optional (Act 1) | Reward: Cross Stitch Tool |
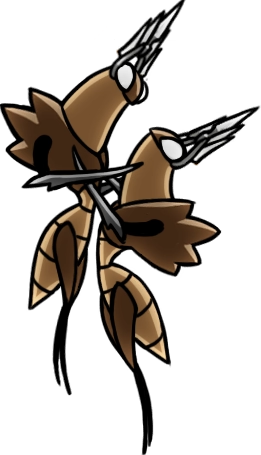 | A rhythmic mechanical duo whose defeat marks the beginning of the “Threefold Song” main quest. | Cogwork Core | Mandatory (Act 2) | Reward: Starts Threefold Song quest |
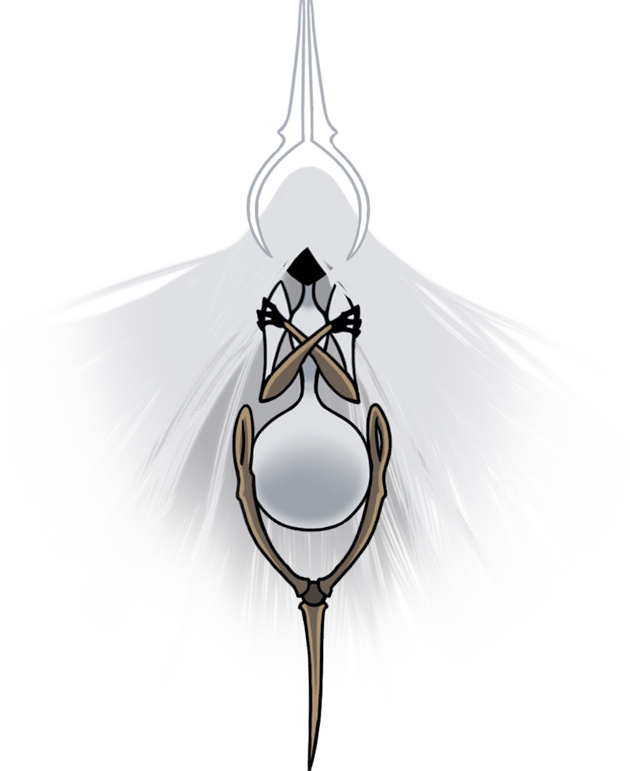 | Grand Mother Silk The final boss of Act 2, fought in The Cradle. | The Cradle | Mandatory (Act 2) | Reward: N/A |
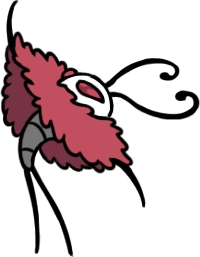 | A flamboyant, musical boss fought on The Stage. Beating him unlocks a later boss fight. | The Stage | Optional* (Act 2) | Reward: Claw Mirror Tool *Required for Tormented Trobbio fight. |
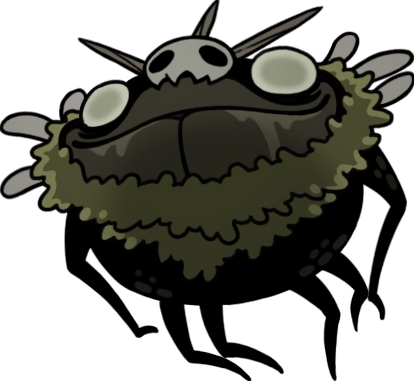 | An arena boss in Bilewater. Defeating it is required to get the Seeker’s Soul for one of the endings. | Bilewater | Optional (Act 2) | Reward: Seeker’s Soul (in next room) |
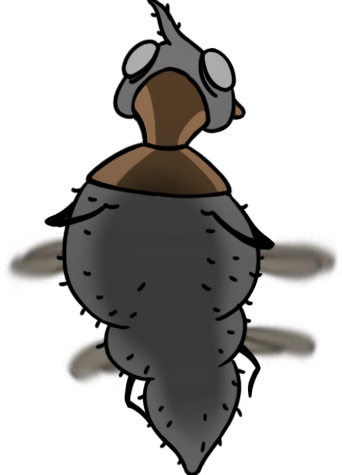 | A large creature fought as part of “The Wailing Mother” Wish. | The Slab | Optional (Act 2) | Reward: Heavy Rosary Necklace |
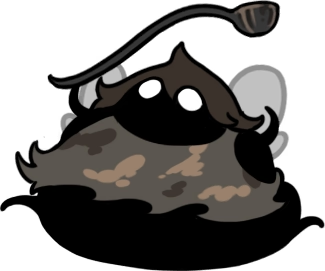 | An optional chef boss available once you have the Double Jump ability. | Sinner’s Road | Optional (Act 2) | Reward: Pickled Muckmaggot |
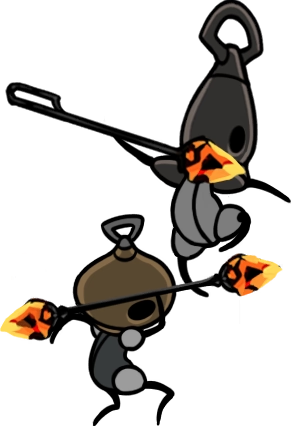 | A duo boss blocking the path to the Diving Bell, which is required for Act 3. | Deep Docks | Optional (Act 2) | Reward: Shortcut to Forge Daughter |
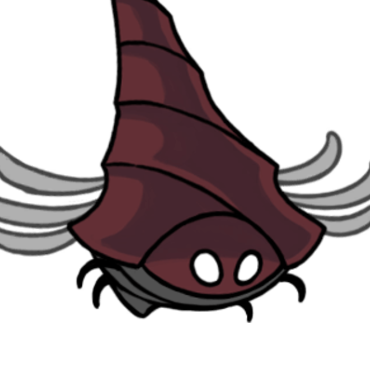 | An aggressive, armored conchfly guarding the Coral Tower. Required for the True Ending. | Sands of Karak | Optional* (Act 2) | Reward: Conchcutter Tool *Required for True Ending. |
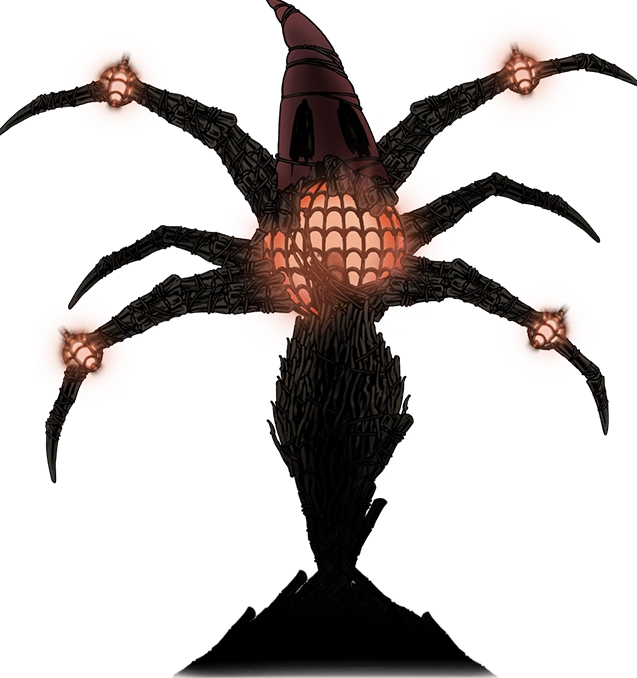 | Father of the Flame An optional boss found in Wisp Thicket, reachable with the Double Jump. | Wisp Thicket | Optional (Act 2) | Reward: Wispfire Lantern Tool |
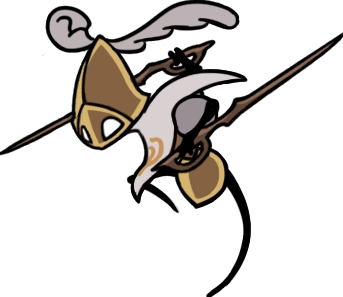 | A powerful sentinel fought at the end of the “Final Audience” Wish. | High Halls | Optional (Act 2) | Reward: Reserve Bind Tool |
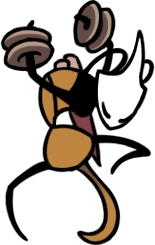 | Shakra A unique boss that only appears in Act 2 after completing the “Trail’s End” Wish. | Greymoor | Optional (Act 2) | Reward: N/A Does not count towards completion. |
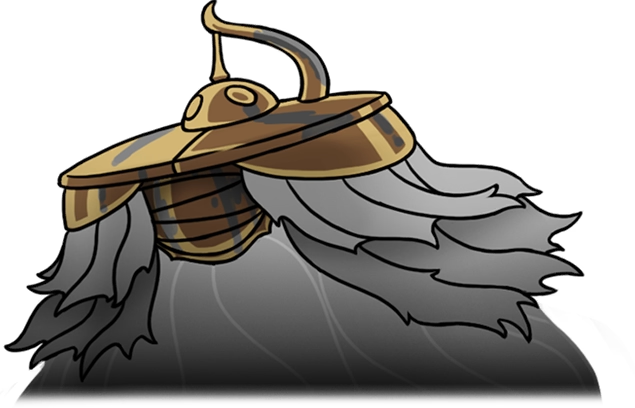 | A secret boss in Whiteward, accessible after using the Surgeon’s Key. | Whiteward | Secret / Optional (Act 2) | Reward: Silk Heart |
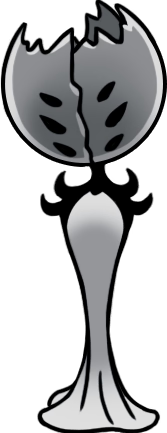 | A secret boss found inside a cell in The Slab, unlocked with the Key of the Apostate. | The Slab | Secret / Optional (Act 2) | Reward: Rune Rage |
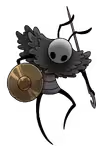 | An ancient, undefeated shrine guardian protecting the Grand Gate. | Grand Gate | Mandatory (Act 3) | Reward: N/A |
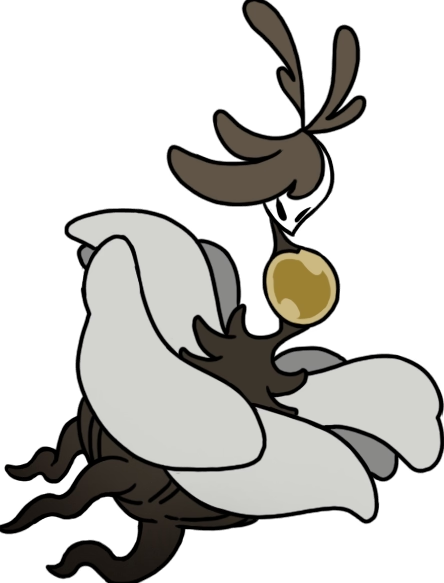 | One of the three Old Heart guardians, fought in a hidden passage in the Grand Gate. | Grand Gate | Mandatory (Act 3) | Reward: Pollen Heart |
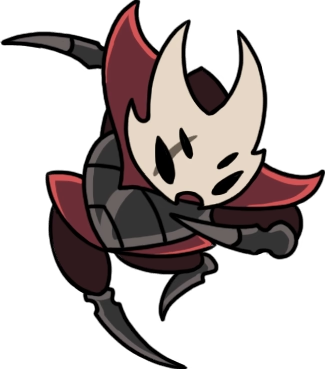 | One of the three Old Heart guardians, fought in the Coral Tower. | Coral Tower | Mandatory (Act 3) | Reward: Encrusted Heart |
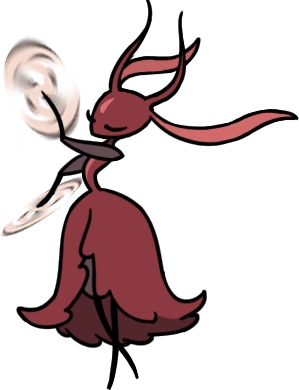 | An operatic ant queen who is one of the three Old Heart guardians. | Far Fields | Mandatory (Act 3) | Reward: Hunter’s Heart |
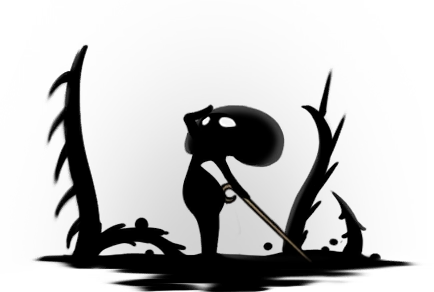 | The final boss of the True Ending route, fought in The Abyss after obtaining the Old Hearts. | The Abyss | Mandatory (Act 3) | Reward: N/A |
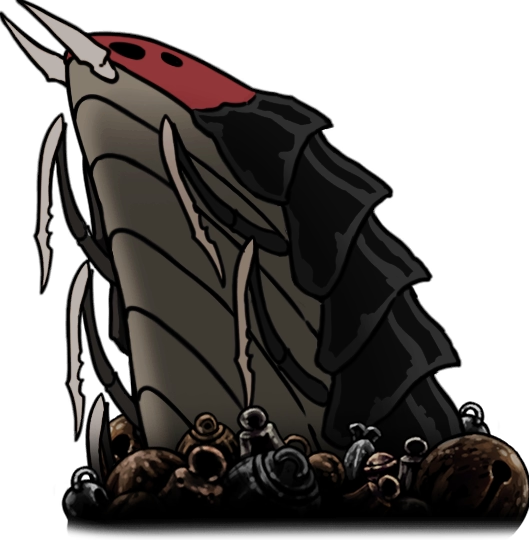 | Bell Eater An optional boss that temporarily locks the Bellways in Act 3 until it’s defeated. | Any Bellway | Optional (Act 3) | Reward: Beastling Call Re-opens Bellways for use. |
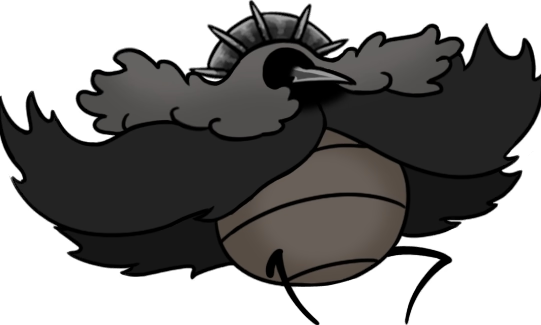 | Crawfather A hidden boss that appears after receiving the Craw Summons item. | Greymoor | Optional (Act 3) | Reward: Craw Memento, Crawbell |
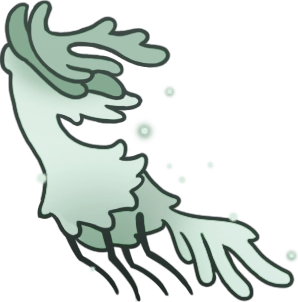 | Palestag A stag-like creature whose defeat provides light orbs needed to fight the Clover Dancers. | Lost Verdania | Optional (Act 3) | Reward: Light orbs |
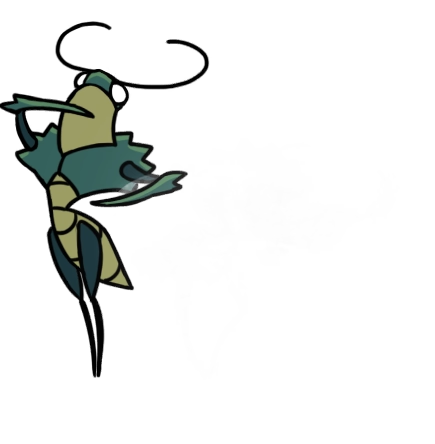 | Clover Dancers A duo boss in Lost Verdania. Their reward can substitute for one of the three Old Hearts. | Lost Verdania | Optional (Act 3) | Reward: Conjoined Heart |
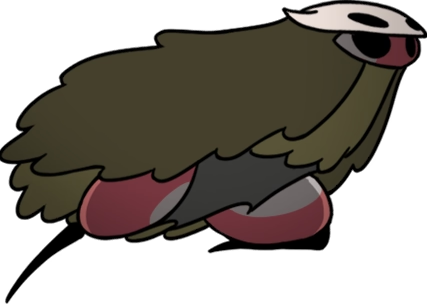 | An outcast hunter fought as part of “The Hidden Hunter” Wish. | Far Fields | Optional (Act 3) | Reward: Grass Doll (leads to Mask Shard) |
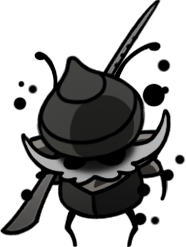 | Lost Garmond A lost hero fought as part of the “Hero’s Call” Wish. | Blasted Steps | Optional (Act 3) | Reward: Hero’s Memento |
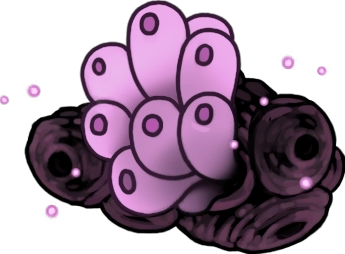 | An electric wyrm-like boss found in the eastern Sands of Karak, accessible with Silk Soar. | Sands of Karak | Optional (Act 3) | Reward: Volt Filament Tool |
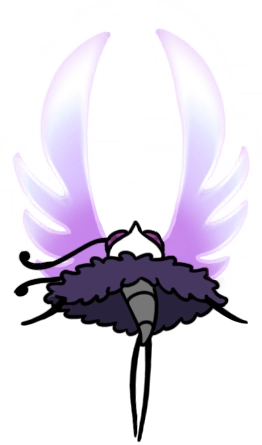 | Tormented Trobbio A corrupted version of Trobbio, fought as part of the “Pain, Anguish and Misery” Wish. | The Stage | Optional (Act 3) | Reward: Dark Mirror (Claw Mirror upgrade) |
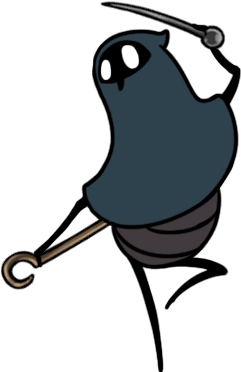 | Pinstress A boss fought on Mount Fay as part of the “Fatal Resolve” Wish. | Mount Fay | Optional (Act 3) | Reward: Pin Badge Tool |
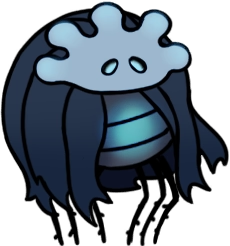 | Plasmified Zango A corrupted enemy found in the Wormways during Act 3. | Wormways | Optional (Act 3) | Reward: N/A |
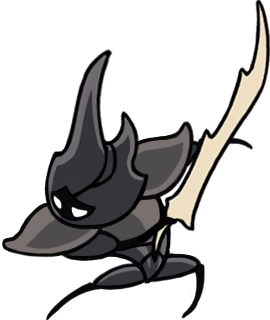 | Watcher at the Edge A hidden boss awakened from a statue, found using Silk Soar in a secret area. | Sands of Karak | Optional (Act 3) | Reward: Grey Memento |
Recommended Boss Order
Section titled “Recommended Boss Order”While exploration is key in Silksong, a recommended progression route can help you tackle challenges with the right abilities. This list outlines a suggested order for facing the main story bosses to ensure a smoother journey.
- Moss Mother (Moss Grotto)
- Lace (Deep Docks - First Encounter)
- Steel Assassin Sharpe (Location TBA)
- …