
Savage Beastfly Boss Guide (How to Beat)
Savage Beastfly is one of the most challenging optional bosses in the early stages of Hollow Knight: Silksong. Found in two separate locations, this boss tests the player’s speed, damage output, and ability to handle multiple enemies in a small arena. While defeating it is tough, its reward, the Beast Crest, is a powerful, playstyle-altering item.
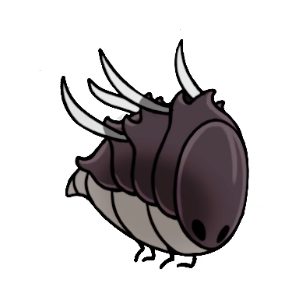
Savage Beastfly
Location: Hunter's March / Far Fields
Rewards: Beast Crest

Where to Find Savage Beastfly
Section titled “Where to Find Savage Beastfly”This boss can be fought in two different locations. The first encounter is in Hunter’s March, and the second is part of a Grand Hunt quest in Far Fields.
Location 1: Chapel of the Beast (Hunter’s March)
Section titled “Location 1: Chapel of the Beast (Hunter’s March)”The primary location of the Savage Beastfly is the Chapel of the Beast, found at the far right of the Hunter’s March region. You will need the Drifter’s Cloak ability to access this area. As the boss fight can be extremely challenging, you may want to mark its location on your map and return later once you are more powerful.
First Location: Hunter's March and Second Location: Grand Hunt
Location 2: Far Fields (Grand Hunt)
Section titled “Location 2: Far Fields (Grand Hunt)”After defeating the Savage Beastfly in Hunter’s March and the Cogwork Dancers in Act 2, a new Wish will become available on the Bellhart Wish Board called Grand Hunt: Savage Beastfly. Once you accept this quest, a second Savage Beastfly will spawn in the exact location of the Fourth Chorus boss arena in Far Fields. You must defeat this version to complete the “Grand Hunt” quest.
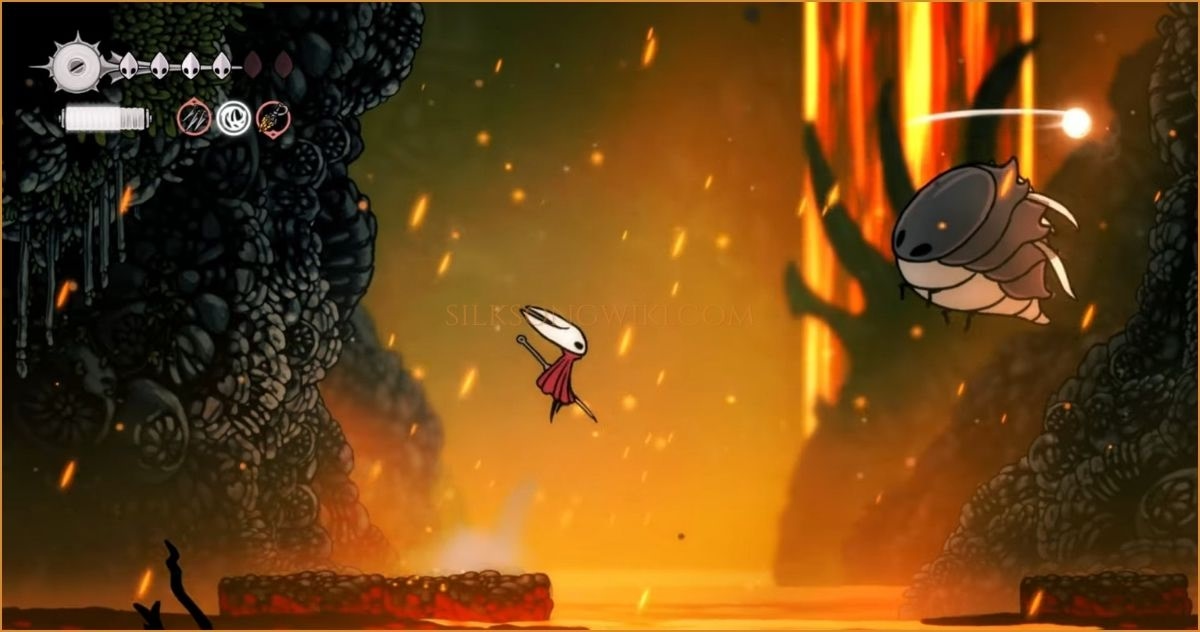
Quick Runback to Chapel of the Beast
Section titled “Quick Runback to Chapel of the Beast”The closest bench to the boss in Hunter’s March is in a secret room next to a trapped bench. After disabling the trap, you can use this bench to quickly return to the arena.
- Exit and Drop Exit the bench room to the right and drop down into the vertical chamber with the air current.
- Cloak Glide and Dash While falling, use the Drifter’s Cloak to glide into the entrance on the bottom-right. Use the Swift Step ability to dash quickly through this long room, jumping over traps and enemies.
- Final Ascent Use the air current at the end of the room to ascend. This will take you directly to the entrance of the Chapel of the Beast.
Loadouts & Preparation
Section titled “Loadouts & Preparation”Choosing the right gear is critical for this fight. Here are the recommended loadouts for both encounters.
Recommended Loadout (Hunter’s March)
Section titled “Recommended Loadout (Hunter’s March)”- Silk Skill: Thread Storm - Essential for dealing high area-of-effect damage to both the boss and its summons.
- Tools:
- Warding Bell: Creates a shield while healing, which is invaluable in the small arena.
- Fractured Mask: Provides an extra health mask for the fight.
- Curveclaw / Sting Shard: Excellent for clearing out the summoned flying enemies.
- Crest: Reaper Crest - Allows you to generate silk after healing, providing more opportunities to use Thread Storm.
Loadout Variation (Far Fields Fight)
Section titled “Loadout Variation (Far Fields Fight)”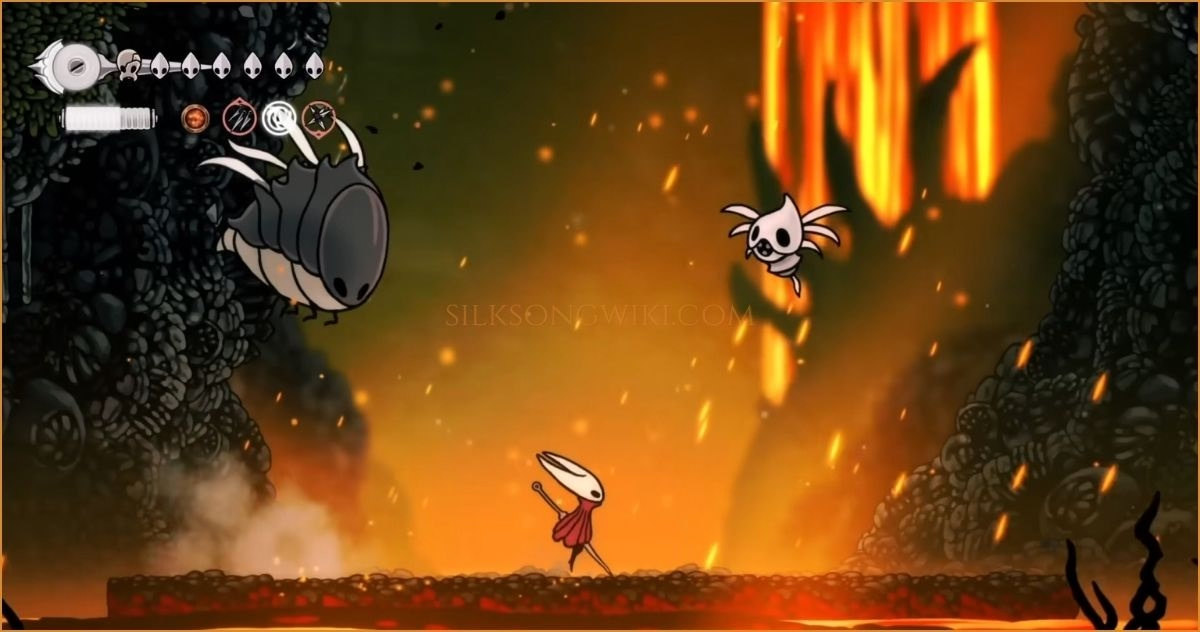
How to Beat Savage Beastfly
Section titled “How to Beat Savage Beastfly”This fight is a “DPS race” where you must deal damage consistently. If you prolong the battle, the number of summoned bugs will eventually overwhelm the arena.
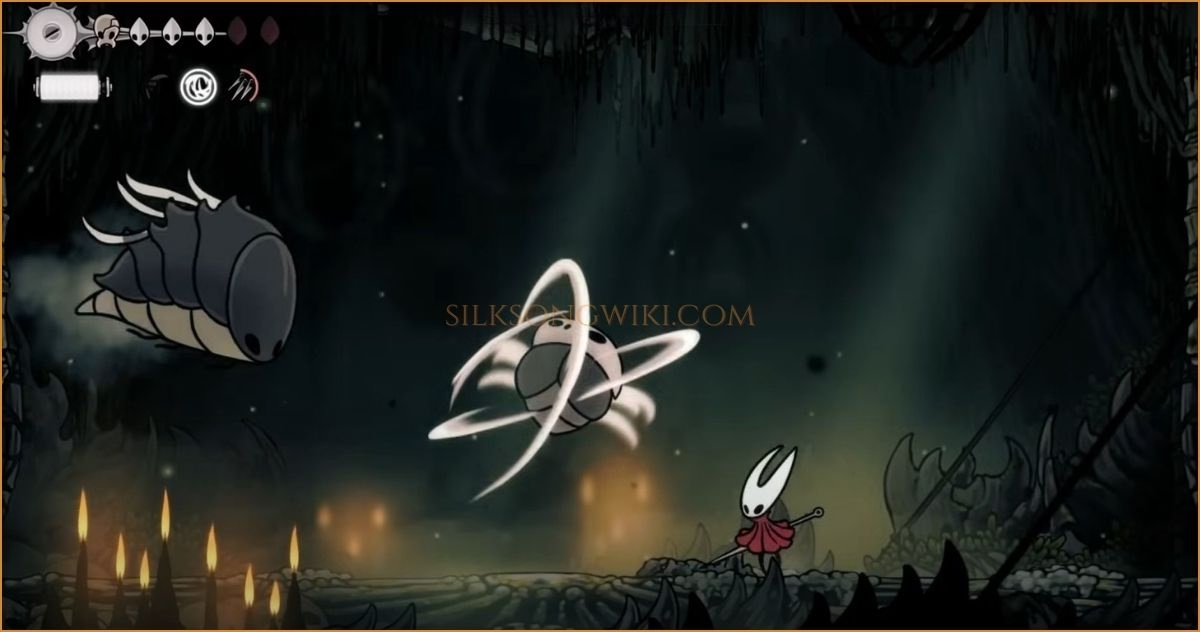
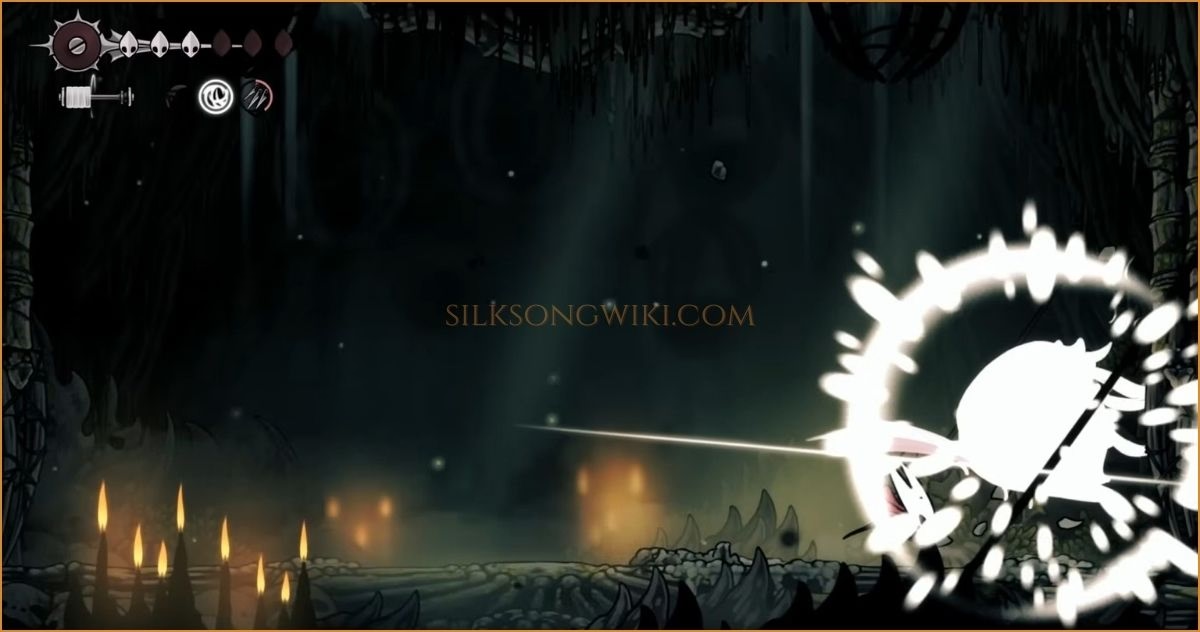
The key to victory is to stay aggressive. Every attack the boss makes is an opportunity to counter-attack. Punish it when it slams the ground or after it charges, and use your abilities to maintain control of the arena.
Tip 1: Control the Charge Attack
Section titled “Tip 1: Control the Charge Attack”One of the best strategies is to manipulate the boss’s Charge Attack. Stay on the ground and stick close to the edge of the arena. This will bait the boss into charging low and crashing into the wall, which stuns it for a few seconds and gives you a safe window to deal significant damage. This prevents it from turning mid-air, which can often catch you off guard.
Tip 2: Use the Boss Against Itself
Section titled “Tip 2: Use the Boss Against Itself”Attack Patterns & Counters
Section titled “Attack Patterns & Counters”The Savage Beastfly’s attacks are fast and hard to track, but they have clear telegraphs.
The boss flies to one side of the arena and prepares to charge. It can perform two variations: a Low Charge along the ground, or a Targeted Charge aimed at Hornet’s current elevation in the air.
Counter: If it prepares for a Low Charge, jump over it and pogo on its back. If it prepares for a Targeted Charge, bait it high and then dash underneath. The most effective strategy for both is to bait the charge into a wall, stunning it briefly.
The boss hovers directly above Hornet and slams down into the ground three times in quick succession.
Counter: Use Swift Step (dash) to the side before each impact. With good timing, you can land one or two hits between each slam. This is the best opportunity to have it kill its own summons.
The boss stops mid-air and roars, causing cages to fall from the ceiling which release random bugs.
Counter: The boss is completely vulnerable while it roars; this is your biggest window for damage. Watch for the shadows of the falling cages and move out of the way. Immediately destroy the summoned bugs (Mawlings, Beastflies, Vicious Caranids).
Savage Beastfly Rewards
Section titled “Savage Beastfly Rewards”Upon defeating this challenging boss, you will earn one of the most unique Crests in the game: the Beast Crest.
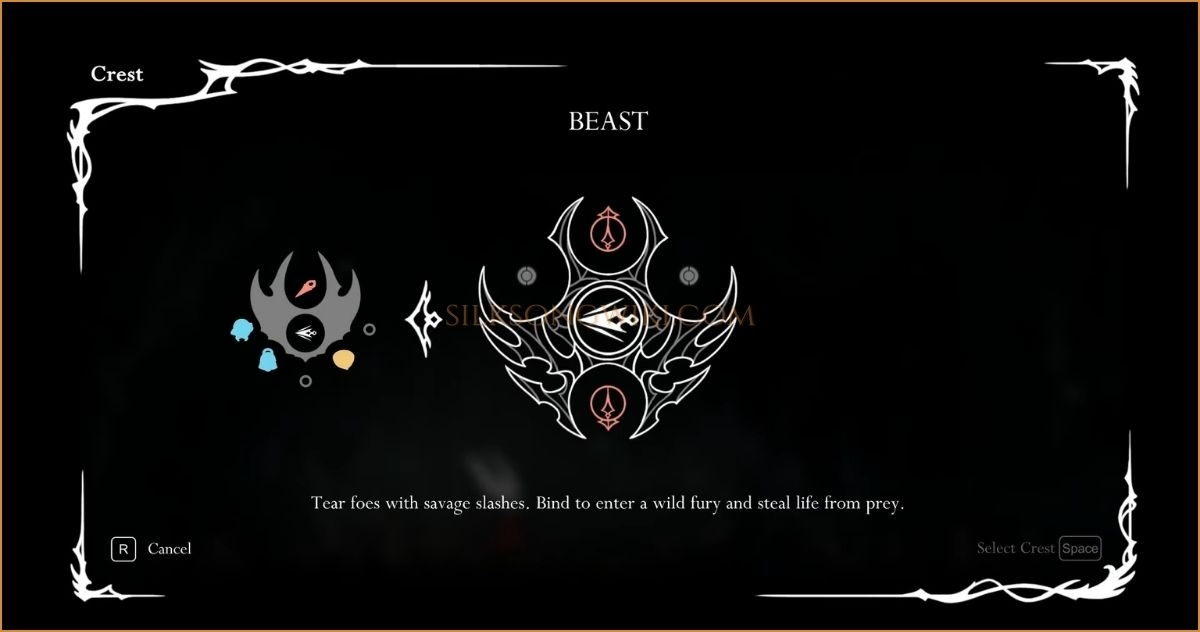
When the Beast Crest is equipped, Hornet Bind (heal) ability is completely transformed. Instead of recovering health, using Bind sends Hornet into a “Rage” mode. In this state, her attacks deal more damage, and landing hits recovers health. Additionally, her needle slash is replaced with shorter-range but powerful claw swipes, and her aerial downward attack is replaced with a more horizontal spinning attack.