
Silksong: All Tools List
Tools are a new core mechanic in Hollow Knight: Silksong, replacing the beloved Charm system from the original game. They are an expansive arsenal of craftable weapons, traps, mechanisms, and passive buffs that form the backbone of Hornet’s combat and exploration loadout.
Unlike Charms, many Tools are consumable and have a limited number of uses, adding a new layer of strategic preparation to the game. They are crafted and replenished at benches using Shell Shards.

Tool Categories
Section titled “Tool Categories”Tools are organized into color-coded categories, which correspond to the types of slots available on different Crests.
| Type | Category | Description |
|---|---|---|
| White | Silk Abilities | Powerful, spell-like abilities that consume Silk to cast. These are often described as powerful “Weaver techniques.” |
| Red | Active / Offensive | Limited-use items with direct offensive or utility effects like throwing knives, bombs, and traps. Their uses must be refilled at a bench. |
| Blue | Passive / Defensive | Function like traditional Charms, providing passive buffs and abilities that are always active when equipped, often affecting health, Silk, and defensive options. |
| Yellow | Passive / Utility | Provide passive effects focused on navigation, resource collection, and improving Hornet’s innate abilities. |
How to Equip Tools
Section titled “How to Equip Tools”To equip or manage your tools, simply open the game’s menu and navigate to the Crest tab. From there, players can scroll through their available tools and freely switch between different equipment that gives Hornet various buffs and abilities. Tools are color-coded according to the slots on a Crest they can be equipped to.
All Tools and Locations
Section titled “All Tools and Locations”This list contains all currently known tools, based on the most detailed available sources.
| Tool | Description | Location & How to Get |
|---|---|---|
 Straight Pin Straight Pin | Light throwing tool, designed for rapid attacks. | Where to Find: Found on a table in the area above Grindle's cell in The Marrow. 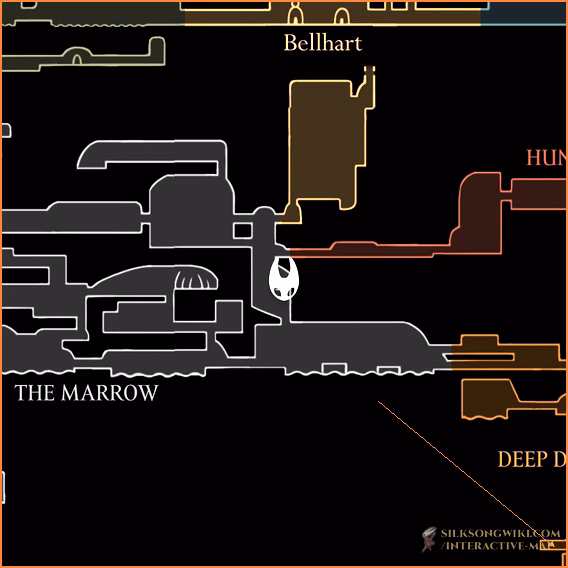 |
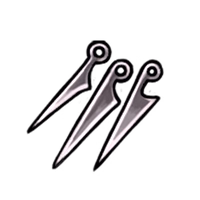 Threefold Pin Threefold Pin | Flat, layered weapon, crafted to be thrown in a set. | Where to Find: Found in a secret cave above the Craw Lake area of Greymoor. 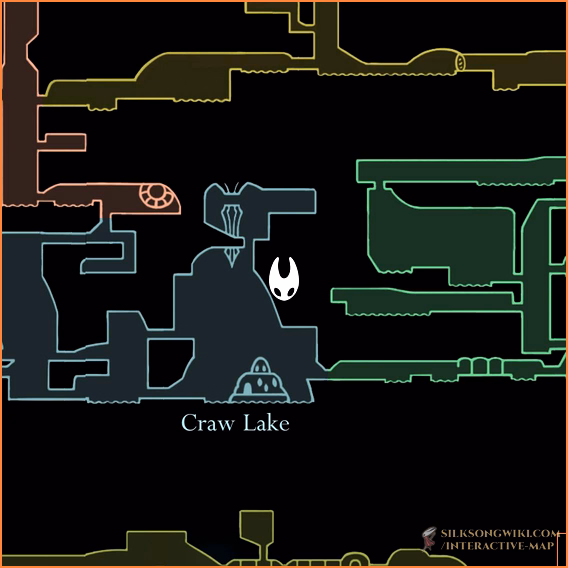 |
 Sting Shard Sting Shard | Lethal trap formed of tightly bound blades. Once placed, the trap will pierce enemies that come into contact. | How to Get: Crafted by Forge Daughter in the Deep Docks area.  |
 Tacks Tacks | Short pins designed to be scattered along the ground. The sharp points will pierce any enemy who steps upon them. | How to Get: Reward for completing the Roach Guts Wish for Crull and Benjin in the Sinner's Road area. 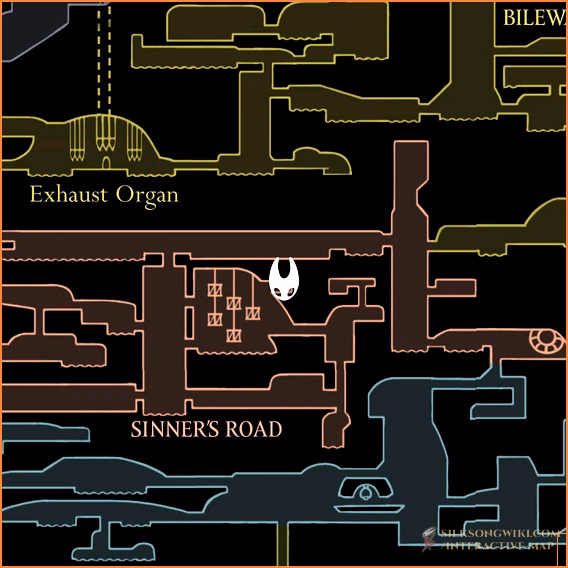 |
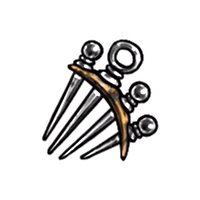
 Longpin Longpin | Weighted pin and haft, formed to pierce tough shells. | Where to Find: Found behind the pink wasp nest in the Shellwood area. 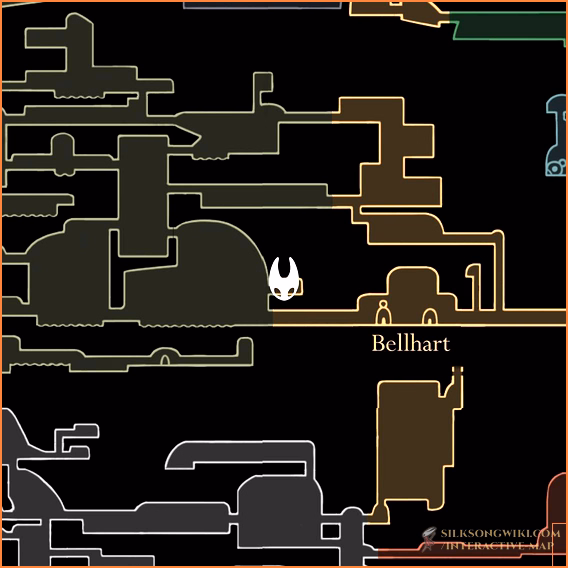 |
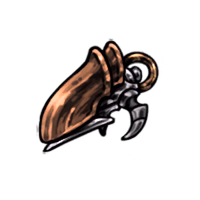
 Curveclaw Curveclaw | Arched sharpbone used by hunters to take down flying prey. | How to Get: Purchase from Mottled Skarr in the Hunter's March area. 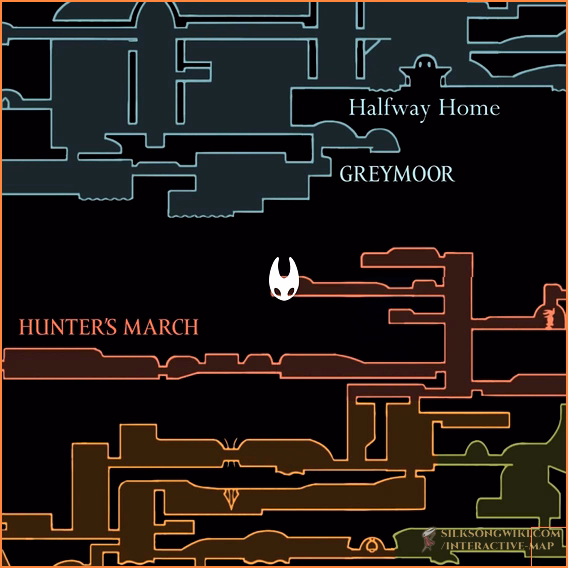 |
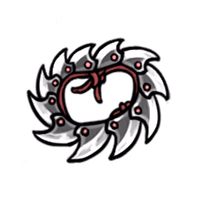
 Curvesickle Curvesickle | Radial sharpbone used by skilled hunters to take down dangerous prey. | Information coming soon. |
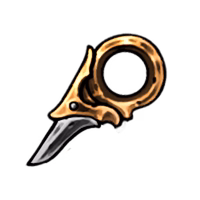
 Throwing Ring Throwing Ring | Hardened throwing weapon of the warrior Shakra. Blunt force weapon that rebounds between enemies and hard surfaces. | How to Get: Trigger the Trail's End Wish in Bellhart, then find Shakra in the most northeasterly part of Bilewater.  |
 Pimpillo Pimpillo | Fabric pouch filled with volatile material. Explodes on impact with enemies or when ignited by its fuse. | How to Get: Crafted at a table in the area above Yarnaby's bellhome in Greymoor.  |
 Conchcutter Conchcutter | Spiral weapon fashioned from a hardened conchspire. Thrown at an angle, it can ricochet and catch prey off-guard. | Where to Find: Found in the Coral Tower cave in the Sands of Karak area. 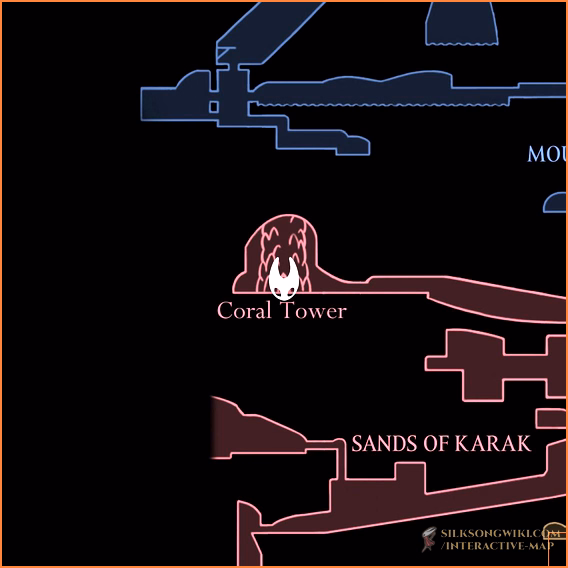 |
 Silkshot I Silkshot I | Ancient weapon of the Weavers, repaired and modified by Forge Daughter. Uses shell canisters and the wielder's own Silk to fire. | How to Get: Find the Ruined Tool in southeastern Bilewater and take it to Forge Daughter in the Deep Docks. 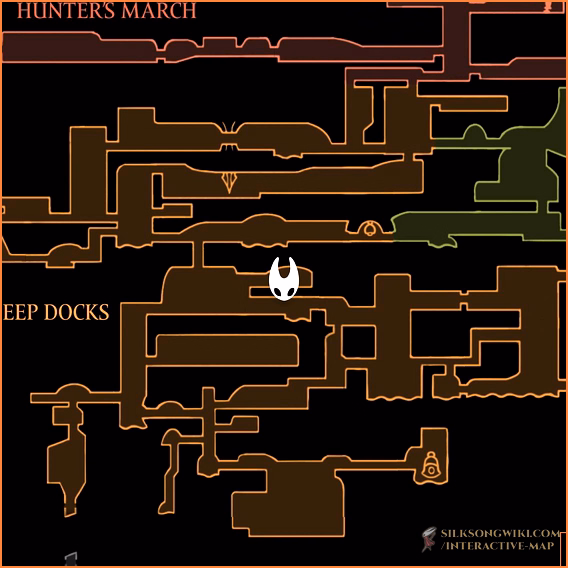 |
 Silkshot II Silkshot II | Ancient weapon of the Weavers, repaired and modified by Twelfth Architect. Uses shell canisters and the wielder's own Silk to fire. | How to Get: Find the Ruined Tool in southeastern Bilewater and take it to Twelfth Architect in the Underworks.  |
 Silkshot III Silkshot III | Ancient weapon of the Weavers, repaired to its original form. Uses shell canisters and the wielder's own Silk to fire. | How to Get: Find the Ruined Tool in southeastern Bilewater and take it to the Mask Maker in northwestern Mount Fay.  |
 Delver's Drill Delver's Drill | Rotary tool used for boring into bone and rock. Drives the wielder downwards, while spinning the drill with destructive force. | Where to Find: Found on a table in the southwestern part of the Underworks area. 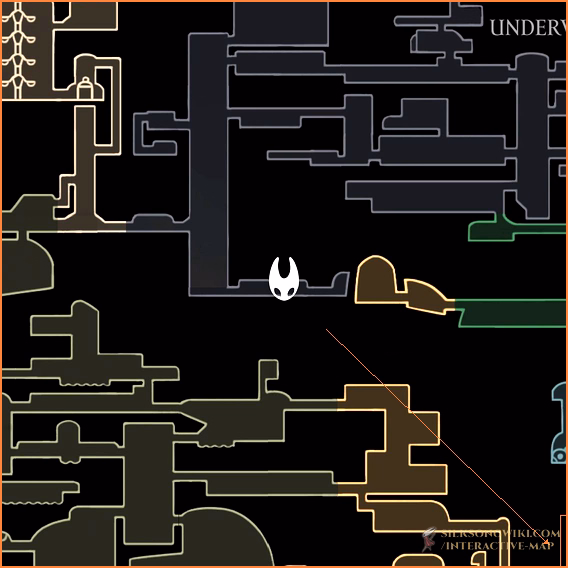 |
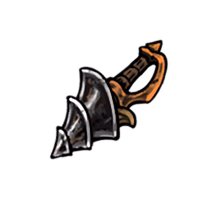
 Cogwork Wheel Cogwork Wheel | Expanding circular blade powered by a cogwork motor. Propels forward, slicing through foes. | How to Get: Crafted by Twelfth Architect in the Underworks area. 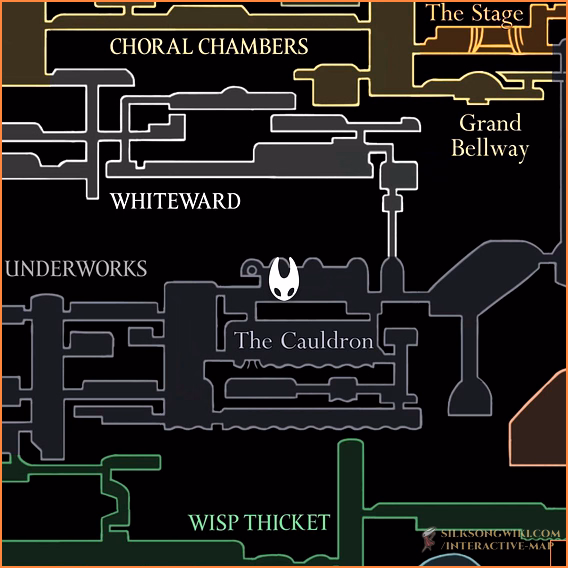 |
 Cogfly Cogfly | Winged cogwork companion that will seek nearby foes and attack. | How to Get: Crafted at a table in the High Falls area. 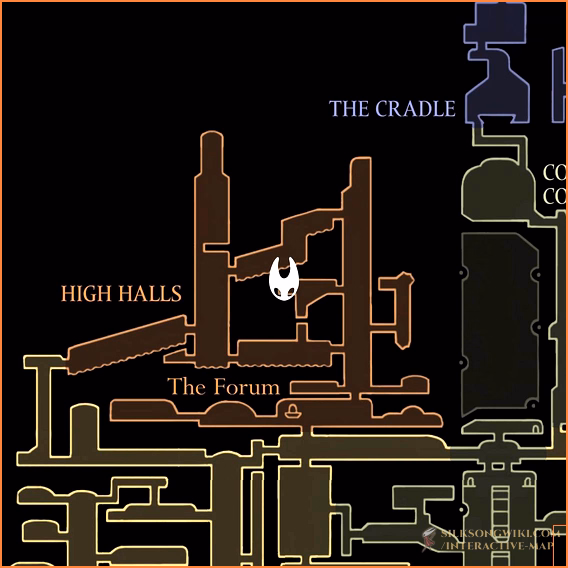 |
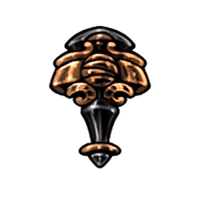
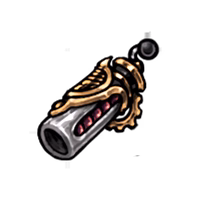 Rosary Cannon Rosary Cannon | Repurposed mechanism from the base of a rosary stringing machine. Rosaries must be inserted to reload the cannon. | Where to Find: Found on a table in the Forum area of High Halls. 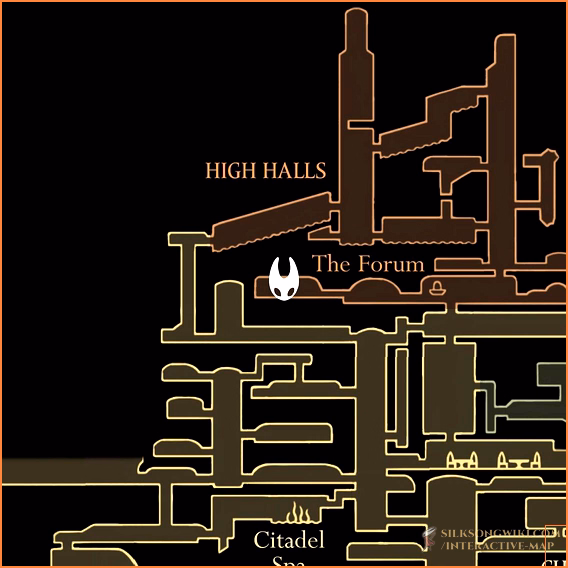 |
 Flintslate Flintslate | Sharpening slate made from cut and polished flintgem. Temporarily super-heats the needle's blade, imbuing each slash with flame and increasing lethality. | Where to Find: Found on a table in the Deep Docks area. 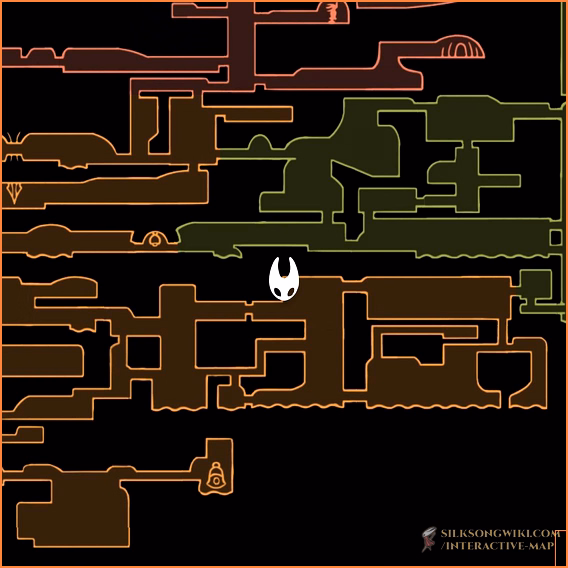 |
 Snare Setter Snare Setter | Trap-setting tool of the Weavers. Lays a Silk rune that ignites when foes come into contact. Uses shell canisters and the wielder's own Silk. | Where to Find: Found on a table in the area above the bench in Weavenest Atla.  |
 Needle Phial Needle Phial | Tool designed to extract and store fluids. To pierce its target, the Needle Phial must first be charged to full tension. | How to Get: Given at the start of the Alchemist's Assistant Wish after speaking with Alchemist Zylotol in the Wormways.  |
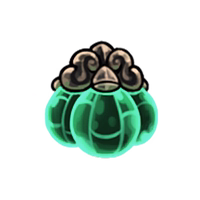
 Druid's Eye Druid's Eye | Amulet of protection formed from Mossberries. As the bearer takes damage, the amulet weeps a green elixir that will form into Silk. | How to Get: Reward for completing the Berry Picking Wish for Moss Druid in the Moss Home area.  |
 Druid's Eyes Druid's Eyes | Powerful amulet of protection formed from many Mossberries. As the bearer takes damage, the amulet weeps a green elixir that will form into Silk. | Information coming soon. |
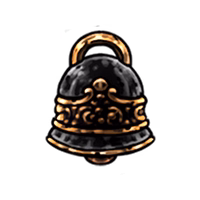
 Magma Bell Magma Bell | Forged iron bell crafted to ward against intense heat. Reduces the damage taken from flame and magma. | How to Get: Crafted by Forge Daughter in the Deep Docks area.  |
 Warding Bell Warding Bell | Holy bell inscribed with a hymn of protection. Shields the bearer as they bind their wounds. | Where to Find: Found on a platform in the Far Fields area. 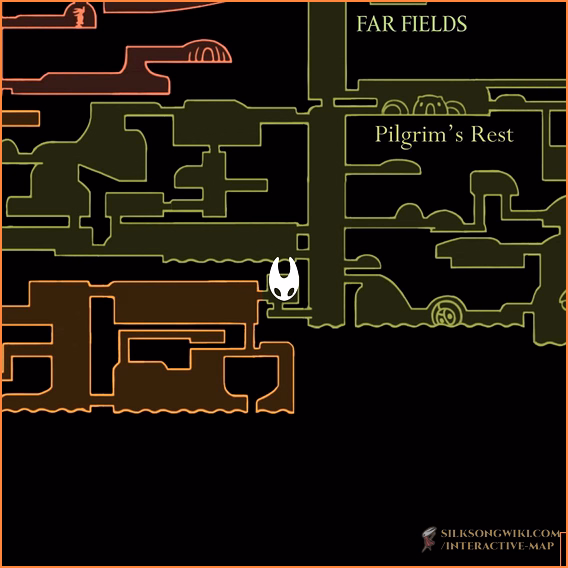 |
 Pollip Pouch Pollip Pouch | Pouch containing a fast-acting venom drawn from a flower's heart. Applies venom to equipped tools. | How to Get: Reward for completing the Rite of the Pollip Wish for Greyroot in the Shellwood area. 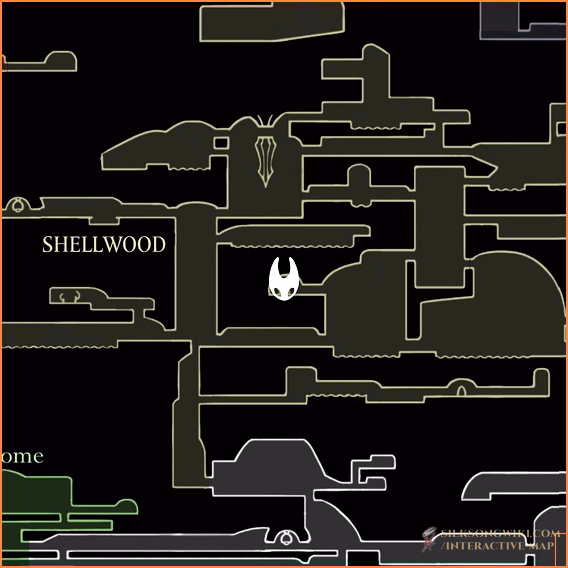 |
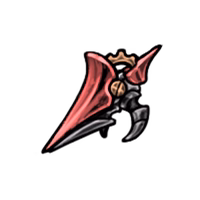
 Fractured Mask Fractured Mask | Old bug's skull carved for protection. Shields against critical damage but shatters on impact. Repaired when resting at a bench. | How to Get: Purchase from Mottled Skarr in the Hunter's March area. 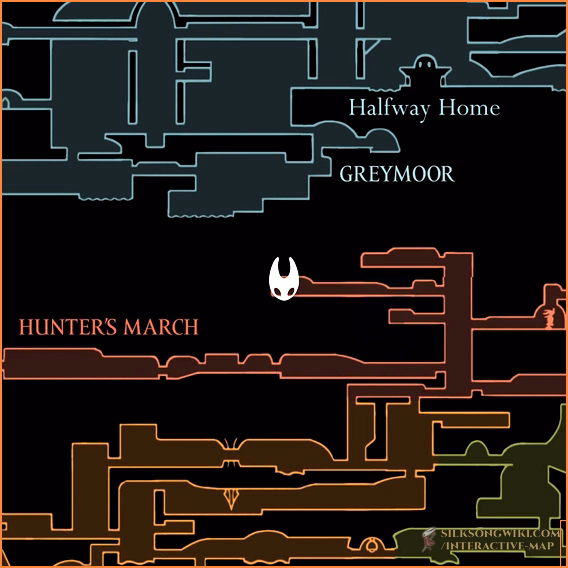 |
 Multibinder Multibinder | Elaborate, etched Weaver spindle. Extends the act of binding, but increases its healing effect. | How to Get: Purchase from Frey in the Bellheart area after completing the My Missing Courier Wish. 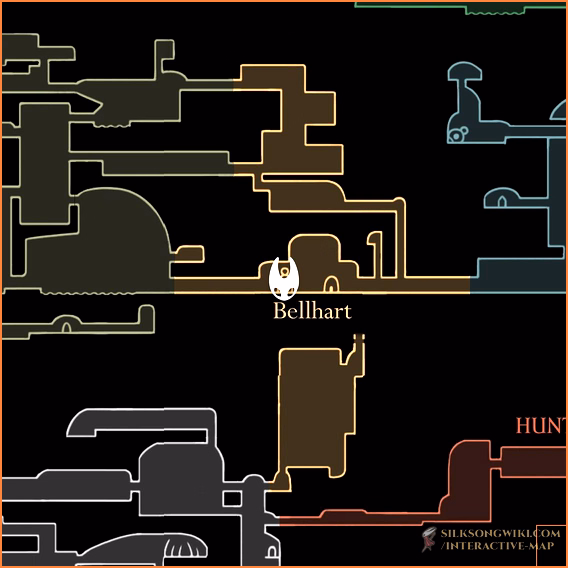 |
 Weavelight Weavelight | Gleaming apparatus of Weaver make. Its core emits a faint glow. Increases the speed of Silk regeneration. | How to Get: Reward for beating the Moss Mothers boss fight in Weavenest Atla. 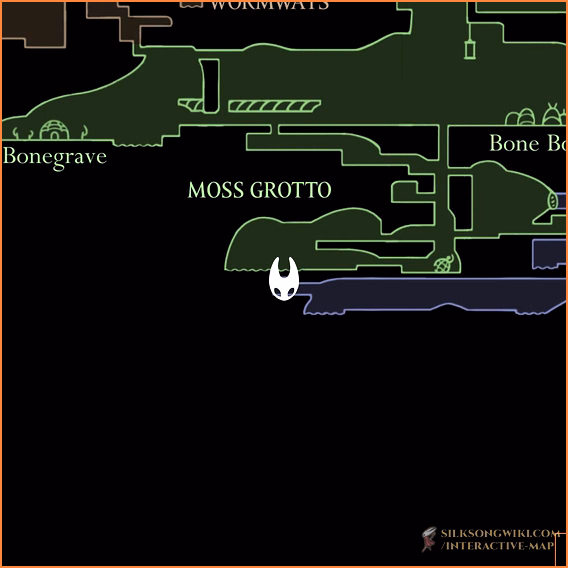 |
 Sawtooth Circlet Sawtooth Circlet | Flexible belt of serrated metal teeth. Flaring the cloak will spin the blades, damaging surrounding enemies. | How to Get: Crafted by Twelfth Architect in the Underworks area.  |
 Injector Band Injector Band | Brace of surgical pins from the Whiteward. Used to forcefully insert Silk deep inside a bug's shell. Increases the speed of binding. | Where to Find: Found on a table in the Whiteward area. 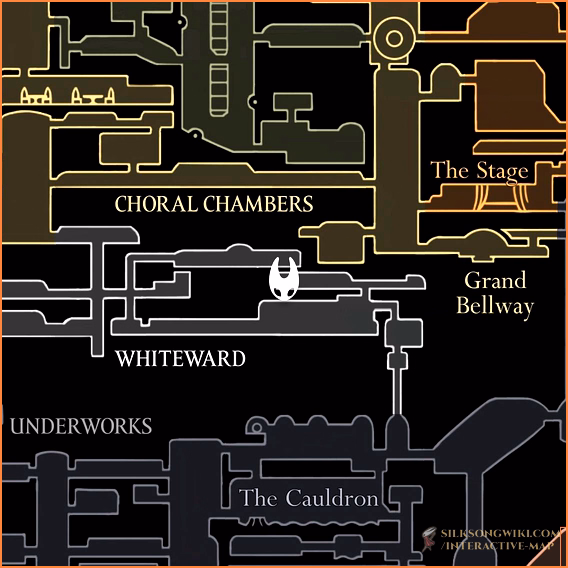 |
 Spool Extender Spool Extender | Silk-storing tool of the Citadel. Allows the storing of additional Silk beyond one's natural abilities. | How to Get: Purchase from Jubilana in Songclave.  |
 Reserve Bind Reserve Bind | Ornate artefact of the Citadel, able to hold a Bind's worth of Silk. Used when healing is needed and resources are low. Restored at a bench. | How to Get: Reward for beating the Second Sentinel boss fight in the southeastern part of The Forum.  |
 Claw Mirror Claw Mirror | Theatrical tool of a vainglorious bug. When binding, emits a dazzling flash that damages surrounding enemies. | How to Get: Reward for beating the Trobbio boss fight in the Stage area of the Whispering Vaults. 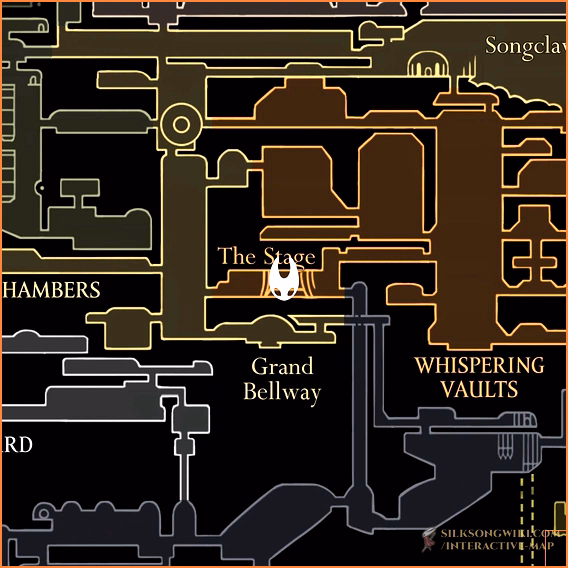 |
 Claw Mirrors Claw Mirrors | Twin theatrical tools. When binding, emits a searing blast that damages surrounding enemies. | How to Get: Reward for beating the Tormented Trobbio boss fight in the Whispering Vaults during Act 3.  |
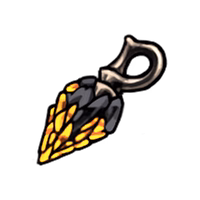
 Memory Crystal Memory Crystal | Reflective stone. When taking damage, a crystal memory is formed which shatters into sharp spines if an enemy comes into contact. | Where to Find: Found behind a wall of ice in the Mount Fay area. 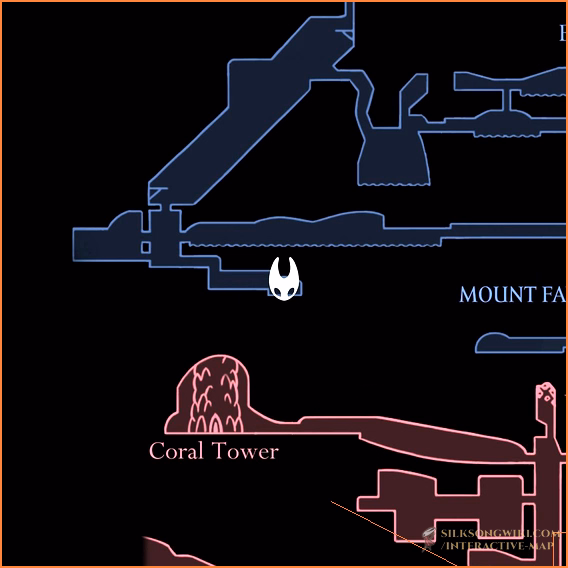 |
 Snitch Pick Snitch Pick | Hooked tool for the forceful retrieval of loot. Harpoon into foes to steal rosaries and shell shards, while causing additional damage. | How to Get: Purchase from Grindle in the Blasted Steps area.  |
 Volt Filament Volt Filament | Charged organ from a defeated Voltvyrm. Can be coiled around thread, imbuing Silk Skills with electric charge. | How to Get: Reward for beating the Voltvyrm boss fight in the Voltnest area of Sands of Karak. 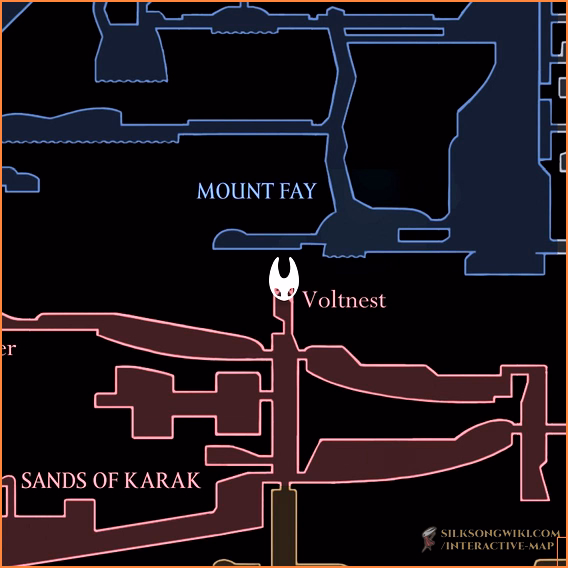 |
 Quick Sling Quick Sling | Taut-drawing mechanism built from reed and bone. Doubles the number of tools thrown. | Where to Find: Found by breaking through a false ceiling in the Bilewater area. 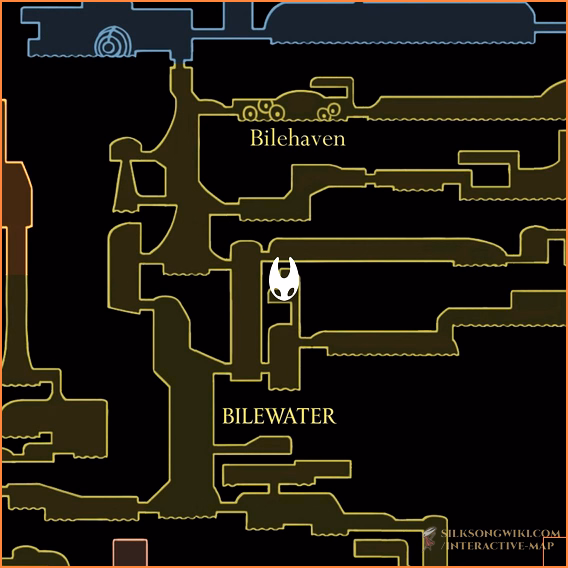 |
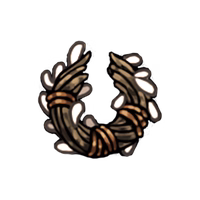 Wreath of Purity Wreath of Purity | Fragile band woven of reed and leaf, crafted to repel Muckmaggots. If broken, the wreath will be repaired while resting at a bench. | Where to Find: Found on a platform in the Putrified Ducts area. 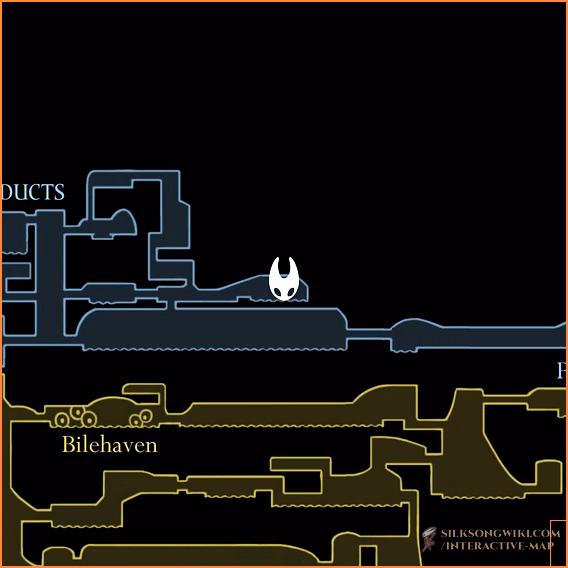 |
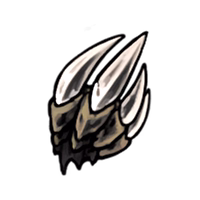 Longclaw Longclaw | Talisman fashioned from the talon of a large predator. Increases the range of needle attacks. | How to Get: Reward for completing the Broodfeast Wish for the Huntress in the Putrefied Ducts area. 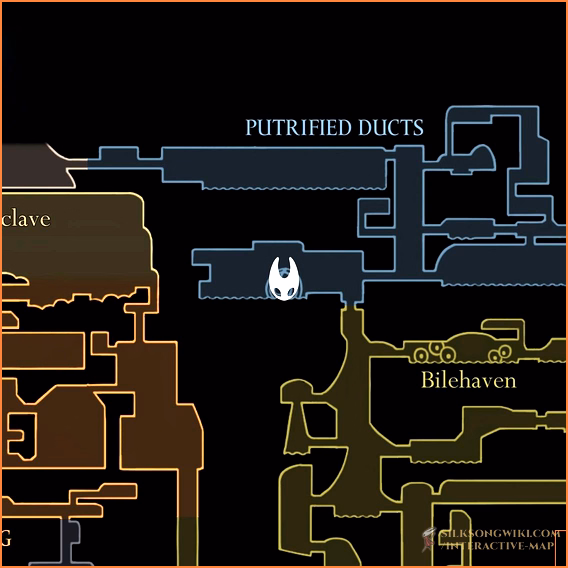 |
 Wispfire Lantern Wispfire Lantern | Broken iron lantern containing smouldering wispfire. Wisps will spawn from the lantern and burn foes, at the cost of Silk. | How to Get: Reward for beating the Father of the Flame boss fight west of Wisp Thicket. 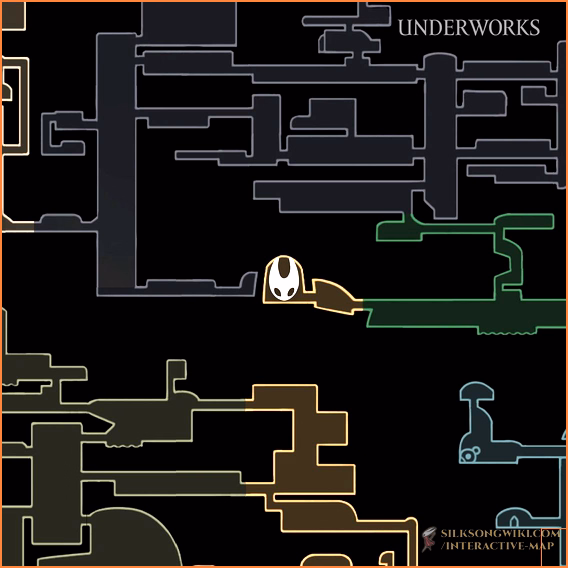 |
 Egg of Flealia Egg of Flealia | Icon of the mythical mother flea, a symbol of protection. Decreases the cost of Silk Skills while health is full. | Information coming soon. |
| | Emblem of the Order of the Pinstress, the old blademasters of Pharloom. Reduces charge time of Needle Strike. | Information coming soon. |
 Compass Compass | Intricate tracking device. When equipped, the bearer's location will be marked on their map. | How to Get: Purchase from Shakra. 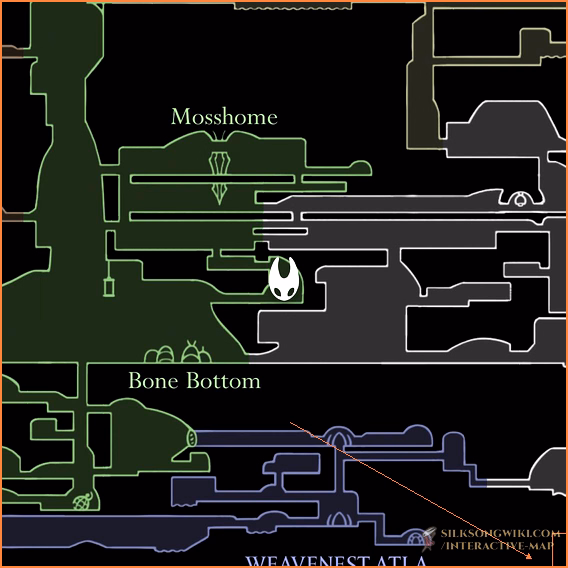 |
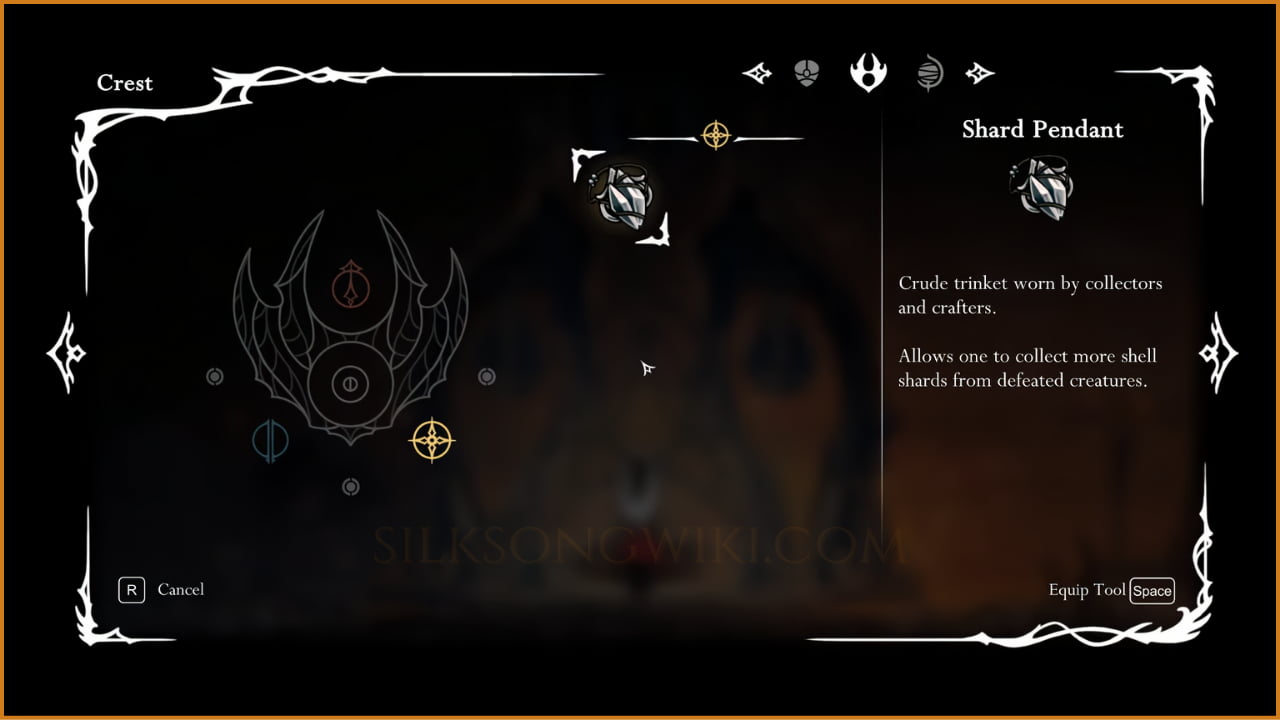
 Shard Pendant Shard Pendant | Crude trinket. Allows one to collect more shell shards from defeated creatures. | Where to Find: Found on a table in The Marrow.  |
 Magnetite Brooch Magnetite Brooch | Holy stone inscribed with a prayer for rosaries. Any loose beads will be pulled toward the wearer. | How to Get: Purchase from Pebb in the Bonebottom area. 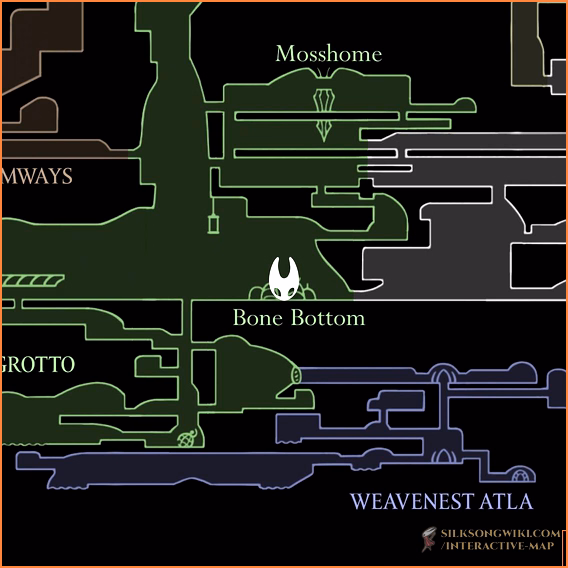 |
 Weighted Belt Weighted Belt | Heavy band. The wearer will recoil less when striking foes and will not be flung as far when taking damage. | How to Get: Purchase from Mort in the Pilgrim's Rest area of Far Fields.  |
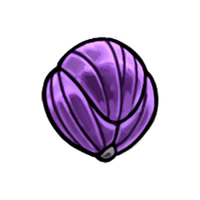
 Barbed Bracelet Barbed Bracelet | Vicious bracelet. Increases damage taken, but also increases damage dealt by the needle. | Where to Find: Found on a bug corpse in Sinner's Road.  |
 Dead Bug's Purse Dead Bug's Purse | Discarded purse of a fallen pilgrim. Allows the bearer to retain some rosaries upon defeat. | Where to Find: Found on a bug corpse in the Wormways area. 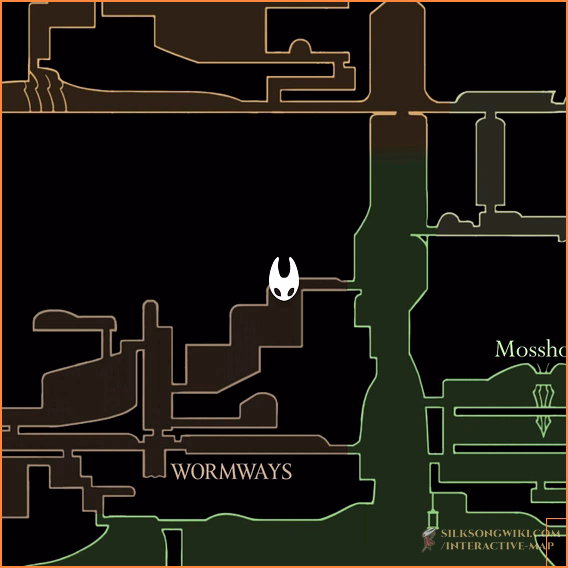 |
 Shell Satchel Shell Satchel | Quick access container formed from an old shell. Increases the quantity of crafted tools. | Information coming soon. |
 Magnetite Dice Magnetite Dice | Playthings carved from magnetic material. Used in simple games and believed to bring luck to the bearer. | How to Get: Repeatedly beat Lumble the Lucky while playing the Dice mini-game. 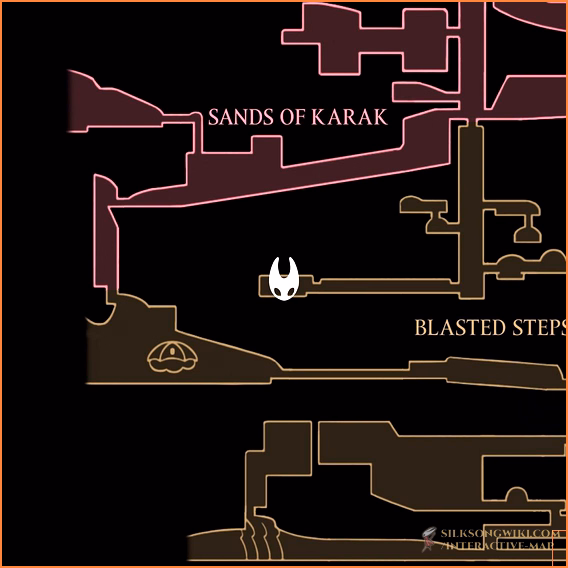 |
 Scuttlebrace Scuttlebrace | Artificial spine that clasps tight around the shell. Enhances the wearer's innate flexibility, allowing rapid retreat. | How to Get: Crafted by Twelfth Architect in the Underworks area. 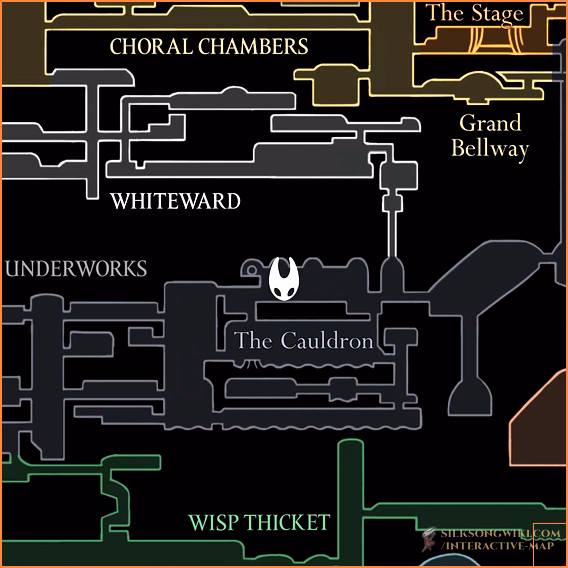 |
 Ascendant's Grip Ascendant's Grip | Gilded piton that allows one to hold in place while on a wall. | How to Get: Purchase from Jubilana in Songclave. 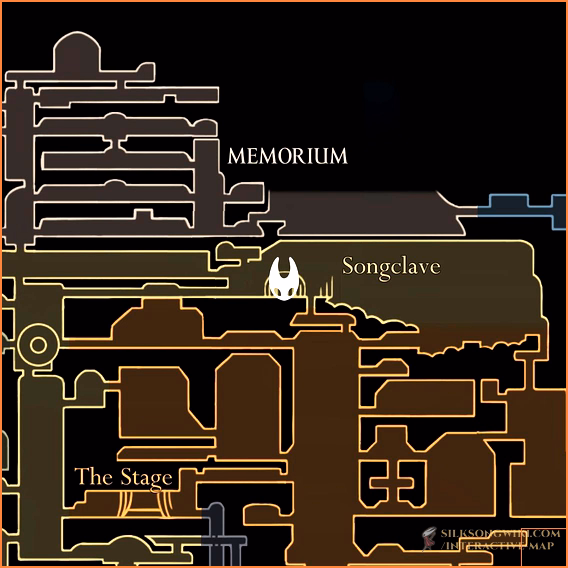 |
 Spider Strings Spider Strings | Sophisticated Weaver device. Resonates with music played to amplify and enhance a performance. Expands and strengthens the effects of Needolin. | How to Get: Purchase from Jubilana in Songclave after completing The Lost Merchant Wish. 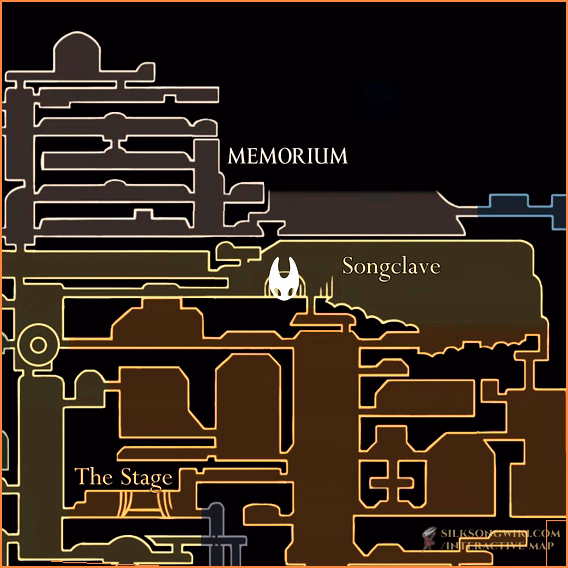 |
 Silkspeed Anklets Silkspeed Anklets | Experimental anklets of Weaver make. Draws upon the wearer's own Silk to increase sprinting speed. | How to Get: Obtained after sprinting across the chamber in the Weavenest Cindril area of Far Fields. 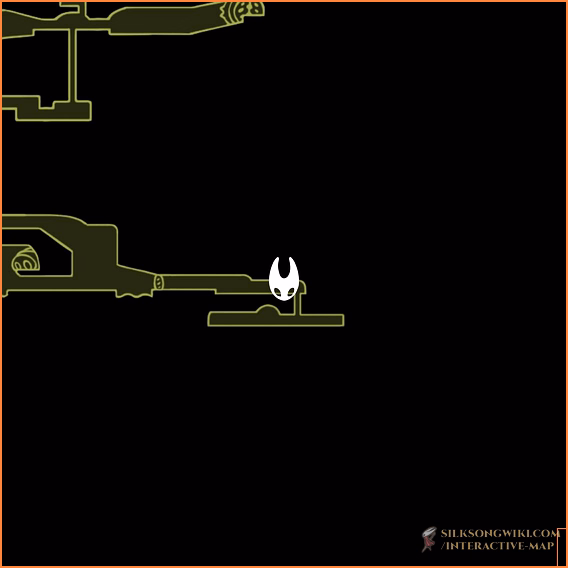 |
 Thief's Mark Thief's Mark | Symbol worn to identify oneself to fellow thieves. Gain extra rosaries from defeated enemies, but lose some rosaries on taking damage. | How to Get: Purchase from Grindle in the Blasted Steps area. 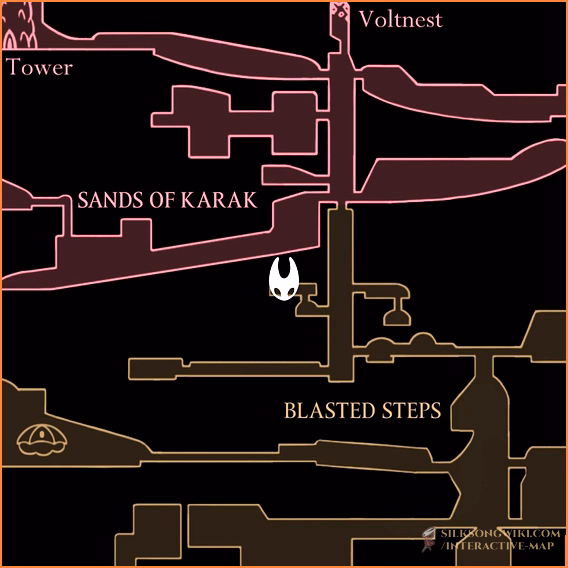 |